How to tile a wall – for professional-style results
Follow our step-by-step guide for the lowdown on how to tile a wall yourself


Sarah Warwick
Find out how to tile a wall and you can transform the room with color, pattern, or a fabulous layout. They’re a super practical surface, too, protecting walls from splashes and humidity and ensuring keeping the space hygienic is easy.
Tiling a wall is a job you can take on yourself as an alternative to calling in a pro if that’s your preference, and once you also know how to grout tiles correctly, you can achieve a stylish finish.
These steps will lead you through the process so you can make the most of your bathroom wall tile ideas and kitchen wall tile ideas, and we’ve also asked the experts to contribute their advice for getting professional results.
How to tile a wall
Before tiling you need to ensure that your walls are smooth, waterproof and strong enough to support your chosen tiles.
‘If your surface is uneven you can overboard it with a tile backer board which will provide an even surface to make fitting much easier,’ explains Amanda Telford of CTD Tiles . ‘Whatever surface you are tiling on to needs to be load bearing and able to hold the weight of the tiles, adhesive and grout combined.'
You will need:
- Metal ruler
- Tile scourer
- Tile nipper
- Fine sandpaper
- Grout float
- Grout finishing tool
- Bucket
- Drill with a mixing paddle attachment
- Tile adhesive spreader
- Pencil
- Tape measure
- 5mm floor tile spacer
- Long carpenter‘s level
- Sponge
- Timber batten
- Fixings
1. Prepare a wall for tiling
You may need to remove wall tiles first if your project is a room refresh, but once that’s done, it’s very important to have the right surface for tiling. ‘Any existing painted wallboard (sheetrock) needs to be removed as a painted surface is not suitable for tile installation,’ explains Carol Butsko, a vice president at Artistic Tile.
‘Wood-based panels, which includes particleboard, waferboard, or an oriented strand board (OSB) are not suitable either.
‘There are multiple types of backer boards available: choose the type best suited to the application and tile product. The backer board will be applied to the studs (wood or metal) according to the manufacturer’s guidelines. TCNA (Tile Council of North America) Handbook for Ceramic, Glass, and Stone Tile Installation offers selection guides for various types of tile and installation materials.’
2. Mix up the tiles to avoid color discrepancies
Plan how you want tiles to look. Lay them out of the floor, to test out any patterns. Avoid any stark color discrepancies by mixing tiles from several boxes, this will help achieve a blend of color, texture and pattern.
3. Work out your starting point
It’s important to work out the starting point, just as you do when tiling in a shower or tiling a floor. Make a tile gauge using a wooden batten. Place it on the floor next to a row of tiles, with spacers in between and mark each tile on the wooden batten.
Measuring the wall horizontally find the midpoint and align the first line on the tile gauge with it. Move the gauge to the left mark by mark, until the wooden batten is close to the corner of the wall. Mark on the wall where the last tile would end, and using a carpenter’s level, draw a line to the ceiling.
Repeat the entire process again vertically, before screwing wooden battens into place over the lines – your starting point is the corner where the battens meet.
4. Lay the full tiles
From your starting point, use a notched spreader to cover part of the wall in adhesive. Apply the tile firmly with a slight twisting action. Repeat with the rest of the tiles, inserting spacers between each one.
Use the wooden batten and capenter’s level to ensure the tiles are straight and level. When the adhesive has completely dried remove the wooden battens.
5. Cut and lay the remaining tiles
Measure the gap between the last full tile and the wall. Accounting for the spacer, mark the measurement on a tile and scour a line, before snapping the tile. Repeat for the rest of the tiles.
Starting from the bottom of the main design, lay the cut tiles in the same ways as the full tiles.
6. Grout the tiles
Our complete guide on grouting has the details, but bear in mind that once the adhesive has completely dried, you need to mix up the grout and use a grout float to work it into the joins between the tiles. For a neat finish, use a grout finishing tool to go over the joins.

How do I plan a wall tile layout?
When it comes to planning a wall tile layout, it's important to do your research.
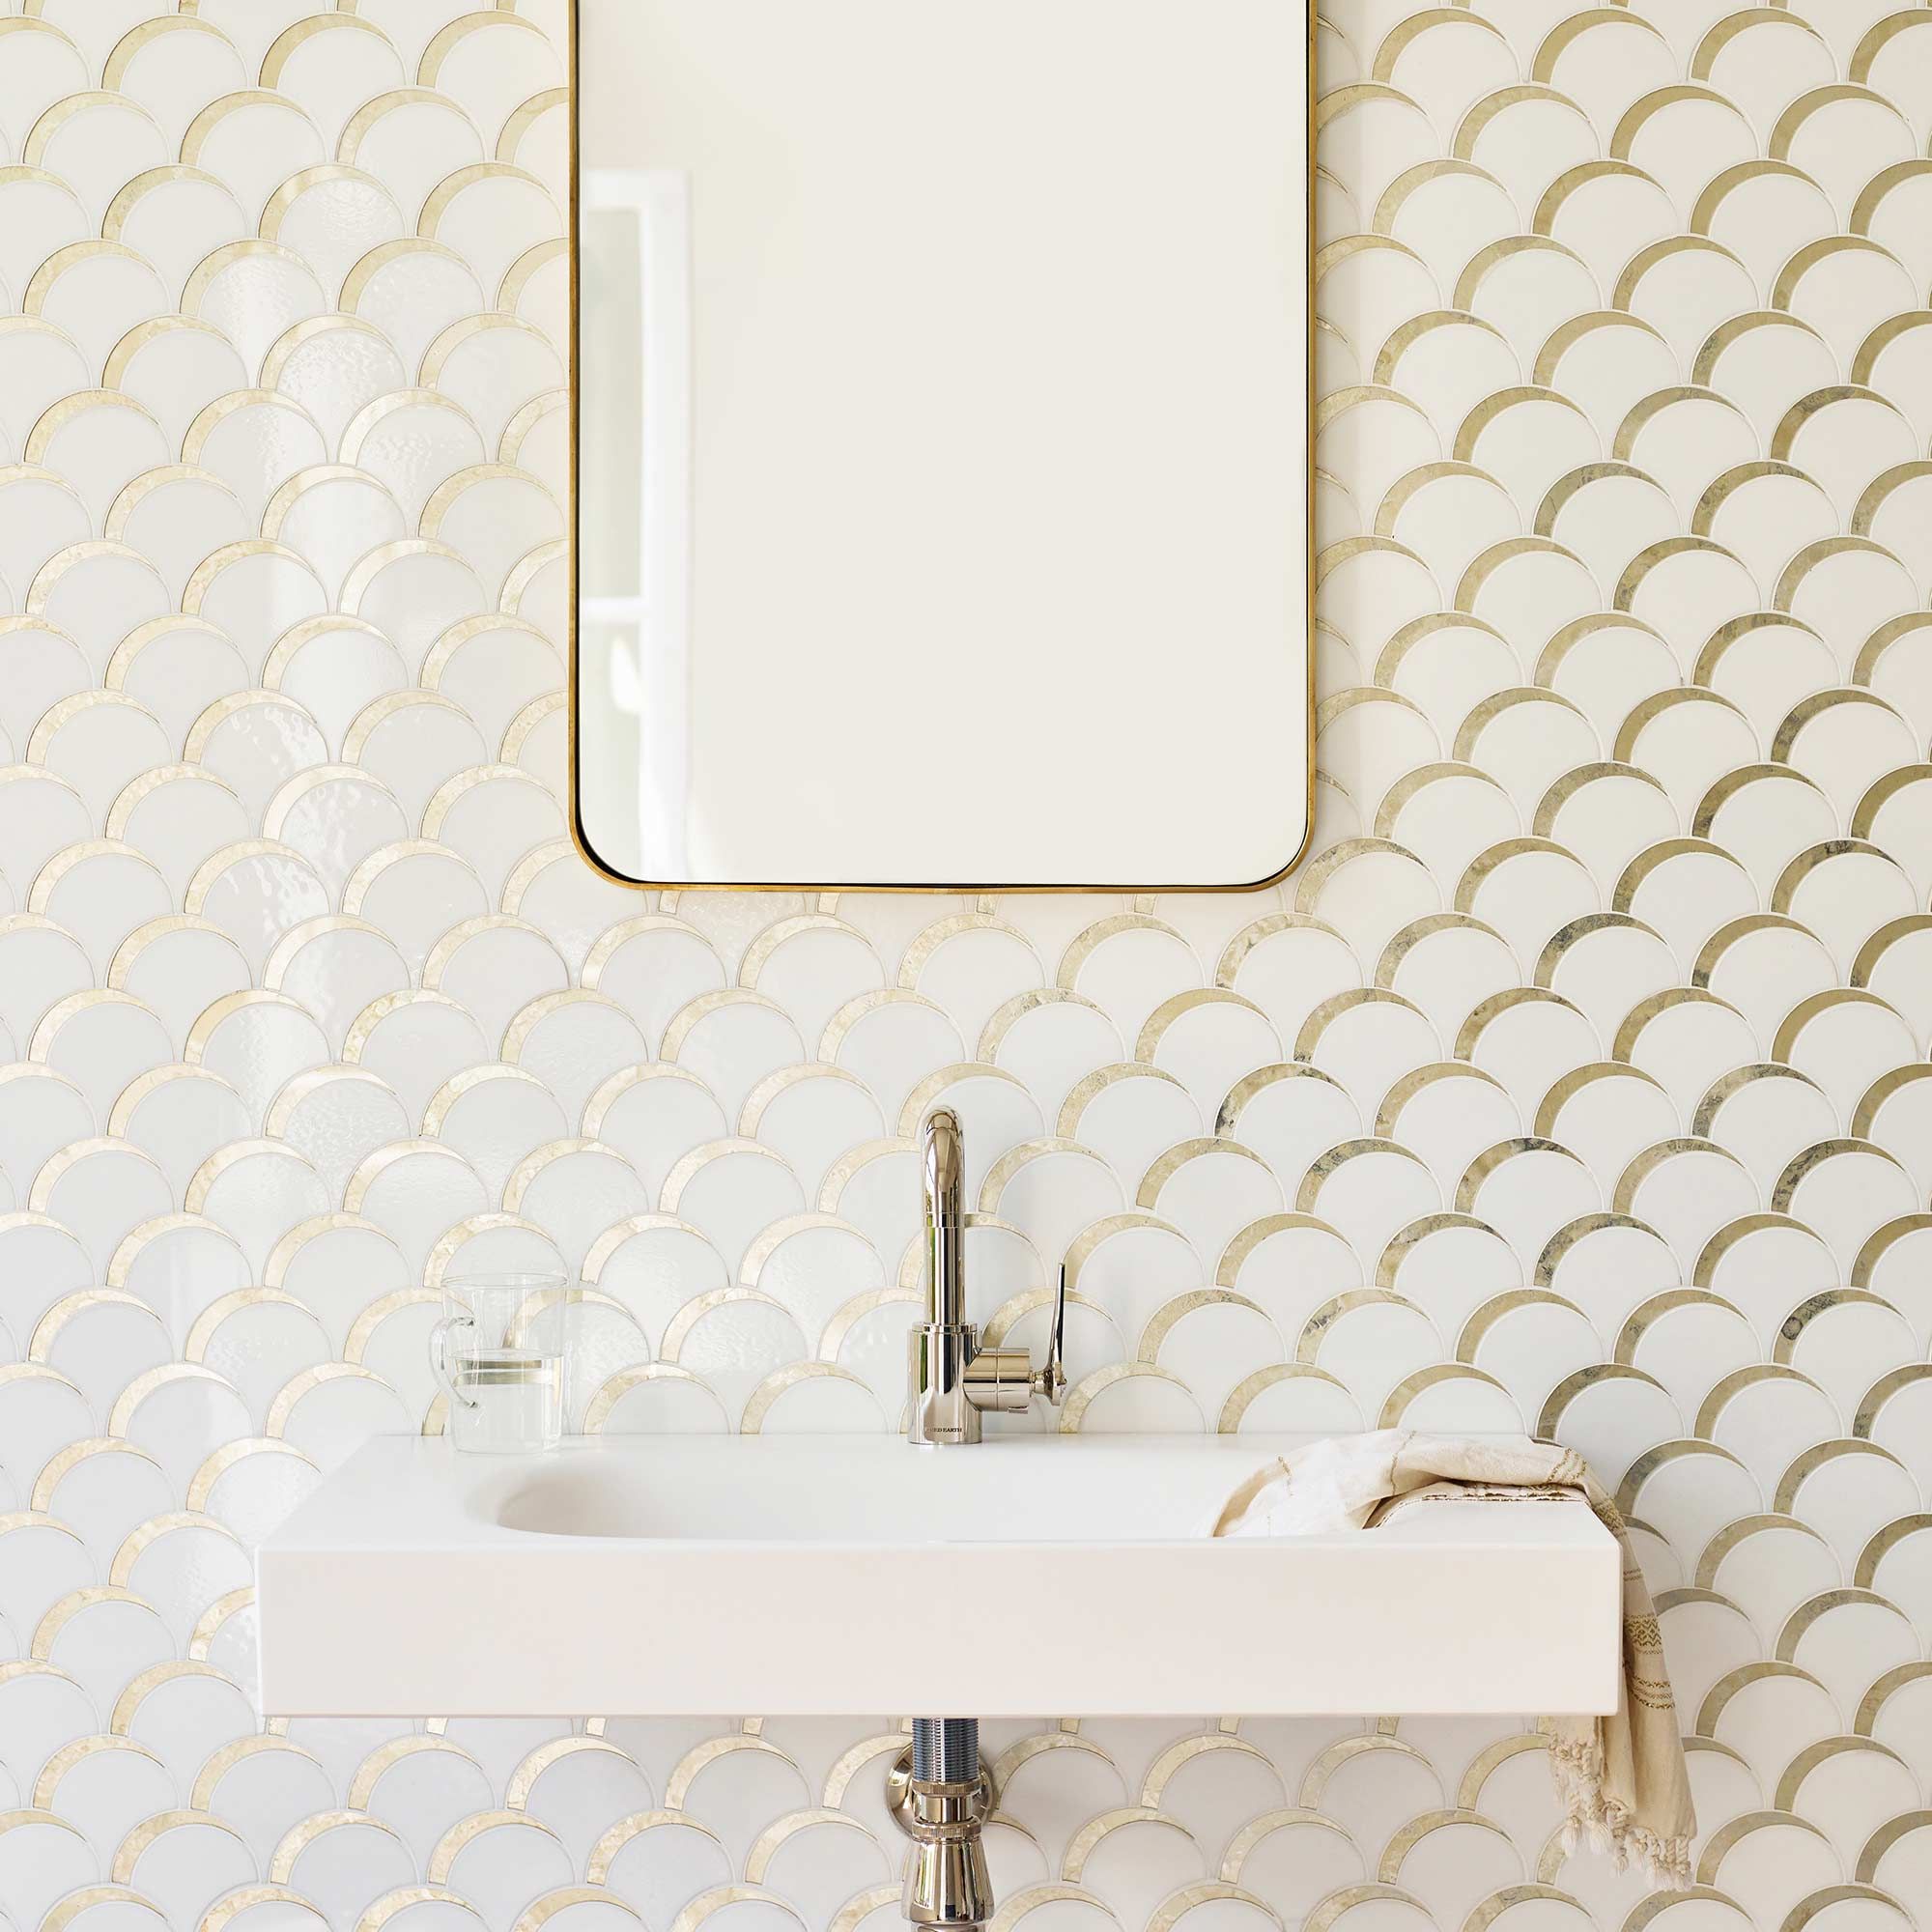
Wall tiles are available in a whole host of shapes, sizes, colors and finishes, which can be arranged in a number of different ways, so take time to think about the look you’d like to achieve.
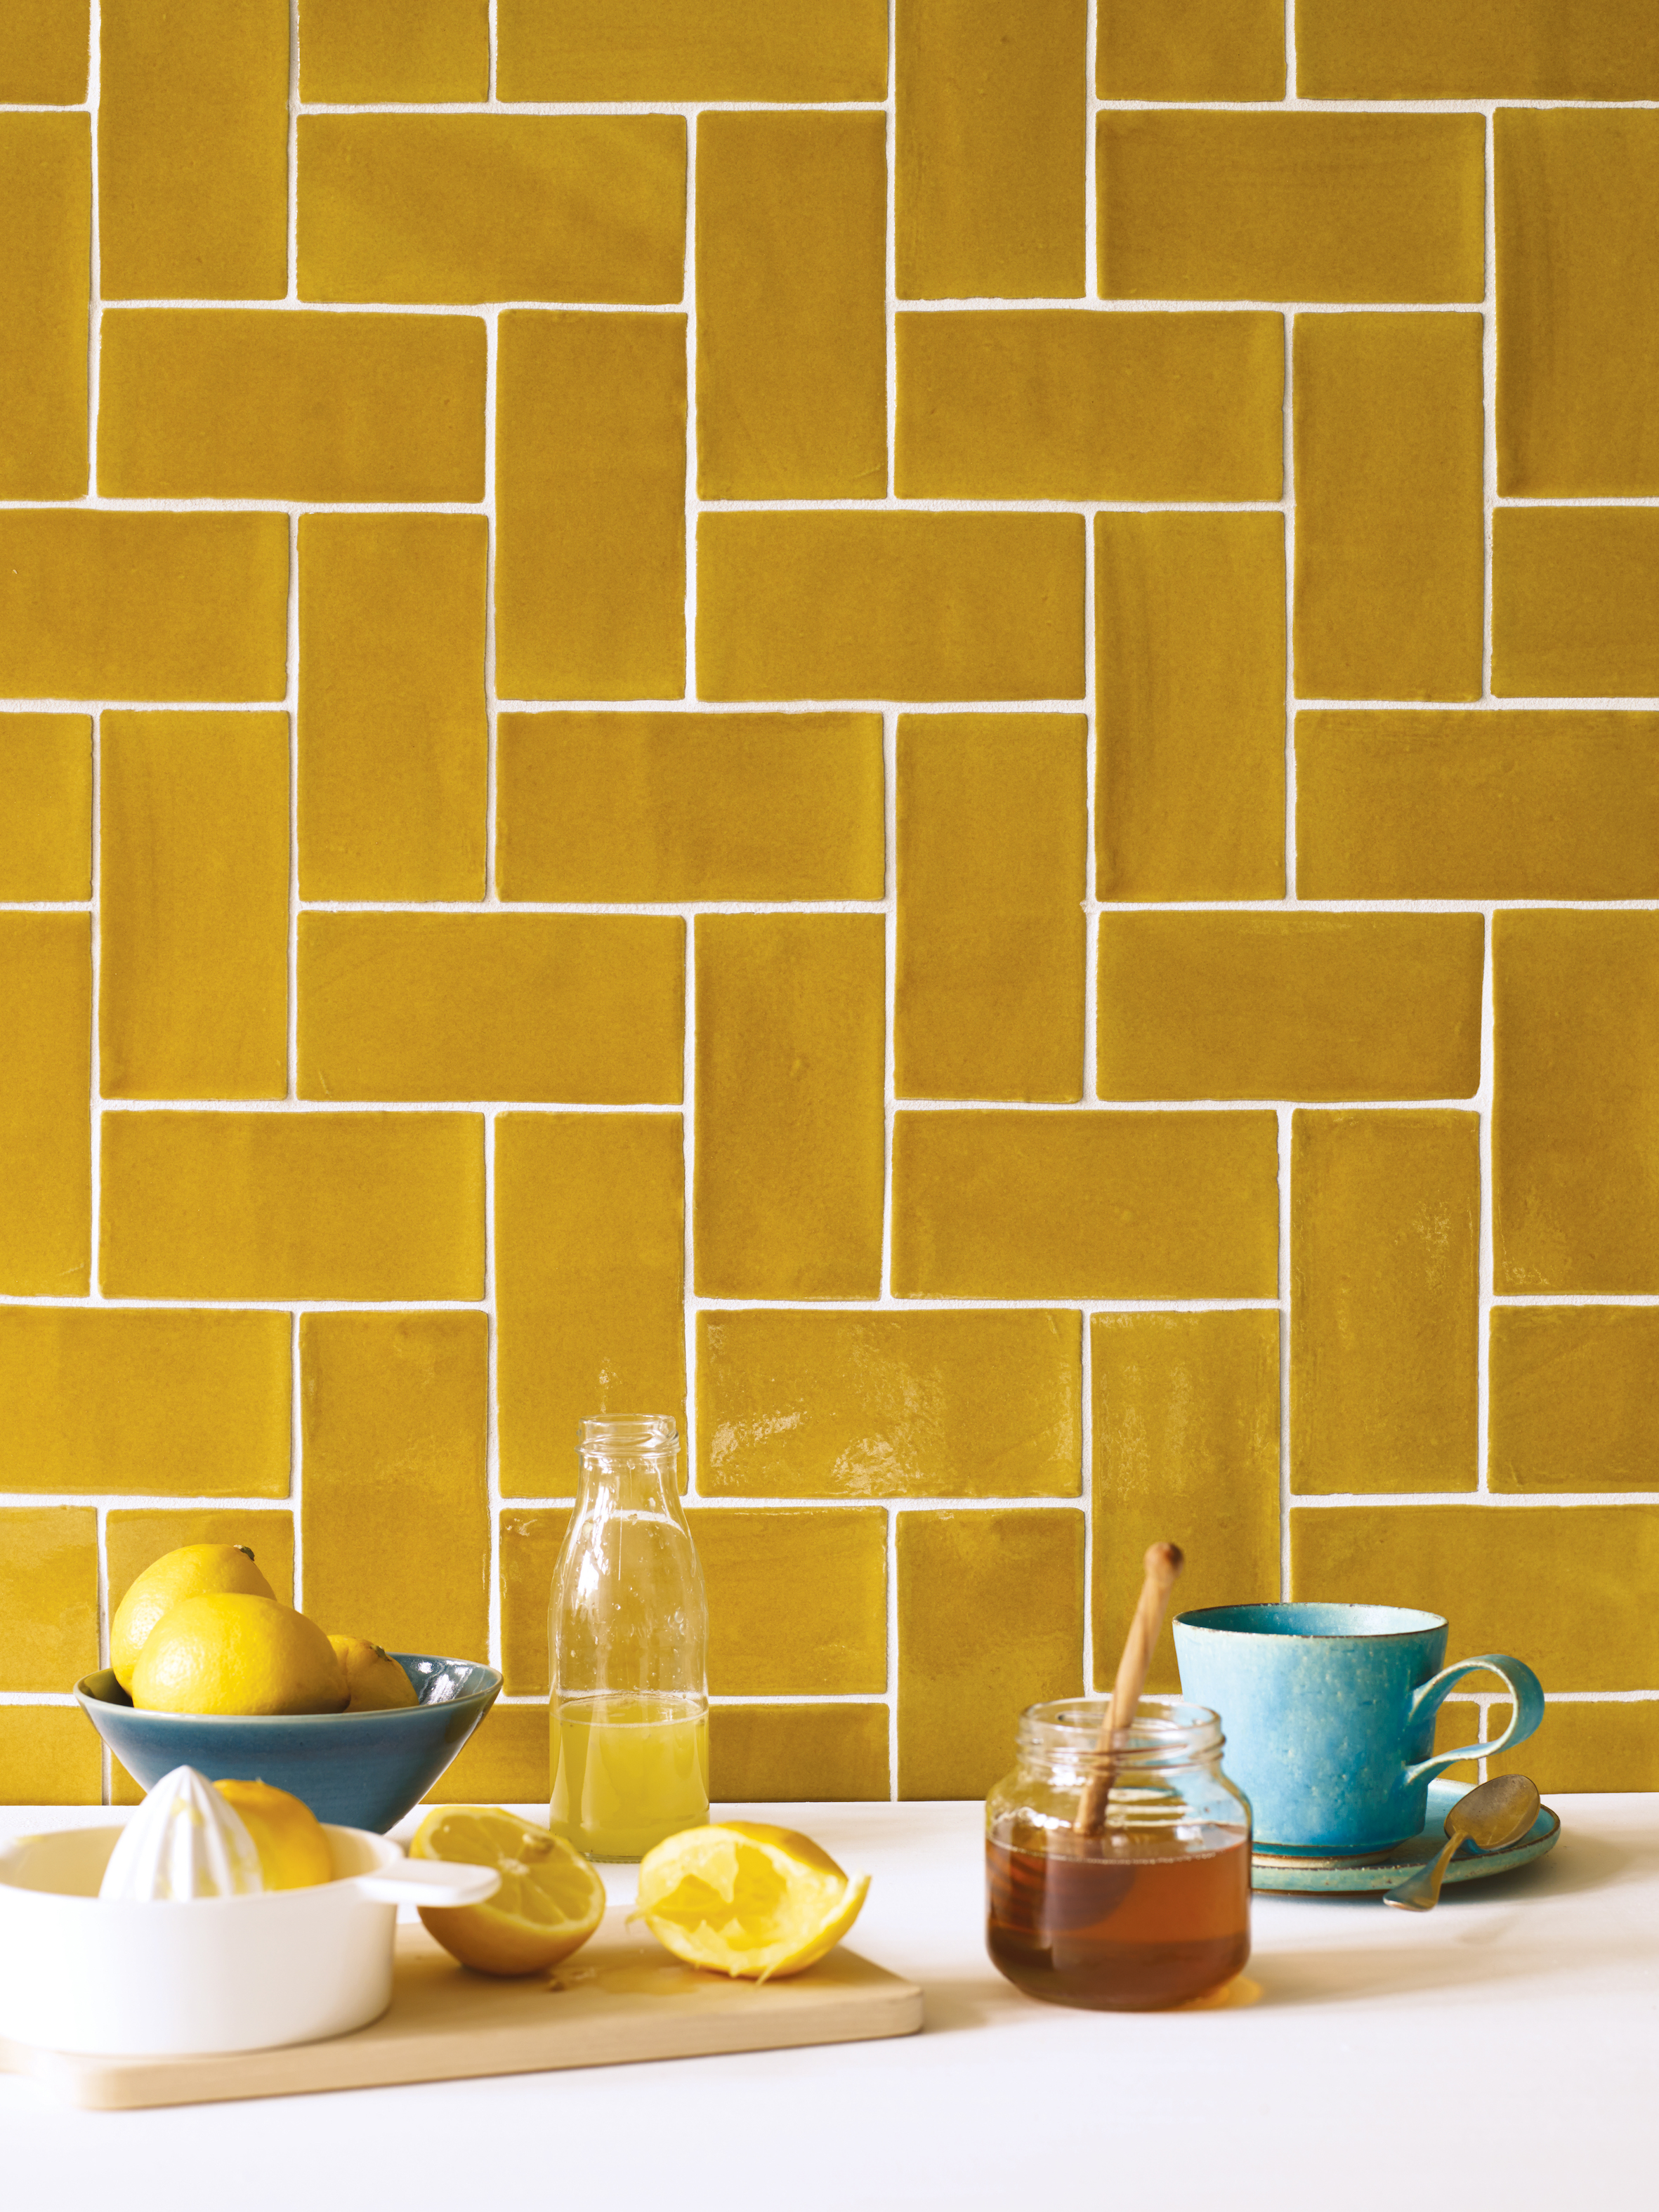
There are a huge range of tile layout patterns. ‘A standard format rectangular field tile offers the ability to create a distinct look depending on the layout,’ says Carol Butsko. ‘Pattern options include straight joint, brick, and herringbone. Each is easily achievable and is more dependent on aesthetic than ability to install.’
Take the size of your room into account, too. Yousef Mansuri, head of design at CP Hart, explains, ‘If it’s a compact space and it's small bathroom tile ideas you need, we recommend large format tiles. This is because fewer grout lines give the walls more continuity, creating the illusion of a larger space.’
What's the best material for wall tiles?
Porcelain is one of the best materials for bathroom and kitchen walls and is used often for shower tile ideas too. It's a practical tile as it's nearly waterproof, and is suited to the humidity and condensation of a the space.
‘Typically, porcelain tiles are popular for bathroom walls in both small and larger formats. Stylish and in-keeping with so many current bathroom trends, they are also easy to wipe clean and maintain in years to come,’ explains Harriet Goodacre, tile consultant at Topps Tiles.
‘The technology accessible to porcelain allows designs and patterns not achievable with other materials,’ adds Carol Butsko.
Other materials you might consider? ‘Natural stone offers a fascinating range of color, veining, and opacity,’ says Carol. ‘With glazed double-fired ceramic, a vibrant range of color is available. Similarly glass offers a variety of colors with a rich translucency.’
Where do you start when tiling a wall?
Before tiling a wall, you need to work out your start point as shown above in the step-by-step. The reason for this is to ensure that as many full tiles as possible are used.
When working out the starting point, if the space in the corner is less than half a tile, move the tile gauge half a tile’s width to the right of the center point. This is to allow space for a larger cut tile to be fitted, creating a cleaner finished look. ‘Starting point impacts the end point, so it is important to take this into consideration to achieve the best result,’ notes Carol Butsko. ‘Placement may also require some adjustment for vanities, tubs or other fixtures in the space.’
‘Walls generally lend themselves to being centered, especially the back wall of a shower,’ advises bathroom remodeling contractor in the Seattle area James Upton, of DIYTileGuy.
‘Otherwise, there is some subjectivity,’ he continues. ‘You may want full tiles to start from the ceiling. You may want to start with a full tile at the bottom. Additionally, some may choose to balance the cuts at the top and bottom. This is a personal choice and depends on the tile size, the area being tiled, and the focal point of the wall.’
How far up the wall should I tile?
It can be difficult to know how far up the wall to tile, but you should ideally tile any areas where water is to avoid splashes. Aside from that practical detail, how far up the wall you tile is a personal preference, though kitchen backsplash ideas tend to be around 24in deep.
‘In walk-in showers, wet rooms or shower rooms, we recommend tiling to the top of the wall,’ suggests Hannah Guilbert of Original Style. ‘For the rest of the space, tiling at half height is both pleasing on the eye and a good way to ensure your walls are protected from sink, bath and shower splashes.’
Sign up to the Homes & Gardens newsletter
Design expertise in your inbox – from inspiring decorating ideas and beautiful celebrity homes to practical gardening advice and shopping round-ups.

Rebecca has been working as a homes and interiors journalist for over four years. She first discovered her love of interiors while interning at Harper's Bazaar and Town & Country during my Masters in Magazine Journalism at City, University of London. After graduating she started out as a feature writer for Women's Weekly magazines, before shifting over to online journalism and joining the Ideal Home digital team covering news and features. She is passionate about shopping for well-crafted home decor and sourcing second-hand antique furniture where possible.
- Sarah WarwickContributing Editor
-
 The moody kitchen in this Victorian home has the most unique wall design I've ever seen – it's the perfect way to bring an elegant, aged feel to the space
The hand-painted feature has brought a sense of history and patina back into the remodeled kitchen
By Molly Malsom Published
-
 I gave the ‘try-for-five’ method a go in my small home – it's a brilliantly easy way to beat chore procrastination in seconds
This method is great for those with executive dysfunction
By Chiana Dickson Published