What is heat tape? And can it really save your pipes in winter?
This simple addition can save your home from flooding, saving your thousands of dollars in the process


If you live somewhere that experiences freezing winters, then you will be familiar with the fear of frozen pipes and water leaks. That is where heat tape comes in.
Expert contractors swear by this simple cable alongside insulating pipes to keep pipes safe and functional throughout the coldest of weather and avoid home floods that could cause thousands of dollars worth of damage.
Here, they break down what heat tape is (spoiler, it isn't really a roll of tape at all), and how to use it to prevent frozen pipes.
What is heat tape?
Put simply, heat tape (also known as heat cable) is a thin electrical cable that you run along your pipework. It then heats up just enough to prevent ice from forming and causing blocks, negating the need to worry about frozen pipes.
Yaeir Moinzadeh, contractor and owner of Blue Rise Baltimore Roofing expands, ‘Heat tape is an electrical cable wrapped along pipes in very cold weather conditions to avoid freezing. It works effectively, particularly with insulation, in very low temperatures, even at -40°F (-40°C). For efficiency, it is best to use thermostat-controlled heat tape that turns on only when the temperature falls below freezing.’
The types of heat tape
There are two main types of heat tape you can pick to winterize your house:
- Self-regulating heat tape: This heat tape can be cut to any length to suit any pipes, and will automatically vary its heat output depending on the ambient temperature. In freezing temperatures, it will heat up, but it will cool down in hot summers. This avoids the need for manual controls, but it still needs to be plugged in.
- Thermostat-controlled heat tape: This can also be cut to any size, but rather than adjusting depending on the ambient air temperature you can control it via a thermostat. This will help you ensure it is only turned on at specific temperatures.
The type you buy to prepare your home for cold weather will depend on your preferences.
When picking heat tape, read the packaging and manufacturer instructions to ensure it is appropriate for your pipe material, size, and the temperatures your home experiences. Most heat tapes are safe for both plastic and metal pipes, but it is always worth double-checking.
You also need to measure your pipes to get the right size. Remember that if you wrap your heat tape around the pipe in a spiral to winterize home plumbing indoors, you will need tape considerably longer than the pipe itself.
Both are available in DIY kits, which are ideal for beginners who don’t want to wire a plug.
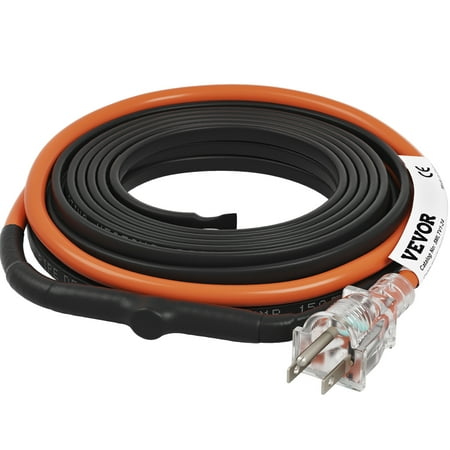
Thanks to the built-in thermostat with an accuracy of ±1°, the heat tape for water pipes automatically turns on at 43℉ of the pipe and stops working at 55℉.
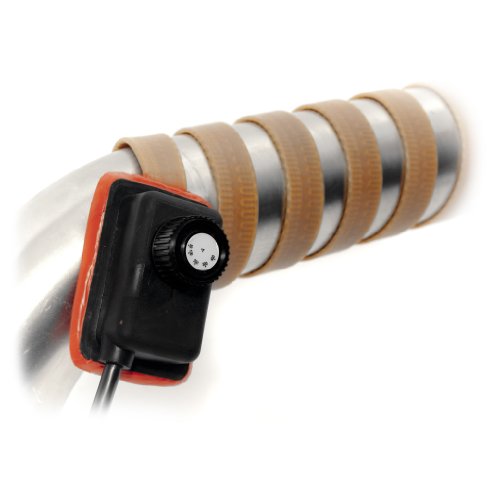
The temperature control of this electrical heating tape provides fast uniform heat up to 425°F (218°C)
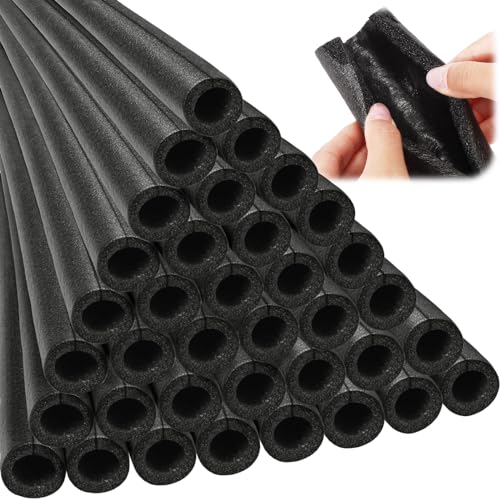
Keep pipes extra protected with foam insulation. Check that your heat tape is safe for foam before installing to avoid it melting.
How to install heat tape
Buying heat tape for your home is all well and good, but installing it incorrectly is a major home maintenance mistake to never make in winter.
Nathan Hudelson, a master plumber at Schlueter Plumbing begins, ‘Our general practice for small-diameter piping is to run a strip along the bottom of the pipe (remember heat rises) and attach it with standard electrical tape wraps.’
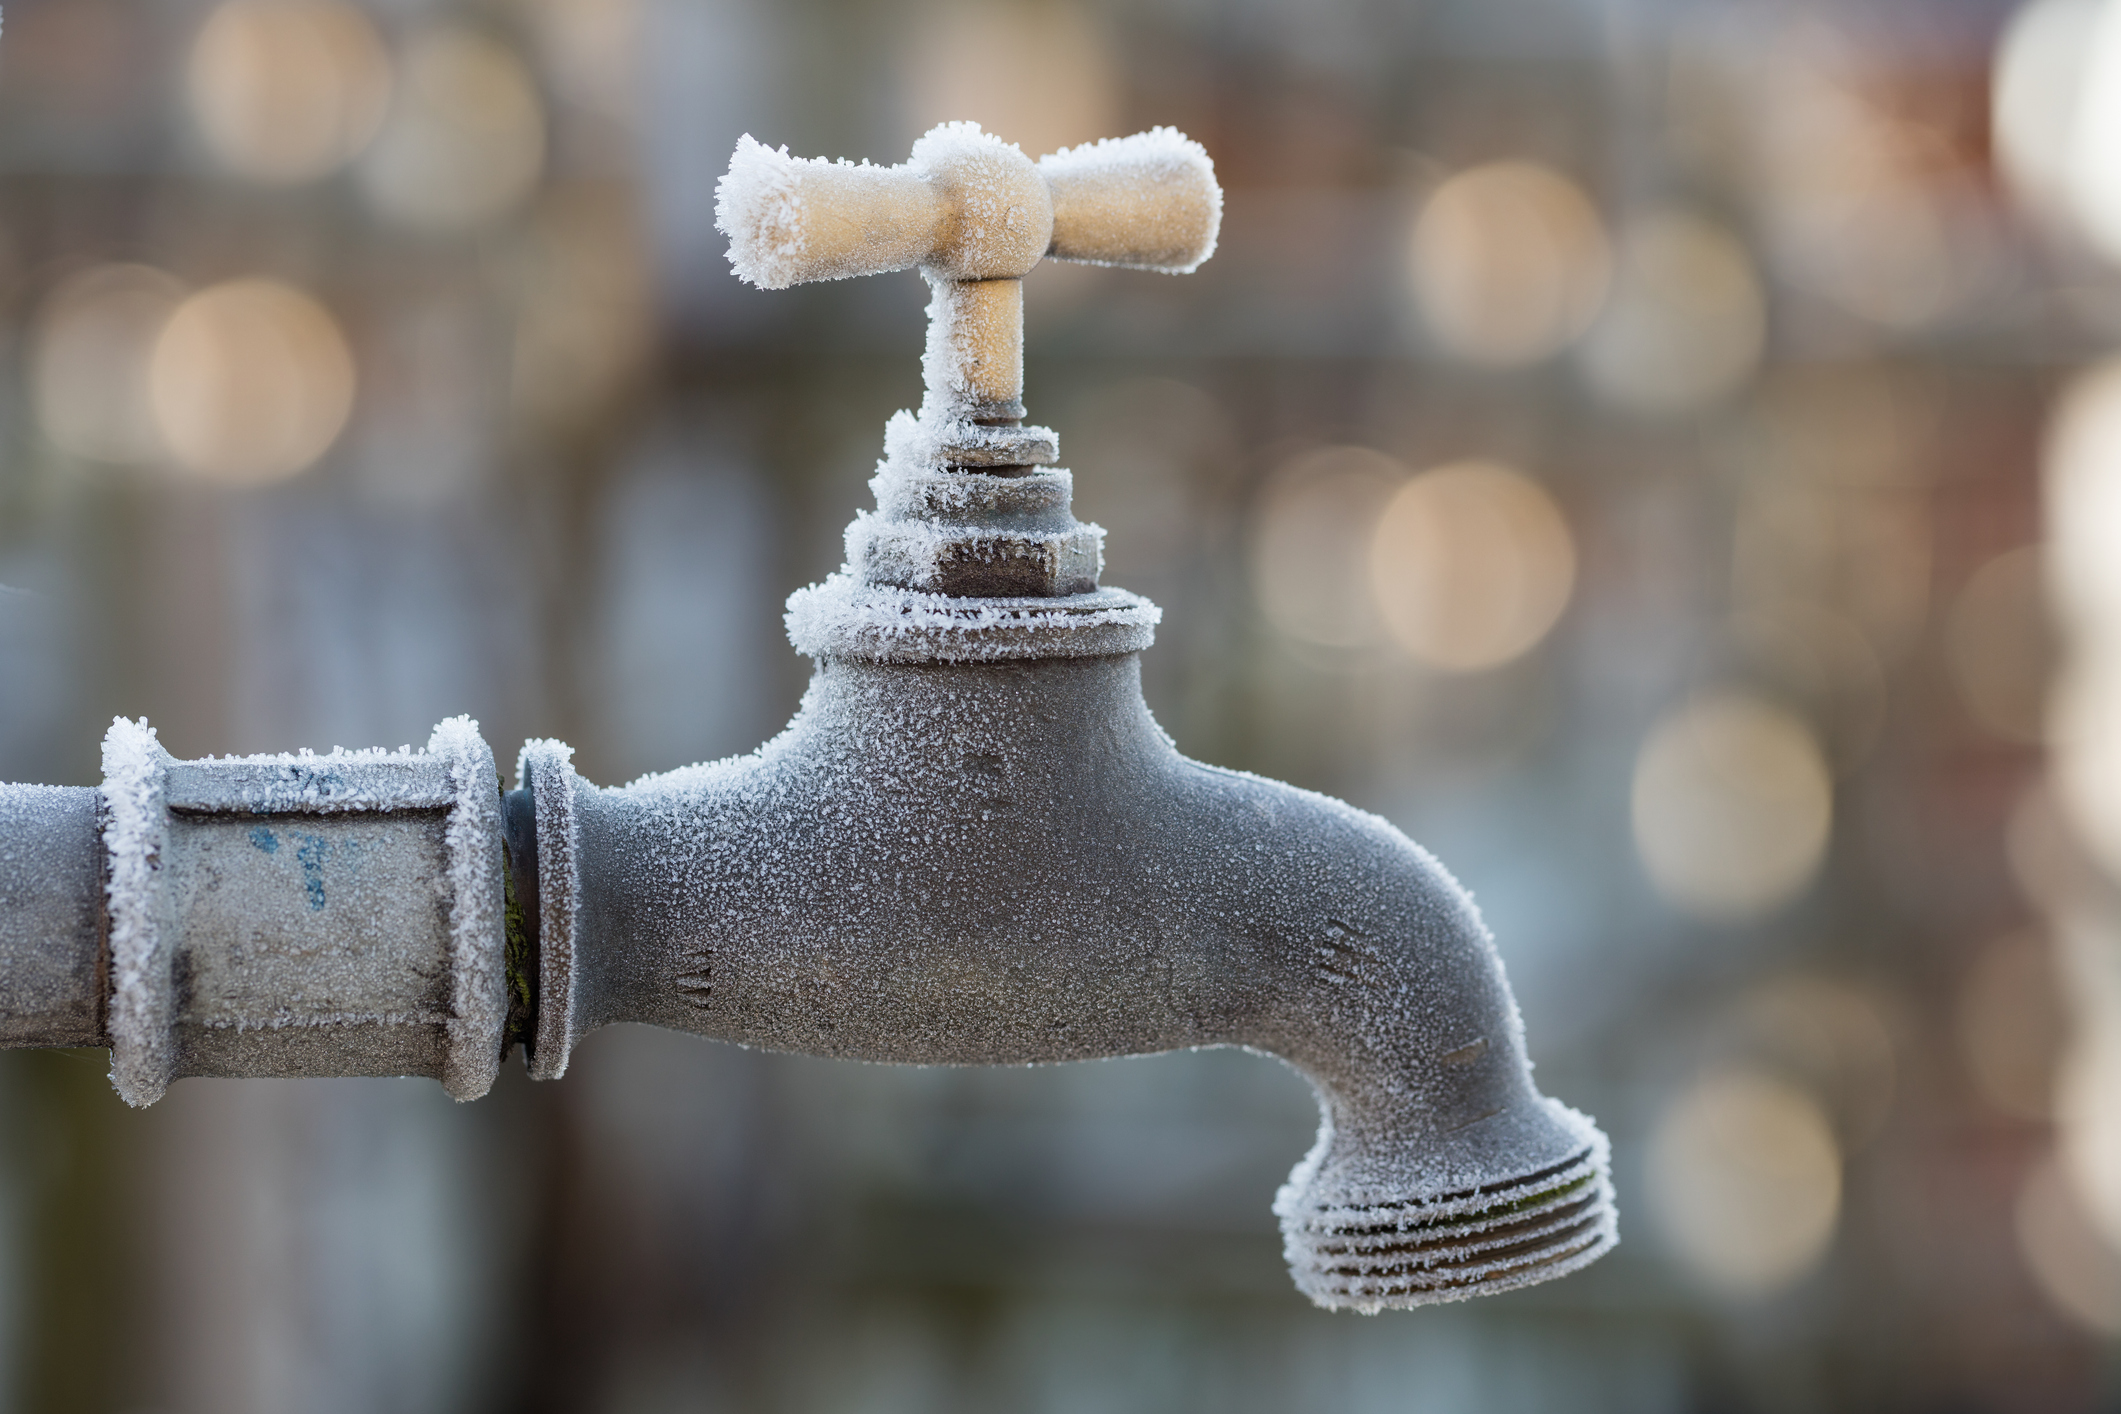
Yaeir Moinzadeh, contractor, says that you can also, ‘Wrap heat tape around pipes in unheated areas, crawl spaces, attics, and external walls. Pay particular attention to out-of-the-way outdoor faucets and hose bibs, which are vulnerable to freezing even though people often forget they're there,’ he adds. ‘To install, clean, and dry the pipe, then wrap the tape around it or run it along the bottom, following manufacturer instructions. Fasten with electrical tape or zip ties without overlapping any of the tape to avoid overheating.’
Nathan Hudelson, master plumber continues, ‘After heat tape, it is imperative to properly insulate the pipe; we generally use foam insulation and cut to fit, sealing all air gaps (buy one size bigger insulation than the pipe so it fits over the heat tape), then again, a few wraps of electrical tape to hold the insulation on usually does the trick. Finally, plug it in and verify the plug-in works. Make sure that the plug-in still has electricity when freezing temps start.’
It is important to note that not all heat tape is safe for use with pipe insulation. Check the manufacturer's instructions before completing this step.
It also helps to insulate the space around the pipes to further minimize the risk of a freeze, such as insulating a crawl space or installing attic insulation.
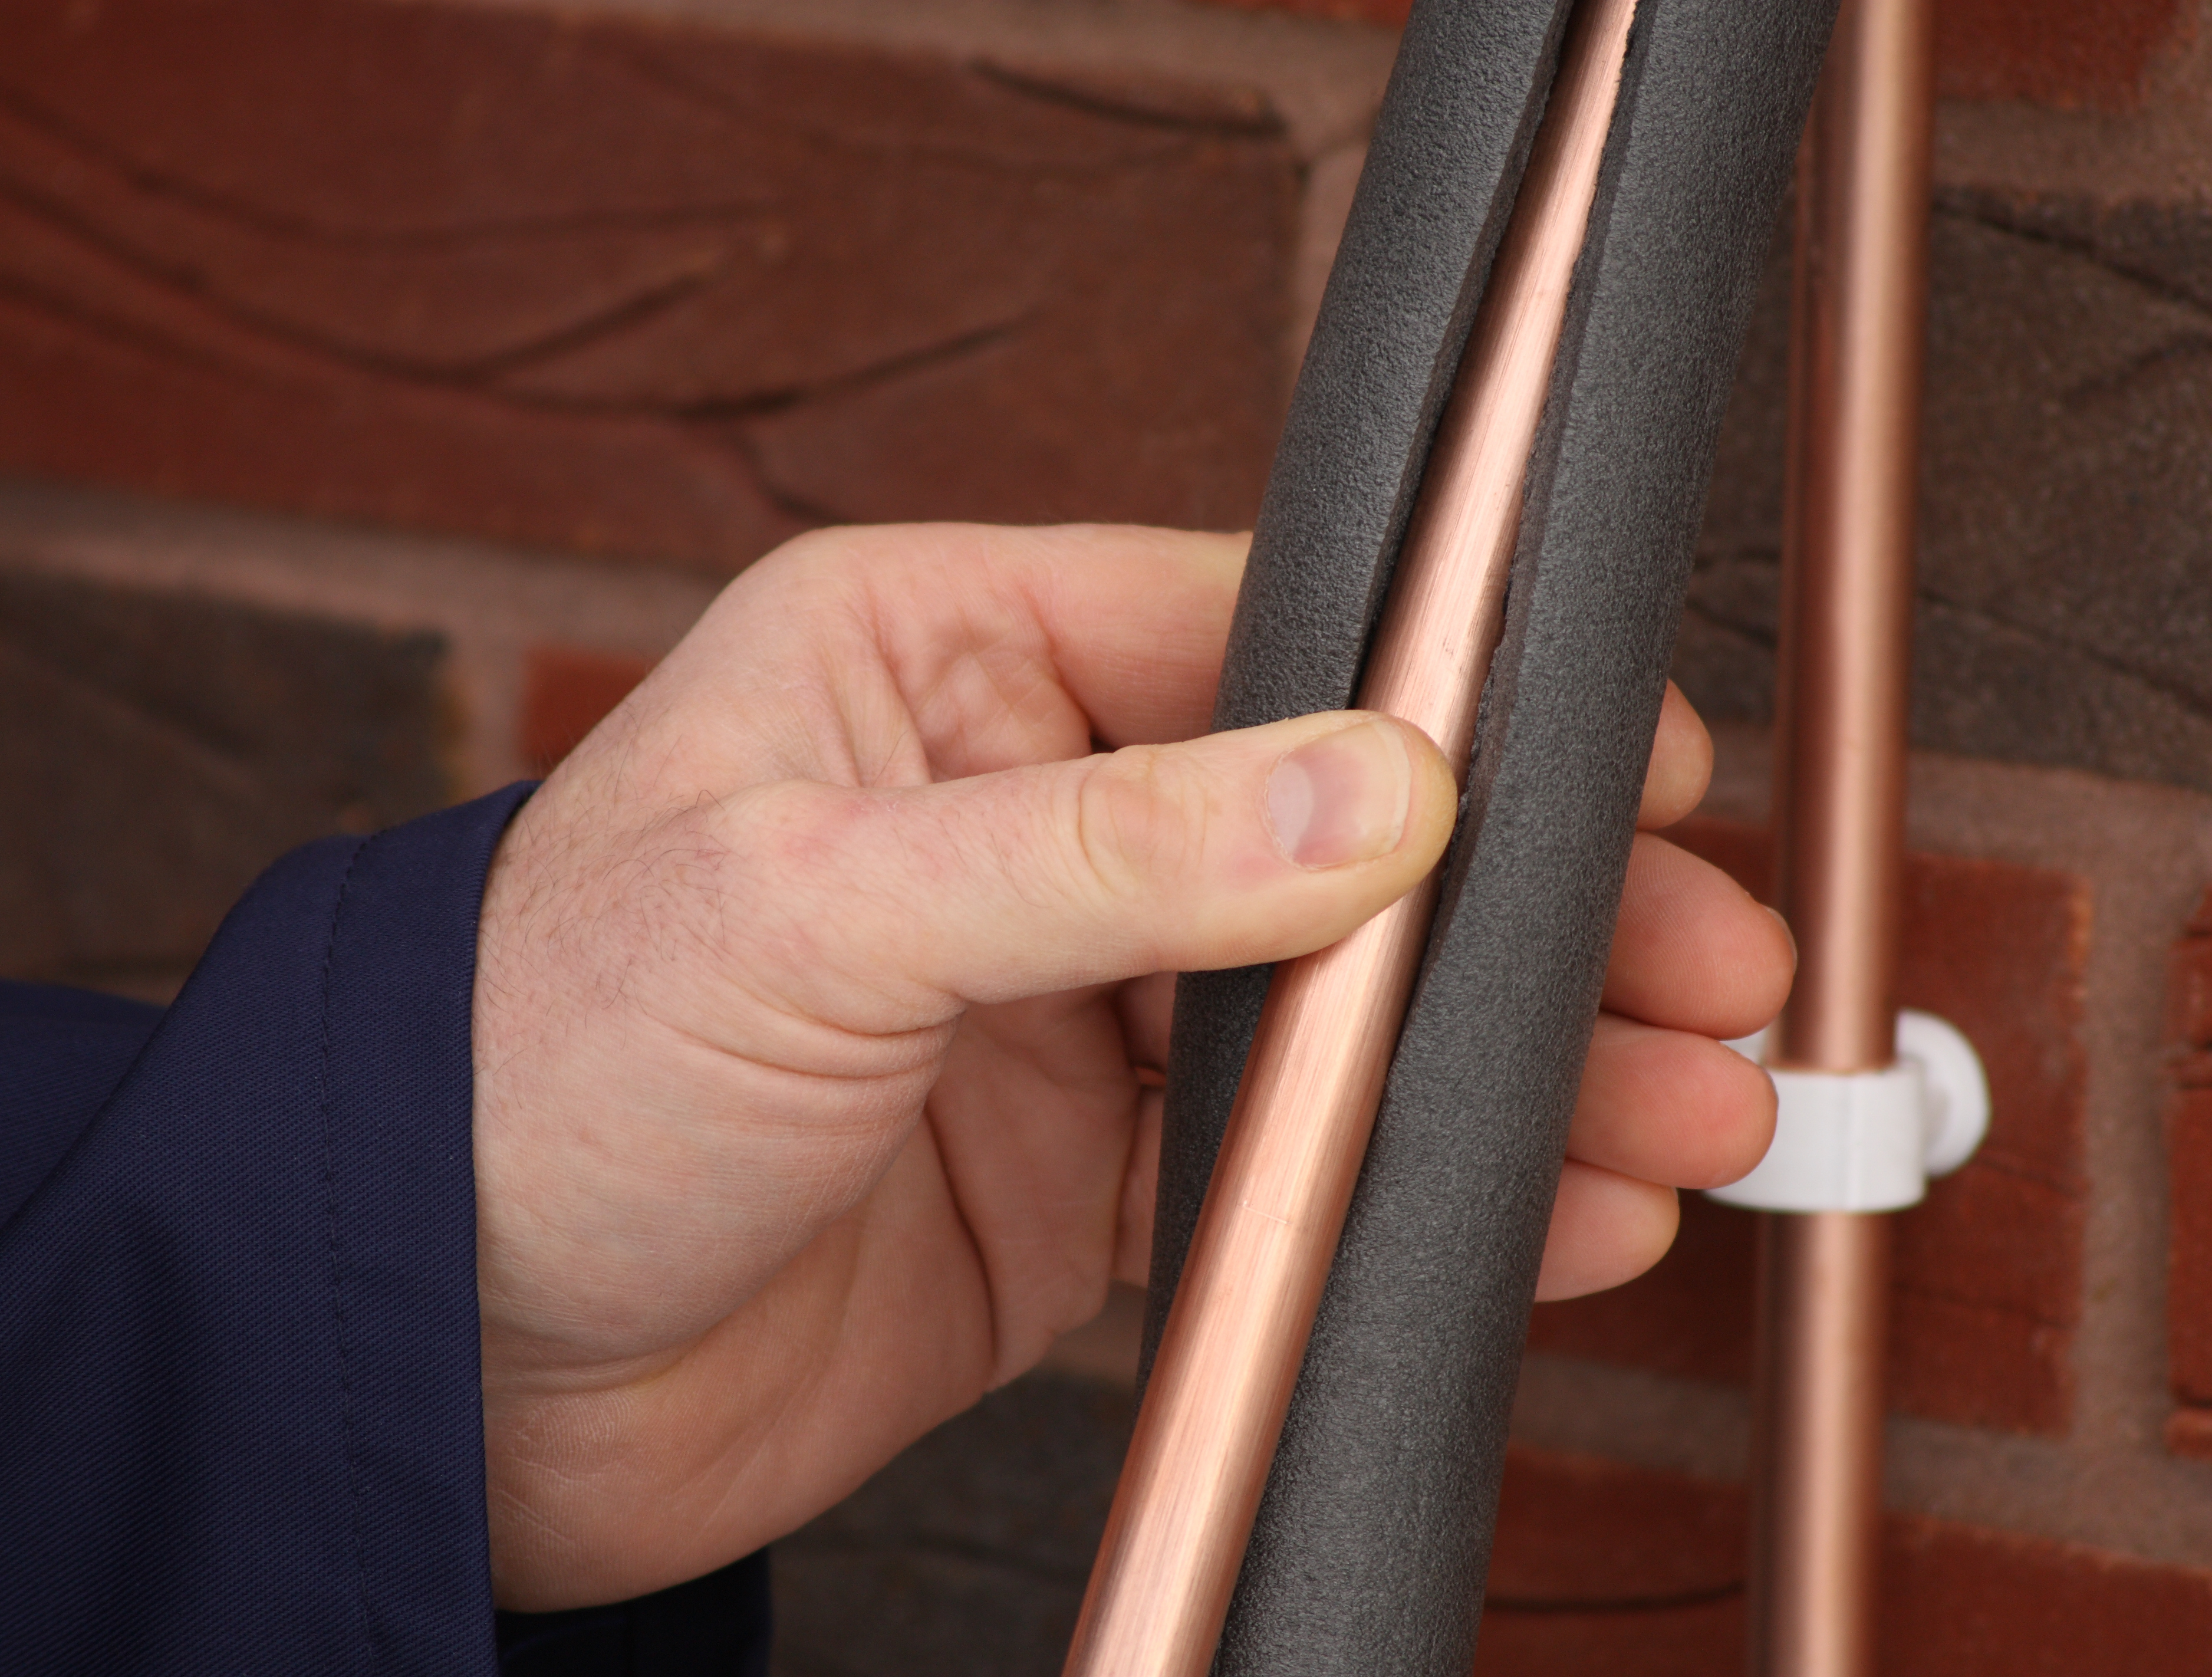
Timothy Wood, founder and CEO of Fix It Today concludes, ‘Always remember that heat tape should be used safely. Follow the manufacturer’s instructions, never overlap the tape on itself, and secure it with proper materials like electrical tape. If you have a type that doesn’t regulate its own temperature, consider installing a thermostat or timer to save energy and avoid overheating.’
Installing heat tape will help to prevent pipes from freezing in winter, and when installed correctly, can help expedite the thawing process if a pip has already frozen. That being said, it is most effective if applied before very cold weather. Prevention is always better than a cure.
Heat tape will usually be effective for a few years before it needs replacing, so remember to check it every year for effectiveness, and be aware of what to do if a pipe bursts just in case the worst should happen. This includes knowing where the mains water shut off is located, and how to dry items after flooding.
Sign up to the Homes & Gardens newsletter
Design expertise in your inbox – from inspiring decorating ideas and beautiful celebrity homes to practical gardening advice and shopping round-ups.

Chiana has been at Homes & Gardens for two years and is our resident 'queen' of non-toxic living. She spends most of her time producing content for the Solved section of the website, helping readers get the most out of their homes through clever decluttering, cleaning, and tidying tips. She was named one of Fixr's top home improvement journalists in 2024.
-
 10 of the best plants for clay soil – experts recommend the flowers, shrubs and trees that can thrive in challenging conditions
Discover what varieties to grow if you want the best plants for clay soil
By Sarah Wilson
-
 The biggest curtain trends to follow in 2025 – 8 key looks to shop that will instantly elevate your rooms
These are the colors, styles, and materials to embrace in your windows this year if you want desirable drapes, plus our favorite places to shop the trends
By Lilith Hudson
-
 The 5 worst things you can do to your fridge – these will drive up energy costs and result in pricey and regrettable repairs
It's crucial to swerve these blunders, appliance experts warn
By Ottilie Blackhall
-
 Extend the lifespan of your appliance with 5 simple but crucial washing machine maintenance tips
From cleaning the filters to keeping the door open, experts reveal the washer tips they swear by
By Andy van Terheyden
-
 5 vital ways a home battery backup can help with your most urgent needs in a power outage – from heating to flood prevention and calls
Experts say they're a worthy investment
By Clement Feng
-
 I’m an HVAC technician, and this is when I turn on my AC each year – plus 5 checks I always do beforehand
Save yourself an AC hassle by running my checks and turning it on before big heat hits
By Josh Mitchell
-
 6 things you should never throw in the trash – and what to do for safe disposal instead
From batteries to space heaters, experts reveal what not to throw
By Andy van Terheyden
-
 7 spring home maintenance mistakes to never make – overlooking these now can lead to pest problems and structural damage
Home improvement pros share common mistakes and what to do instead
By Eve Smallman
-
 10 common but little-known HOA fines to watch out for – and how to avoid them
From sprinklers to garage doors and external pipes, your HOA contract may leave you open to a fine
By Eve Smallman
-
 I’m a homes editor and these are the 4 vital storage items I’m 'adding to cart' this spring – and why you should too
I've learned a few hard lessons in recent weeks and these storage solutions will help
By Punteha van Terheyden