9 ways to use microcement around the home in transformative DIY projects
Discover the hidden powers of microcement for surfaces inside and out

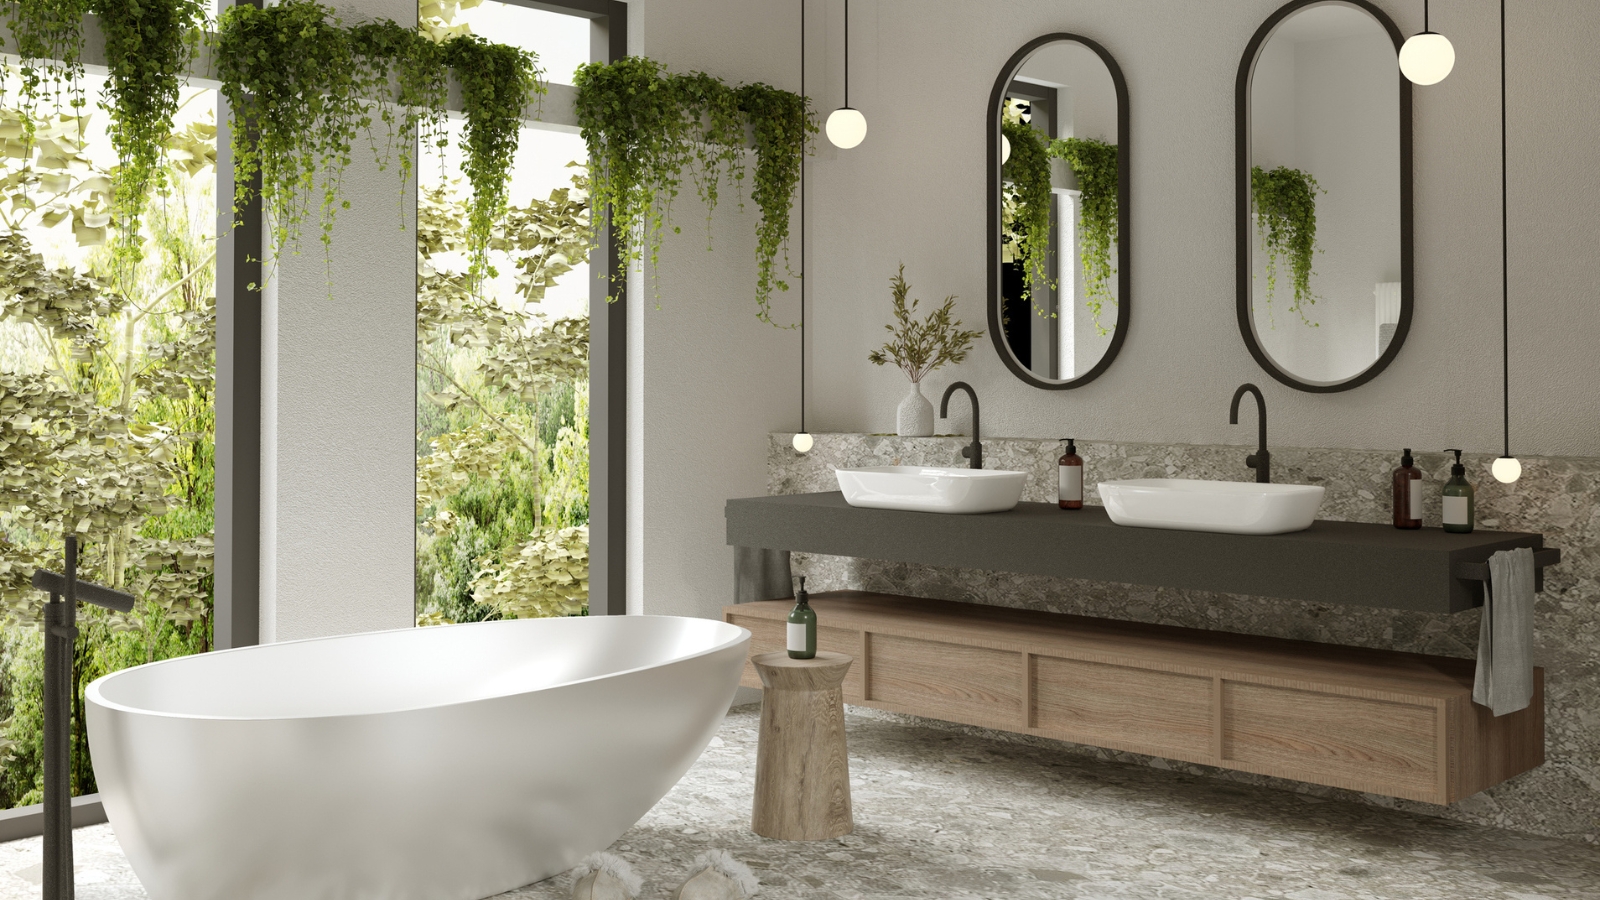
- How do you pick a microcement product?
- 1. Countertops
- 2. Flooring
- 3. Walls
- 4. Custom furniture
- 5. Bathrooms
- 6. Kitchen
- 7. Stairs
- 8. Fireplaces
- 9. Outdoors
- What tools do I need for a microcement project?
- Can I use microcement outdoors?
- Can I paint microcement?
- How long does it take for microcement to dry?
Microcement is a multi-faceted material that can change the look of your home. There are a lot of ways to use it both indoors and outside, easily and quickly giving surfaces a hot new look. And, as an added bonus it's a cost effective option to a lot of the more traditional finishes you might have used previously.
It's a great alternative to plaster and drywall and is after speaking to our home renovation experts who revealed nine brilliant ways to use it, micro cement will undoubtedly make for a DIY project that will elevate your home.
Different ways to use microcement
Josh Rudin from ASAP Restoration says, ‘Microcement is a great option for resurfacing an area of any kind. The applications of this product are nearly endless as long as the surface is almost entirely flat.’
But what makes microcement different to standard cement? Typically, it’s a cement powder that is mixed with other components such as resin. It is applied in thin layers, typically 2-3 mm a bit like you would with plaster, and it's cheaper than standard concrete.
It's waterproof, gives it an industrial smooth polished concrete finish, can be tinted to add color, and can be applied to almost any surface, anywhere.
Rudin adds, ‘Microcement can be a fantastic way of bringing new life to older and more distressed areas that need a new shine. Not only does microcement offer the ability to create a new look, but it can also cover up any defects in a surface that are compromising its appearance.’
But he does warn, ‘This product is a fantastic solution for brightening up the look of any surface as long as that surface has almost no contour to it. If there are bends, dips or curves that need to be highlighted, this might not be the best product choice, just for durability sake.’
Here we look at the best places to use microcement to bring a surface to life.
How do you pick a microcement product?
There’s more than one factor that will help determine which product you choose. Rudin explains, 'Cost is a big factor and microcement is a cost-effective solution that offers a quality finish.’
Design expertise in your inbox – from inspiring decorating ideas and beautiful celebrity homes to practical gardening advice and shopping round-ups.
He continues, ‘The factors that make up the ingredients in microcement aren’t that different from brand to brand, but the finish that they provide and the color options that can be worked with will play a role in which brand you should choose.’
Rudin recommends Surecrete Microtek for straightforward microcement jobs, while CimentArt is a well-established Microcement brand.
1. Countertops

If you don’t want to spend big on quartz countertops, real wood or granite, but still want something that looks good, is waterproof and hard-wearing, then think microcement.
Rudin says, ‘Microcement for countertops is a great way to fix them up without going crazy purchasing a whole stone yard.'
It is also a great way to rescue a current countertop. ‘Microcement is a solid way to cover up any divots in an existing countertop while still providing an excellent look that will bring new life into the space,' Rudin adds.
2. Flooring

Have you got an ugly, worn old concrete floor or tiles that are jaded or cracking? Rudin suggests that, ‘Microcement can be a fantastic way to update flooring, especially if the existing floor is just a plain concrete slab as this will make the project even easier to accomplish.’
Adding a layer or two of microcement, ‘can take a boring concrete slab and make it look like a polished industrial chic design choice overnight.’
Don't dismiss using microcement on wooden floors or floorboards, but you will need to do a little more prep before you can get that polished concrete look. Just remember to choose a non-slip finish for floors.
3. Walls
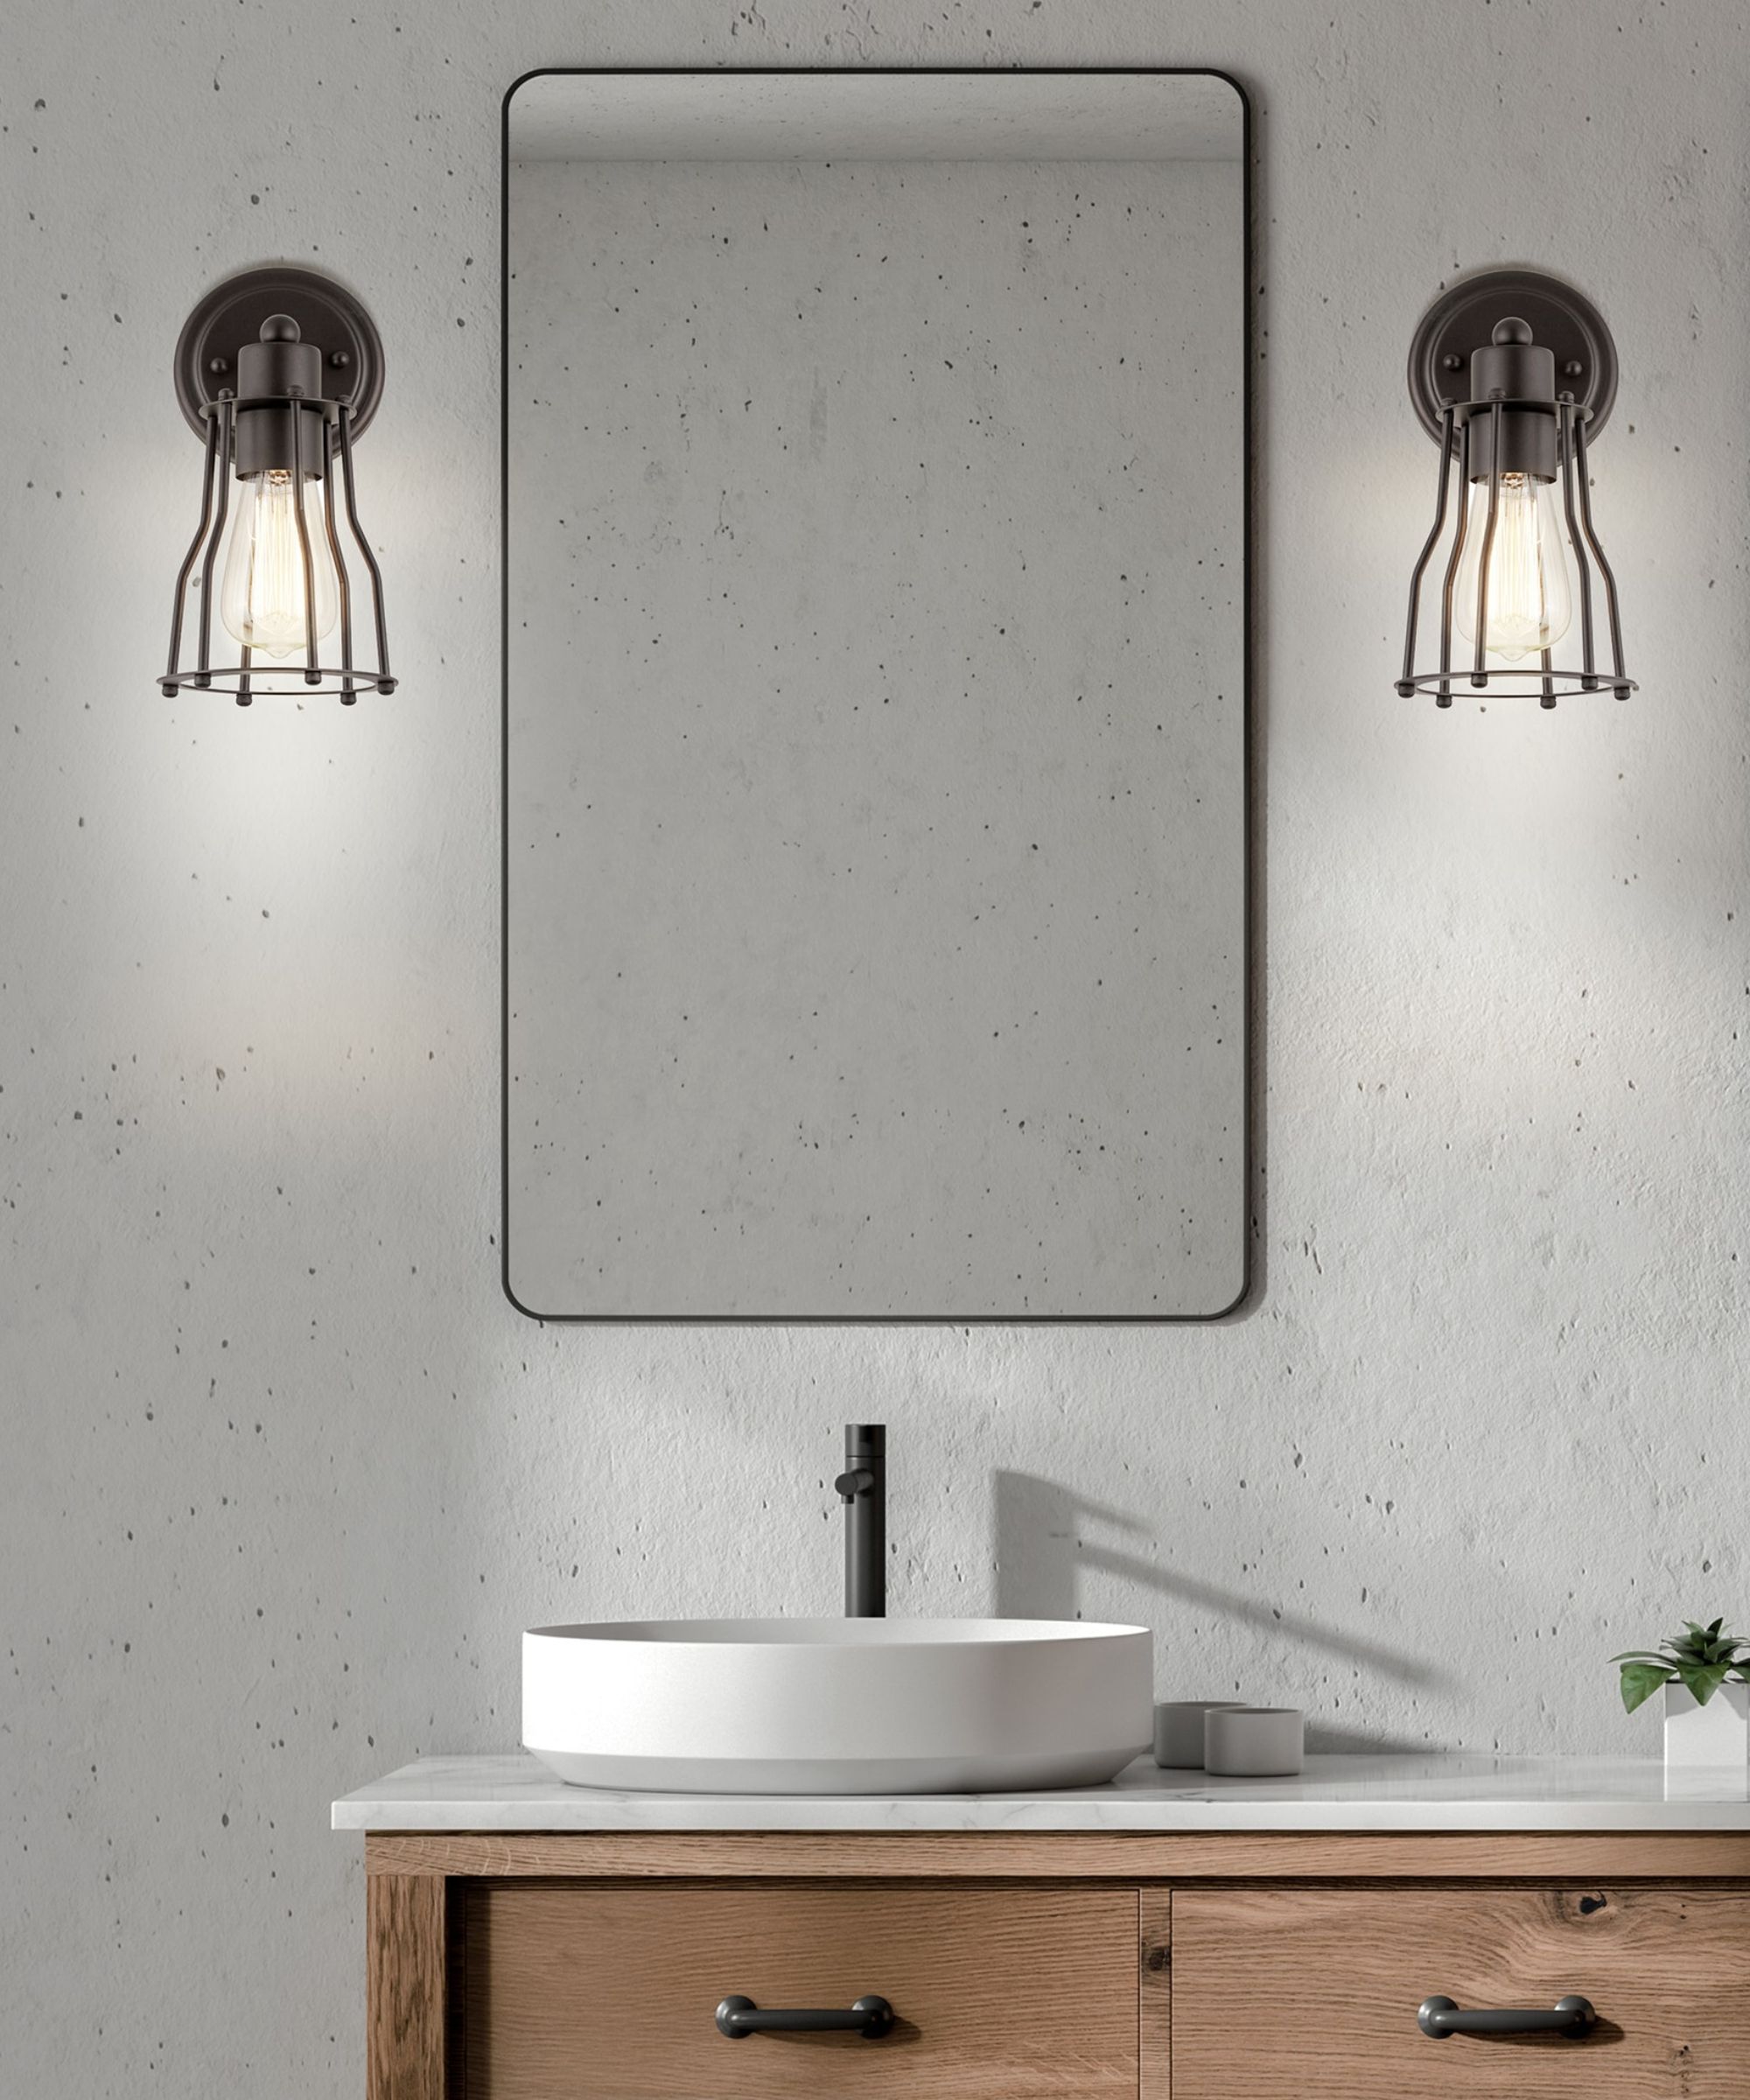
A perfect finish on a modern bathroom wall
If it's time for a makeover on your walls, Rudin suggests, ‘That microcement for walls offer a unique way to break up normal and boring drywall and texture with something that stands out and will keep your guests talking.’
Its ability to create a smooth, seamless continuous surface gives a minimalist decor idea, industrial look, or contemporary aesthetic in any room in your home.
4. Custom furniture
Chairs, shelves and tables can all benefit from a layer of microcement as Rudin suggests, ‘If you are as bored of the epoxy river table as everyone else is, then it may be time to try out some microcement options instead.’
He adds, ‘This isn’t a new technique, but it isn’t a common way to build a coffee table either.’ And you can do it yourself, ‘Application is very DIY friendly, and the worst that can happen is you put on another coat and try a new color scheme.
5. Bathrooms
The waterproof capabilities of microcement makes it a great choice for bathrooms. Its seamless finish helps repel mold as there are no joins for mold to grow in and it's easy to clean. Use it on shower walls, floors and create a unique countertop and sink design.
6. Kitchen
If you want to create a seamless contemporary kitchen design you can blend your microcement countertops with cabinetry and a kitchen splash back, providing easy to clean surfaces.
7. Stairs

Coating stairs with microcement can add a continuous and seamless aesthetic with surrounding floors and walls that is easy to clean. And, its durability and option to tint means you get a hard-wearing, good-looking finish.
8. Fireplaces
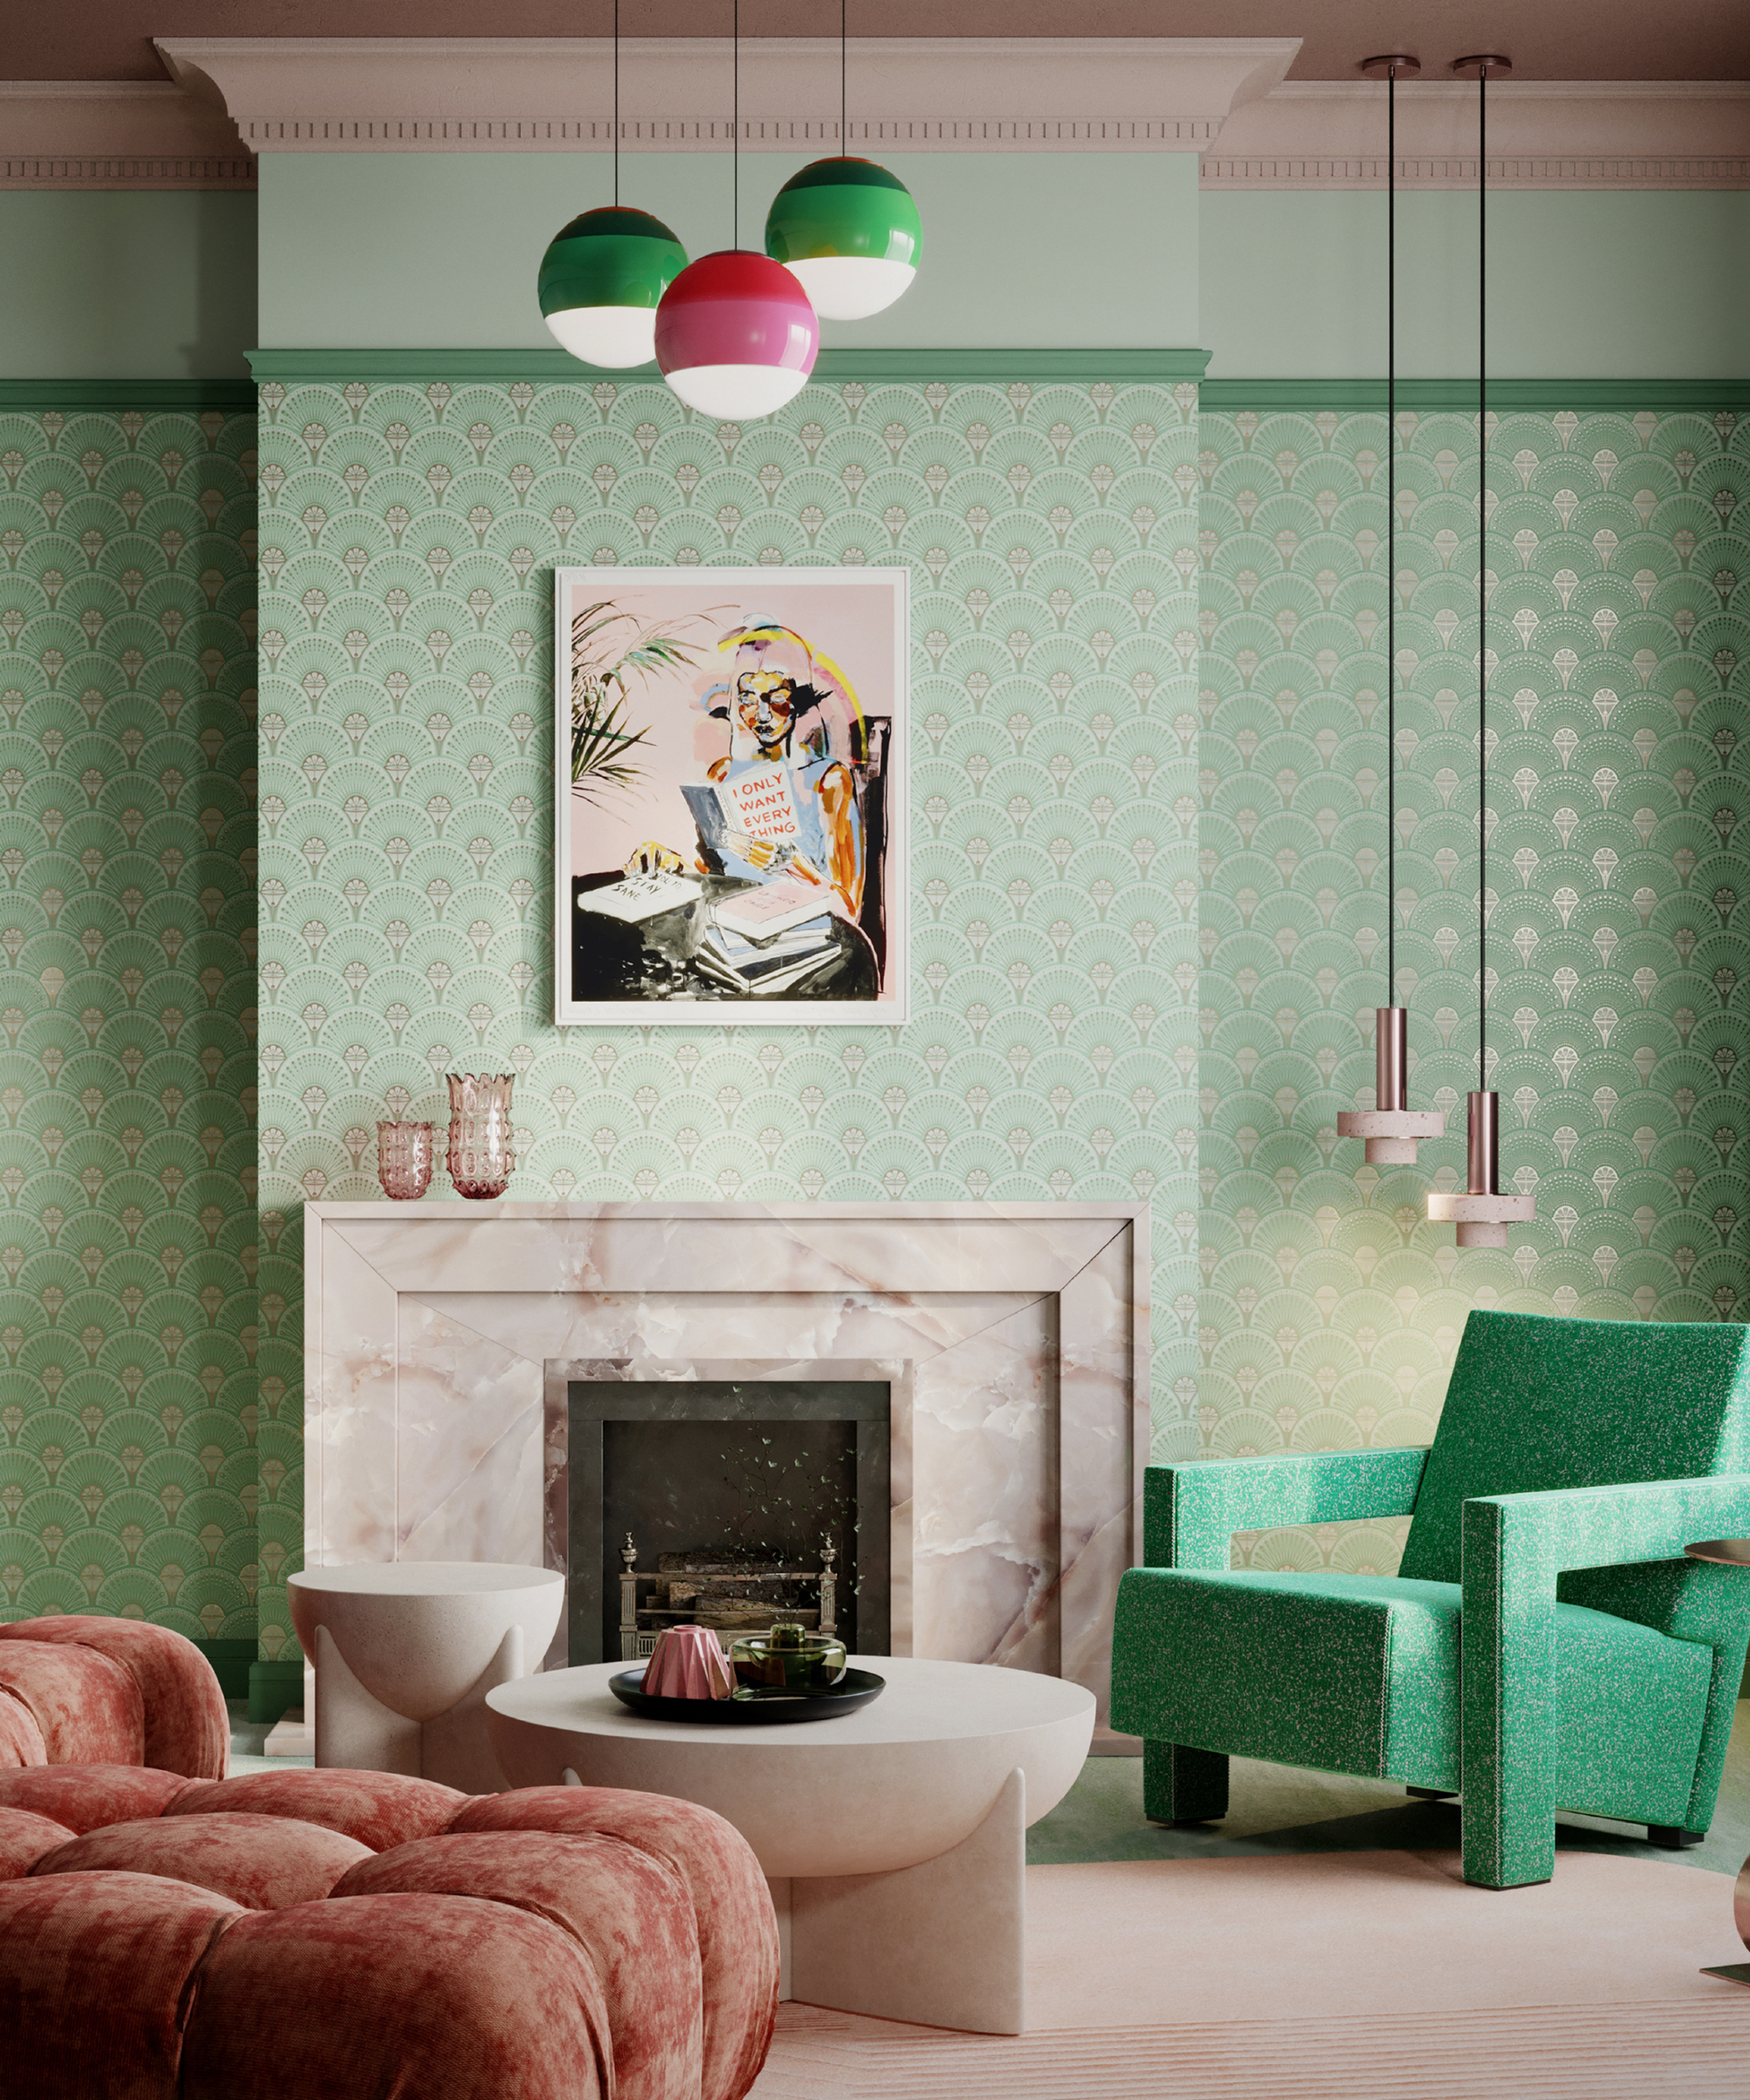
A beautiful fireplace with character
If you’re fed up with the look of your fireplace and want to add a contemporary finish quickly then microcement is definitely one to consider. It has heat-resistant qualities and you can use a tint to match your surrounding decor.
9. Outdoors
As a waterproof cement, microcement is resistant to all weather conditions from wet and rainy to cold and icy and hot and sunny. This makes it a durable and attractive finish for patio ideas, decks and smart looking furniture.
FAQS
What tools do I need for a microcement project?
Micro cement is similar to plaster found on drywall and is applied in a very similar way. So this means you need similar tools as Rudin explains, ‘Essentially you would need the same tools as you would use to put up drywall mud or to plaster a ceiling – some good quality trowels, skimmers, floats and scrapers.
Rudin recommends this Venetian Plaster Finishing Trowel Set (available from Amazon). He adds, ‘You’ll also want to have a sponge and water bucket nearby for any accidents or mistakes that need touch-ups.’ Another option is this Goldblatt 8 Pieces Masonry Hand Tool Set (available from Amazon).
Can I use microcement outdoors?
The simple answer is yes as Rudin shares, 'Absolutely.’ He adds, 'Microcement products can be used in the same applications you would use regular cement, it’s just that it looks prettier than concrete.’
This makes it a good choice for a variety of jobs including outdoor flooring, columns, staircases, pool surrounds, garden paths, balconies, and decks.
Can I paint microcement?
Yes you can paint microcement, but Rudin doesn’t recommend it, 'You can, but that would also defeat the purpose of using this technique and that would cost a lot of money for no reason.’
He suggests an alternative option, 'A better plan would be to add pigment to the microcement as you are making it. When it dries it will have the color of the pigment you put into the mix, and there would be no need for painting after that.’
However, if you do have a reason to paint, such as inheriting someone else’s microcement project and not liking the look, then Rudin suggests you, ‘paint over it with a high quality primer like XIM primer (available from Amazon), and then pick your favorite masonry paint color and go to town. Behr or Rustoleum are solid options.’
How long does it take for microcement to dry?
Drying times for microcement will differ depending on environmental conditions such as the temperature of the area or room, the humidity, the specific product and the thickness of the layer. The thicker a layer the longer it takes to dry. But as a rough guide microcement is touch dry within 24 hours.
To fully harden (cure), it can take days or even weeks. Check the manufacturer's recommendations for the product you use to get a more precise drying/curing time.
Microcement has a distinctive look and is a good choice to make a bathroom feel more modern. It is applied in a similar fashion to plaster on drywall, so make sure to check out our How to use plaster to add character to any style of home guide for some smart ideas.

Steve has been a homes writer and editor for two decades, regularly contributing to brands like Homebuilding & Renovating Magazine. He is an avid DIYer with over 20 years of experience transforming and renovating homes. He specializes in painting and decorating but has strong all-around building skills, having worked in the industry for ten years.