Transform an old dresser into a timeless bathroom vanity in 7 DIY steps
Learn how to revamp a thrifted dresser into a one-of-a-kind bathroom vanity unit

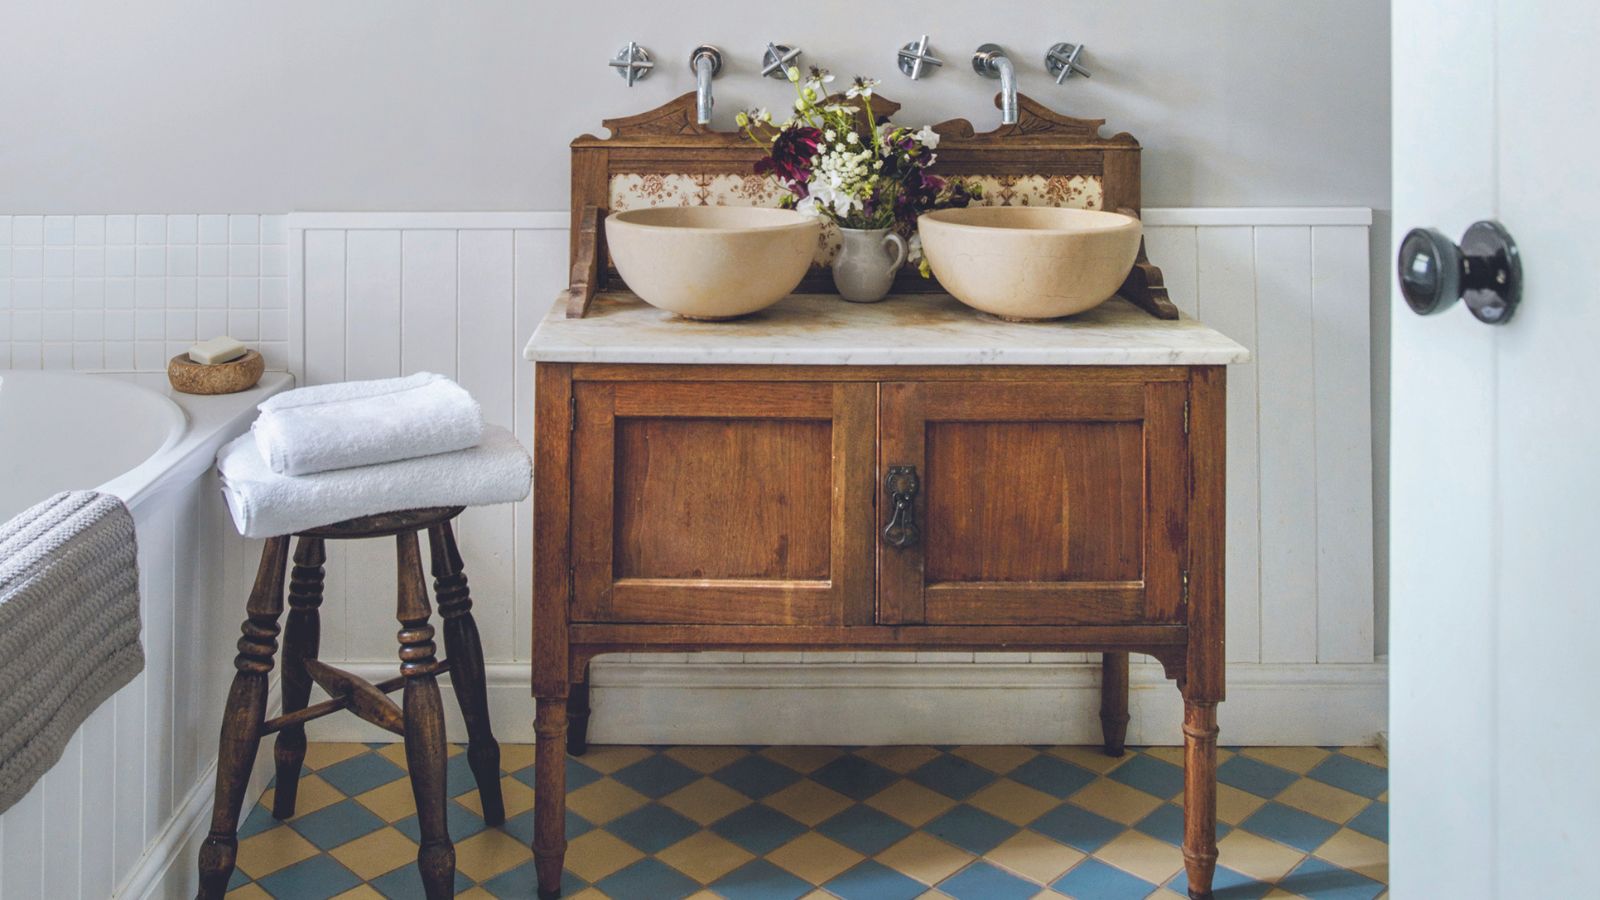
Have you got an old dresser that is too good to throw away, but you don’t know what to do with it? Well, we have a DIY project that will turn that hand-me-down unit or thrifted find into a unique piece of bathroom furniture that will wow and impress.
An old dresser is one of the best trash-to-treasure projects because of its uniqueness and customizable qualities. Converting these units into a bathroom vanity saves you money and injects your bathroom with much-needed character.
With a little patience and the right DIY tools, this project can be completed with relative ease – giving an old item of furniture a new lease of life in the process.
Transform a dresser into a bathroom vanity
Before you set your heart on transforming any dresser into a vanity, you need to make sure it's made of the right materials, treated properly to combat moisture, and open to modification to cope with the existing plumbing. If all is good, it can neatly fit in with your bathroom vanity ideas and become a strong focal point for your new-look bathroom.
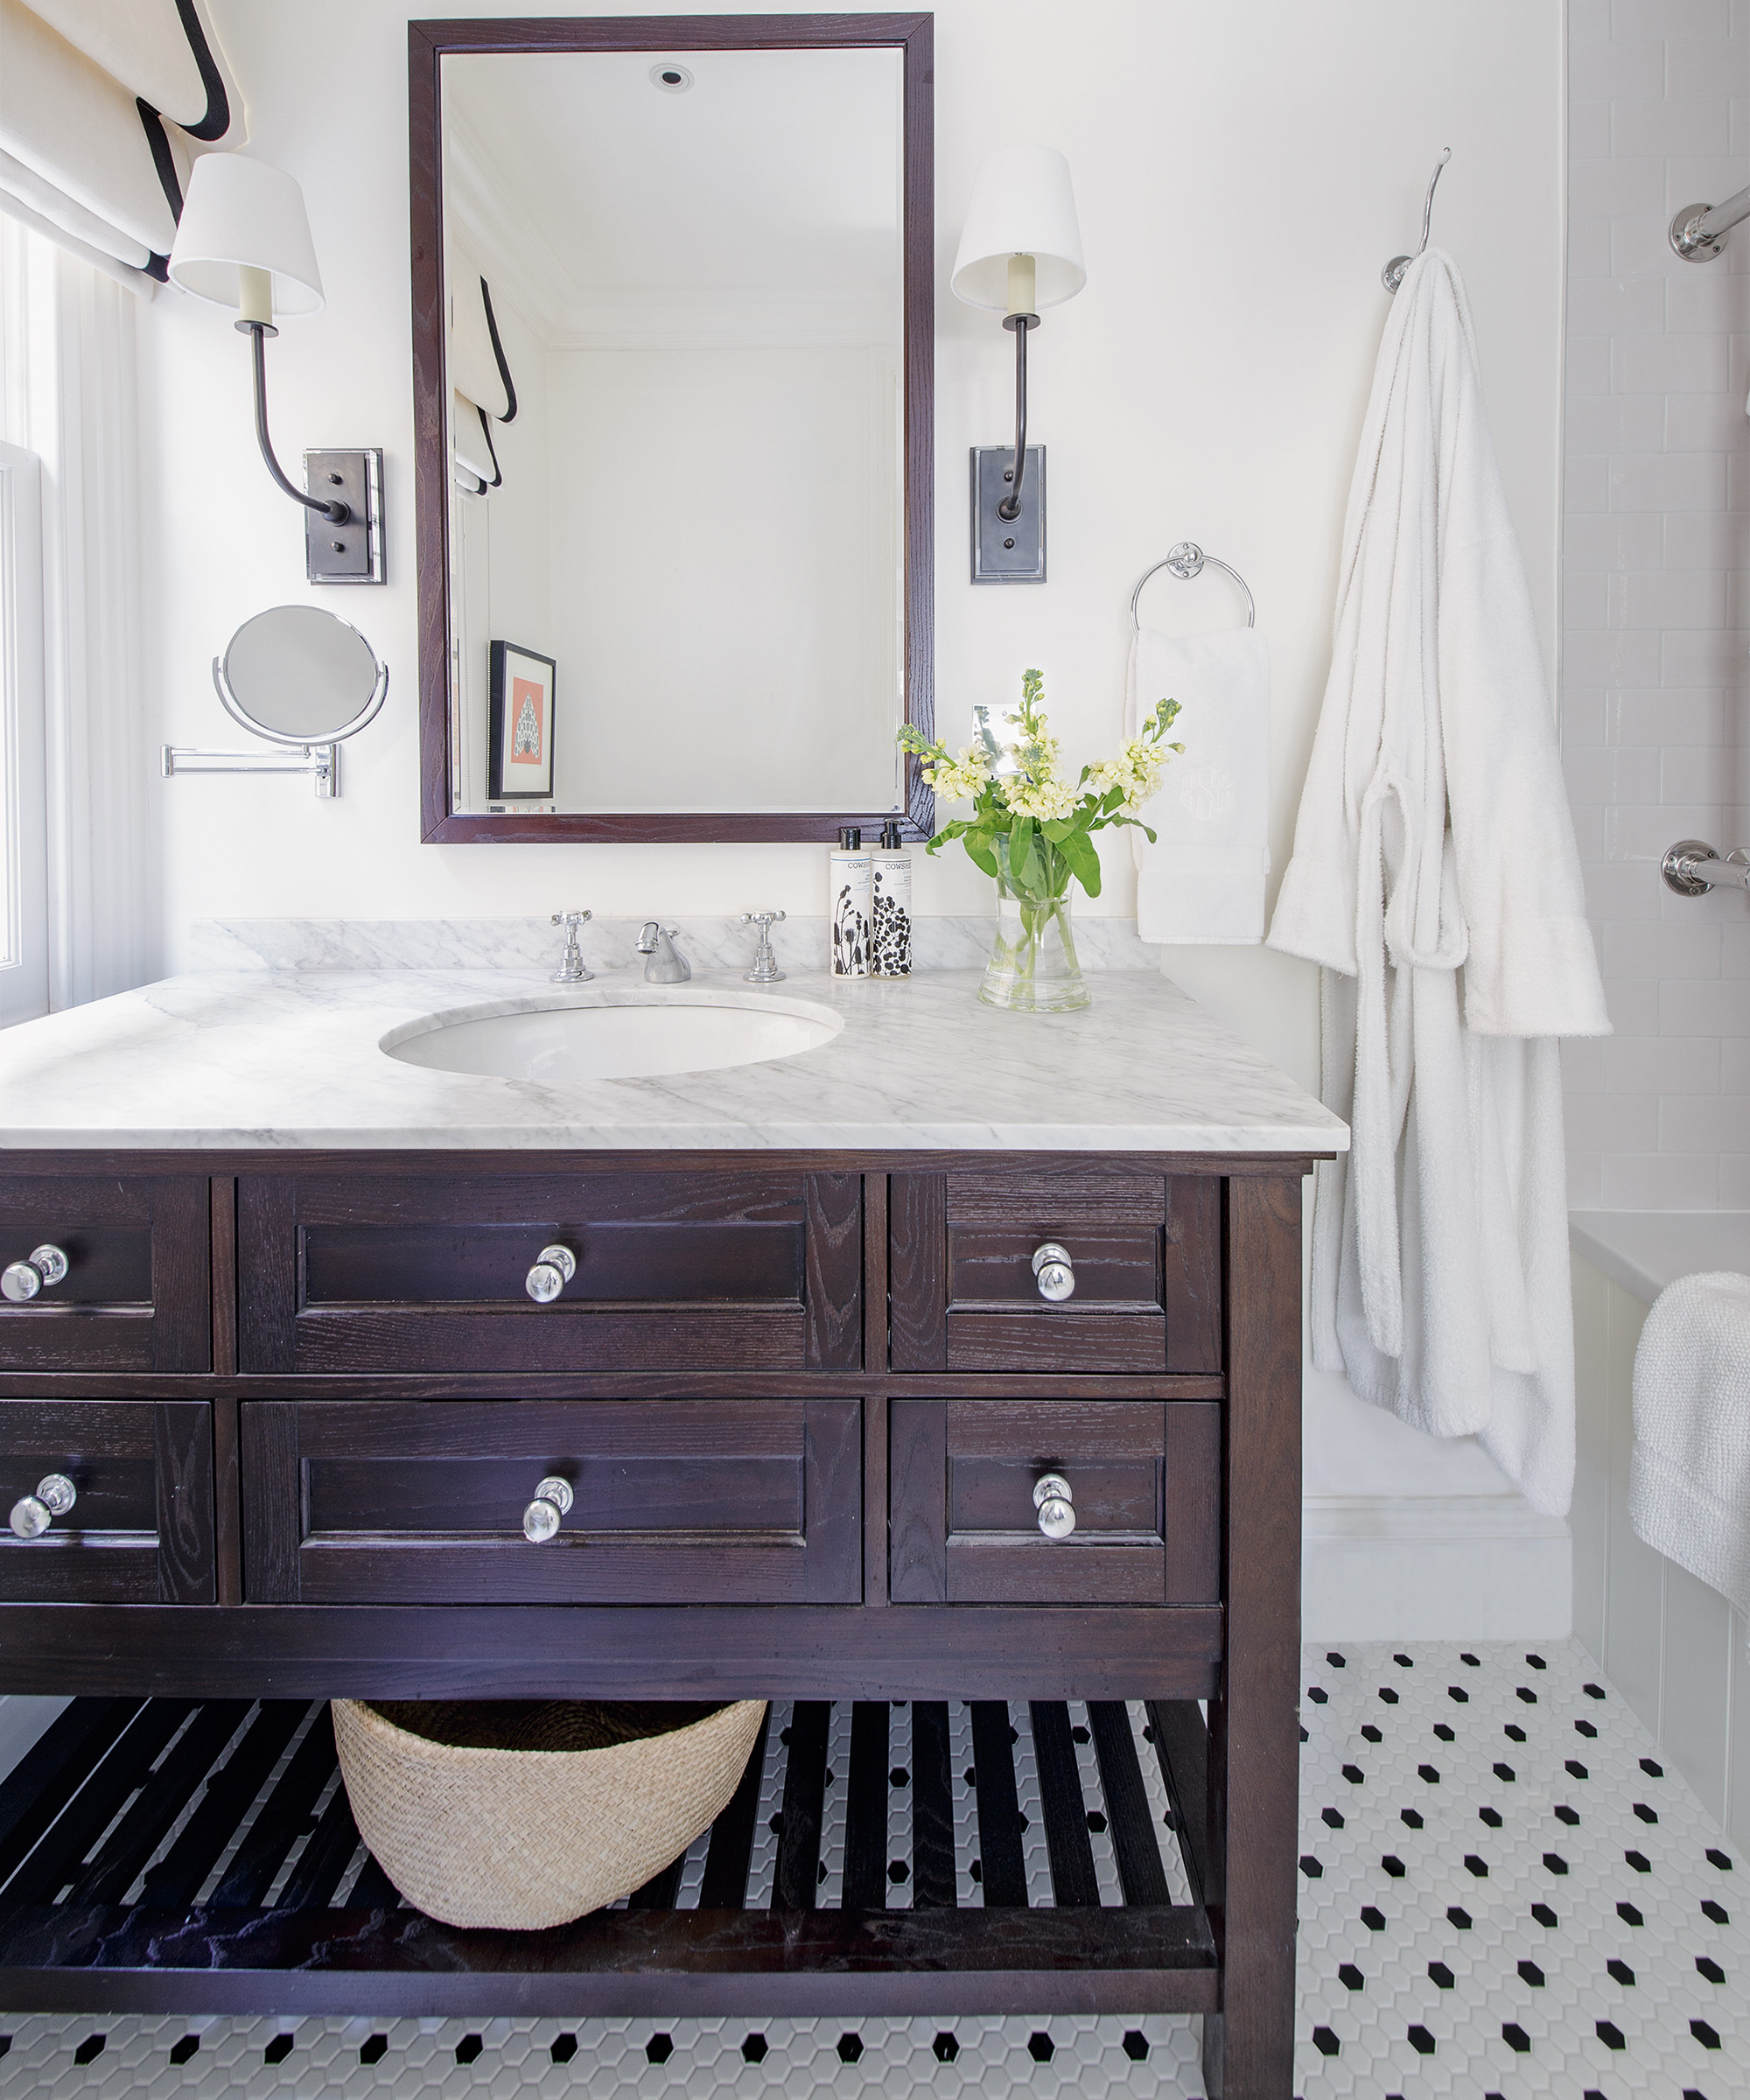
Photography: Mark Bolton
Tools you'll need
Before you start don’t forget to isolate the water supply and have all the necessary tools to hand:
- Cordless drill
- Jigsaw (I recommend this Greenworks 24V Brushless Jig Saw from Amazon for DIY tasks)
- Detail sander
- Paintbrush
- Mini roller and tray
- Paint/varnish/stain
- Tape measure
- Pencil
- Silicone sealant
- Fixing brackets
- Plumbing parts (if needed)
A step by step guide
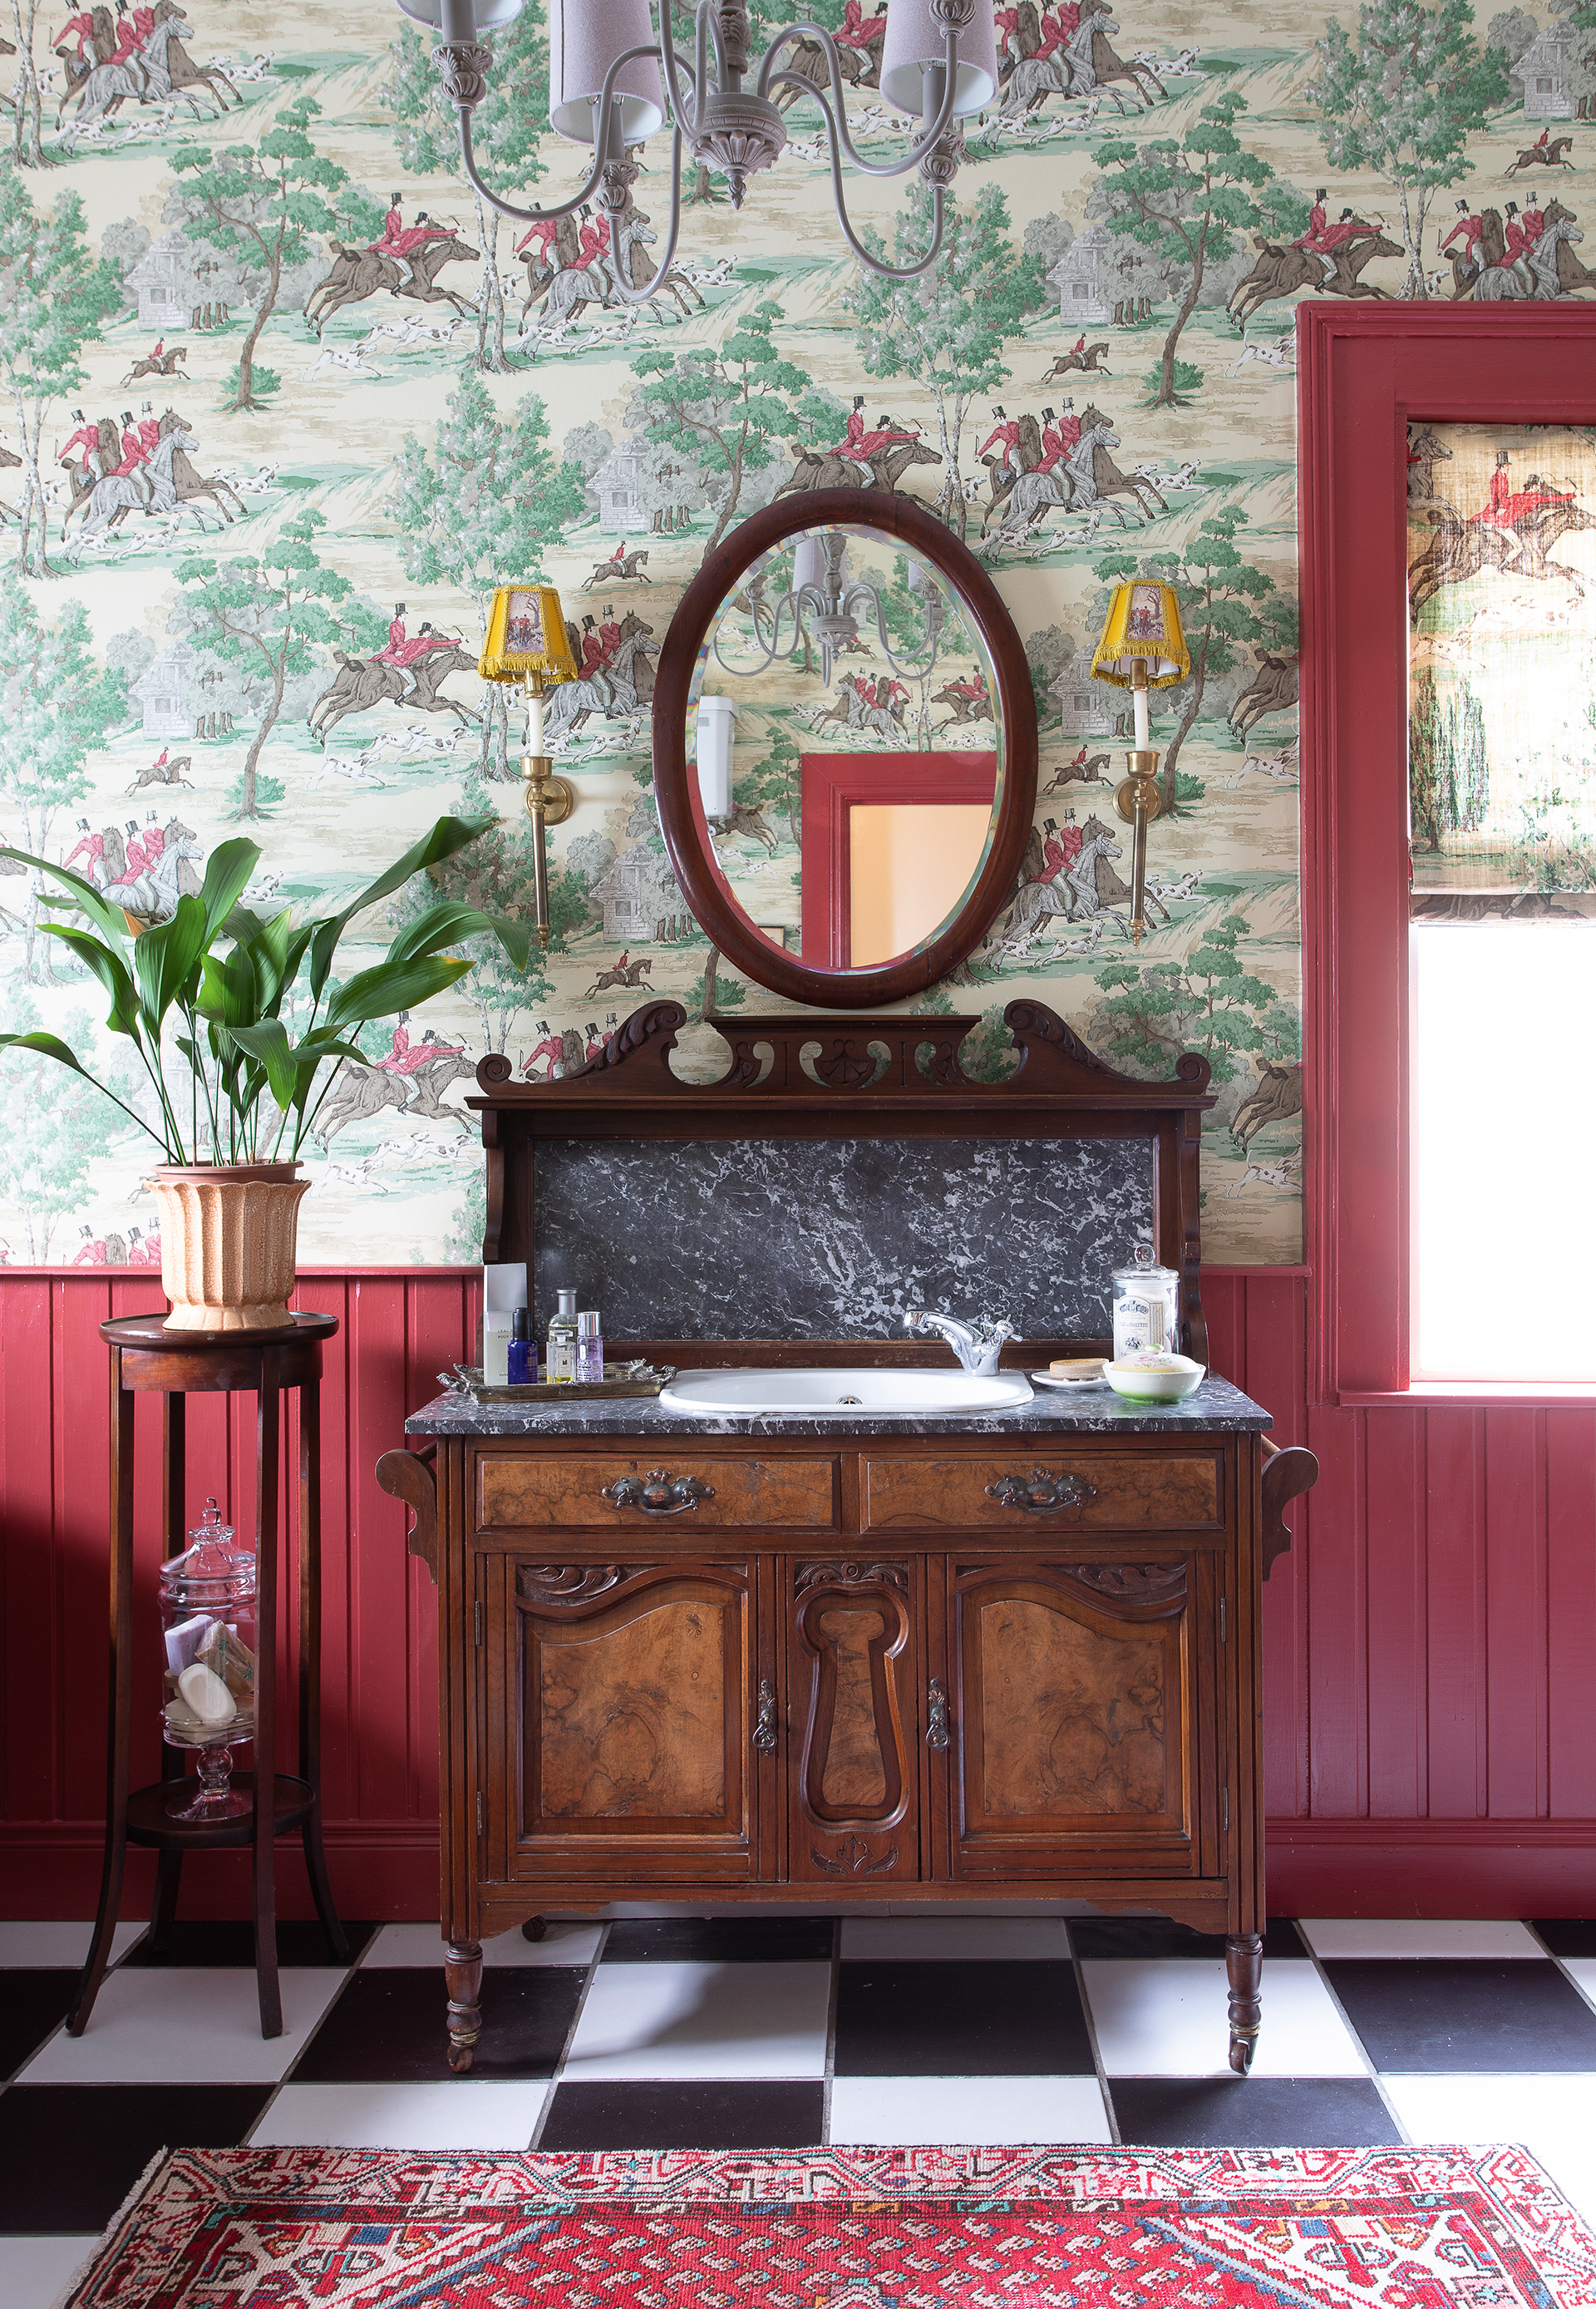
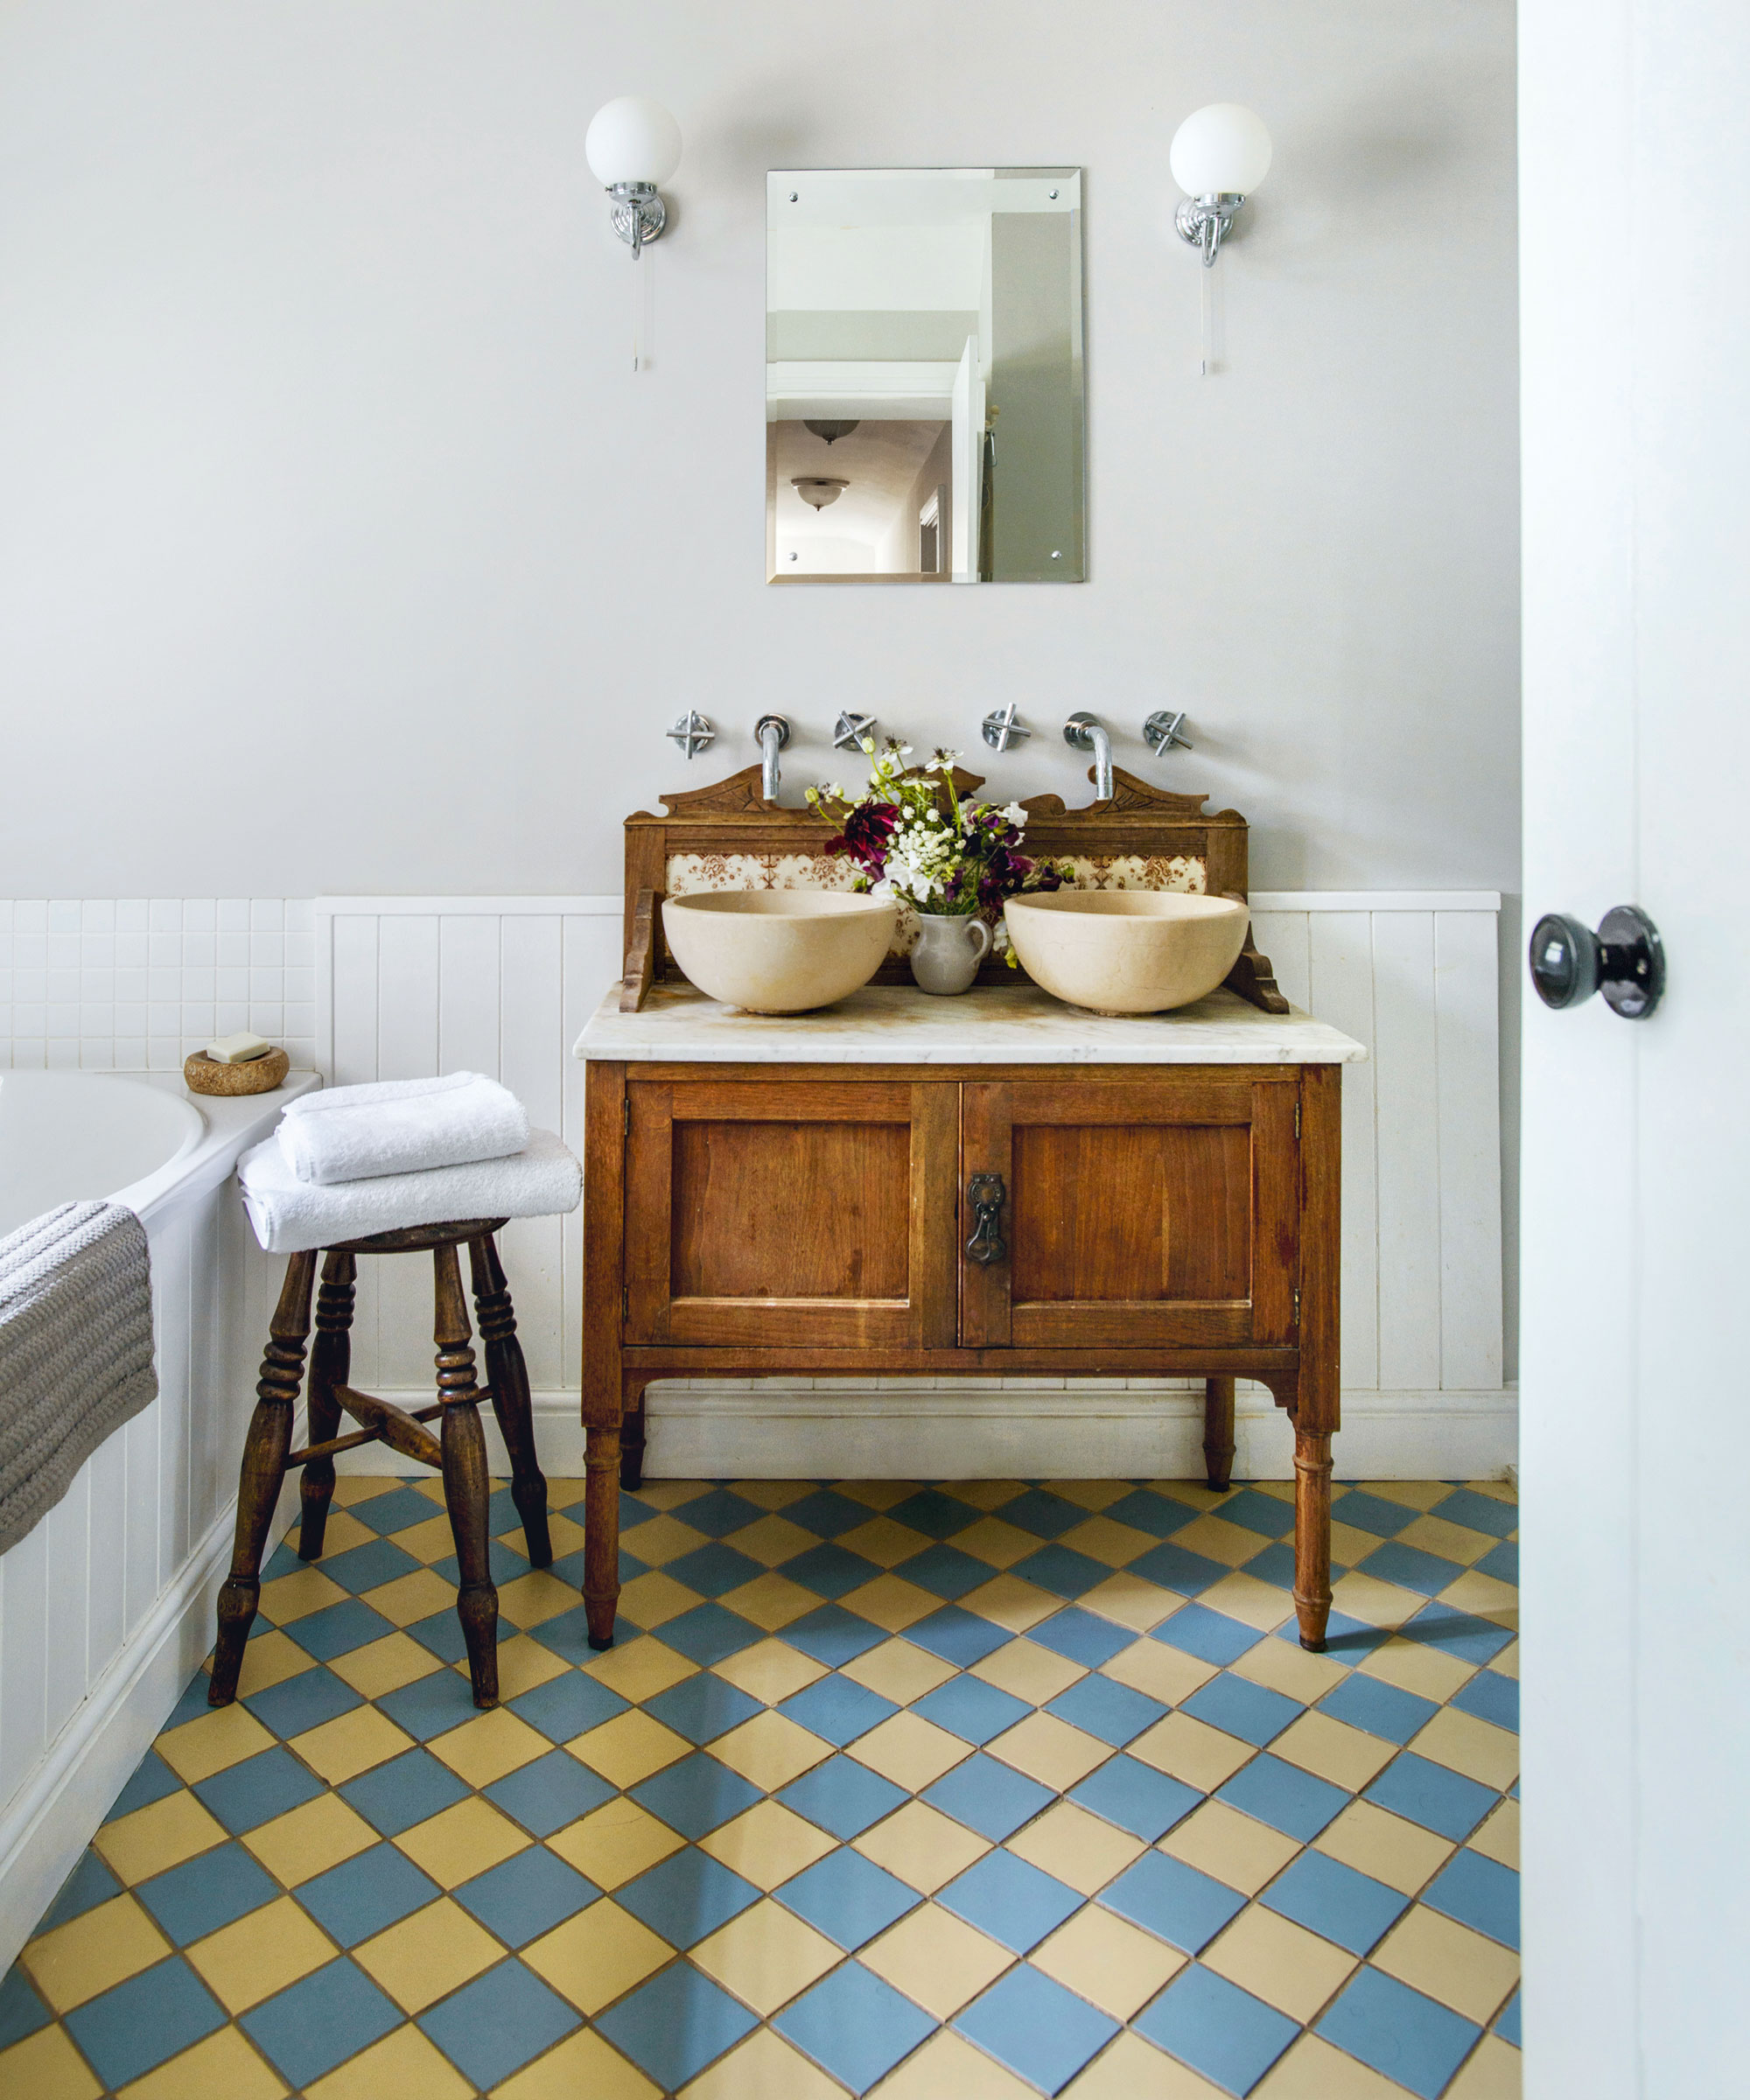
This beautiful vanity was created by installing a modern sink in an antique, marble-topped washstand.
1. Select a vanity unit
Selecting the right unit is important to getting a functional and attractive finish. Think about the height and width of the selected item. If too low, you will be bending over too far, making it uncomfortable to use.
If you were wondering how high a bathroom vanity should be, the common height for a bathroom sink is 30-36 inches, so consider this when choosing your dresser.
Design expertise in your inbox – from inspiring decorating ideas and beautiful celebrity homes to practical gardening advice and shopping round-ups.
Also, think about the depth and width of the unit. Make sure the top will fit the sink you want to use. Finally, make sure to prioritize quality and moisture-resistant materials.
2. Prepare your plumbing
Check your current plumbing and see how this will match up with your chosen dresser. Will you need to extend or reroute any pipework to get a good fit? For example, is the dresser higher than the current unit, so the pipework to the sink might need to be extended.
However, it is typically easier to modify the dresser rather than the plumbing. Mark out the areas where pipes will go accurately. If any modification to the plumbing needs to be made, do this before prepping the vanity unit.
3. Remove dresser back (optional)
A dresser typically has a back panel that can be removed. This is the easiest option, as you won’t need to make any cuts for pipework. If you want to keep the back panel in place, mark and cut out any holes for pipework coming from the wall.
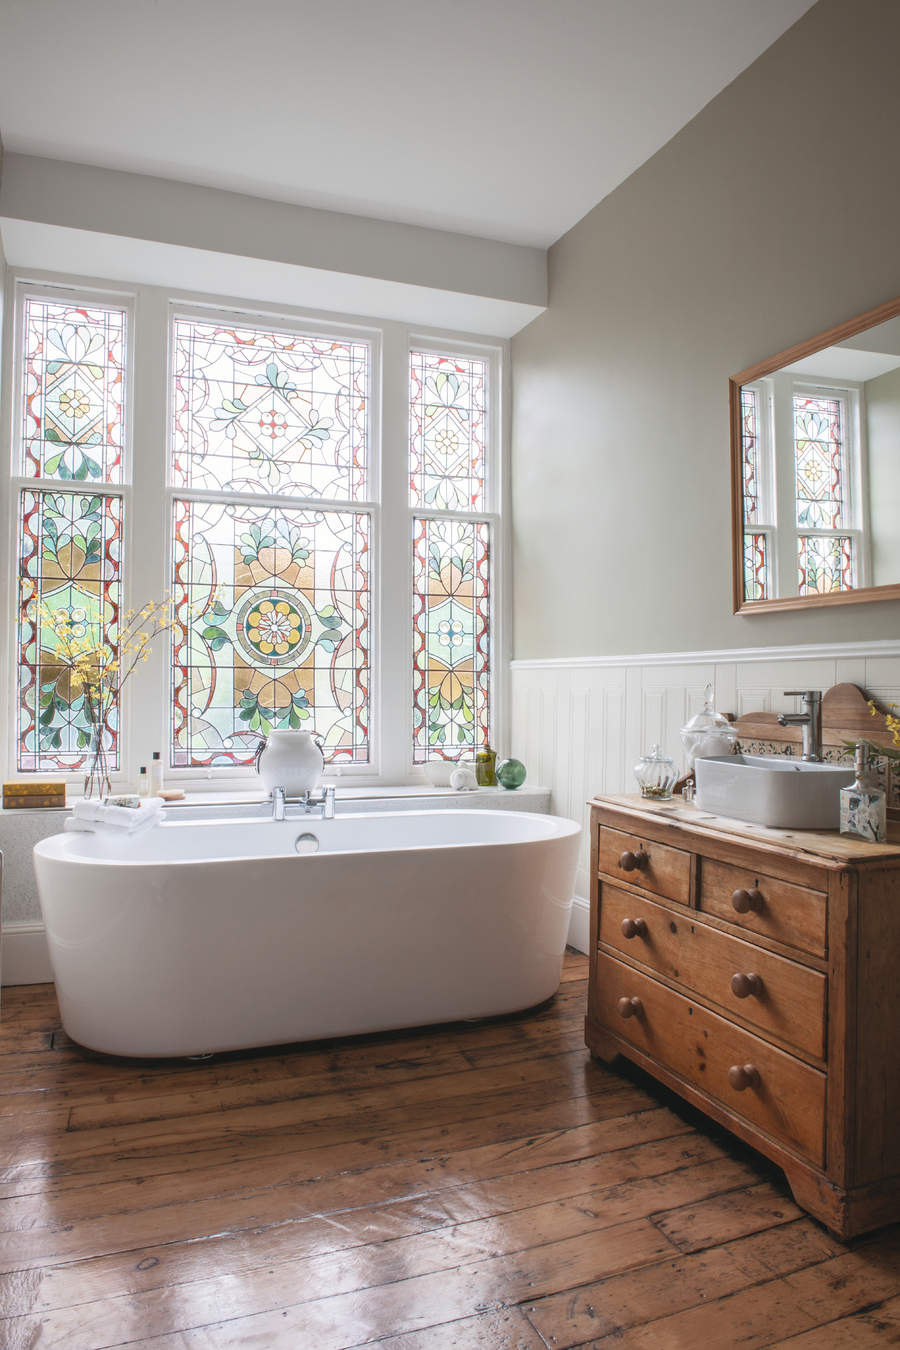
4. Sand and prep dresser
The first step is to remove any hardware, such as handles. If you have any drawers, remove them and prep them separately. Now get a detail sander like this CRAFTSMAN Detail Sander from Amazon. Start off with a 120 grit sandpaper to remove any previously paint/varnish/stain. Then, change to a 180-220 grit sandpaper to finish.
Sand all visible areas and drawer fronts. Wipe down with a damp cloth and leave to dry. Now, apply a primer with a brush and mini roller if painting and leave to dry. Now add your top coat. Use a suitable wood paint. Alternatively, use a suitable varnish or stain.
5. Cut and fit sink
Measure the top of the dresser and mark with a pencil where the sink is going to go. Make sure it's forward enough to accommodate the faucets and any pipework. After marking out and checking your measurements for pipes and faucets, get a drill and make a hole large enough to fit a jigsaw blade. Do another three holes, even spaced around the marked out pencil line for the sink.
Place the jigsaw blade into one of the holes and follow the marked out line to the next hole. Continue until the wood is cut out. If you need separate hole(s) for the faucets use a Forstner drill bit, obviously the right size to fit the faucets.
Get a silicone bathroom sealant like this Gorilla White 100% Silicone Sealant from Walmart and put a line just outside the sink hole, and install the sink. This helps create a waterproof seal and holds the sink in place.
6. Modify drawers
Depending on the number and configuration of the drawers, some will not be able to close fully. Typically the ones that back on to the sink pipework. In some cases you can reduce the depth of the drawer so it can fully close. Or, if this is not a viable option, remove the drawer and attach the drawer front to the dresser to create a false drawer.
7. Final fix
Now position the dresser, lining up the sink and faucets with the plumbing and connect. Make sure that the connections are tight, so there’s no leakage. Now fix the dresser to the wall with appropriate brackets. Finally add a bead of sealant around the sink, smooth out and replace the dresser hardware to finish.
FAQs
Can anything be used as a vanity unit?
No, but anything that's the right size and can be modified has a good chance of being transformed into a vanity unit. Old tables, dressers, drawers and stools are all good candidates, but you should always consider whether the top of the furniture is large enough to accommodate the sink you want to use for the unit. It doesn’t have to be an exact fit but is there enough material to support the sink?
What is the best material for a bathroom vanity unit?
Solid wood is one of the most popular materials for furniture that's being used as a base for a vanity unit. But while it offers strength and durability, it needs to be treated/painted properly to not absorb too much moisture.
Other materials such as plywood, MDF and chipboard are popular choices. These are typically cheaper than solid wood but are again susceptible to moisture and will quickly deteriorate if exposed to moisture and water and not sealed properly.
When adding a new vanity unit to your bathroom, it’s the perfect time to renovate other parts of your bathroom to match. Find out the latest bathroom floor tile trends and consider introducing other items of thrifted furniture to get a timeless old/new look.

Steve has been a homes writer and editor for two decades, regularly contributing to brands like Homebuilding & Renovating Magazine. He is an avid DIYer with over 20 years of experience transforming and renovating homes. He specializes in painting and decorating but has strong all-around building skills, having worked in the industry for ten years.