
- Pros of sponge painting
- Tools for sponge painting
- Step 1: Prepare the room
- Step 2: Prep the walls
- Step 3: Add base coat
- Step 4: Create and apply glaze
- Step 5: Sponge paint
- What color should you use for sponge painting?
- Can you sponge paint with regular paint?
- What does sponging on & sponging off mean?
- Should I paint sponge/faux paint one wall or all walls?

If you want a quick and easy way to transform a plain, dull wall, sponge painting a room is not only impactful, but a quick project you can complete in a weekend.
The simple technique will unleash your inner interior designer, allowing you to quickly add visual intrigue, while keeping your aesthetic versatile, say our pros. Better yet, they're sharing how to get this smart, contemporary look in five steps.
Learn how to add the wow factor to any room with just a sponge and some carefully chosen colors, and the technical know-how needed to paint your walls using this brilliant technique.
What does sponge painting bring to a room?
Sponge painting or 'faux painting' a room has many plus points including its versatility, ease and visual impact, and it's a timeless technique favored among designers.
“Faux painting is something that will never be off-trend," shares Francine Hsu Davis, Founder of France Hsu Designs.
“The sponge as a tool can bring unique patterns and textures to the home. You can use the sponge edge intentionally to build a repeat geometric modern pattern, or as a universal tool in more traditional faux finishes. The mottling ability of a sponge can help create the traditional texture of verdigris (an artistic effect).”
What you'll need to sponge paint a room
Nick Lopez, founder of LIME Painting recommends the following tools to help you get the finish you want.
“A sponge, a five in one paint tool, a caulk gun, a paintbrush and a sprayer and or roller, depending on if you’re doing a spray method or just a brush and roll method.”
The common option for most DIY painters is the brush and roll method. But if you’re a proficient paint sprayer don’t be afraid to spray a wall, just make sure to prep the area properly to stop over-spray getting where it shouldn’t.
Step 1: Prepare the room
“Start by taking all of the fixtures and pictures off of the walls and pull the furniture four feet away from the walls,” shares Lopez. “Once all the furniture is centered, wrap and protect everything.”
This will stop rogue paint splatter or accidents ruining your soft furnishings or other furniture.
Step 2: Prep the walls
The next step is to prep the walls you're intending to paint. Start by grabbing a paper towel or one of the best vacuums and removing any dust or debris.
Lopez suggests you then, “Caulk, patch and scrap.”
Start by scraping with a five-in-one paint tool (the Mister Rui putty tool is an Amazon bestseller and rated 4.7/5 on average by happy shoppers) to get rid of any loose paint or material.
Next patch up any holes or dents to get a smooth finish. Don’t forget to sand down the wall when finished and vacuum to remove dust and debris.
Finally, caulk any gaps around windows, doors or baseboards. Solved editor and resident DIY enthusiast at Homes and Gardens, Punteha van Terheyden recommends using a painter's caulk if you intend to paint over it, or a waterproof, crackproof silicone for added protection around windows and doors such as the DAP Kwik Seal clear from Target, rated highly by shoppers and quick-drying for ease.
Step 3: Add base coat
“Once the walls are prepped, we will apply a base coat of a solid paint,” says Lopez. Choose your colors carefully and decide what color your base is going to be. A dark color on a light background will work differently to a light color on a dark background.
Sponge painting techniques are commonly applied to walls, so your regular interior wall paint will be perfectly good for the job. The key to the finish will be what type of sheen you choose, and how much glaze you add. To avoid confusion, the glaze is another name for the prepped paint you'll apply before sponge painting a wall.
If you have a flat base color and you want to keep the tones/type of finish similar then use a flat top coat. If you want a contrast between the finishes use a higher sheen such as eggshell or even semi-gloss. A higher sheen will also be a good choice if the walls are going to see more traffic as they are more durable and easier to clean.
And, don’t forget a glaze is added to the paint so you won’t be getting a solid color on the top coat.
Step 4: Create and apply glaze
Before applying the top coat of paint which you'll use your sponge on to create the desired look, you will need to create a glaze with your chosen wall paint color.
Glaze is used when sponge painting a room to help slow down the drying process, allowing you to work with it longer. This is especially useful when working with quick drying paints. Adding a glaze will also make paint more transparent.
The more you use, the lighter the color will be, but the longer it will take to dry, so you can work with it for longer. As a general guideline, use four parts glaze to one part paint. To test the color of the paint and glaze mix, dab a small patch onto an out of the way area and leave to dry or use a scrap piece of plain wallpaper.
Step 5: Sponge paint
Now for the fun part. "You can use any type of sponge that your heart desires,” suggests Brandon Walker, Construction Manager at ASAP Restoration. “There are no good or bad sponges for this kind of painting and it really depends on what kind of pattern and texture you want the finished project to have.”
He notes some sponges hold more material and release it when squeezed and there are others that will create a texture similar to a normal roller, but in small dabs at a time.
Lopez suggests creating circular patterns with your sponge. He says your outcome will "depend on the size and amount of circles plus the depth of color in the glaze. You may want more of the undertone to bleed through, or more of the glaze to cover the base. The choice is yours.”
With so much choice, we recommend you try out different sponges, such as kitchen and bath sponges on an unused roll of wallpaper to help determine what texture and patterns you can get from each before applying to a wall, and figuring out which one you like.
Getting a bit of practice in will help achieve a more consistent finish. We've picked out three sponges you could consider for your project below, but feel confident to chose the type that will help you achieve the look you most desire.
All prices correct at time of publication.

Price: $2.88
A bestselling car wash sponge such as this with relatively small pores will create a more solid pattern on a wall. Its shape makes it easy to grip, too, making bigger jobs more comfortable. This one comes highly rated by shoppers, averaging 4.5/5 stars. I'd recommend grabbing at least two so if one starts to give off fluff from extended use, you can start fresh with a matching pattern of sponge.

Price: $0.94
The pattern on this sponge will help create a completely different pattern to the more traditional sponge. And it costs less than a dollar which makes it super economical if you're roping a loved one into helping you out on the project or you're covering a large area and might need to swap out to a new replacement mid-project.

Price: Was $13.99, now $9.59
Not a decorating sponge in the more traditional sense, but these shower puffs are brilliant for creating wider and original patterns. This set comes in a pack of four and shoppers rate it 4.7/5 stars on average, and comment on how well made they are so hopefully, they'll last the length of the job (even if painting wasn't its original purpose).
FAQs
What color should you use for sponge painting?
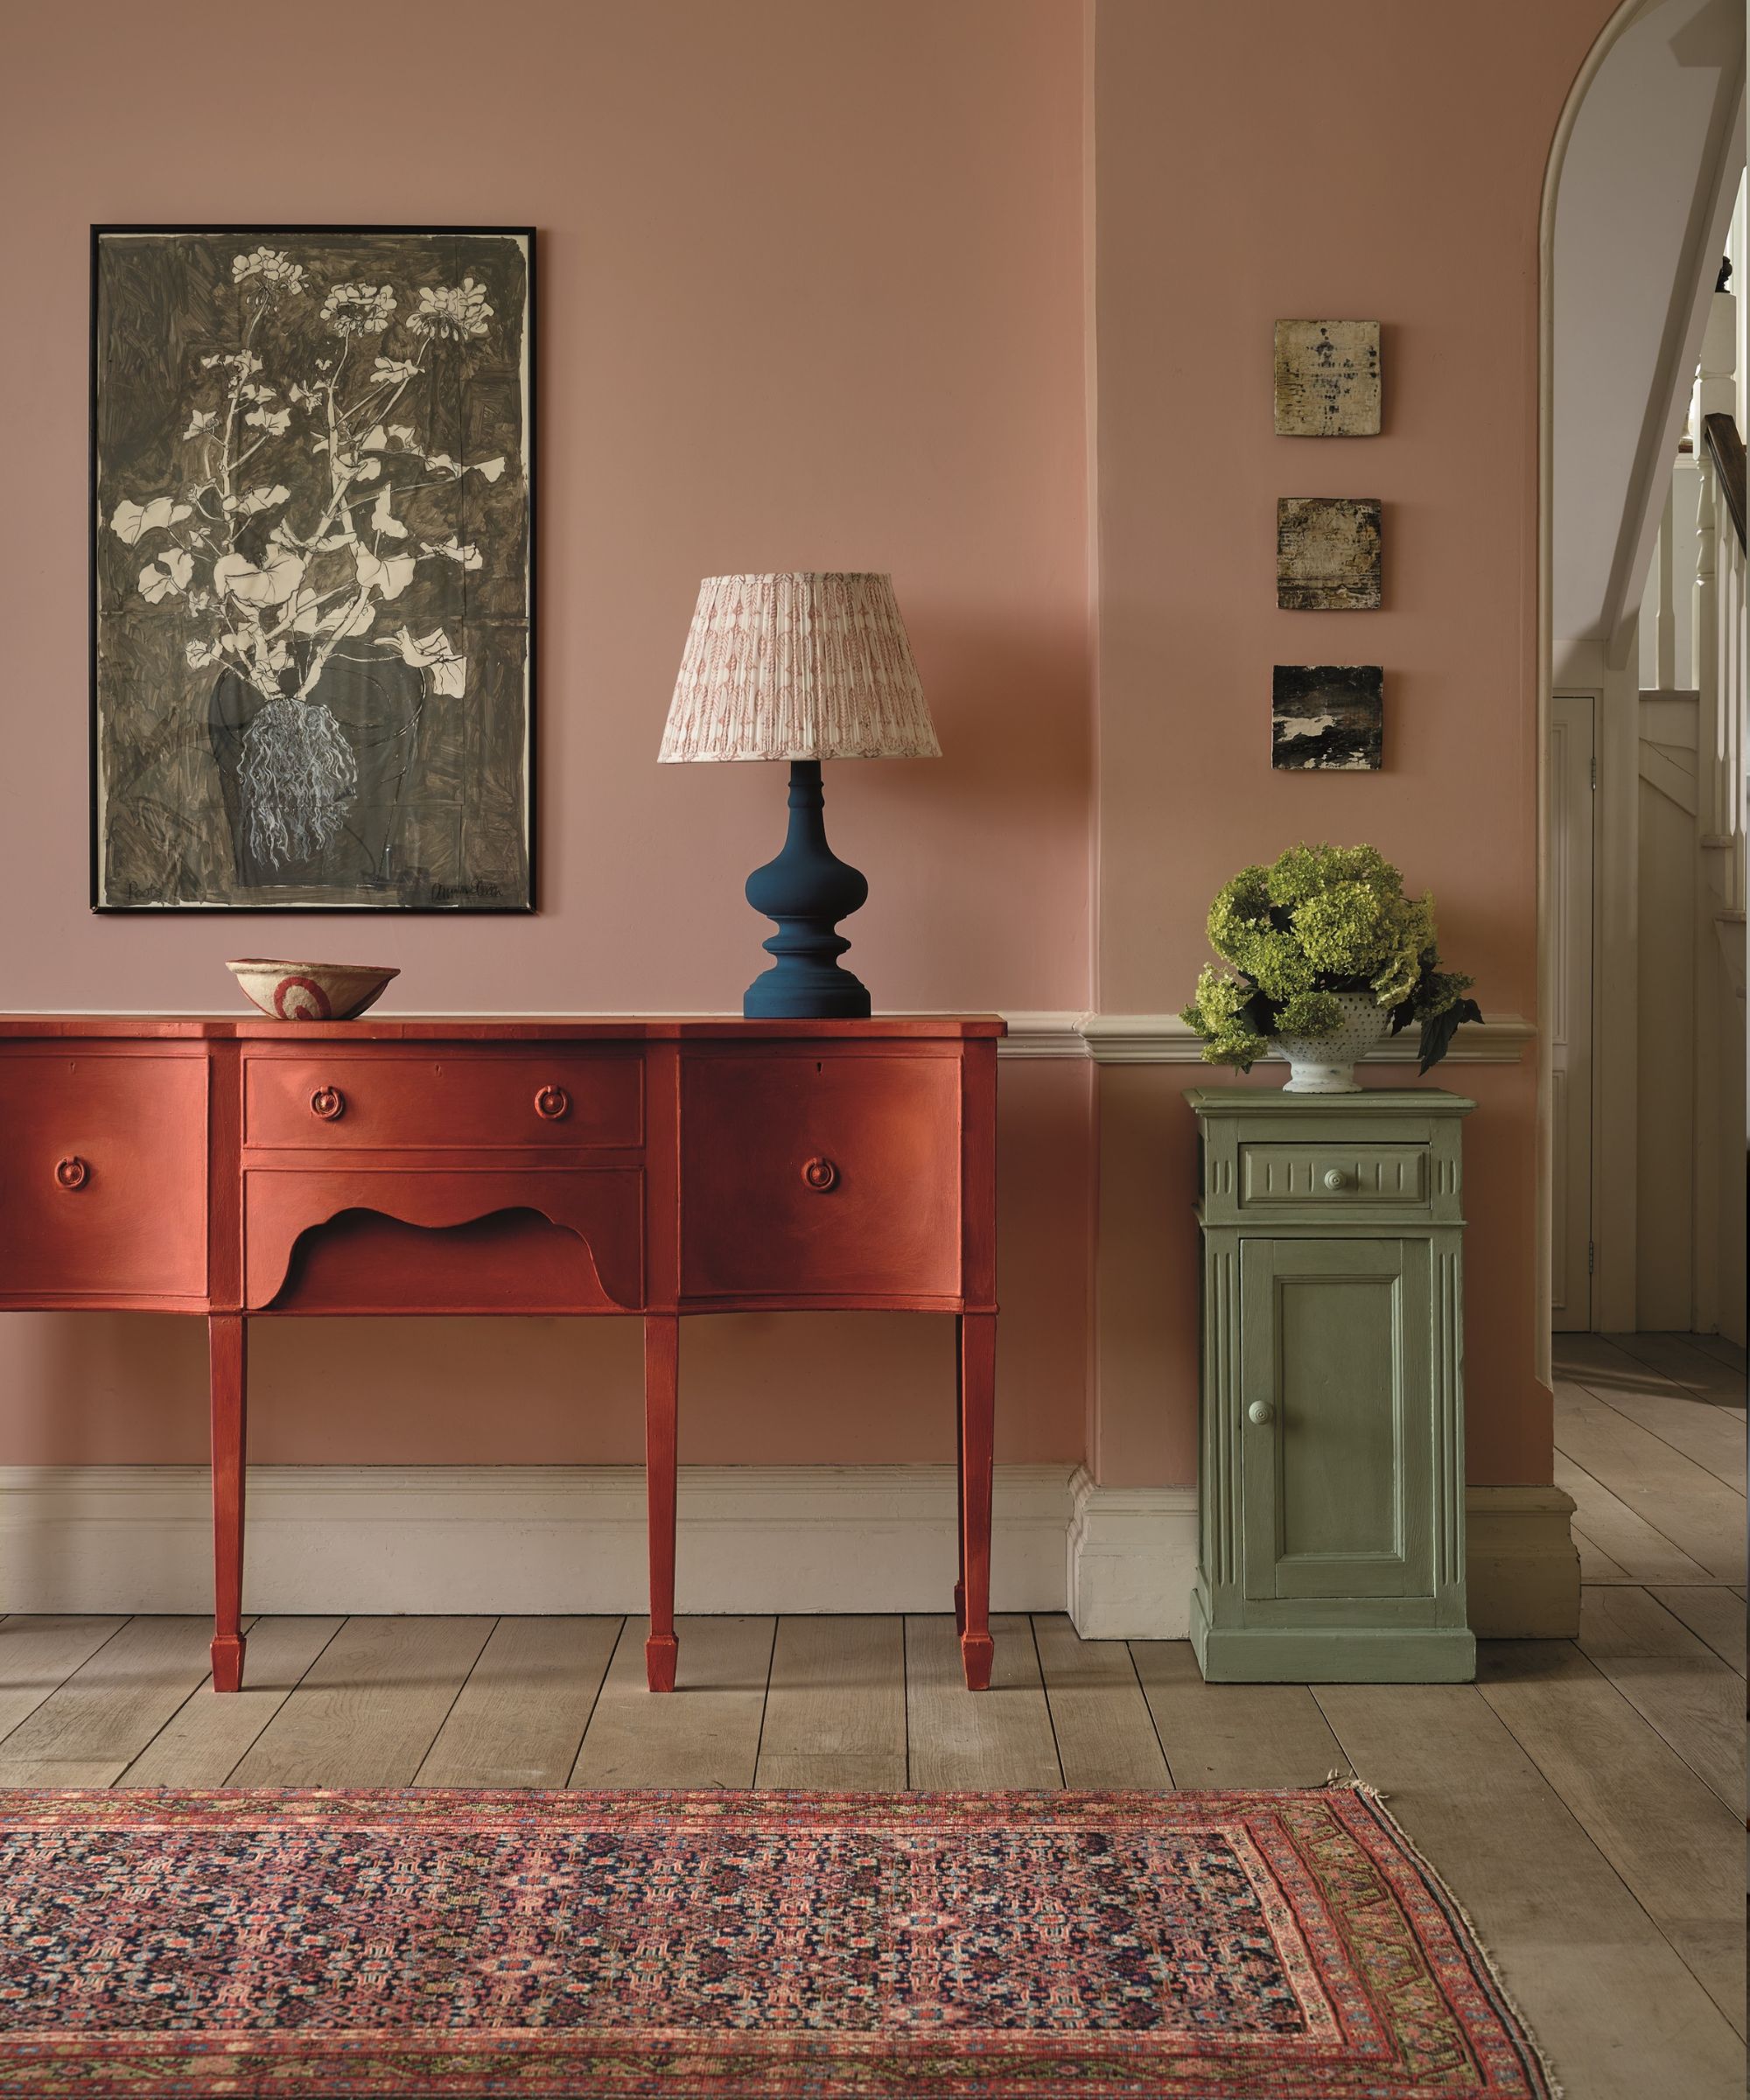
“Color combinations that are having their moment in texture are tone-on-tone, or bold compliments,” says Hsu. “Subtle color play is also an option (think complimentary colors on the color wheel such as a gray purple over a terracotta).”
Whilst you can get inspiration from this year's color trends, Flora Hogg, Interior Designer and Colour Consultant at Craig & Rose is more specific, adding, "Try Craig & Rose's Pink Clay Chalk Wash on top of their Dried Plaster Chalky Emulsion Paint, it has the warmth of a freshly plaster wall many feel familiar and comforted by."
Can you sponge paint with regular paint?
Yes, you can. Sponge painting techniques are commonly applied to walls, so your regular interior wall paint will be perfectly good for the job. The key to the finish will be what type of sheen you choose, and how much glaze you add.
If you have a flat base color and you want to keep the tones and type of finish similar, then use a flat top coat. If you want a contrast between the finishes use a higher sheen such as eggshell or even semi-gloss. A higher sheen will also be a good choice if the walls are going to see more traffic as they are more durable and easier to clean.
What does sponging on & sponging off mean?
There are a couple of techniques to create the sponge paint effect - sponge on and sponge off. Both create similar finishes but there are subtle differences. Typically, sponging off leaves more paint on the wall.
The sponging on method is the more common choice as it is easier to apply and take control of the finish. You apply the paint with a sponge over a dry base color. The sponging off method involves painting the wall and using a sponge to lift paint off the wall. With this method you get less time to work with the paint.
We recommend that you use the sponge on method to ensure you get the finish you want. Especially, if it's your first attempt at sponge/faux painting.
Should I paint sponge/faux paint one wall or all walls?
This is very much a personal preference. Doing one wall will make the wall a feature wall, while doing four walls give you a unique set of patterns round the entire room.
Lopez suggests that you, “Just do faux one wall and wallpaper on the other three, based on the trends currently.” He adds, “Right now, wallpaper is coming back and it’s more of a luxury application that is going to complement the faux."
Whilst you're in the painting mood, if you're undecided on whether to roll spray paint your base color, our spray painting vs painting with a roller guide will help narrow down the right choice for you.

-
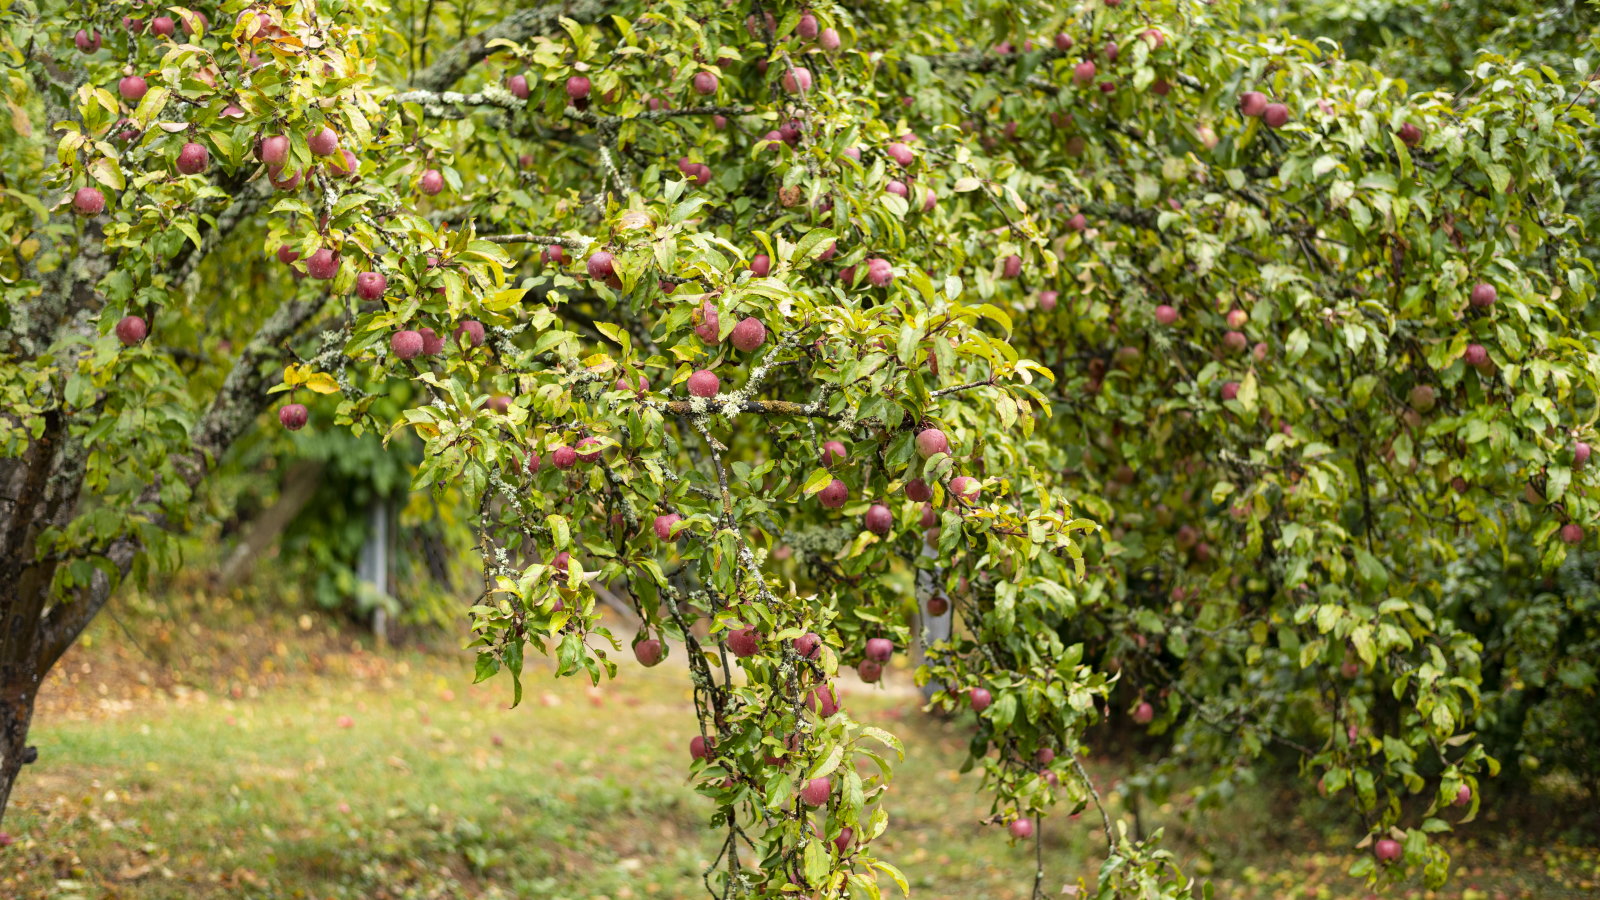 Plants never to grow next to fruit trees
Expert advice on which plants to keep away from fruit trees to encourage a healthy harvest
-
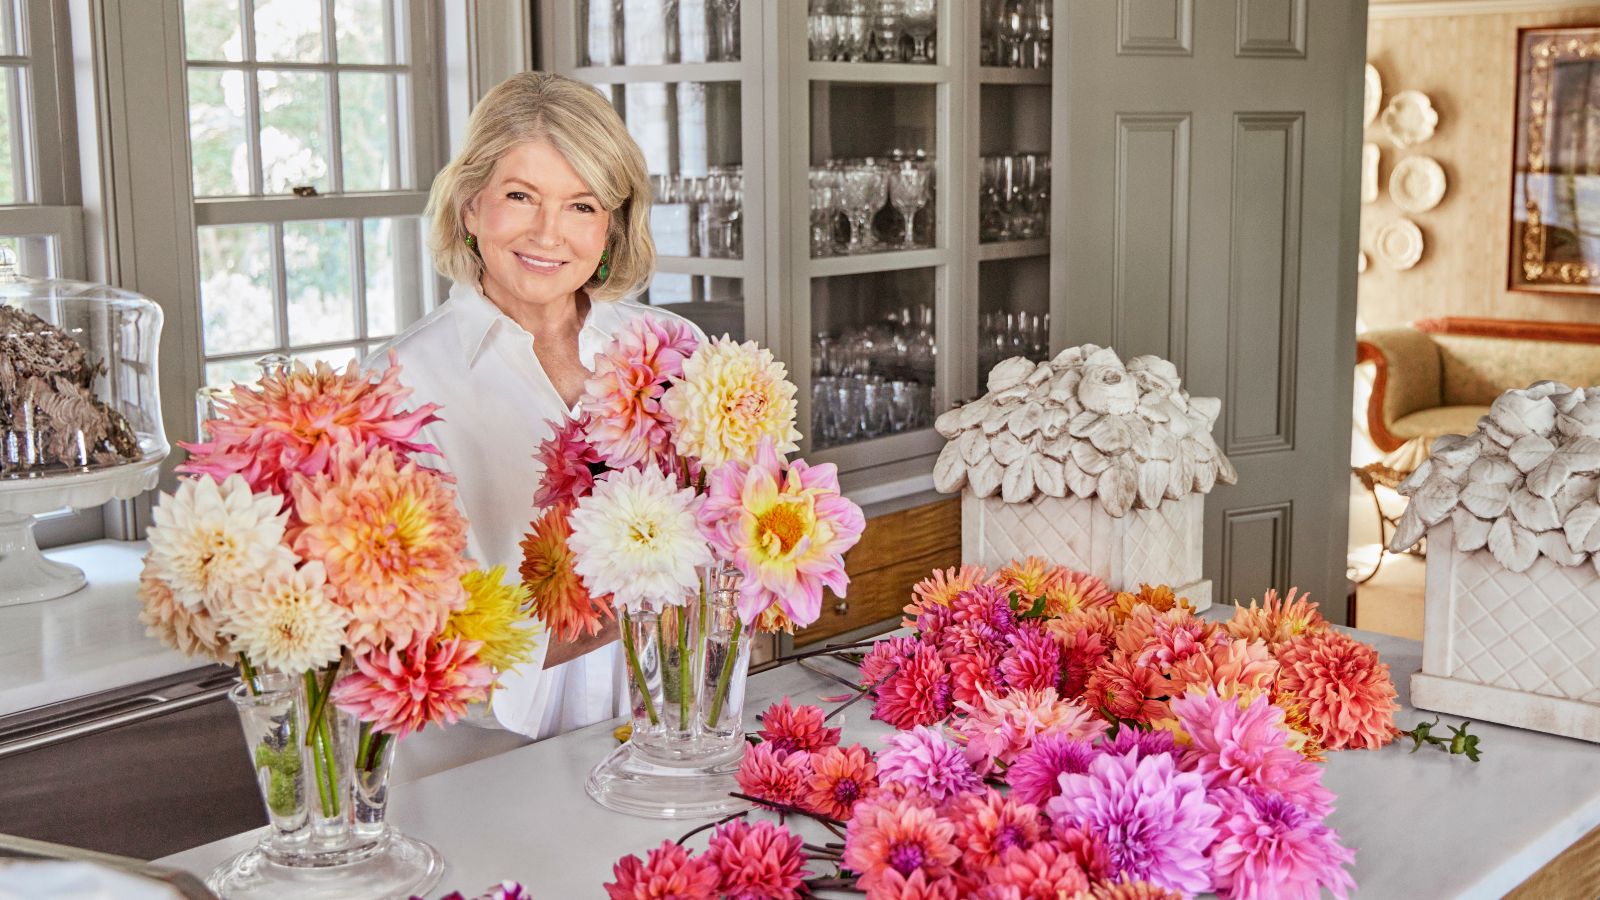 Martha Stewart's tips for arranging daffodils are unbelievably simple and effective – it's the only flower advice you need this springtime
Martha shows us that we can create gorgeous bouquets of this seasonal flower by simply trimming the stems and placing them in specific vases


-
 5 patio painting mistakes to avoid – swerve patchy, peeling finishes with these expert tips
Surface preparation is key, experts urge
-
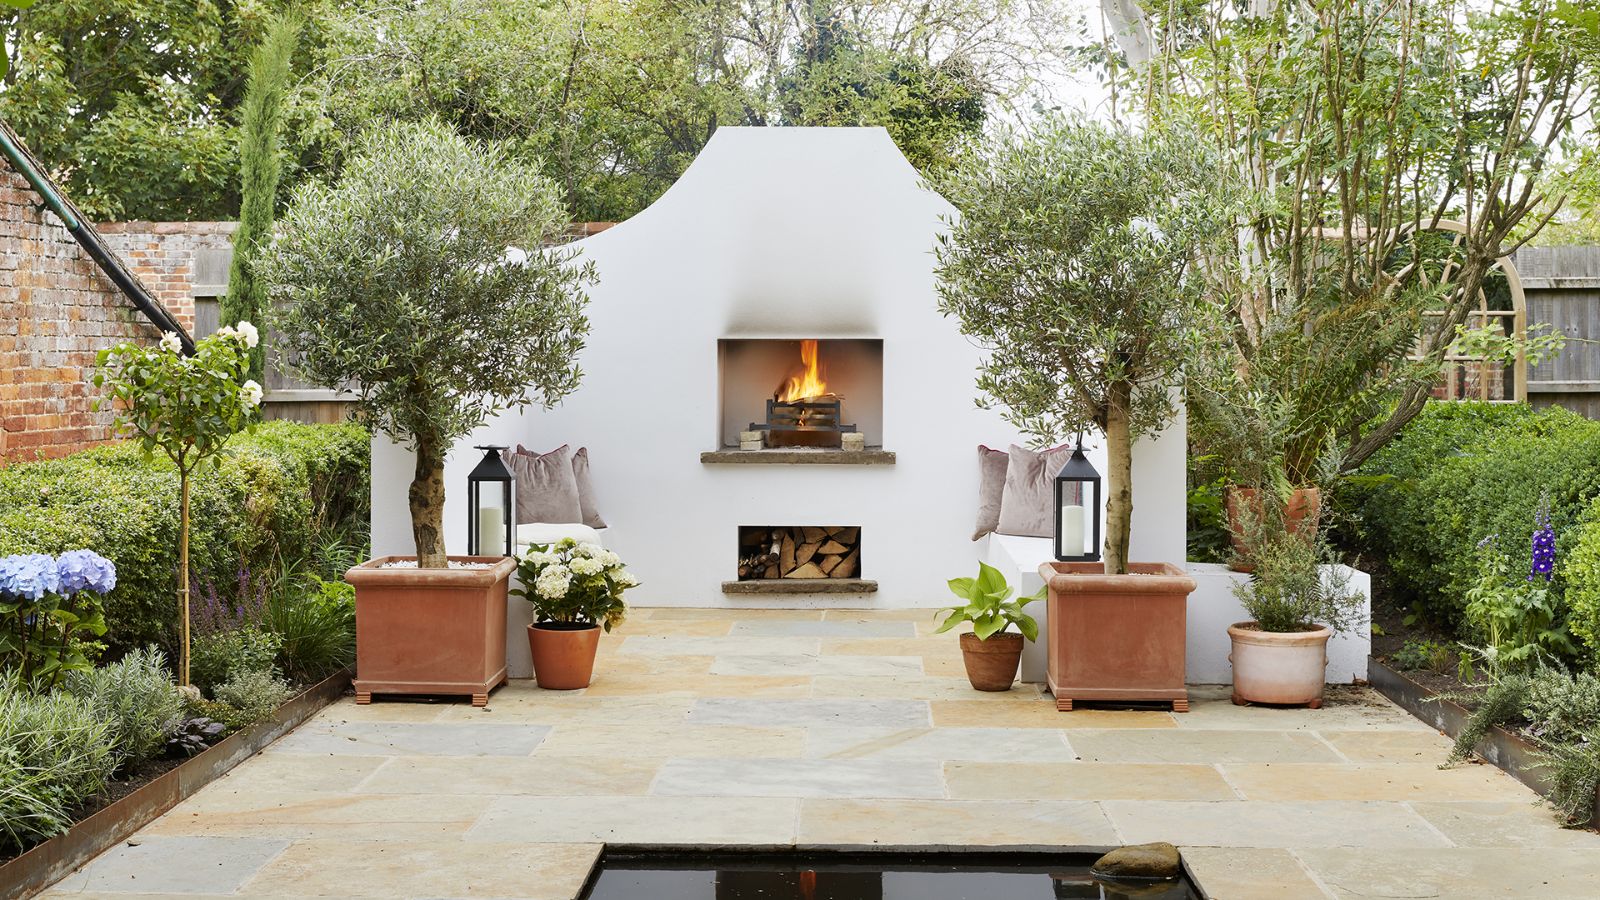
 5 beautiful and impactful home improvement projects you can DIY this weekend for under $200 – you don't have to spend big to make a statement
From painting your fireplace to redecorating your door, little changes can transform and refresh your space
-
 VOC paint vs non-VOC paint – what's the difference? Our experts weigh up the pros, cons and risks
Avoid dizziness, headaches and respiratory irritation by switching out toxic paints
-
 How to paint over stained wood – 6 simple steps expert painters swear by for even, lasting finishes
Skipping even one step will result in chipping paint, experts warn
-
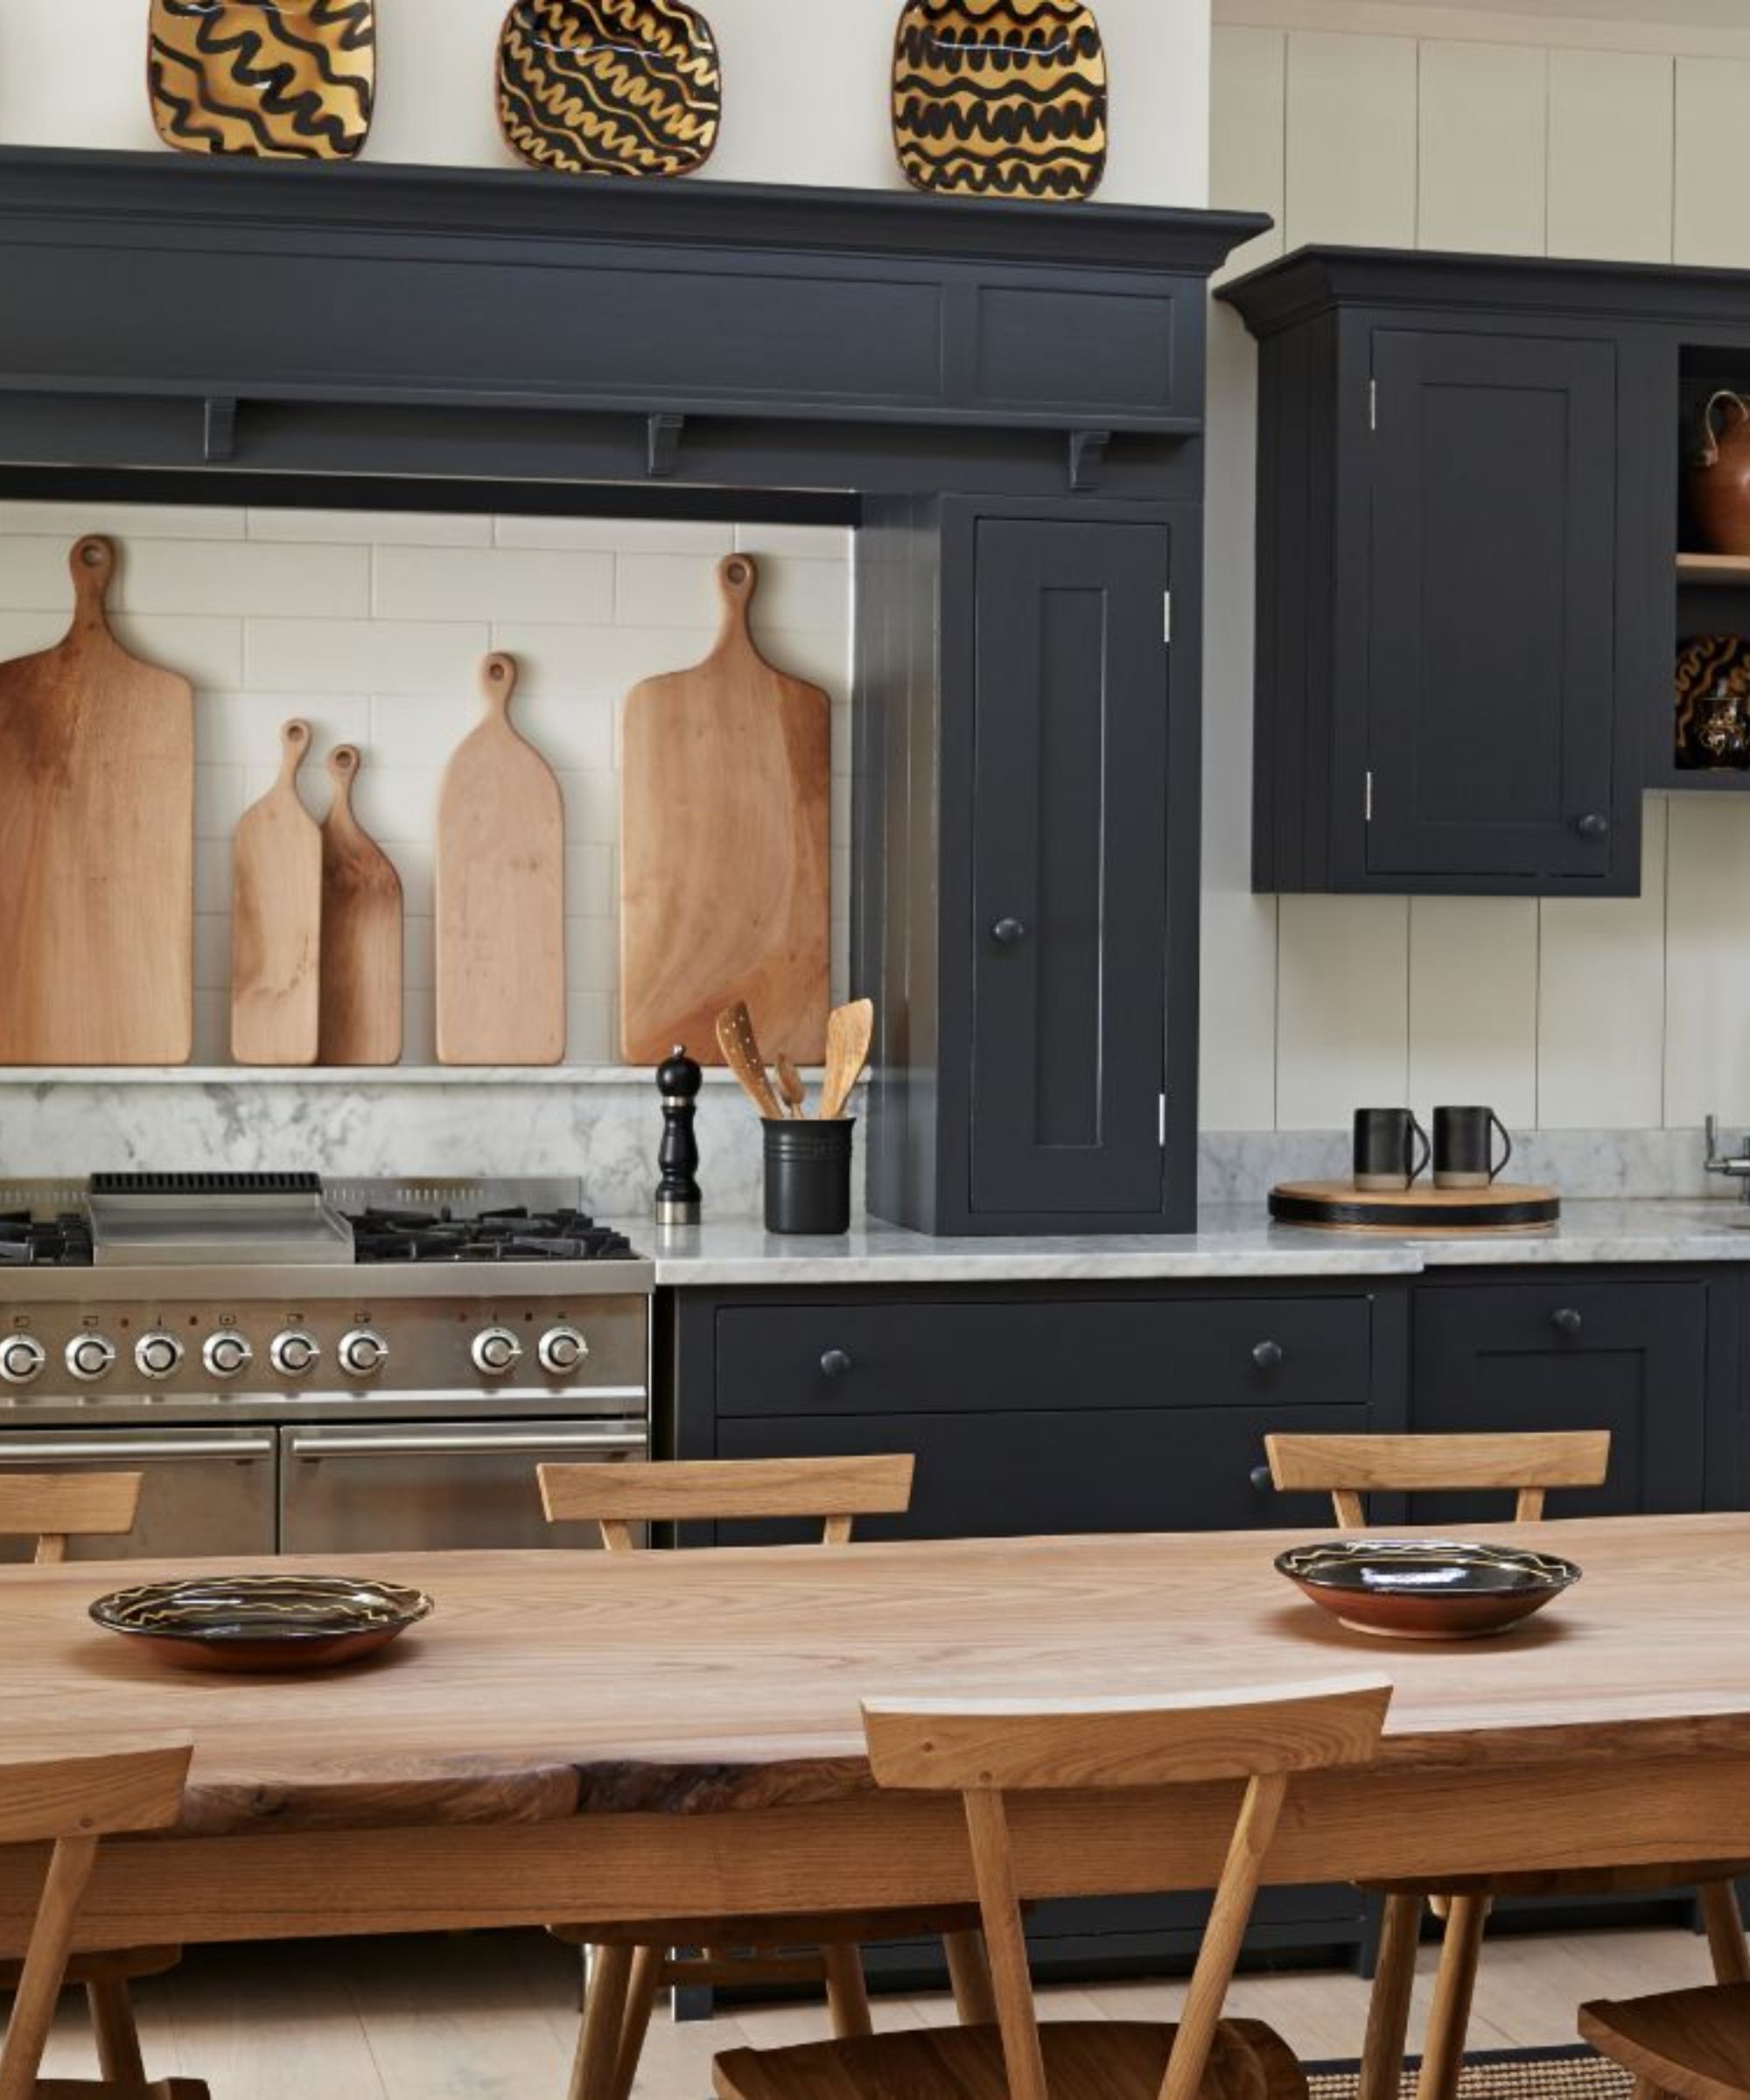
 Can you put wallpaper on textured walls? Experts reveal it is indeed possible with this vital step
Prep, prep and prep some more for wallpapering success
-
 8 helpful ways to re-purpose old pillows – from making handy garden kneelers and draft excluders, to cozy pet beds
Sustainability experts say these bulky items don't have to go to waste
-
 7 practical things you can do with leftover paint around your home including protecting outdoor furniture, tinting cement and creating touch-up kits
Pro tips to make the most of those extra supplies
-
 Construction pros reveal the 6 mistakes to avoid when hanging drywall for perfect walls and ceilings
They see these all the time


