

Painting exterior windows requires a lot more thought and consideration than simply choosing your paint and applying it.
Similar to painting a room, when painting exterior windows you need to know how to pick the right paint. Exterior windows require paint that is also durable, maintainable and suitable for the type of window frame you have.
Painting outside windows has always been essential to keeping them functional and attractive. In some cases, newly painted exterior windows can significantly enhance your home’s curb appeal, but it requires careful preparation and attention to detail.
What you need to know before painting exterior windows
Follow this guide to know what to do before you begin painting your exterior windows.
1. Preparation is key
‘First things first, identify your window frames,’ says Seth Miles at Groovy Hues Paint. ‘This is crucial for choosing the right paint. The most common window frame types are wood, vinyl, and aluminum. Wood is classic but needs the most TLC. Vinyl is low-maintenance, but painting it requires specific products. Aluminum is similar but less common for exteriors these days.’
Next it's important to pick the right weather when you are looking to paint any exterior windows. Don't pick a scorcher or when rain is on the horizon. Aim for mild temperatures (between 50-90°F) and low humidity for optimal drying.
Check the warranty on your windows. Painting might void the warranty, especially with vinyl windows. Consult the manufacturer's instructions first.
If all is well to continue, prepping uPVC windows for painting, and other materials for that matter, is vital for a smooth finish.

Seth is a painting expert at Groovy Hues. At Groovy Hues, they specialize in both residential and commercial painting services. Whether you need a single room painted or an entire office building, the Groovy Hues’ team of experienced painters will get the job done with precision and efficiency.
2. Gather Your Tools and Materials
- Exterior-grade paint
- Primer, such as Liquid Rubber Multi-Purpose Primer from Amazon
- Paintbrushes (angled for corners and straight for flat surfaces), these can be purchased from Walmart.
- Fandeli Multi-Purpose Sandpaper Pack from Amazon
- Painter's tape
- Drop cloths/plastic sheeting
- Warner 1-1/2" Carbon Steel Flex Putty Knife from Amazon
- Detergent solution
- Sponge or scrub brush
- Ladder
- Safety gear (gloves, mask, goggles)
3. Organize your surroundings
After you purchased and collected all of the necessary equipment, you need to know how to organize your painting station. First, move furniture and plants away from the house to avoid splatters. Cover any landscaping with drop cloths.
When organizing your surroundings, you should also remove the hardware from the windows. Unscrew hinges, detach screens, and remove any storm windows for easier painting and to avoid getting paint on them.
Next, wash the window frames thoroughly with a solution of TSP (trisodium phosphate) from Walmart, or a strong detergent to remove dirt, grime, and mildew. Rinse well and let dry completely.
To mask off the glass, use painter's tape, which will also protect any trim you don't want to be painted. Lay down plastic sheeting below the windows to catch drips. Remember to scrape off any loose paint with a putty knife. For bare or damaged wood, apply a wood filler appropriate for exteriors and sand smooth after drying.
4. How to paint like a pro
According to Shlomo Cherniak, owner of Cherniak Handyman Services, most exterior window frames require a primer coat to create a good bond for the paint and provide extra protection from the elements. Choose a primer specifically designed for exterior use with your chosen paint type.
Before you start painting your exterior windows, it’s good practice to try your brushstrokes. For a smooth finish, use a high-quality synthetic brush for trim and detailed areas. A roller can be helpful for larger flat surfaces.
Knowing the right paint to select is also important. Opt for 100% acrylic latex exterior paint such as A-100 Exterior Acrylic Latex from Sherwin Williams.
‘It provides excellent durability, mildew resistance, and cleans up easily with water,’ explains Shlomo. ‘When you do decide to paint, apply a thin, even coat of paint, letting it dry completely between coats (check the drying time on the paint can). Then, apply a second coat for full coverage and a professional look.’

Shlomo Cherniak is a handyman and founder of Cherinak Home Services in Baltimore. He has over seven years of experience in home improvement, with him and his team specializing in everything from installing kitchen cabinets to fixing leaky faucets to hanging pictures on the wall.
5. The Final Touches & Post Painting
Once you have finished painting your exterior windows you need to know that you must let paint dry completely before removing the masking tape. Slowly peel it off at a 45-degree angle to prevent paint from lifting. After the paint is dry, remove the drop cloths and thoroughly clean your brushes and rollers with soap and water.
Next is to put the hardware back on your windows, reattach screens, and admire your handiwork. Note that you should let the exterior paint cure fully before exposing it to rain or cleaning. This can take from a few days to a couple of weeks.
Regularly check for signs of wear or damage and touch up promptly. Exterior window paint may need to be refreshed every 5-7 years, depending on the climate and exposure. In harsh climates or areas with high UV exposure, repainting may be required more frequently, every 3-5 years.
Additional Tips:
Power Wash Consideration: Use a power washer if the windows are particularly dirty or have built-up grime, ensuring windows are completely dry before painting.
Setting Expectations: Discuss the expected outcome with the client based on the condition of the windows and the level of finish desired, which can vary significantly based on the property type and quality expectations.
Oil-Based Primer: Use oil-based primer specifically for bare spots to ensure proper adhesion and durability, especially on older or weathered windows.
Consult a Professional: For complex jobs, historic properties, or if unsure about any aspect of the project, consider consulting a professional painter. They can provide expertise on surface preparation, paint selection, and application techniques to ensure a satisfactory result.
If you're painting a light color over a dark one, you might need an extra coat of primer for complete coverage. When working on multiple windows, start with the highest one and work your way down to avoid drips landing on freshly painted areas. For a flawless finish, lightly sand the first coat of paint with fine-grit sandpaper before applying the second coat.

-
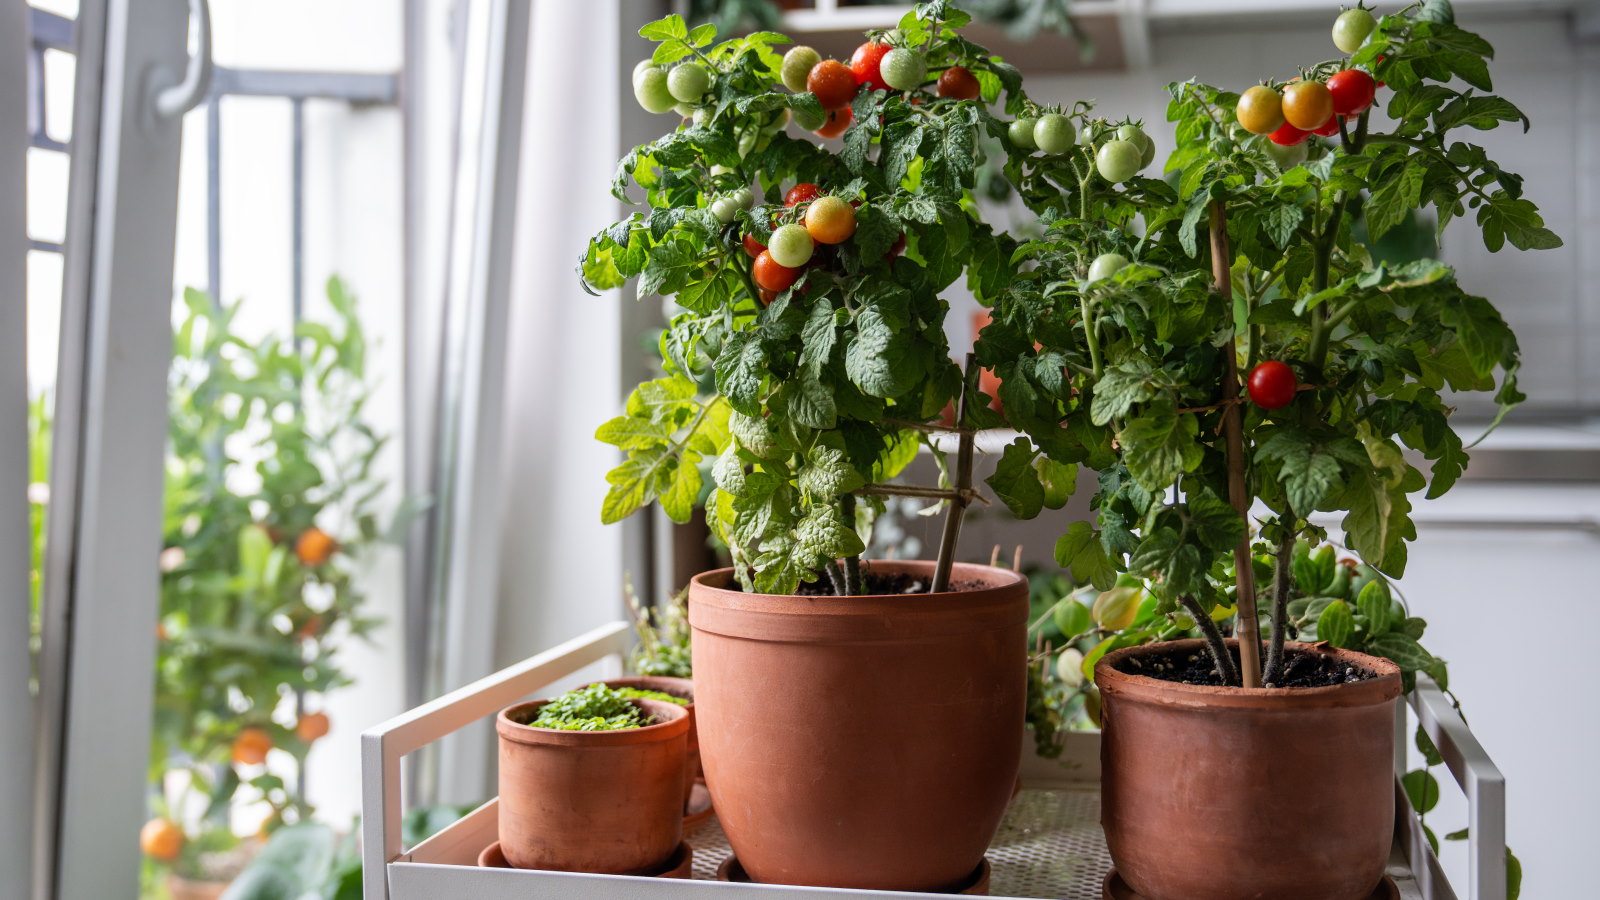 7 of the best tomatoes for growing in pots - expert growers pick their top varieties ideal for large harvests from containers
You can enjoy bumper homegrown harvests in small spaces
-
 Drew Barrymore creates a 'balanced' kitchen in 4 easy steps – her rules will make your small, compact countertops feel beautiful
Drew proves that with the right styling (and chic appliances), you can make even the smallest of kitchens look harmonious


-
 5 beautiful and impactful home improvement projects you can DIY this weekend for under $200 – you don't have to spend big to make a statement
From painting your fireplace to redecorating your door, little changes can transform and refresh your space
-
 How to paint over stained wood – 6 simple steps expert painters swear by for even, lasting finishes
Skipping even one step will result in chipping paint, experts warn
-
 Can you put wallpaper on textured walls? Experts reveal it is indeed possible with this vital step
Prep, prep and prep some more for wallpapering success
-
 8 helpful ways to re-purpose old pillows – from making handy garden kneelers and draft excluders, to cozy pet beds
Sustainability experts say these bulky items don't have to go to waste
-
 7 practical things you can do with leftover paint around your home including protecting outdoor furniture, tinting cement and creating touch-up kits
Pro tips to make the most of those extra supplies
-
 Construction pros reveal the 6 mistakes to avoid when hanging drywall for perfect walls and ceilings
They see these all the time
-
 Why is my wall paint bubbling? Decorators reveal why it happens and how you can fix it
Bubbles look unsightly and might indicate a more serious problem
-
 Christmas decorating stalled by missing tools and essentials? These 6 festive DIY job must-haves will get your delayed tasks back on track
Get your holiday decorating going again with our Christmas first-aid kit


