How to paint over stained wood – 6 simple steps expert painters swear by for even, lasting finishes
Skipping even one step will result in chipping paint, experts warn
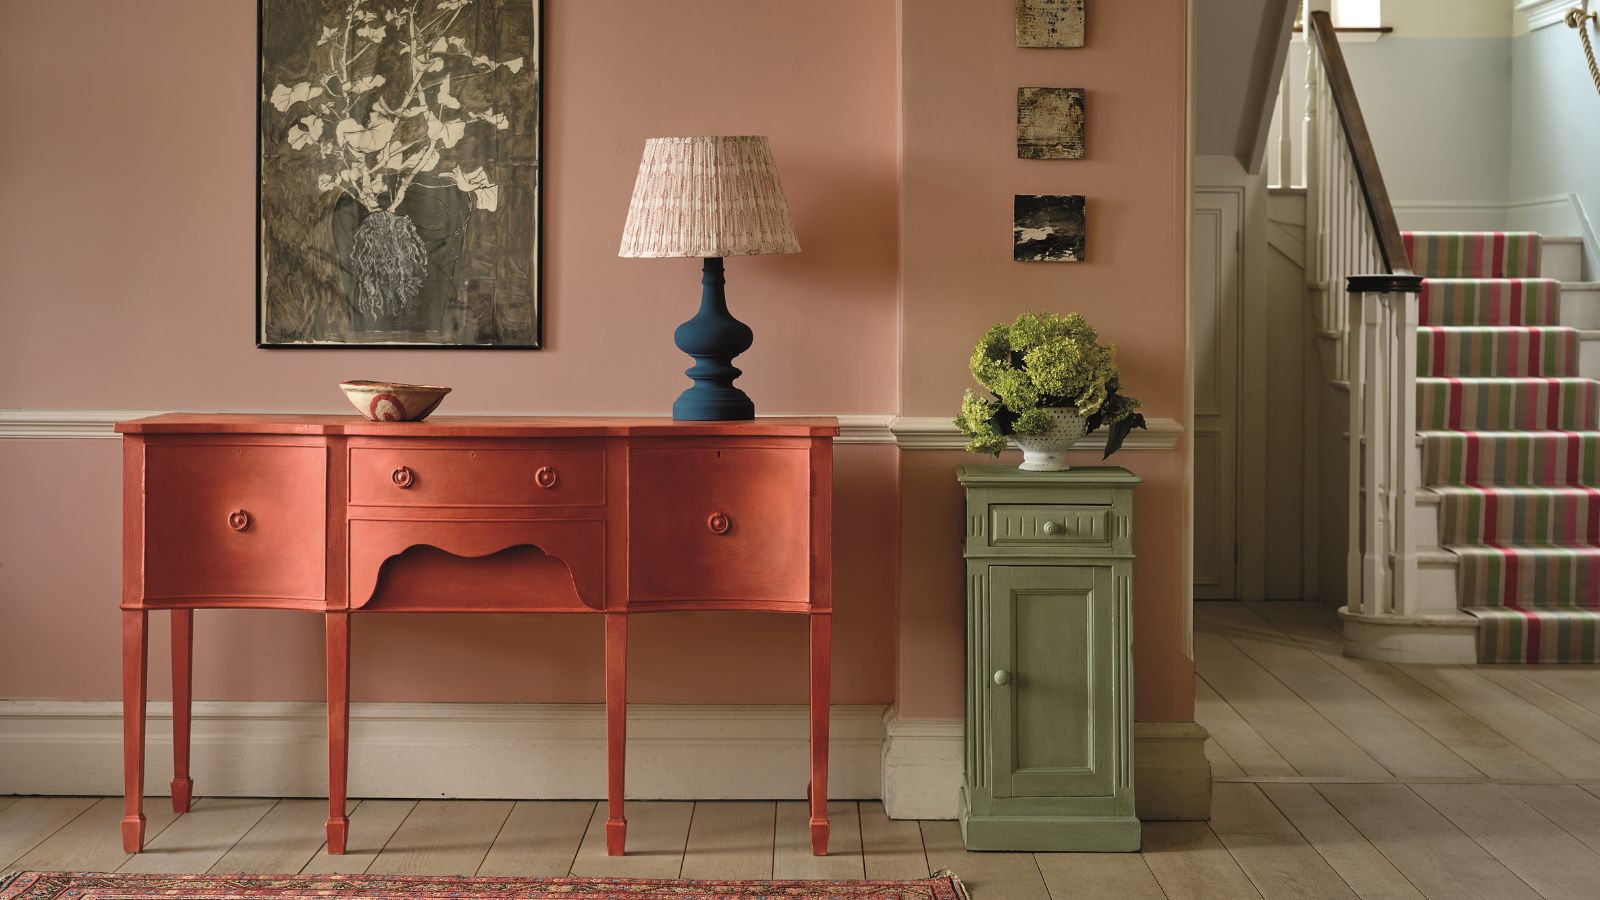

Stained wood finishes are not to everyone's taste and can, in some cases, appear a little dated, bringing down an otherwise modern, stylish interior scheme.
Learning how to update and paint over stained wood is a quick, affordable way to breathe new life into old pieces, but it is important to know the proper steps to ensure a smooth and lasting finish.
Here, DIY experts share their tips to master this simple, yet essential DIY skill, from preparation to the key tools.
How to paint over stained wood
Steven Mena, CEO at AAA Fence and Deck Company begins, 'Most homeowners can handle this DIY project if they have the proper equipment and a bit of patience.
'It's just following steps. But the success of the job really depends on getting the hang of the details when it comes to working with stained surfaces.'
Before starting, you will need:
- A respirator mask, available at Walmart, to avoid breathing in dust and paint fumes.
- A drop cloth, available at Amazon, if you are working indoors to protect flooring.
- A strong cleaner, such as sugar soap from Amazon to remove grease and grime.
- Sandpaper, from The Home Depot, to prepare for priming.
- Wood filler, from Walmart, to repair damage.
- A paintbrush set, from The Home Depot, or a small roller set, also from The Home Depot, to prime and paint.
- Your chosen paint or primers (learn more on the best selection for your furniture below).
1. Clean the wood thoroughly
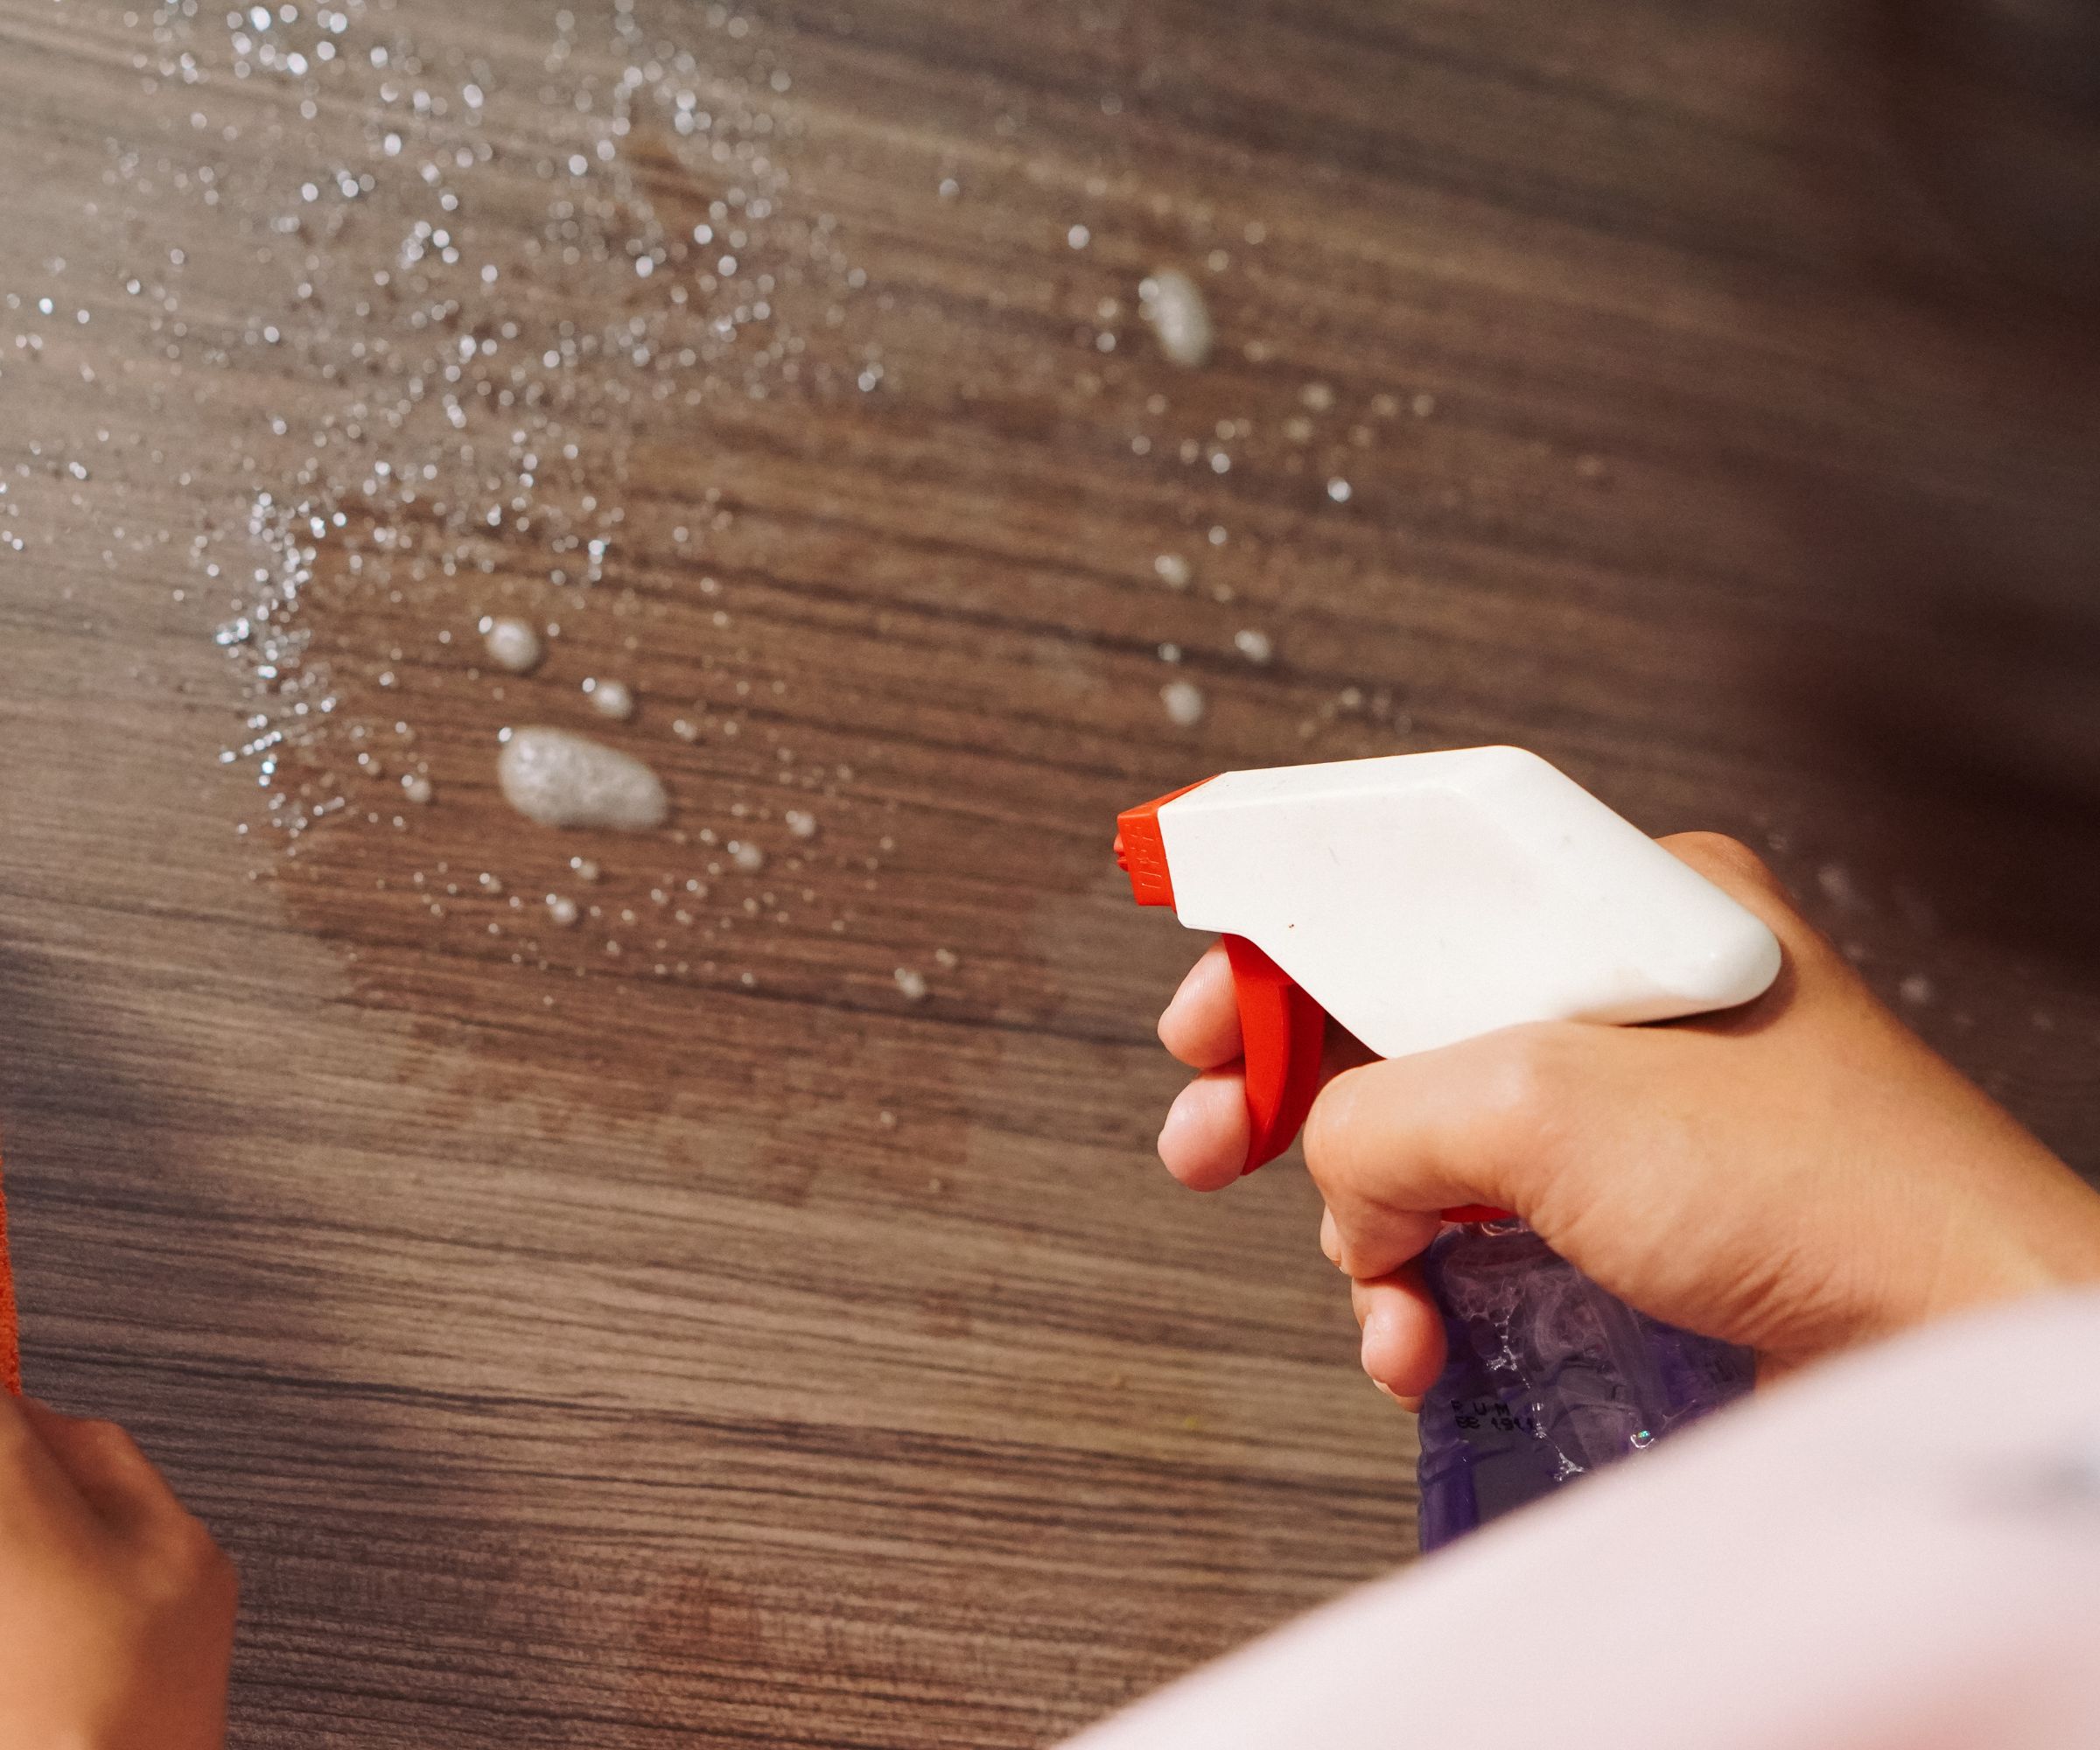
It can be easier to clean and paint wooden furniture outside to avoid making a mess.
The first step in this DIY project that will elevate your home is cleaning wood furniture to remove dust and grime that could result in an uneven paint finish.
Steven continues, 'First, give the surface a good clean using a degreaser or a gentle soap solution to get rid of any dirt or grease.'
One of the best ways to ensure all grease, dirt, and dust are removed from the stained wood in question is to use a trisodium phosphate (TSP) cleaner, available in liquid form at The Home Depot. This is a non-sudsing cleaner formulated specifically for heavy-duty cleaning before painting.
After applying, you will need to rinse it off and dry it off well to ensure the primer will stick.
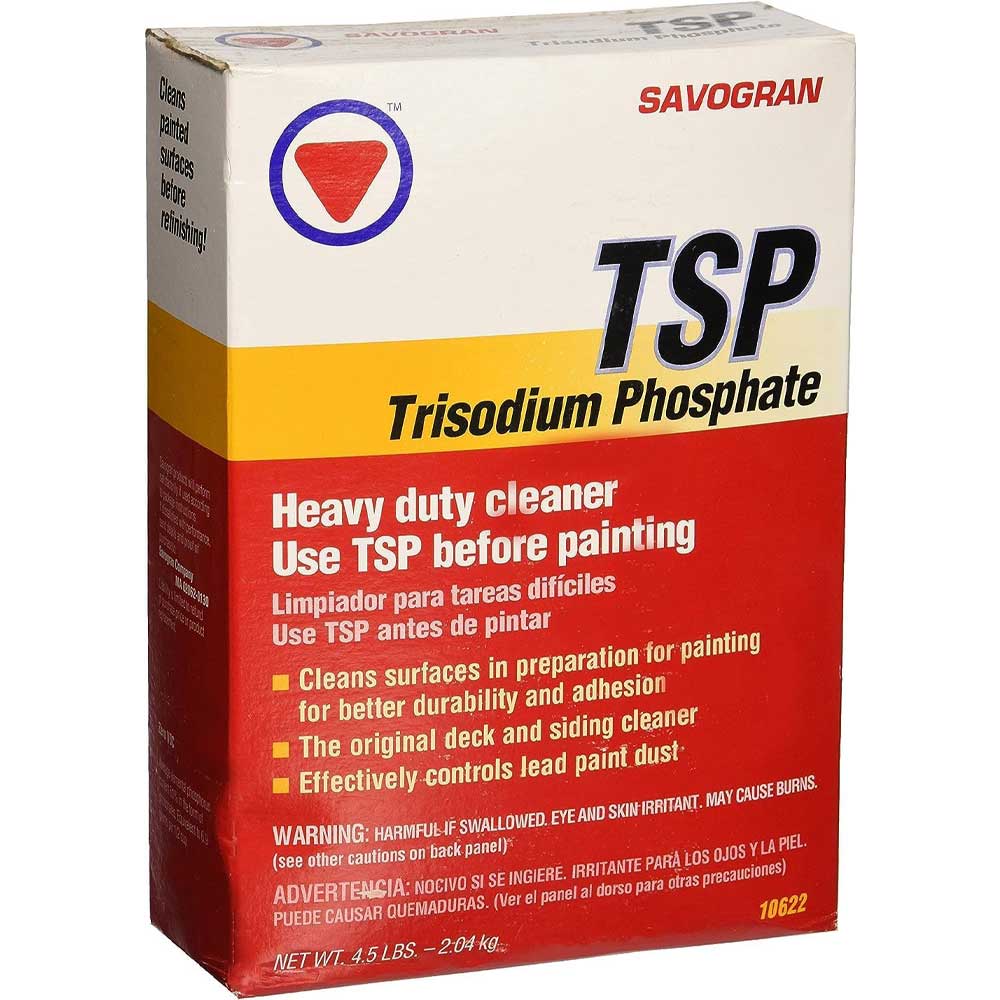
This is such a handy product to have around the house, perfect for removing grease, soot and any other grime from all kinds of surfaces prior to painting. Simply add it to water and you're good to go.
2. Deal with any damage
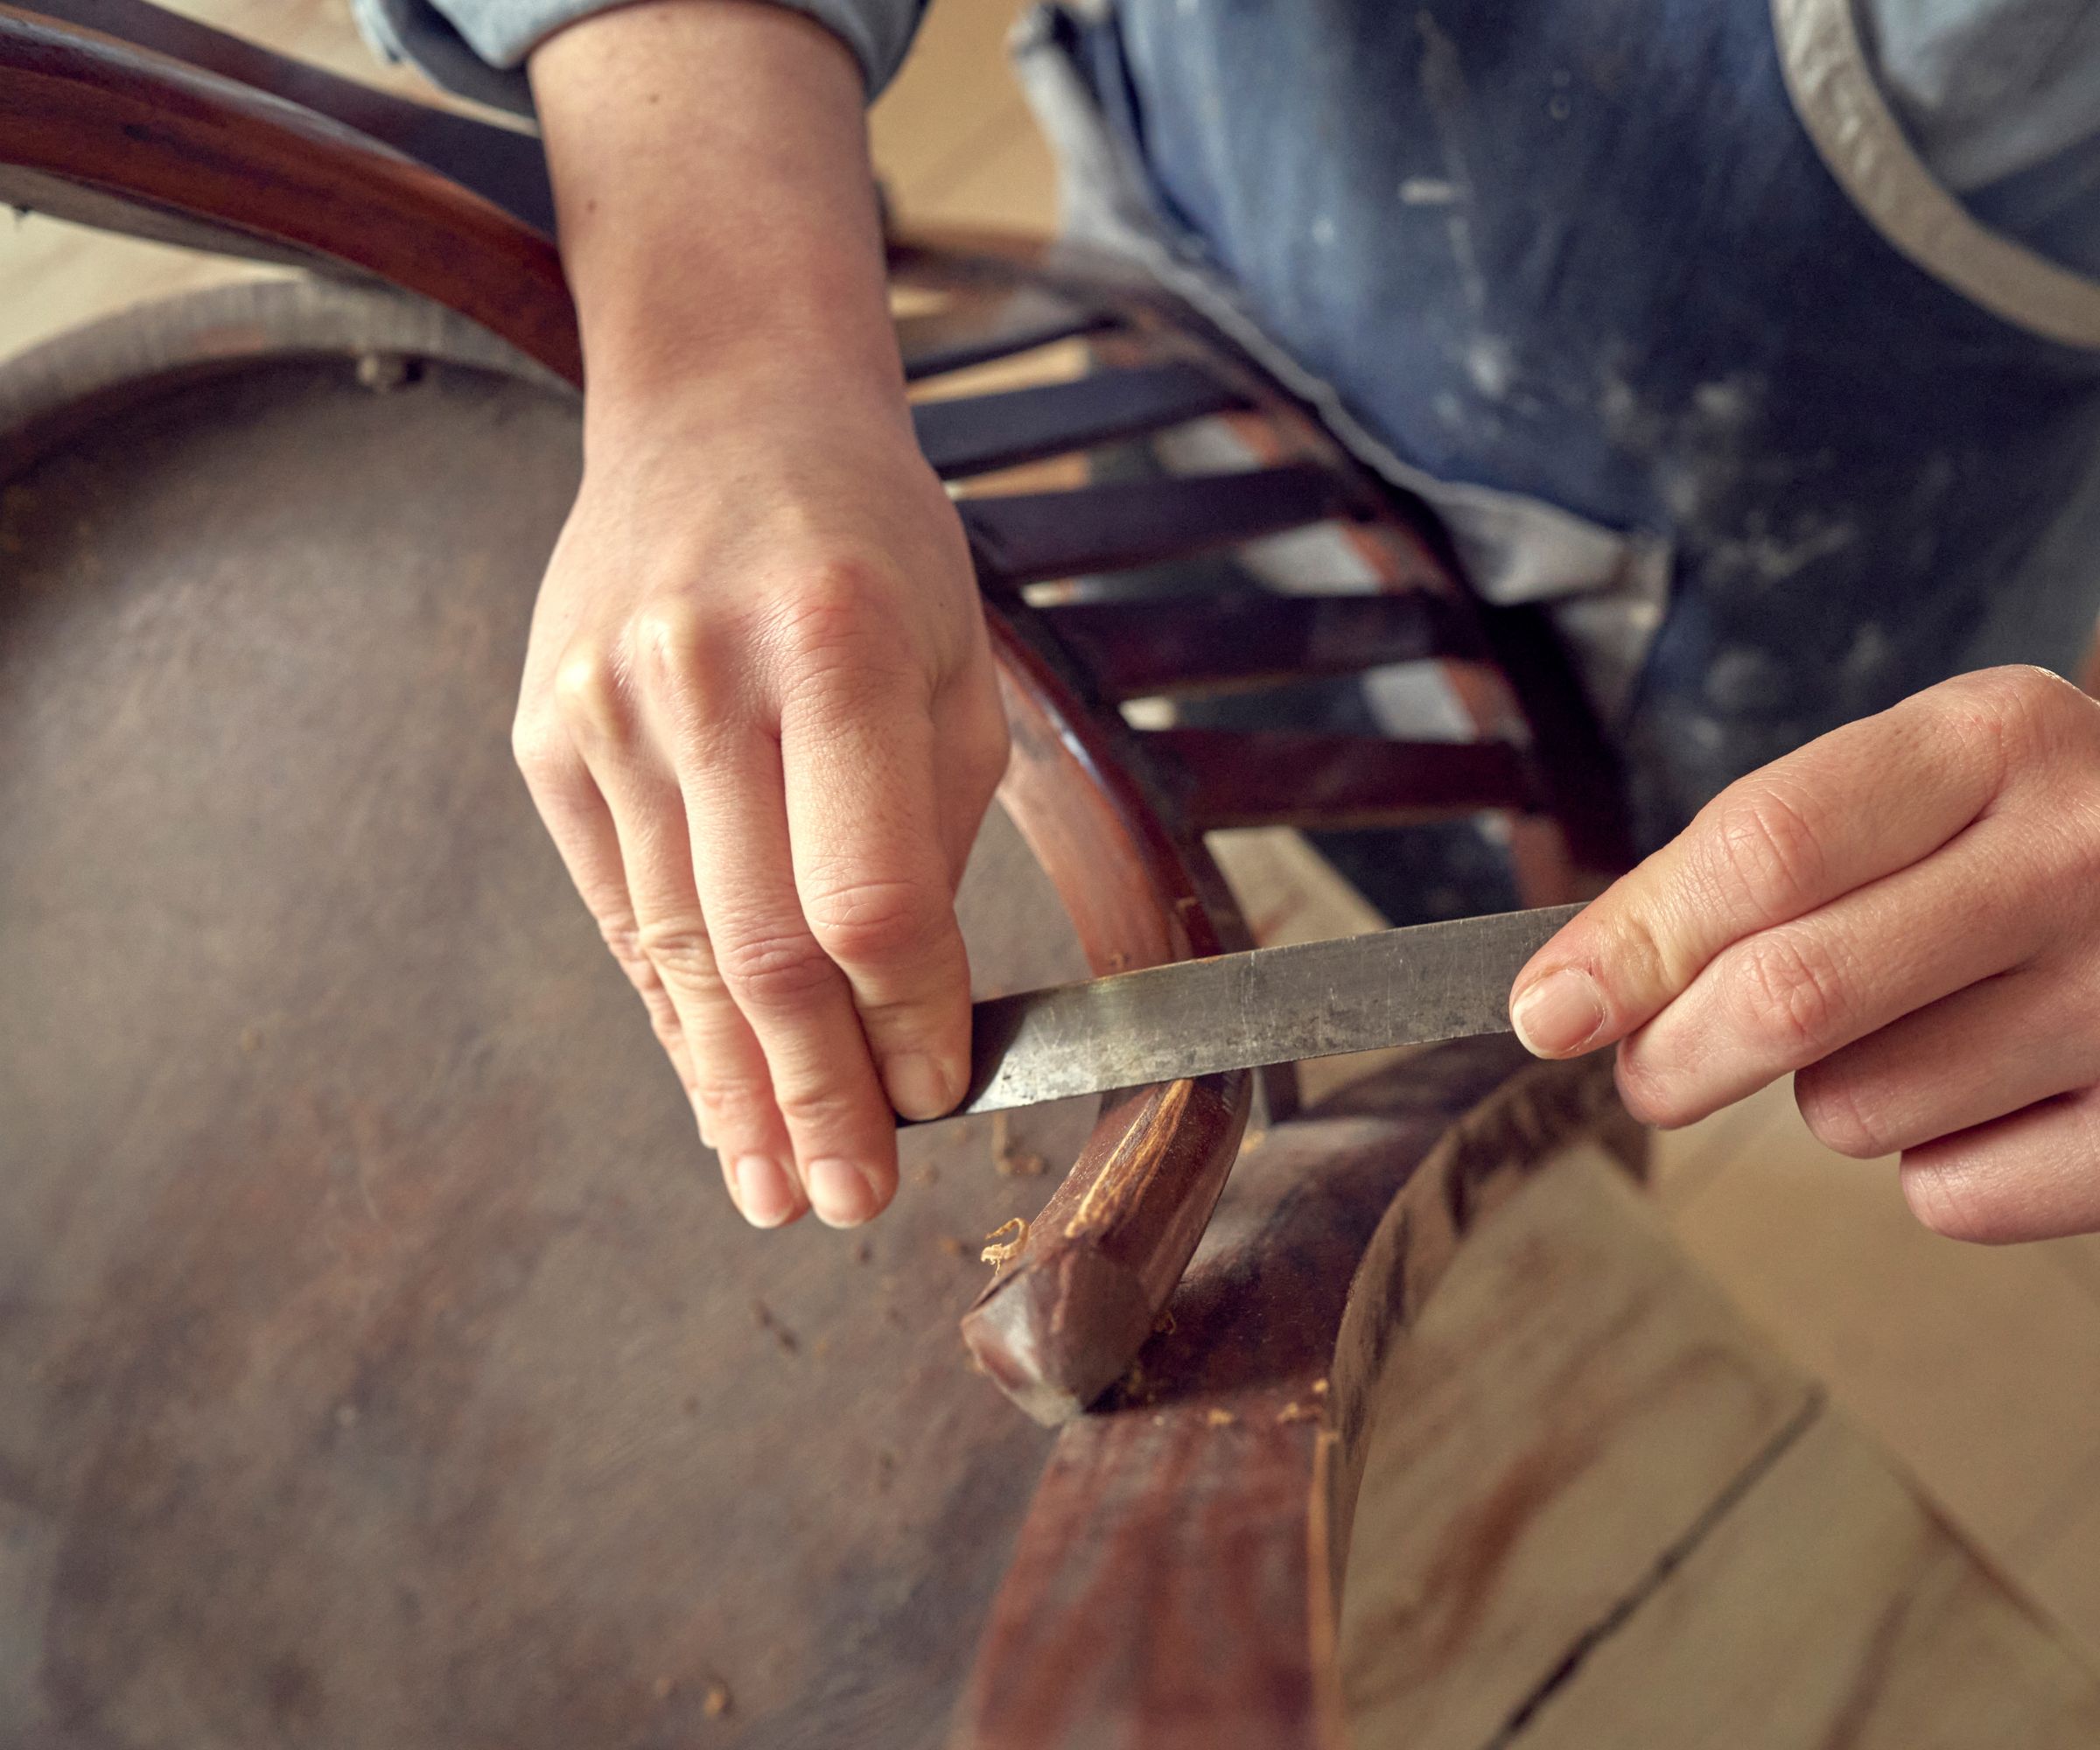
Sanding should be done outside or in a workshop with a facemask on to avoid breathing in small dust particles.
Even if you are after a modern rustic style finish, whether you are dealing with stained wooden furniture or something like staircase balustrades, you should inspect it for dents, deep scratches and any other kinds of damage before getting to work.
When it comes to how to refinish wood furniture, significant dents and holes can be filled with wood filler while more superficial damage can often be sanded away.
It is worth cleaning the surface again after this stage to ensure any dust is removed.

Ideal for putting nail holes, dents and deep scratches right before painting, this wood filler comes ready to use and is easy to apply and sand for a perfect finish.
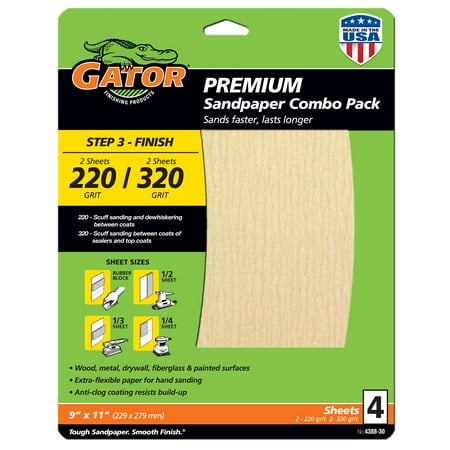
Made with premium P-grade aluminum oxide grain, this sandpaper creates a finer, more even finish.
Sugar soap is brilliant at removing all grease, grime and stains from surfaces, leaving them spotless and ready to paint. This concentrated solution offers fantastic value for money as it will make up to 14 litres.
3. Sand all surfaces

While you can sand by hand, using an electronic sander will make the job quicker and easier on your arm.
As with so many decorating jobs around the home, good preparation is key to the success of painting over stained wood, as is having the right DIY tools to hand.
Steven Mena says, 'One of the main issues with stained wood is that the stain and protective coatings, such as polyurethane, make the surface smooth, which can make it tough for paint to stick. To get this done right, the wood needs some good prep work.
'After you've got the surface all clean and dry, it's time to move on to sanding. Lightly sanding with 120-150 grit sandpaper roughs up that smooth finish, making it easier for the paint to stick.'
A good handheld sander, such as the Ryobi Random Orbit Sander, available at The Home Depot, can make this quicker and easier on your arm. This model is 4.5 stars rated by customers and comes fitted with a dust bag to help limit mess and includes sandpaper so you have everything you need to get started right away.
Steven adds, 'If you can't sand, you can always try using a deglosser, which is sometimes called a liquid sander, as a good alternative. This chemical solution makes the surface soft enough for paint to adhere, which saves you some effort.'
Take the elbow grease out of sanding your stained wood with a liquid sander such as this. The pack of two offers great value for money and surfaces should be ready to prime just 10 minutes after applying this solution.
4. Prime before painting
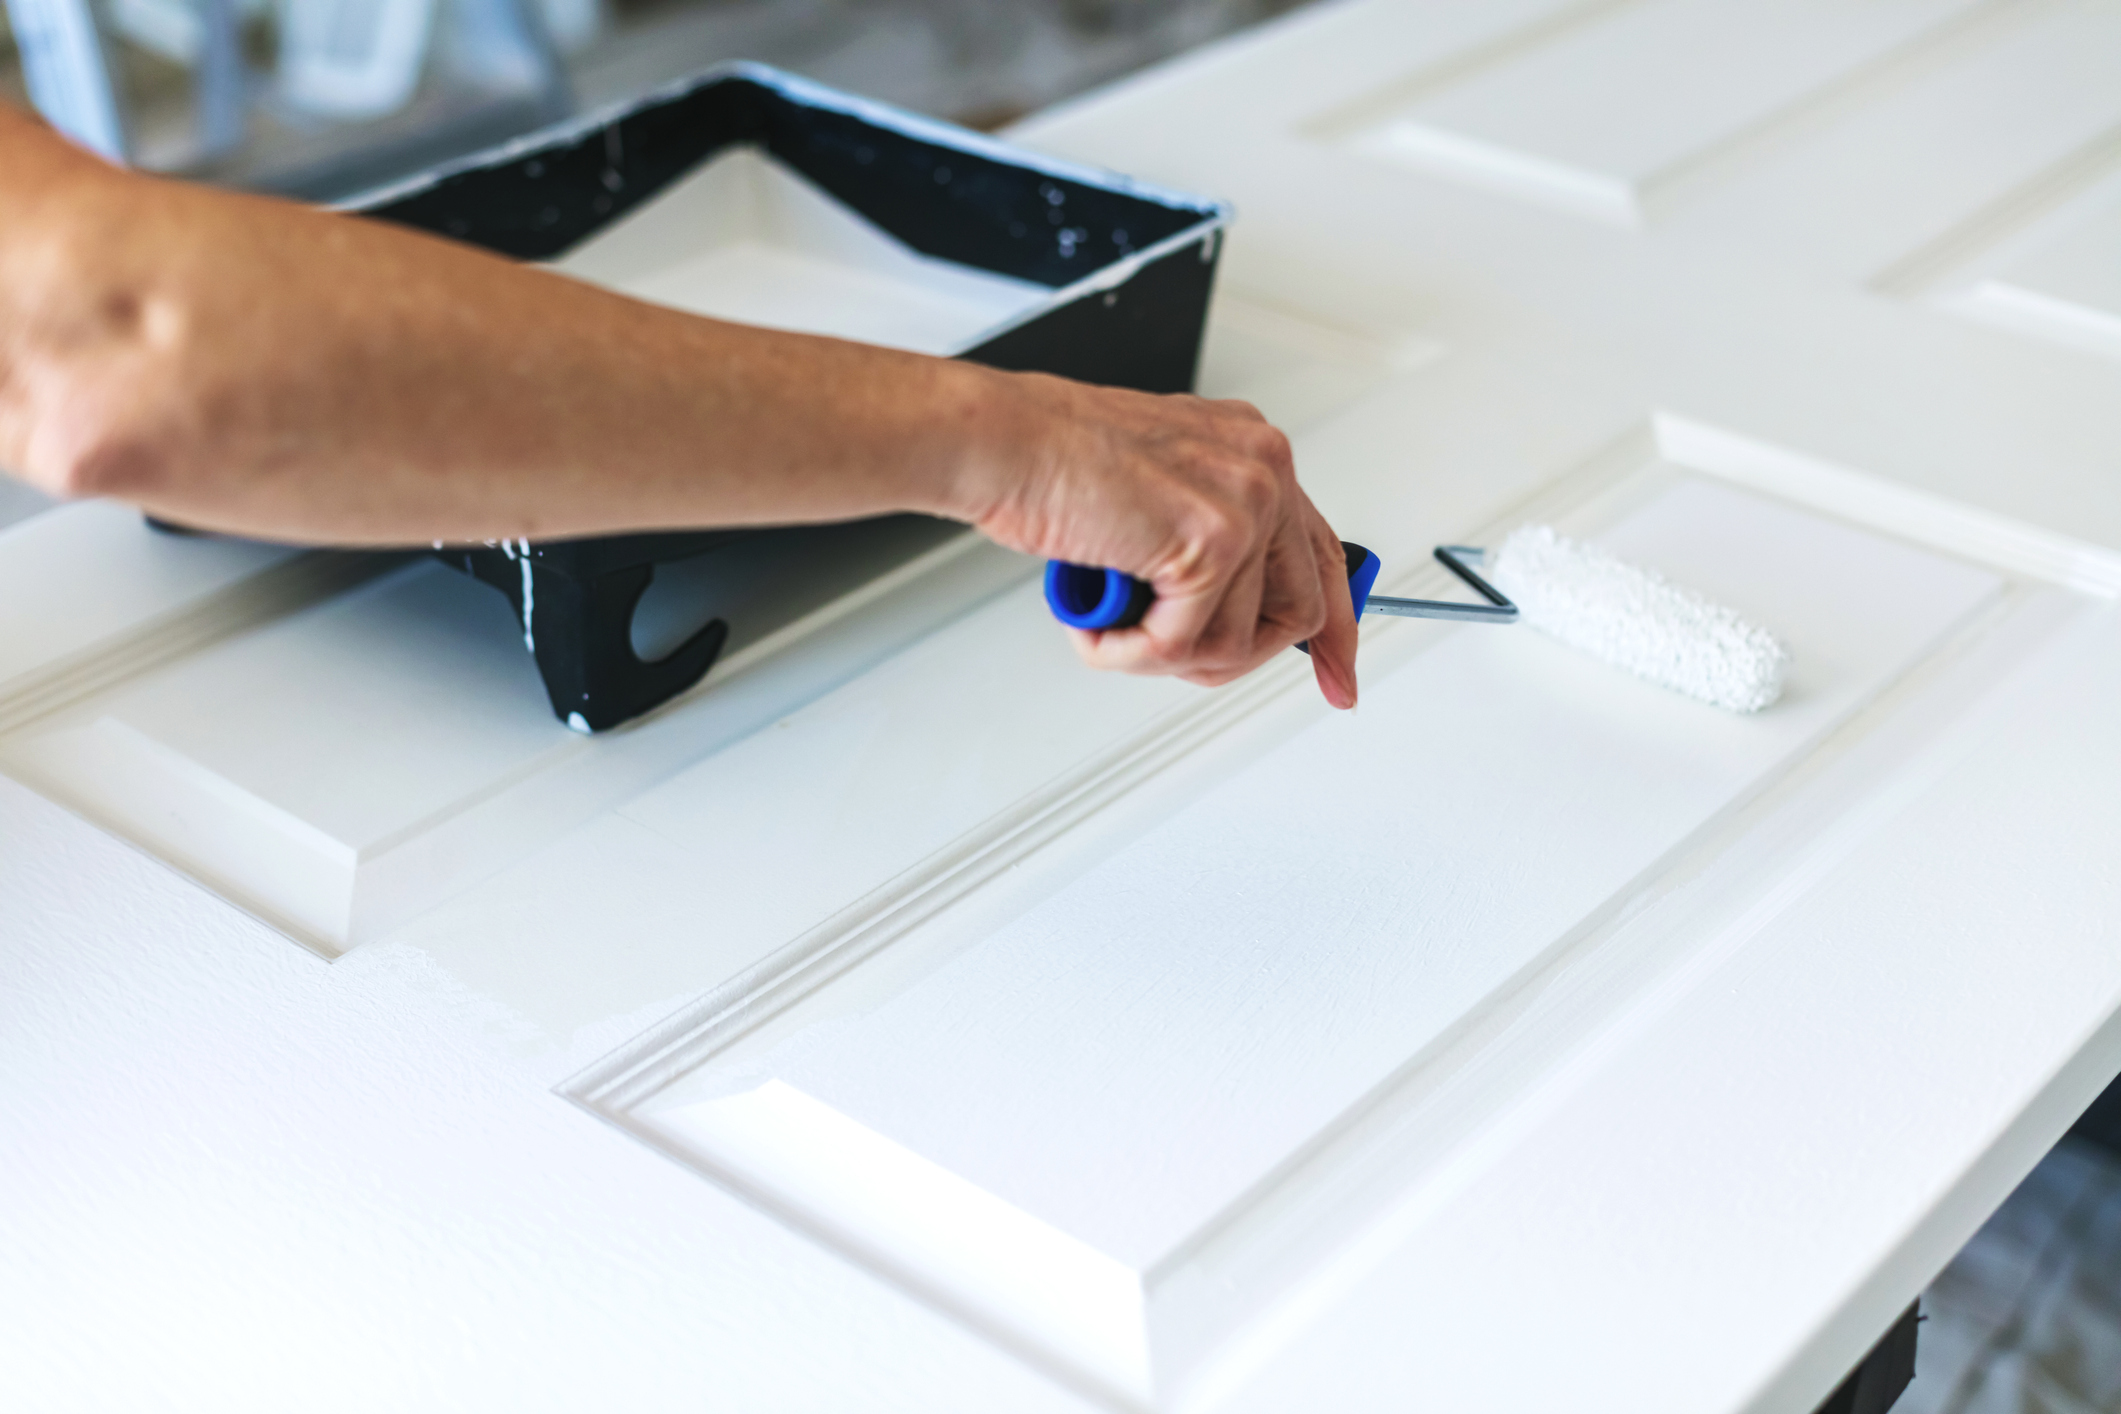
For a smart and long-lasting end result, you'll want to use a good-quality primer, suitable for the task at hand. In fact, this is one of our top interior painting tips.
Carr Lanphier, CEO of Improovy shares, 'In my experience the most important step is going to be a solid primer, which I’d consider necessary for this job if you want to ensure good adhesion with your paint over a glossier surface.'
Kelly Mardis, owner of Marcel Painting concurs, adding, 'Use a shellac primer because this will prevent the tannins in the wood from bleeding through and keep it from ruining the color of your paint. Let the primer sit for a few hours before applying your first coat.'
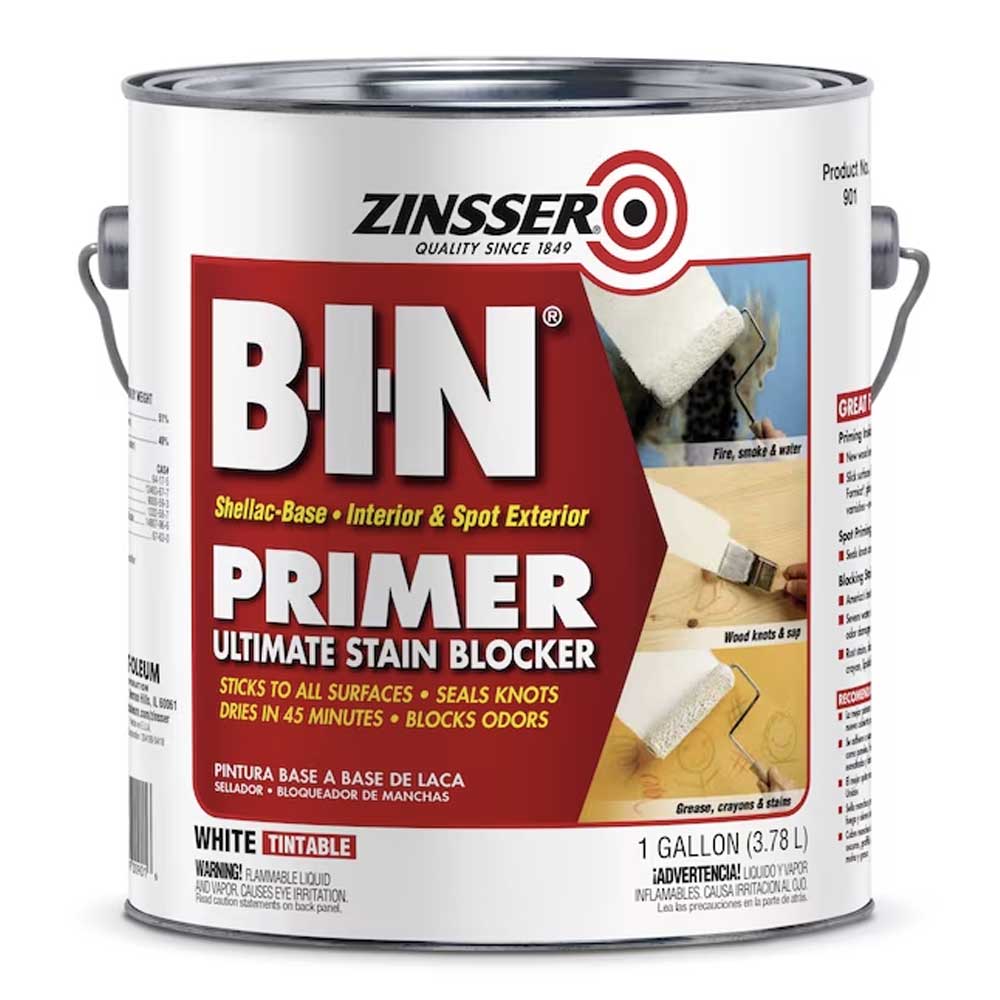
This primer-sealer is not only perfect for ensuring no stain will bleed through into your paint finish, but it can also be used elsewhere in the home when painting over water or fire damage – plus it is touch dry in 20 minutes.
5. Use the right type of paint for the job
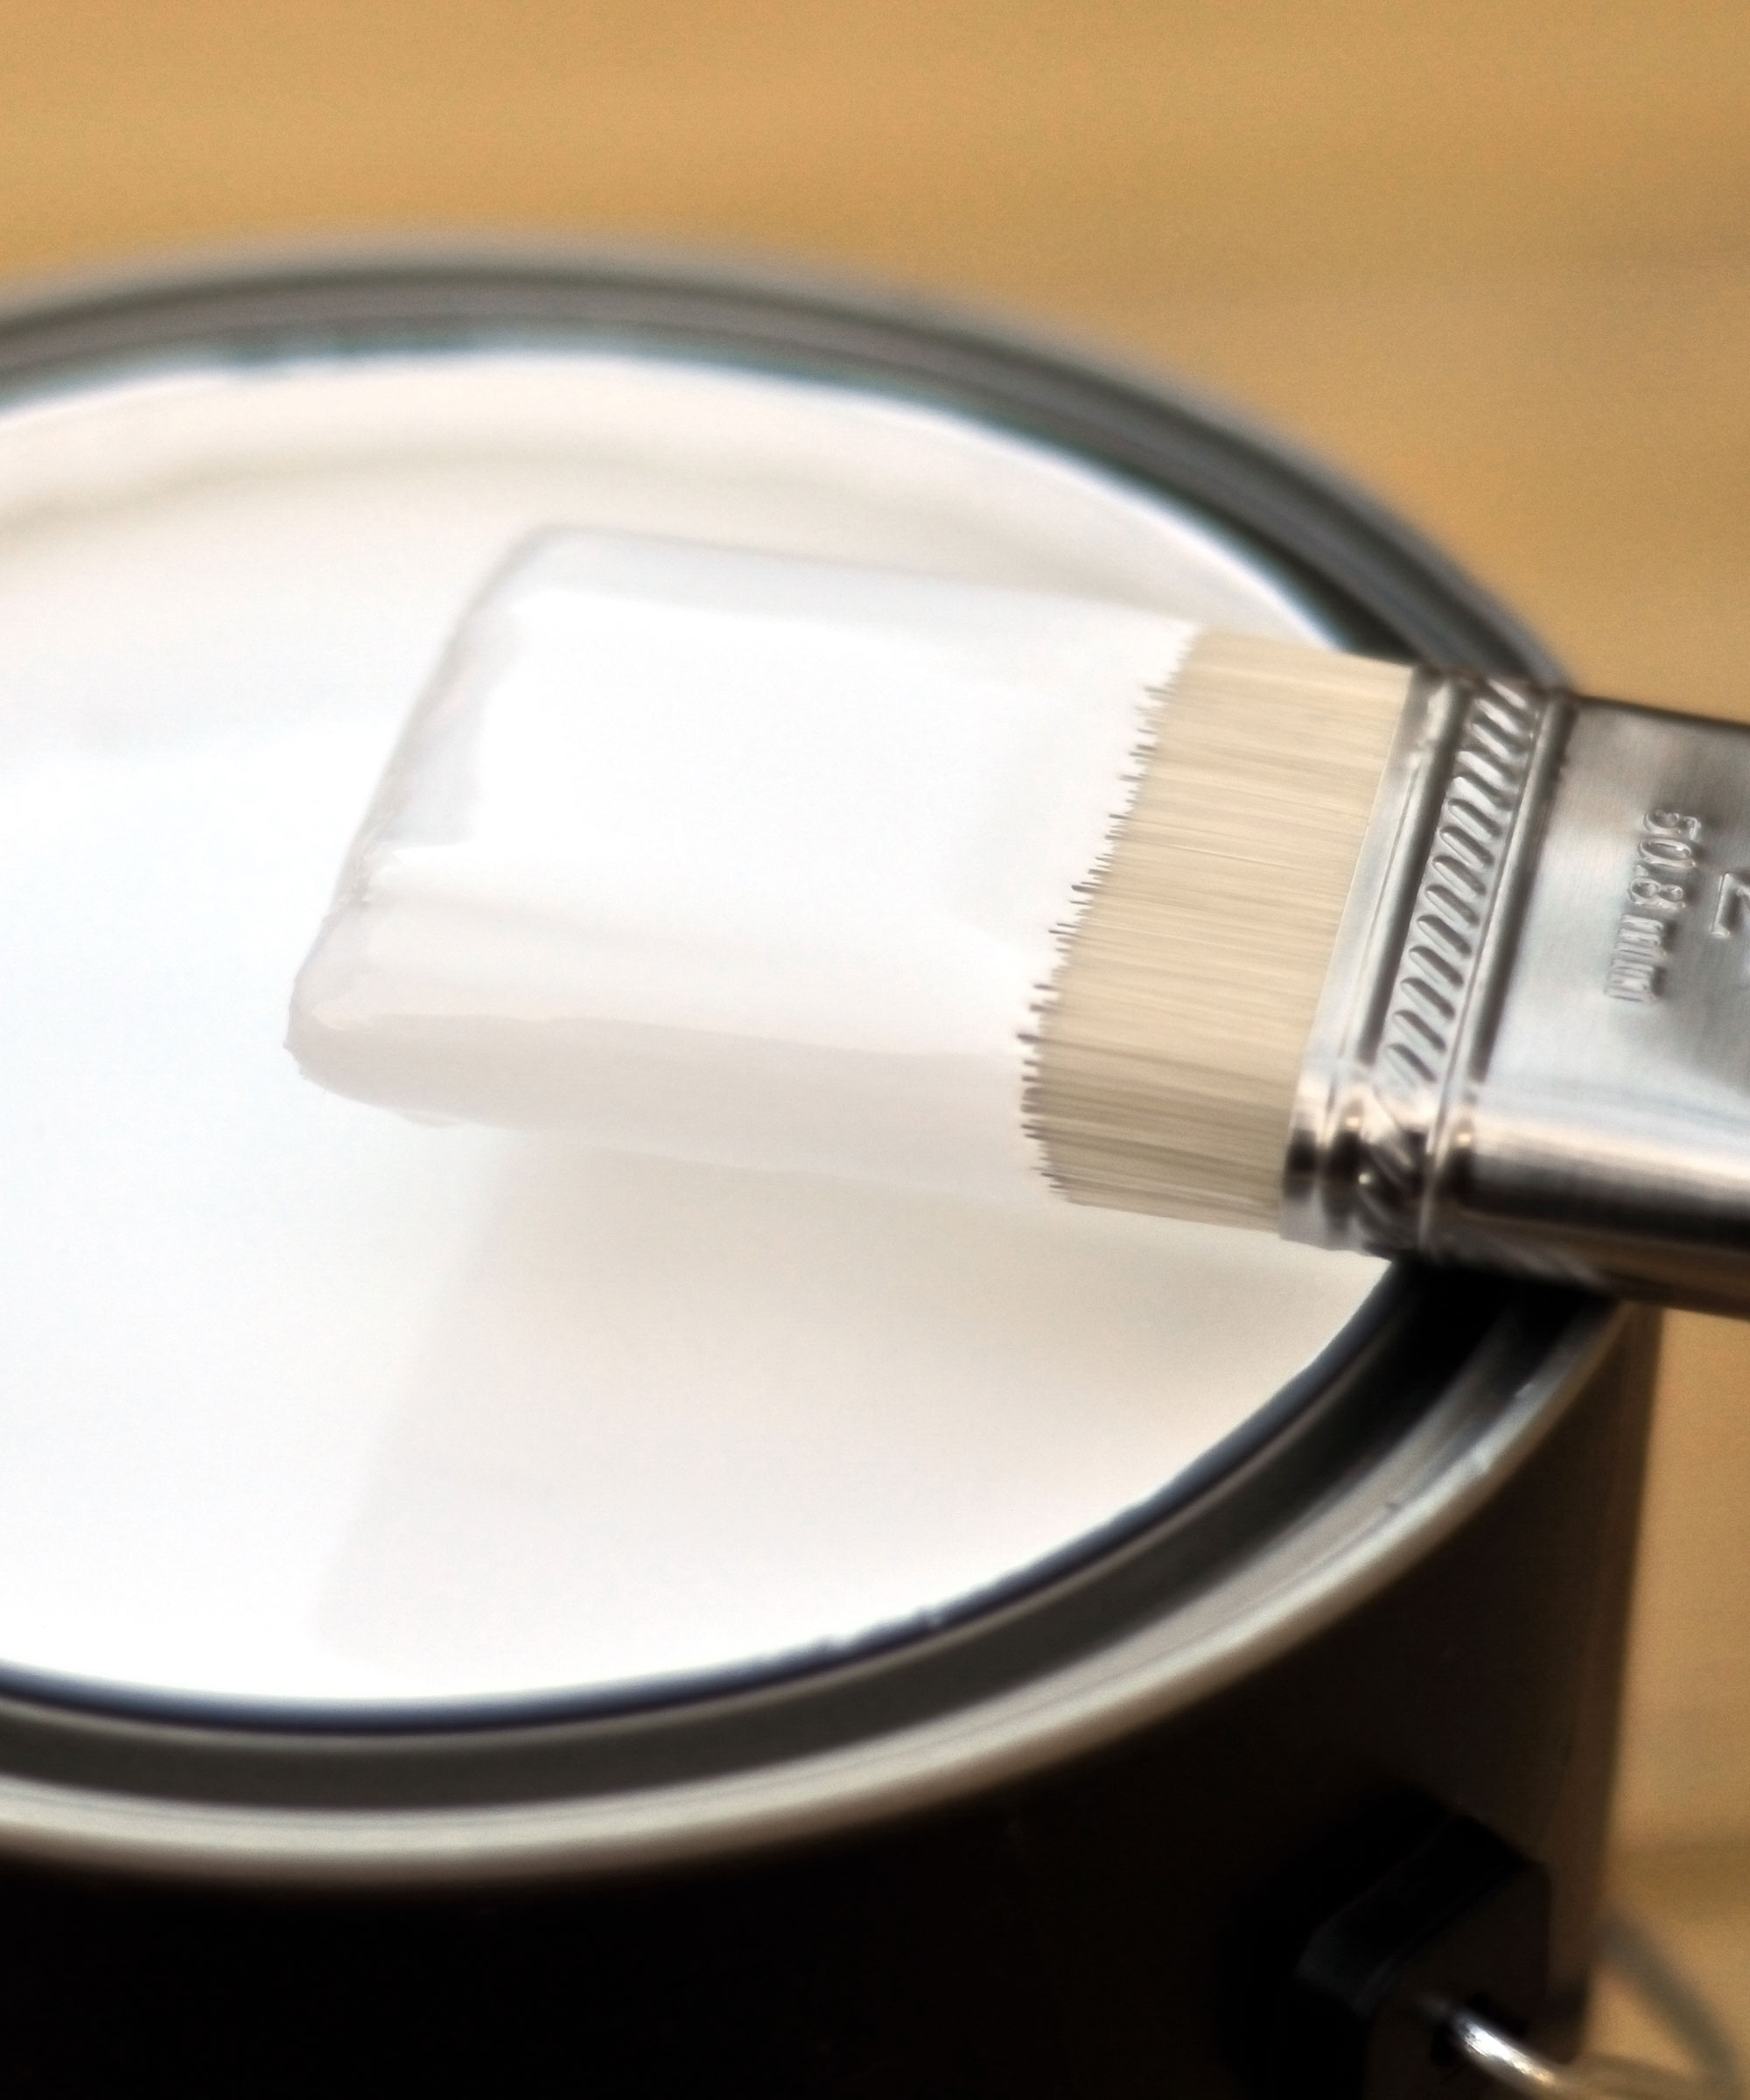
Once your primer is dry you can get painting – but do research your paint finishes carefully before parting with any money.
Steven continues, 'If you're thinking about painting, going for a high-quality paint that's made for wood surfaces will give you the best results. Satin or semi-gloss finishes are great choices if you're looking for something durable and polished, especially for furniture or cabinetry.'
According to the experts at Five Star Painting, you should use a latex primer and paint over a water-based wood stain or oil-based paint and primer over an oil-based wood stain.
6. Apply your final finish

You don't have to stick with all one color. Have some fun by painting patterns onto your old wooden furniture for a maximalist look.
Now for the bit you've been waiting for – the final paint finish. Take your time with this rather than just slathering on thick coats.
Steven recommends, 'When you’re painting, go for thin, even coats. Just make sure to let each layer dry completely before you add the next one.
'Usually, two coats do the trick for solid coverage, but if you're working with lighter colors over darker stains, you might want to consider adding a third coat.'
Paint brushes and rollers are both essential tools for painting a house and you can use either here, but if you are dealing with a carved or decorative piece, or skirting boards, a brush will make it easier to be accurate.
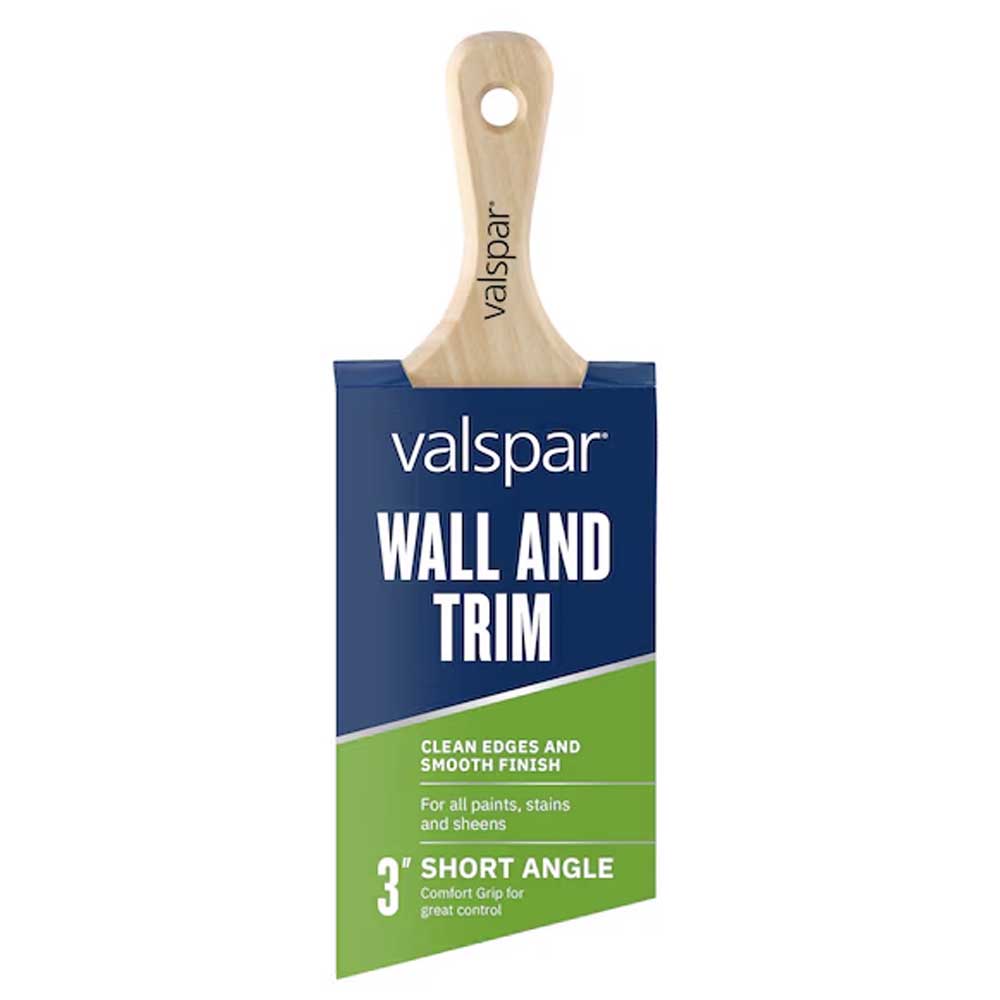
The angled finish of this brush makes it easier to get an accurate finish and is ideal for getting paint into tricky to reach spots. It is also suitable for use with all latex paints and stains.
Meet the experts

Steven leads a team with over30 years of collective expertise in the fencing and decking industry. With a passion for quality, he is committed to superior craftsmanship.

Carr is the CEO of Improovy and believes that as we evolve, the way we manage home renovation projects should too. At the forefront of a home improvement tech revolution, the Improovy team is excited about what the future may bring.

Kelly served for four years in the Navy, working to maintain and paint countless ship decks and bulkheads before moving onto to work full-time at two large painting companies, giving him years of real-world experience.
FAQs
Can you use chalk paint on stained wood?
Chalk paint gives you a lovely matt, textured finish and comes in a huge range of shades, making it ideal for many painted furniture ideas – but can you use it on stained wood?
According to chalk paint specialists Annie Sloan, you can but, as is porous there is a risk that the old stain could discolor the paint.
To avoid this, a water-based primer should be used – they recommend their Chalk Paint® Lacquer.
Why stop at the transformation of your stained wood? There are so many paint ideas that could totally switch up the look and feel of your home.
Sign up to the Homes & Gardens newsletter
Design expertise in your inbox – from inspiring decorating ideas and beautiful celebrity homes to practical gardening advice and shopping round-ups.

Natasha has been writing about everything homes and interiors related for over 20 years and, in that time, has covered absolutely everything, from knocking down walls and digging up old floors to the latest kitchen and bathroom trends. As well as carrying out the role of Associate Content Editor for Homebuilding & Renovating for many years, she has completely renovated several old houses of her own on a DIY basis.
You must confirm your public display name before commenting
Please logout and then login again, you will then be prompted to enter your display name.
-
 Lidl's brand-new garden lounge chair is so good they've had to limit it to only 2 per a customer – it is low in stock, so you'll need to act fast
Hampton's style is hiding in the Lidl aisles thanks to this budget-friendly recliner
By Jennifer Ebert
-
 Kylie Jenner, Tommy Hilfiger, and Lenny Kravitz transform their homes with prints – the London Original Print Fair Director has a method that makes their look 'accessible and affordable' in your home
Celebrities from the Kardashians to Lenny Kravitz decorate their homes with prints by famous artists, and it's easier to recreate than you might expect
By Sophie Edwards
-
 7 expert-approved painting hacks to minimize clean up – to make an already exhausting task easier
Avoid a backbreaking clean-up after your next painting project with advice from the professionals
By Chiana Dickson
-
 5 beautiful and impactful home improvement projects you can DIY this weekend for under $200 – you don't have to spend big to make a statement
From painting your fireplace to redecorating your door, little changes can transform and refresh your space
By Ottilie Blackhall
-
 Can you put wallpaper on textured walls? Experts reveal it is indeed possible with this vital step
Prep, prep and prep some more for wallpapering success
By Sophie Warren-Smith
-
 8 helpful ways to re-purpose old pillows – from making handy garden kneelers and draft excluders, to cozy pet beds
Sustainability experts say these bulky items don't have to go to waste
By Sophie Warren-Smith
-
 7 practical things you can do with leftover paint around your home including protecting outdoor furniture, tinting cement and creating touch-up kits
Pro tips to make the most of those extra supplies
By Andy van Terheyden
-
 Construction pros reveal the 6 mistakes to avoid when hanging drywall for perfect walls and ceilings
They see these all the time
By Natasha Brinsmead
-
 Why is my wall paint bubbling? Decorators reveal why it happens and how you can fix it
Bubbles look unsightly and might indicate a more serious problem
By Ottilie Blackhall
-
 Christmas decorating stalled by missing tools and essentials? These 6 festive DIY job must-haves will get your delayed tasks back on track
Get your holiday decorating going again with our Christmas first-aid kit
By Chiana Dickson