
- 1. Get everything out on the table
- 2. Out with the old
- 3. In with the new
- 4. Group containers by type
- 5. Designate a deep drawer
- 6. Customize a cabinet with internal storage
- 7. Store and organize lids separately
- 8. Stack containers by shape and size
- 9. Use the back of a door
- 10. Stay on top of organization
- FAQs
Are you looking for ideas or better ways of organizing plastic containers? We’re not surprised. Although they may be useful, plastic food containers are renowned for being tricky to store and keep in check.
It might seem like a daunting task, but if you’re in the process of organizing a kitchen, neat, tidy and well-organized contrainers will stand you in good stead.
An organized kitchen cabinet (or organized kitchen drawer, depending on the space you have available) can make all the difference to your plastic container storage. An orderly system only makes for a more eye-pleasing arrangement, but it’ll likely save you time and money, and potentially reduce food waste, in the long run.
After all, there’s nothing more frustrating when you’re rushing out of the door first thing than searching for a matching lid, chances are you’ll skip the homemade lunch and buy something instead. Similarly, you’re less likely to keep leftovers if you can’t find a container to store it in. If these sound like familiar scenarios, it’s time to tackle organizing your containers.
How to organize plastic containers
We’ve gathered some of the easiest ways to organize plastic containers, from kitchen storage ideas to decluttering tips and stacking tips, to help you create an orderly system that’s easy on the eye, easy to use, and most importantly of all, easy to maintain going forwards.
1. Get everything out on the table
Plastic containers seem to have a habit of multiplying so before you start organizing it, it’s a good idea to get everything out on the table – figuratively and literally – and work out what’s worth keeping.
‘Quantity isn't always a good thing when it comes to containers, you probably don’t use all and it's difficult to store in an orderly fashion,’ says Kate Pawlowski, co-founder of Done & Done Home. ‘Start by getting rid of any containers that don’t fit in your dishwasher, don’t have tops or aren't the right size for what you need. It’s probably time to let go of the plastic takeout boxes and yogurt pots, too.’ The same goes for containers that don’t fit well when you’re organizing a refrigerator and for freezer-safe containers that don’t work when you’re organizing a chest freezer.
Don’t feel bad about saying goodbye to a perfectly good container if you never use it. It may be a size you never find a use for, but somebody else might – donate it to charity if it’s in good enough condition or recycle it (check the label first to make sure you can).
2. Out with the old
When plastic starts to look cloudy and scratched, you know it's past its peak. Compromised containers are a no-go when it comes to reheating or storing food. As a rule of thumb, they last around five years, so if yours have been gathering dust for longer than that, it’s time to get rid of them.
3. In with the new
It’s very easy to continually add to your existing collection but be realistic about how many containers you need.
‘Aim to have anywhere from six to 15 pieces. You’ll need less if you live alone and more if you have a large family. Have a mix of sizes; more small than large overall tends to suit most households,’ advises Andra DelMonico, lead interior designer at Trendey.
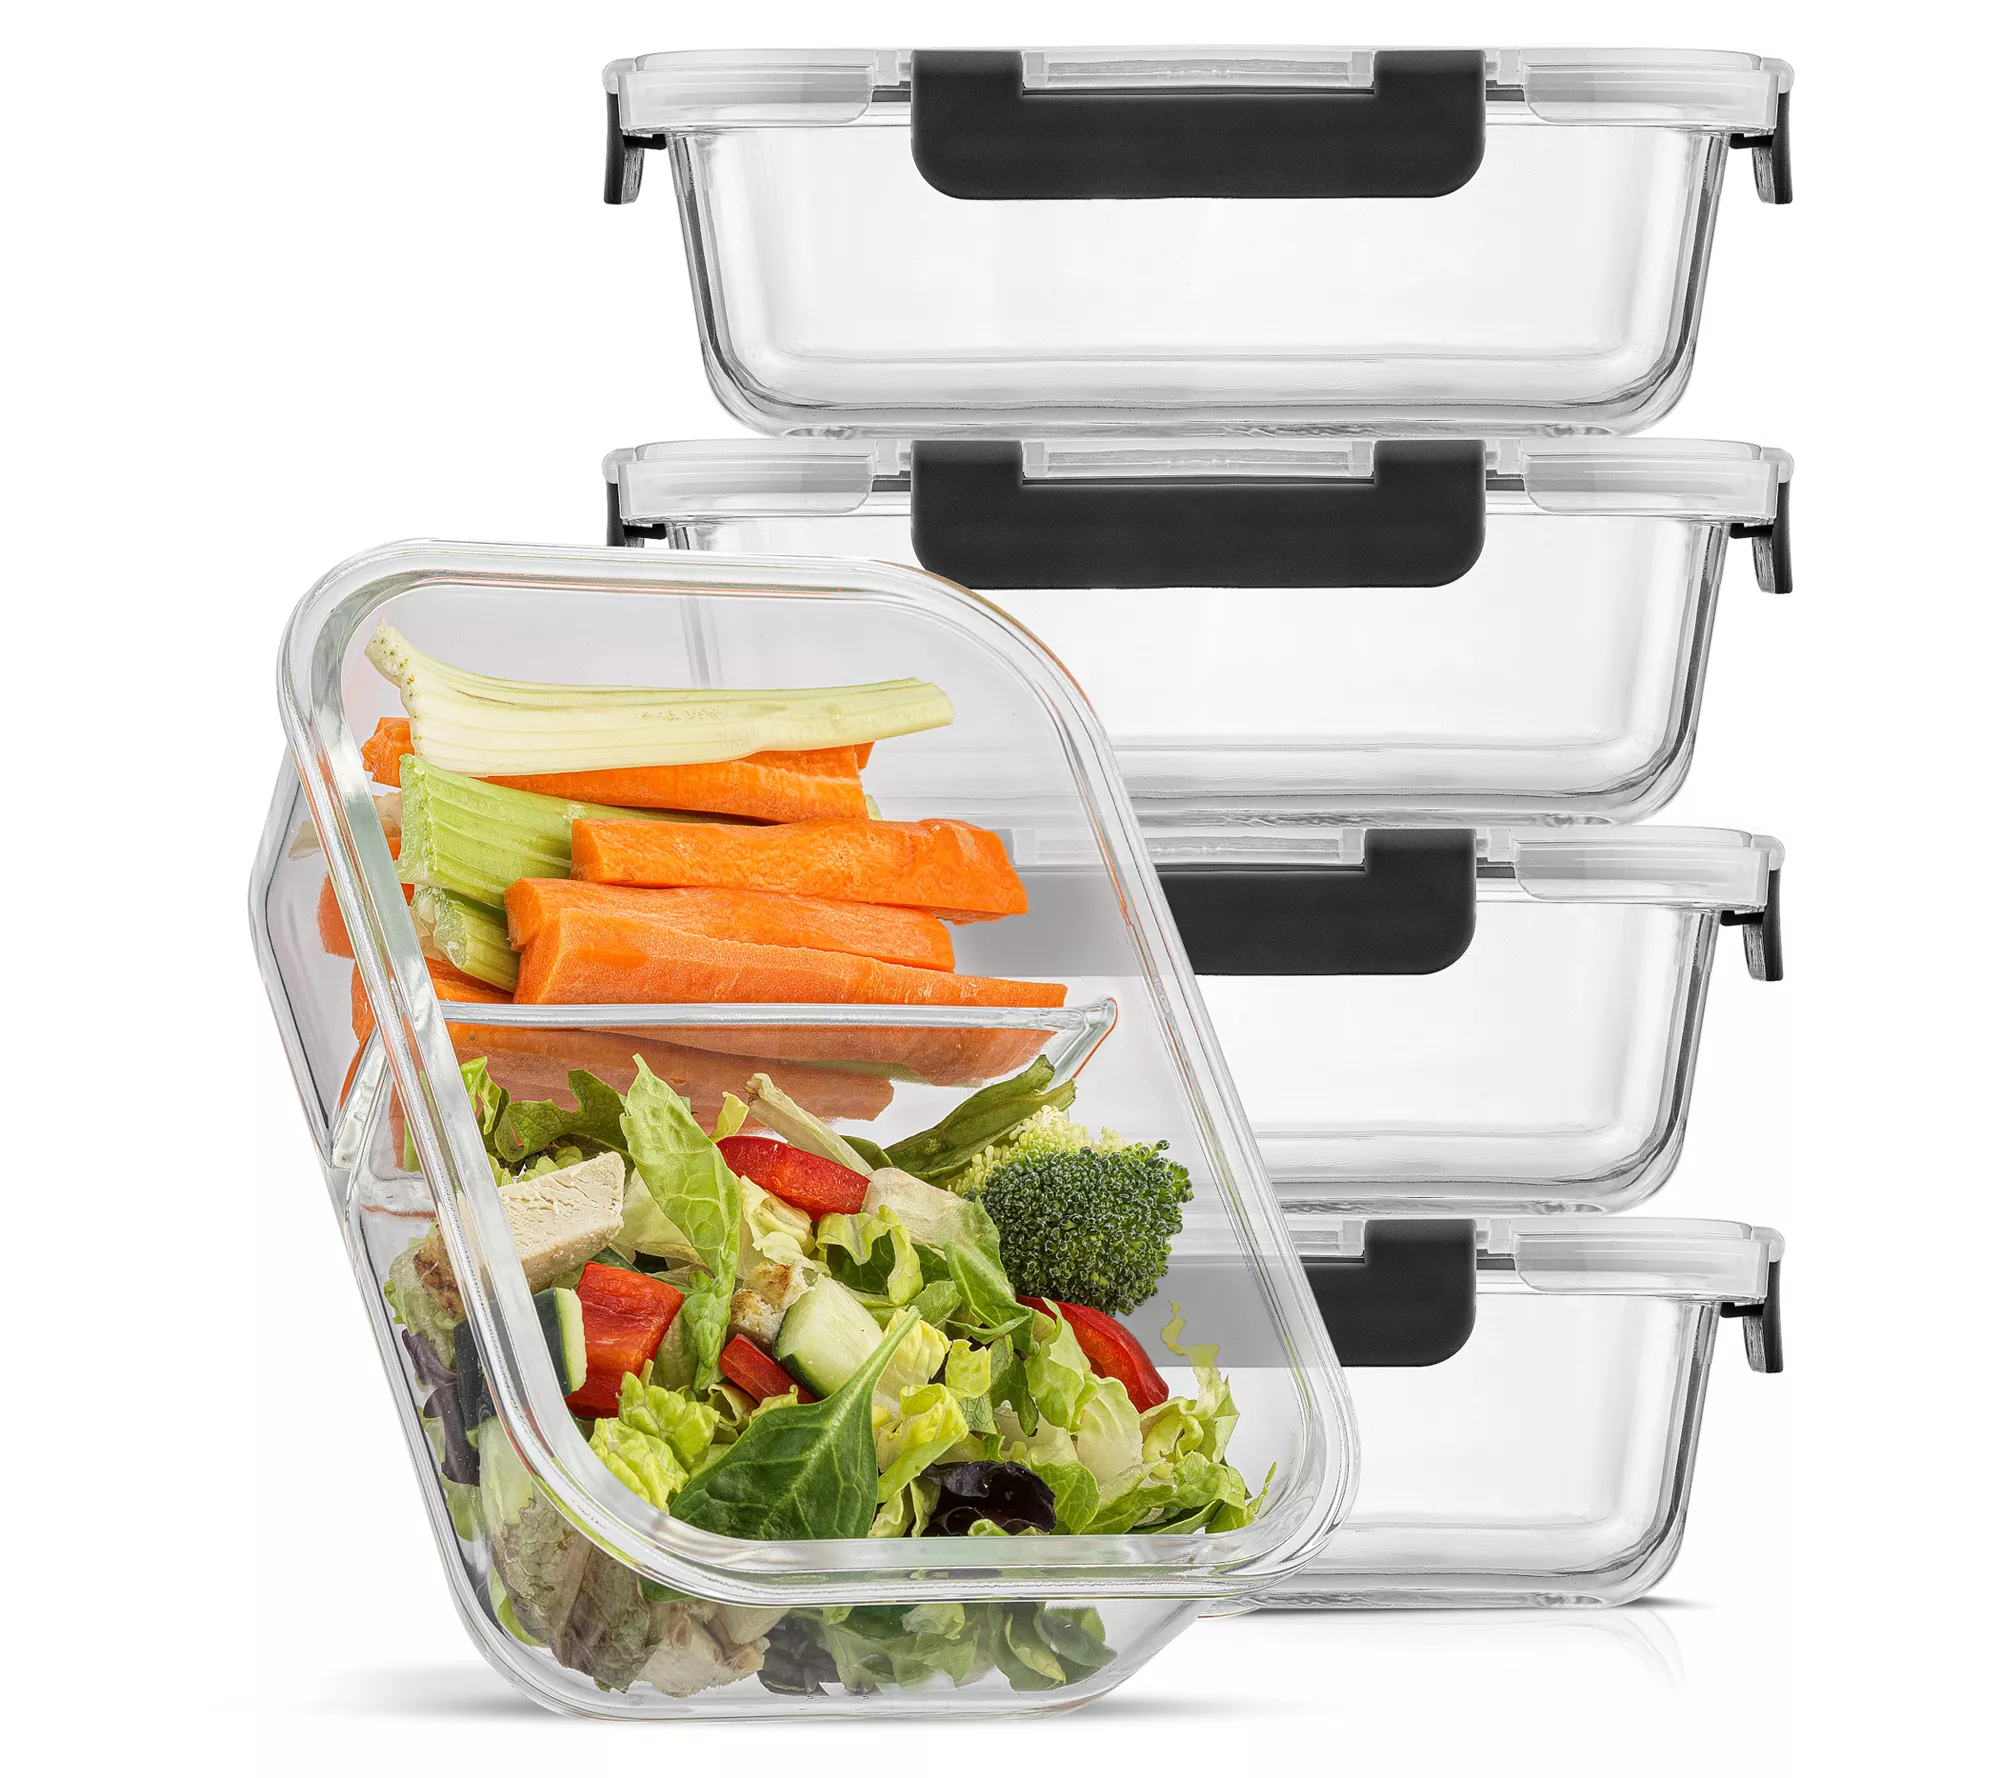
It’s also worth thinking about how you use your containers when organizing them. If you’re routinely running out of containers in a particular size, it’s worth buying a few more. Wherever possible, choose containers from the same brand – they’re more likely to stack well together. You could also consider investing in glass containers for a more sustainable approach to food storage.


4. Group containers by type
Storing items by general category is a sensible method when you’re doing anything from organizing a laundry room or organizing a utility room to organizing under the sink. Group containers you use for lunchboxes, others for refrigerator storage, for example.
Alternatively, you could pair containers and lids that fit together. Bear in mind that some container sets have identical lids that fit multiple containers of different depths, so if you tend not to use all your containers at the same time, it might be worth reducing the number of lids for a more streamlined collection.
Once you’ve achieved this, you’ll have a much clearer idea of what type of storage system will be the most efficient.
5. Designate a deep drawer
Your containers aren’t necessarily something you’ll want off show off as part of organizing kitchen countertops. If you’ve got the option, organizing a kitchen drawer – preferably a deep one – so that it's dedicated solely to plastic or glass containers is the most space-efficient storage solution, according to Stephanie Nix, kitchen designer at Neptune:
'Deep drawers will allow you to stack containers inside each other and sit the lids vertically between the containers and side of the drawer. One moderately deep drawer can hold an entire collection of containers this way, and it is much easier to see and access than at the back of a base cabinet.'
Lining the base of the drawer with a pegboard is a clever way of keeping stacked containers firmly in place when you close the drawer. You can simply adjust the dowels depending on the sizes you need to accommodate. You can also use drawer dividers to separate your categories.
6. Customize a cabinet with internal storage
Save yourself the hassle of scrabbling around in the back of a cabinet for wayward containers and turn your attention to practical storage ideas that will help you to organize kitchen cabinets instead. Corner cupboards can be installed with carousel devices to bring containers from the front to the back with a quick pull or swing, making it much more accessible.
Wire racks that pull out of slim cupboards or down from high cabinetry can also boost utility, while an internal drawer offers space for storing lids and smaller containers
Risers work well as an alternative to permanent fixtures. Stack containers underneath and then stack the corresponding lids on the top.

7. Store and organize lids separately
There are some exceptions to this rule, but for the most part, don’t store containers with the lids on. It may seem counter-intuitive, but you waste so much space by doing this. Keeping lids separate makes for a more manageable container organization system overall. Inner drawers are ideal, but if that’s not an option, keep them neat by stacking them vertically in a plate rack or utilizing drawer dividers or cleverly positioned tension rods.
For a more modular system, use plastic storage bins that fit inside your cabinet or drawer. If space allows separate lids by size, then use bins that correlate, larger bins for your biggest lids and so on. This system works well for containers, too.
8. Stack containers by shape and size
Whether you’ve opted for a drawer or a cabinet, or are organizing a pantry, a well-thought-out stacking method will save space and ensure ready access to containers. Start by nesting together ones designed stack on top of each other, then consider implementing this top tip from home organizer Kathryn Lord of More to Organising:
‘It may sound obvious, but I always advise my clients to use the shapes as your guide. Put the circles in the circles, squares in squares and rectangles in rectangles. Go from largest to smallest with the corresponding lids stacked behind,’ she advises.
If storage space is an issue, you can nest smaller containers inside larger ones, just make sure they’re easy to see so you can quickly grab what you need – investing in transparent containers rather than opaque makes this easier.
9. Use the back of a door
Fitting a rack or narrow shelving to the back of a cabinet door is a great way to maximize on space, particularly if you’re looking for small kitchen storage ideas. Depending on size, you can slot lidded containers vertically – handy for keeping tops and bottoms together. Alternatively, use it just for lids and store the containers separately in the cabinet itself.

10. Stay on top of organization
Even with the best intentions, it’s all too easy for containers to descend into chaos as you go about your weekly activities, particularly when you need to organize a small kitchen. Whatever storage system you’ve decided upon, make sure it’s one you can stick to going forward. As tempting as it is to just throw your containers back into the drawer, take the extra 30 seconds to put it back in the right spot, even if it means unstacking piles or reshuffling lids. It will save you so much time and effort in the long run.
FAQs
How do you organize containers in a deep drawer?
If you’re storing your containers in a deep drawer, you’re already off to a good start – it’s far more practical than scrabbling around at the back of a cabinet. Before you establish how you’re going to organize it, streamline your collection: are any of them broken? Or going cloudy? Do I use all these sizes? How many containers do I really need? There’s no point making space in the drawer for things you don’t need.
Sort your containers into categories for ready access, those you use for refrigerator storage, packed lunches, etc. Stack by size and shape, starting with the largest first. Store corresponding lids vertically between stacks or look to other options such as a plate rack, slim internal drawer, or a large plastic bin, depending on space.

A peg board base is a great way of separating container categories and lids and keeping them firmly in place when opening and closing the drawer.
How long should you keep plastic containers?
We’re all guilty of hoarding containers for longer than we should. The FSA advises that instructions for use should be followed and that any clear plastic storage boxes showing ‘clear signs of deterioration’ should be replaced. But how long before it’s well and truly had its day?
Five years is about the average life expectancy for plastic containers, but if it's older than 10 years, get rid straight away. It’s only in the last decade that we’ve started to understand the dangers of chemicals (such as BPA) in some plastics, so any products produced before then might not be safe to use.
Another tell-tale sign is discoloration. If the plastic has gone cloudy, or there’s stains you just can’t get out, you’re unlikely to want to use it. Also look at the texture – any disruptions on the surface mean the material is comprised which is a no go when it comes to reheating or storing food.
Look at the lids, too. If they’re no longer sealing, or they’re missing altogether, it’s lost its function. Don’t hold on to it ‘just in case’, it just adds clutter to your kitchen.
-
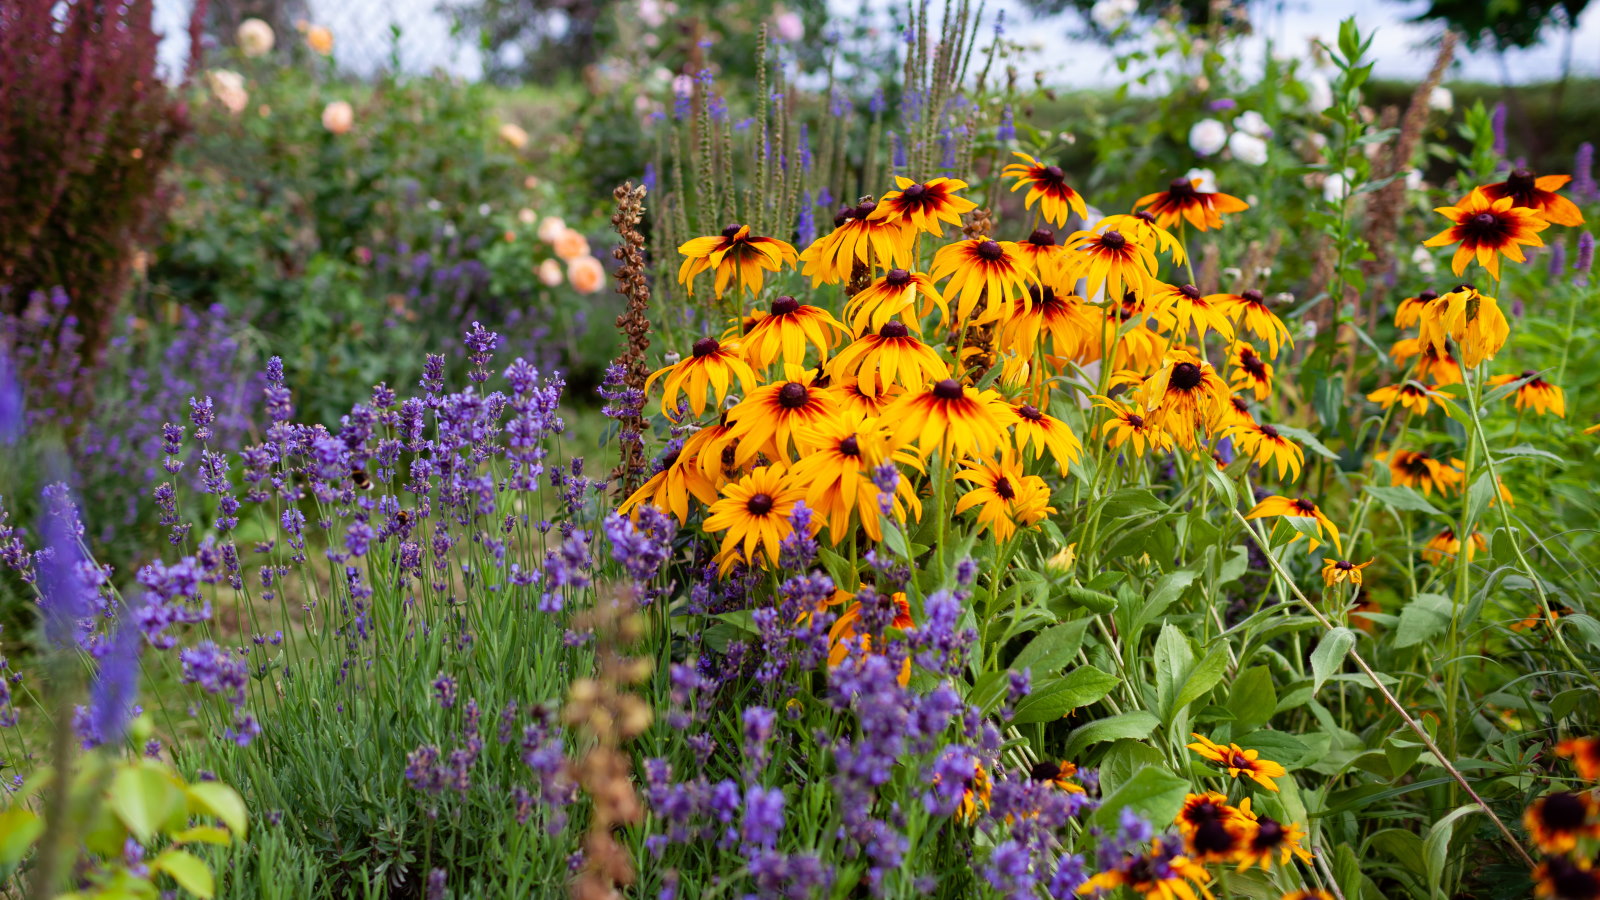 Garden experts warn against overcrowding flower beds – why this on-trend look is the worst thing you can do
It's tempting to create an abundant, overflowing garden bed, but it can limit your plants in more ways than one
-
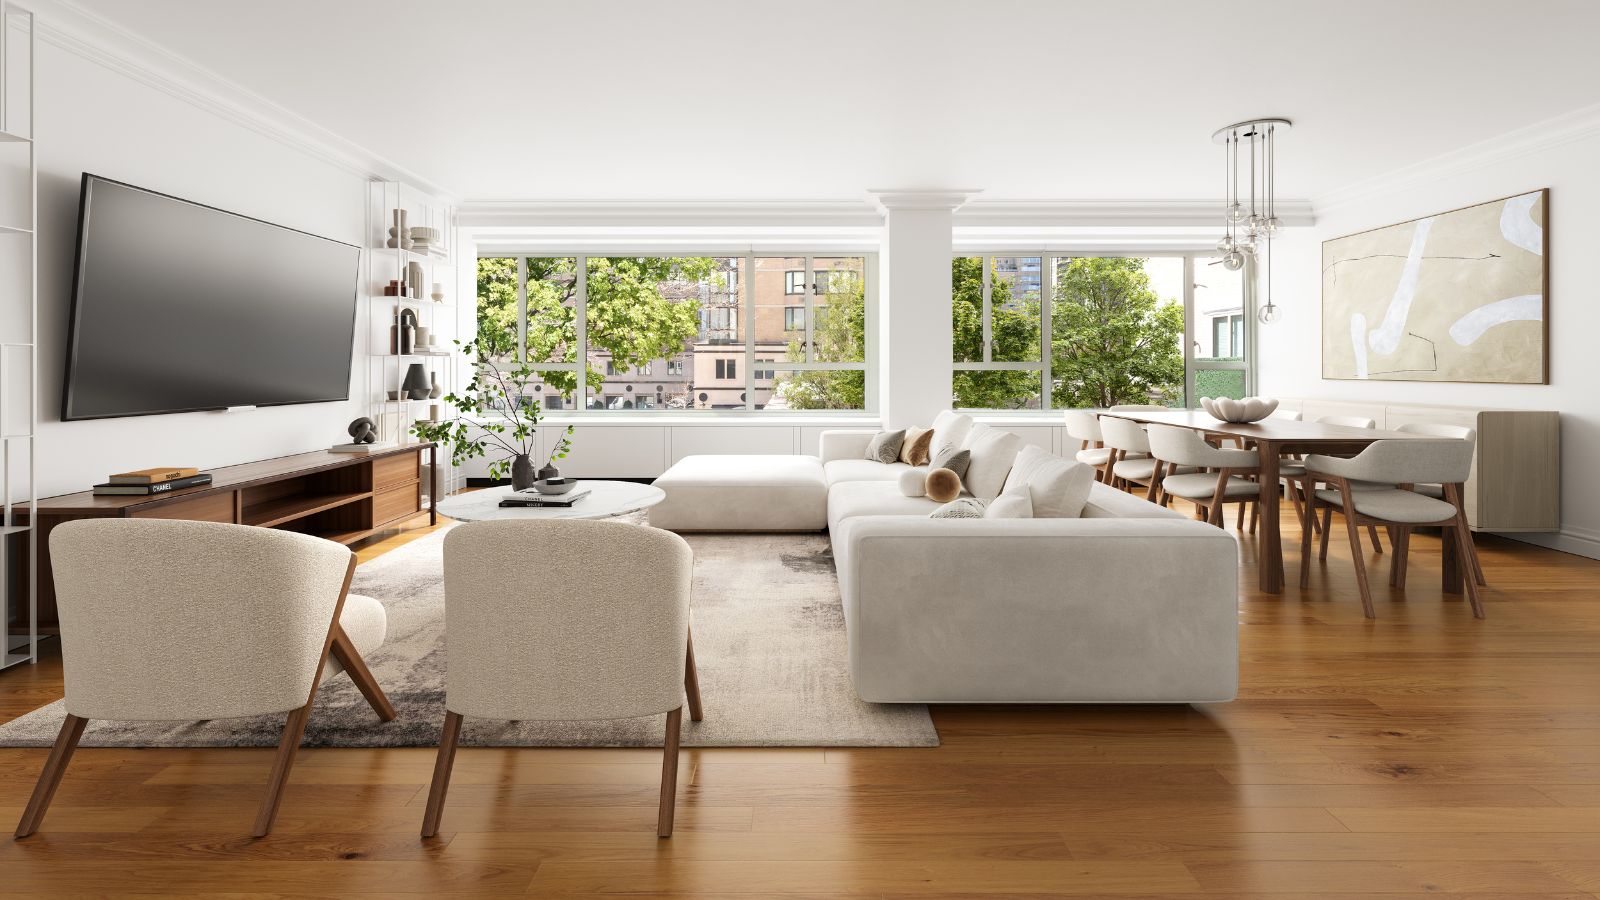 Grace Kelly's former living room set the blueprint for quiet luxury – you can explore her NYC penthouse (listed for $3.25 million)
A unit in the storied Manhattan House, where Grace Kelly, Benny Goodman, and Shirley Jackson have lived, has hit the market – it's a masterclass in neutrals


-
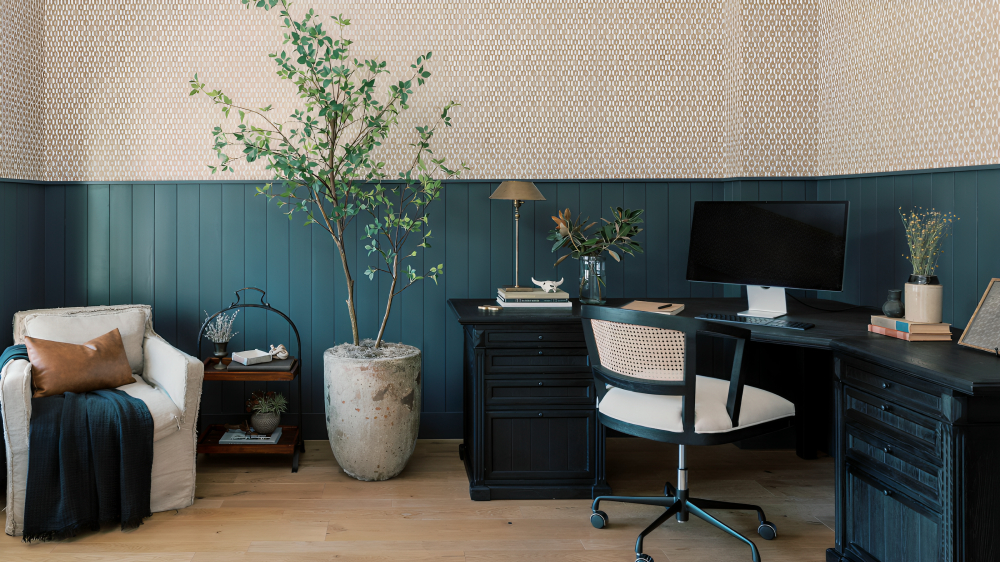 The value-based decluttering method changed my attitude toward the task – and turbocharged functionality in my small home
It's proven to be transformative for my home over the last six months
-
 5 low-energy and useful tasks to try instead of doom-scrolling – this brain hack will break bad habits
Experts urge you to try it for your wellbeing
-
 How to store a comforter or duvet properly over the warmer months – pros say 'breathable is the buzzword'
Clean, air out, fold and roll your way to a fresh and fluffy duvet
-
 This tiered Joseph Joseph dish rack solved the constant sink-side traffic jam in my kitchen
I wish I’d swapped to it sooner
-
 ‘An important tenet in staying organized’ – 6 easy habits for a more minimalist and streamlined home
Working on these organizational habits will make your home more manageable
-
 9 things to organize in April 2025 to prepare your home for a season of socializing and warmer weather ahead
Get sorted now for easier spring and summer get-togethers
-
 6 warning signs it is time to quickly reorganize your closet and make stressful mornings easy to navigate again
It is not a ‘once-and-done’ task, experts reveal
-
 5 bad habits to ditch at home that will save you wasted time and energy on unnecessary chores
You’ll have more free time than ever


