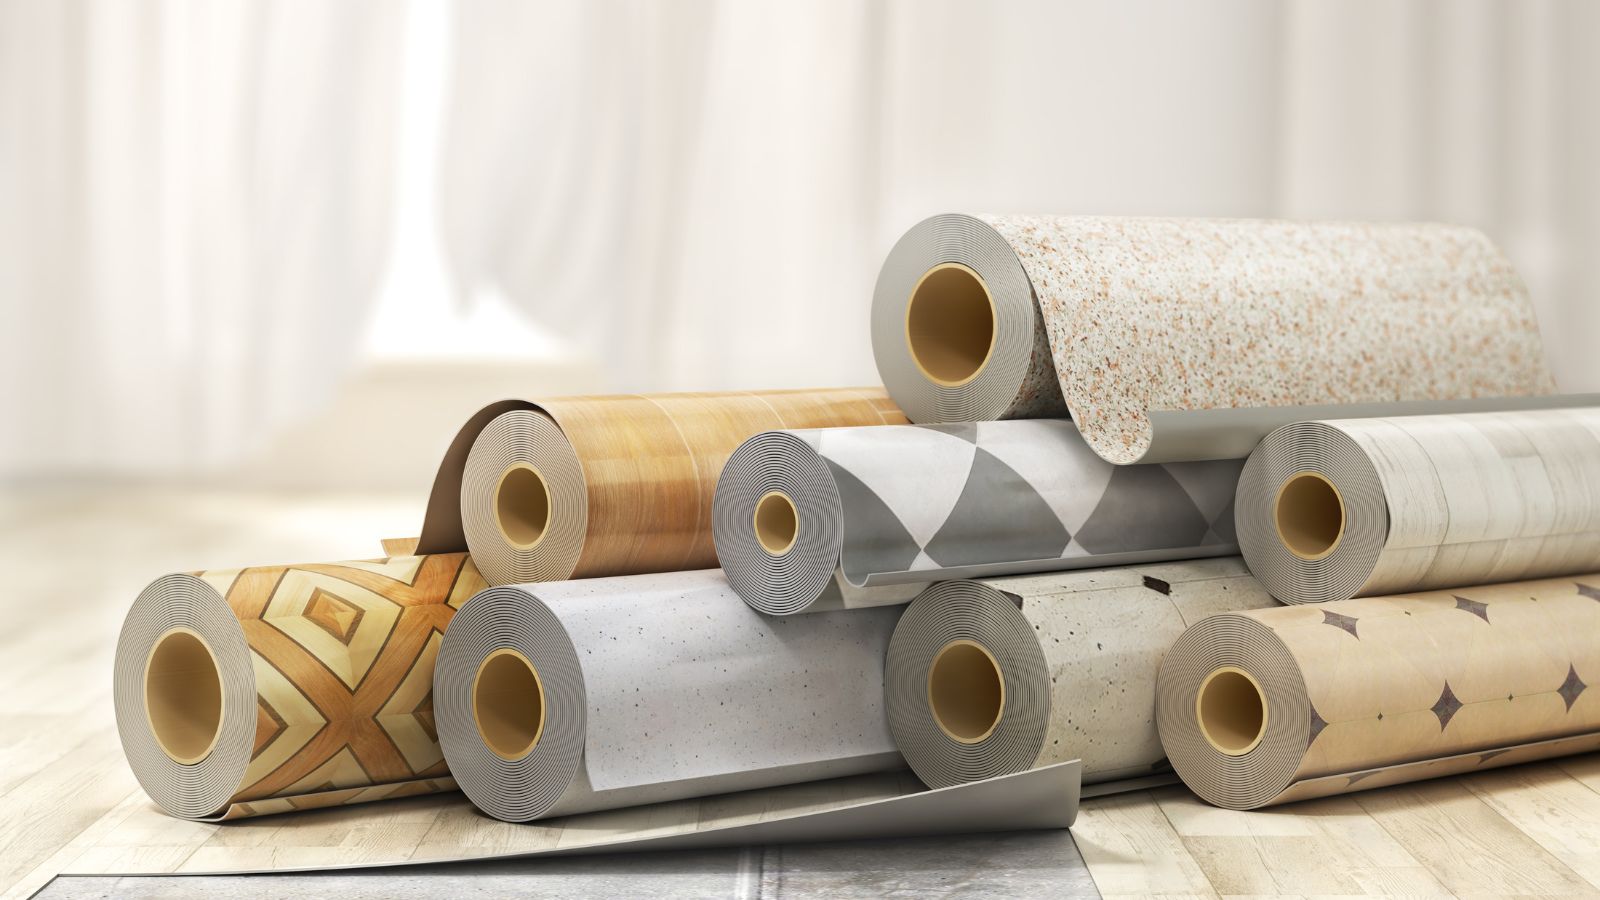
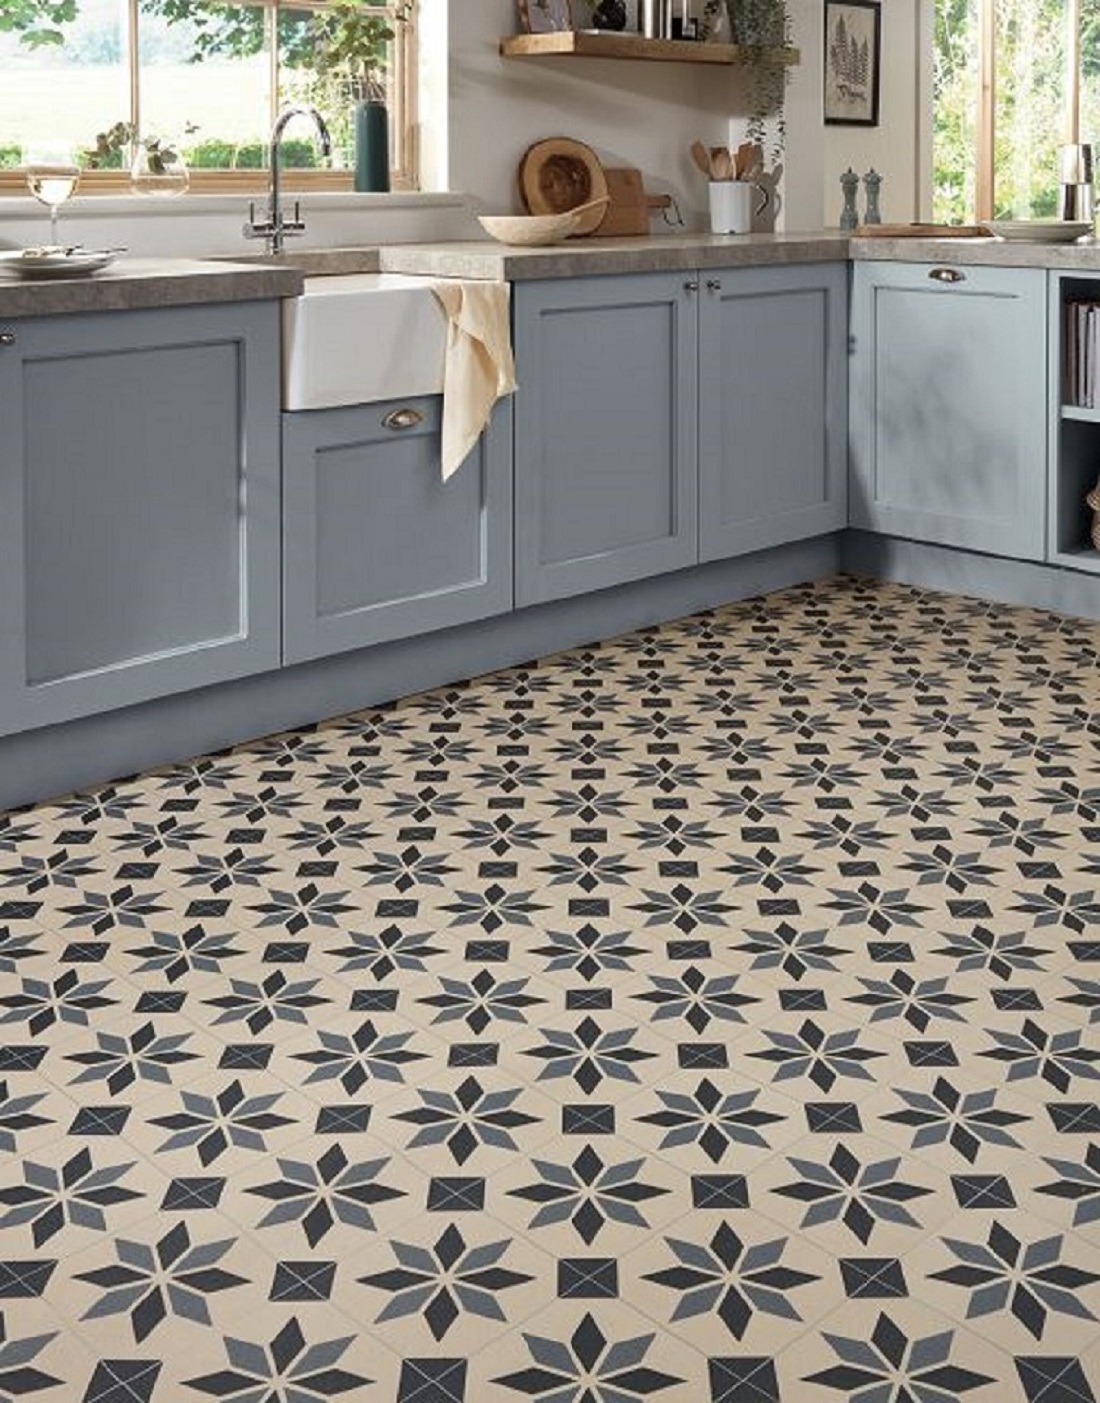
How to remove linoleum flooring – replace your outdated floors in 7 easy steps
Follow this expert advice to say goodbye to your old linoleum flooring safely and efficiently

While modern linoleum flooring has a lot in common with contemporary vinyl floors, linoleum from decades past has a distinctly 'vintage' feel.
Because of their varied styles and resilient designs, many households have tried to preserve these floors for as long as possible. But sometimes, even the toughest of floors still needs to go, and the removal task is something you can do yourself.
Perhaps you have floor tile ideas for your replacement, or maybe you've decided vinyl flooring is the easiest way to refresh your home. Either way, here's what you need to know about removing these outdated floors.
How to remove linoleum flooring
As practical as it might be, sometimes the linoleum flooring has to go. Follow our step-by-step guide to tackle it properly and safely:
1. Test for asbestos
Although linoleum flooring is making a comeback, a lot of linoleum floors will have originated from around the 1950s. They're installed using great amounts of adhesive and linoleum glues, and this can create the potential for asbestos.
Use an asbestos testing kit (available at Amazon) before starting work. Although it is possible to work with asbestos, it's always best to consult a professional before continuing.
2. Prep

'Start by clearing away all the furniture and gather your tools,' advises Korey Gregory, construction supervisor at ASAP Renovation.
You will need:
- A pry bar
- A floor scraper
- A utility knife
- A putty knife
- A hair dryer or some direct heat source will help, too.
If you want to make things easier for yourself, or if you're more of a perfectionist, an orbital sander (like the DeWalt Orbital Sander at Amazon) will help with the finer finishes.
It's also essential 'to wear the proper safety gear for removing linoleum flooring, especially if the floor is older than 1985,' Korey explains. This includes a respirator or face mask, as well as work boots, gloves, knee pads and long pants.
3. Pick start point
If there are parts of your floor that are already coming loose, you're in luck. This will make separating the flooring much easier.
'Typically, with linoleum, it is easiest to start in a corner or where the linoleum has already started to separate from the subflooring. This is because getting the first strip to free from the adhesive is one of the hardest steps,' Korey explains.
4. Score the floor
Removing an entire linoleum floor can seem like a daunting task, so you can break it down into manageable sections using a utility knife.
'What you’ll do with the utility knife is “score” the floor, which just means making cuts in the floor that go deep enough to reach the subfloor. Make multiple cuts, working in small sections (10” to 20”),' advises Rotem Eylor, CEO of Republic Floor.
5. Pull up the linoleum

'Once you've made a cut, use a flat-headed pry bar or putty knife to lift the linoleum away from the subfloor,' Korey explains. Depending on the strength of the adhesive, this might be more challenging than it seems.
'You may need to work slowly and carefully, especially if the linoleum is firmly glued down or if it is old. This will make it brittle, and instead of coming off as a clean sheet, it will splinter and fragment into shards that are much harder to remove.'
To streamline the process, it will help massively if you tackle the task with an extra pair of hands. As debris and old flooring start to accumulate, it’s easiest to have someone remove it as you go.
6. Apply heat & scrape
After pulling up what you can, there may still be stubborn layers left over. Heat will help to loosen the adhesive. 'You'll want to take a heat gun (or hair dryer) on high heat and go over the sections to warm the linoleum on the floor,' says Rotem Eylor.
Then, a floor scraper will help remove the remaining linoleum layers and any residue. Once the floor is mostly clear, an orbital sander will help finish off the remaining spots.
7. Clean the subfloor
Once all of the linoleum, adhesive and residue is gone, thoroughly clean the subfloor. Unless you're cleaning a concrete floor, avoid using anything wet, as this can damage your floorboards and seep into the materials beneath.
Now that your flooring's gone, you might be thinking what to replace it with. Is laminate flooring right for your home? We spoke to experts for everything you need to know. And while replacing your flooring, you'll need one of the best vacuums, too.
Sign up to the Homes & Gardens newsletter
Design expertise in your inbox – from inspiring decorating ideas and beautiful celebrity homes to practical gardening advice and shopping round-ups.

Dan is the Home Tech Editor for Homes & Gardens, covering all things cleaning, smart home, sound and air treatment across the Solved section. Having worked for Future PLC since July 2023, Dan was previously the Features Editor for Top Ten Reviews and looked after the wide variety of home and outdoor content across the site, but their writing about homes, gardens, tech and products started back in 2021 on brands like BBC Science Focus, YourHomeStyle and Gardens Illustrated.
They have spent more than 200 hours testing and reviewing vacuums for Homes & Gardens, and have even visited Dyson's engineering labs for the full low-down of the ins and outs of our trusty cleaners.
Dan has a BA in Philosophy and an MA in Magazine Journalism. Outside of work, you'll find them at gigs and art galleries, cycling somewhere scenic, or cooking up something good in the kitchen.
-
 5 thrift store finds that will transform your living room, suggested by interior designers who love vintage
These are the top five pieces to look for when you're next at the thrift store for a one-of-a-kind living room that embraces the eclectic trend
-
 This year's Met Gala outfits are the source of color inspiration I didn't know I needed – Anna Wintour's all cool-blue look has given me the perfect scheme for my living room remodel
Farrow & Ball has created sumptuous color schemes based on this year's best Met Gala outfits, and they are a great source of inspiration if you are looking for super on-trend palettes