

Over time, grout between tiles can become discolored, cracked, or damaged, making your tiled areas look old and tired. Regrouting is an easy, cost-effective way to refresh the appearance of your tiles and extend their life.
Our expert guide reveals all you need to know – with a few tools and a little time, you can accomplish this DIY project in a weekend.
Armed with our genius DIY tips, you'll have your grout gleaming in no time.
What you'll need
Timing is important when grouting, particularly when it comes to applying the new grout. You don't want to suddenly realise you're missing key tools just when you need them.
So before you get to work, ensure you're all set with these essentials:
- Grout removal tool – This 29-piece DEWALT Oscillating Tool Kit from Amazon comes with a variable speed trigger and quick-change accessory system.
- New Grout (Sanded or Unsanded) – This Polyblend Plus Sanded Grout from Amazon comes in more than 30 shades from Antique White to Winter Gray.
- Grout Float – This QEP Grout Float from Walmart has a beveled edge to make applying grout to tiles straightforward.
- Grout Sealer – This Custom Building Products Aqua Mix Sealer's Choice Gold from Walmart offers protection for tiles in less than four hours.
- Mixing Bucket and Trowel – Try this Encore Plastics 2.5 Quart Mix' N Measure Container from Amazon.
- Sponge and Clean Cloth – We like this large Marshalltown Tile Grout Sponge from Walmart.
Step 1: Prep the area

Before you begin, clean the tiled surface thoroughly.
Karina Toner, operations manager at Spekless Cleaning, says, 'Before starting, clear the area of any obstructions and cover nearby surfaces with plastic sheeting to protect them from dust and debris.
Ensure the tiles themselves are clean by wiping them down with a mild detergent and water. This preparation ensures that the new grout will adhere properly without dirt or oils interfering.'
This Film-Gard Store Construction Plastic Sheeting from Amazon is durable and will last you for multiple projects.
Remember to make sure everything is completely dry before getting started. If you're working in the shower, check out our guide on the best way to clean shower grout.
Step 2: Remove old grout

Using a grout removal tool or rotary tool, carefully scrape out the old, damaged grout from between the tiles.
Work slowly to avoid scratching or chipping the tiles. Be sure to remove at least 1/8 inch of grout to allow proper bonding for the new grout.
Toner recommends this Dremel Variable Speed Rotary Tool Kit from Amazon. She says, 'This rotary tool comes with a grout removal attachment, making it an excellent choice for efficiently removing old grout. Its precision ensures you don’t damage the tiles, and it’s versatile for other home improvement projects.'
Vacuum the debris and wipe down the surface. This cordless Sharper Image Handheld Vacuum, available from Target, comes with a handy dust bin release button – plus great reviews.
For more tips on this stage, check out our dedicated guide on how to remove tile grout.
Step 3: Mix new grout

Next, it's time to prepare your grout.
Jon Christensen, CEO of home improvement experts Bidmii, says, 'First things first – you'll need to select the right grout. Choose sanded grout for joints wider than 1/8 inch and unsanded grout for joints 1/8 inch or narrower.
'Next, follow the manufacturer's instructions to mix the grout to a smooth, peanut butter-like consistency. Allow the grout mixture to rest for about 10 minutes, then stir again before application.'
Christensen recommends Polyblend Non-Sanded Grout from Amazon. He adds, 'It's ideal for narrow joints, offering a smooth finish and strong bonding.'
Step 4: Apply the grout

Applying your grout requires care and precision.
Christensen says, 'Using a grout float, apply the grout diagonally across the joints, pressing firmly to ensure gaps are completely filled.
'Work in sections, focusing on small areas to prevent the grout from drying out before you can clean the excess.'
Christensen recommends this QEP Molded Rubber Grout Float from Amazon, adding, 'Durable and easy to handle, this float ensures smooth and efficient grout application.'

Offering super value for money and known for being easy to work with, this sanded grout is simple to mix and comes in more than a dozen colors. Shrinkage can be an issue with some grouts but not this one. We also love the guaranteed color consistency when mixing up new batches.

Though more expensive than other grout floats out there, if you are tackling large areas of tile that need to be grouted then you should seriously consider it. It is lightweight, comfortable to grip, grabs and pushes grout easily into joints and is built to last. Users also love how easy it is to clean off.

You'd be forgiven for thinking that a sponge is a sponge, but when it comes to grouting you need to look out for certain features – and this one has them all. It's a good size, and slightly abrasive – which helps remove old grout. Last but not least, it is durable, so won't fall apart while you work.
Step 5: Remove excess grout

Once the joints are filled, gently wipe the excess grout from the tile surfaces with a damp sponge. Be careful not to drag grout out of the joints.
Rinse the sponge frequently and continue wiping until the tiles are clean. Let the grout set as directed by the manufacturer.
Step 6: Cure and seal

Allow the grout to cure for 24 to 48 hours. Once the grout is fully dry, apply a grout sealer to protect it from moisture and stains.
Failing to seal your grout is among our top five grouting mistakes to avoid. Timothy Wood, founder of service expert hub Fix It Today, says, 'Always seal your new grout after it dries. This step is crucial for protecting it from moisture, stains, and dirt, especially in areas like bathrooms or kitchens where water is constantly around. Skipping this step could leave your new grout vulnerable.'
Toner and Christensen both recommend Aqua Mix Sealer's Choice Gold from Amazon as a reliable grout sealant. Christensen adds, 'It's a really excellent penetrating sealer that provides maximum stain protection without altering grout appearance.'
So there you have it – how to regrout between tiles when your grout is looking tired. With patience and the right tools, this DIY project will leave your tiled areas looking polished and clean for years to come.
Next, check out our answer to the commonly-asked question: Can you paint grout lines?

-
 Do cleaning products expire? Professional cleaners warn time could make them ‘less effective, and in some cases, irritating to use’
For the best results, it pays to stay on top of the timeline of your cleaning products
-
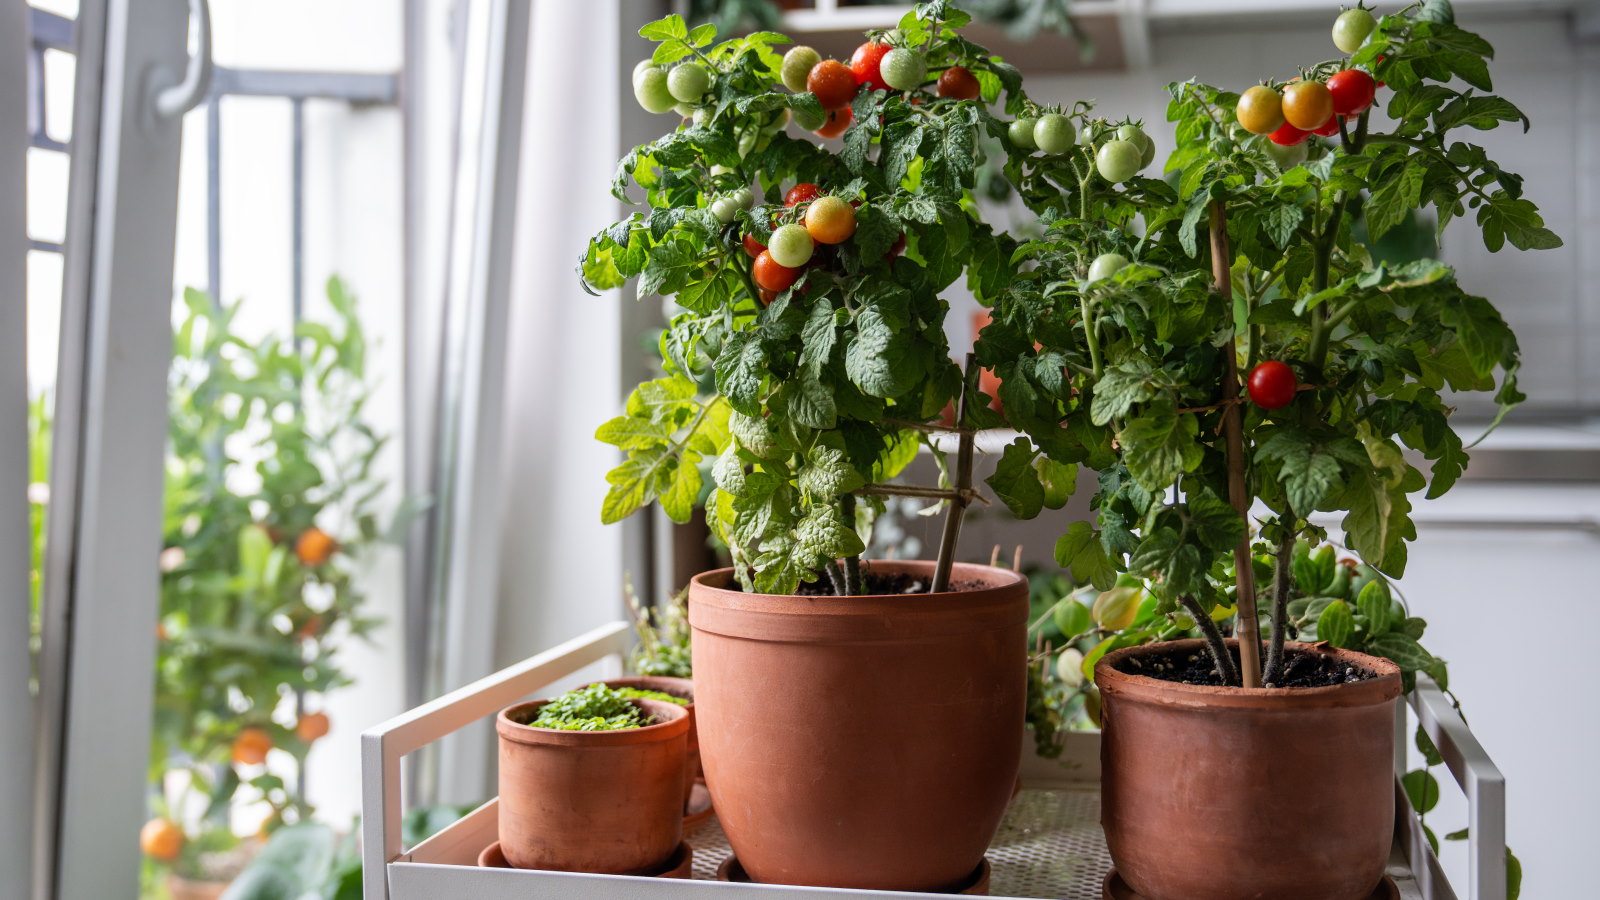 7 of the best tomatoes for growing in pots - expert growers pick their top varieties ideal for large harvests from containers
You can enjoy bumper homegrown harvests in small spaces


-
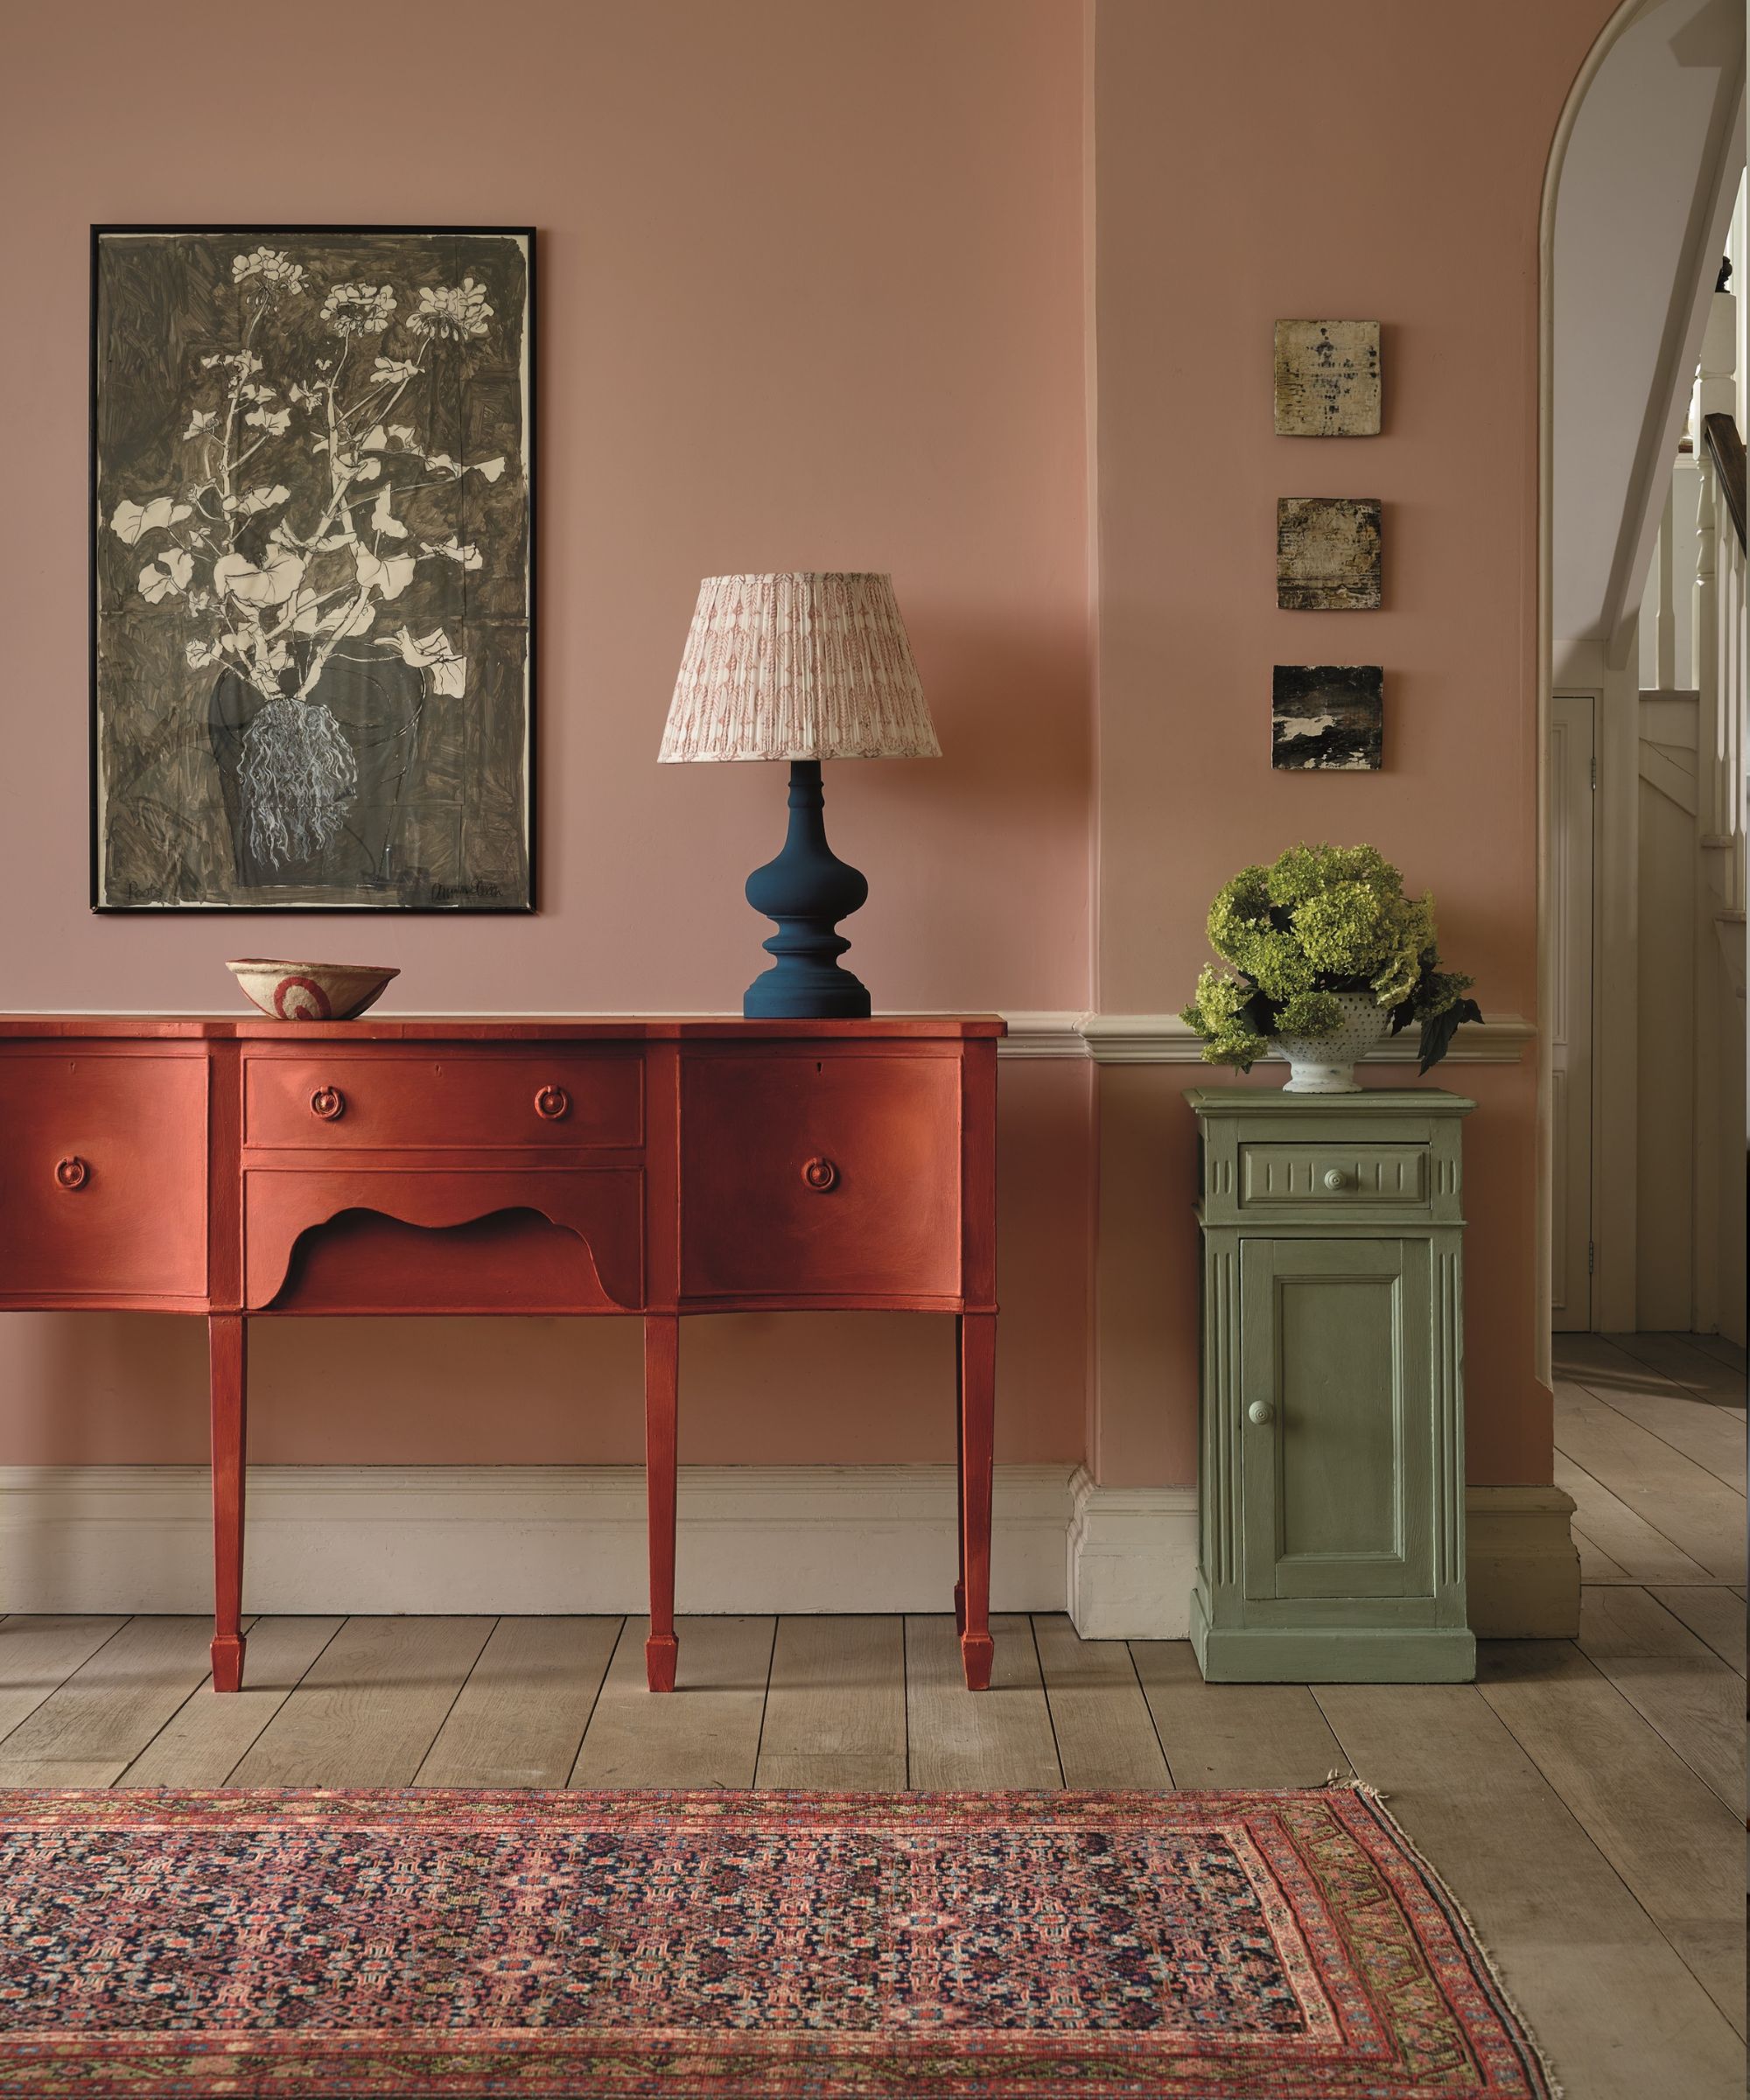
 5 beautiful and impactful home improvement projects you can DIY this weekend for under $200 – you don't have to spend big to make a statement
From painting your fireplace to redecorating your door, little changes can transform and refresh your space
-
 How to paint over stained wood – 6 simple steps expert painters swear by for even, lasting finishes
Skipping even one step will result in chipping paint, experts warn
-
 Can you put wallpaper on textured walls? Experts reveal it is indeed possible with this vital step
Prep, prep and prep some more for wallpapering success
-
 8 helpful ways to re-purpose old pillows – from making handy garden kneelers and draft excluders, to cozy pet beds
Sustainability experts say these bulky items don't have to go to waste
-
 7 practical things you can do with leftover paint around your home including protecting outdoor furniture, tinting cement and creating touch-up kits
Pro tips to make the most of those extra supplies
-
 Construction pros reveal the 6 mistakes to avoid when hanging drywall for perfect walls and ceilings
They see these all the time
-
 Why is my wall paint bubbling? Decorators reveal why it happens and how you can fix it
Bubbles look unsightly and might indicate a more serious problem
-
 Christmas decorating stalled by missing tools and essentials? These 6 festive DIY job must-haves will get your delayed tasks back on track
Get your holiday decorating going again with our Christmas first-aid kit


