Professional decorators reveal their top tips for preparing a room for painting
Use this expert advice to get the best results every time you redecorate


The quickest way to refresh a room is to paint it, but in your haste to update it with your new favorite color, it would be easy to neglect the preparations needed to do a neat job.
If you don’t make sure the walls are smooth and anything you don’t want to be painted is covered before you start, the results will be marred by imperfections. And if you can’t live with those irritating mistakes, you risk having to redo the room.
Below, we share some expert tips on the best ways to prep your space when painting a room so that paint goes on easily, adheres well, and the finish is crisp and even.
1. Removal and protection
Step one is to clear the room so you have space to work and won't splatter paint over your furnishings. Remove items like door furniture, picture hooks, light fittings and switches if you can and store away safely. Tape the small screws and hooks to whatever they were used to hang so you can find them again later.
Painter’s tape will protect anything you can’t take off. It can also be used along the edges of windows if you're painting the frames and beneath the edges of baseboards. Unlike masking tape, painter’s tape can be left in place for a long time and won’t leave a sticky residue when you peel it off. You can purchase 6 rolls of highly-rated Scotch Painter's Tape from Amazon for less than $25.
Cover flooring and large pieces of furniture with drop cloths and use self-adhesive carpet protector film.
2. Make a clean start
Giving your walls a wash first will prevent patchy paintwork, advises Jordan Woolf, the owner of Huntsville Roofing Solutions. ‘Use a TSP (Trisodium Phosphate from Amazon) solution to remove dirt, grease, and grime that can prevent paint from adhering.’
Running your fingers lightly over a plastered wall will reveal just how much dust is clinging to it that you can’t see and if any raised areas need to be smoothed.
‘Clean the surface with a damp rag to remove dirt and lightly sand any rough spots,’ says Jordan. ‘For larger cracks or gaps, use a patching compound specially designed for plaster.’
When filling a hairline crack, make a v-shaped groove along it with a screwdriver or painted object to create space for the compound or spackle, otherwise it won’t hold. Let it dry, sand until it is flat to the touch, then clean off the dust.
3. Prepare the paper
If the walls or ceilings are already papered, you must decide whether to paint over it or remove it entirely. If the paper is in good condition or you suspect it might be disguising lumpy walls underneath, it may be worth keeping and simply enhancing a raised pattern with fresh color.
‘If you're painting over wallpaper, it's essential to ensure it is firmly adhered to the wall,’ says Tommy Mello, a home service industry expert at A1 Garage Door Service. ‘Use a wallpaper scoring tool to create small perforations in the wallpaper, then apply a wallpaper primer to seal the surface before painting. This helps prevent the paper from peeling or bubbling and ensures a smooth, professional-looking finish.’
4. Strip the walls
If your old wallpaper is torn or the seams are showing, it’s time to break out the stripper and scraper, say goodbye to bad decorating and paint on the surface beneath.
‘Remove all wallpaper and adhesive before sanding lightly,’ says Pete Trentacoste, Head of Interior Design at Gosummer.com. ‘Prime the walls to cover any residual patterns or glue.’
If you are preparing to paint over fresh plaster, let it cure first. Once it has changed from brown to pale pink – a process that will take at least three to five days – it is fully dry. Then, apply a mist coat of latex paint diluted with water, ideally with a roller or a paint sprayer. Because the new plaster is permeable, this coat of thin paint will seal it ready for you to add the top coats.

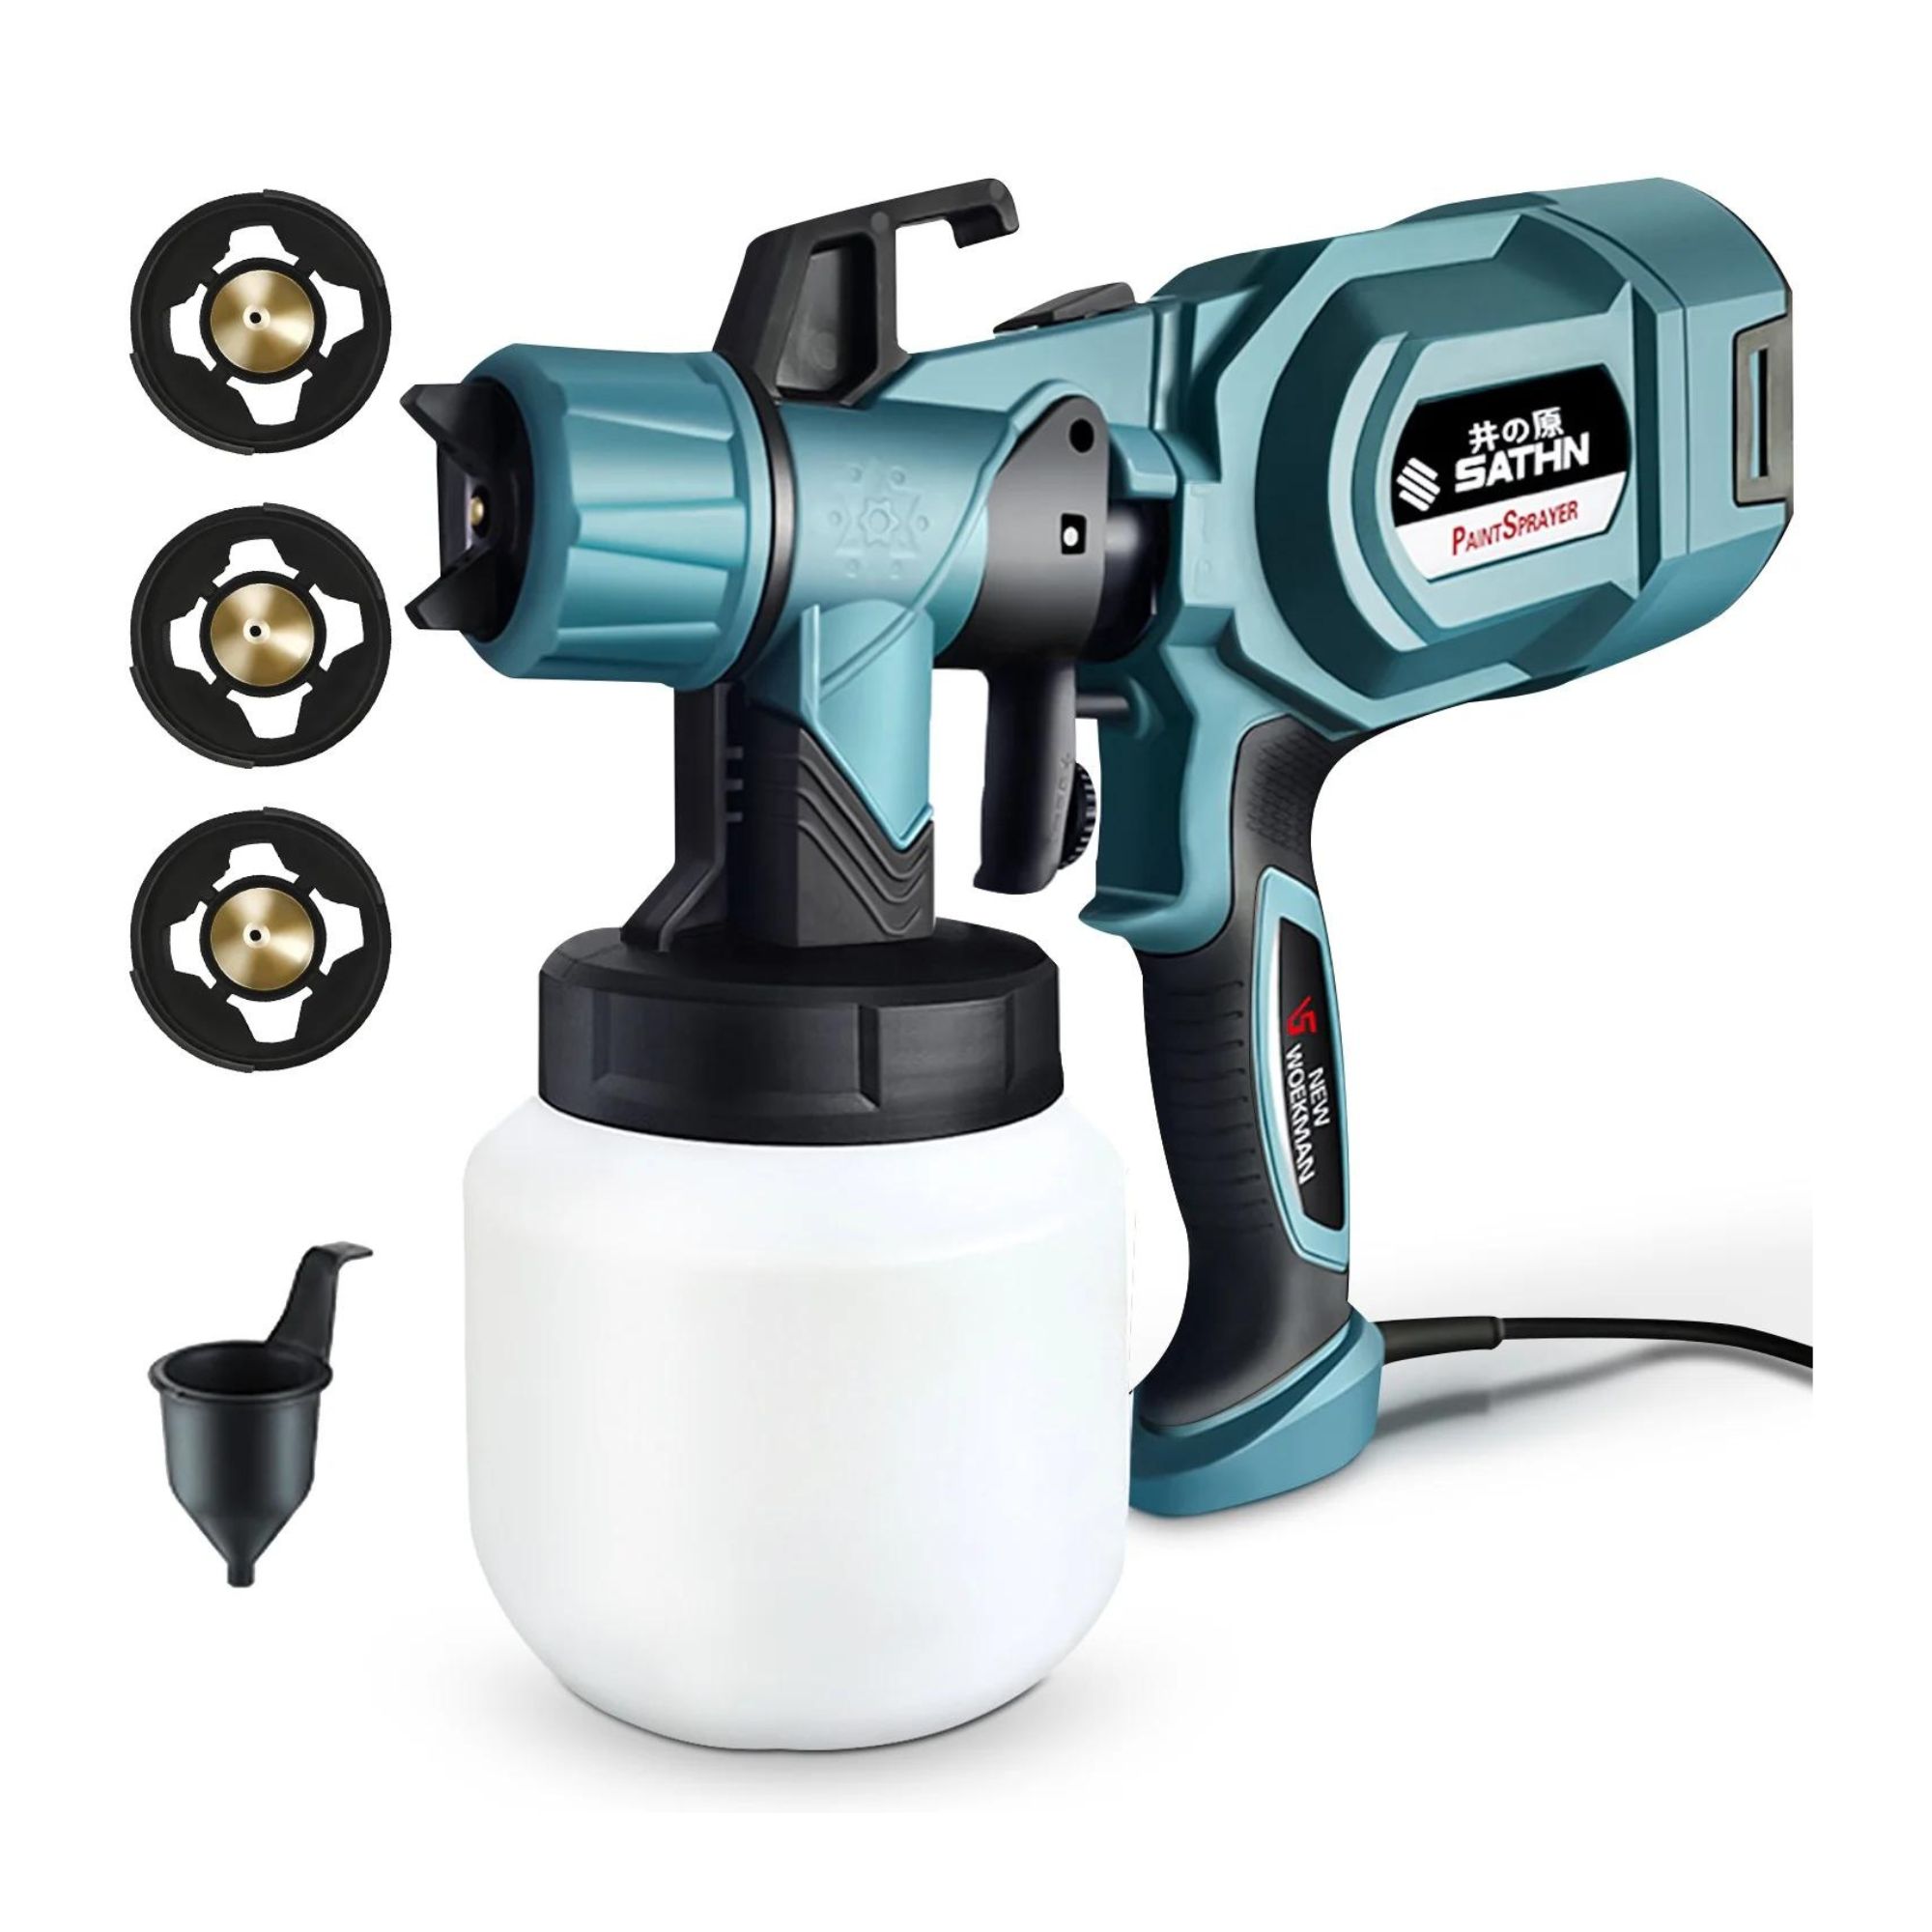
With 800W of power, this eTopeak paint sprayer provides a precise spray pattern that allows you to create a smooth finish on a variety of surfaces.
5. Tackling woodwork
Unless your home is newly built, you will probably have to deal with the remains of previous paint projects before you can begin yours.
‘Wood doors, stairs, handrails, and trim will often have a glossy finish – typically shellac – which needs to be well prepped, says Jeff Neal, project manager for the Witmer Group, a commercial painting and epoxy flooring company.
‘A stiff wire brush is a great way to start, then finish with 80 grit sandpaper and 100 grit to remove any gouges the brush might have left. Then you'll need to go in with an adhesive primer like Kilz or PPG's Gripper before applying the top coats.’
Fill any visible holes with wood putty, then sand it smooth when dry.
6.Testing, testing
Before you start painting, it’s always wise to do a patch test – not just to see if you like the color, but also to see how well the paint takes to the surface.
‘Testing your paint and techniques on a small, inconspicuous area allows you to evaluate how it adheres and dries on the surface and ensures compatibility with any primers or sealers you've applied,’ says Tommy Mello.
‘Testing different application methods and techniques can also help you achieve the desired finish and identify any adjustments needed before proceeding with the full project.’
7. Paint like a professional
When you are finally ready to start painting your room, layering is the secret to getting an even look. ‘Apply multiple thin coats of paint for better coverage and a smoother finish,’ recommends Jordan Woolf. ‘Allow each coat to dry completely before applying the next.’
You should also clean your brushes and rollers thoroughly after each use to prevent flakes of dried paint or loose bristles spoiling the surface.
A synthetic brush is best for latex or water-based paints. The paint can be washed off with dish soap or mild detergent mixed with warm water, then combed through with a brush and roller cleaner.
For oil/solvent-based paints, stains and clears, check the manufacturer’s instructions for the proper cleaning solvent. Always use it in a lined paint tray or disposable container – never in the sink.
Once you have done all the hard work of refreshing your rooms with paint, you want to keep it looking new for as long as possible. Follow our tips on how to maintain every type of paint finish.
Sign up to the Homes & Gardens newsletter
Design expertise in your inbox – from inspiring decorating ideas and beautiful celebrity homes to practical gardening advice and shopping round-ups.

Alison is a contributing gardens writer for Homes & Gardens, writing on a range of topics from plant care to garden design. She has recently landscaped the outside space of her Victorian home, replacing crazy paving and cracked slabs with new lawn, and is currently cultivating a fruit bed.
-
 Plants never to grow next to fruit trees
Expert advice on which plants to keep away from fruit trees to encourage a healthy harvest
By Jacky Parker Published
-
 Martha Stewart's tips for arranging daffodils are unbelievably simple and effective – it's the only flower advice you need this springtime
Martha shows us that we can create gorgeous bouquets of this seasonal flower by simply trimming the stems and placing them in specific vases
By Hannah Ziegler Published

