How to paint aluminum siding – to instantly boost your curb appeal
Freshen up your facade with these expert aluminum painting tricks


When it comes to updating your home's exterior, few projects have the same potential as giving your house a fresh lick of paint, especially when your aluminum siding is starting to crack, peel, or chip.
Whether you are painting to freshen up your facade, add curb appeal and increase value, or simply to protect your aluminum siding against the elements, painting a house exterior is tiresome but important work. Luckily, you can often do it yourself so long as you have the right tools and brush up on your technique.
In this expert guide, contractors and professional painters share detailed step-by-step instructions for painting aluminum siding that will leave your home looking like new.
How to paint aluminum siding
Before painting your aluminum siding, it is best to check when the best time to paint the house exterior is where you live. Everything from the weather to the humidity can have an effect on the final results. Generally speaking, you want to work during a dry spell, with minimal wind and low humidity for the paint to adhere and dry properly.
With your project planned out, this is how to paint aluminum siding.

What you will need:
- Aluminum patching compound – such as DAP Platinum Patch Advanced Exterior Filler, from Walmart
- A power washer or long-handled cleaning brush
- Heavy-duty painter tape – like Scotch heavy-duty masking tape, at Walmart
- A self-etching primer – such as Custom Shop Premium Self Etching Primer, at Amazon
- Acrylic outdoor paint
- A long-handled roller or paint sprayer
- Paint thinner to clean tools
- A damp cleaning cloth to wipe up mess quickly
How to paint aluminum siding: Step-by-step

1. Repair the siding
Before you start work on painting, you need to ensure that your aluminum siding is in good enough condition to take the paint, begins Andriy Boyko, handyman and seasoned masonry expert at A.O. Handy Inc. You should be on the lookout for any signs of damage, including dents, scratches, or corrosion, he shares.
‘Address any structural issues before proceeding. Utilize body filler or aluminum patching compound to fill in any dents, scratches, or holes. Once dry, sand the repaired areas until smooth using fine-grit sandpaper.’
If the siding is too badly damaged, however, you might need to replace it entirely, warns Shlomo Cherniak, professional handyman and owner of Cherniak Home Services:
‘Replace severely damaged panels if necessary. This might require removing the damaged piece and replacing it with a new one, ensuring it locks into place securely. Replacement panels can cost between $100 to $300 depending on the size and brand.’
2. Clean away dirt and dry
As with preparing walls for painting, you will need to clean the exterior of your house before you start priming and painting for a smooth surface to work on, continues Shlomo Cherniak, professional handyman. There are a few ways you can do this:
‘Mix a cleaning solution of water, mild detergent, and a little bleach to handle any mildew. Ensure a ratio of 10:1 water to bleach for effective mildew removal without damaging the siding,’ he recommends. ‘Then, use either a soft, long-handled brush or a pressure washer on a low setting to clean the siding. Start from the top and work your way down to prevent streaking. Keep the pressure washer below 1500 PSI to avoid denting the aluminum.’
Remember that there are several things you should never clean with a pressure washer, such as your window, to avoid damage. With the siding cleaned, rinse off any soap residue and allow it to dry completely before priming. This is where it is helpful to work on a warm, sunny day.
3. Mask off areas you aren’t painting
No matter if you are using a brush, roller, or paint sprayer, you should mask off areas you don't plan on painting (such as window and door frames, or external AC units or pipework). This will make the painting and clean-up process a lot smoother.
4. Always start by priming
One of the biggest house exterior painting mistakes you can make is not using a good primer designed both for outdoor use and the surface you are applying it to, warns Andre Kazimierski, painting expert and CEO of Improovy Painters of La Grange:
‘Your first step when you are painting bare aluminum where the coating has worn away will be to prime it, usually using a self-etching primer which will help the paint adhere to the metal surface. After allowing the primer to dry, you can begin painting.’
If you do not use a self-etching primer, you will need to sand down the siding to create a good surface for it to adhere to, adds Brandon Walker, superintendent at ASAP Restoration. You can use a scotch bright pad or abrasive of some sort to scratch up the surface of the siding. ‘Make sure to always go in the same direction with the scuffing to ensure that the scratch marks aren’t cross-directional in appearance,’ he recommends. ‘Then, use the same cleaning agent as before, and go over the siding once again to absorb any more dust, and all of the shavings and debris from the scuffing process. You may need to do this step twice to ensure that all of the sanding remnants are absorbed completely.’
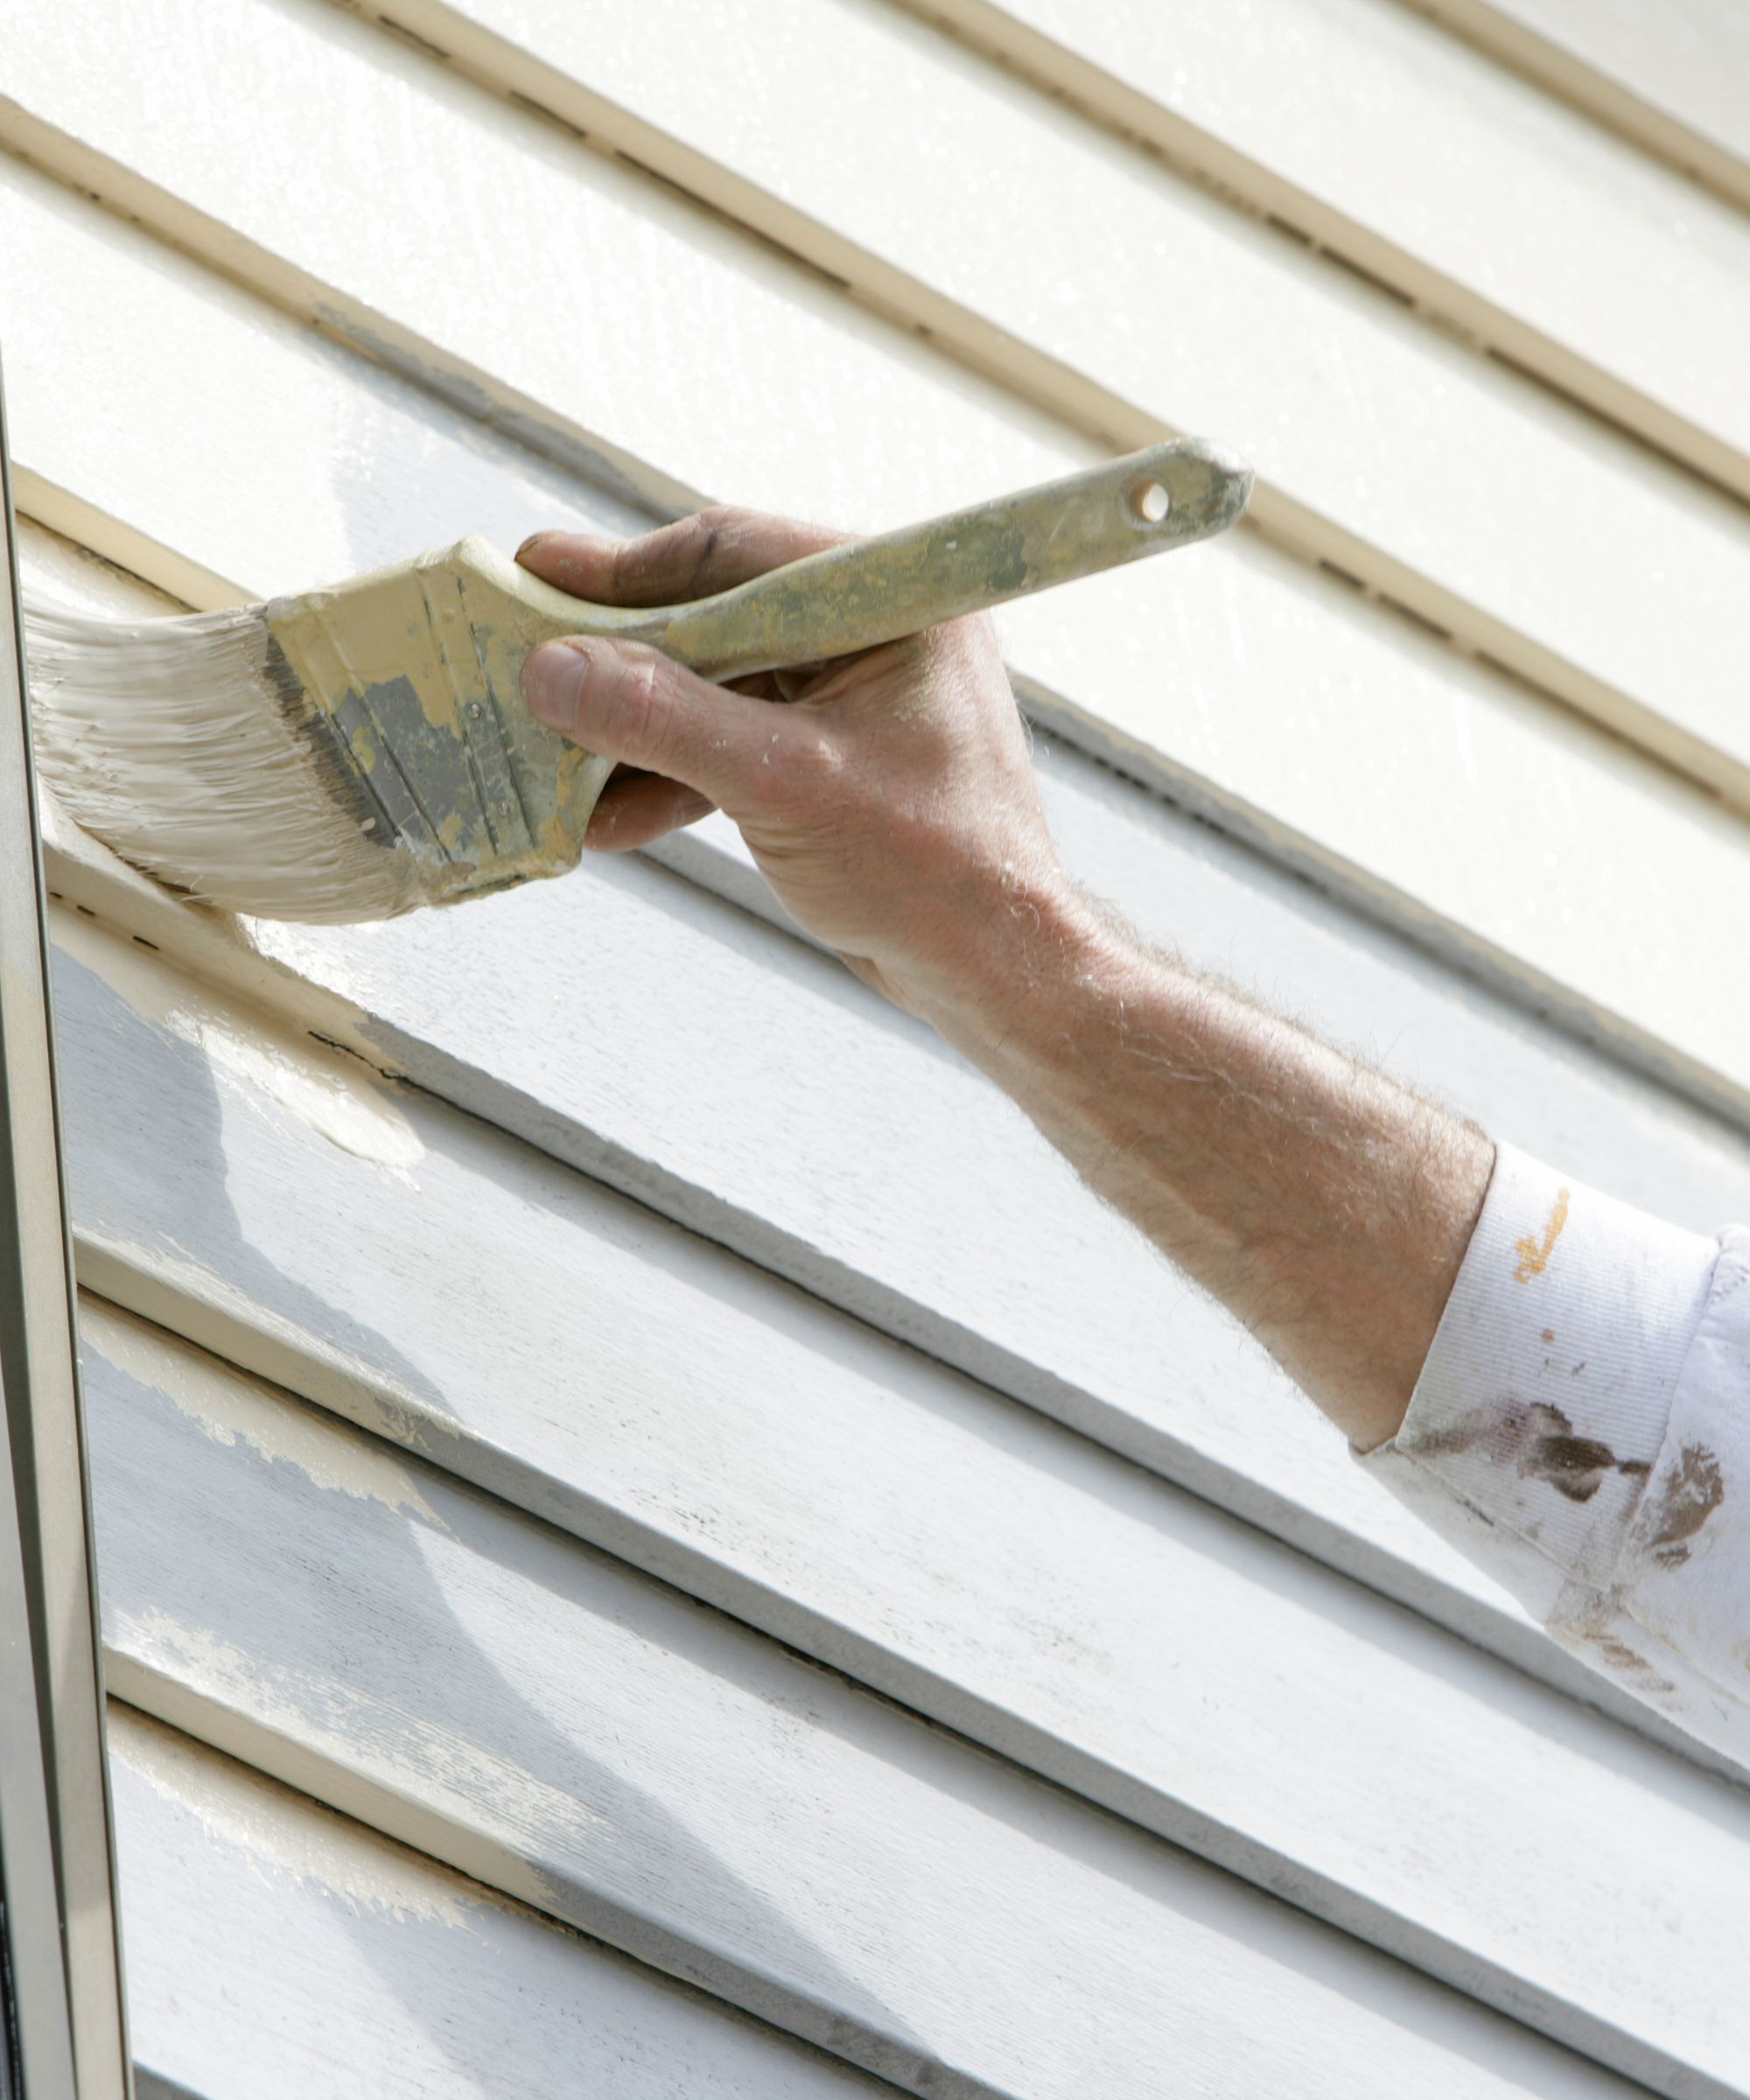
5. Paint with two coats
You don’t need any special painting tricks if you want a truly spotless finish. All you need is two coats of paint, and to opt for a high-quality acrylic outdoor paint, says Shlomo Cherniak, professional handyman.
‘100% acrylic exterior latex paint is ideal for aluminum siding. It's durable and provides a good finish,’ he explains. ‘Acrylic latex paint expands and contracts with the aluminum, reducing the risk of cracking.’
While you can then use a roller to apply the paint, you will get a better finish if you use a paint sprayer, he adds. ‘An airless sprayer can give you a smooth, professional finish. If you're using a brush or roller, make sure to apply evenly and cover all areas.’
6. Inspect and clean up
Once the final coat is dry, you can finally inspect your work and patch up any missed areas to prolong the life of your paint job, Andriy Boyko, seasoned masonry expert, says.
‘Once the final coat is dry, thoroughly inspect the aluminum siding for any missed spots or imperfections, and touch up as necessary. Ensure the painted siding cures fully according to the paint manufacturer's instructions before subjecting it to weather or heavy use
‘Then, clean tools and equipment thoroughly using water or paint thinner, depending on the type of paint used.’
How much it costs to paint aluminum siding
How much it costs to paint a house with aluminum siding will depend largely on the paint you choose, the size of your home, and whether you do it yourself or hire professionals, points out Ornella Bianco, home improvement specialist at Fixr:
‘Most people pay around $1,500 for painting 1,500 sq. ft. of unoxidized siding,’ they share. ‘Material costs can range from $30 to $80 per gallon, depending on the brand, but particularly if you choose trusted brands like Behr, Valspar, Sherwin-Williams, or Benjamin Moore.’
FAQs
What happens if you paint aluminum siding without a primer?
Applying paint directly to aluminum siding without a primer will cause the paint to chip, crack, or peel more quickly than if you had used a primer, meaning it will need redoing far sooner and will not look as good.
Washing the siding, allowing it to dry, and priming first will render the best results with arguably far less effort than having to do it all again.
How long will paint on aluminum siding last?
So long as the paint was applied properly, using the right paints and primers, then you can expect your paintwork to last around four to six years, depending on the weather in your area. After this time, the protection is likely to wear off and your home might start to look a little worse for wear.
When painting aluminum siding, there are some important safety concerns you need to consider before you start. If you are repainting the siding for the first time in a long time, it is a good idea to check the existing paint for lead before you strip it away. This will need to be removed by experts before you can start to protect your health and the environment.
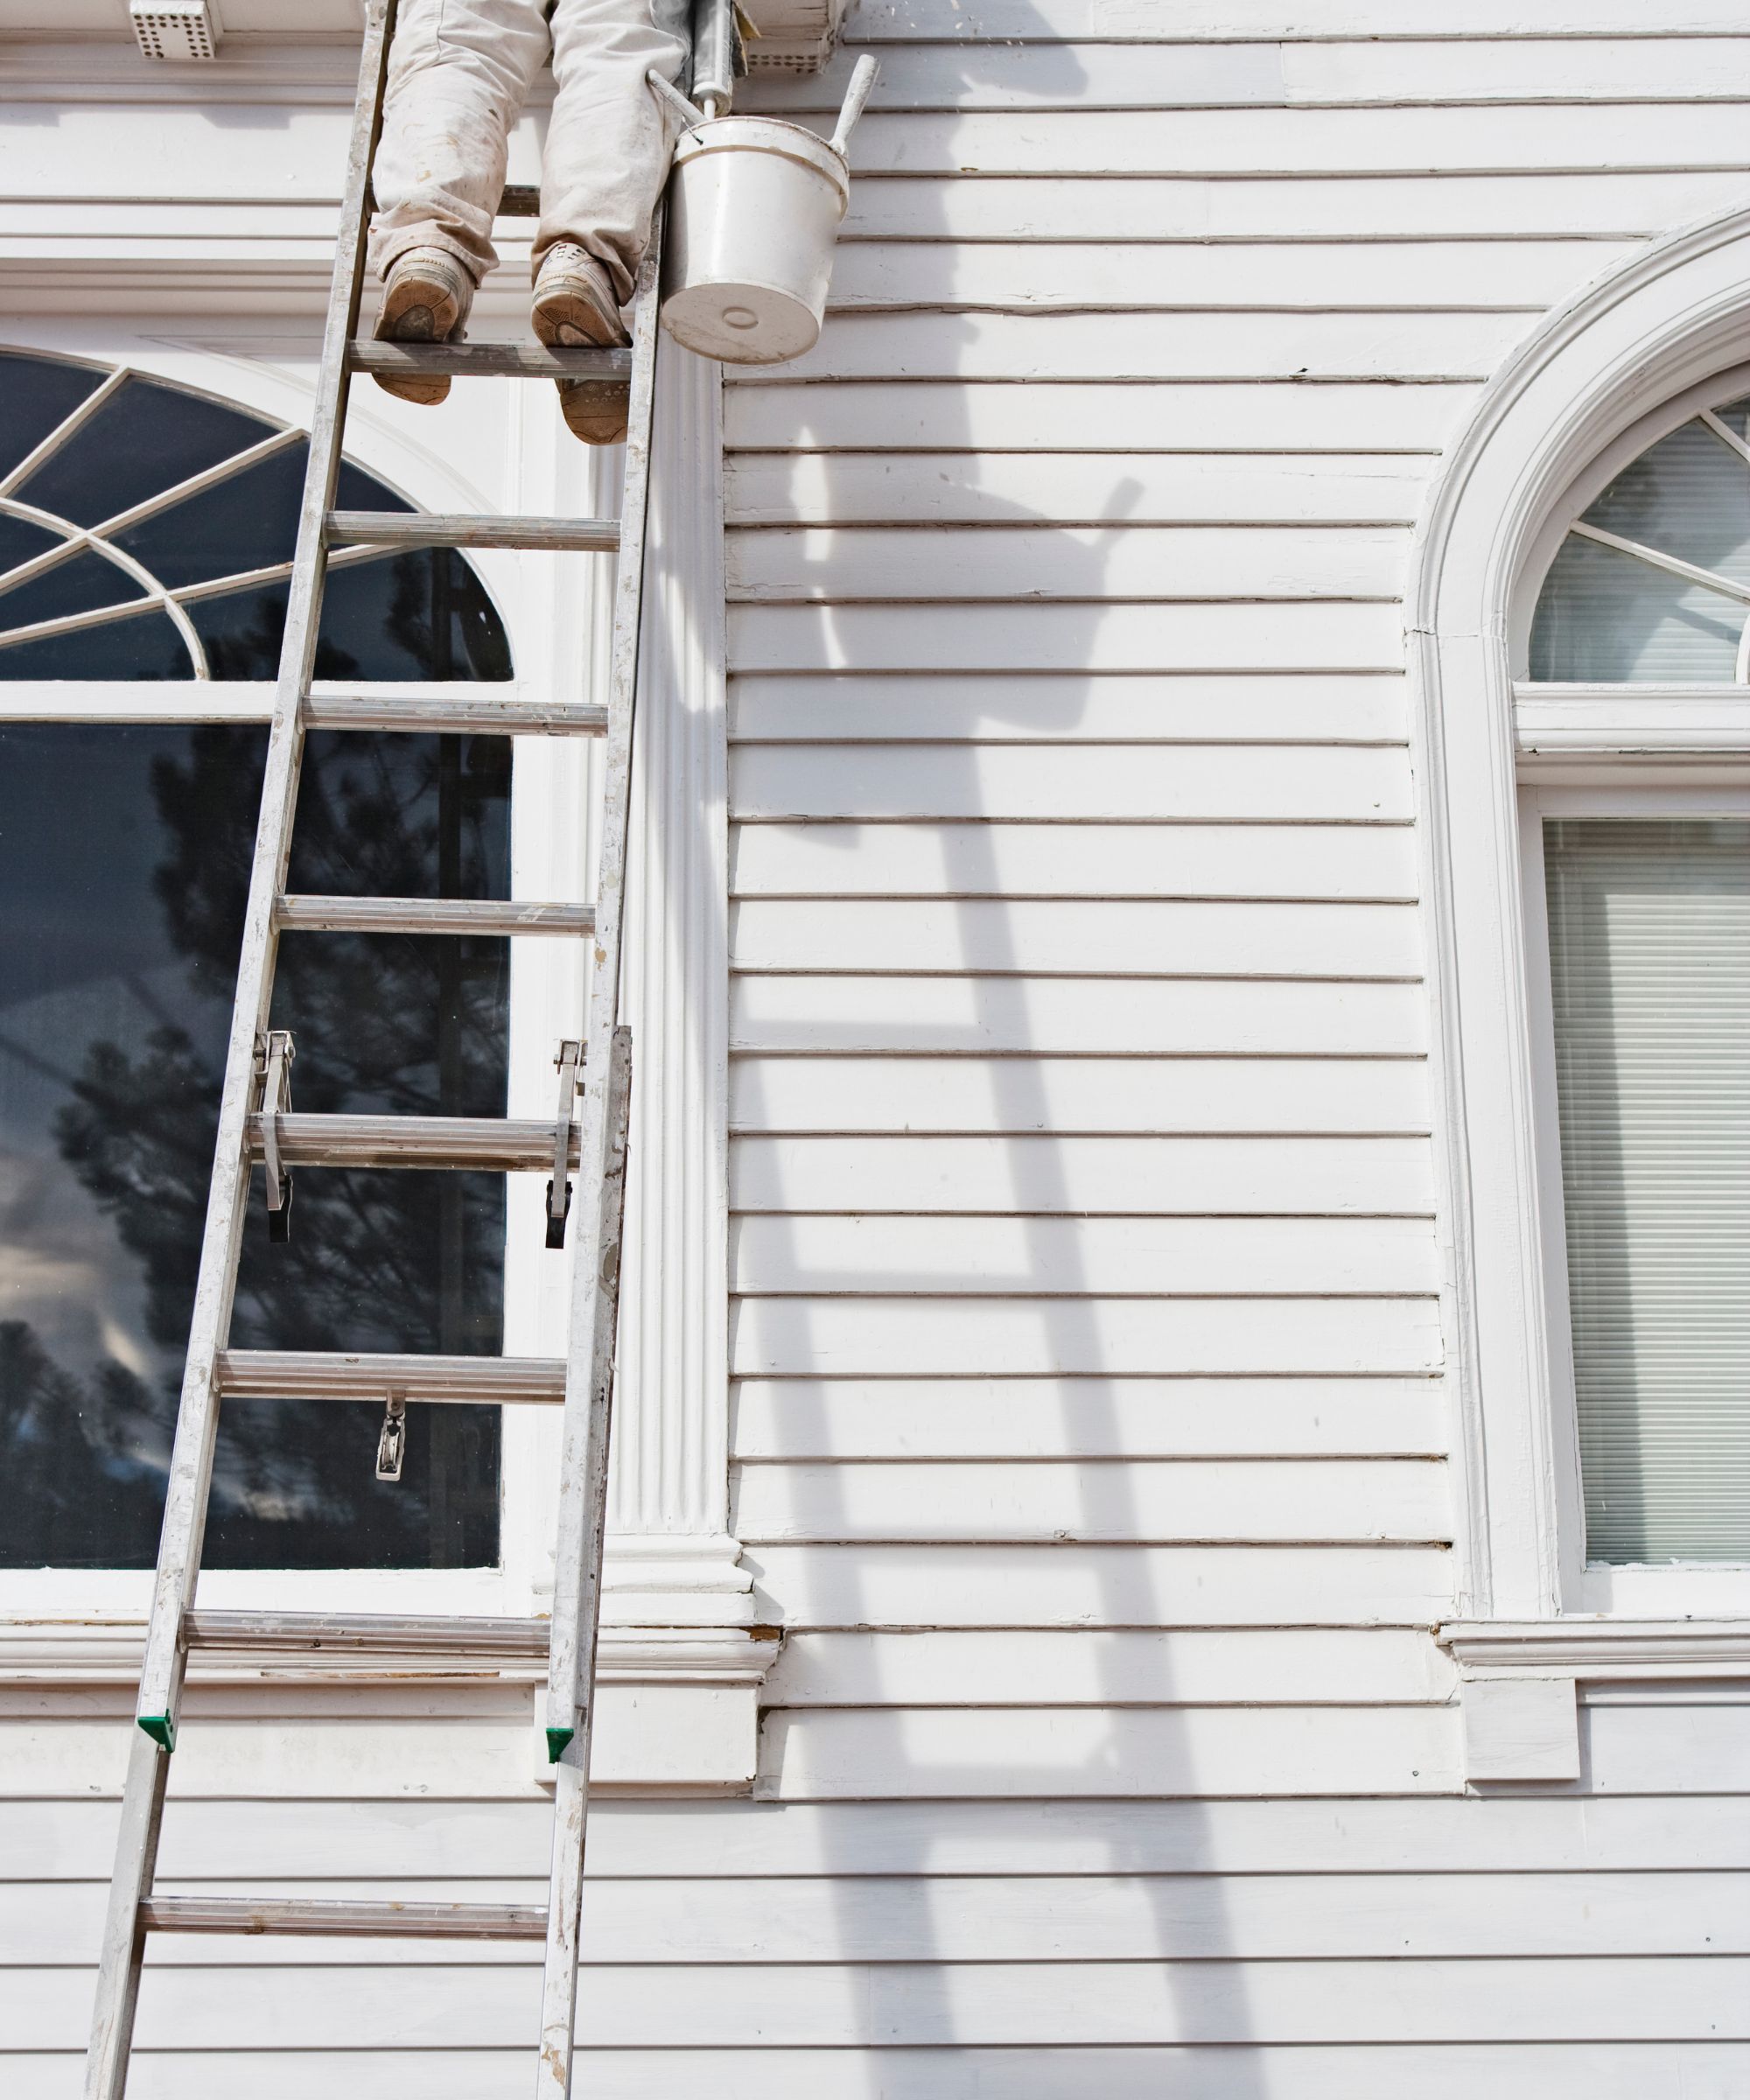
Then, when working at heights, ensure that you are not working alone and you are using the correct equipment, such as a trust ladder that is not showing any signs of wear or decay. Finally, always ensure to wear gloves, eye protection, and a face mask when sanding, spraying paint, or patching to protect your health.
Sign up to the Homes & Gardens newsletter
Design expertise in your inbox – from inspiring decorating ideas and beautiful celebrity homes to practical gardening advice and shopping round-ups.

Chiana has been at Homes & Gardens for two years and is our resident 'queen' of non-toxic living. She spends most of her time producing content for the Solved section of the website, helping readers get the most out of their homes through clever decluttering, cleaning, and tidying tips. She was named one of Fixr's top home improvement journalists in 2024.
-
 Put your 'purgatory place' and 'dust detective' in play – 6 expert tricks professional organizers use to effortlessly edit down belongings
Stress-free streamlining is entirely within sight
By Andy van Terheyden
-
 Where can you buy Benjamin Moore paint? Here's all you need to know about browsing and shopping this much-loved brand
Looking to buy Benjamin Moore paint? These are the best ways to get your hands on this iconic paint brand
By Emily Moorman