How to organize kitchen utensils – 9 ways to tame your cooking tools
When it comes to a practical kitchen (and a nicely-cooked dinner) well-organized utensils are the recipe for success – here’s how
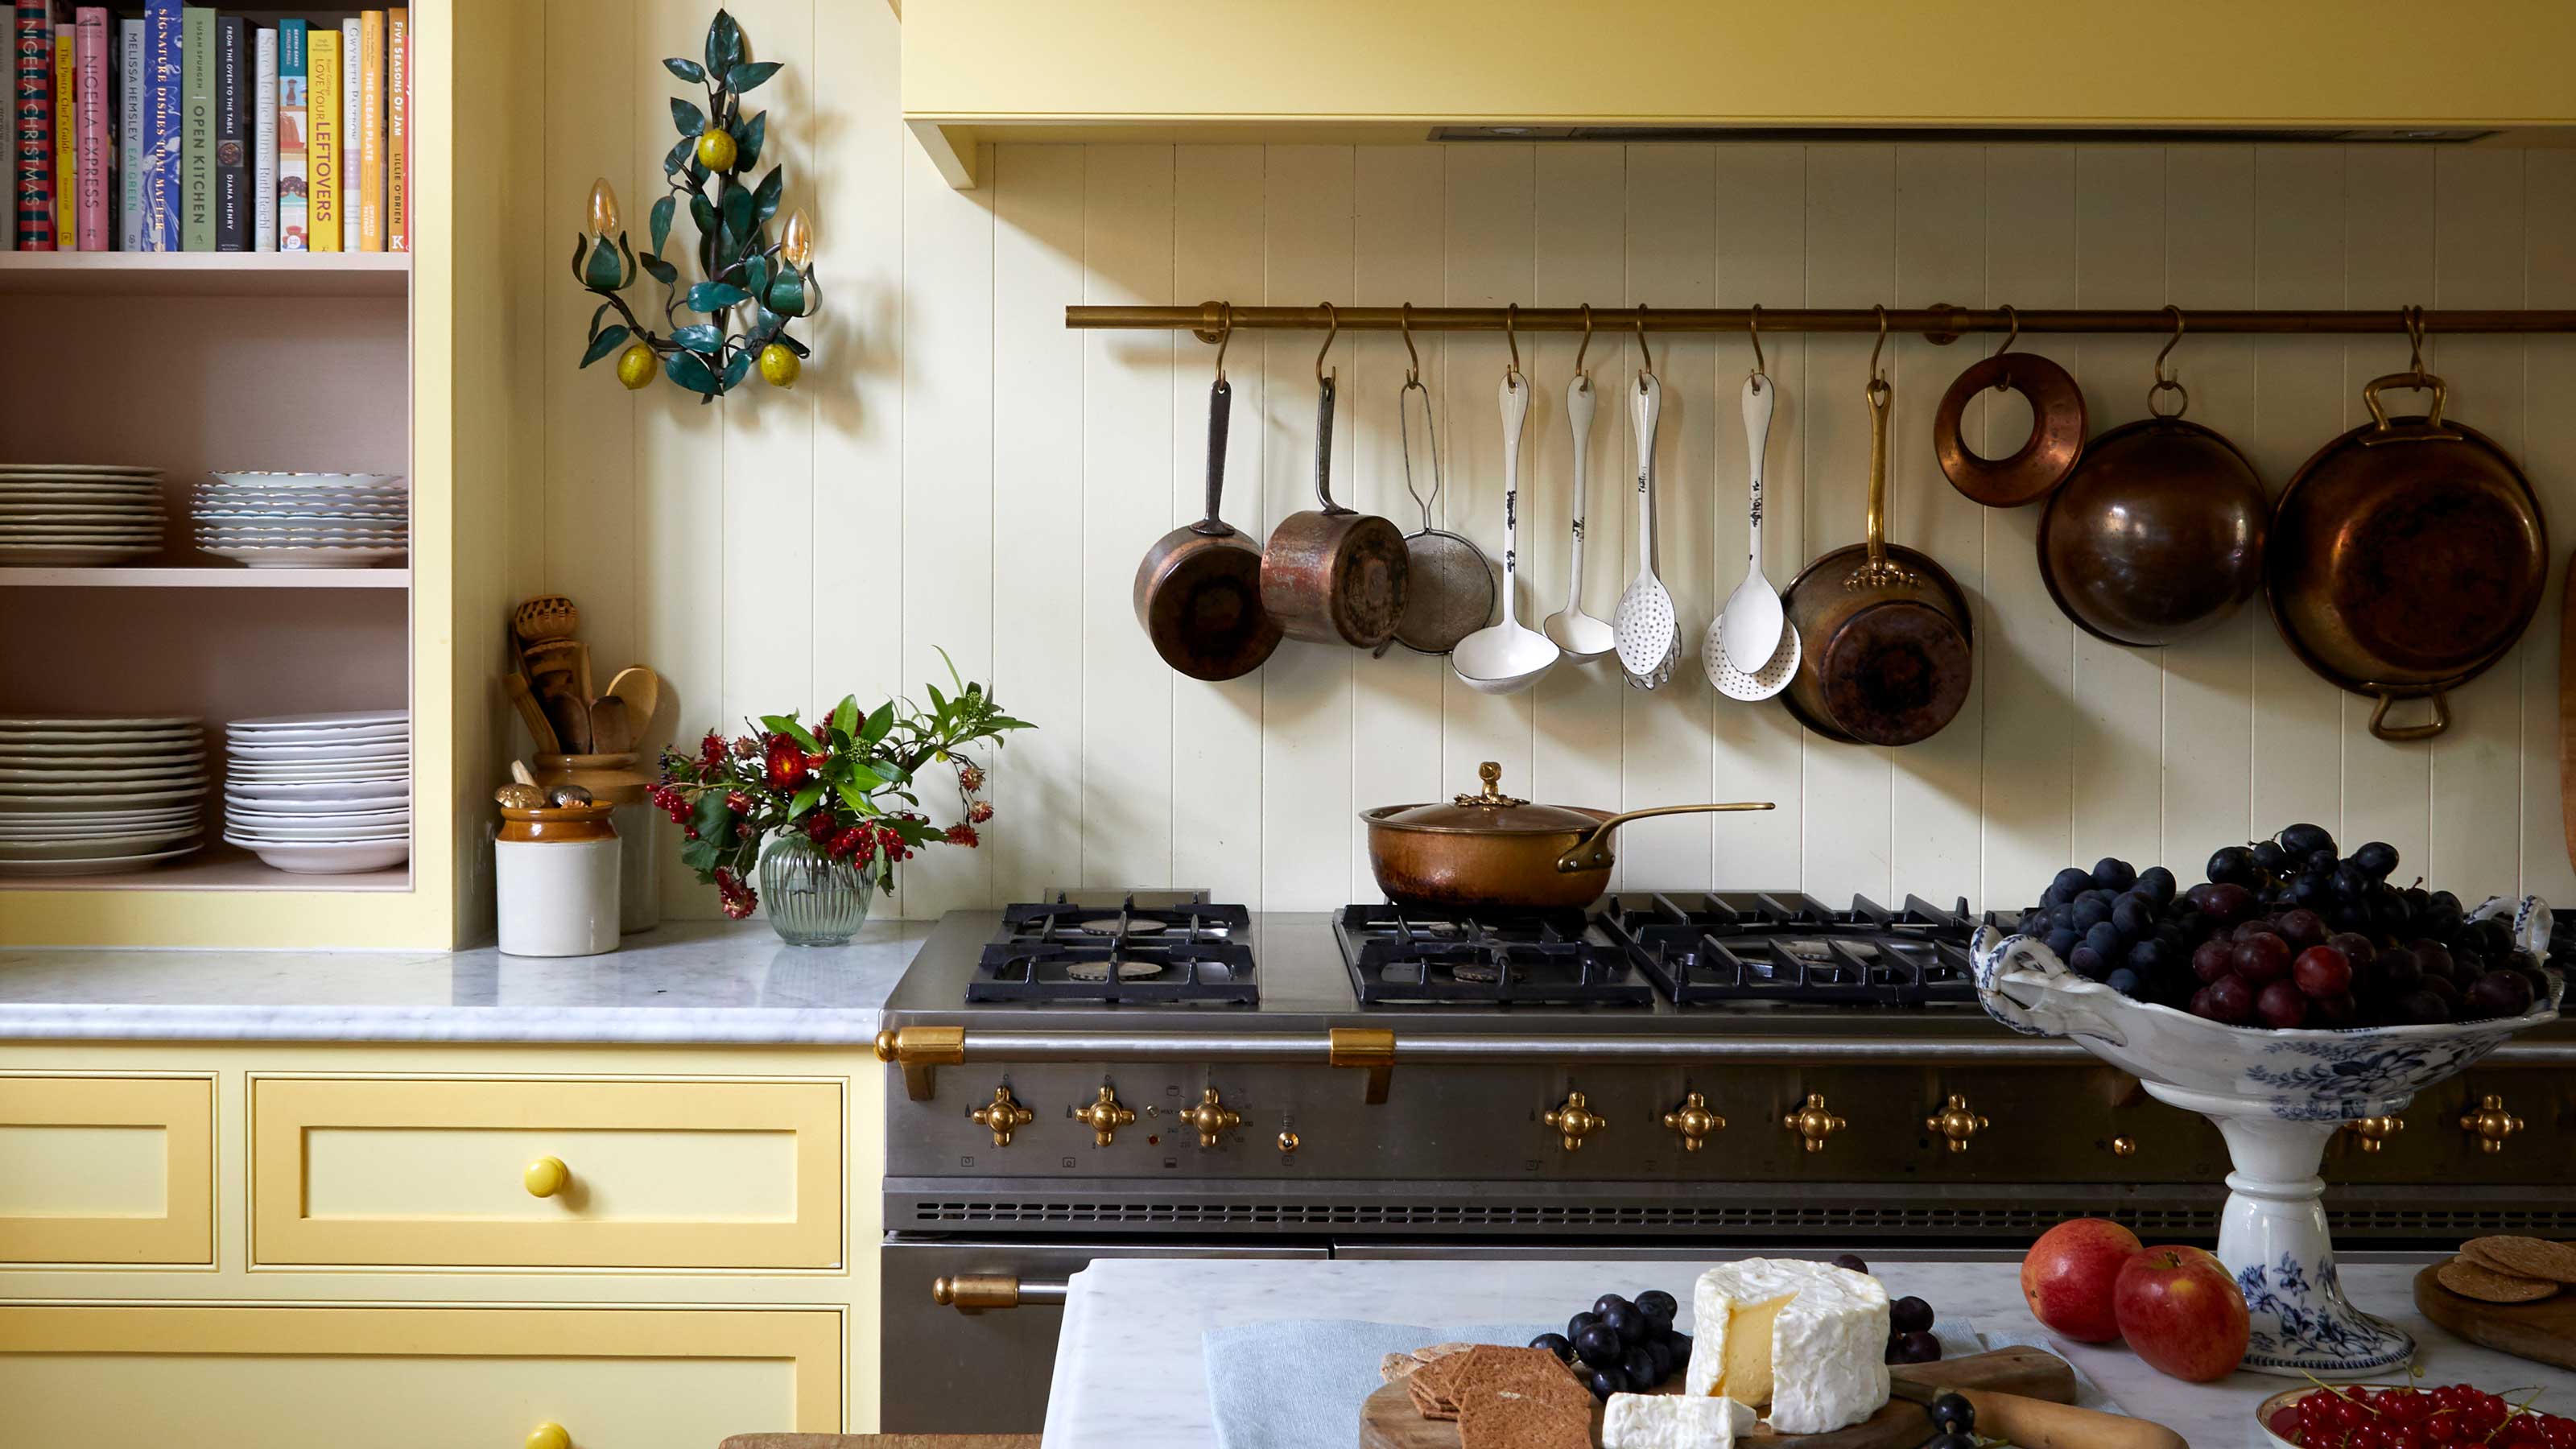
- 1. Streamline your utensil collection
- 2. Sort utensils into categories
- 3. Zone utensils to suit your kitchen – and lifestyle
- 4. Factor in frequency of use
- 5. Use dividers to keep them neat
- 6. Store everyday utensils in a countertop crock
- 7. Use hanging organizers
- 8. Store utensils vertically
- 9. Think twice before buying new utensils
- FAQs
Whether it’s oversized tongs that get trapped in the drawer or an overflowing crock pot of spatulas and wooden spoons, disorderly utensils can cause all sorts of kitchen dramas. Organizing them so they’re neat, tidy and close to hand makes for a more relaxed cooking experience, and likely a tastier meal, as a result.
When it comes to organizing a kitchen, utensils can prove tricky. There’s such a huge variety of shapes, sizes and styles, all of which require different kitchen storage ideas, sometimes within completely different areas of the kitchen. There’s your kitchen layout to consider, too; where to put utensils in a kitchen without drawers, or how to keep them contained when organizing a small kitchen, for example.
Despite all of this, organizing kitchen utensils can be quick and easy, once you know how. Here, professional organizers share their top tips.
How to organize kitchen utensils
When it comes to utensils, it’s not so much how you store them but where you store them that’s paramount. The last thing you want is to spend more time looking for a spatula than you do actually cooking with it, or even worse, mislaying the corkscrew as your guests arrive! Whether organized in kitchen drawers, hung on display or stored in stylish utensil holders, the key is to ensure you can always find what you need, when you need it.
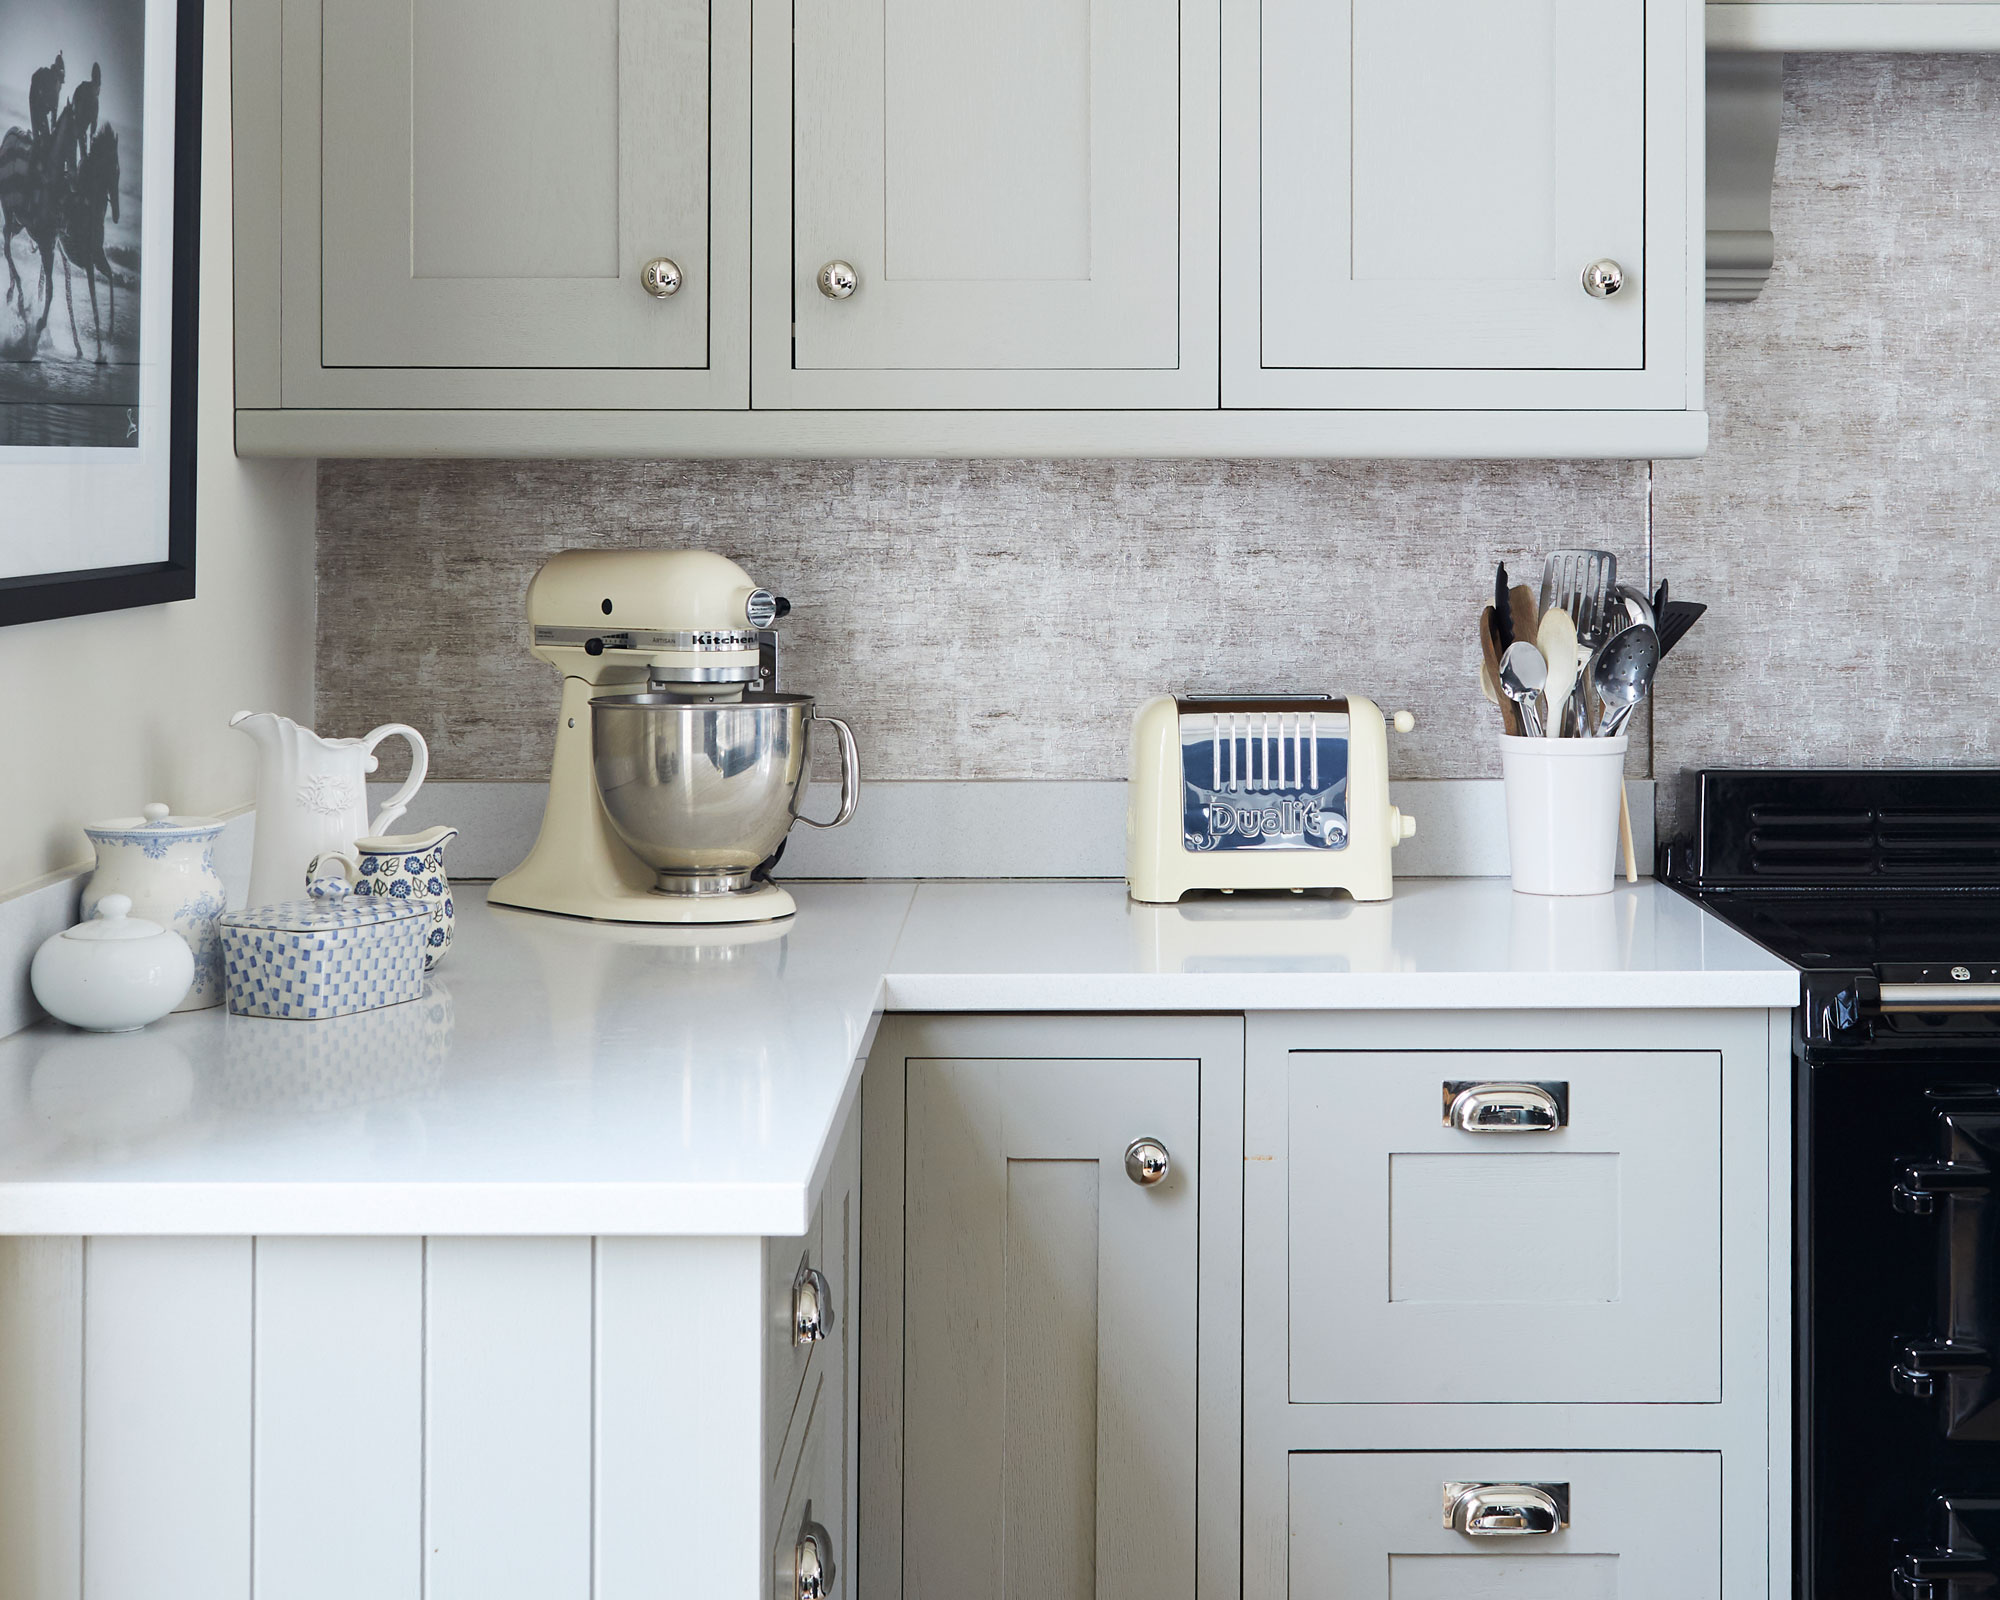
1. Streamline your utensil collection
If your kitchen plays host to a few more utensils than the average, it’s probably time to start cutting back. Those that are broken or damaged are easy to part with, so start there, then move on to duplicates.
‘We’ve all bought a new garlic crusher before but still left the old one in the drawer "just in case." It’s good to get out of that mindset. While it’s helpful to have the occasional double of something, you only need one of most utensils so stop stockpiling,' says professional organizer Laura Price, founder of The Home Organization. Try and limit yourself to just one of each tool (hold on to the one that works best, rather than the newest or prettiest-looking).
If you’re guilty of hoarding ‘time-saving’ kitchen utensils, have a think about whether you really need them. Egg slicers and spiralizers may feel like a sensible purchase, but for the amount of space they take up, they’re likely not worth it – a paring knife does the job equally as well, after all.
Refer to our kitchen decluttering list for specifics, but as a general rule, if you can’t remember the last time you used something, it’s time to pass it on, regardless of how much it cost. Be sure to donate where you can, rather than throw.

Laura Price is the owner of The Home Organisation. Laura Price's goal is to help others experience the benefits of living an organized life after discovering that organized homes brought her peace when raising three children in a hectic home. Hence the birth of The Home Organization, a dedicated team of professional organizers.
2. Sort utensils into categories
Unlike cutlery drawers, where you section off knives, forks, spoons etc., utensils tend not to have sub-categories; everything from spatulas and serving spoons to corkscrews and tin openers get shoved in together, all under the same label. According to Laura, this is where we go wrong.
‘Categorizing utensils is essential,' she says. ‘A good example is keeping sharp knives separate (or even out in a block), grouping together garlic crushers and peelers as well grouping together graters, zesters and juicers. Of course, every kitchen is different and how you categorize is up to you, just make sure you do it!’
3. Zone utensils to suit your kitchen – and lifestyle
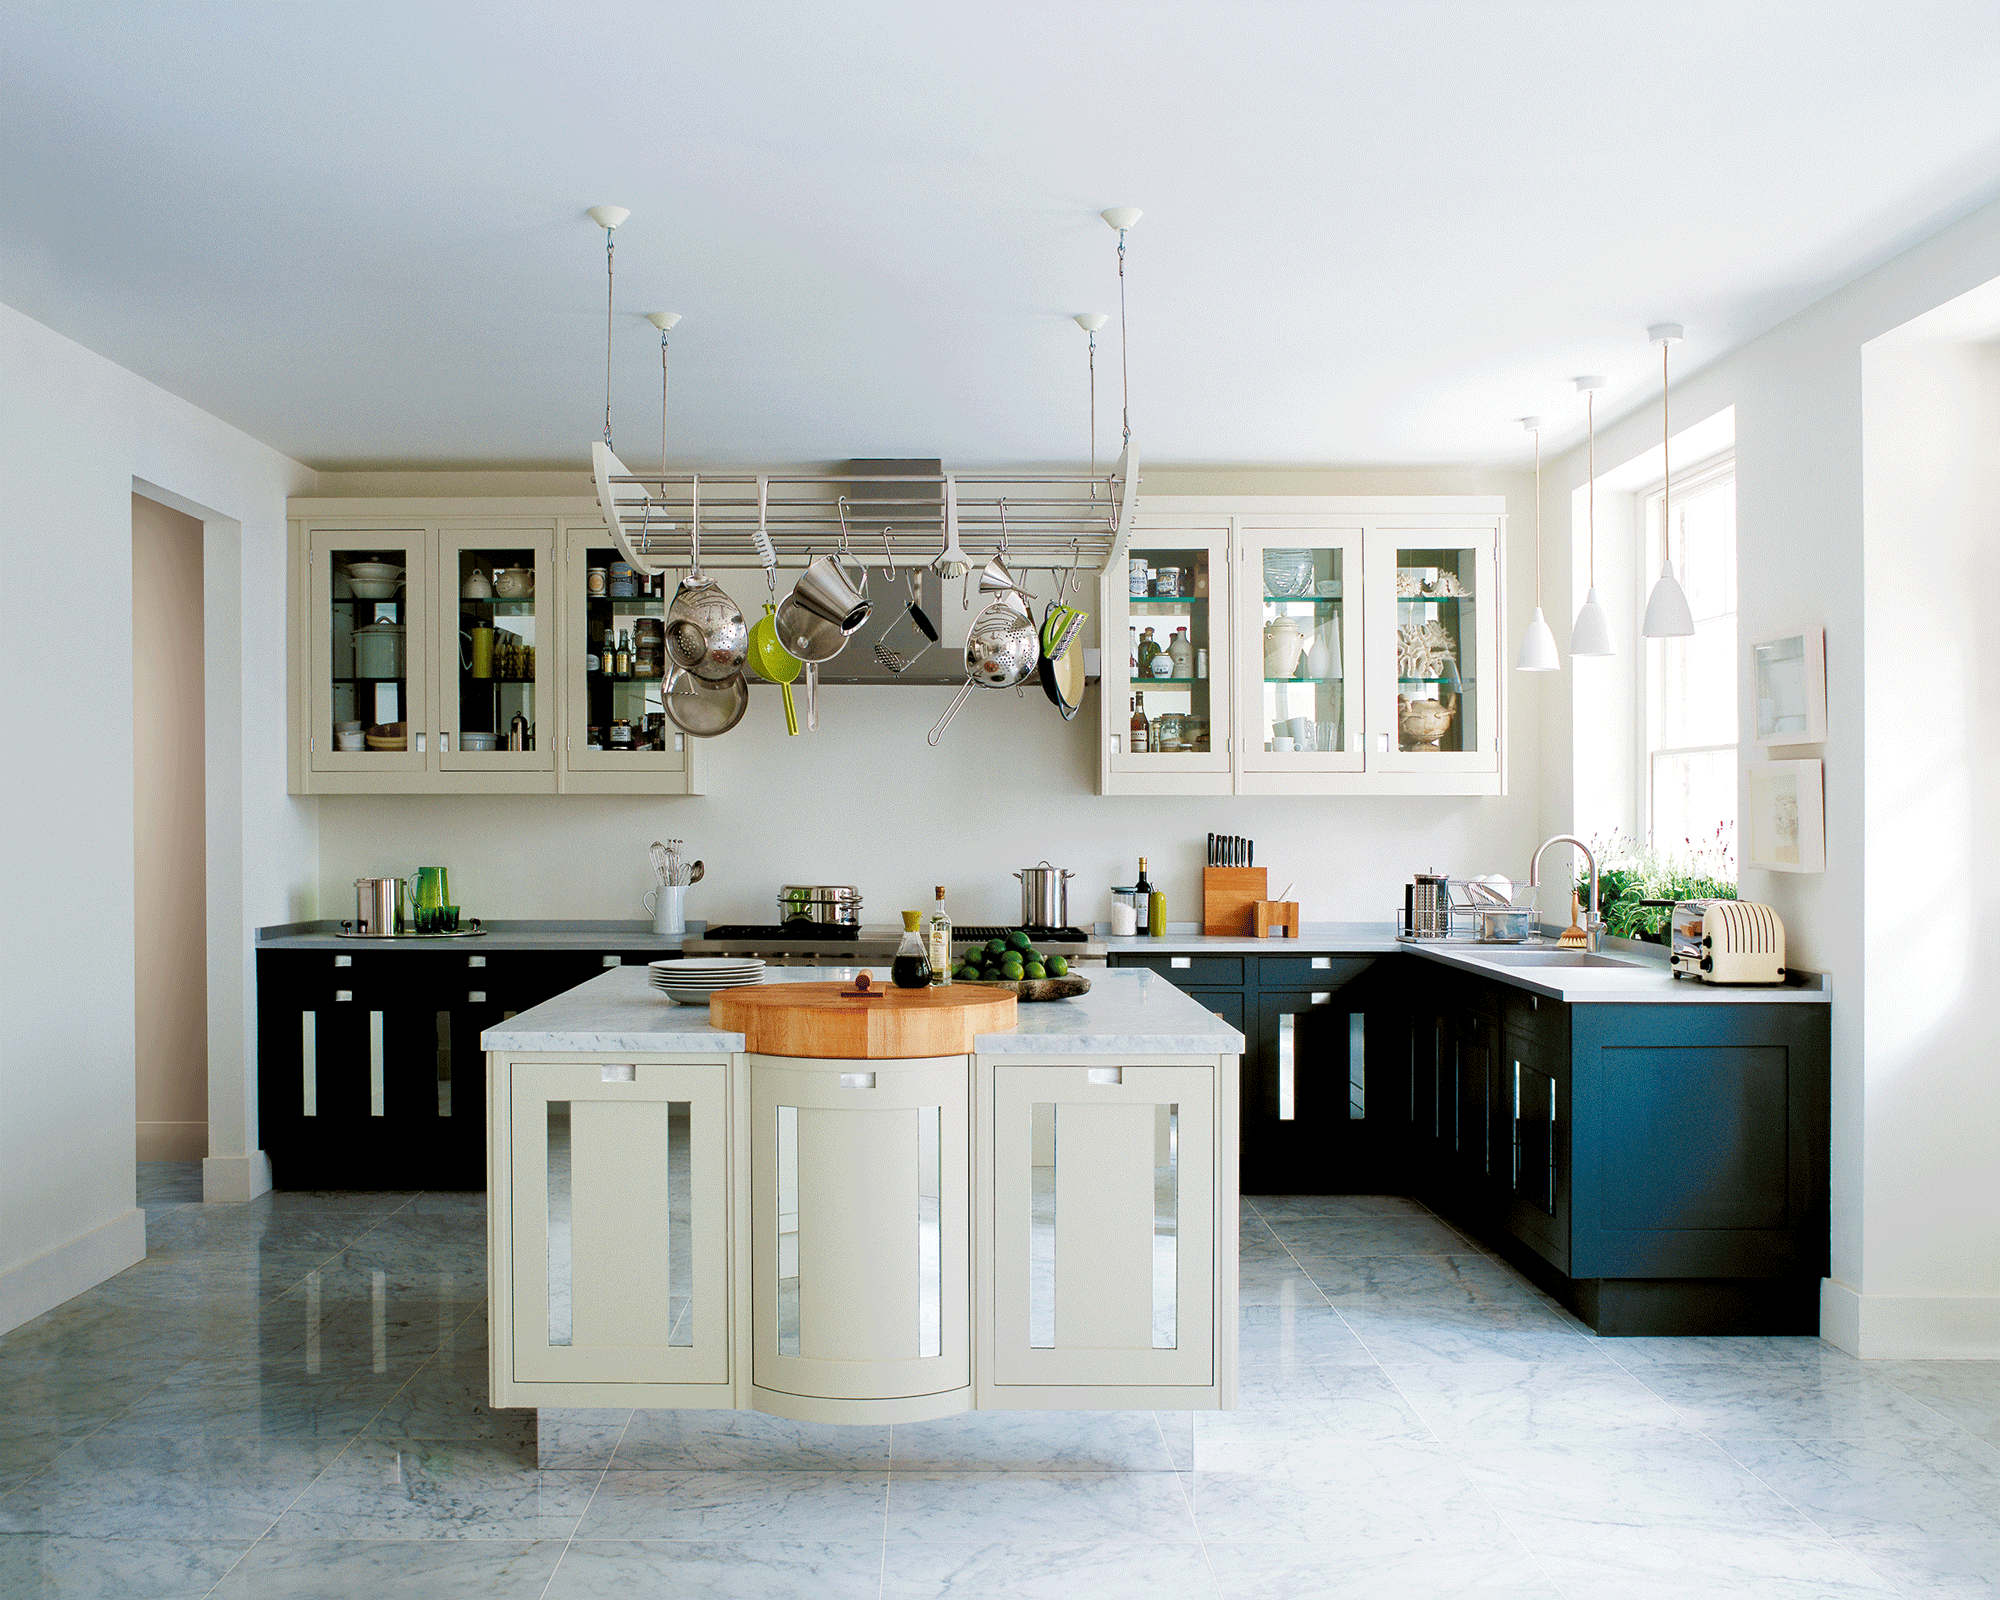
You don’t have to store all your utensils in one place. In fact, we’d advise against it. Once you’ve got your categories sorted, think about where they would be best stored within your kitchen layout, bearing in mind the six key zones of kitchen organizing. You want them where you need them, when you need them.
‘It makes sense to position prep utensils near to a work surface, while spatulas, tongs and other cooking utensils should be close to the hob. Depending on where you plate up or entertain guests, you might want to include bottle openers and serving spoons as part of organizing kitchen island drawers, for example’, says Jennifer Ebert, digital editor at Homes & Gardens.

Jen is the editor of Homes & Gardens online. Before starting this position, she had completed various interior design courses at KLC Design School, as well as working across Ideal Home, LivingEtc, 25 Beautiful Homes and Country Homes & Interiors as an interiors writer.
4. Factor in frequency of use
You’ll almost certainly have utensils that you don’t use everyday, but that you use enough to justify holding onto them – think speciality cooking equipment, baking utensils, seasonal tools, etc. Free up prime kitchen storage space by including them as part of your pantry storage ideas, or positioning them out of the way atop kitchen cabinets. You could even consider storing them outside of the kitchen, altogether. Opt for lidded containers, like these plastic versions from Amazon, to keep out dust and grease.
5. Use dividers to keep them neat
If you are storing utensils in drawers, you’ll want to invest in decent organizers to keep them neatly contained. Store-bought dividers are a less pricey alternative to built-in fittings and can be adapted over time if your needs change. They come in many shapes and sizes, so measure up first to ensure you’re making the best use of space, or opt for adjustable versions, like these at Wayfair.
‘If you have any extra-long items, like a rolling pin, salad servers, or a large wooden spoon, try a diagonal drawer organizer. This configuration provides space for bulkier items, and the small corner cubbies are perfect for tiny or oddly shaped utensils,' advises interior designer Alexandra Davin, co-founder of Clairrow.
Just like when organizing kitchen cabinets, it makes sense to position your most-used utensils near to the front of your drawers. Not only does this make it quicker and easier to locate what you need, but it also keeps things neater – less rummaging around to find what you need.
6. Store everyday utensils in a countertop crock
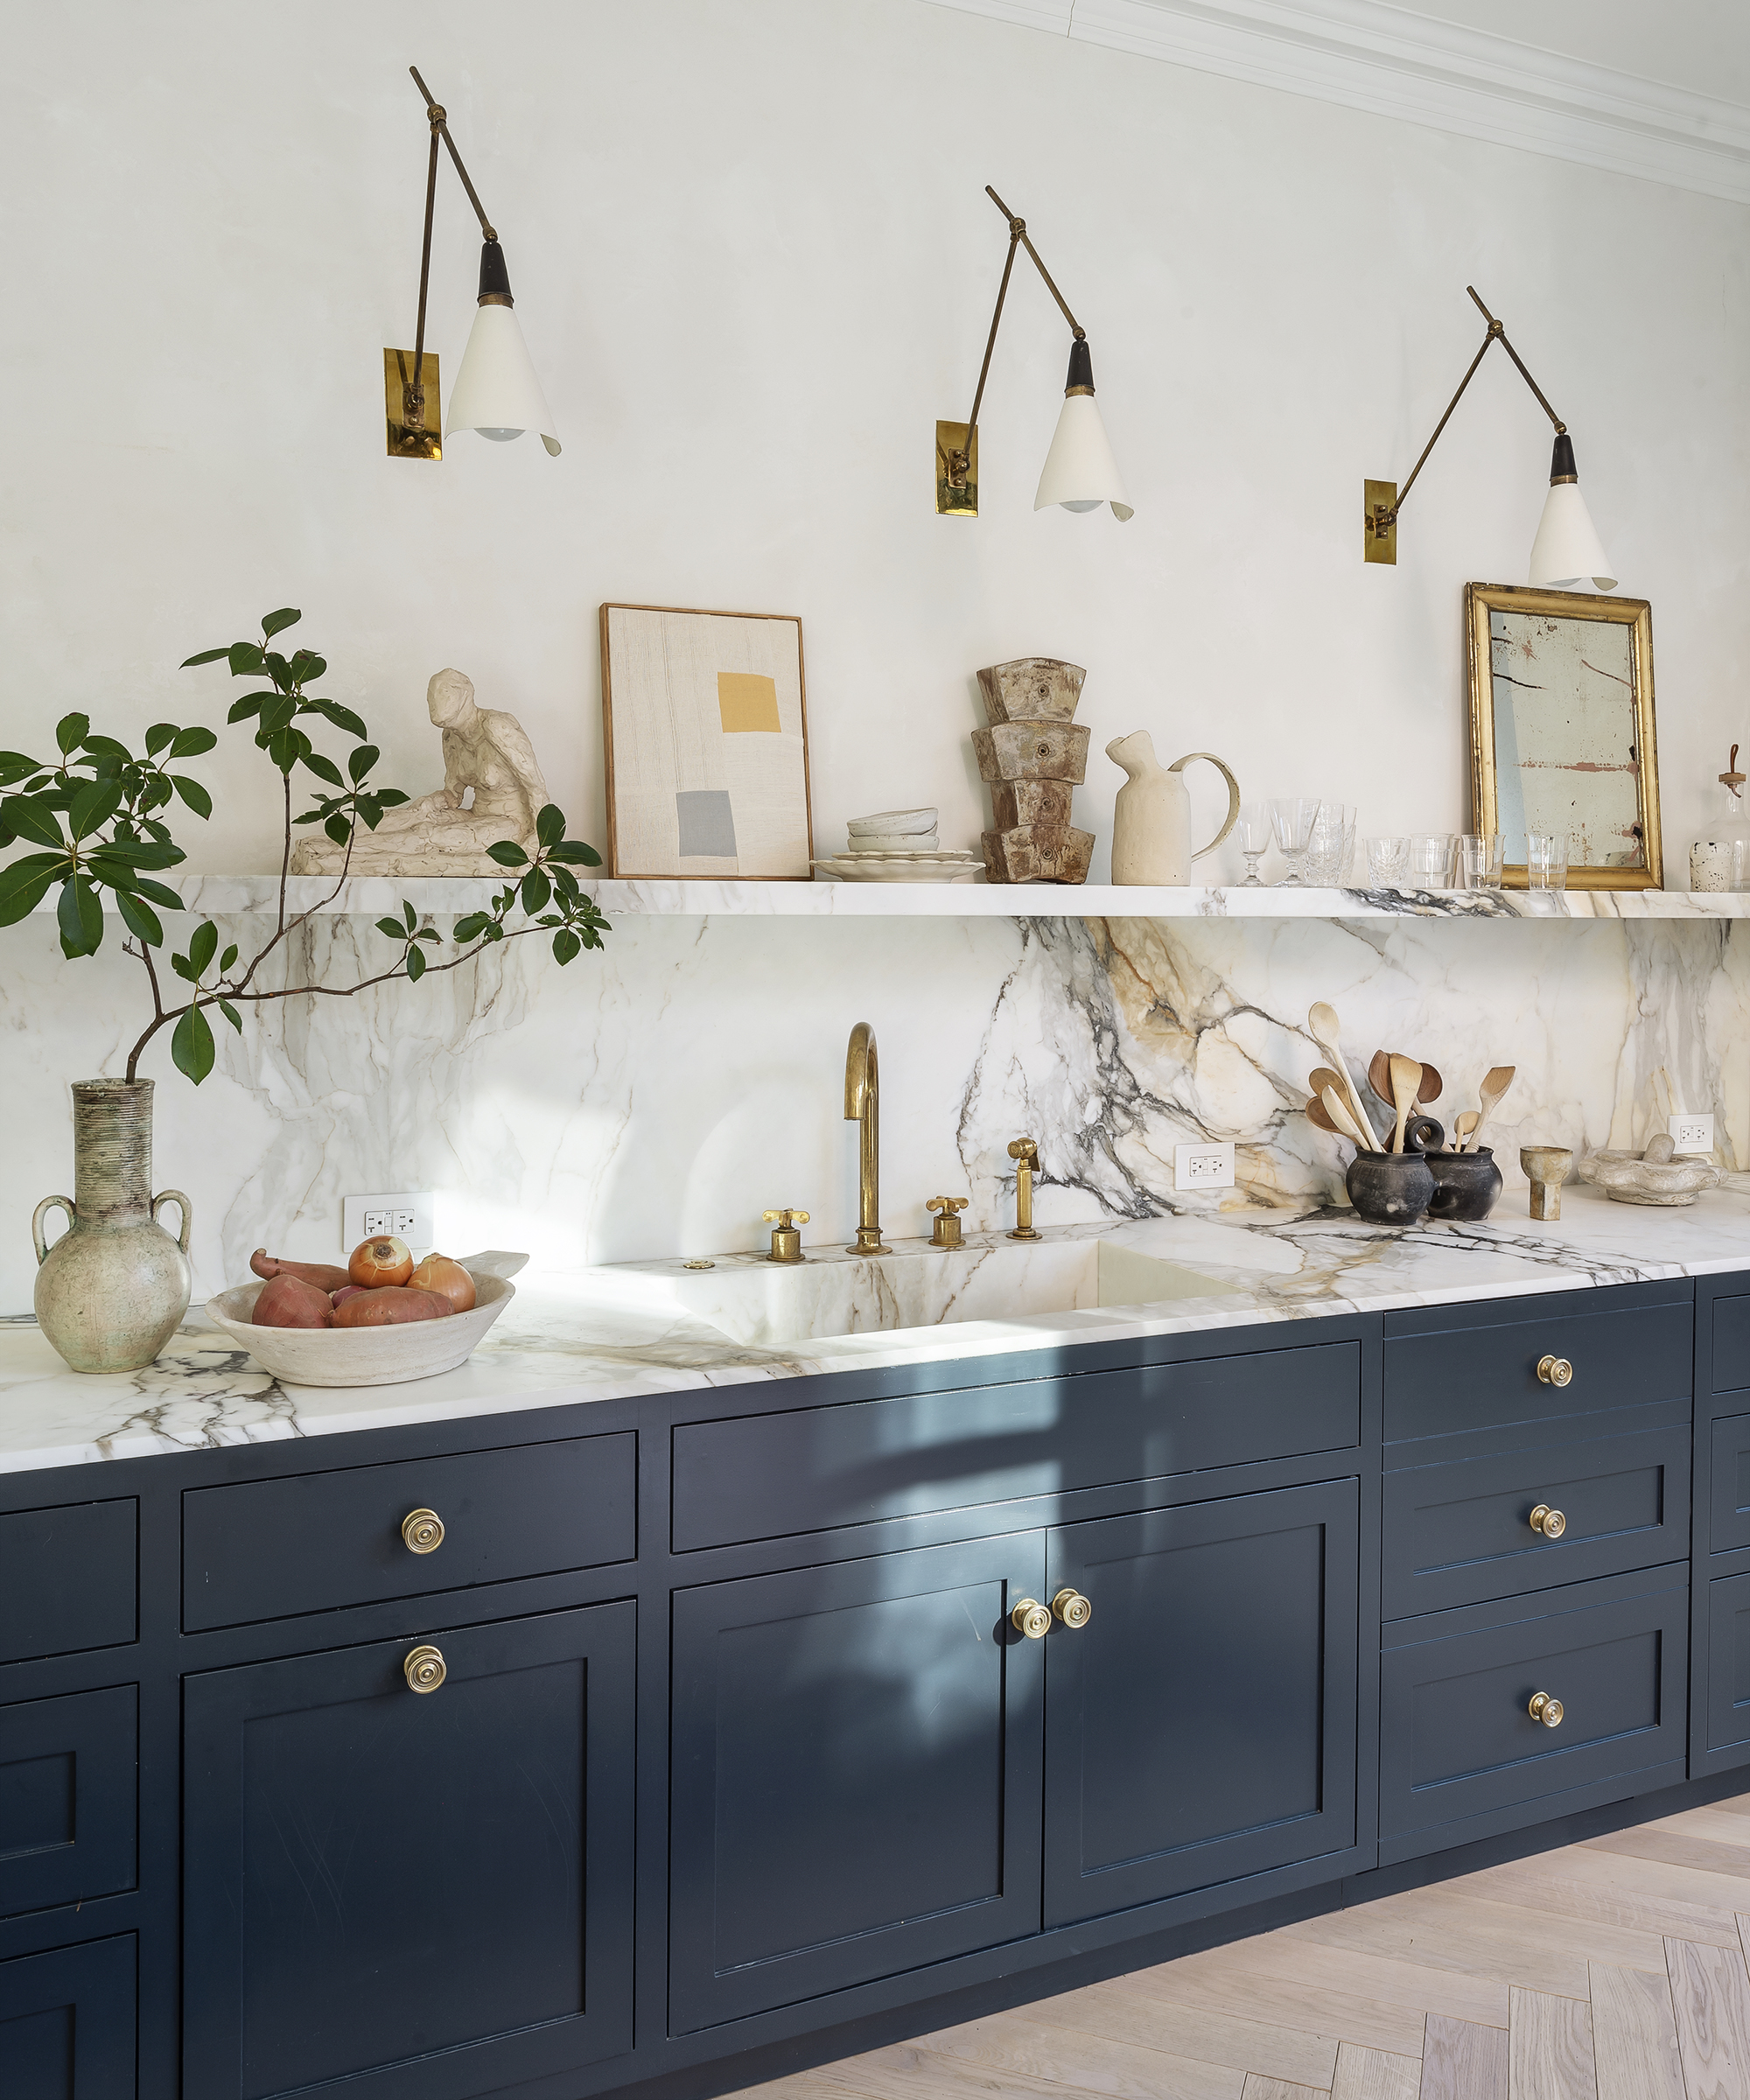
When organizing kitchen countertops, the general rule is to keep them as clear as possible. However, there is a case for keeping your most-used utensils on the side, particularly if you’re lacking in drawer space, or small kitchen storage ideas. The trick is to be selective about what you store, as well as what you store them in.
‘From farmhouse style enamel containers to modern sleek ceramics, it’s important you find a crock or utensil holder to complement your kitchen aesthetic. Choose the same style of storage, or utensils that look good when grouped together, for a coherent look’, says professional organizer Shannon Krause, co-founder of Tidy Nest.

Shannon Krause is a Certified Professional Organizer who holds a specialist certificate in Brain Based Conditions from the National Association of Productivity and Organizing Professionals (NAPO), and is a Certified Reiki Master which she incorporates into her work with clients. Tidy Nest has helped dozens of clients bring order into their lives and has won local awards recognizing their work.
7. Use hanging organizers
Hanging utensils on the wall is a space-saving tactic, and gives you more versatility for positioning, too. Given the different shapes, sizes and styles, a simple rail is your best bet; you can add hooks for larger, more awkwardly shaped utensils as well as wire baskets for holding silverware, smaller items, or any utensil that doesn’t have a hole in the handle.
‘A magnetic strip is great for storing knives; Mount it close to where you chop and prepare food so you can just grab them while you're cooking. This is also a great option if you have small children whose little fingers can get into drawers in easy reach,' says Laura.
If you’d rather not have utensils on display, consider mounting a rack to the back of a cabinet door. This is a good way of storing overflow utensils when organizing small spaces, leaving drawers free for other essentials.
8. Store utensils vertically
If you’re struggling to fit longer utensils into drawers horizontally, consider storing them vertically inside a deep narrow drawer, if you’ve got one to spare. If not, little pull-out customization and a few helpful kitchen organizers can make long and narrow cabinets fit for purpose, too.
‘Use vertical dividers, or line the bottom with drawer liners, then use heavy-bottomed trays, jars or canisters with a weighted base to prevent things from falling over as you open and close,' says Millie Hurst, Solved section editor at Homes & Gardens.

Millie Hurst is Section Editor at Homes & Gardens, overseeing the Solved section, which provides readers with practical advice for their homes. Millie has written about and tried out countless cleaning and DIY hacks in the six years since she became a journalist, and has worked in both London and New York.
9. Think twice before buying new utensils
As long as you go to the effort of putting them back in the right place, keeping your utensils in an orderly state is easy enough to do – assuming you don’t let clutter build up again. To prevent it, be mindful when bringing anything new into the kitchen.
Always ask yourself whether you really need it. Really really. If the answer is yes, invest in the best version you possibly can so you’re not tempted to buy multiples. If you’re replacing something, be sure to get rid of the old before bringing in the new. This is a good habit to get into regardless, and should prevent you from having to organize a kitchen with too much stuff, which can be frustrating.
FAQs
How do you arrange utensils in the kitchen?
Don’t fall into the trap of thinking all utensils should be stored in one place. Given the variety of functions they serve, it’s just not practical, and will result in one very cluttered kitchen drawer.
Where you position utensils will depend upon which kitchen ‘zone’ they fall into, so take the time to categorize; baking, prepping, entertaining cooking etc, then assess your kitchen layout. Next, think about how you’re going to store them, taking both space and preference into account.
Whether you arrange them in drawers, on the wall, in a countertop crock or a combination of them all, be sure to give your most often-used cooking utensils prime position. Keep your collection streamlined and neatly corralled with the help of dividers, so you can see and access what you need quickly. Arranging them vertically can help with this, either in a deep drawer or a pull-out cabinet.
It might feel like a small thing, but keeping your kitchen utensils in check is one of the best things you can do to ensure a smooth-running kitchen – you might even see an improvement in your cooking, too!
Sign up to the Homes & Gardens newsletter
Design expertise in your inbox – from inspiring decorating ideas and beautiful celebrity homes to practical gardening advice and shopping round-ups.
For 10 years, Tara King worked as a Content Editor in the magazine industry, before leaving to become freelance, covering interior design, wellbeing, craft and homemaking. As well as writing for Ideal Home, Style at Home, Country Homes & Interiors, Tara’s keen eye for styling combined with a passion for creating a happy – and functional – family home has led to a series of organization and cleaning features for H&G.
-
 Zooey Deschanel and Jonathan Scott's breakfast nook is an innovative, effective use of kitchen space – it turns a 'dead area' into a cafe-style corner
Jonathan and Zooey have situated an eccentric yet elegant dining area in what may have been an otherwise underused corner
By Hannah Ziegler Published
-
 6 things you should never throw in the trash – and what to do for safe disposal instead
From batteries to space heaters, experts reveal what not to throw
By Andy van Terheyden Published