How to install baseboards with a flawless finish in 6 simple steps
DIY baseboard installation can be fiddly. We asked the experts for top tips to help you nail this task


Installing baseboards yourself can help you save significantly on labor costs during home projects, and, it's a handy DIY skill to have.
Baseboards may seem like an insignificant detail, but when fitted badly, they's not only noticeable, but can create areas for opportunistic pests to hide, nest and infest.
There are certain essential DIY skills every homeowner should know and the more of these you can you can master the better, particularly if you want to keep a lid on costs. We spoke to construction pros for their tips on getting a flawless baseboard finish.
How to install baseboards like a pro
While this is a skill that most DIYers should be able to pick up pretty quickly, there are certain things you can do to make the job run a little smoother.
'Installing baseboards in your home is a pretty straightforward and simple process until you get to the corners,' says Caleb Ingraham, contractor and owner at North Seattle Handyman. 'The type of baseboard you go with, flat or contoured, will affect the difficulty.
'Choosing a flat baseboard will be much easier than choosing a baseboard that has a contour or profile,' continues Caleb. 'This is because the contour adds complexity to how the baseboards will connect at the corners.'
Something like the RELIABILT Primed S4S Spruce Pine Fir Common Board from Lowes would be easy to cut and fit.
Design expertise in your inbox – from inspiring decorating ideas and beautiful celebrity homes to practical gardening advice and shopping round-ups.
1. Gather your tools and materials
As with any kind of DIY home improvement project, it is really important to have all the DIY tools and materials to hand before getting started:
- A 16-gauge nailer (nail gun)
- Miter saw
- Sandpaper
- Measuring tape
- Pencil
- Angle finder (optional but useful for more accurate corners)
- Chalk line
- Scribing tool (optional)
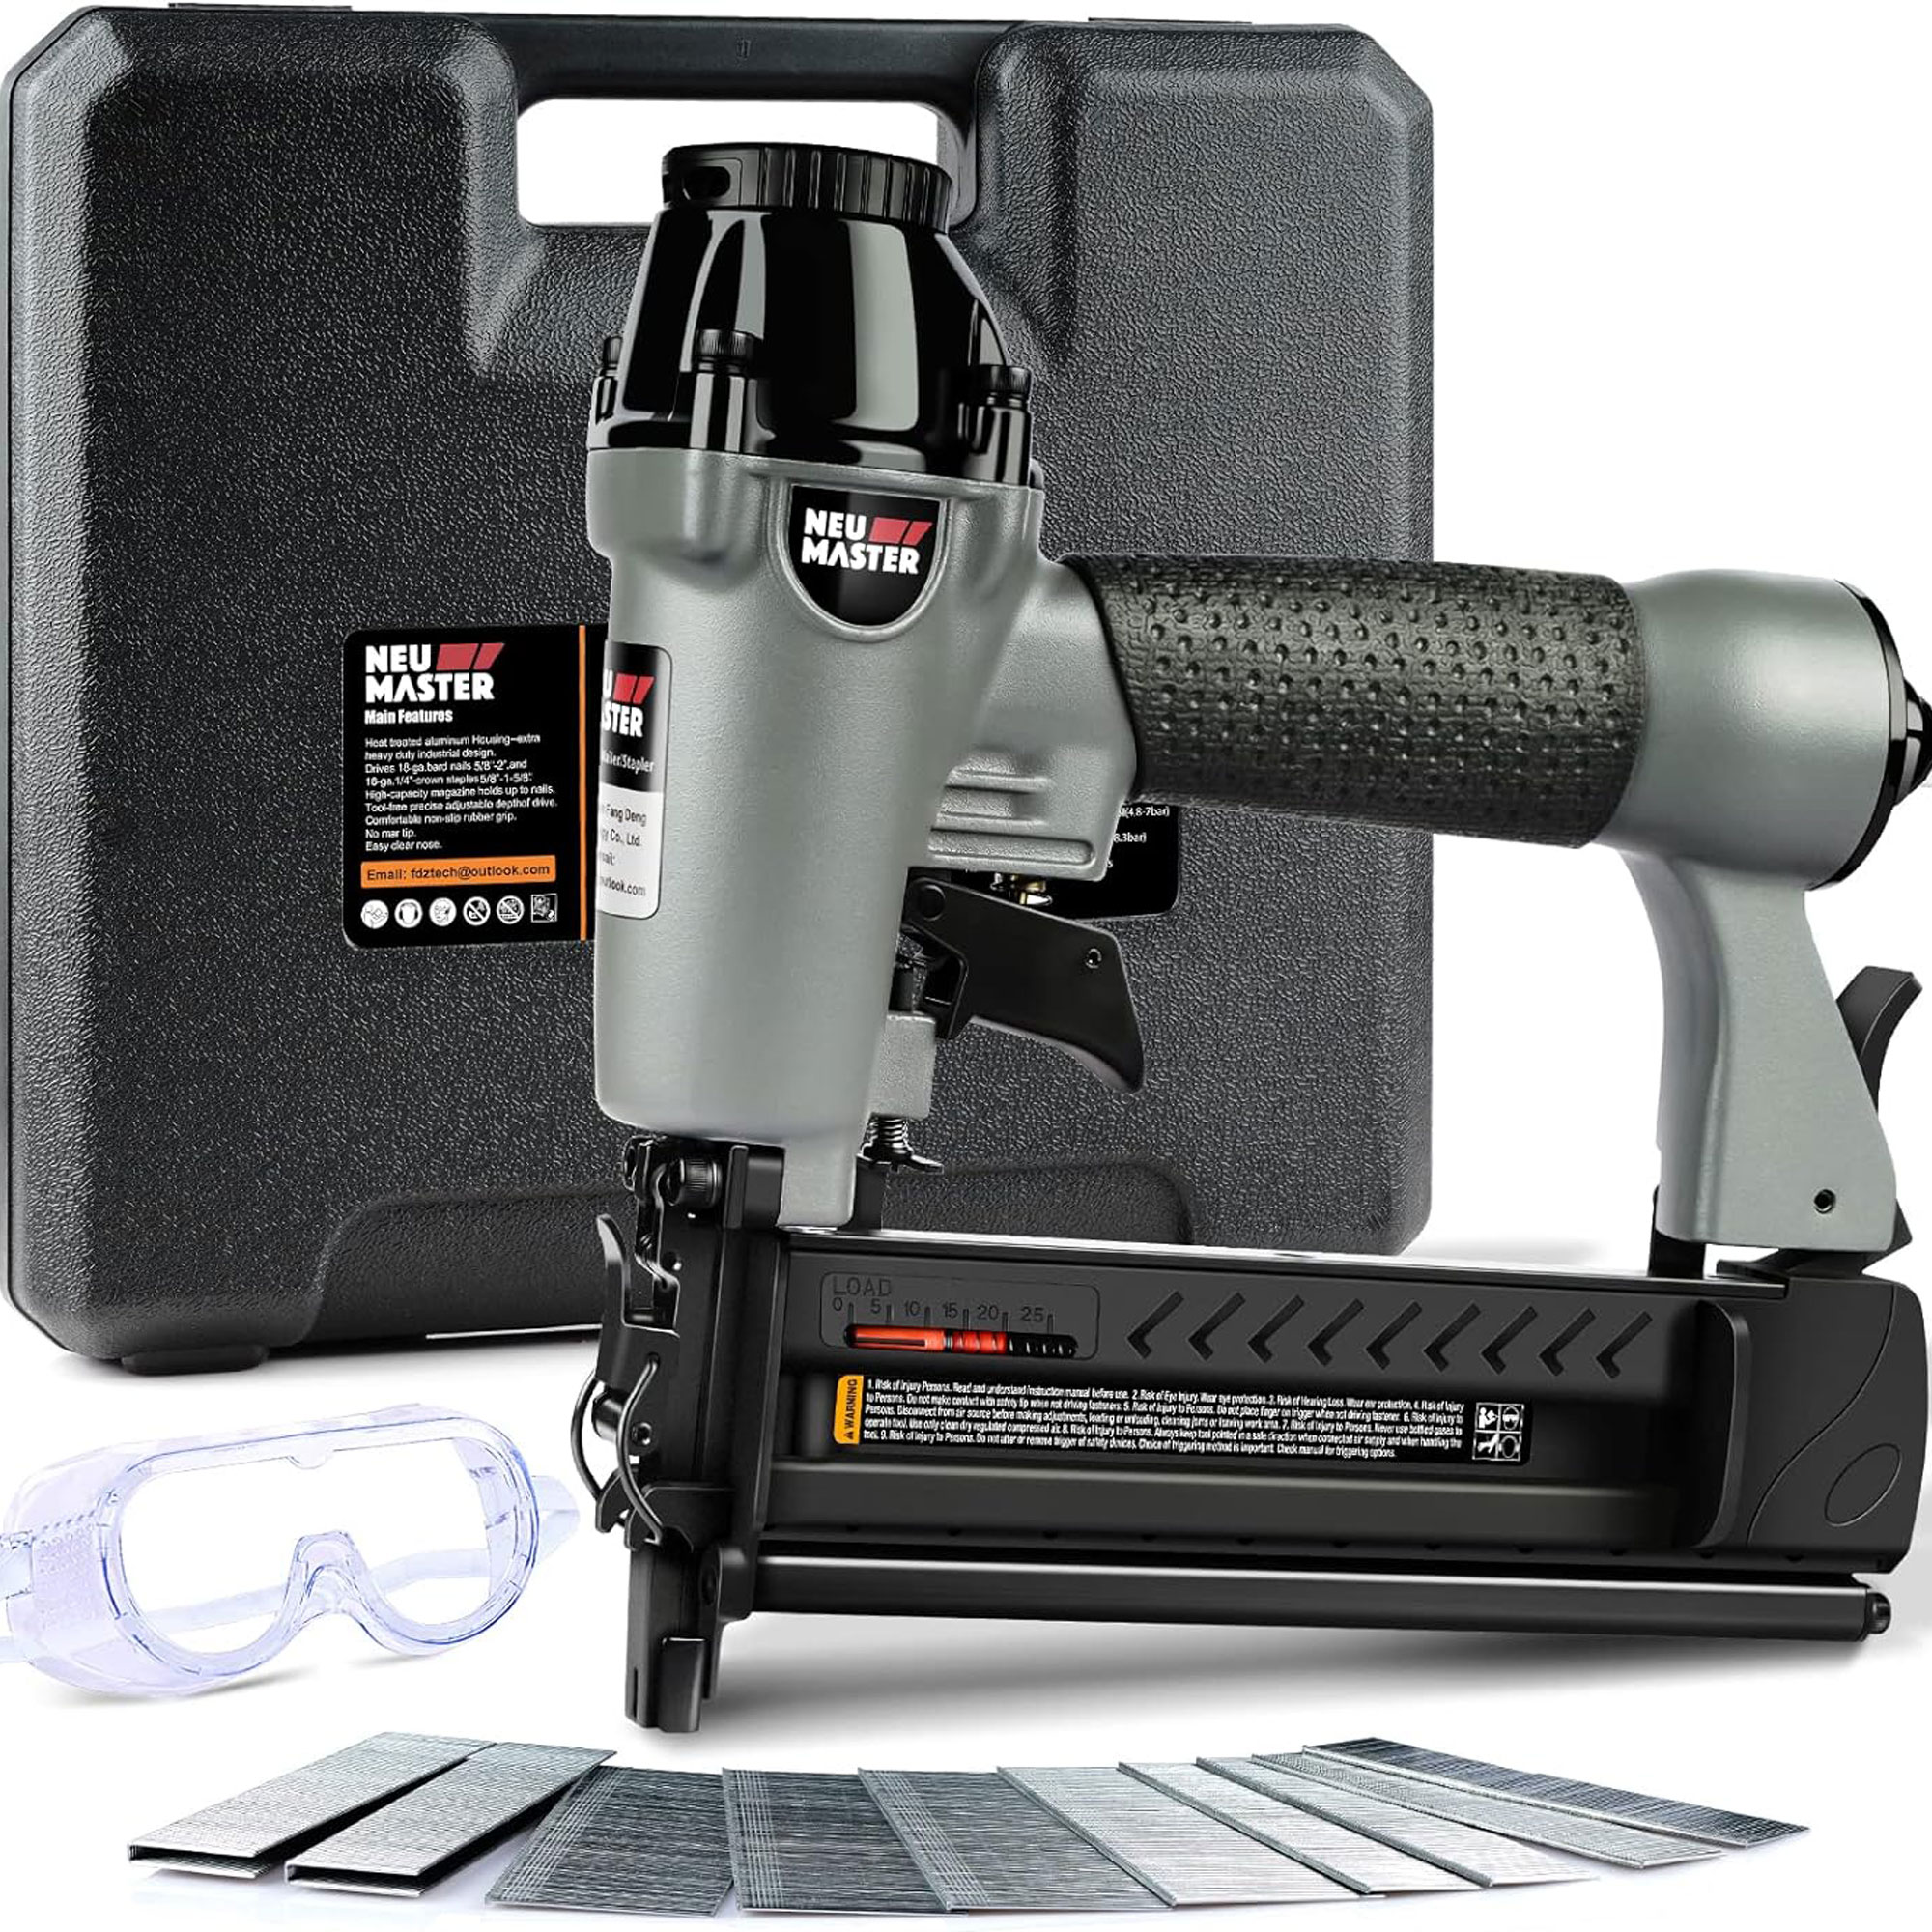
This is a fantastic, value-for-money buy for DIYers just beginning to put together their tool kit. It can drive in 18-gauge brad nails ranging from 5/8 inch to two inches in length, making it perfect for fitting not just baseboards, but also all other kinds of trim. It also comes complete with a handy carry case which means no stray nails and staples, as well as safety goggles. An air compressor is needed to use this but you'll need to buy separately.

If you are working on a fixer upper and plan on carrying out much of the work on a DIY basis, then a good-quality miter saw is a worthwhile investment and this one is great value-for-money. This 10" table saw might look bulky but it is actually lightweight at just 24.2lbs and easy portable from room to room. It also features a 0-52 degree miter angle to the left and right, which can be used for all kinds of cuts.
Materials:
- Adhesive (such as Liquid Nails from Amazon)
- Filler for any nail holes
- Baseboards (these might be timber or MDF)
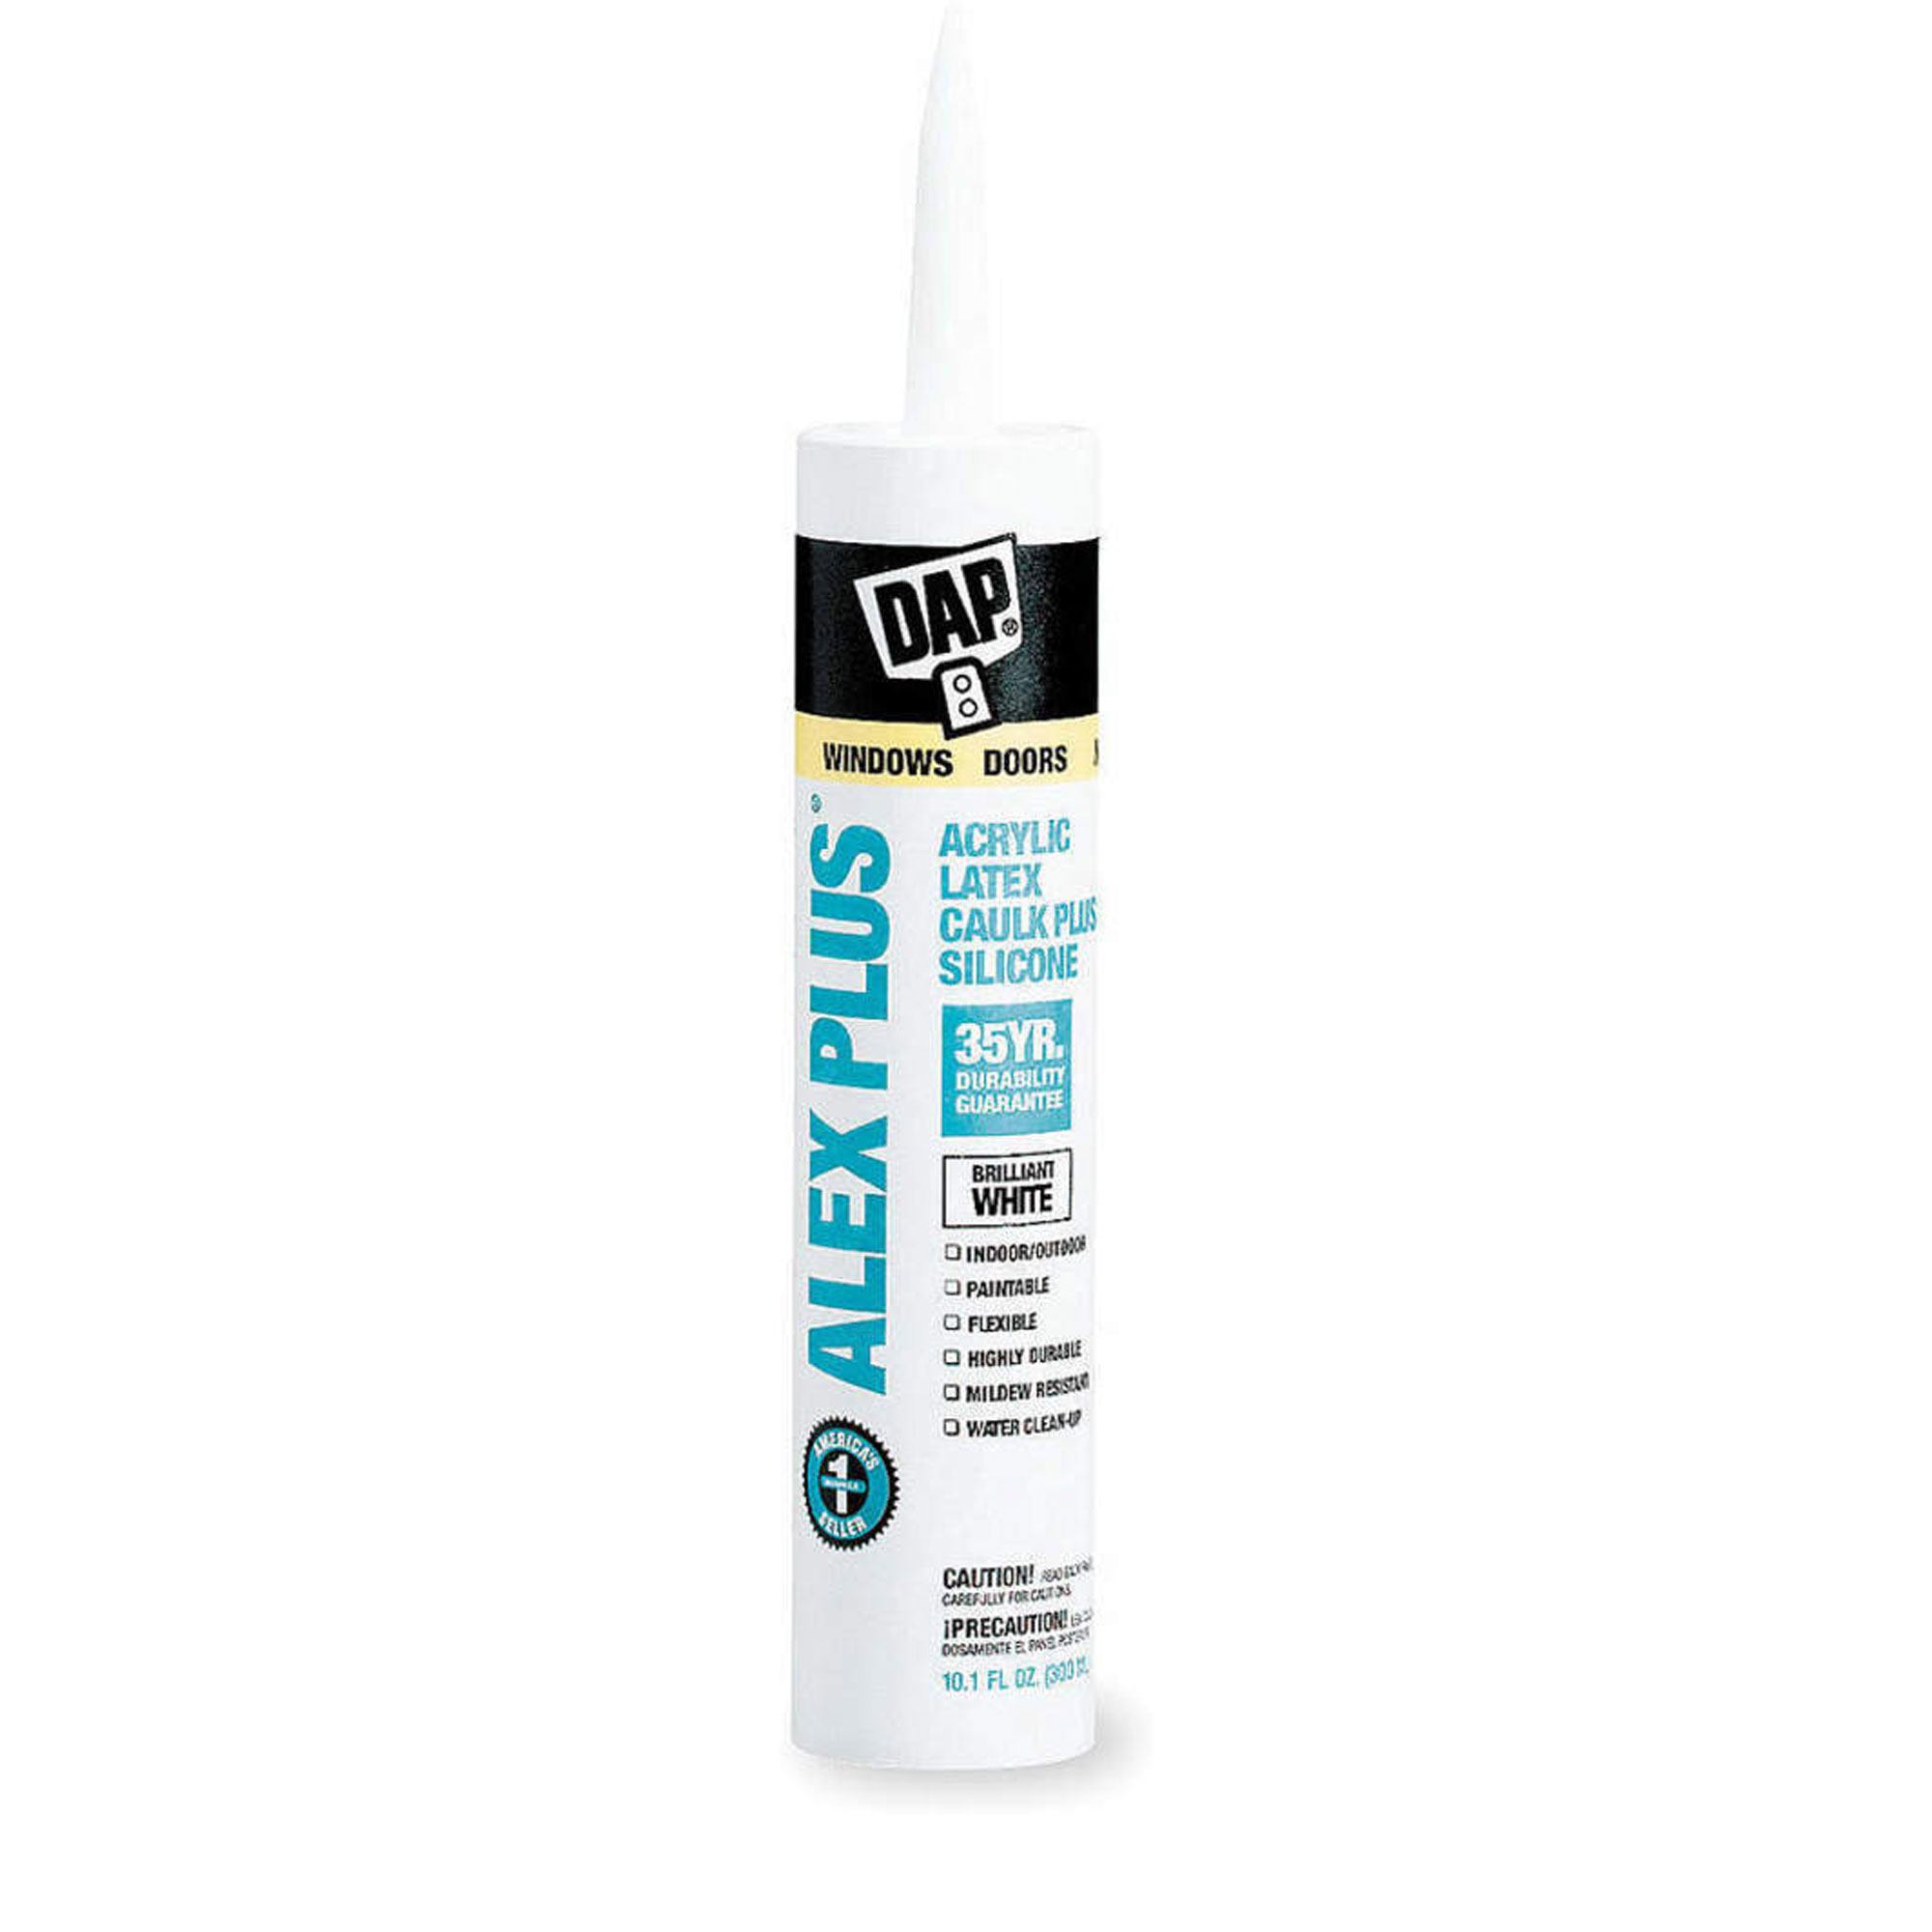
Caulk is a must-have item for any DIYer, whatever your skill level. It helps you achieve a neat finish and is a saviour when it comes to hiding small mistakes and creating a waterproof seal. This latex caulk is a doddle to apply and easy to clean up using just a damp cloth. Our favorite thing though is the fact that it is ready to paint in just 30 minutes meaning you can get your DIY jobs done faster.

Some chalk lines can leave only a faint line to follow – but not this one. The chalk is extra bold plus the line lock makes it easy to keep the line tight while snapping out your markings.
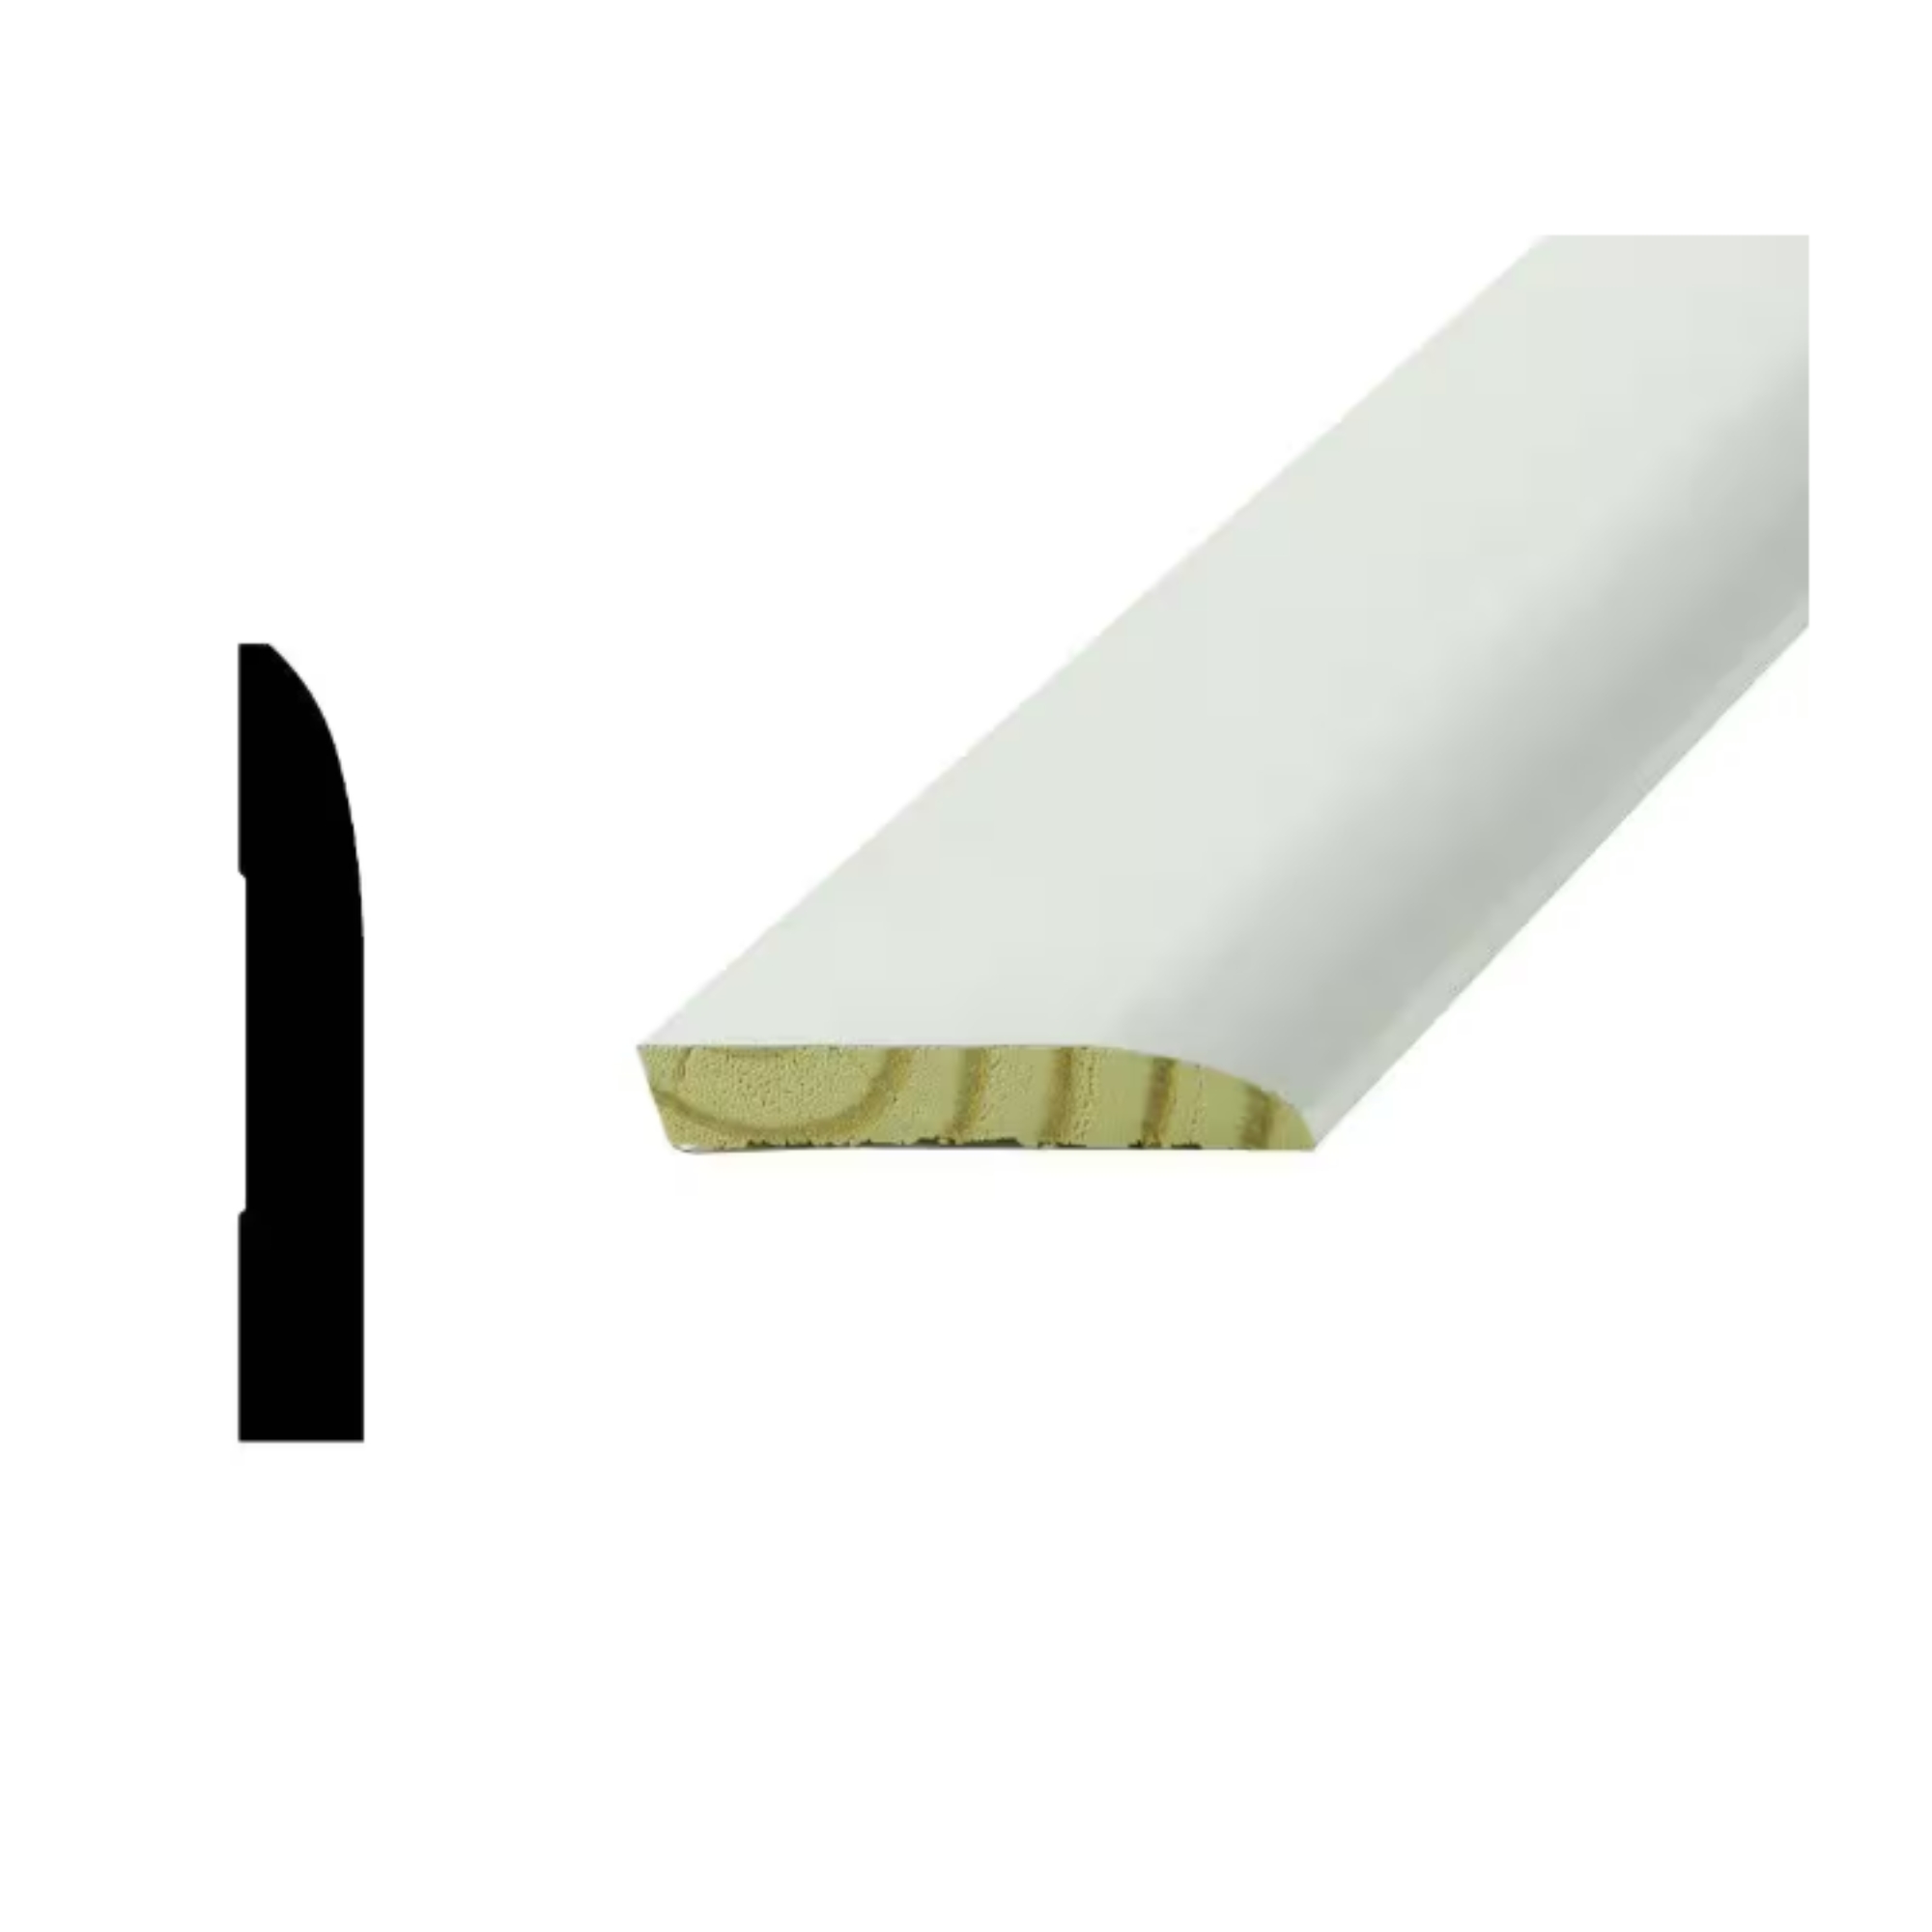
If it's your first time doing a baseboard installation, picking a baseboard with a simple profile will make it easier to fit, especially around the corners. This will make it easier to paint and clean as well, as there will be less grooves. This item comes primed for painting, which experts agree is easier to do before installation.
1. Prepare the walls
Before fitting new baseboards, it's important that the walls being attached to are clean and level. For example, if you are reinstating period features to a Victorian home, you might find walls need a little repair work.
'If your walls are older, they may be uneven,' points out Roberto Ruggiero. 'It's not uncommon for older homes to have 'wibbly-wobbly' walls, which can make installation more challenging.
'Scrape off any excess plaster or paint to ensure a smooth surface,' continues Roberto. 'Use a paint scraper to remove debris or old caulking. If you’re removing old baseboards, do so carefully to avoid damaging the walls.'
2. Measure your walls
Measure up carefully for this job if you want a neat finish and to avoid wasting any of your baseboards with inaccurate cuts. If you don't already know, be sure to get to grips with how to read a tape measure properly before carrying out this job.
'Start with measuring the walls and calculate how much baseboard you will be needing. Keep 10-15% extra in case of mistakes,' advises Jay Sanders, a licensed contractor and owner of Maryland Contractors.
3. Cut your baseboards to size
This is probably the trickiest part of installing baseboards, particularly if you are working with lots of corners. To start off, cut and fit any sections of board that can fit together ‘square-edged’ on either end (such as either side of a chimney breast).
'When dealing with corners, there are two types to consider: internal and external corners,' says Roberto Ruggiero. 'For internal corners, don’t just cut at a simple 45-degree angle,' continues Roberto. 'The best technique is to scribe the baseboard, which involves cutting away excess material at an angle to fit snugly against the adjoining baseboard.'
A scribing tool such as the Multifunction Scribing Tool from Amazon could really come in handy here for accuracy.
'External corners require more precision. An angle finder is incredibly useful here to ensure you’re cutting at the correct angle,' advises Roberto. 'Measure the exact angle of your external corner using the tool, then cut the baseboard accordingly. Many corners aren’t exactly 90 degrees, so this step ensures a more professional finish.'
4. Mark baseboard height on your walls
For a perfect finish, you want the top of your baseboards to be the same height all around the room. To ensure this, use a level to find the highest point of your floor. Mark the height of your baseboard up from this point and use a chalk line to make an even guide line all around.
If the floors in your home are a cause for concern and you would like to level them, look into what should you do if you have uneven floors – there are several easy solutions.
5. Attach your baseboards to the walls
Attach your baseboards to the walls. If you are planning on nailing them into place, first use a stud finder to locate the studs along the wall as these are what you want to nail into.
A stud finder such as the 5-in-1 Stud Finder Wall Scanner from Amazon will come in handy here, as well as for many other DIY jobs, such as putting your living room shelf ideas into place without nailing into pipes, metal or wires for example.
'Locate the studs and then nail the baseboards securely with a brad nailer (nail gun),' says Jay Sanders.
Depending on how uneven the walls are, you may need to use both adhesive and mechanical fixings such as nails or screws explains Roberto Ruggiero. 'Nail the boards using a 16-gauge nailer and remember to be mindful of electrical wiring, and follow safe zones for power cables, which typically run vertically or horizontally from outlets.'
6. Fill gaps and holes
With your baseboards in place, you can neaten them up, ready for priming and a final paint finish.
'Use caulk to fill gaps between the wall and baseboard,' says Jay Sanders. 'Lastly fill any nail holes with the help of wood filler and sand them smooth.'
Familiarize yourself with how to caulk baseboards for a smooth, professional looking finish.
'Walk around the room to check for any large gaps between the baseboard and the wall,' suggests Roberto Ruggiero. 'If needed, use caulk to fill them in.'
FAQs
Should you paint baseboards before or after fitting?
Keen to avoid making any baseboard painting mistakes? The advice surrounding on when to paint baseboards can vary, but the majority of experts agree that it can be easier to paint your boards before installation and then simply go over to carry out a touch-up job once they are in place.
Are flat or contored baseboards best?
Baseboards come in all kinds of designs, some of which are incredibly intricate in their profiles. While contoured baseboards look beautiful, particularly in older style homes, they are harder to scribe when it comes to corners. It is also worth noting that even when you know the best way to clean baseboards, the more detailed the profile, the harder this task will be.
'Choosing a flat baseboard will be much easier than choosing a baseboard that has a contour, or profile,' agrees Caleb Ingraham. 'This is because the contour adds complexity on how the baseboards will connect at the corners.
'The corner options range from mitered (where you cut each piece at 45 degrees and match them together) to butt (where you take 90 degree angle and butt it to the other piece). Finally there is a plinth option, which is a square piece of wood placed in the corners so that you can but up to is.'
Do baseboards have to be painted?
While it is very common for homeowners to look into how to paint baseboards, there are those who choose to leave the natural woodgrain on show.
If you decide to go for the former option, however, there are a couple of points to be aware of.
'A paint grade baseboard will be easier to work with than a stain grade because you can use caulk to help disguise defects from a miscut or something not fitting as well,' points out Caleb Ingraham. 'Using stain grade baseboards, your cuts need to be cleaner as hiding defects is hard.'
Meet our experts

Caleb is the co-owner of North Seattle Handyman, a handyman and remodel contracting company based out of the Seattle WA area. He has been in the trades for more than 20 years and has been working with home owners on improvements, maintenance and upgrades since he started his business in 2017.

Roberto is a manager at Tile Merchant, a company of construction experts who regularly share tips and advice on their blog.

Jay Sanders is a Baltimore based licensed contractor. He's been working on construction for more than 10 years with a solid track record of successful projects.
Small details such as your baseboards really do matter and can actually have a massive effect on the finished look of your room. Check out the best paint finishes for trim before pulling out your paintbrushes.

Natasha has been writing about everything homes and interiors related for over 20 years and, in that time, has covered absolutely everything, from knocking down walls and digging up old floors to the latest kitchen and bathroom trends. As well as carrying out the role of Associate Content Editor for Homebuilding & Renovating for many years, she has completely renovated several old houses of her own on a DIY basis.
