How to frost glass – 3 simple DIY methods that experts recommend
For whatever type of glass frosting project you are doing, we've got you covered with these different methods, including window film, chemical etching, and film spray


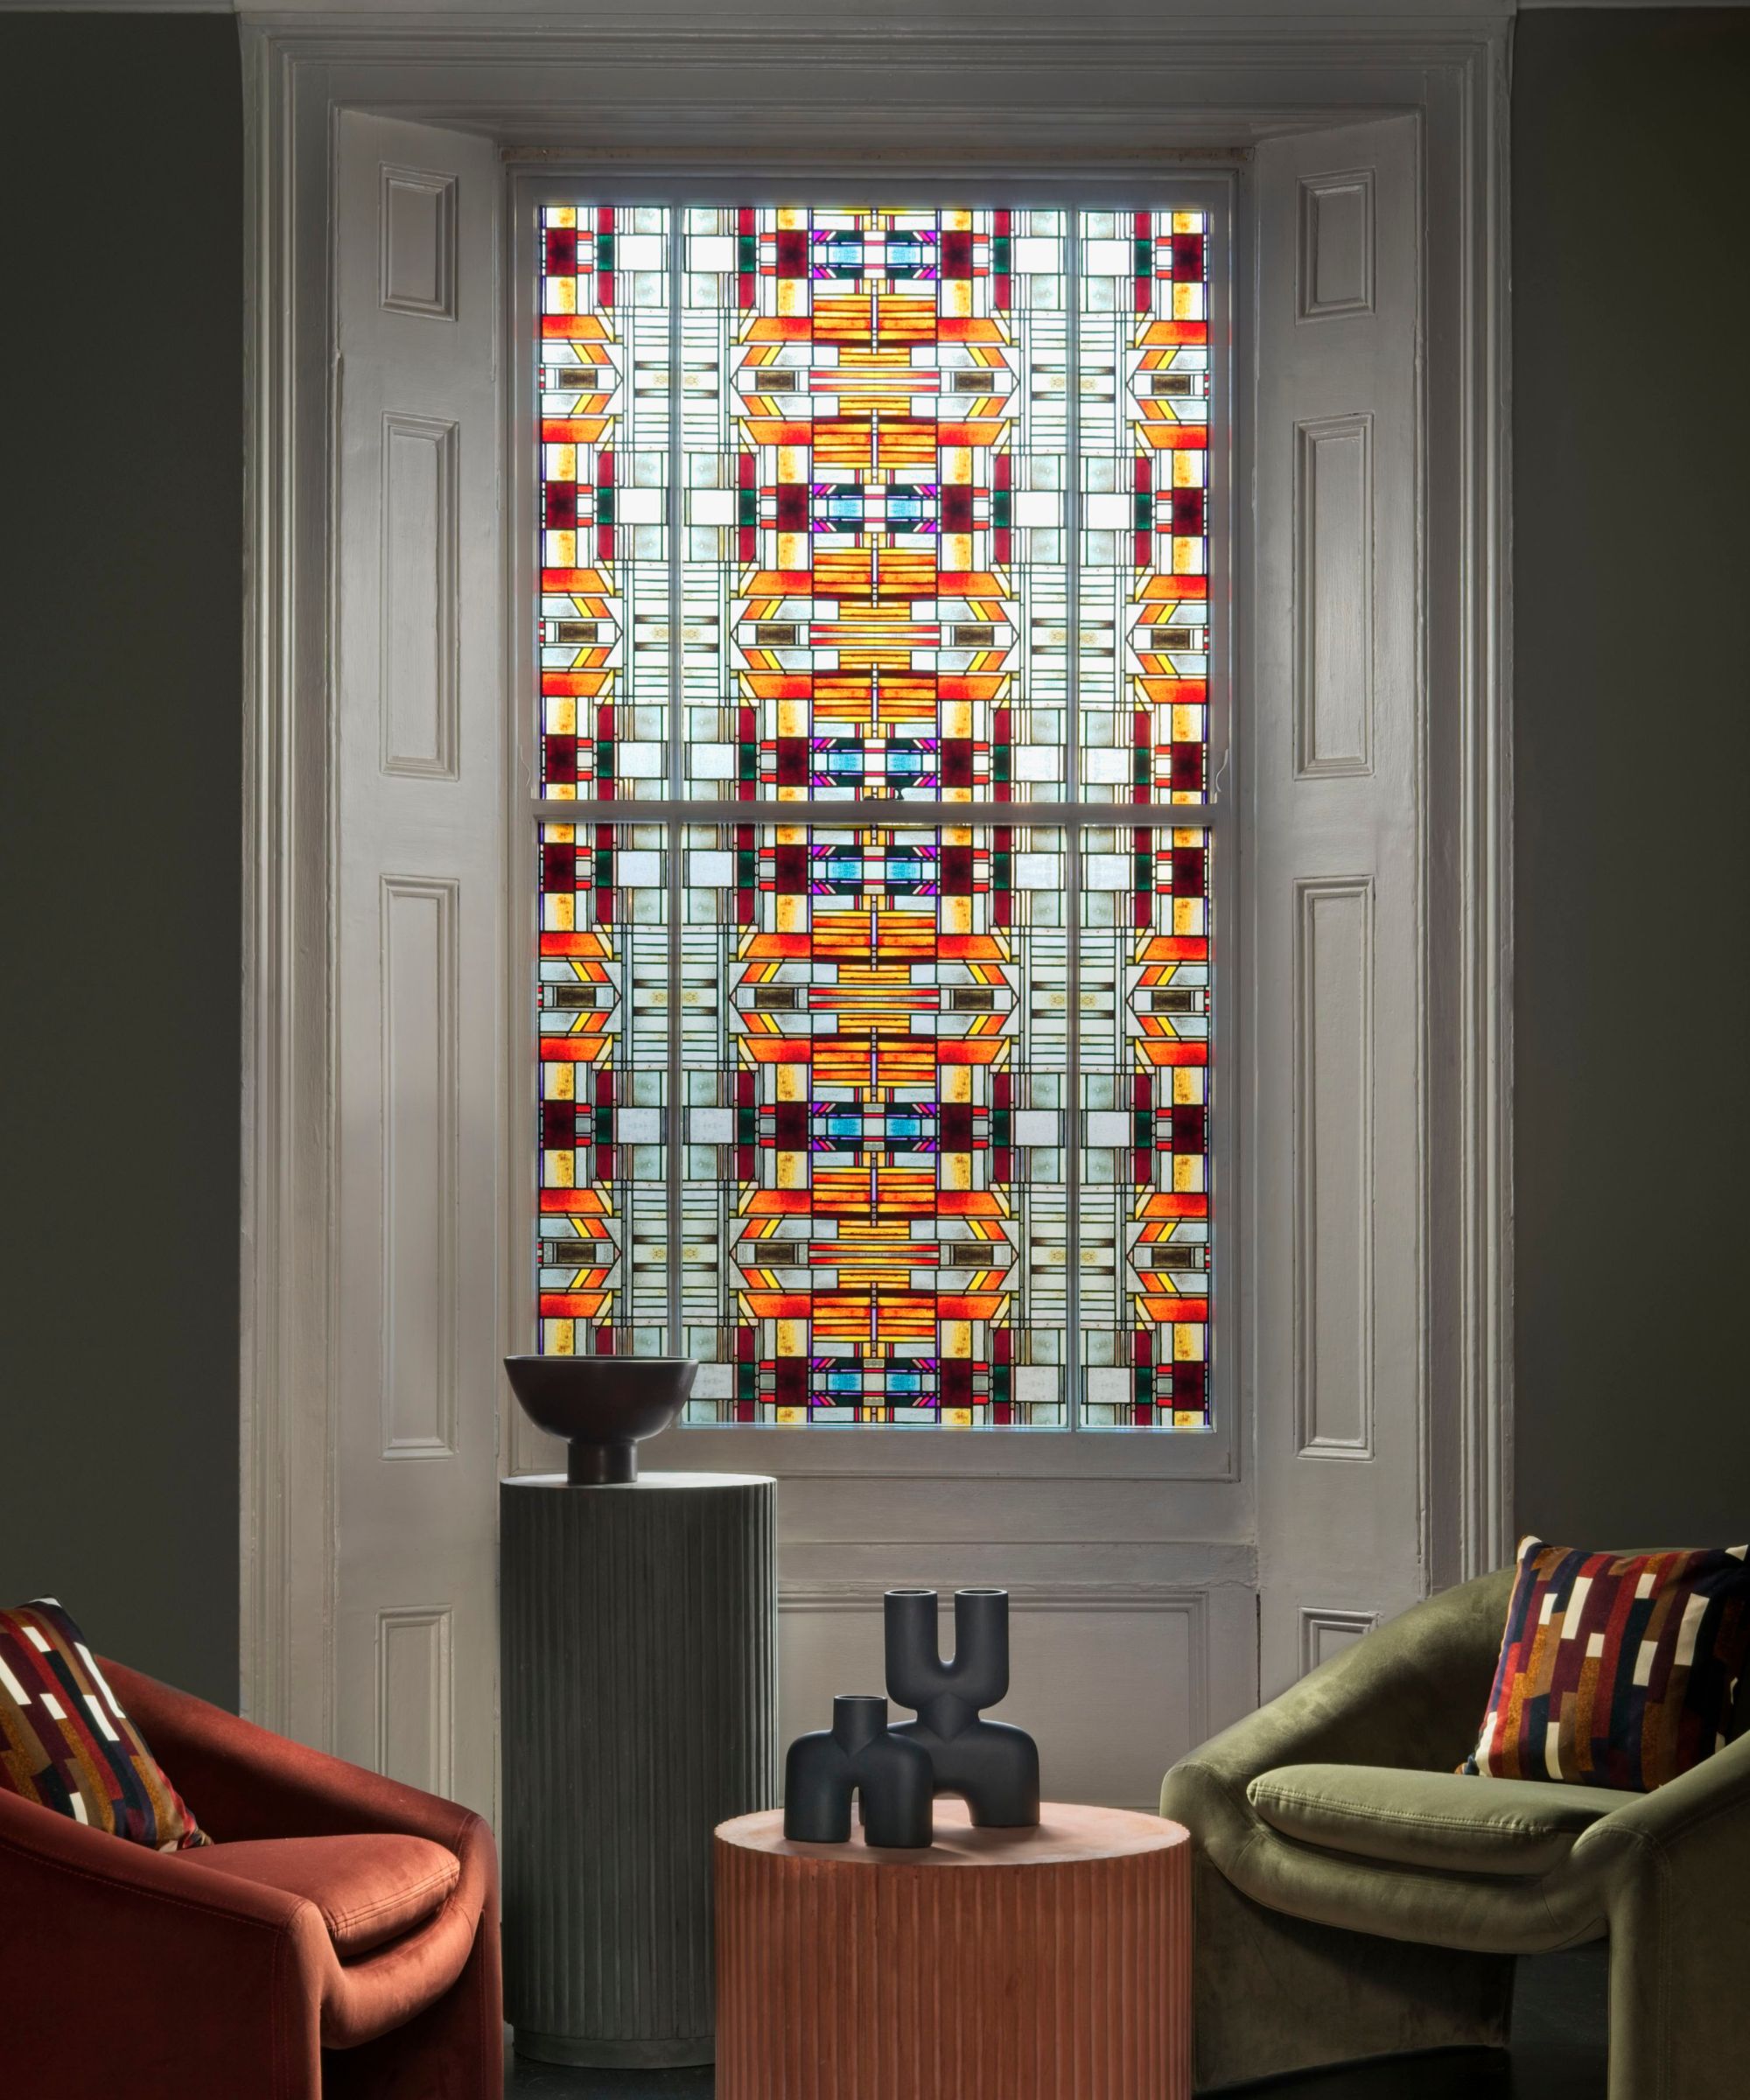
Frosted glass is a versatile solution for enhancing privacy and diffusing light without sacrificing brightness. Whether you're aiming to add a decorative touch to your windows, create privacy screens, or decorate glassware, this DIY project can easily be mastered with the right tools, materials, and steps.
Depending on your project, the style of frosting you want, and the permanency you desire, you can use window film or frosting spray for a semi-permanent finish or etching cream for a more permanent solution.
So, if you are trying to determine the best method for your space or the steps to create a professional-looking finish, you're in the right place. Here are the three methods to frost glass that experts recommend.
How to frost glass
'Successful glass frosting hinges on a few key factors,' explains Kerry Sherrin, consumer advocate at Ownerly:
- Firstly, you must ensure that the glass surface is meticulously cleaned.
- Then, make sure to choose the appropriate frosting method – window film for different styles and easy removal, acid etching for more precise and permanent designs like decorative glassware, or using a frosting spray for quick projects like decorating glass vases. Understanding the right method to use largely depends on your specific needs for durability, permanence, design, and the ability to revert to transparent glass.
- Also, keep in mind to apply the frosting evenly and with control to achieve a consistent finish.
Window film

Perhaps the most straightforward and flexible way to achieve a DIY frosted glass look is by applying frosted window film. These adhesives are simply frosted stickers that are applied to the glass.
Pros of the method
This method is cost-effective, provides a scratch-resistant surface that withstands daily use and allows for a high degree of customization.
Whether for full or partial privacy, these films offer flexibility in design and can be custom-cut to fit any glass size or shape. The stickers come in rolls that need to be cut to size or in pre-cut sizes.
Design expertise in your inbox – from inspiring decorating ideas and beautiful celebrity homes to practical gardening advice and shopping round-ups.
It is also easily removable, so whether you choose to remove or reposition the film, it can typically be done without leaving any residue, making it ideal for renters or those who enjoy switching up their decor frequently.
How to apply it
- Clean the glass thoroughly with rubbing alcohol and let it dry completely before applying the film.
- If you haven't ordered window film pre-cut to fit the dimensions of your glass, you'll need to cut the film to fit the desired area. You can use a Stanley knife to do this. It's advisable to cut the film slightly larger than your measurements indicate to ensure it covers the intended area before trimming off any excess.
- Carefully roll the sticker on the clean glass from top to bottom while applying pressure. Use a squeegee to ensure the film adheres smoothly without any wrinkles or bubbles. Make sure to go slowly to avoid bubbles or uneven areas.
Chemical etching

Chemical etching involves the application of an acid etching cream that reacts with the glass to create a frosted look. You can use this Armour etch glass etching cream, from Walmart.
This method requires precise handling due to the toxic nature of the acids used. Wear protective gloves and goggles while providing the etching cream, as it contains chemicals that can be harmful to the skin and eyes.
Pros of the method
'The result is durable and permanent, ideal for homeowners looking for a long-lasting solution,' explains Nick Chatzigeorgakis, CEO of Intrabuild. 'This technique allows for custom designs, which can be masked onto the glass before applying the etching cream, providing a unique aesthetic that can be tailored to match the home's design.'
How to apply it
- Clean the glass surface, wiping it down with rubbing alcohol to remove any residue.
- Use painter's tape, such as this Duck Brand one from Amazon, to mask off the areas you wanted to protect from the etching cream.
- Use a brush or sponge to spread a thick, even layer of etching cream to the glass surface.
- Follow the instructions on the recommended time to let the cream sit. This will depend on the brand and desired level of frosting.
- Once the etching cream has had time to work, thoroughly rinse off any residue with water and carefully peel off the painter's tape.
Zibra KIT4FUR 4-Piece Furniture Paint Brush Set | Was $39.85, now $36.35 from Amazon
Frost spray

Using frosted glass spray paint is another easy technique that doesn't have to be a permanent solution. We recommend this Rust-Oleum 342600 frosted glass spray paint from Amazon.
Always use the frosted glass spray in an area with good ventilation and wear proper eye protection and a face mask. Also, keep in mind that this method is a bit more opaque than the other two.
Pros of the method
This is a straightforward, cost-effective solution that allows for temporary or semi-permanent frosting, ideal for windows, glass doors, or glass partition walls.
How to apply it
- Take the glass to a well-ventilated area, and cover the area with protective plastic.
- Clean the glass thoroughly with rubbing alcohol, from Amazon. If you can't move the glass, use painter's tape on areas you don't want painted and cover other items in the room.
- Shake the front spray vigorously to ensure its contents are well-mixed.
- Hold the can about 6 to 12 inches away from the glass surface and spray an even layer of frost spray onto the glass, using smooth sweeping motions to cover the entire surface evenly.
- Depending on the level of frost you want, you might want to use 2-3 coats of the spray, waiting about 15 minutes between coats or until the coat has dried completely. You can also inspect for any missed spots or uneven areas to touch up with additional spray.
- Peel off the painter's tape slowly once the frost spray has dried completely.
Sandblasting is another technique that involves projecting fine sand particles at high velocities toward the surface of the glass to roughen it up, resulting in a translucent frosted appearance. This method gives a more uniform frost effect and is adjustable by changing the sand's coarseness or the blasting's intensity.
This is a great option if you want a long-lasting finish, with either a professional-looking consistent finish or to create intricate designs or patterns on the glass surface. However, this may be a method best left to the professionals.

Lola Houlton is a news writer for Homes & Gardens. She has been writing content for Future PLC for the past six years, in particular Homes & Gardens, Real Homes and GardeningEtc. She writes on a broad range of subjects, including practical household advice, recipe articles, and product reviews, working closely with experts in their fields to cover everything from heating to home organization through to house plants. Lola is a graduate, who completed her degree in Psychology at the University of Sussex. She has also spent some time working at the BBC.
