

Nothing quite puts the finishing touch to a decorating scheme like a chandelier. It's so much more than just a lighting device: it's a design statement that can completely transform any room in your home, though it's especially effective in large living rooms and dining rooms.
However, if you have a chandelier in your home, you will know that they are notoriously difficult to clean. Chandeliers have elaborate designs, often with multiple branches and hanging elements, and they are high up, unlike other lights. You have to approach cleaning and dusting a chandelier in a different way from other items in your home. Otherwise, you could end up with a chandelier that is still dirty or even one that's broken.
We've sought the advice of professional cleaners. Here's what they recommend for getting your chandelier looking like new again.
How to dust and clean a chandelier
The most important decision you'll have to make when dusting and cleaning a chandelier is whether the chandelier will be staying up or coming down. There are several factors to consider here, including:
- How much cleaning the chandelier needs: if your chandelier is relatively new, you'll probably get away with just dusting and cleaning it while it's up. However, as professional cleaner, Delah Gomasi points out, 'If your chandelier has never been cleaned, or it's been some time since you've cleaned it, you'll always need to take it down and clean each piece.'
- How high up the chandelier is: Obviously, the higher up yours is, the harder it will be to reach for cleaning. Although you can try dusters with telescopic handles and use a sturdy stepladder to help you, this won't always be the safest option.
- How much time you have: There are several methods for cleaning a chandelier (see below): some of them are much more time-consuming than others. You'll have to decide whether you can set aside sufficient time for a deep clean, which will involve dismantling it. If you don't, it's still better to attempt a light dusting/clean rather than leaving it. The longer you leave between cleaning, the more work you'll have to do each time.
1. Use the no-dismantle method

This method will be suitable for chandeliers that are relatively clean to begin with, and that don't have small, hanging pieces that could fall off during the clean. Karina Toner, Operations Manager at professional cleaning company Spekless, says you'll need the following cleaning supplies for cleaning a chandelier this way:
- A sturdy stepladder: Karina recommends getting a ladder ''with a stable base to safely reach all parts for cleaning''.
- A cleaning solution: You don't need anything special here; ''a solution of warm water and a mild, non-abrasive dish soap'' will be suitable ''for most chandelier materials.''
- Microfiber Cleaning Cloth (such as these from Amazon): These cloths are soft and lint-free, ideal for delicate surfaces.
- Wright's Copper and Brass Cream Cleaner from Amazon: 'This polish effectively removes tarnish and restores shine without scratching', says Karina.
You now have everything you need to clean your chandelier. Now follow these steps:
1. Turn Off the Power
Safety first! Always, always make sure the chandelier is turned off and the bulbs are cool to the touch. By turned off we mean ideally unplug the chandelier completely.
2. Prepare the cleaning solution
Mix the warm water and dish soap in a bucket or bowl.
3. Remove dust and debris
Use a soft, lint-free cloth or a duster to gently remove dust and cobwebs from the chandelier. 'Start from the top and work your way down', advises Karina. A cloth will always give you a more thorough clean than a duster, but if you really cannot reach every piece even while standing on a stepladder, a good-quality lambswool duster is a suitable tool.
4. Clean crystals or glass pendants
To clean crystal or glass parts, 'dampen a microfiber cloth with the cleaning solution. Wipe each crystal or pendant carefully to remove fingerprints and grime.'
5. Clean metal or brass parts
To clean metal or brass components, dampen a cloth with the cleaning solution and gently wipe to remove dust and smudges.
6. Dry with a soft cloth
After cleaning, use a dry microfiber cloth to gently buff and polish the crystals or glass. This step adds shine and removes any remaining streaks.
7. Inspect and adjust
Inspect the chandelier for any missed spots or stubborn dirt. Repeat cleaning steps as necessary until the chandelier sparkles.
8. Dry thoroughly
Ensure the chandelier is completely dry before turning the power back on. Any residual moisture could pose a risk when the chandelier is in use.
2. Dismantle the chandelier for a thorough clean

If your spectacular living room chandelier needs a deep clean, or it has a very complex design with fragile hanging pieces, you will need to take it down for cleaning. Founder of Muffeta's Housekeeping Muffeta Krueger recommends the following steps to deep clean a chandelier:
1. Take photos: Before disassembling, take detailed photos of the chandelier. This will help you reassemble it correctly.
2. Disassemble carefully: Remove crystals and other detachable parts, keeping them organized and labeled.
3. Soak the Crystals: Place the crystals in a solution of warm water and a few drops of mild dish soap. Let them soak for a few minutes.
4. Rinse and Dry: Rinse the crystals with distilled water to prevent water spots and dry them with a lint-free cloth. Avoid drying glass pieces in the sun as they could get damaged.
If your chandelier is truly grimy and soaking just isn't doing the trick, Director of MaidForYou Delah Gomasi says you can try a deep clean with the help of your dishwasher. You would follow all the same disassembly steps, but then you would put all the pieces ''n a dishwasher-safe container, and run them on the gentle cycle for at least 30 minutes. Make sure that the only thing in the dishwasher when cleaning the chandelier is the chandelier and the dishwasher-safe container.'
You can then use the drying setting, but you'll need to keep it low and keep the dishwasher on 'for another 4-5 hours and put it back together.' However, Delah cautions that 'this method can be tedious, so it's not ideal. If it's not done correctly, you also risk damaging the chandelier.'
Washing by hand is the safest option, but the dishwasher trick can be worth it for chandeliers that are a bit less delicate but are very dirty.
3. Try the ''drip dry'' method for a regular clean
If both of the above methods sound like a lot of work, you can try what Delah refers to as the ''drip dry'' method. It's less hands-on than the other methods and can save you time. Delah explains that this method 'basically involves spraying a mild window cleaning solution onto the chandelier and letting it drip dry. Then you wipe it down with a soft cloth.'
No deisassembling, no excessive scrubbing or dusting. Delah only recommends this method 'for regular cleaning of the chandelier. We don't recommend this method for chandeliers that have never been cleaned or have not been cleaned in a long time.'
FAQs

How often should you clean a chandelier?
Karina recommends cleaning a chandelier at least once every few months to maintain its beauty and prevent buildup. She emphasizes that regular cleaning 'ensures that your chandelier not only enhances your decor but also stays in top condition for years to come.'
Put simply, if you're leaving it years between cleaning your chandelier, you need to clean it more regularly.
What should you never use to clean a chandelier?
Karina advises avoiding 'ammonia-based cleaners or abrasive materials, as these can damage delicate crystals or metal finishes.' Bleach and other industrial-strength cleaners are also a big no-no.
If your chandelier is delicate and expensive, it's even a bad idea to use all-purpose cleaning sprays. Just stick with mild soap and water. It's all you need to get your chandelier sparkling again.
A statement chandelier can elevate the appearance of a room when selected carefully. However, Feng Shui experts warn against having a chandelier in your entryway.

-
 Bissell CleanView XR Pet 300W Stick cordless vacuum review – it's a great budget vacuum, but by no means perfect
Low price point, but with the cleaning performance to match it
-
 Kevin Costner uses the 'ultimate color choice for interiors' in his kitchen – it masters a top 2025 trend that's 'guided by the calm of nature'
The Yellowstone actor embraces a subtle yet soothing trend that's influencing how we decorate this year, but it will look just as perfect in 100 years


-
Bissell CleanView XR Pet 300W Stick cordless vacuum review – it's a great budget vacuum, but by no means perfect
Low price point, but with the cleaning performance to match it
-
 'It's surprisingly effective' – How to clean with white bread, and why this pantry staple might be just what your cleaning routine is missing
Is this unusual cleaning hack the best thing since sliced bread?
-
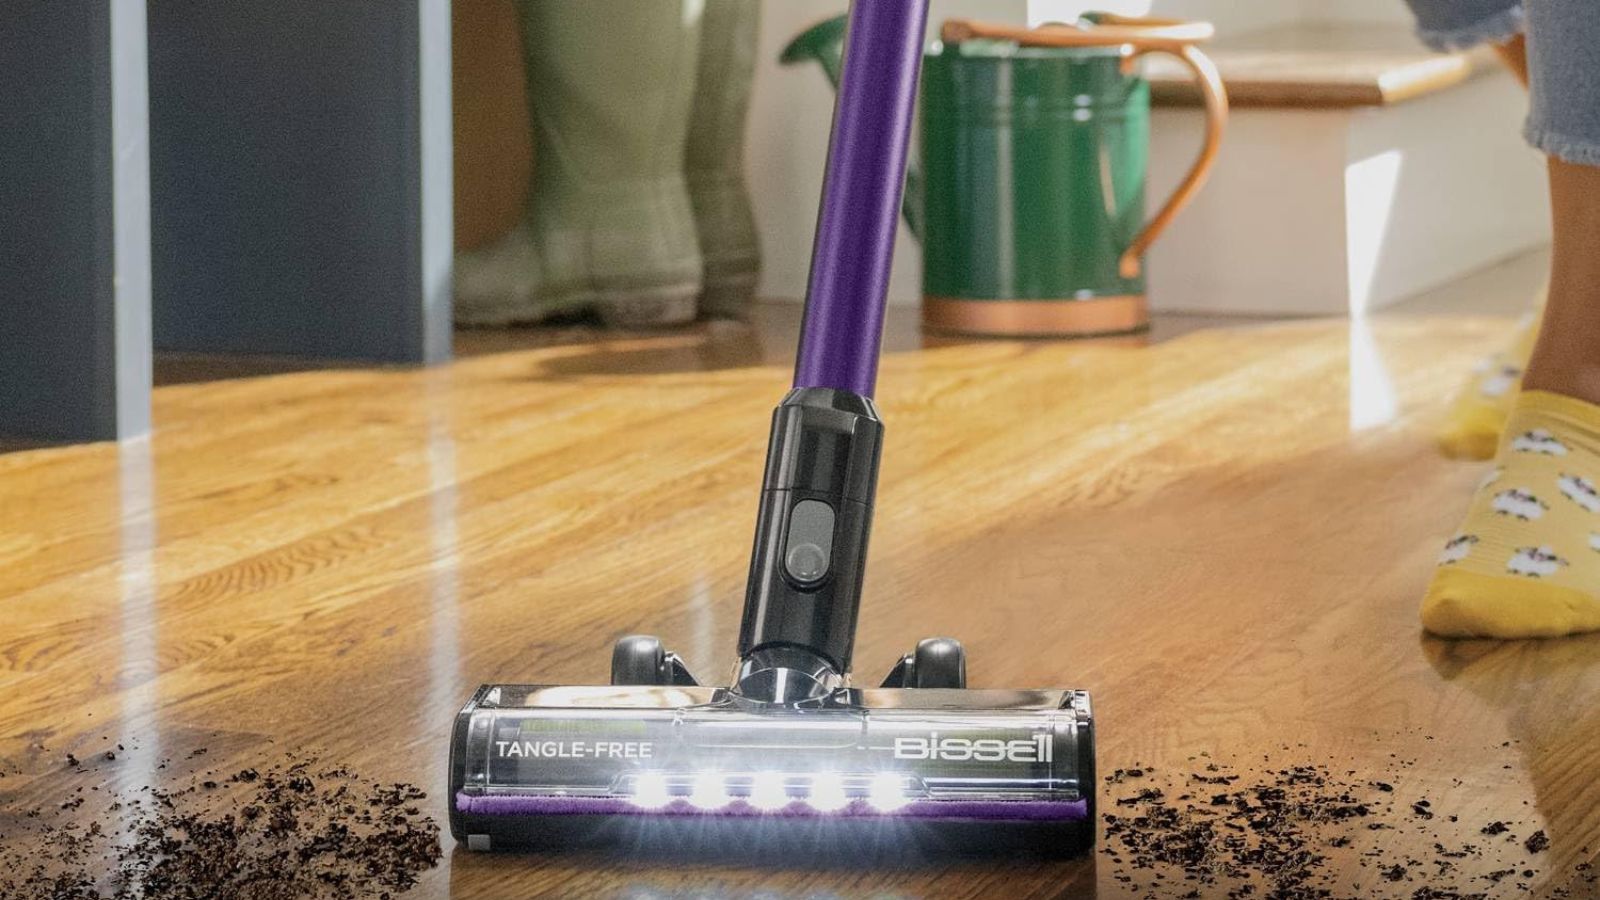
 I’m a professional cleaner, and I swear by these quick and easy tips to clean pet hair from wooden floors
Staying on top of the mess makes it 10 times easier
-
 I tried this glycerin hack to stop the mirror in my bathroom from fogging up – and it worked like magic
It instantly fixed one of my biggest pet peeves
-
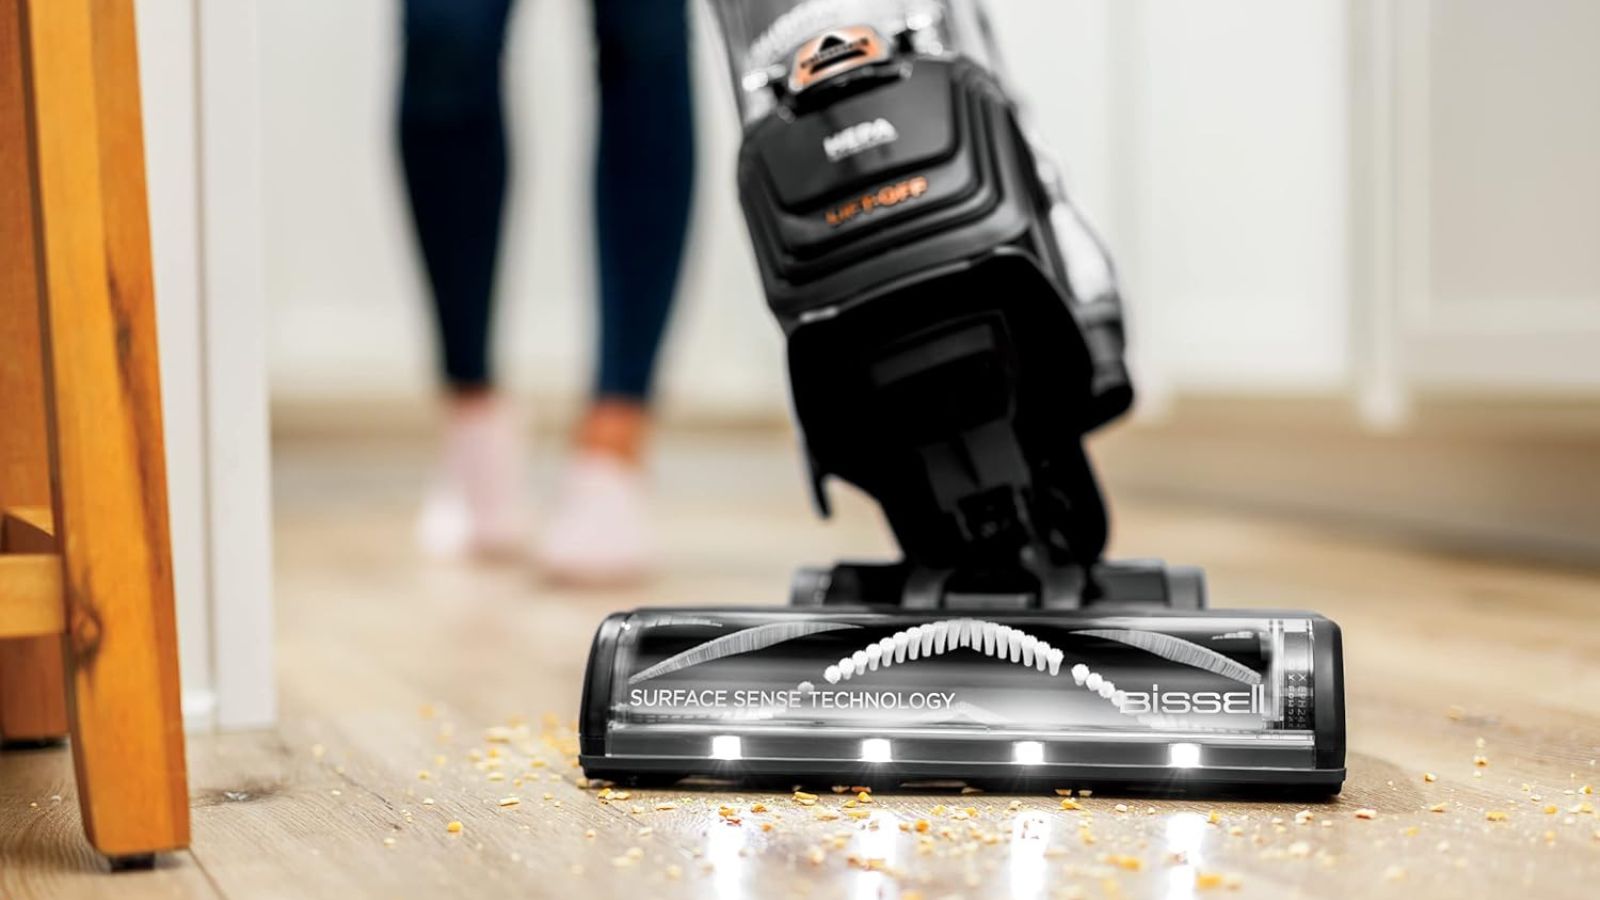 I tested the Bissell SurfaceSense Allergen Pet Lift-Off upright vacuum – and love how impressively it cleans every surface at this price
After two weeks of vacuuming and testing, I'm recommending this budget-friendly vacuum to everyone
-
 Using my Iranian grandma's fridge trick keeps my crisper drawer pristine – and fresh produce lasts twice as long
It's amazing how a simple tweak can make such a big difference
-
 Engineers reveal the 4 common faults they're always fixing in Shark vacuums – and how you can prevent them from happening
These checks will restore your Shark vacuum to its former glory
-
 5 things professional cleaners always do to overcome a cleaning roadblock – they're surefire ways to feel 'motivated and clear-headed' experts say
Get your cleaning schedule back on track


