HVAC pros reveal how to clean vents around your home in 5 easy steps to improve air quality in your home
It's quick, easy and effective
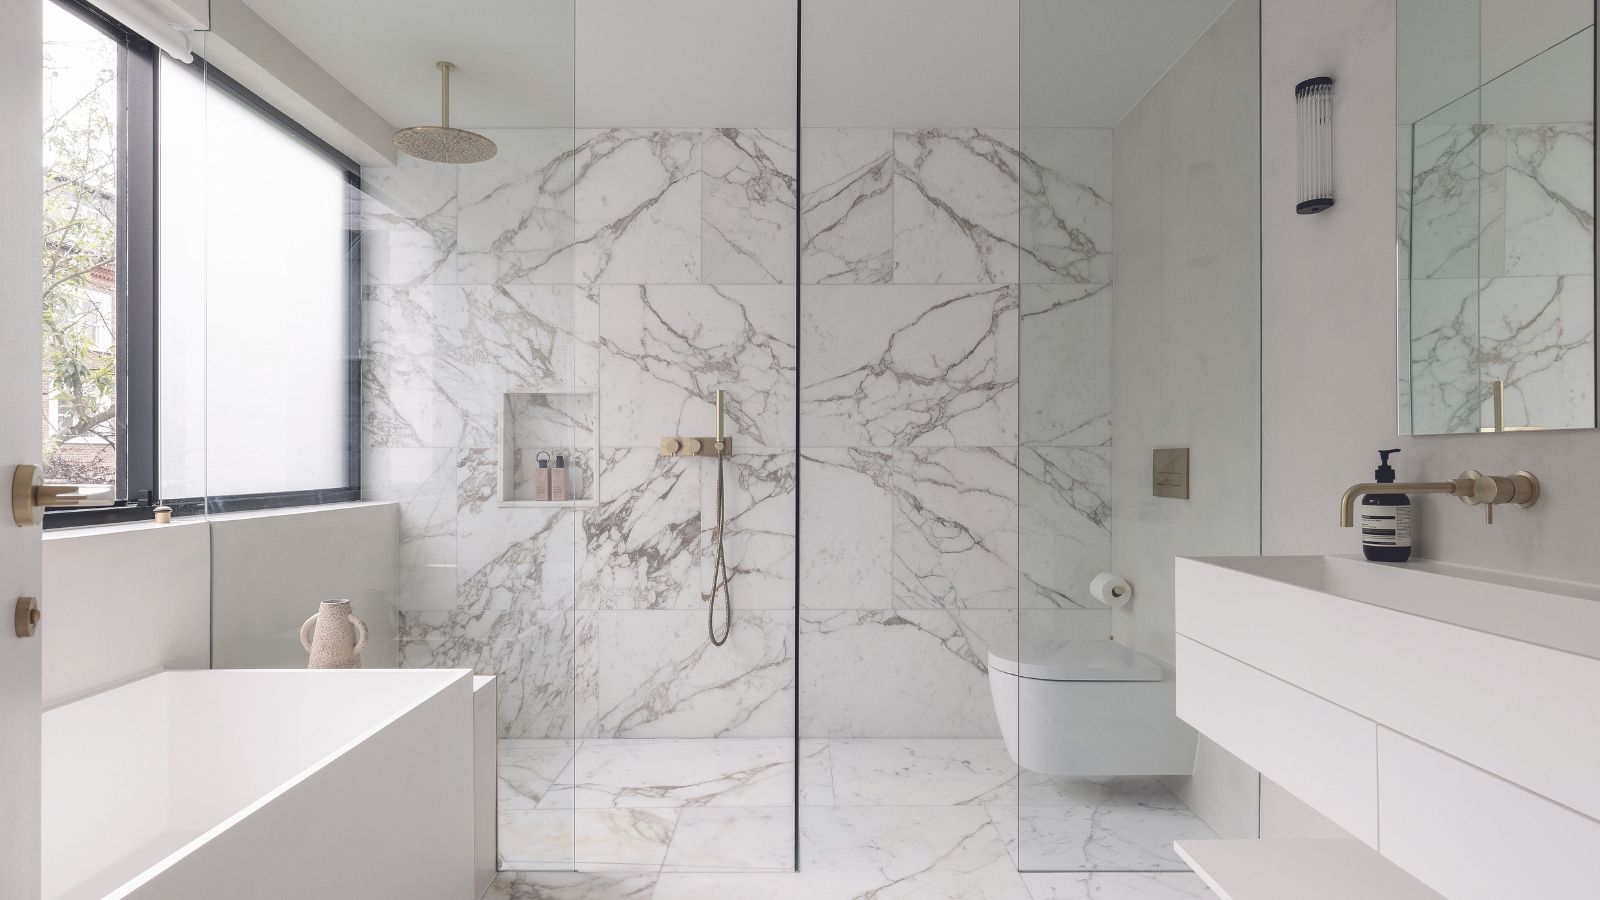

It is shocking how quickly dust and debris can build up in the vents in your home. It might not seem like a big issue, but it does have a knock-on effect on your indoor air quality and your home's energy efficiency, which is why it's important to clean your vents regularly.
Here, our professional cleaners share tips for completing this task easily and quickly around your home and keep your HVAC system running smoothly.
This simple step-by-step process and other cleaning tips for vents in your property will instantly improve your home's air quality.
How to clean vents around your home
Cleaning your HVAC system regularly should be a key part of your cleaning non-negotiables, the experts say. Here’s how to ensure it doesn't take up too much time.
What you'll need
- The best vacuum cleaner with a brush attachment. You can use a dryer sheet if you've lost your brush.
- Microfiber cloths, available at Walmart
- A screwdriver. This screwdriver set from Walmart has interchangeable heads to fit any vent
- Warm soapy water (made with something like Dawn Dish Soap, from Walmart), preferably in a bucket for easy usage
- Safety gear, including a dust mask and safety glasses, available in a set at Amazon
1. Turn the system off
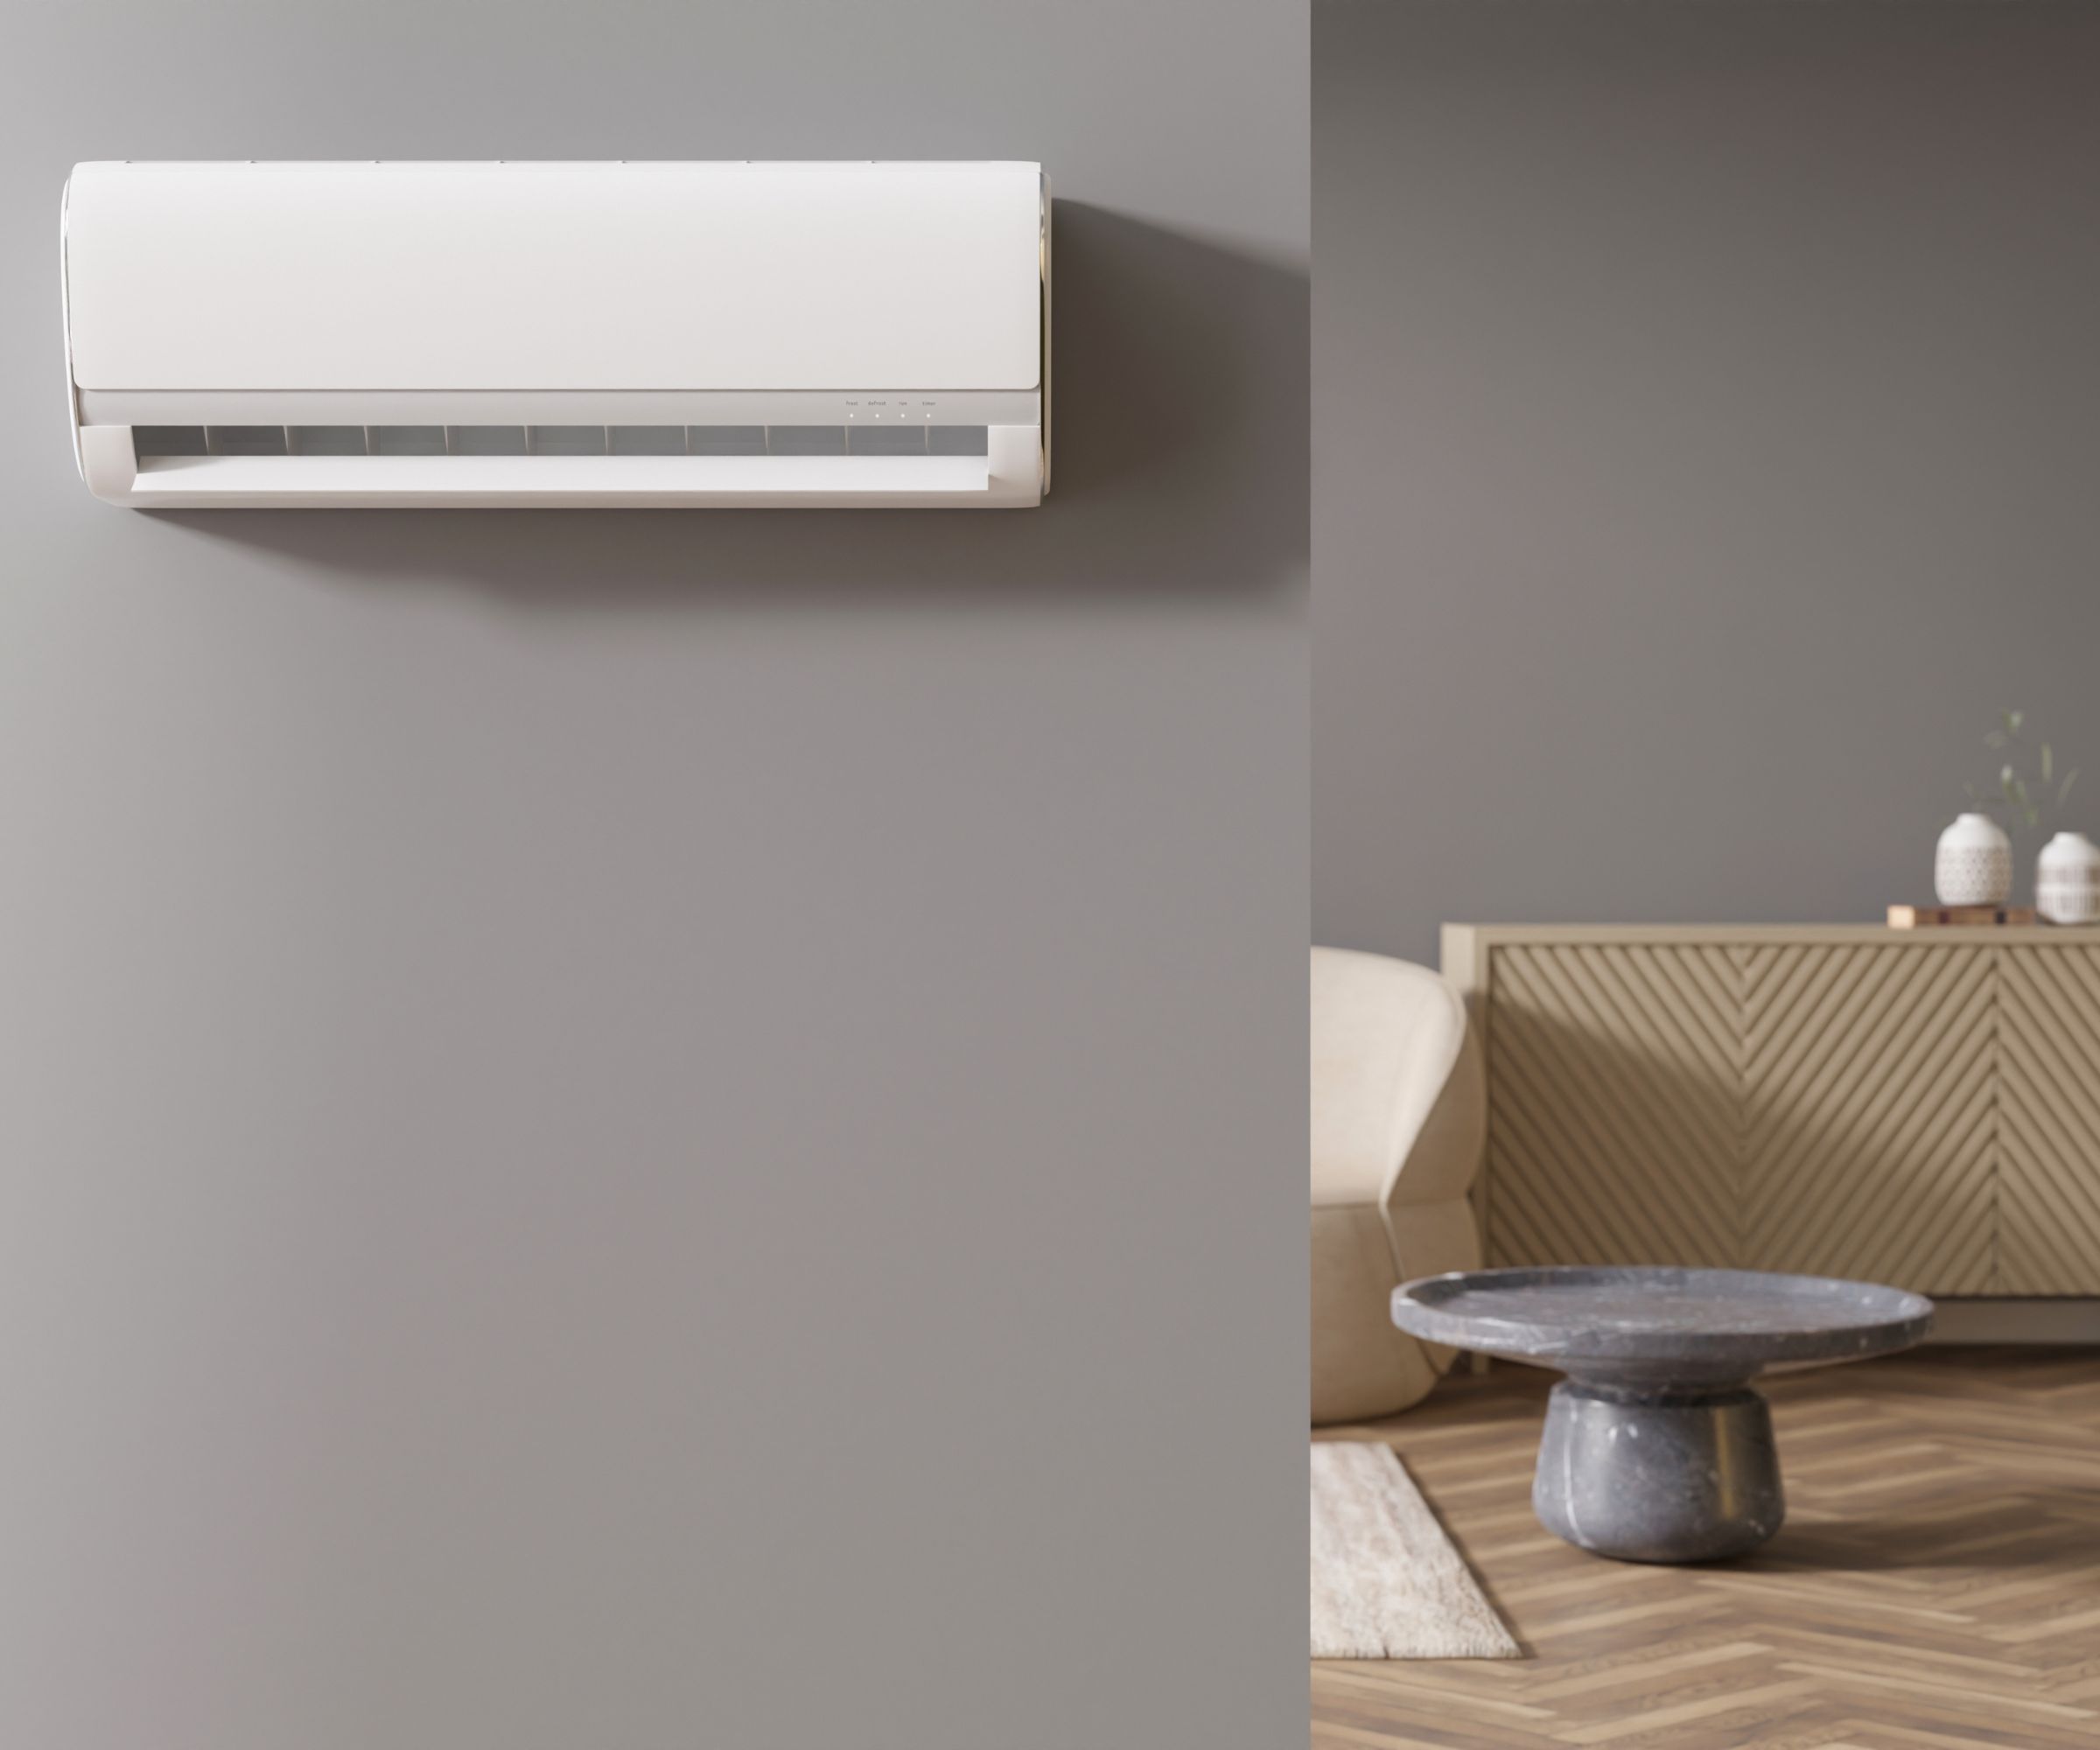
Before you clean or service a HVAC system, you should always turn it off, begins Ken Doty, COO and cleaning expert at The Maids. ‘Firstly, make sure your HVAC system is turned off for your safety when cleaning.’
This will prevent any dust from being blown into your face as you work and stop any water droplets from being sucked up into the vacuum system.
2. Unscrew the vent cover
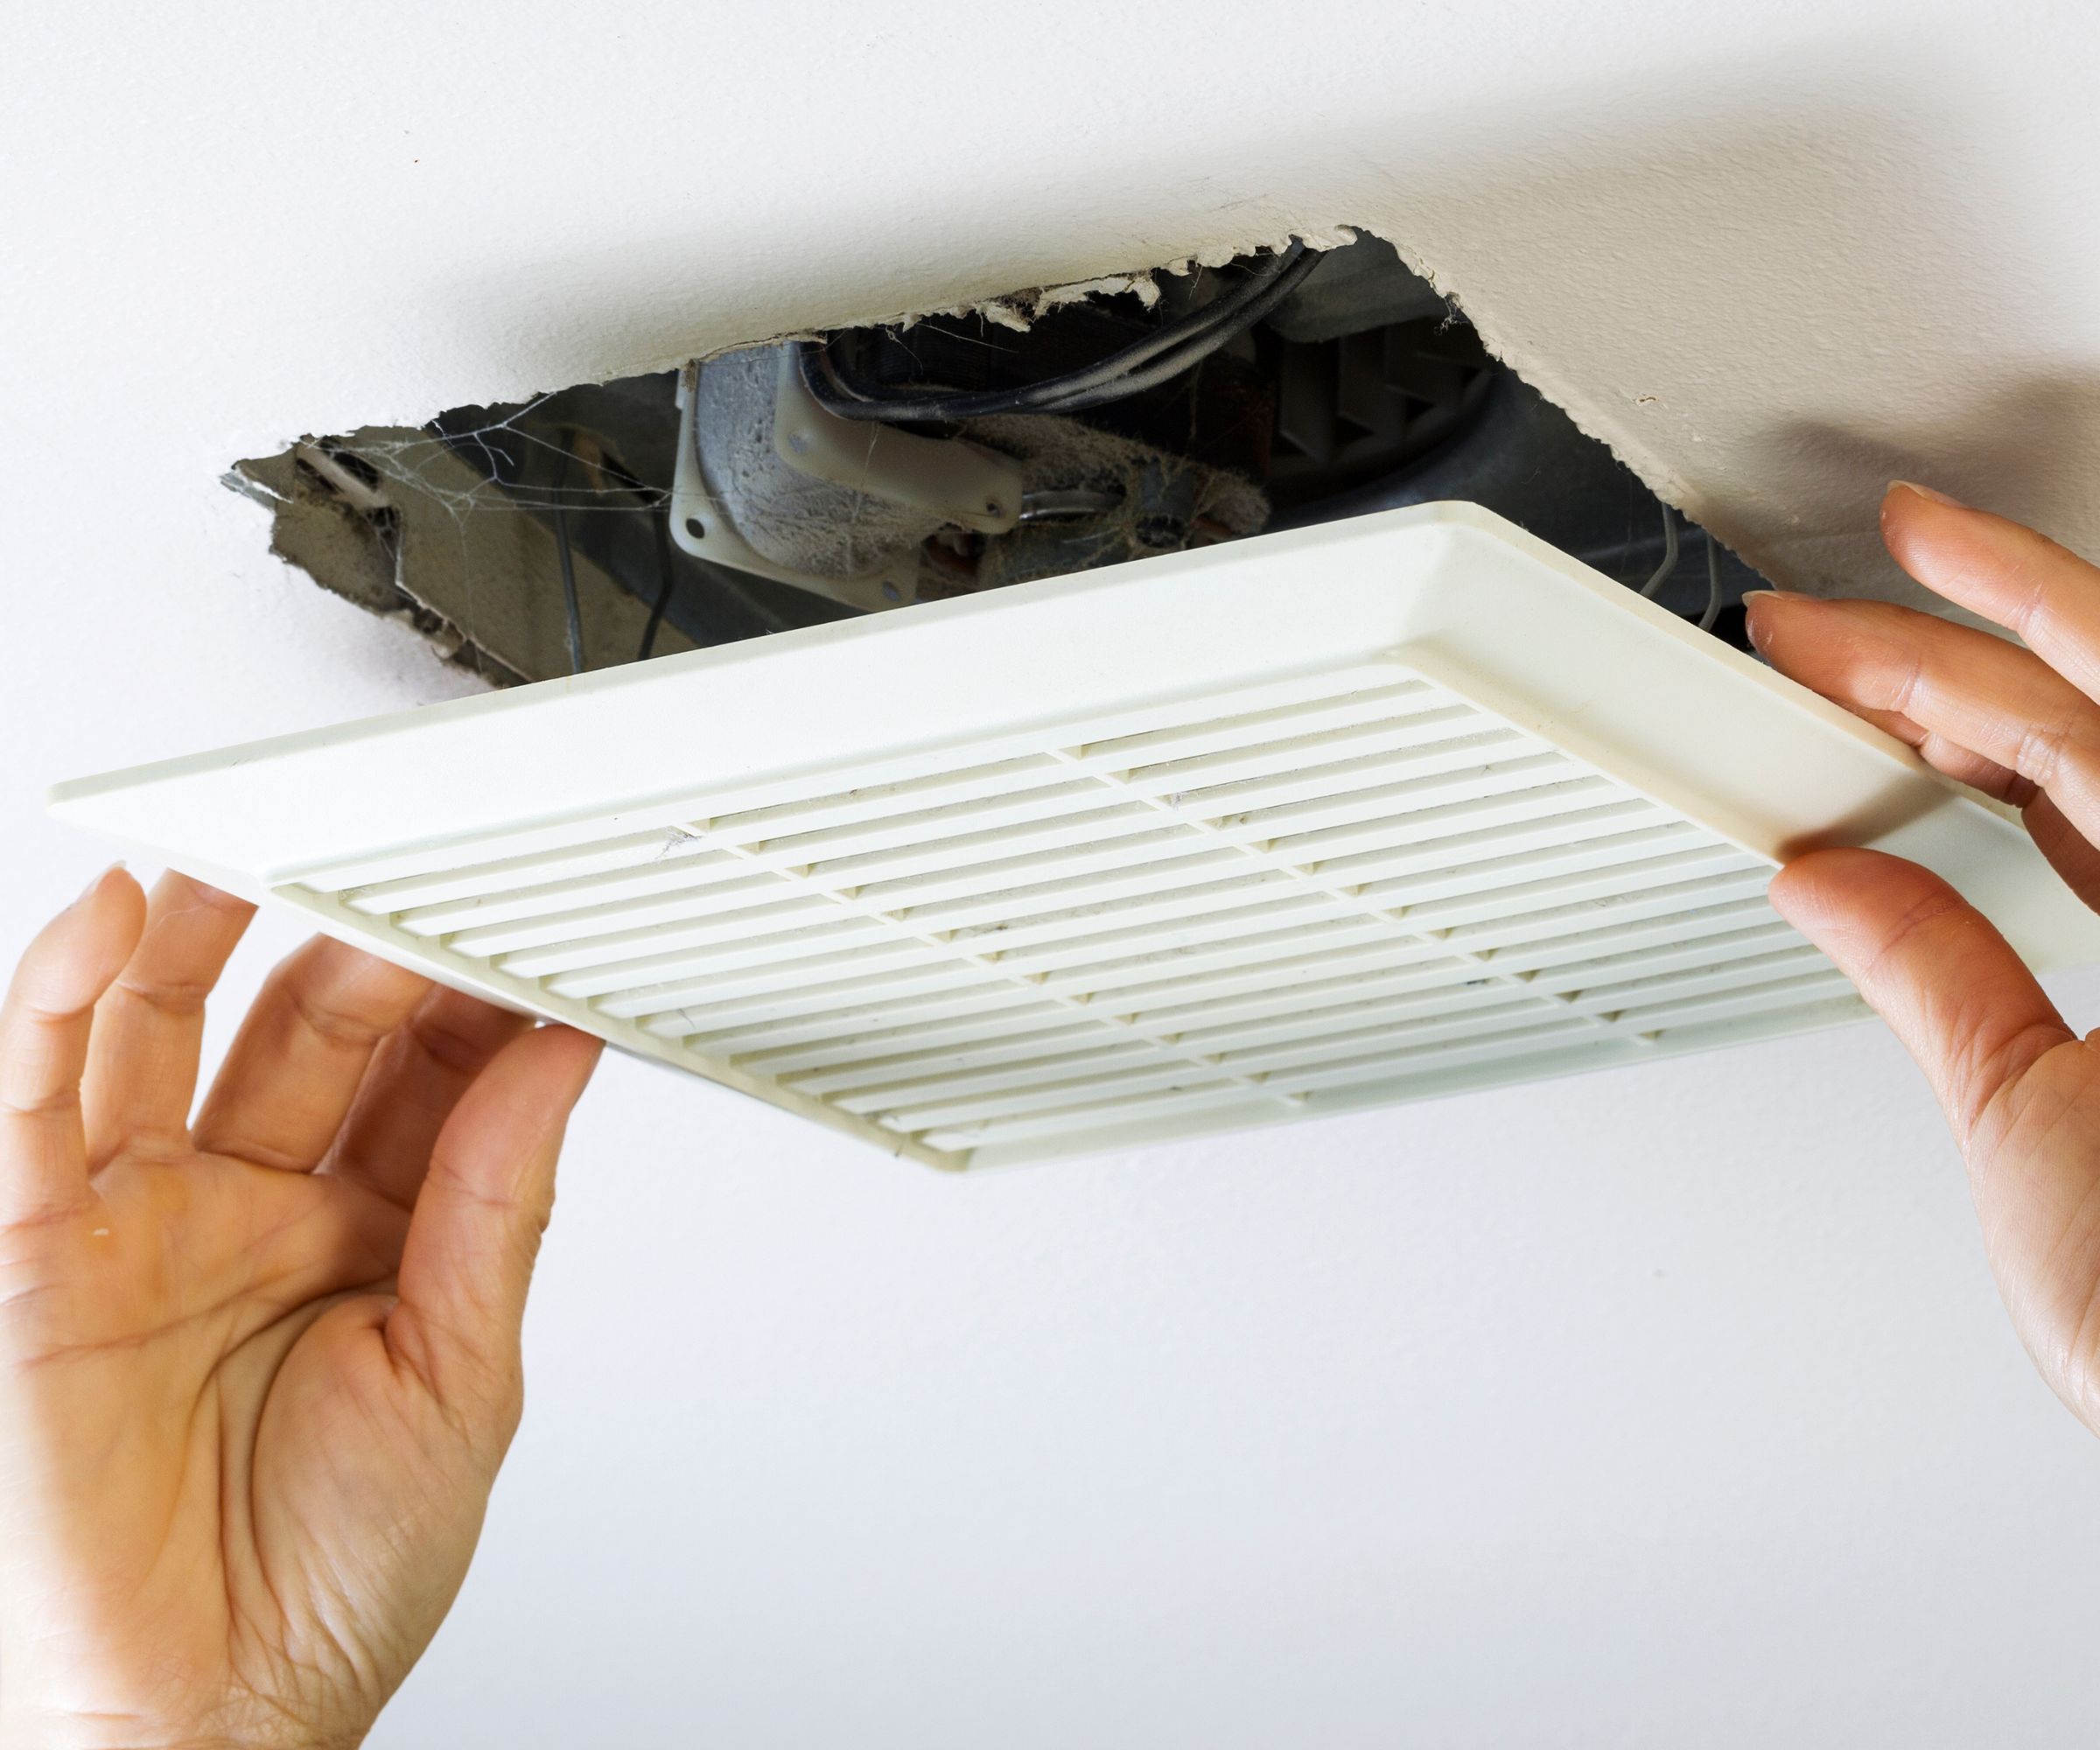
To remove dust properly, you need to remove the vent cover for full access continues Ken Doty, cleaning expert
He says, ‘Unscrew the vents and place the screws in a small bag to avoid misplacing any of them.’ You can then dust the vent cover off quickly with a microfiber cloth to remove loose debris, then pop it in a bucket of warm soapy water to start soaking away grime as you clean the inside of the vent itself.
3. Vacuum away dust
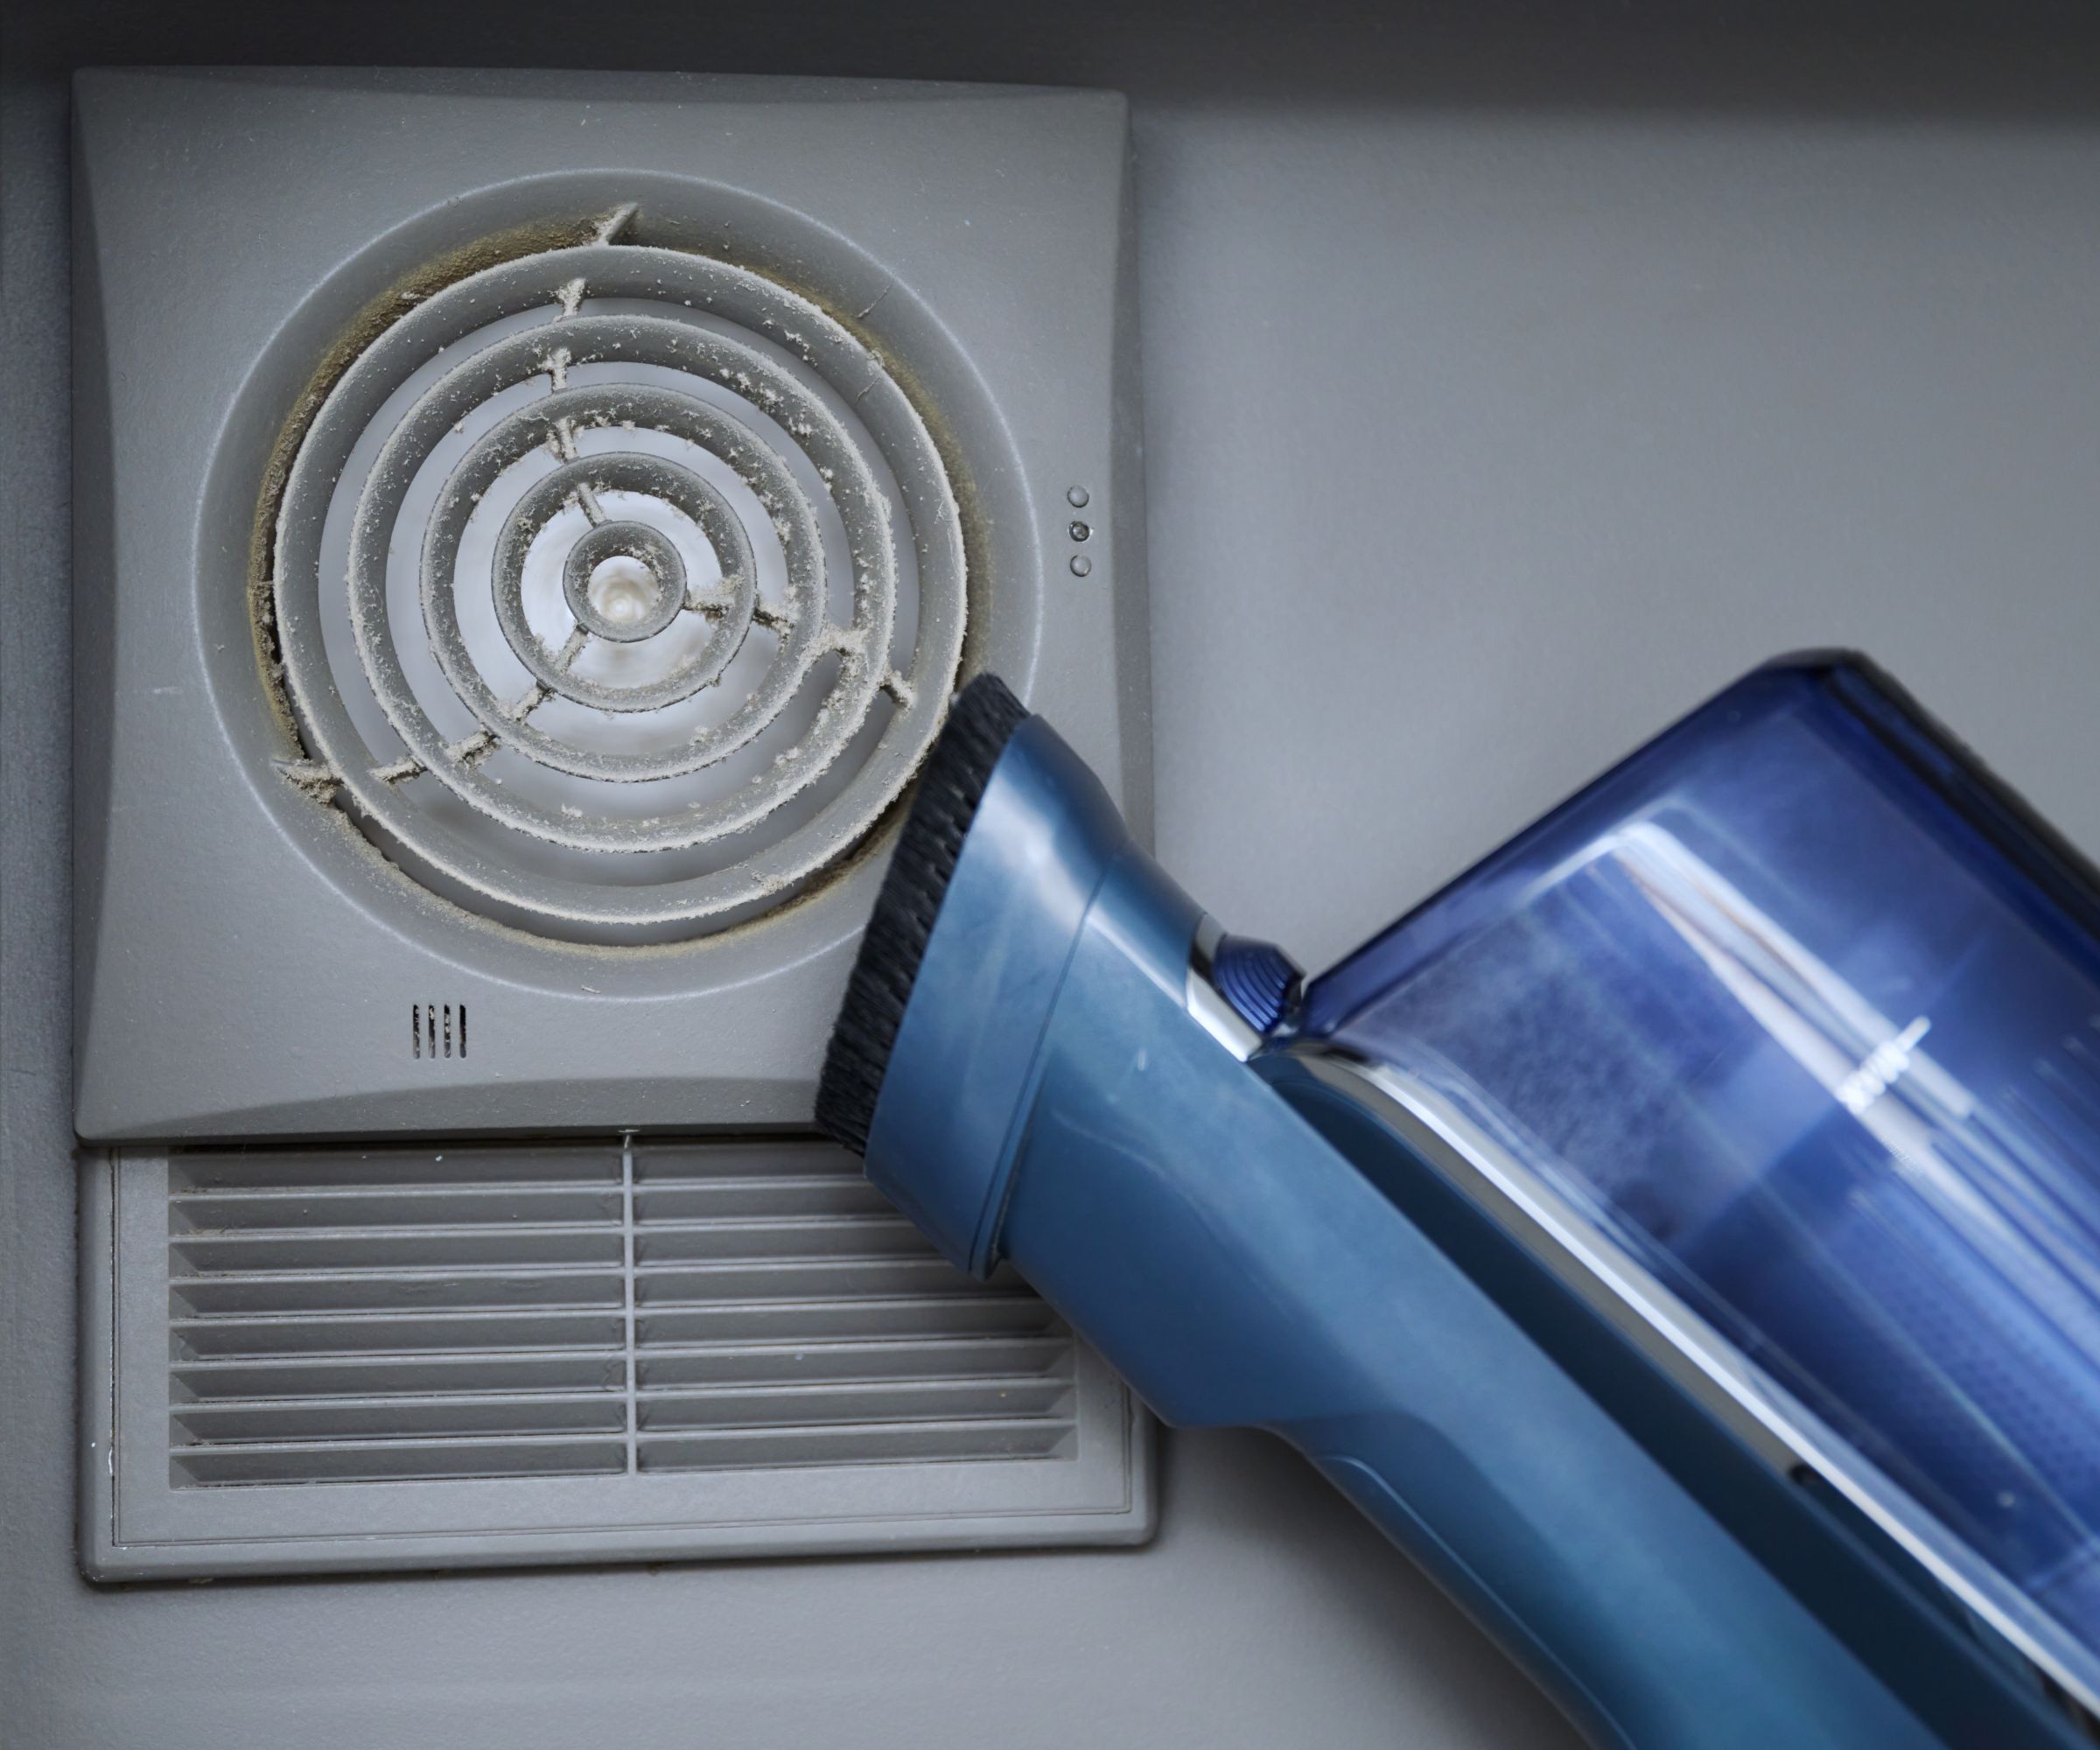
Just as you would clean a dryer vent, you should start by vacuuming away the majority of the loose dust and debris with an extending vacuum hose, fitted with the brush attachment, says Taylor Riley, cleaning professional and founder of Boom. Facility Service Advisors.
He shares, ‘My favorite way to clean vents around the house is with the brush attachment on my vacuum. It’s the most effective option because it not only captures dust but also helps to remove any debris that might be lodged deep inside the vents.’
If you have lost the brush attachment for your vacuum, you can pick up a generic vacuum brush replacement set on Amazon, or wrap a dryer sheet, also available at Amazon for a static dust pickup.

Rated the best budget cordless vacuum cleaner by H&G, this Ultenic vacuum is light weight and agile, and converts to handheld, making it ideal for cleaning high up spaces like vents
Ryan Knoll, cleaning expert and owner of Tidy Casa adds that if you do not have a good vacuum cleaner for the job, or are simply doing some quick dust maintenance, you can also use ‘A telescoping duster, like this 20-Foot High Reach Dusting Kit, from Amazon makes all the difference.
Avoid step stools and ladders if possible – cleaning from the ground cuts the risk of falls and still gets the job done. For lingering grime, switch to a flat mop attachment with a lightly dampened microfiber cloth. Avoid using too much water, as it can leave streaks or even warp certain vent materials,’ he adds.
Cleaning your vent will be easier if you know how often air ducts should be cleaned to avoid stubborn buildup. While it is not a task you need to do weekly, cleaning vents at least every few months will reduce how much effort you need to exert each time.
4. Wash the cover in warm soapy water
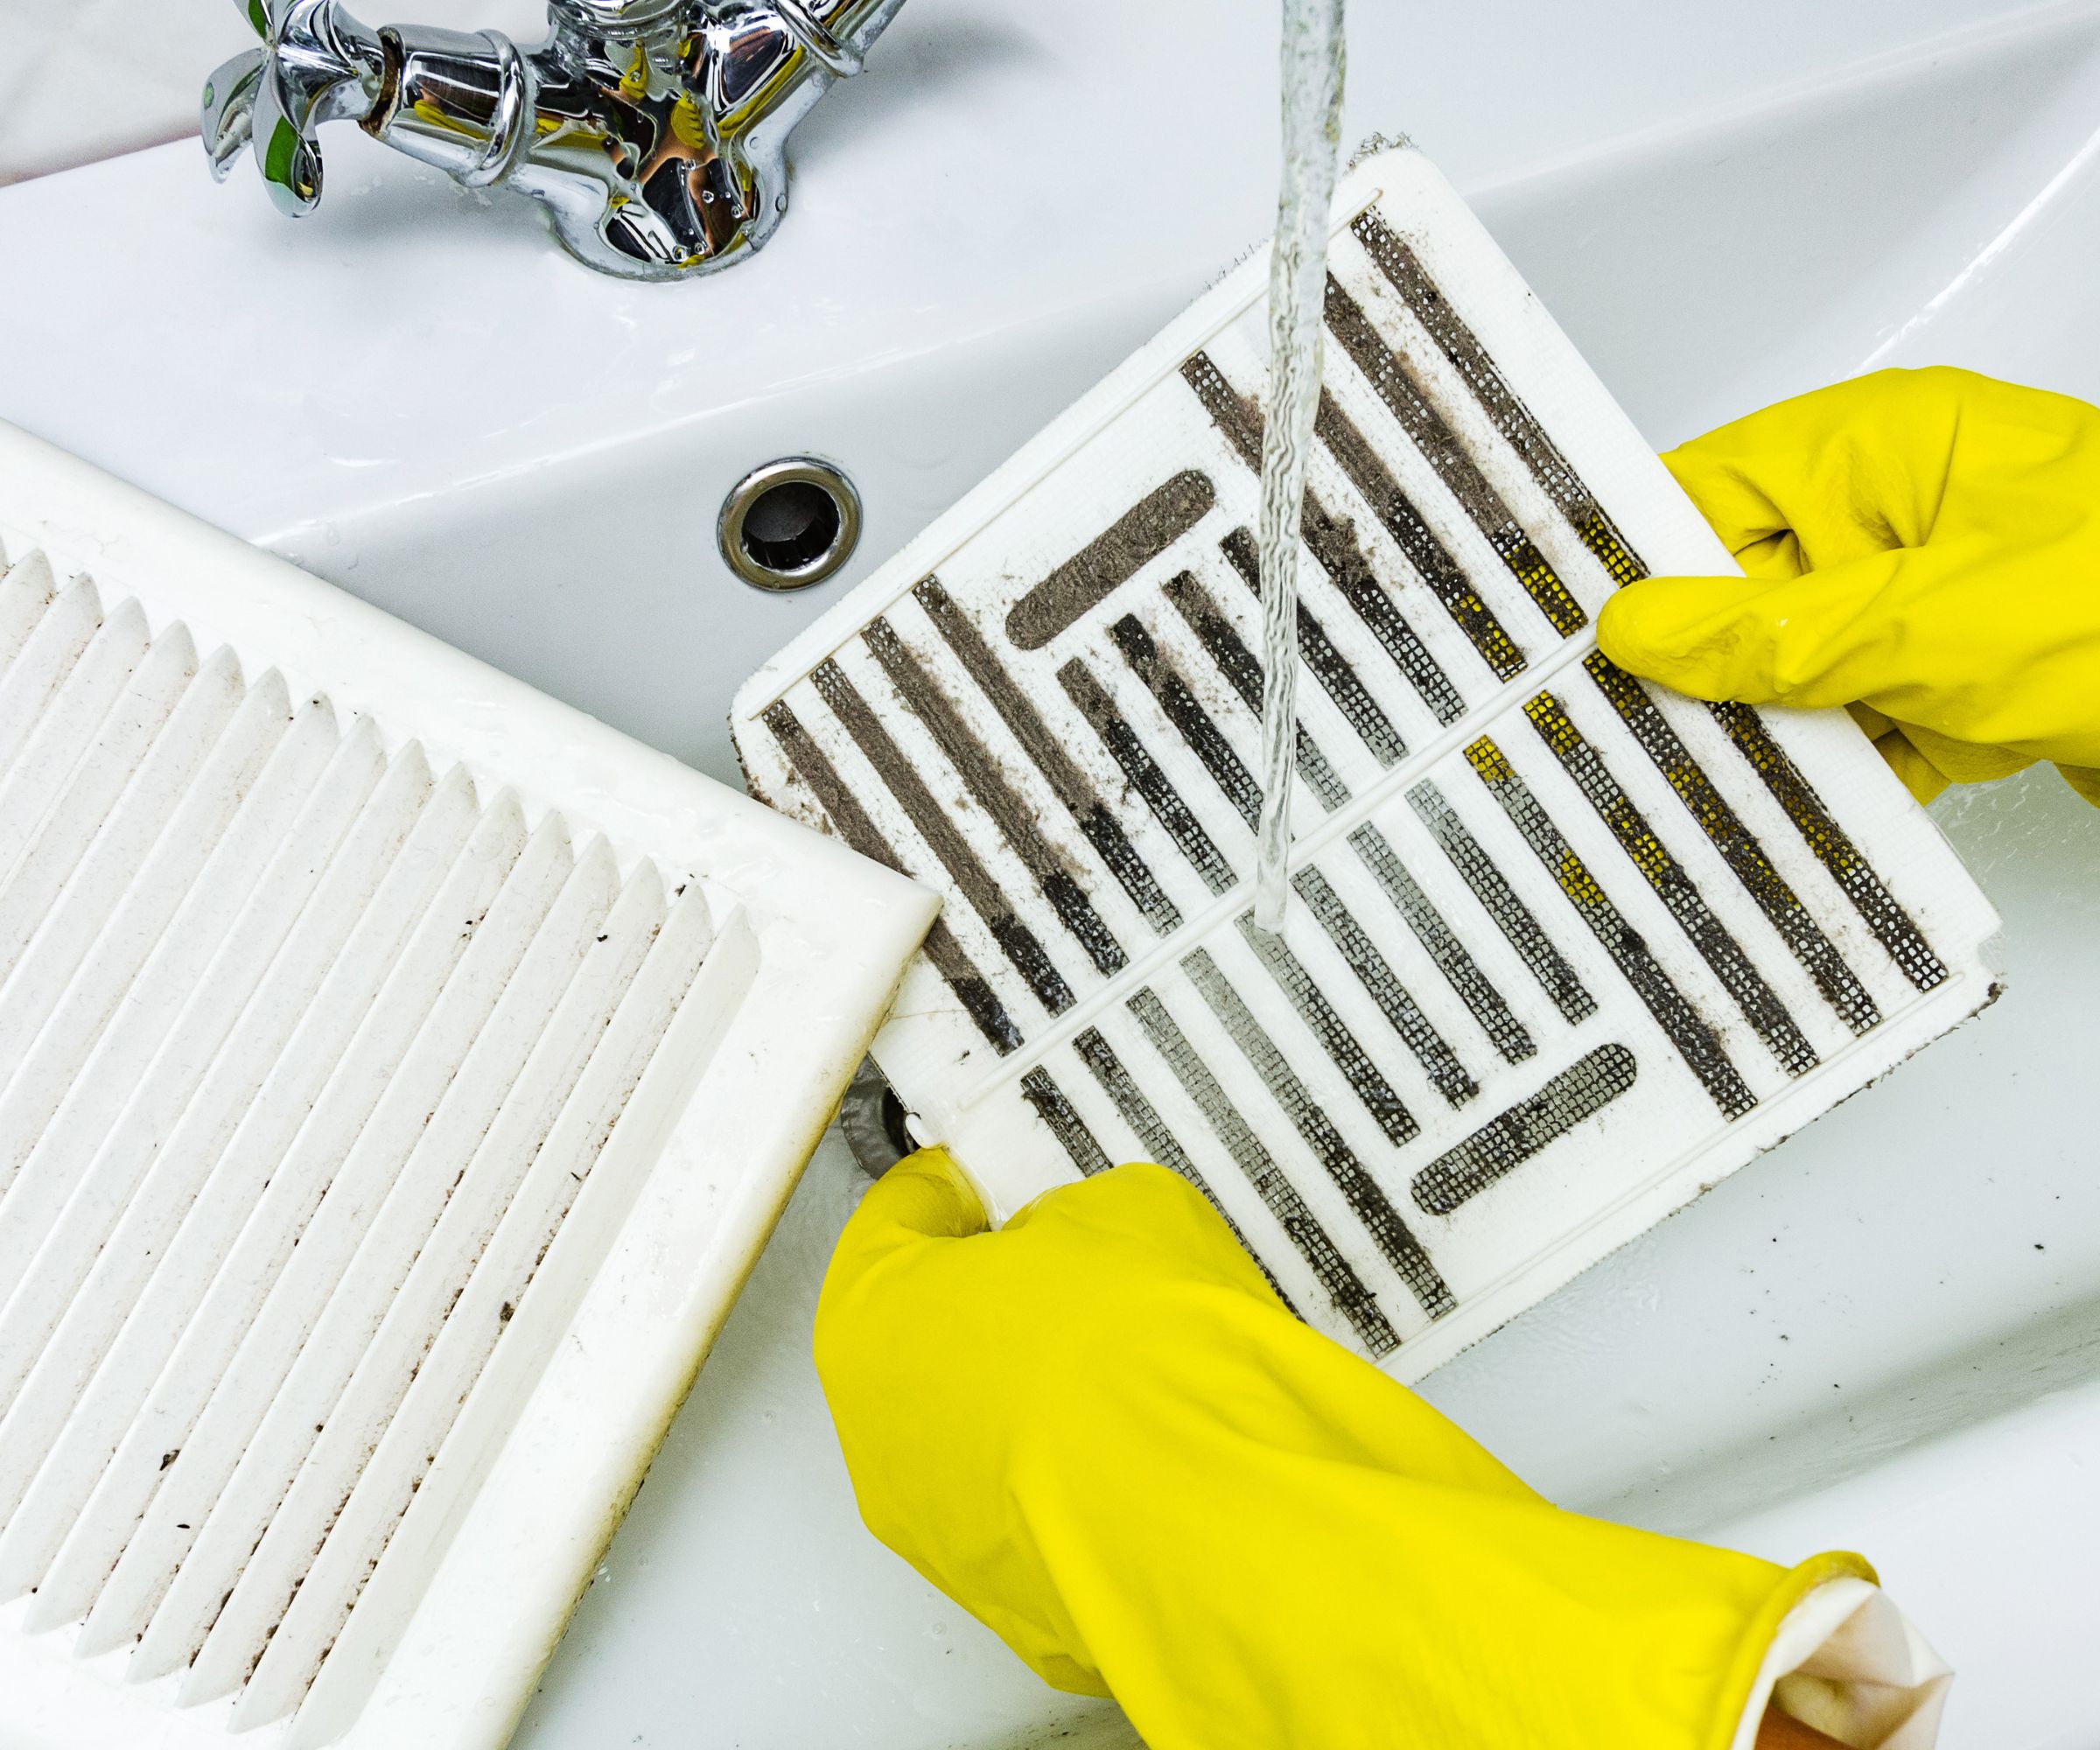
Once the vent inlet itself is clean, you can turn back to the cover. Like cleaning a range hood filter, or cleaning a microwave filter, this can be scrubbed gently using a cloth or soft cleaning brush (such as an old toothbrush) to dislodge dirt and grease.
Ken Doty, a cleaning expert suggests, ‘After submerging the cover in your water bucket for 15-30 minutes (depending on dust and dirt level), gently scrub with a soft brush and rinse thoroughly before finally drying with a fresh and dry towel or cloth.’
He warns against using any harsh chemicals or detergents for this step, as it is a common cleaning mistake that might make you sick. ‘These can spread harmful fumes throughout your home once you reboot your HVAC,’ he explains. Cleaning with Dawn Powerwash or regular dish soap is more than enough.

With delicate bristles and an easy grip handle, this scrubbing brush is ideal for avoiding preventable damage during a range of household cleaning tasks
5. Dry everything before reassembling
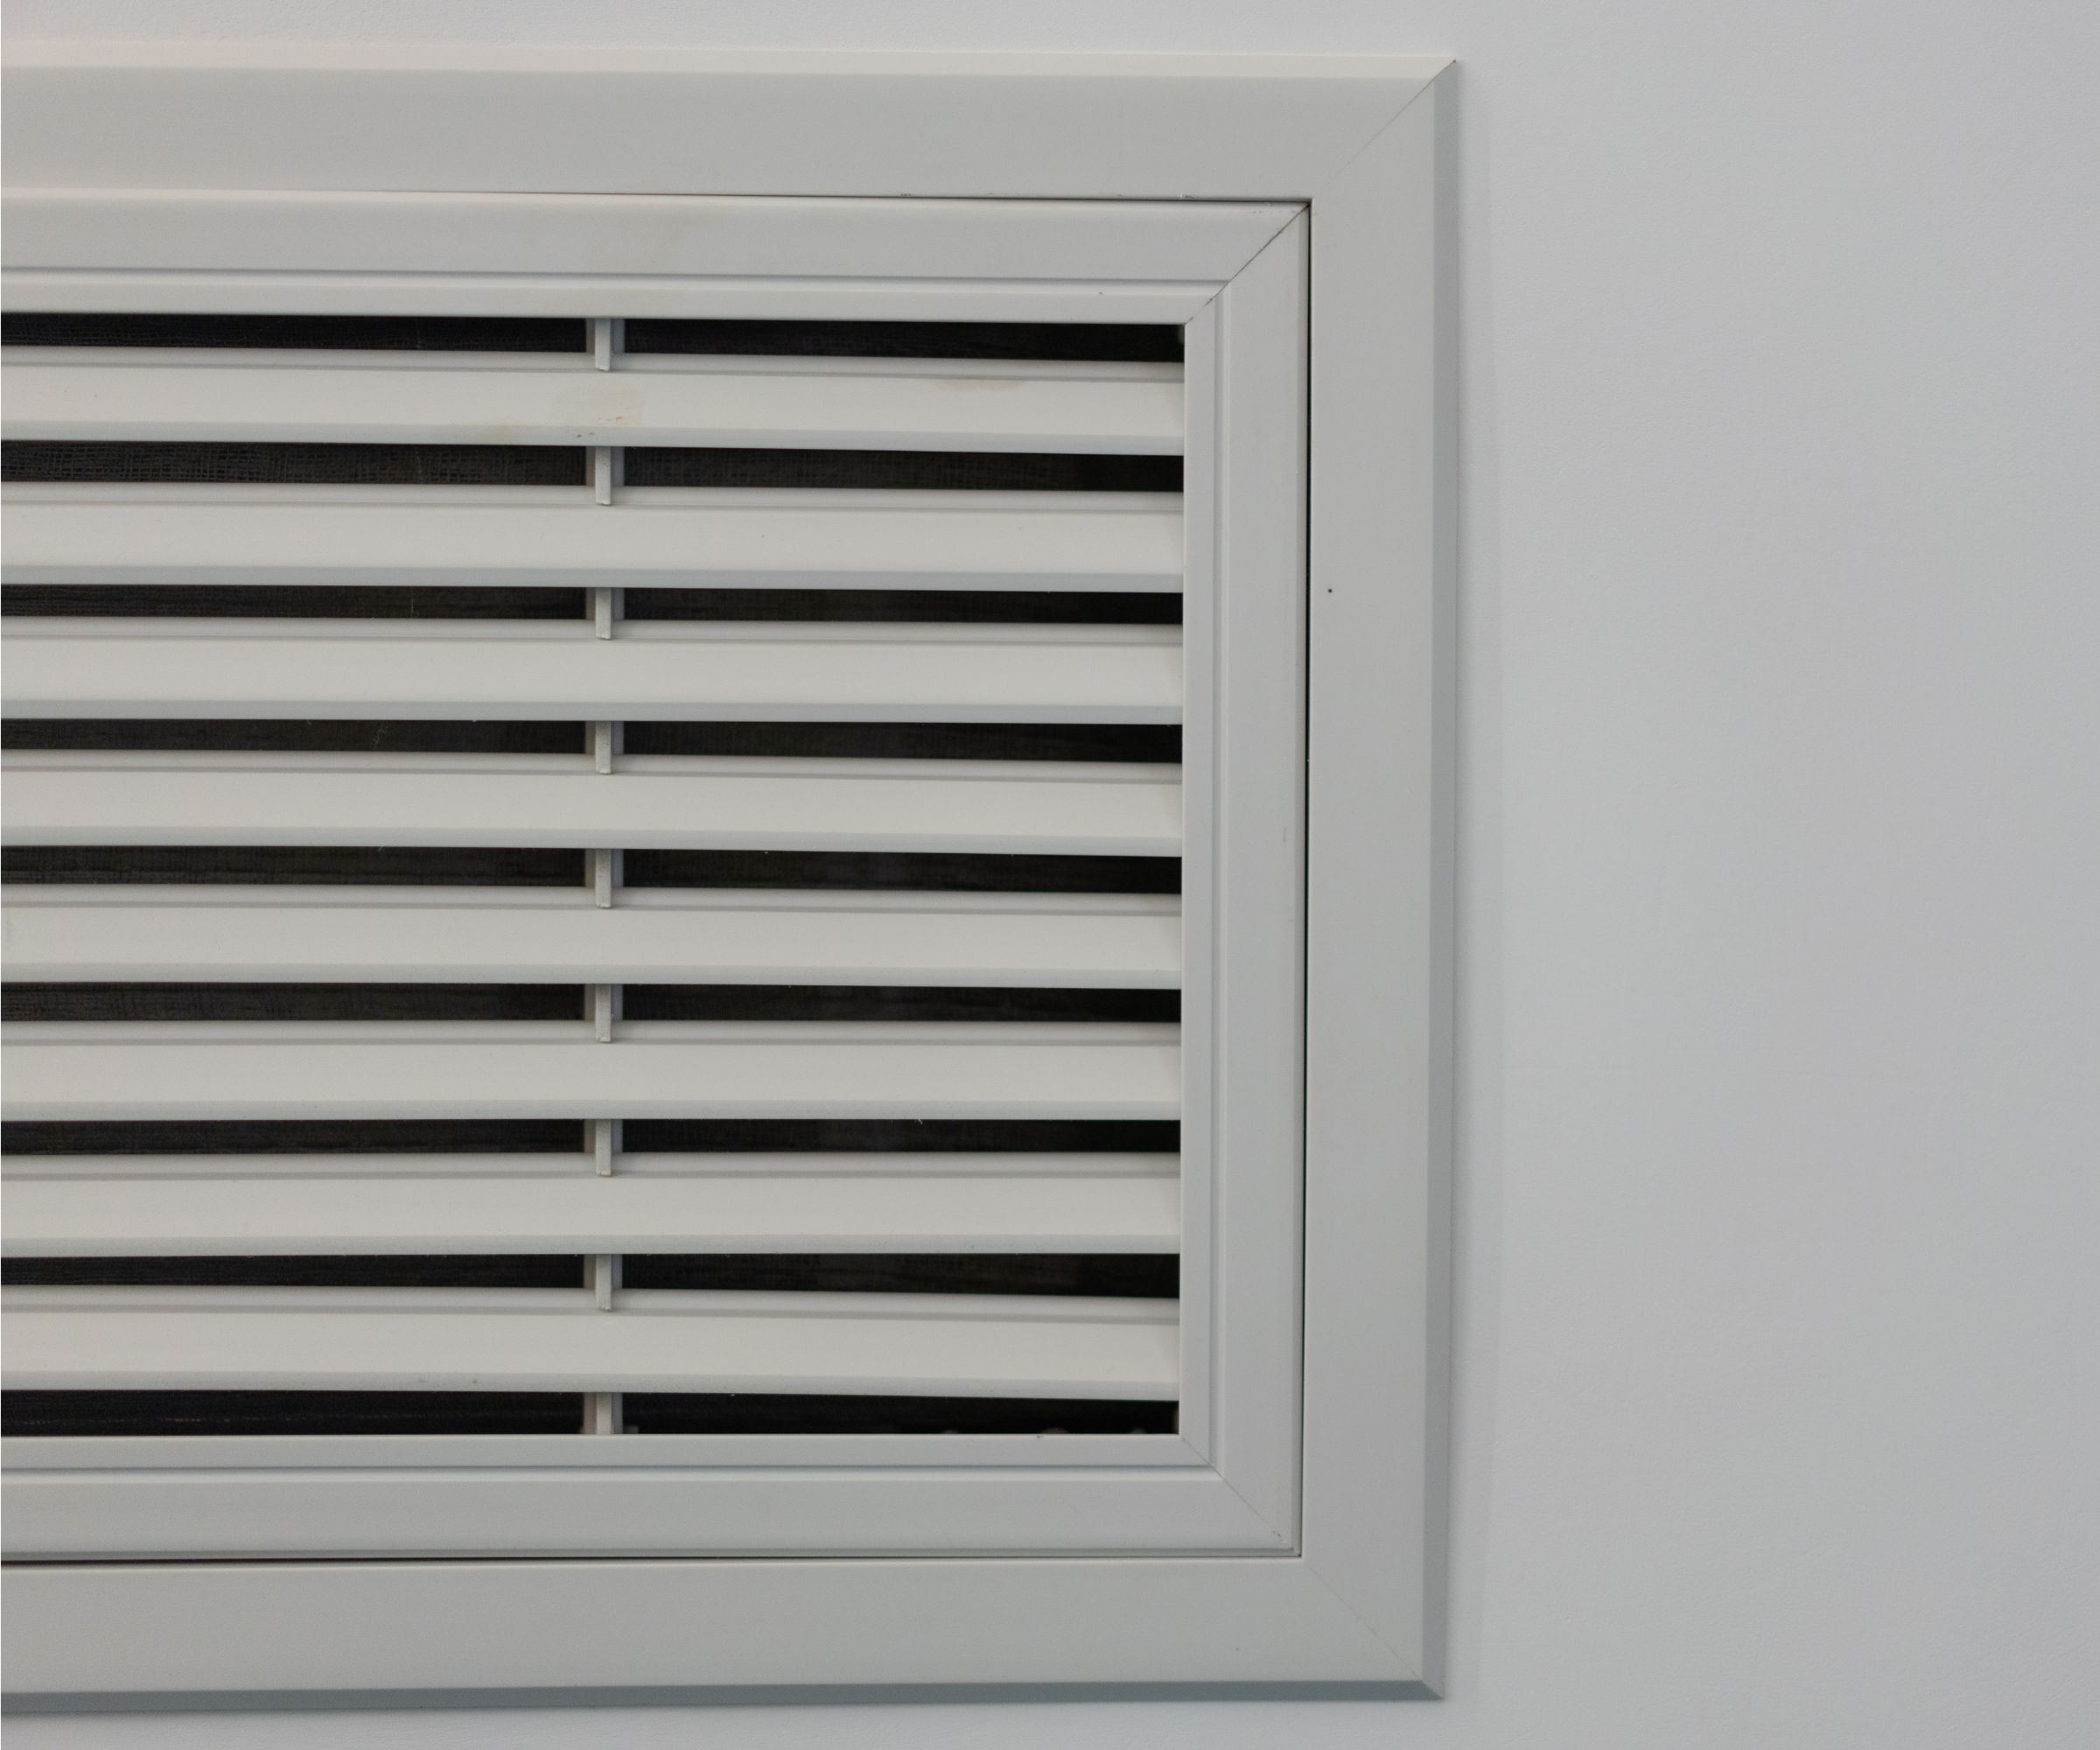
Before putting the vent cover back in place and turning it on, everything needs to be thoroughly dried, says Ken Doty, cleaning expert. This prevents vent malfunctions, rust on screws, and will improve bathroom ventilation as fresh dust doesn't cling to the vent immediately.
Ryan Knoll, cleaning expert concludes that, to improve indoor air quality, ‘I’d recommend doing this every six to 12 months, but if you’re using a HEPA-grade filter and changing it every three months, you can likely get away with less frequent vent cleanings.’
Sign up to the Homes & Gardens newsletter
Design expertise in your inbox – from inspiring decorating ideas and beautiful celebrity homes to practical gardening advice and shopping round-ups.

Chiana has been at Homes & Gardens for two years and is our resident 'queen' of non-toxic living. She spends most of her time producing content for the Solved section of the website, helping readers get the most out of their homes through clever decluttering, cleaning, and tidying tips. She was named one of Fixr's top home improvement journalists in 2024.
-
 How the 'ODT' method can help you to tackle your overwhelming decluttering checklist – and streamline the process from start to finish
Avoid 'analysis paralysis' and tick off tasks quickly and easily by making just one decision at a time
By Ottilie Blackhall Published
-
 Experts say to only use homemade compost after testing it with this fail-safe method – they say it will guarantee healthy soil and support plant growth
Simply grab some fast-growing seeds and observe how they germinate in your compost
By Tenielle Jordison Published
-
 How safe are carpet deodorizers? As a seasoned vacuum tester, I urge you to try alternative methods
Natural cleaning is always the answer
By Dan Fauzi Published
-
 'The world will not end' – 5 cleaning habits to quit for a happier, easier life, and what to do instead
Get your home sparkling, minus the stress
By Ciéra Cree Published
-
 9 things you can clean with glycerin – this cheap and natural cleaner is perfect for indoor and outdoor use
From patio furniture to silverware, this hydrating and gentle cleaning agent will work miracles
By Ciéra Cree Published
-
 How to clean a terrazzo floor in 5 steps – expert tips to scrub, shine, and seal this sparkling floor finish
Avoid damage and protect it's shine with these expert tricks
By Chiana Dickson Published
-
 I'm 5ft2 and this telescopic scrubber safely and easily banished mold and grime in even the hardest-to-reach areas of my bathroom in less than 15 minutes
My bathroom has never looked better thanks to this handy $16 two-in-one tool from Joseph Joseph
By Ottilie Blackhall Published
-
 A $170 limited-time discount makes this the most affordable Dyson cordless vacuum on the market right now
Years after its release, the Dyson V8 still impresses us with its features and power
By Dan Fauzi Published
-
 My Bissell pet vacuum was struggling until I cleaned the filter – here's how to do it in three quick steps
It doesn't take long to restore your Bissell vacuum's suction
By Dan Fauzi Published
-
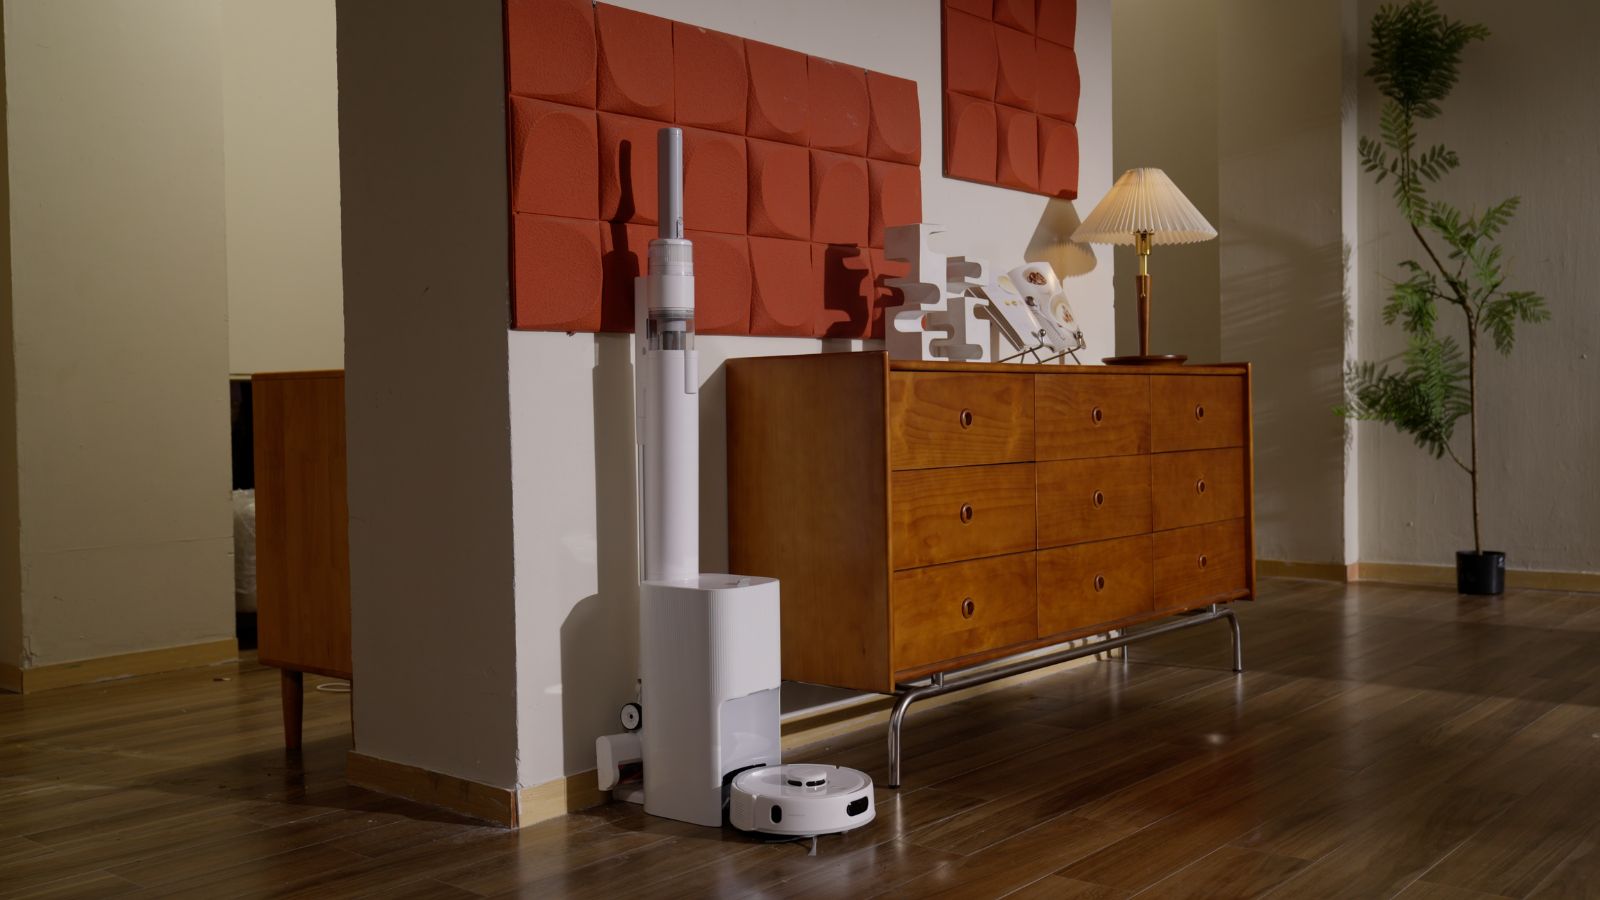 The SwitchBot K10+ Pro Robot Vacuum Combo is good for small spaces – but the mopping function falls short
I tried the world's smallest robot vacuum in my busy home with 4 dogs. This is how it fared
By Ottilie Blackhall Published