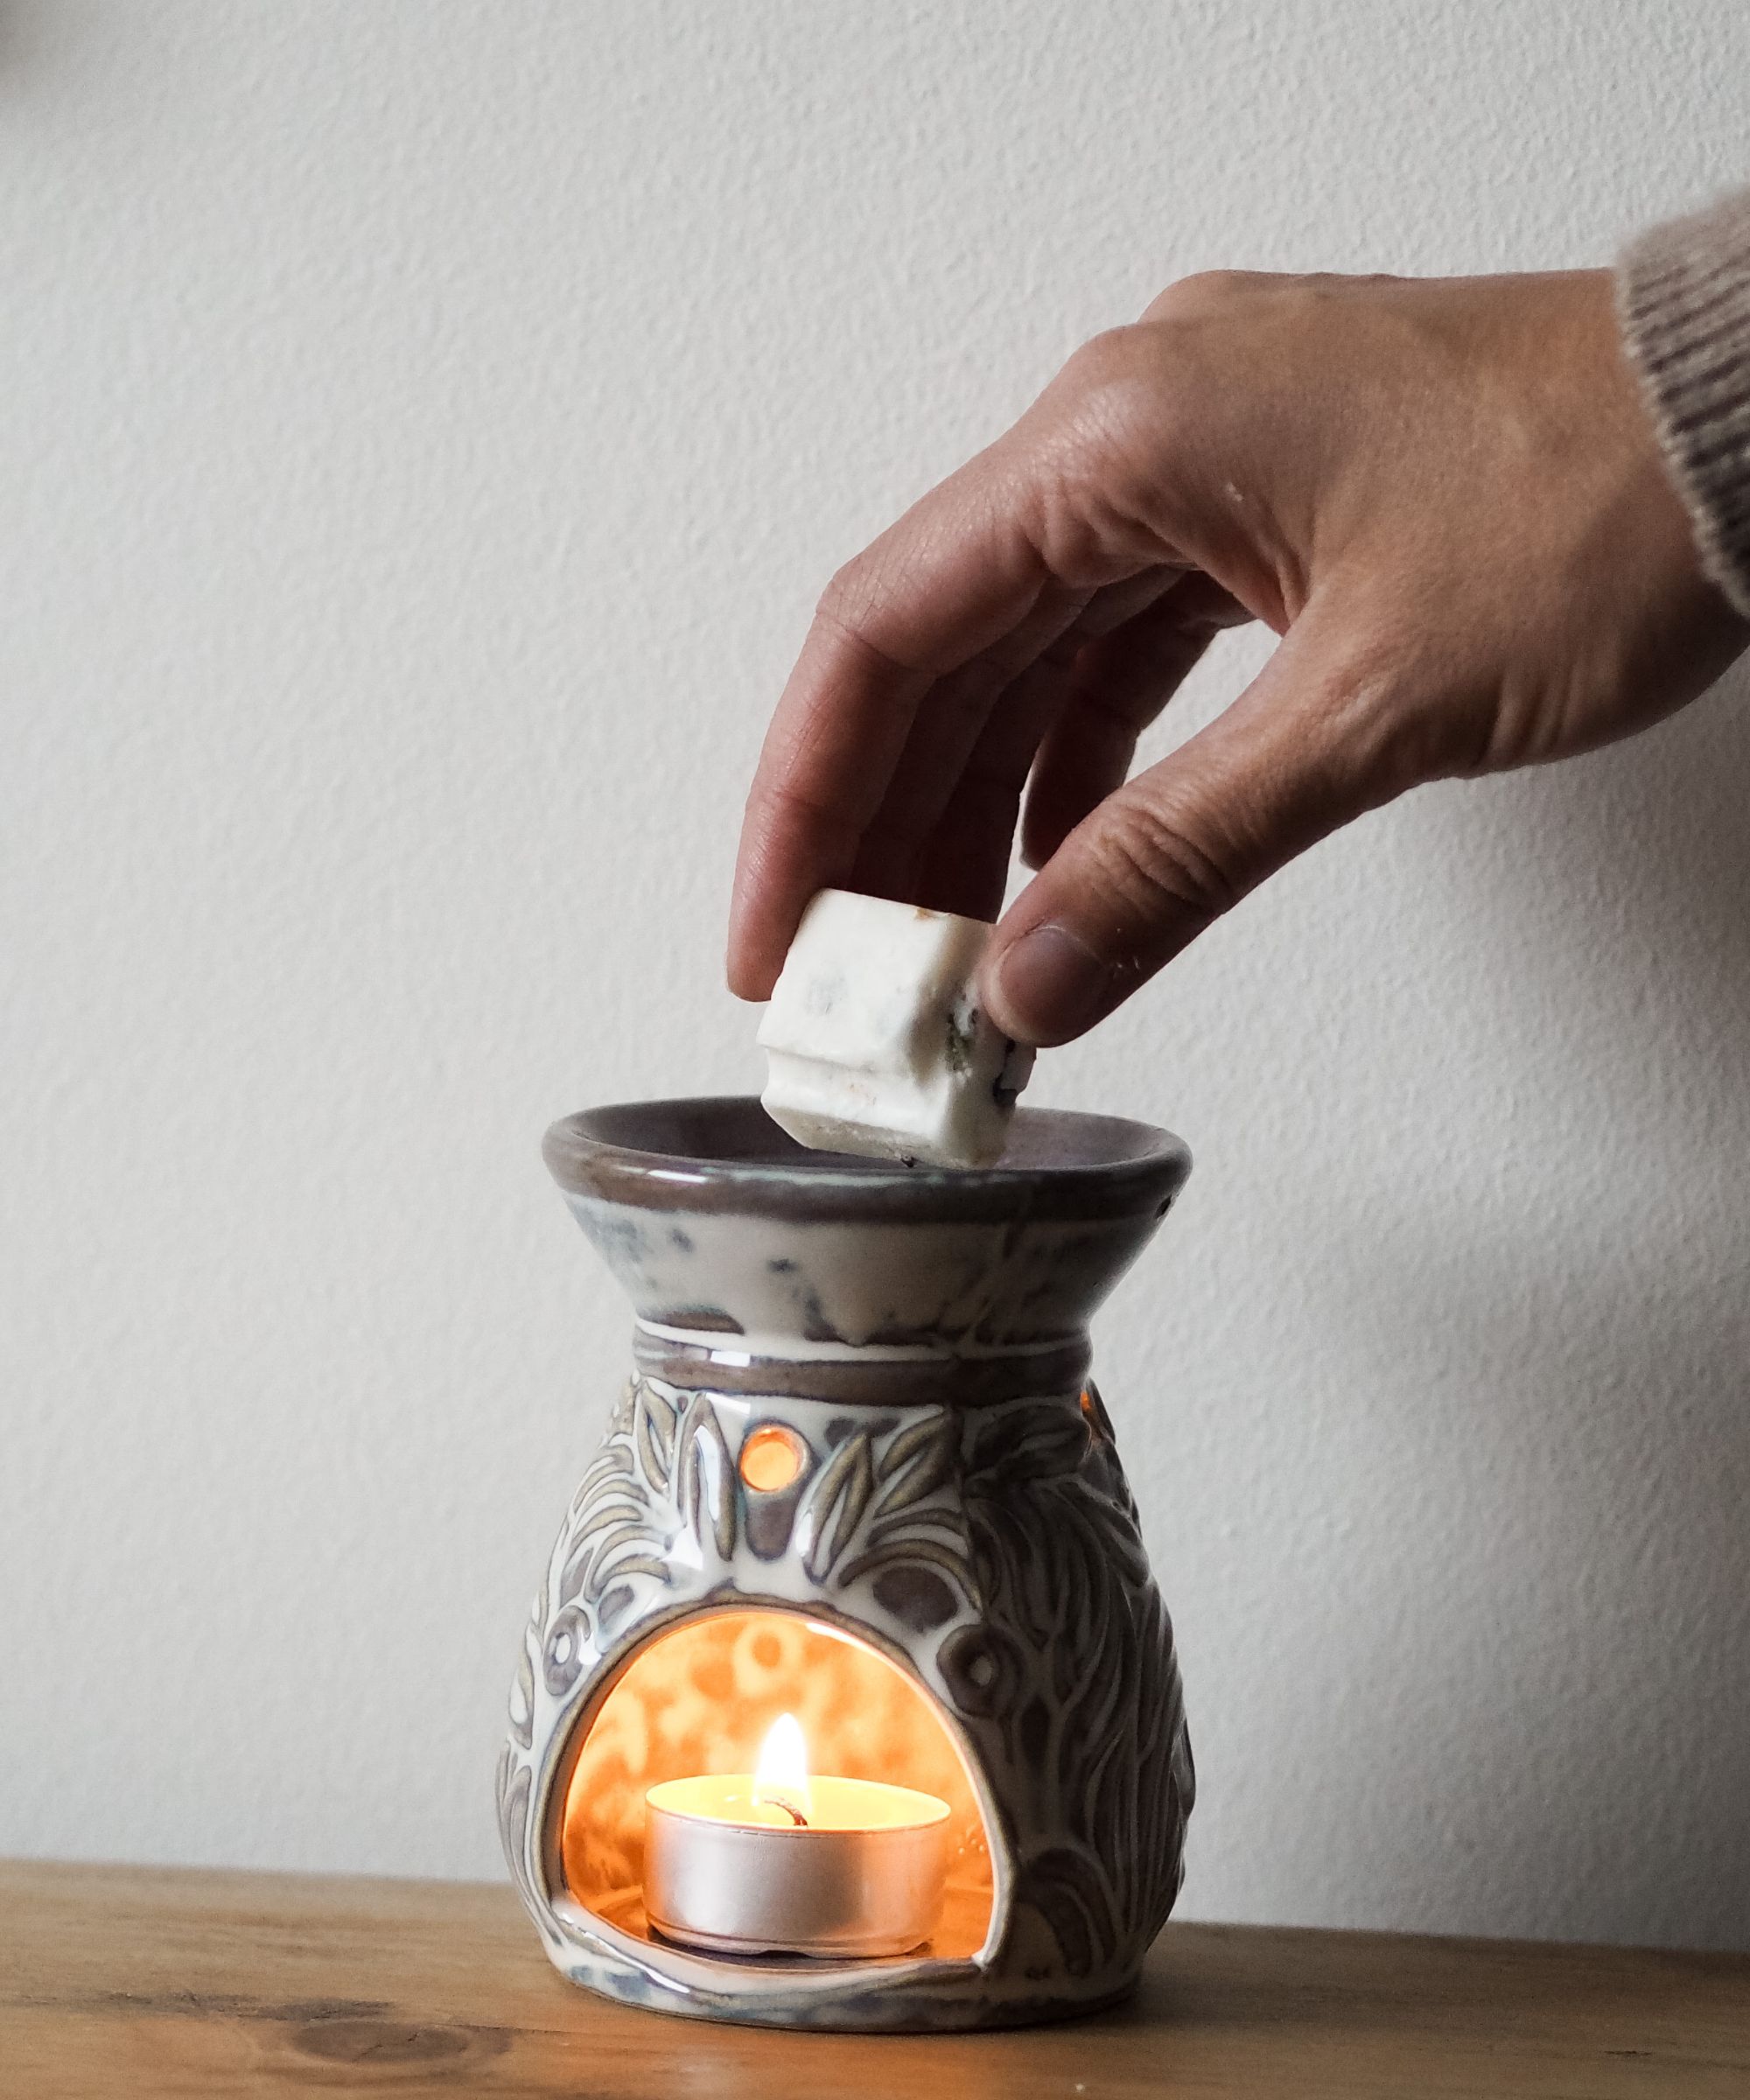
How to clean a wax warmer – 4 expert cleaning tips
Refresh your wax warmer with these four simple cleaning tricks


Wax warmers are great alternatives to candles. They are not only safer but can be healthier for your home and less wasteful, too.
When it comes to changing out the wax, however, it is not as simple as getting candle wax out of jars, as we cannot use boiling water on an appliance that might have a bulk of electrics. Luckily, there are some safer ways to remove wax discs that don’t evolve hot water or picking at it with a knife, experts assure.
We asked candle experts and cleaning pros for their tips on how to clean a wax warmer to make this switch a little simpler – and minimize the risk of being burned in the process.
How to clean a wax warmer
‘A wax melter is a wonderful tool for spreading fragrance around a room and making your home smell nice without the need for an open flame, making it great for families with children or pets,’ shares Tram Nguyen, founder at Living Good Candle. ‘However, regularly cleaning your wax warmer is essential to ensure you get the best fragrance from your wax melts and to keep your wax melter functioning properly.’
1. Use the freezer method

Perhaps one of the strangest but most effective cleaning tips for wax warmers is to put it into the freezer and allow the wax to shrink so that you can peel it right out, begins Tram Nguyen, candle expert. This is by far the cleanest method of removing the wax:
‘Once the wax has hardened, place the wax warmer dish in the freezer for about 10-15 minutes. The cold temperature will cause the wax to contract, making it easier to pop out of the wax melter base.
‘After removing the wax, clean the dish with warm, soapy water or rubbing alcohol as mentioned above to remove any leftover residue.’
Design expertise in your inbox – from inspiring decorating ideas and beautiful celebrity homes to practical gardening advice and shopping round-ups.
2. Soak up the wax with cotton balls
If you have ever tried to remove wax from glass or clean spilt wax, you may be more familiar with the method of using something porous to soak up hot wax. For wax warmers, Eric Kaiser, candle expert and COO at Arctic Wicks, recommends using cotton balls:
‘Turn on the warmer to melt the remaining wax. Once melted, place a couple of cotton balls in the dish to soak up the wax. Dispose of the soaked cotton balls once the wax is absorbed,’ he recommends. Be careful using this method, however, so that you do not touch the hot wax and burn yourself. Using tweezers or small tongs may be best to avoid injury.
An advantage of this method is that you can then reuse the waxy cotton balls once they have dried, Eric continues. They can easily be repurposed as DIY fire starters to start a fire in a fireplace, for instance.
3. Clean the warmer with rubbing alcohol

With the wax removed, you will need to then clean the warmer itself. This prevents scent contamination between waxes, and removes dust which could prove to be a fire hazard, Tram Nguyen, candle expert, explains.
One simple and effective way to clean your warmer is to dampen a cloth with rubbing alcohol and use it to wipe the inside of the warmer,’ she shares. ‘A good general rule is to clean your warmer before you are about to change to a different wax melt fragrance or at least once a month.’
4. Dispose of the wax safely
If you are not reusing the wax to make new candles or fire lighters, you need to dispose of wax carefully to avoid pollution, our experts urge – much like when you get rid of a candle when it’s burnt out.
‘If the wax is made from natural materials like beeswax or soy, it can be composted!’ begins Tram Nguyen, candle expert. ‘Break the wax into small pieces and add it to your compost bin, ensuring it is well-mixed with other compostable materials. Otherwise, we recommend you take the wax you cleaned from your warmer and wrap it in paper to prevent it from sticking to other pieces of trash.
‘Do not pour used wax down the drain as it can cause blockages,’ urges Eric Kaiser, candle expert. ‘Instead, let the wax harden in a disposable container or use the cotton ball method mentioned above. Safely dispose of the used wax in the trash.’
FAQs
Will vinegar remove wax residue?
White vinegar can be used to clean up wax residue from wax melters and candle jars when you are looking to reuse them. Dampen a cloth with undiluted white vinegar and buff at the waxy surface to dissolve the wax. Rinse with water and dry before adding in your new wax scent. We explore more ways to clean with vinegar in our separate feature.
How do you know when to replace the wax in a wax warmer?
There are usually a few signs that you need to replace the wax in your wax warmer. For starters, if you can barely smell your wax melt even when the warmer has been on for an hour or more, it is time to switch it out for a fresher one. If your wax disc has shrunk significantly in size, you might also want to swap the melt out to avoid your wax warmer burning empty. Finally, if you have not used your wax warmer in a long time and it has a lot of dust build-up, you should swap out the wax disc to mitigate a fire hazard.
You do not need to deep clean a wax warmer after every use, but it can be helpful to dust it between uses if it has not been lit for a long time, concludes Eric Kaiser, candle expert. ‘Regularly clean the dust off the light bulb of your wax warmer. Excessive dust or wax on the bulb can reduce its effectiveness in heating the wax, shorten the life of the bulb, and pose a fire hazard,’ he warns. ‘Ensure the warmer is off and cooled down before cleaning.'

Chiana is Homes & Gardens’ kitchen appliances editor. With a lifelong passion for cooking and baking, she grew up experimenting in the kitchen every weekend with her baking-extraordinaire Mom, and has developed a great understanding of how tools and appliances can make or break your ideal relaxing kitchen routine.
