Learning how to build a stud wall? Follow 10 simple steps from expert home renovators for success
Understanding how to build a stud wall save you money and transform how you use your space

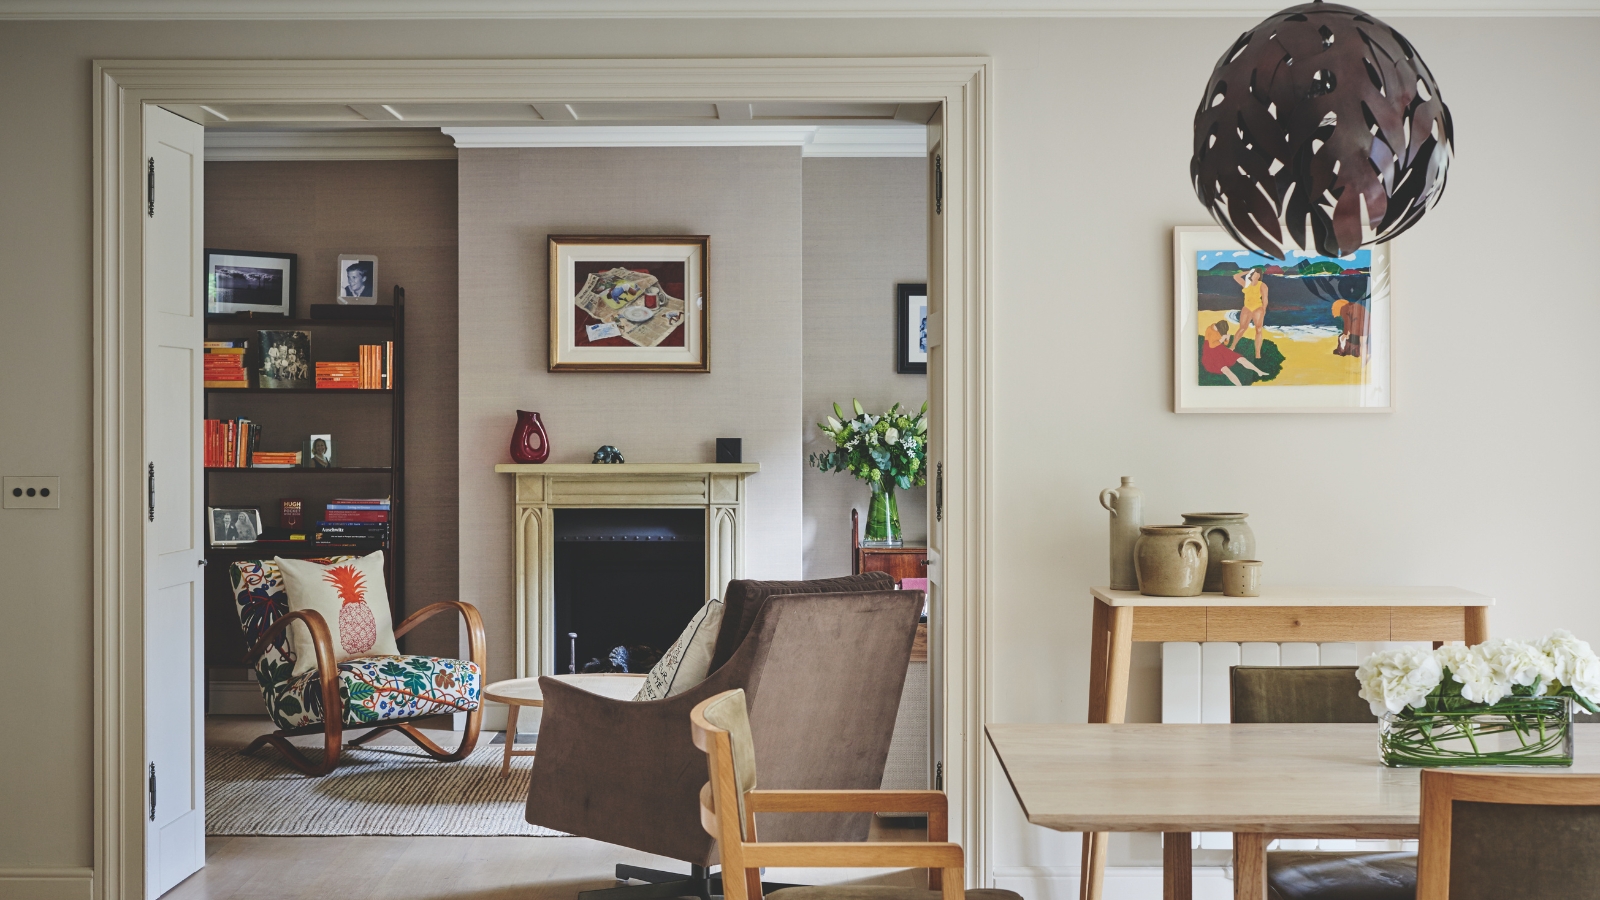
Once you know how to build a stud wall on a DIY basis, you can step into any remodeling project feeling confident that you have one of the most useful home improvement skills under your belt.
Simple timber stud walls can be used to form new rooms, break up open plan spaces and create partial divides. Understanding how to construct one will also come in useful if you are planning on installing wall-hung bathroom sinks and toilets which usually require timber frames for support.
If you are renovating a house and want to take on as much as possible yourself, our simple, expert led step-by-step guide includes everything you need to know to get the job done quickly and smoothly, including tools, materials and instructions for a successful build.
How to build a stud wall without calling in the pros
Building a stud wall is a job that is well within the capabilities of most DIYers. If you are remodeling on a budget, familiarizing yourself with the task is a great way to save money on labor costs. Preparation is key to the success of this job, as is taking accurate measurements.
If you have looked into how to remove an internal wall, you should find building one a far less disruptive task.
Tools and materials for the job
First, gather the DIY tools and materials you will need – failing to do this simple step can lead to the project taking far longer than it needs.
- Hammer
- Nail gun
- Chop saw or circular saw – the Skil 5080-01 13-Amp Circular Saw from Amazon is a brilliant, yet affordable, option
- Hand saw
- Level
- Pencil
- Workbench
- Measuring tape
Materials:
Design expertise in your inbox – from inspiring decorating ideas and beautiful celebrity homes to practical gardening advice and shopping round-ups.
- Studwork timber – usually 2"x4" lumber but this will vary depending on the size of wall you are building
- Drywall
- 16d nails (commonly called '16 penny' nails)
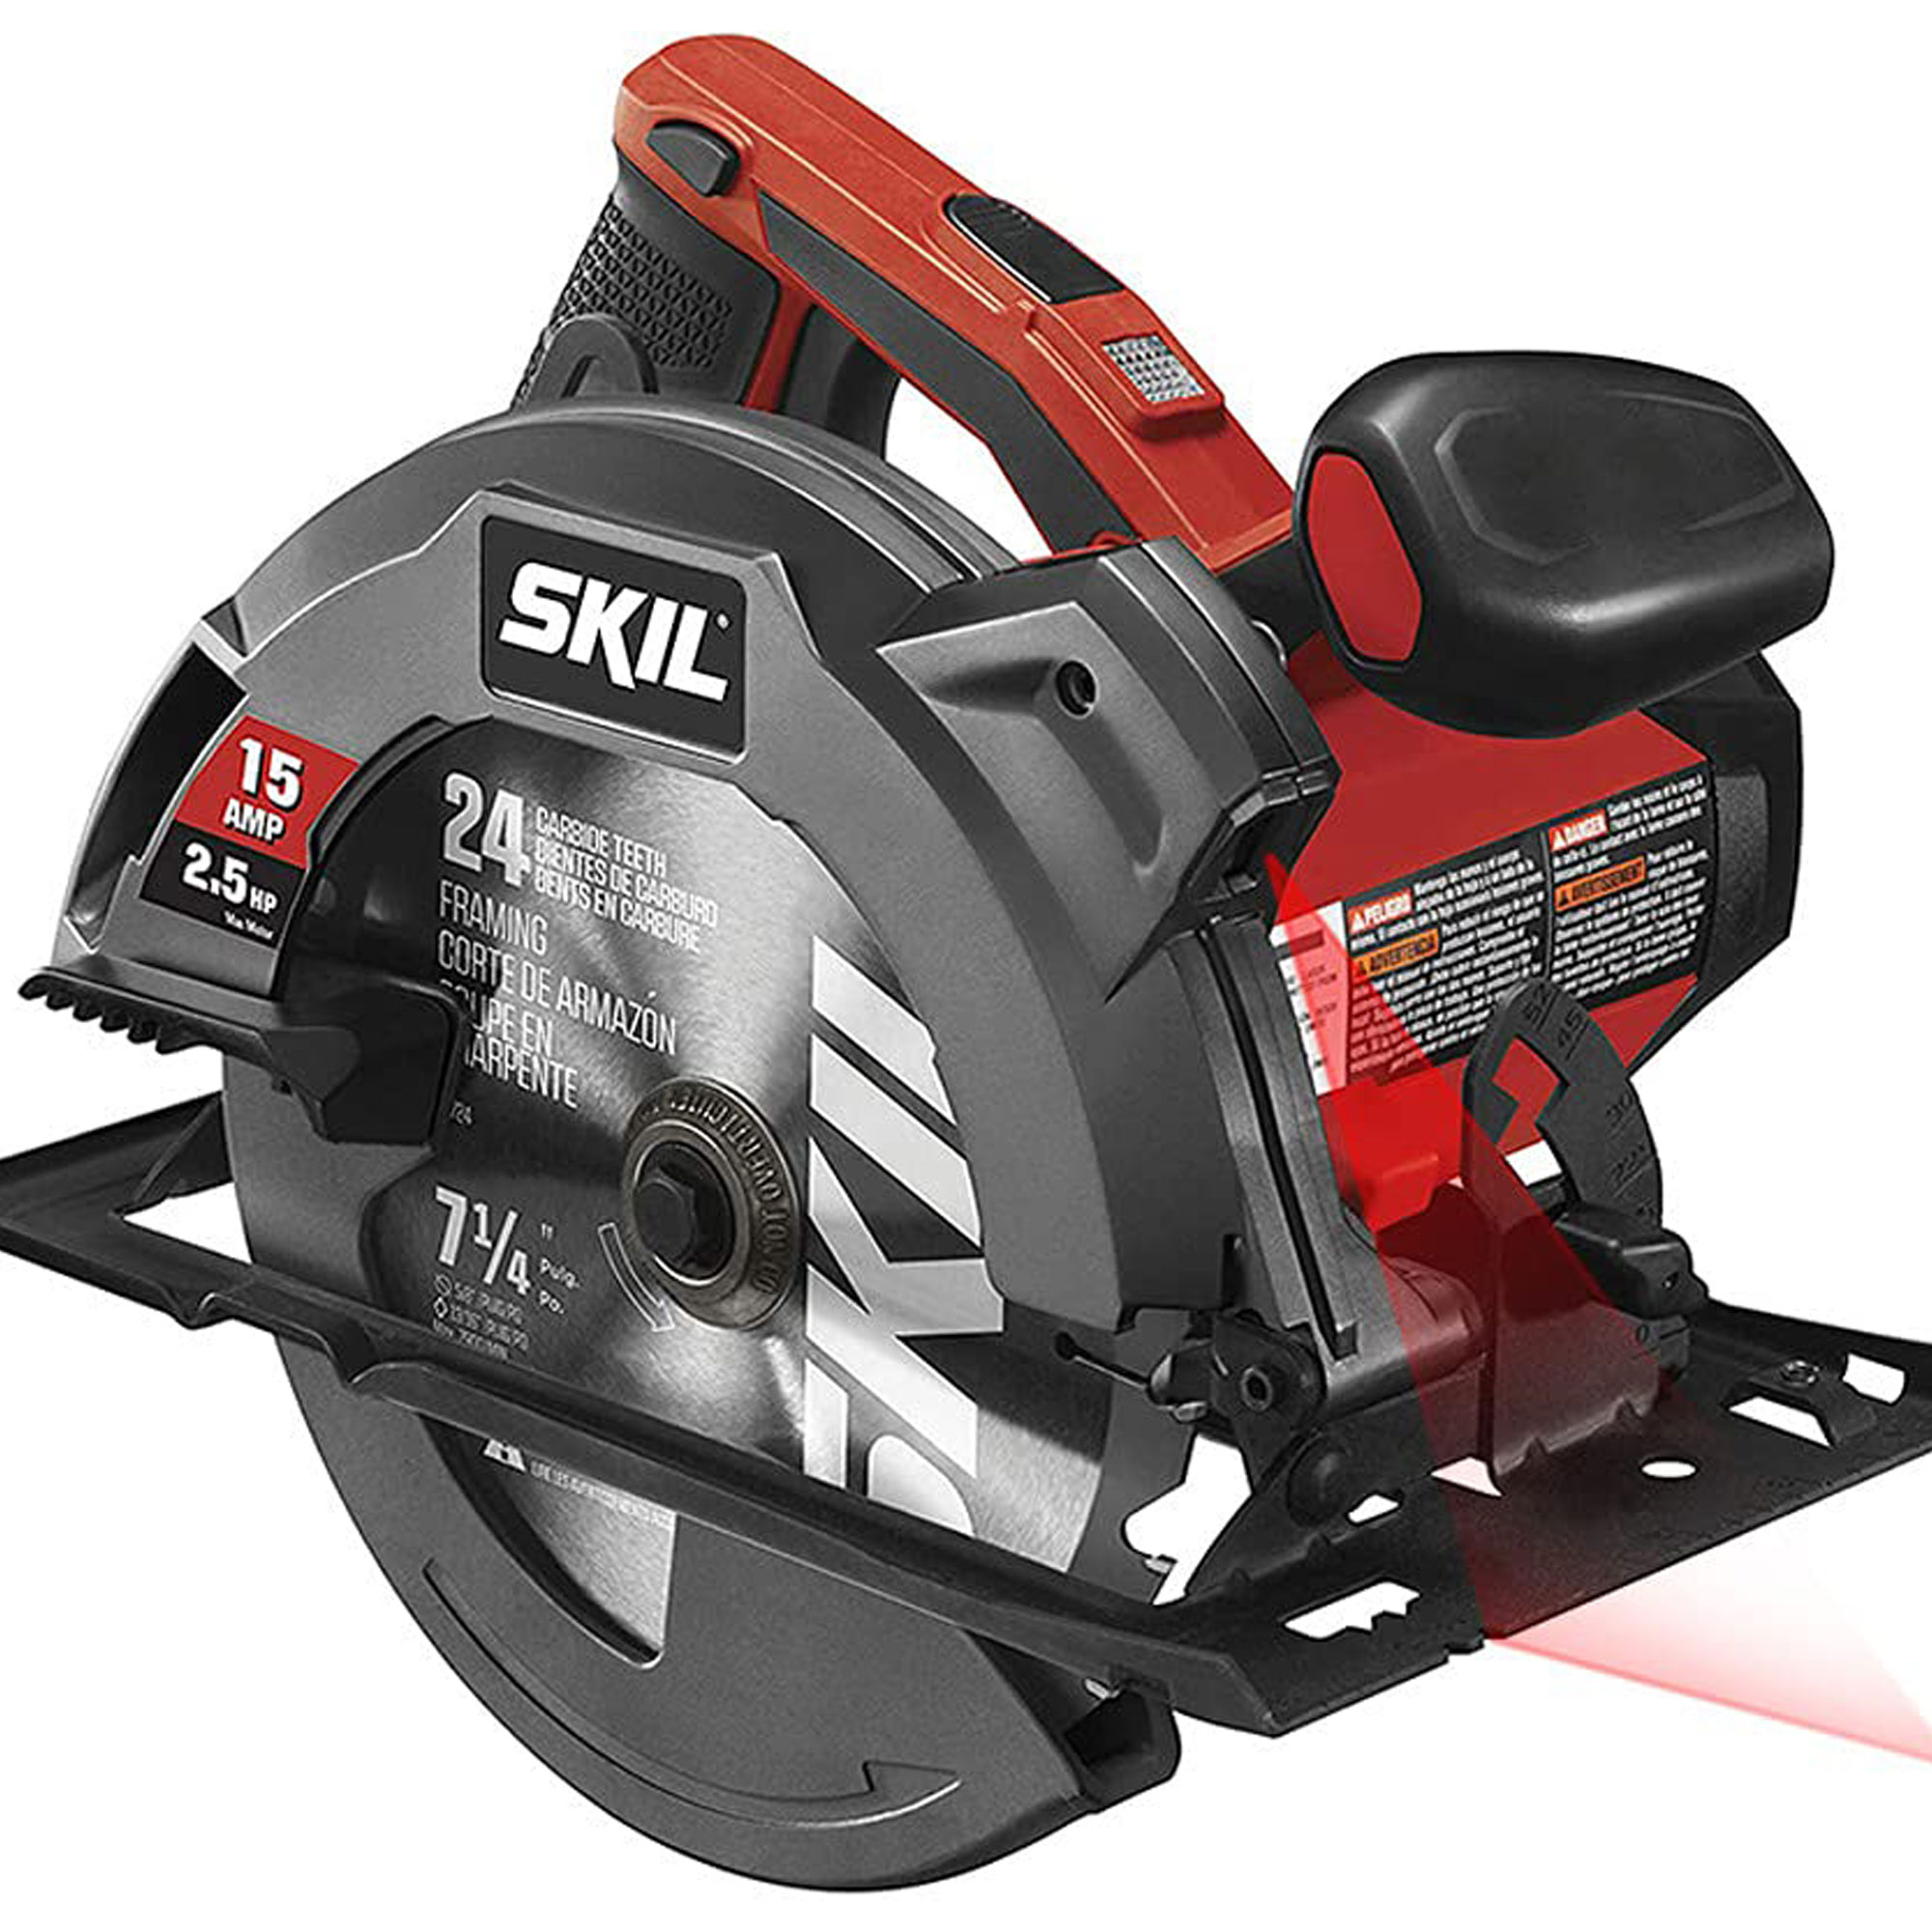
When building a stud wall you are going to making lots of cuts to ensure your sections of timber are the right size – this high-quality circular saw is perfect for speeding up the task. This particular saw has so much to offer, including a dust blower to keep your cuts free of sawdust and a single beam laser to keep cuts straight.
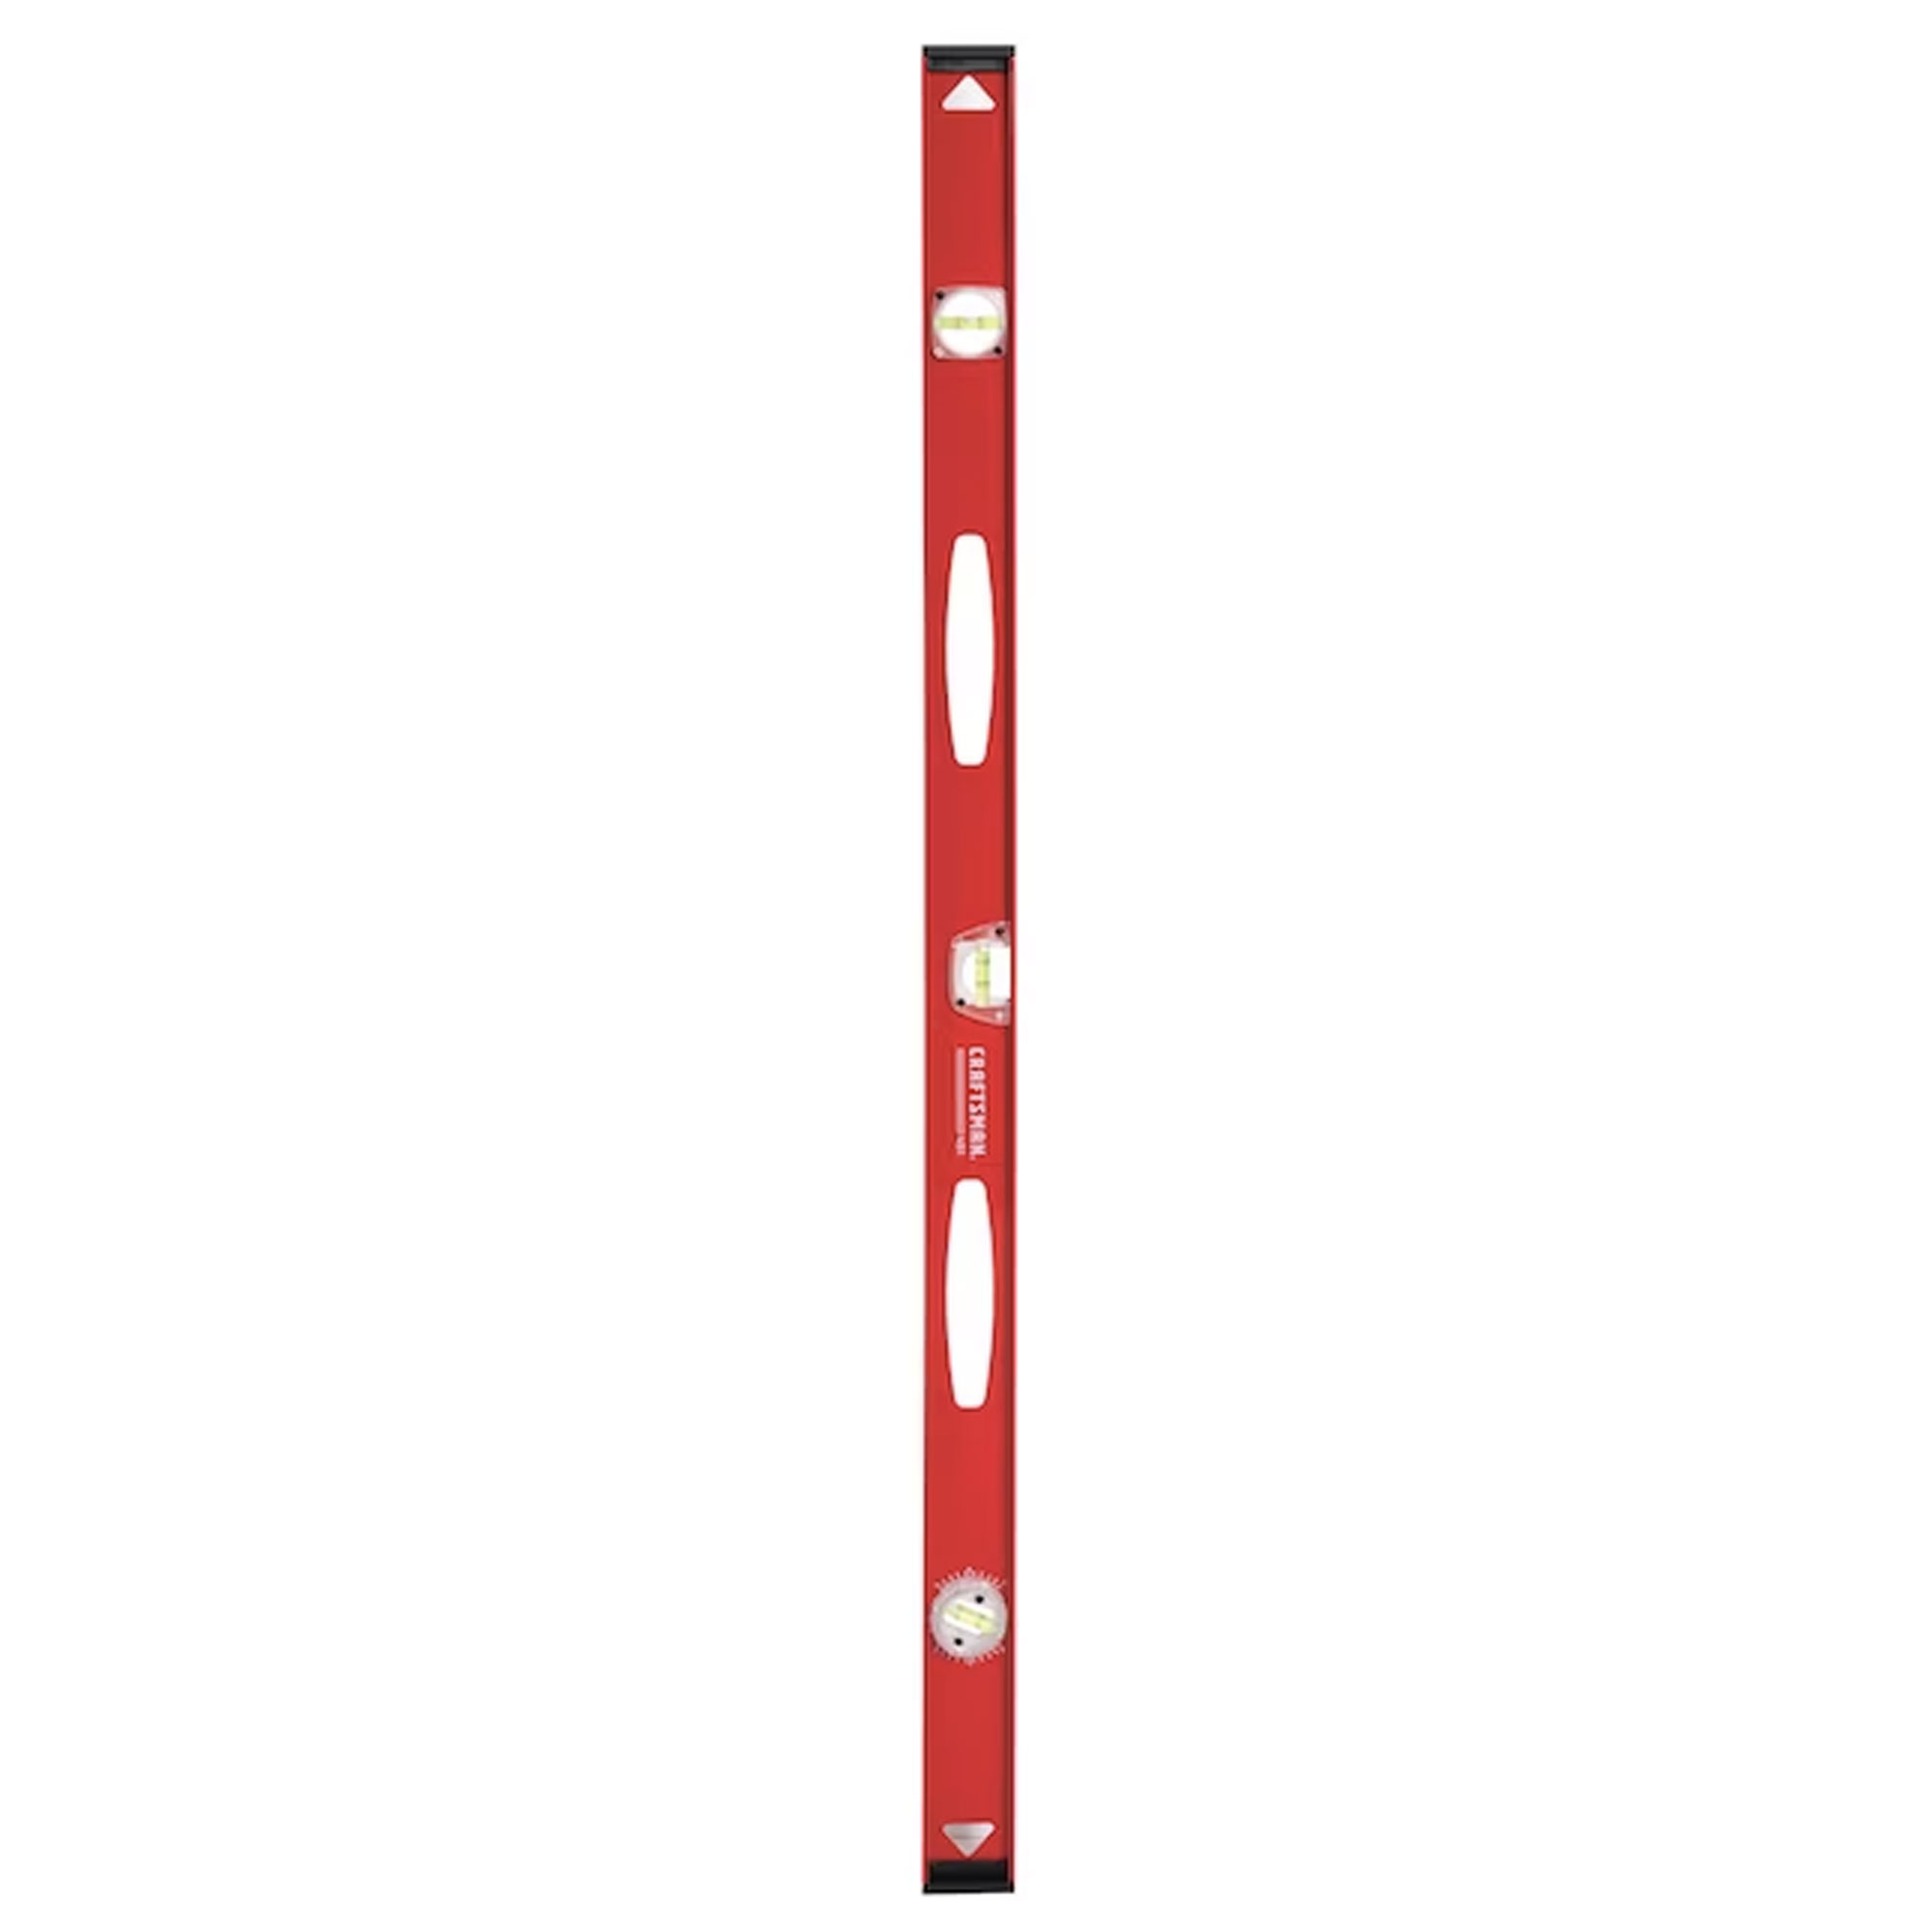
A good, reliable level should be in every DIYer's toolbox and this one also doubles up as a ruler. In addition, the three vials can be viewed from all angles and it is lightweight, making it easy to manoeuvre even in tight or awkward spaces. Even better, it is magnetic making it easy to use with metals.
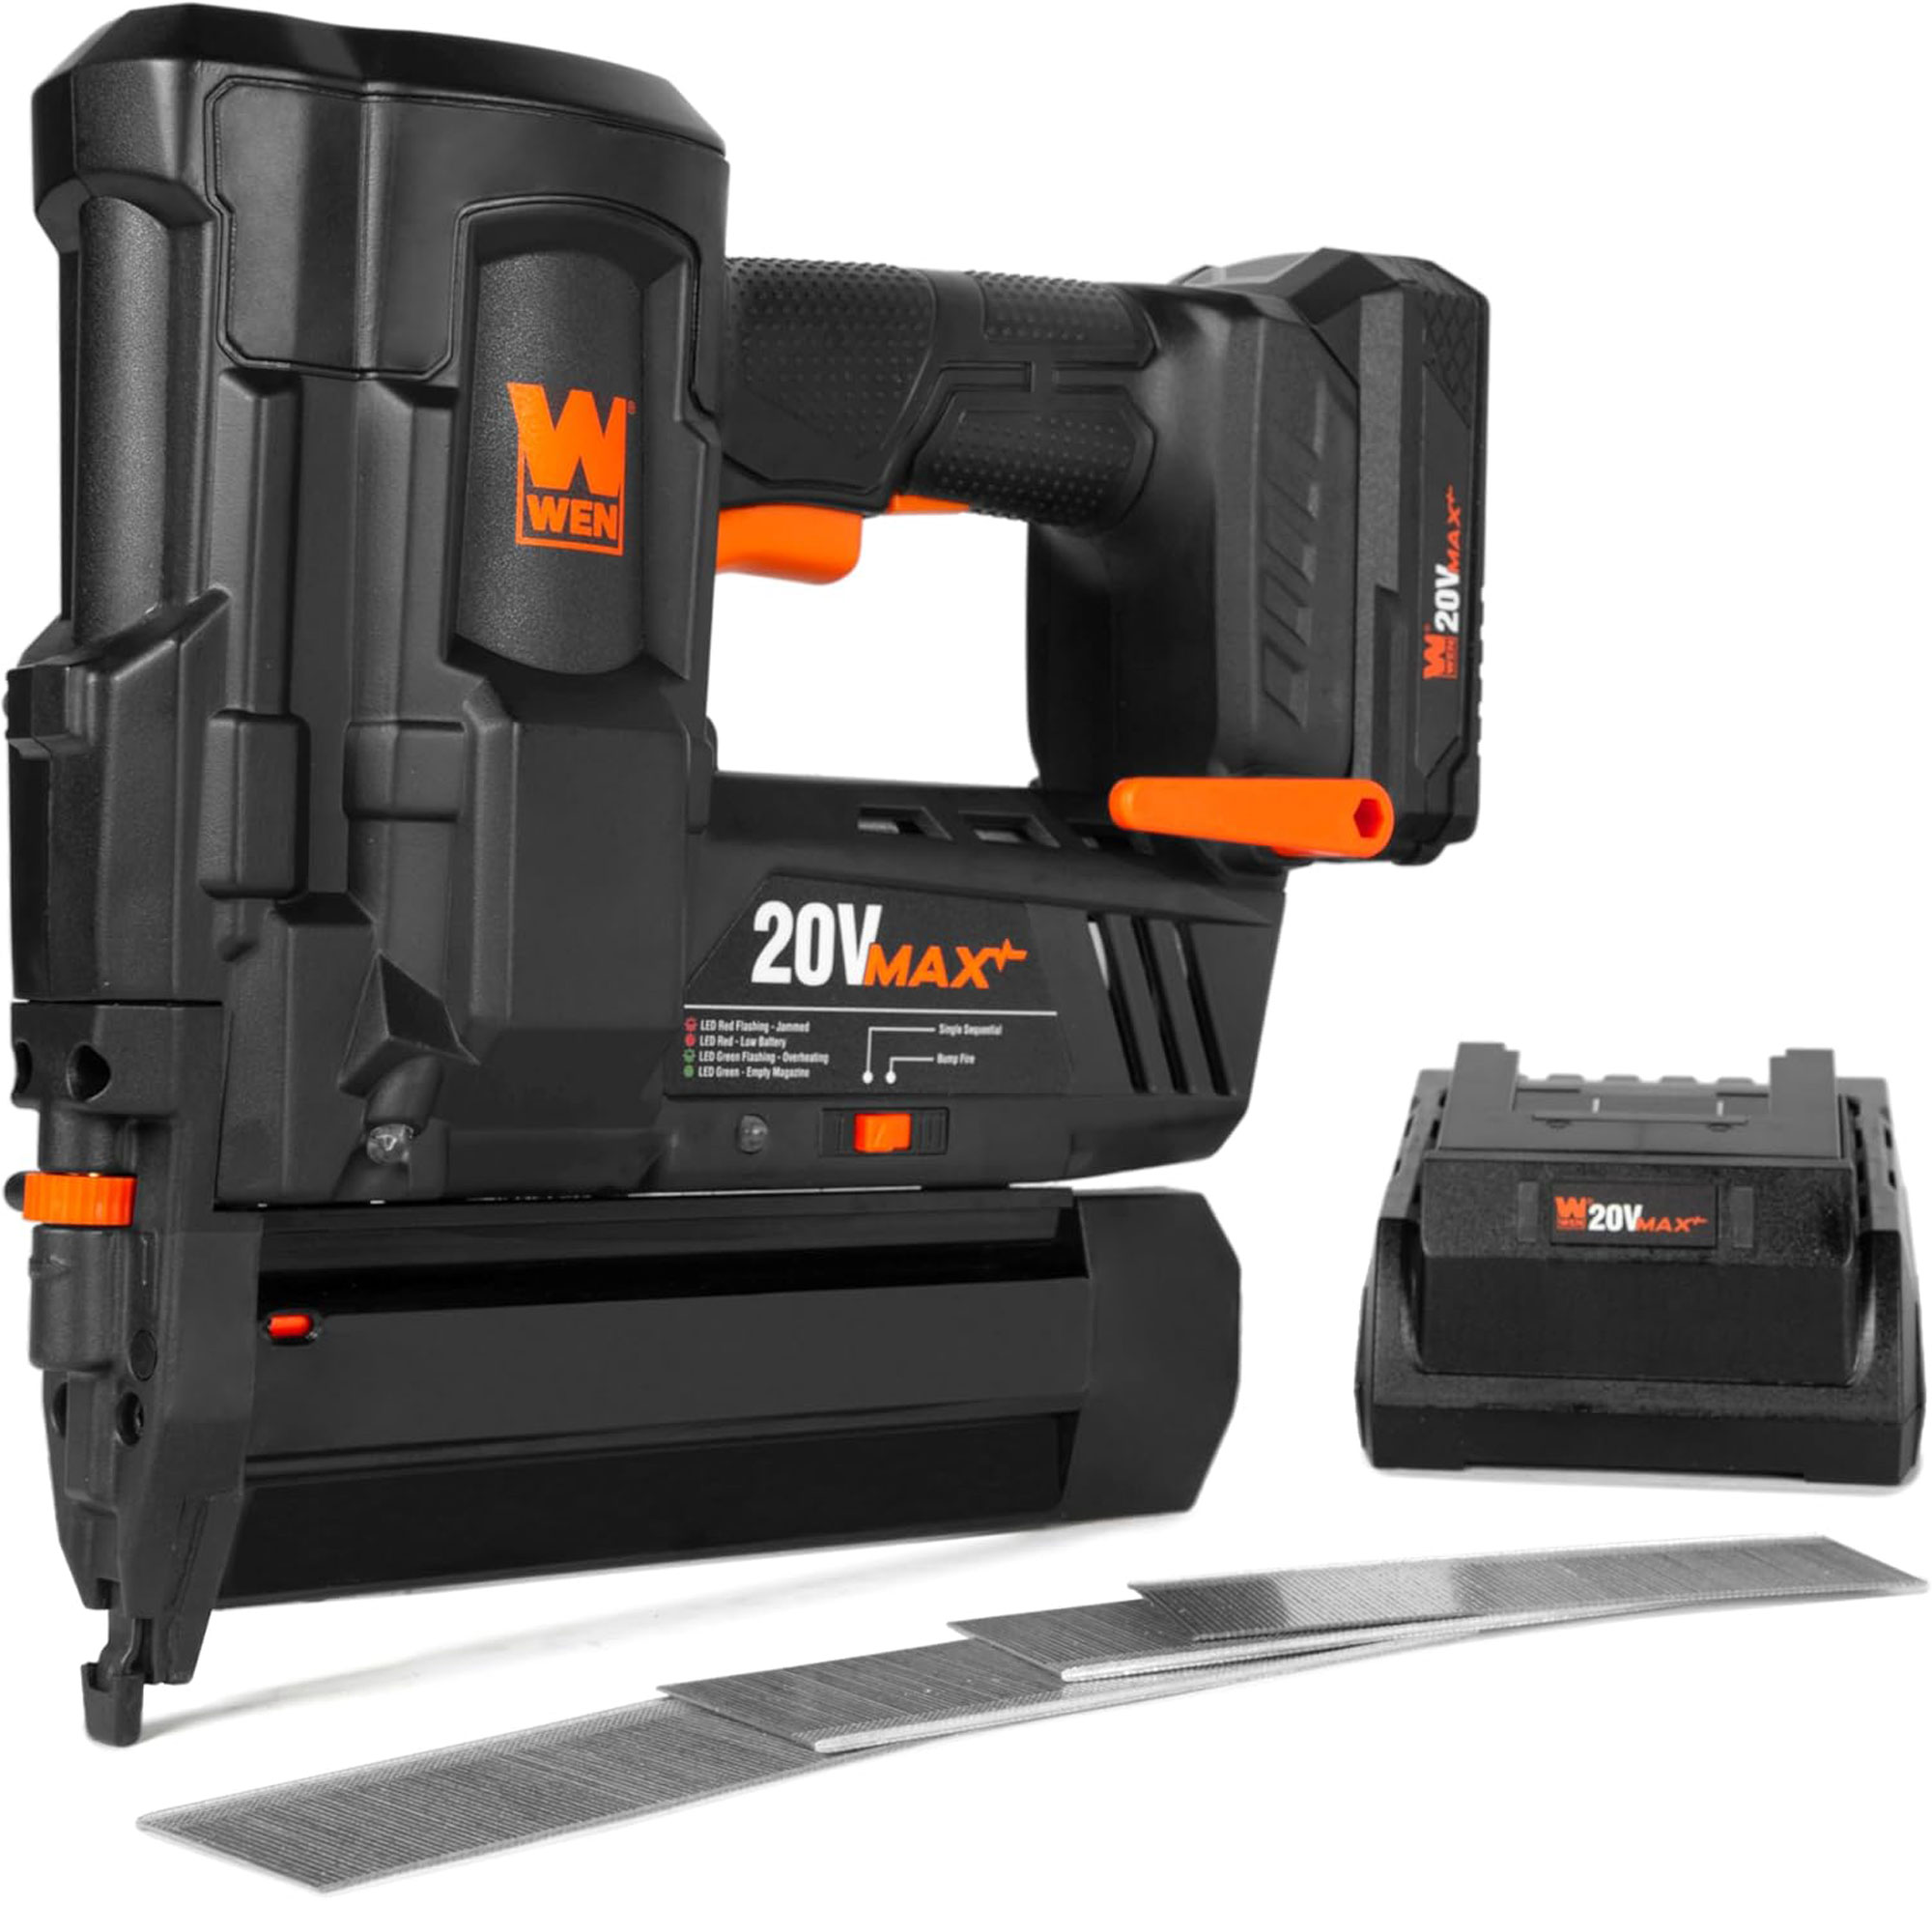
If you are after a nail gun to make short work of building a stud wall then look no further than this one. While it might not be the cheapest nail gun out there, it offers so much to both novice as well as more experienced DIYers, from the 100 nail capacity magazine to the 2.0Ah battery and charger it comes complete with.
1. Decide on size and location
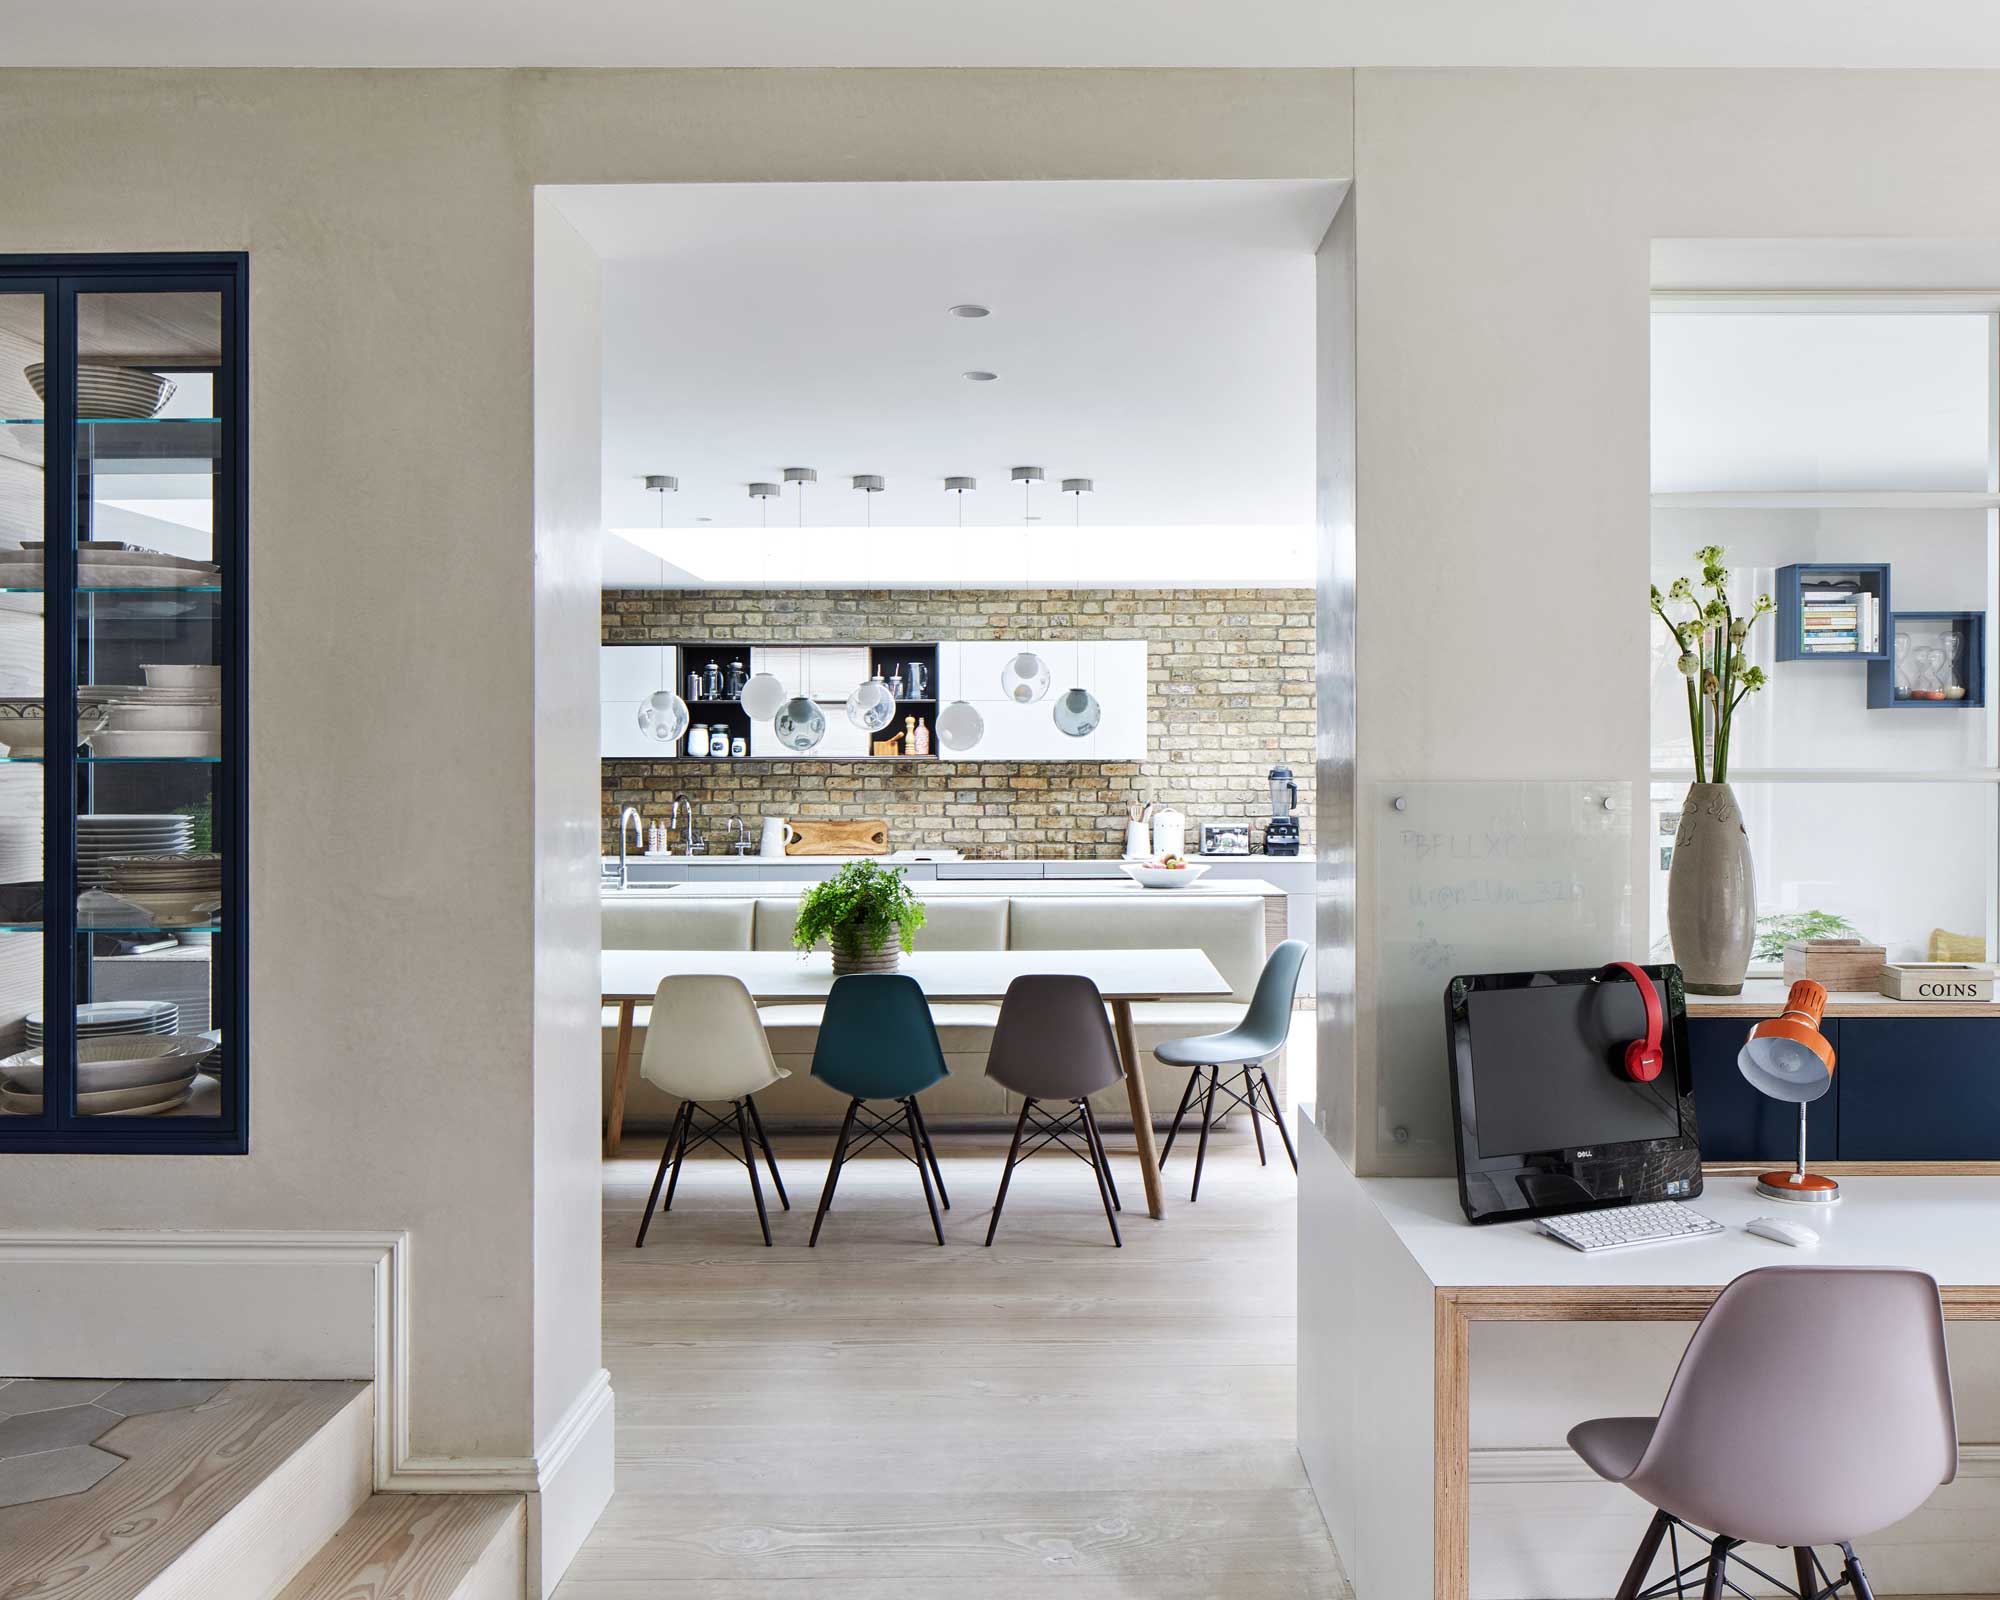
Before you can begin, you'll need to decide on the location and size of the wall for your small remodel.
Geoff Walker, superintendent at ASAP Restoration LLC says, 'Choose the right location for the wall. Not all spots are created equal. You may run into existing architectural issues or structural elements that can’t be worked around, so do your research in finding the best spot to place the new wall.'
'Primarily, decide how long the wall needs to be and then measure and cut the top and bottom plates to the length you need,' continues Yaeir Moinzadeh, owner at Blue Rise Baltimore Roofing.
Start by marking the exact point where the outer edge of the floor plate (the piece of timber that will form the bottom of the wall) will join up with the existing wall on the floor. Using a plumb line, hang it from the top of the wall down to the pencil mark you've just made on the floor. Draw a line up to the ceiling, then pop a nail into the ceiling where it meets the wall.
Do the same thing on the other side of the wall before using a chalk line between the two marked points to determine the position of your ceiling plate.
You should also check the position of any existing wiring or pipework to make sure you won't be drilling into them – in fact this is one of the best tips to consider before a remodel of any kind.
A product such as the 8 in 1 Stud Detector Detector from Amazon will come in handy for tracking the location of studs, metal and wiring.

Yaeir Moinzadeh is an MHIC licensed contractor and the owner of Blue Rise Baltimore Roofing.
2. Measure and cut sill plate
You are now ready to start cutting and fitting the timber elements that will make up the wall. It might sound obvious, but before you begin, make sure you know how to read a tape measure properly.
If you can, try to locate floor and ceiling joists before you start fixing the structure into place. If the new wall and floor plates are going to be running parallel to existing joists, they can be secured directly into these. If not, you will need to lift the floorboards and attach a section of timber to the joists so you have something to nail into.
If you are securing your sill plate to a solid floor you will need to use a drill fitted with a masonry bit to make holes before using plugs and screws.
'It’s usually best to start with the sill plate which will rest on the floor of your new wall,' says Geoff Walker. 'Take the time to get the measurements completely right as this first cut and placement will determine large portions of the rest of the project accuracy.'
Use a nail gun to secure the floor plate at 900mm intervals.
The WEN 20V Max Cordless 18-Gauge Brad Nailer from Amazon is easy to load and can accommodate a range of nail sizes.

Geoff has more than 47 years of experience in the construction and restoration industries. He has travelled the world while learning and perfecting his skills in the trade. Geoff prides himself on learning everything he can all the time. This is one of the things that makes him such a skilled operator and leader on a worksite. Geoff has done projects large and small, from residential to commercial, and industrial projects. Some of his more famous projects include working on revitalizing the Hard Rock Café and the Yardhouse among many others.
3. Install the top plate
Next comes the section of timber that will make up the top of the new wall. Aim to nail it into the trusses above if possible. You should be able to find these by lifting a couple of floorboards in the room above if they are not already visible. It's handy to know which walls are load bearing too.
The Olympia Tools 36" Heavy Duty Pry Bar from Amazon would make the task of lifting floorboards easy.
'The ceiling plate or top plate will come next, and should be the same dimensions as your sill plate is in most scenarios,' advises Geoff Walker. 'If you have a different measurement for your sill plate and top plate, then check everything again before making any additional cuts.'
If you are comparing a circular saw vs jigsaw you really need the former option for this particular job.
4. Add in wall plates
With your floor and ceiling plates in place, you can fix the wall plates. These sit up against the wall that the new stud wall is being fixed to, between the top and bottom plates.
5. Install vertical studs
With the frame in place, you can begin to install the vertical studs that will add strength to the structure.
'Measure the internal dimensions of the vertical studs by finding the distance between the sill plate and the top plate,' says Geoff Walker. 'This will be the same measurement for nearly all of the studs, but you should check every other one to make sure they are all still the same so that you don’t have mismatched cuts.'
It is wise to add 2mm to your measurements to ensure a snug fit. You will need to fix the studs at 400mm centres in the case of 9.5mm drywall, or 600mm centers if you are using 12.5mm drywall.
'Construct your frame by nailing the studs in between the plates,' says Yaeir Moinzadeh. 'Use 16D nails for strong joints.'
To make measuring easy, get your hands on a sturdy, easy-to-use tape such as the Komelon Self Lock 25-Foot Power Tape from Amazon.
6. Account for windows and doors
If you want your new wall to feature a window or doorway, or fancy using the new wall for some alcove ideas, you will need to leave a gap for this.
'If adding windows or doorways to the wall, then it these will need headers, jack studs and king studs to comply with building codes and to ensure that the installation is secure in the new wall,' points out Geoff Walker.
'Measuring out the placement for these items will be different for every wall, door and window, so make sure to do each separately and not assume that since two widows are the same make, that they will have the exact same measurements when placed into form.'
7. Add strength with noggins
Short cut sections of timber (sometimes referred to as 'noggins') to fit in between the vertical studs to fortify the whole structure.
Simply measure the distance between the vertical studs, cut pieces of timber to fit and fix them into place. These will also make fitting your drywall easier.
8. Run in services
Before covering your new timber stud wall with drywall, run in any wiring or pipework. You can drill holes in the noggins and vertical studs to thread wires and flexible pipes through if needed.
It's a good opportunity to pick the right wall switches that will best suit your purposes for the space, for instance dimmer vs flick light switch.
9. Insulate the wall
In order to reduce heat loss, pack your new wall with insulation. If you are looking at how to soundproof a room, this will also help. Opting for an insulation designed to prevent noise transfer is a great idea.
The simplest way to insulate a stud wall is to fix drywall to one side of the wall first.
10. Finish drywalling
Drywall can now be fixed to the frame to finish off the wall – if you are familiar with how to hang drywall ceiling you are off to a great start.
'If you are adding additional elements to the wall, such as plywood or sheetrock, then you will need to secure it to the studs,' explains Geoff Walker. 'Make a chalk line across the sheet so that putting screws into the studs won’t be a search and destroy mission.'
Irwin's STRAIT-LINE 6:1 100-ft Chalk Reel from Lowes would really come in handy for this kind of DIY project and is quick and easy to use.
FAQs
Is it better to use nails or screws to fix drywall?
While nails can be used, most experts agree that screws are a safer and more effective choice for fixing drywall into place over a stud wall. They tend to have more tensile strength and will stop the drywall from pulling away from the studs over time.
Learning how to build a stud wall is so useful for any kind of remodeling project, but it is a particularly handy skill for those hoping to implement some broken plan living room ideas to cosy up a rather soulless space.

Natasha has been writing about everything homes and interiors related for over 20 years and, in that time, has covered absolutely everything, from knocking down walls and digging up old floors to the latest kitchen and bathroom trends. As well as carrying out the role of Associate Content Editor for Homebuilding & Renovating for many years, she has completely renovated several old houses of her own on a DIY basis.