How I patch up holes in my walls like a pro (no one ever notices)
I share my easy DIY method for patching holes in walls to make them look as good as new


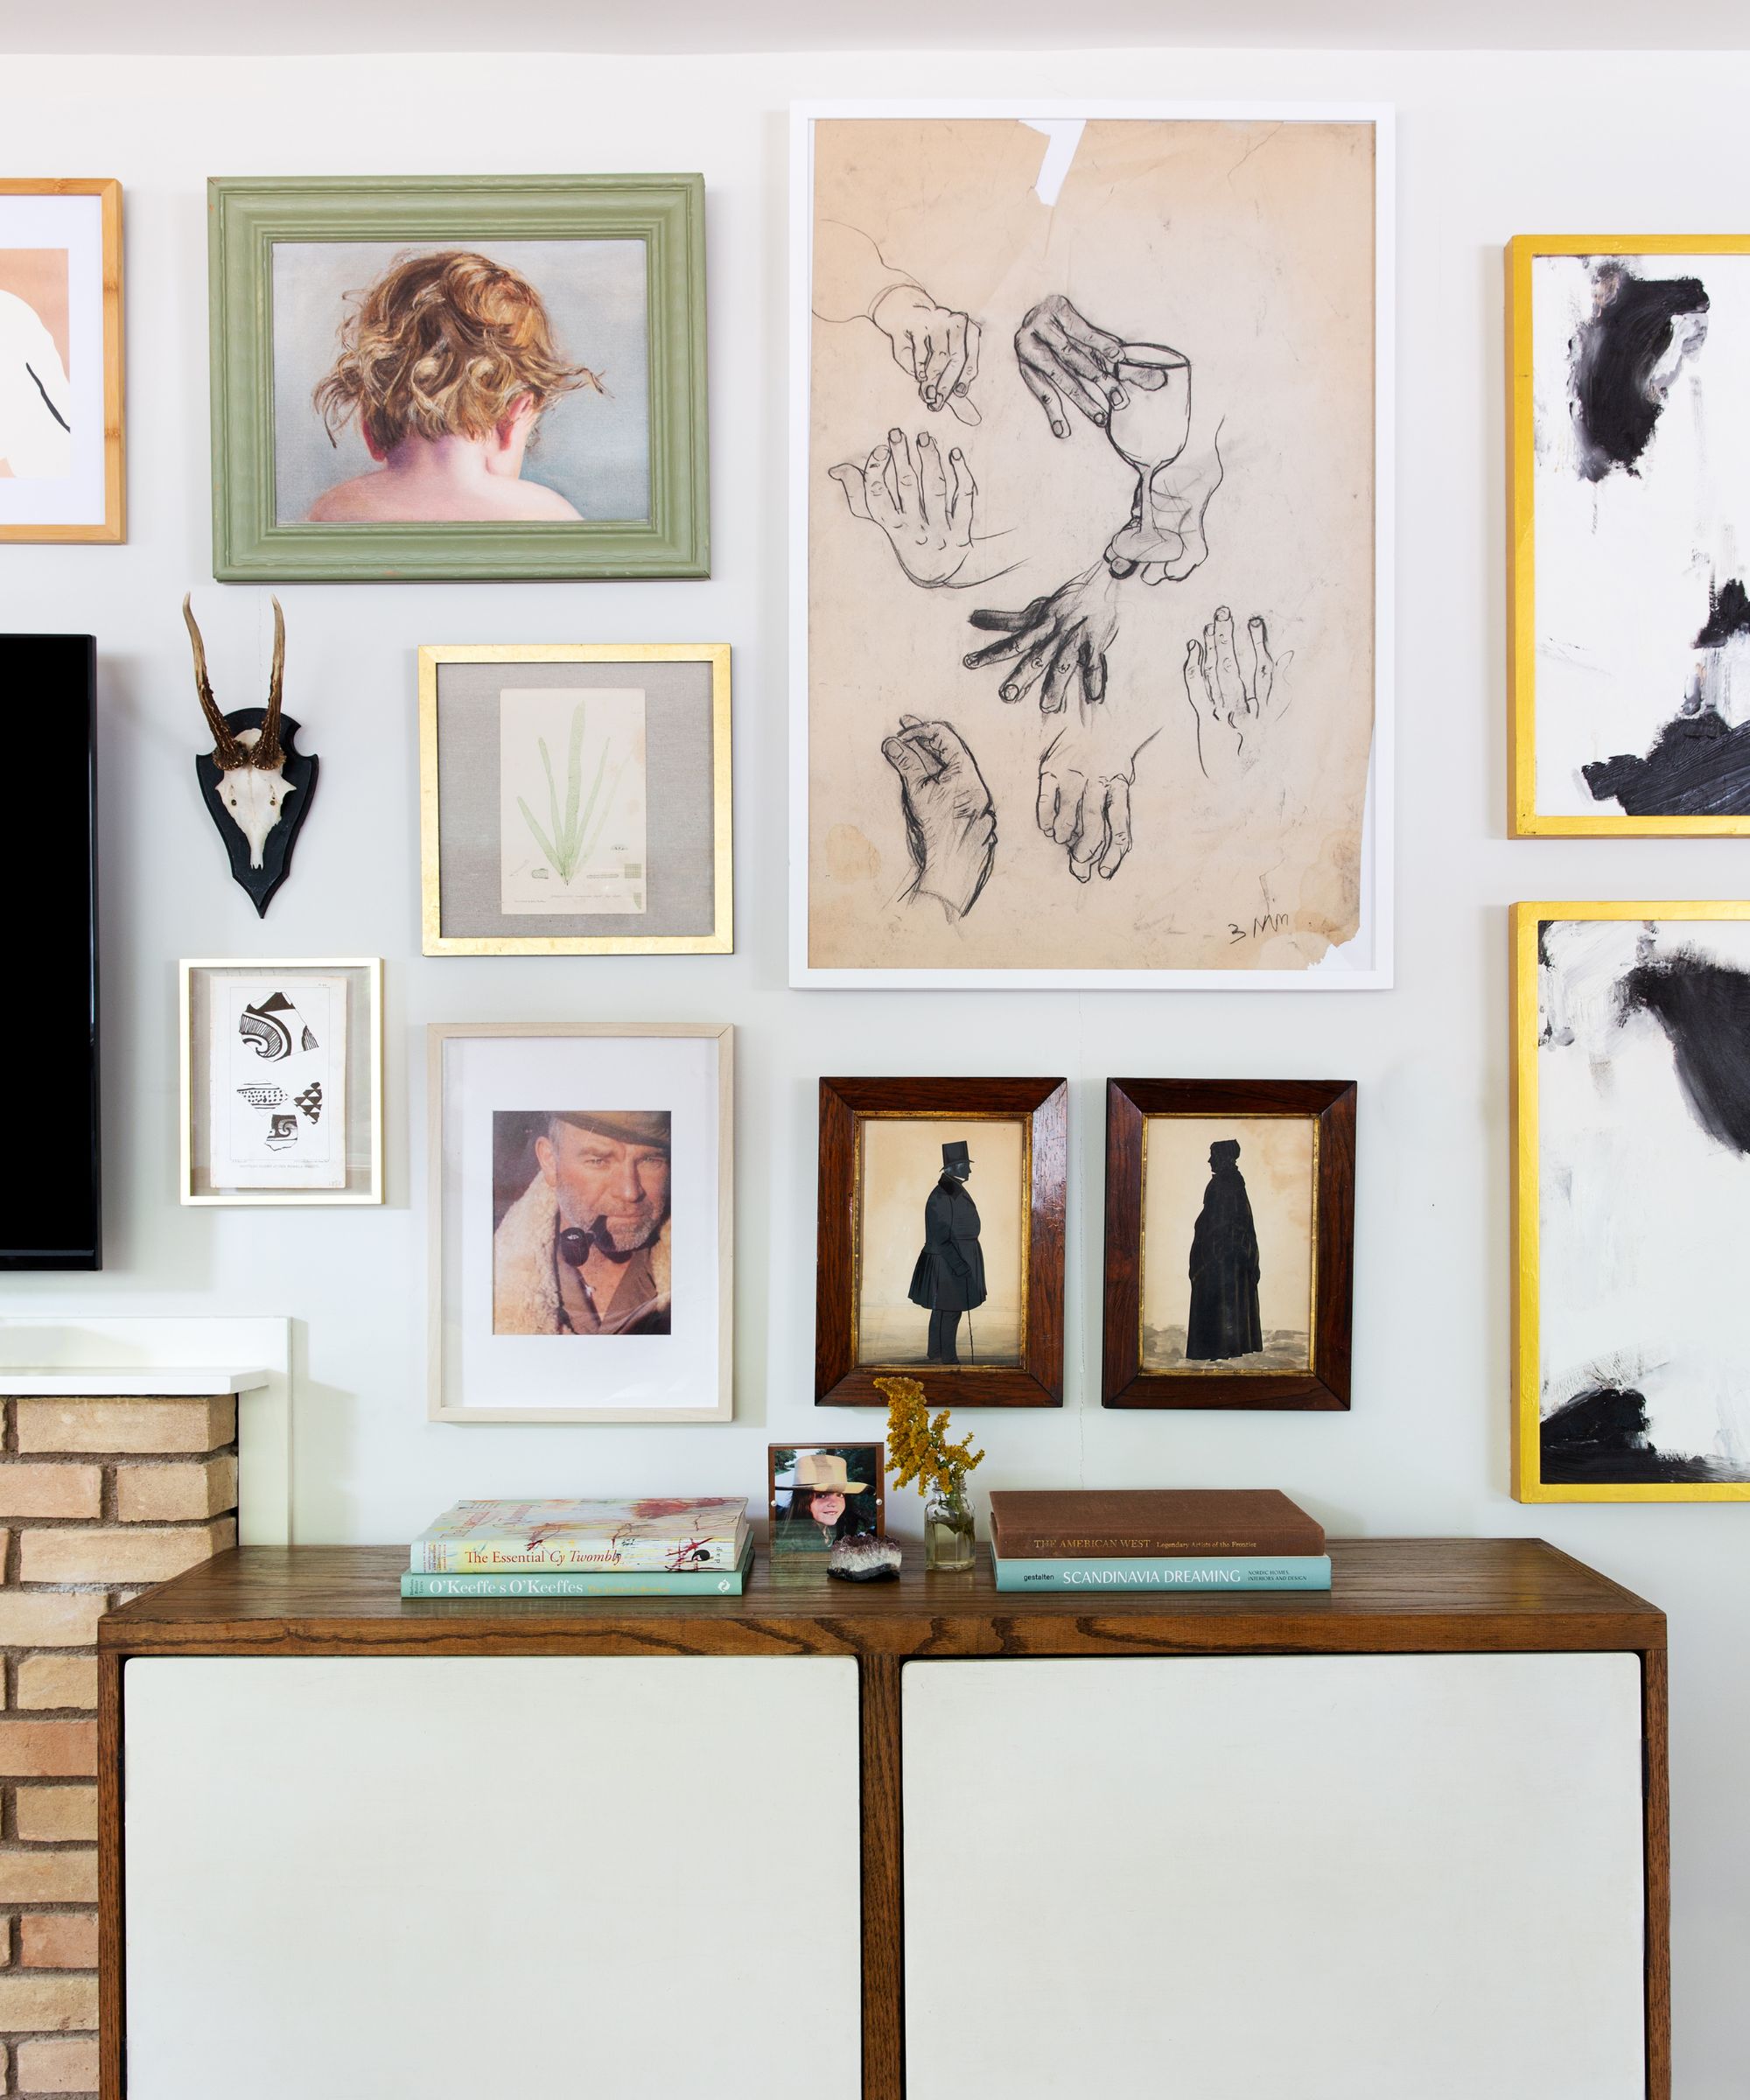
The joy of redesigning my gallery wall each year is only eclipsed by the sudden realization that with every new layout comes the inevitable task of patching up the cracks and holes left behind from previous work.
Few DIY projects go without a hitch. So, even though I am capable of hanging my artwork without damaging my walls, there is always potential for disaster when it comes to removing wall plugs and patching up my handiwork.
Thankfully, I have learned a simple yet effective way to make cracks and holes in walls disappear. So, keep reading to find out what tools and methods I use to patch up holes like a pro and return my walls to pristine condition.
The materials I use
Before I begin this task, I make sure I have all the necessary tools to hand. Typically, this includes:
- Spackling / joint compound
- A putty knife (an old credit card also works)
- Sandpaper (medium and fine grit)
- Primer
- Paint that matches your wall color
- A paintbrush
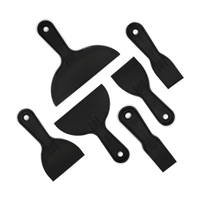
Plastic Putty Knife Set | $6.99 at Amazon
This 6-piece putty knife set is ideal for applying joint compound to holes or cracks in walls. Each putty knife is lightweight and easy to store, making this set a must-have addition to your DIY drawer.
How I remove wall plugs

Removing a wall plug from a wall is an easy process when you know how.
If the screw is not intact, I take a screwdriver and gently screw it back into the wall (only by a few turns so that it is moderately secure). Then I take my pliers, and I grip the screw with the sharp end of the pliers against the wall. From here, I gently lever it out, and it usually pops away from the wall with minimal damage.
I then remove any debris or loose drywall around the holes before patching them. I use my putty knife to scrape away any chipped paint or loose material before wiping the area with a damp cloth to ensure a smooth and clean surface.
My easy patch up process
Once I've cleaned and prepared the holes in my wall, I'm ready to patch up any damage. Here's what I do:
Step 1: Apply the spackling/joint compound
I like to use DAP 10100 wallboard joint compound available on Amazon for this task, as I find it easy to apply and it sands nicely. I take a small amount of the compound on my knife (or an old credit card) and I swipe it over the hole. This sometimes takes a couple of tries but I keep going until I’ve smoothed it out evenly, making sure it's slightly raised above the surface of the wall. I don't worry if it looks messy at this stage, as I'll be sanding later.
Step 2: Let it dry completely
I leave the compound to dry completely. Most manufacturers claim that it will dry within hours but I usually wait overnight to be certain. I never skip this step, because I have often made a bigger mess when attempting to sand semi-dry compound. The compound will change color as it dries. I know it's ready for the next step when it looks much paler and it's hard to the touch.
Step 3: Sand the area so it’s flush to the wall
Once the compound is dry, I go in with a medium-grit sandpaper to gently sand it down until it's flush to the wall. I use small circular motions and take my time to achieve a smooth finish (sometimes I swap to a fine grit sandpaper as get closer to the wall). When I’m happy that it is flat, I wipe away any dust with a clean, damp cloth.
Pro tip: If you are reconfiguring your gallery wall I suggest you plan your new layout at this stage in the process. Insert your new wall plugs before you paint over the old ones, as the process of hanging a gallery wall can create dust and you don't want to ruin a brand-new paint job.
Step 4: Prime and paint the area
To ensure that my newly patched wall seamlessly blends into its surroundings, I apply a thin coat of primer over the area. This helps the paint adhere evenly and disguises any signs of repair work. Once the primer is dry, I use a small paintbrush to carefully paint over the area, making sure to feather the edges to blend it into the wall. When this is completely dry, I inspect the patched area and make any final touch-ups as needed.
If you are only covering a small hole left behind from a nail, I recommend using a Mohawk Fill Stick from Amazon. These brilliant tools are easy to use, as all you have to do is scrub the stick over the hole to fill it. Then you can use a touch up paint pen, like this Trugfone pen from Amazon, to seamlessly patch up the area.
Sign up to the Homes & Gardens newsletter
Design expertise in your inbox – from inspiring decorating ideas and beautiful celebrity homes to practical gardening advice and shopping round-ups.

Gabriella is a freelance contributor for Homes & Gardens. She is a DIY enthusiast and a lover of all things interior design, often found antiquing or browsing the aisles of her local hardware store. She has a particular passion for historic buildings and is in the process of renovating a Victorian coachhouse in the countryside.
For much of the past decade, Gabriella has worked as a freelance writer, crafting copy for national publications and renowned homeware brands. Most recently, she worked for Homebuilding & Renovating Magazine and is the former Head of Solved at Homes & Gardens, focusing on case studies for the magazine and website, as well as writing features about issues surrounding historic and listed building projects.
-
 Pamela Anderson's kitchen seating arrangement is one of the most intelligent I've seen – it turns an awkward corner into a chic social space
The model's banquette seating perfects a smart seating trend that's shaping how we dine and socialize in 2025 – and it will fit in the smallest of kitchens
-
 8 of the biggest small bedroom layout mistakes designers see time and time again
These small bedroom layout mistakes are so easy to make, but so easy to avoid too
