Construction pros reveal the 6 mistakes to avoid when hanging drywall for perfect walls and ceilings
They see these all the time

The prices and stock levels of items featured in this article were checked on Dec 29, 2024.
Any homeowner hoping to save some money by carrying out as much work on their home upgrades on a DIY basis really needs to know how to hang drywall – this is a job that could shave a significant amount off the labor costs you face.
The good news is that this isn't a job that is too tricky to get to grips with, but construction pros told me there are six mistakes they see time and time again, and shared their tips for avoiding those including using the wrong tools, not leaving expansion gaps and failing to check measurements before beginning.
Whether you are building a home from scratch, have taken on a fixer upper or have a remodel on the go, this is really is one of those DIY skills every homeowner should know and is a project well worth mastering.
Common drywall mistakes the pros often see see
Before hanging drywall, it is important to understand exactly what drywall is. It is often also referred to as plasterboard, wallboard, gypsum board and sheet rock.
Drywall was designed as an alternative to traditional plastering methods involving mortar mixes. It is fixed to walls and ceilings where it results in a smooth finish ready for a skim coat or, in some cases, to be painted directly onto.
Drywall is made using a layer of gypsum plaster sandwiched between two sheets of what is, essentially, thick paper.
Here are the common mistakes our construction pros urge you to avoid.
Design expertise in your inbox – from inspiring decorating ideas and beautiful celebrity homes to practical gardening advice and shopping round-ups.
1. Using the wrong tools for the job
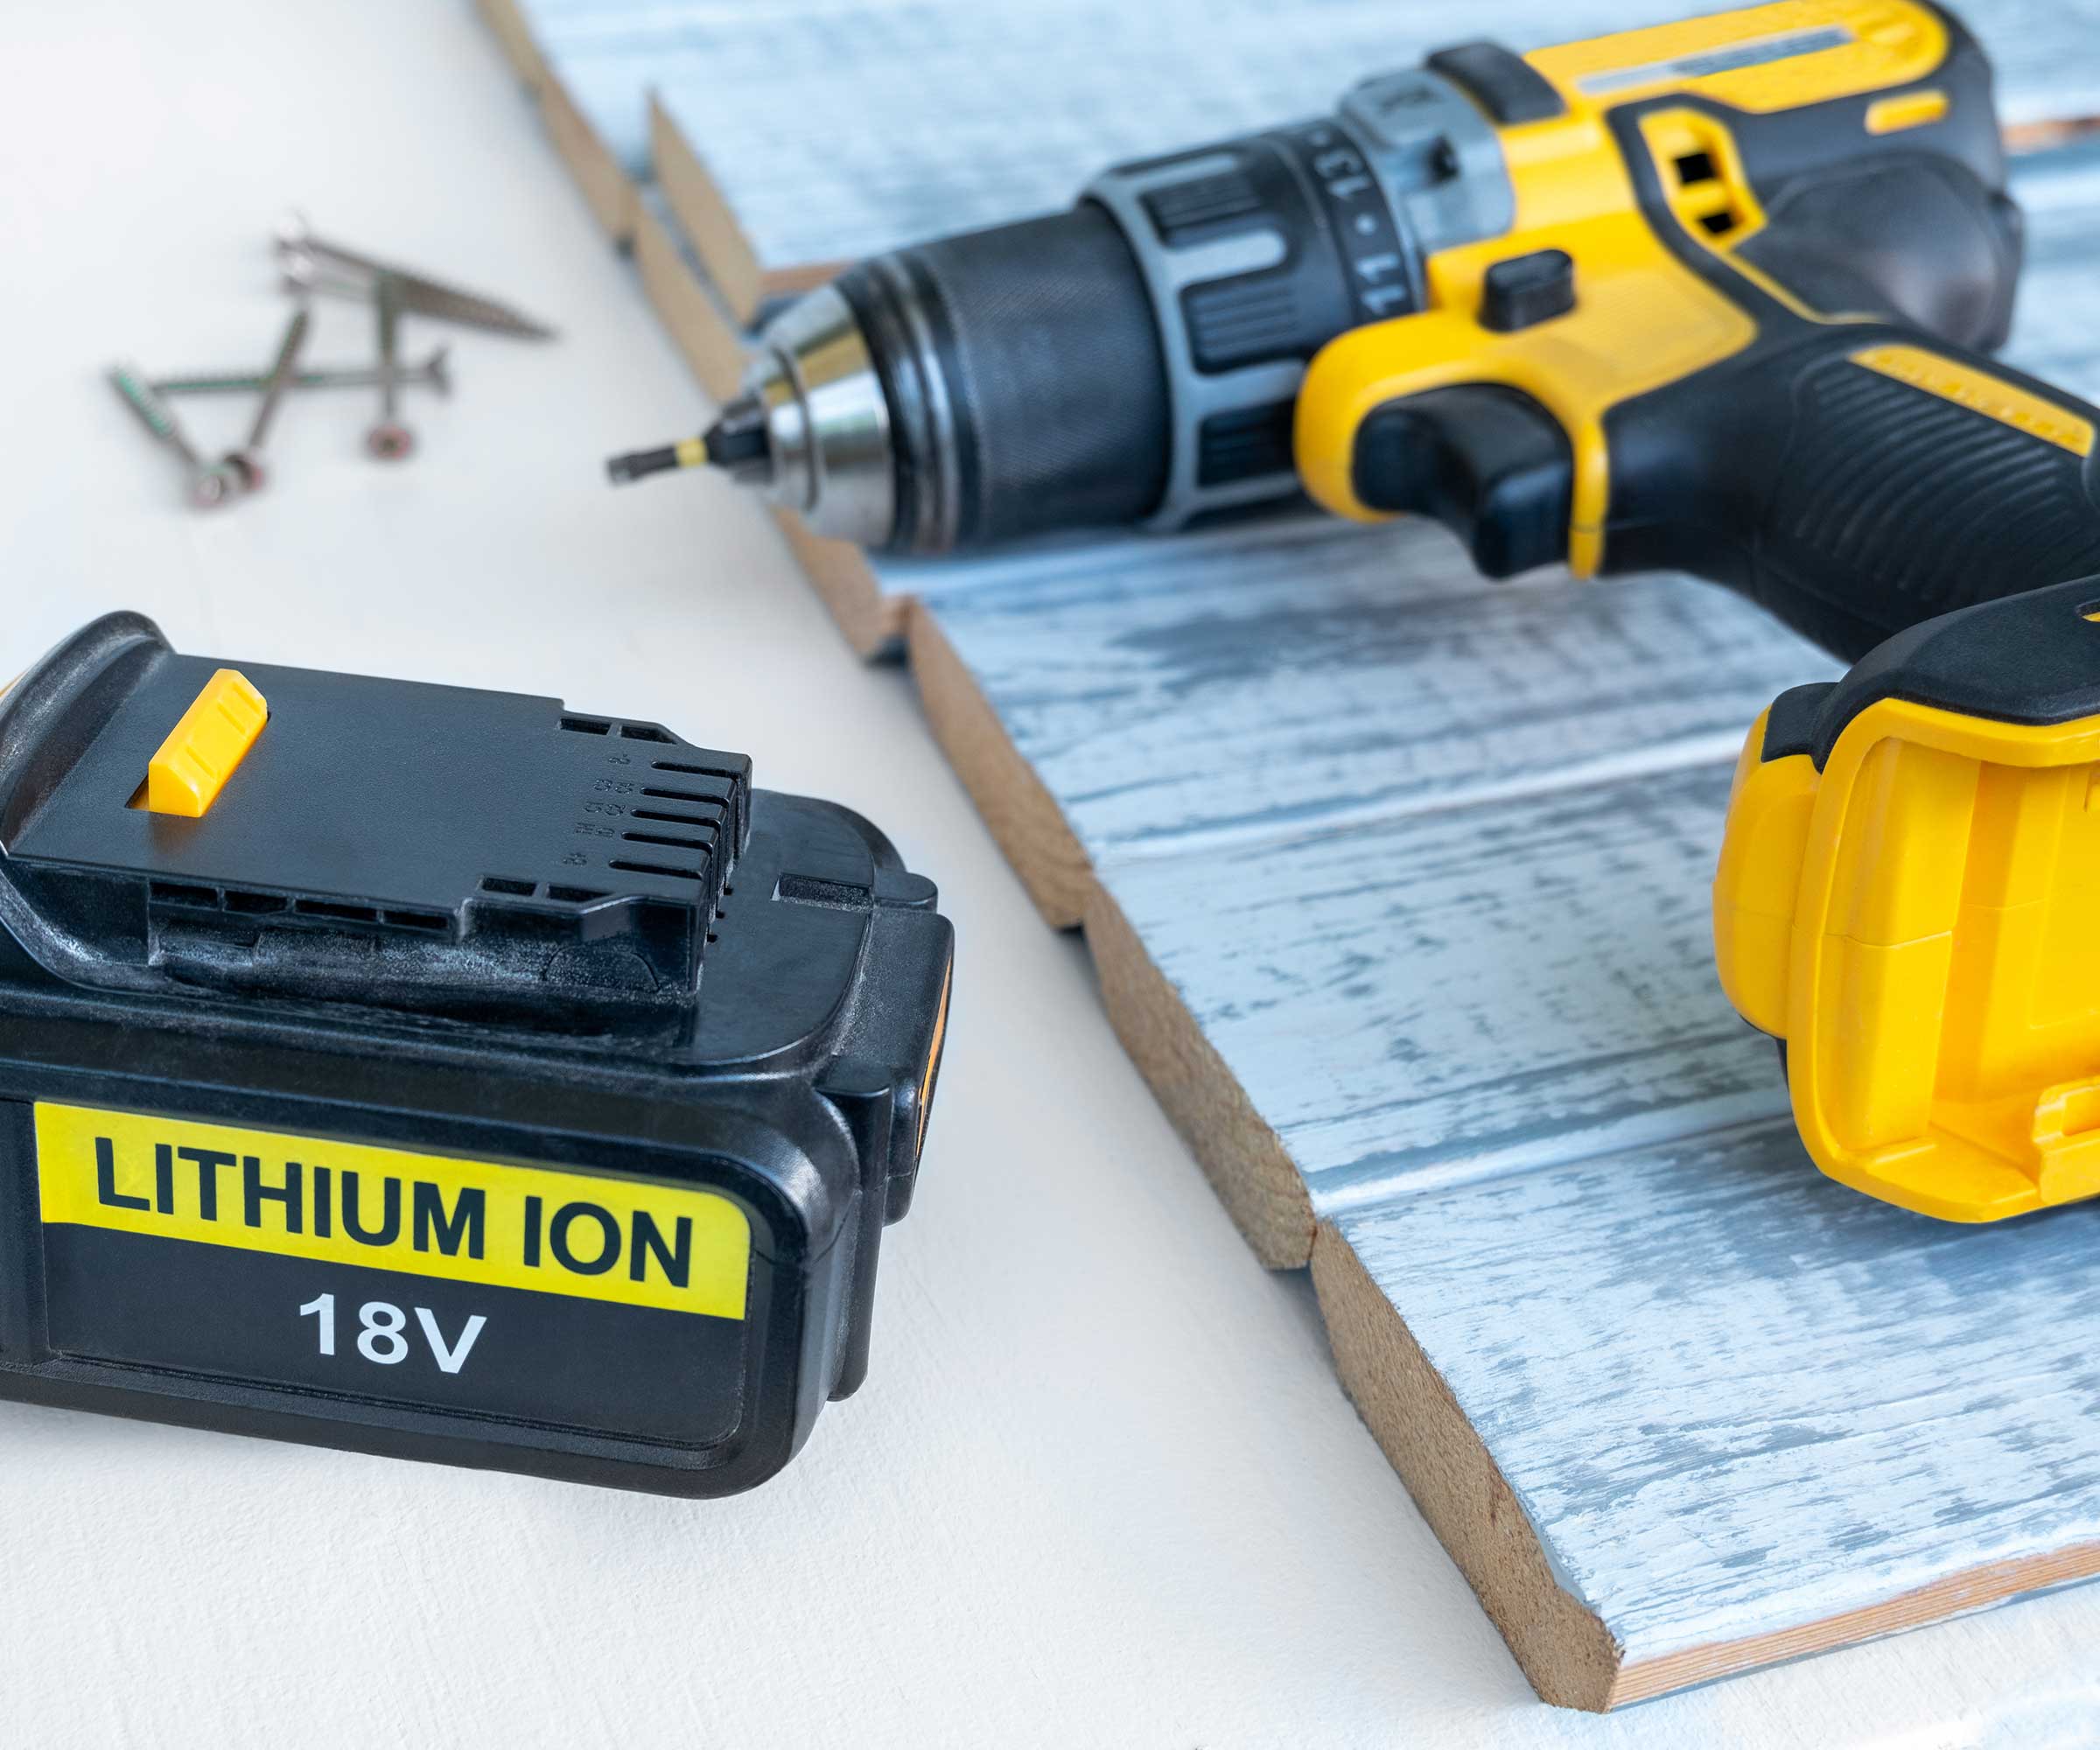
All the experts we spoke to agreed that one of the biggest no-nos out there when hanging drywall is to use the wrong DIY tools, or to start ill prepared.
'The basic tools needed are a utility knife, drywall saw, screw gun, and T-square,' advises Yaeir Moinzadeh, a MHIC licensed contractor and the owner of Blue Rise Baltimore Roofing. 'A drywall lift will save your back when placing ceilings. It is also best to use a stud finder with wire detection.'
We recommend the bestselling Povlen Store 5-in-1 studfinder on Amazon with detects the edge and center of joists as well as metal and live wires.
Yaeir adds, 'Good detection of the joists, which are usually on 16 or 24-inch centers, is also important. Of course, once any single joist is found, subsequent measurements may be taken from it. Marking on the floor where studs are located makes for easy reference.'
Brandon Walker, construction manager at ASAP Resoration, adds 'The best tools for most drywall jobs will be a sharp utility knife with a whole lot of disposable blades, a pencil, chalk line, or both, a straight edge, an angle finder, a level, and a drywall saw or knife.'
All prices correct at time of publication.
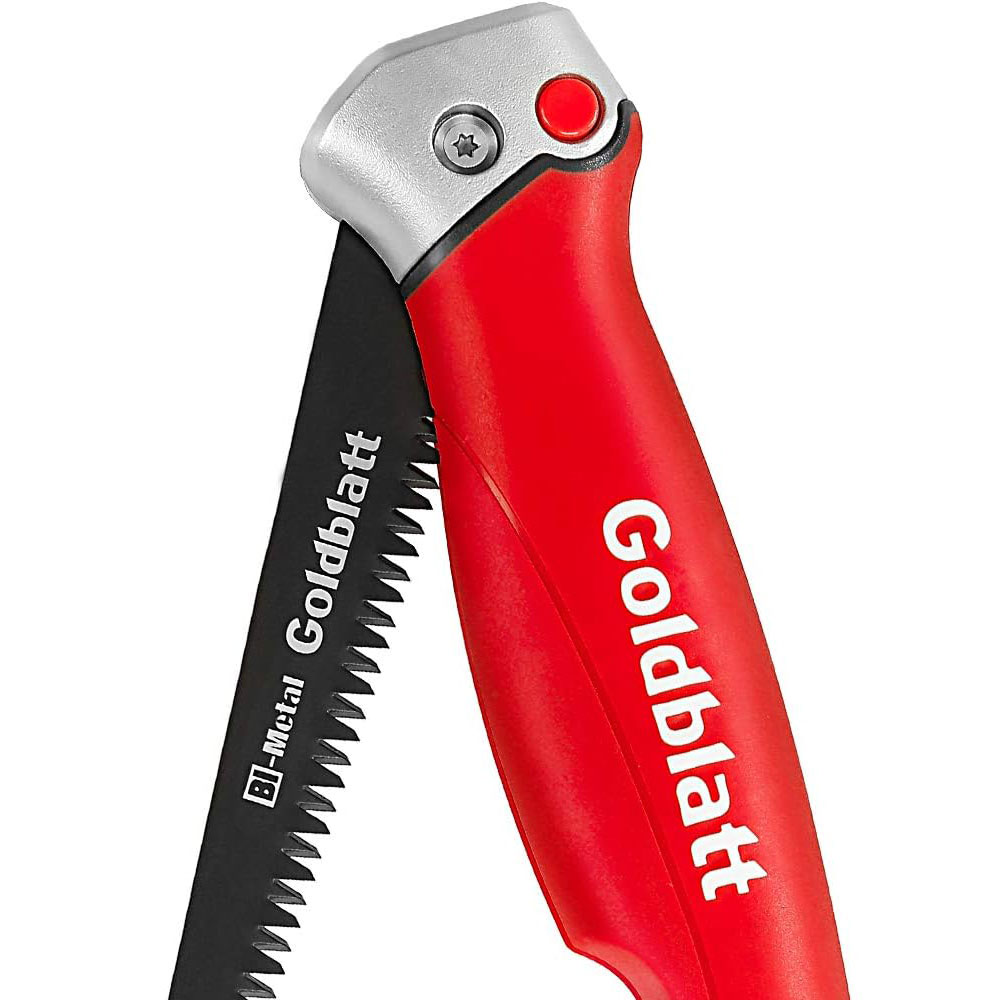
With its comfortable handle that makes it easy to use even for extended periods, and its super sharp cutting teeth, this is a must-have for any DIY dryliner. It makes the job of cutting sheets easy and results in crisp, smooth lines.
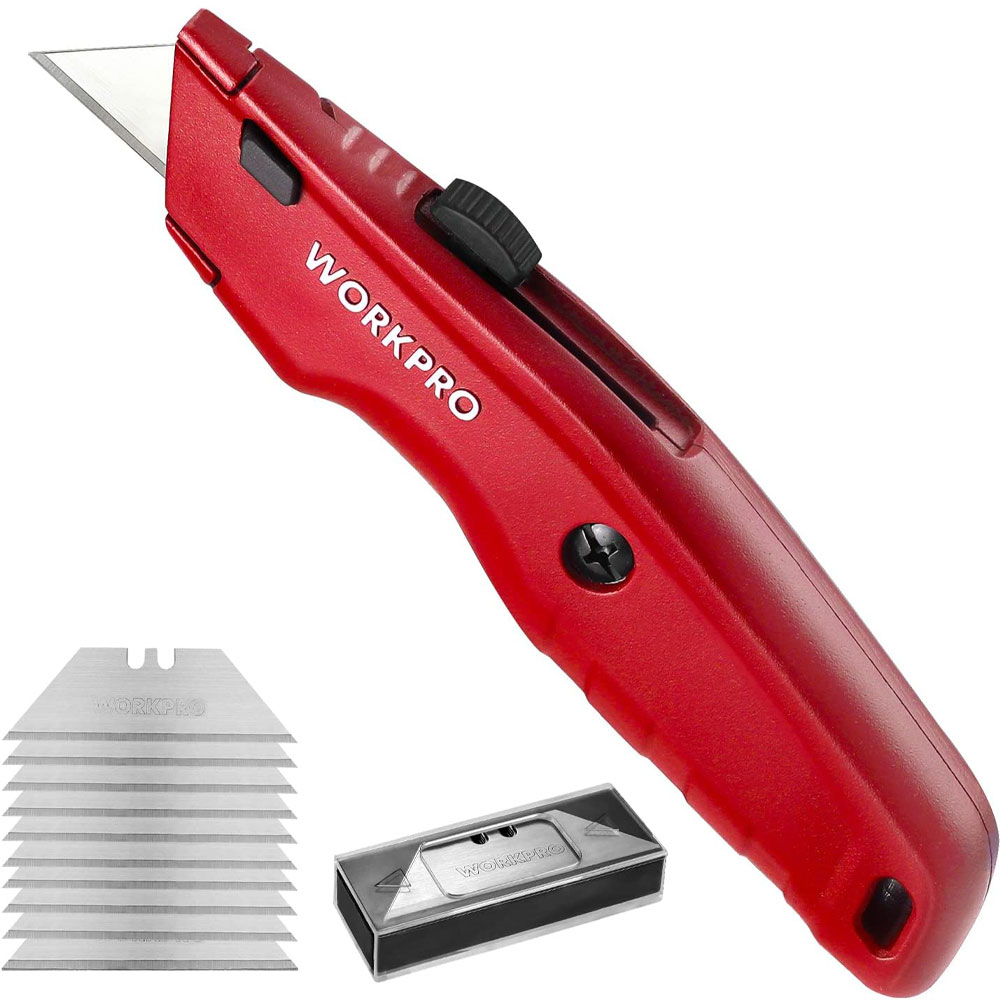
A good quality utility knife is a non-negotiable item in any DIYer's toolkit and this one is highly recommended. It is easy to use and comes with an additional 10 blades, all of which are super sharp for quick, efficient working.
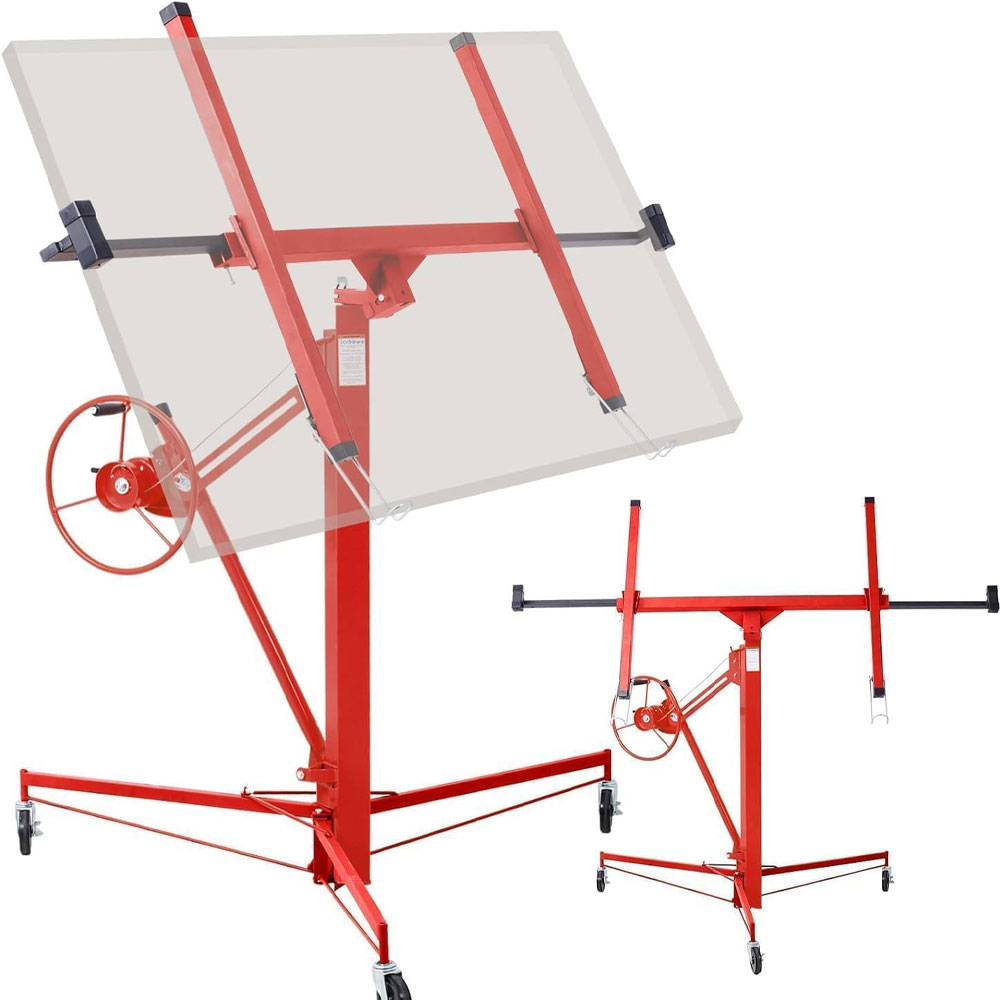
Hanging drywall usually means roping in a helper, but this drywall lift makes it possible to carry out the job solo. It extends up to 11 ft to make drywalling ceilings easier. It is also reassuringly sturdy and simple to adjust, too.
2. Not leaving an expansion gap

The next error DIYers often make, according to Brandon Walker, is to fail to leave enough of a gap around the edge of the drywall sheets and the wall.
'For full sheets, make sure to leave half an inch gap between the floor, or sill plate, and the start of the drywall,' explains Brandon. 'This is an expansion gap that the structure will need for thermal difference in the seasons in order to accommodate expansion and contraction, and it will allow for your flooring to float and do the same.
'If there is no gap at the floor, then the flooring will be abutting against it, and this will result in bowing, buckling or worse with the flooring as it expands and contracts with the seasons,' warns Brandon.
The message? Don't let this mistake ruin your wooden flooring ideas.
3. Failing to check your measurements
While the job of measuring and cutting whole sheets of drywall to fit your wall is usually pretty straightforward, pre-cutting openings to fit over or around sockets, switches and other electrical outlets can be a little trickier to get right, especially if you don't know how to read a tape measure properly.
One of the biggest mistakes seen by Alfie Burrows, director at AB Drylining, is fixing the sheets to the wall before double checking these openings are in the correct place.
'A common mistake people make is screwing the drywall to the framing before checking the openings for plug sockets, ultimately causing the drywall to break,' explains Alfie. 'Patching this up can be pretty challenging and time-consuming. Even if you make careful measurements, it is important to check the fit before you screw the drywall into the frame.
'Ideally, the drywall should slide easily over sockets,' continues Alfie. 'If the fit is tight, fasten the drywall with a couple of screws along the top edge of the sheet and use a Stanley knife to trim any excess along the edges of the socket. Stanley knives are perfect for this task due to the precision and control they provide.'
INTERNET'S BEST Premium Utility Knife Set from Amazon is a brilliant buy, including two knives and five replacement blades.
4. Choosing the wrong drywall
It is so important to choose the correct drywall for your needs – failure to do so could result in disaster. It's one of the things construction pros always notice about terrible bathroom remodels as incorrect drywall choices can lead to leaks and mold.
'The correct drywall depends on the project that is being done,' explains Brandon Walker. 'If the project is a bathroom, then you will need a completely different kind of drywall or sheet rock than you would in a hallway. If you are trying to build a boathouse, then it would be entirely different drywall than if you were building a sunroom in the southwest. Application dictates the materials needed in most respects.'
Try cement board such as Durock Cement Backer board available at Lowe's.
'Selecting the proper drywall is very important,' agrees Yaeir Moinzadeh. 'It is recommended to use a the thickness of 1/2 inch for walls and 5/8 inch for ceilings. Fire-resistant drywall is required in garages and places near sources of heat.'
In bathrooms, or areas of high moisture and humidity, extra care needs to go into selecting the correct materials for the job if you don't want to find yourself looking into how to get rid of bathroom ceiling mold any time soon.
'When it comes to hanging drywall in your bathroom or kitchen, it is wise to use moisture-resistant sheets like green board or purple drywall,' says Alfie Burrows. 'This will protect your space from every drip and splash, reducing the risk of mold and mildew.'
It is also important to take into account the proportions of your room when choosing drywall. The way in which your joists are spaced will play a big part in the size of sheets that will be best.
'You need to think about the spacing between the joists, which is generally either 400mm (16") or 600mm (23.6"),' explains Aflie Burrows. 'For 400mm spaced studs, 9.5mm (0.37") plasterboard is commonly used, whereas 12.5mm (1/2") is the standard for 600mm spacing. However, if you are looking for enhanced fire resistance or sound insulation, it makes sense to choose a thicker 15mm (0.69") board.'
5. Missing the joists when screwing in boards
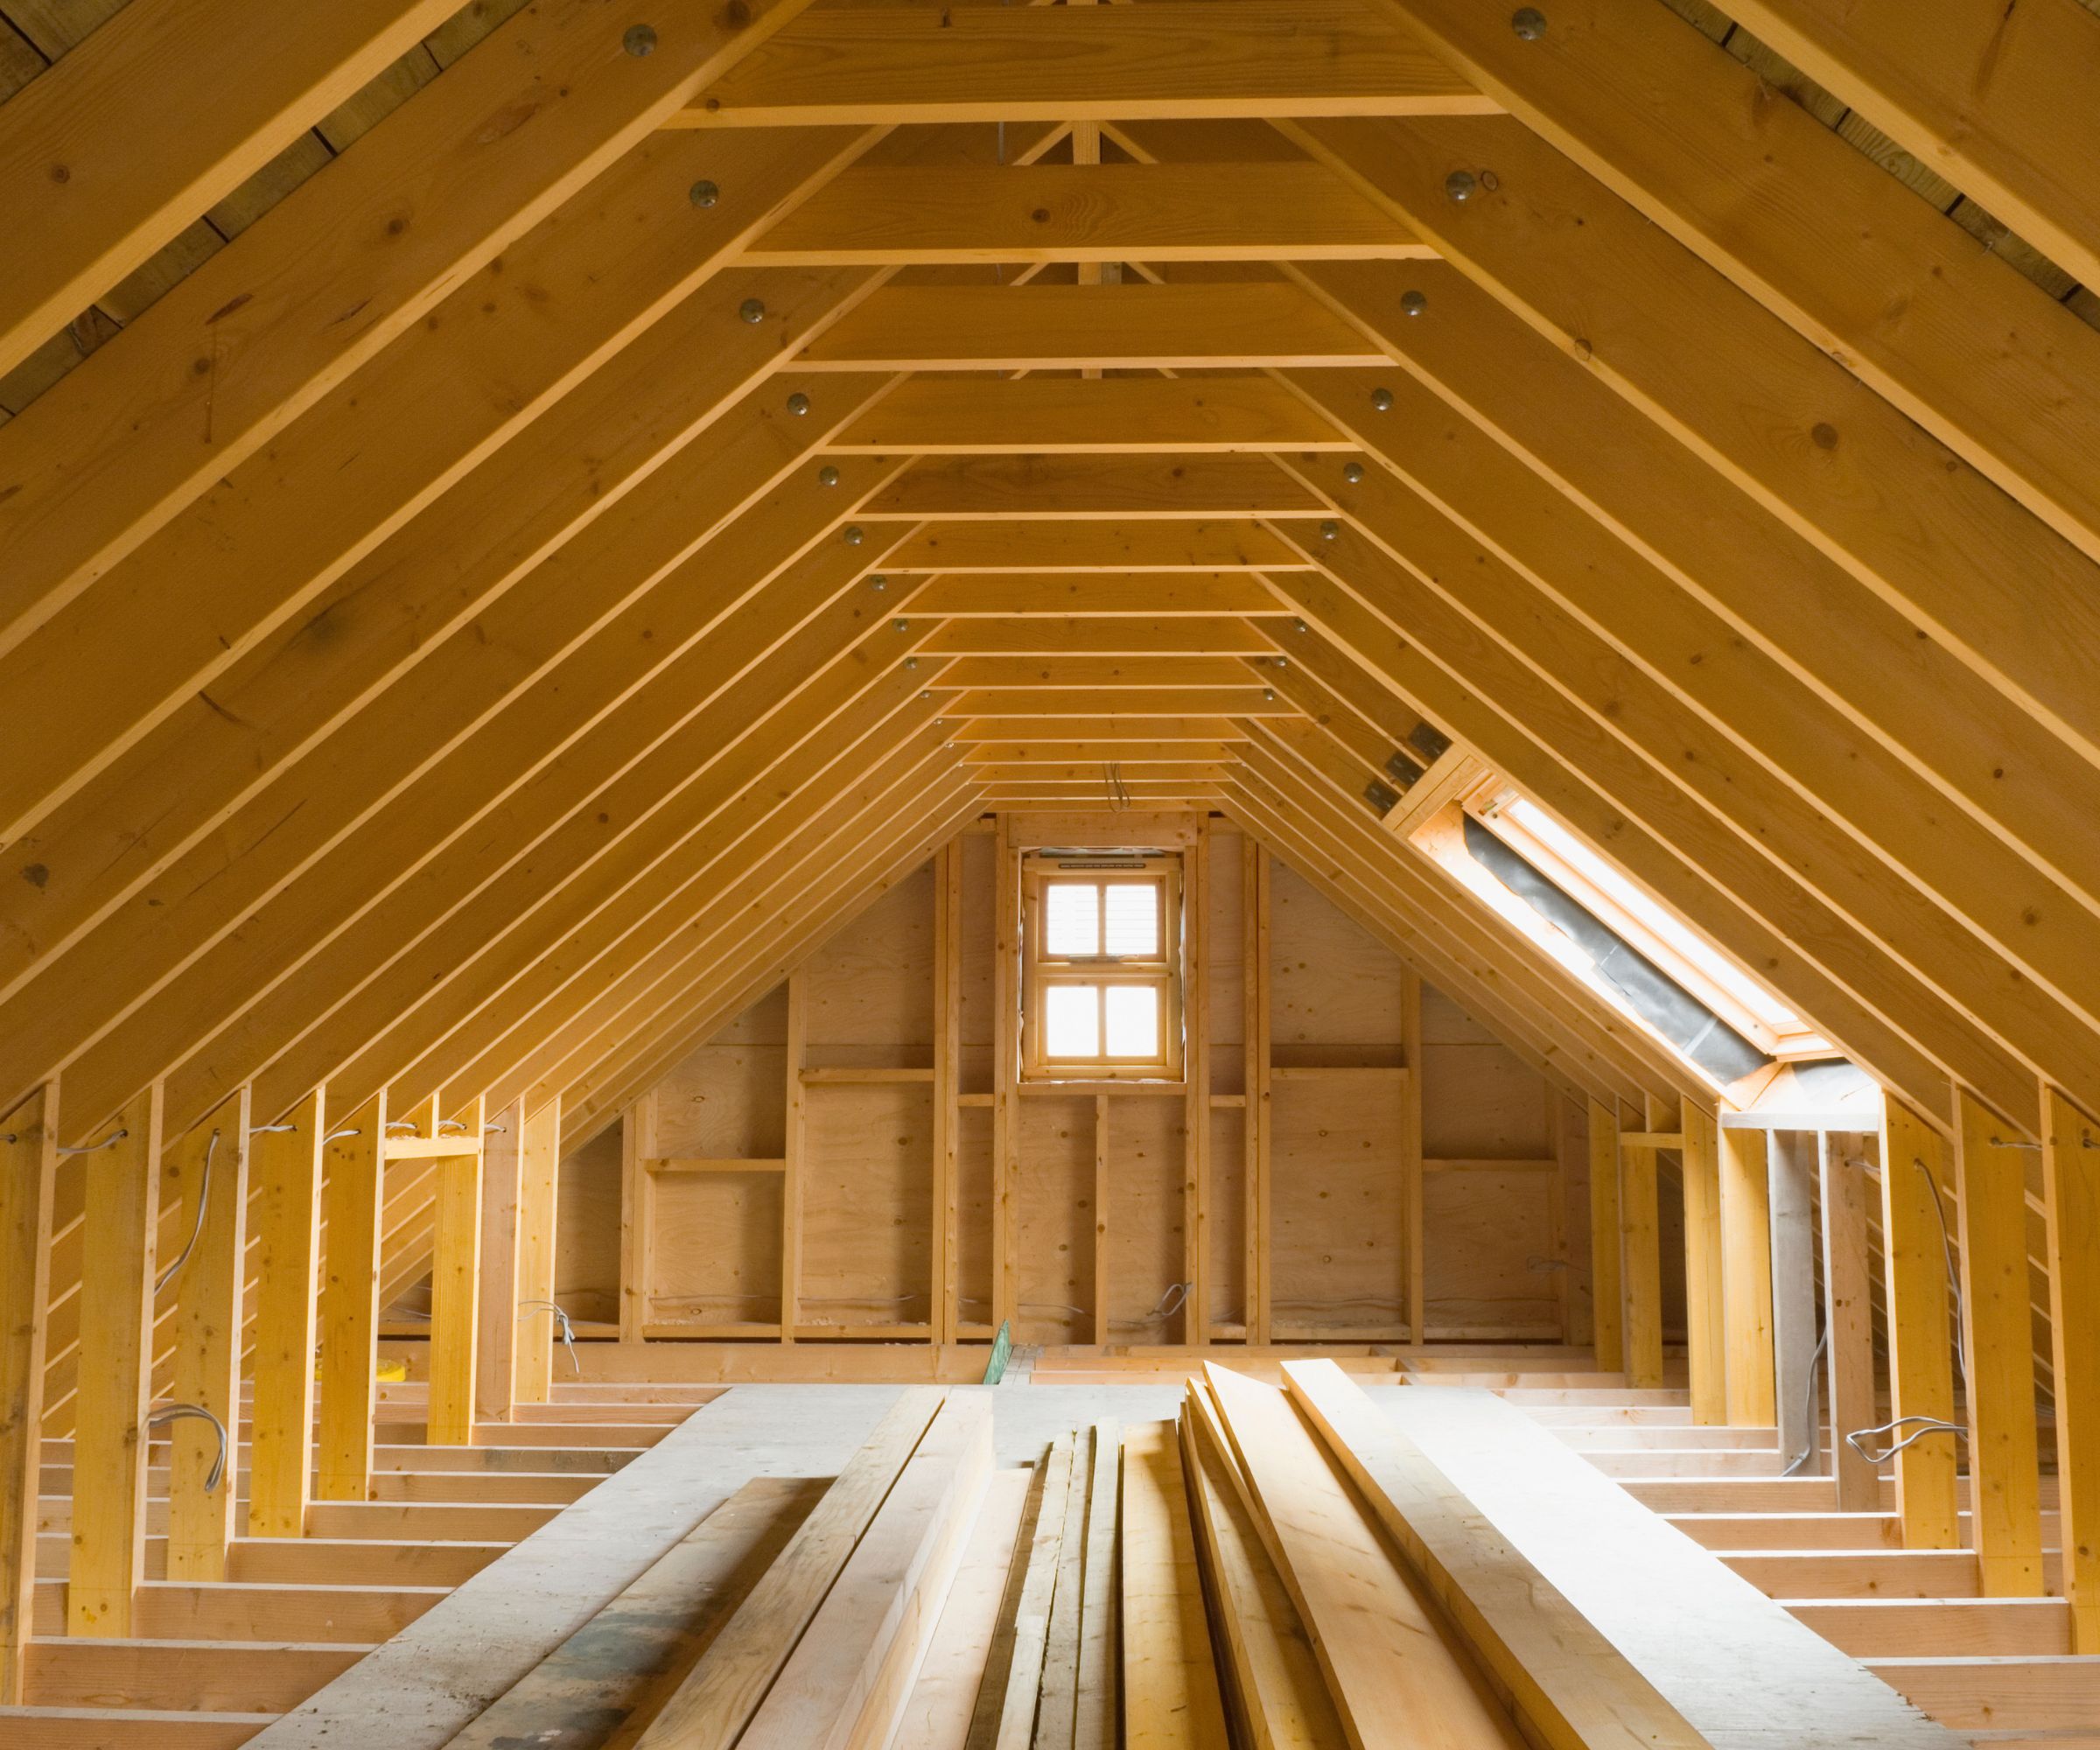
When fixing drywall sheets to the walls you need something to screw them into – most commonly the studs (or joists).
'Finding studs is usually fairly easy and can be done with a stud finder, which is essentially an ultrasound machine made specifically for finding wood beneath drywall,' reassures Brandon Walker.
'If you don’t have one of these, then you can use a golf ball or any other resonator to tap on the wall and notice when the sound changes. Once you hear a thicker noise as the ball bounces, then you can be pretty sure a stud is behind that part of the drywall.'
A good stud finder will also come in handy when it comes to how to secure furniture to a wall.

Take the guesswork out of finding your wall studs with this handy electronic tool. Not only can it locate studs, it will also pick up pipes and live AC wire behind walls, floors and ceilings which means you can carry out a range of DIY jobs without drilling into anything vital.
6. Underestimating how long hanging drywall takes
You need to be realistic about how long any kind of DIY job is going to take, but in the case of those that can be particularly disruptive or messy it is more important than ever – especially if you are struggling to know how to finish your home DIY projects.
'Most of the time, people usually underestimate just how long it's going to take to get the job done,' says Yaeir Moinzadeh. 'A typical room takes 2-3 days to get the hanging and finishing job completed.'
'The time it takes to do a job will depend on the skills of the person doing the job, as well as the size of the project to begin with,' points out Brandon Walker. 'If you are trying to renovate an entire home, then that is a big drywall project and it will take longer than simply doing a patch for someone who punched through a wall.'
FAQs
How much does drywall cost?
How much should you budget for home renovations? In order to plan your finances properly, before setting out on any DIY task, you should have a clear idea of how much it costs. So what can you expect to spend to buy and fit drywall?
'The cost for a drywall project will depend on the amount of drywall that needs to be installed and the complexity of the project at hand,' explains Brandon Walker. 'A curved wall, for example, will cost more than a straight and flat one. Getting a wall flat that isn’t already will cost more than one that is already good to go,' continues Brandon. 'Patches will always be cheaper than full sheets, but since they require a different skill set then they may be more than you expected to pay too.'
'Estimate at about $1.50 - $3.00 per square foot for materials,' advises Yaeir Moinzadeh. In the UK, the average cost of materials to drywall the average size room comes to £275, according to Checkatrade.
Meet our experts

Yaeir Moinzadeh is an MHIC licensed contractor and the owner of Blue Rise Baltimore Roofing, who offer residential and commercial roofing services.

Brandon Walker has been in the painting and construction industry for more than 20 years. After running his own company, he decided to advance his skills as a Superintendent with ASAP Restoration. Brandon cut his teeth as a teenage painter working for Walker Paint Masters doing commercial projects for Planet Hollywood and Elizabeth Arden’s Red Door Spa among others.

Alfie Burrows, director of AB Drylining, has nearly two decades of experience in the residential and commercial sector across a range of services, including dry lining, plastering, partitioning and rendering. His commitment to staying up-to-date with the latest industry trends and techniques reflects his dedication to maintaining the company's status as a trusted name in the industry.
If you feel you are now ready to start the job of drywalling your home, be sure to look into how to clean drywall dust up properly to keep your working area spick-and-span and avoid damaging your vacuum in the clean-up.

Natasha has been writing about everything homes and interiors related for over 20 years and, in that time, has covered absolutely everything, from knocking down walls and digging up old floors to the latest kitchen and bathroom trends. As well as carrying out the role of Associate Content Editor for Homebuilding & Renovating for many years, she has completely renovated several old houses of her own on a DIY basis.