5 exterior DIY projects that can enhance your home – and you save money
An exterior DIY project can save you some hard-earned dollars. Here, we reveal 5 projects that make your home and outside space a better place without spending big
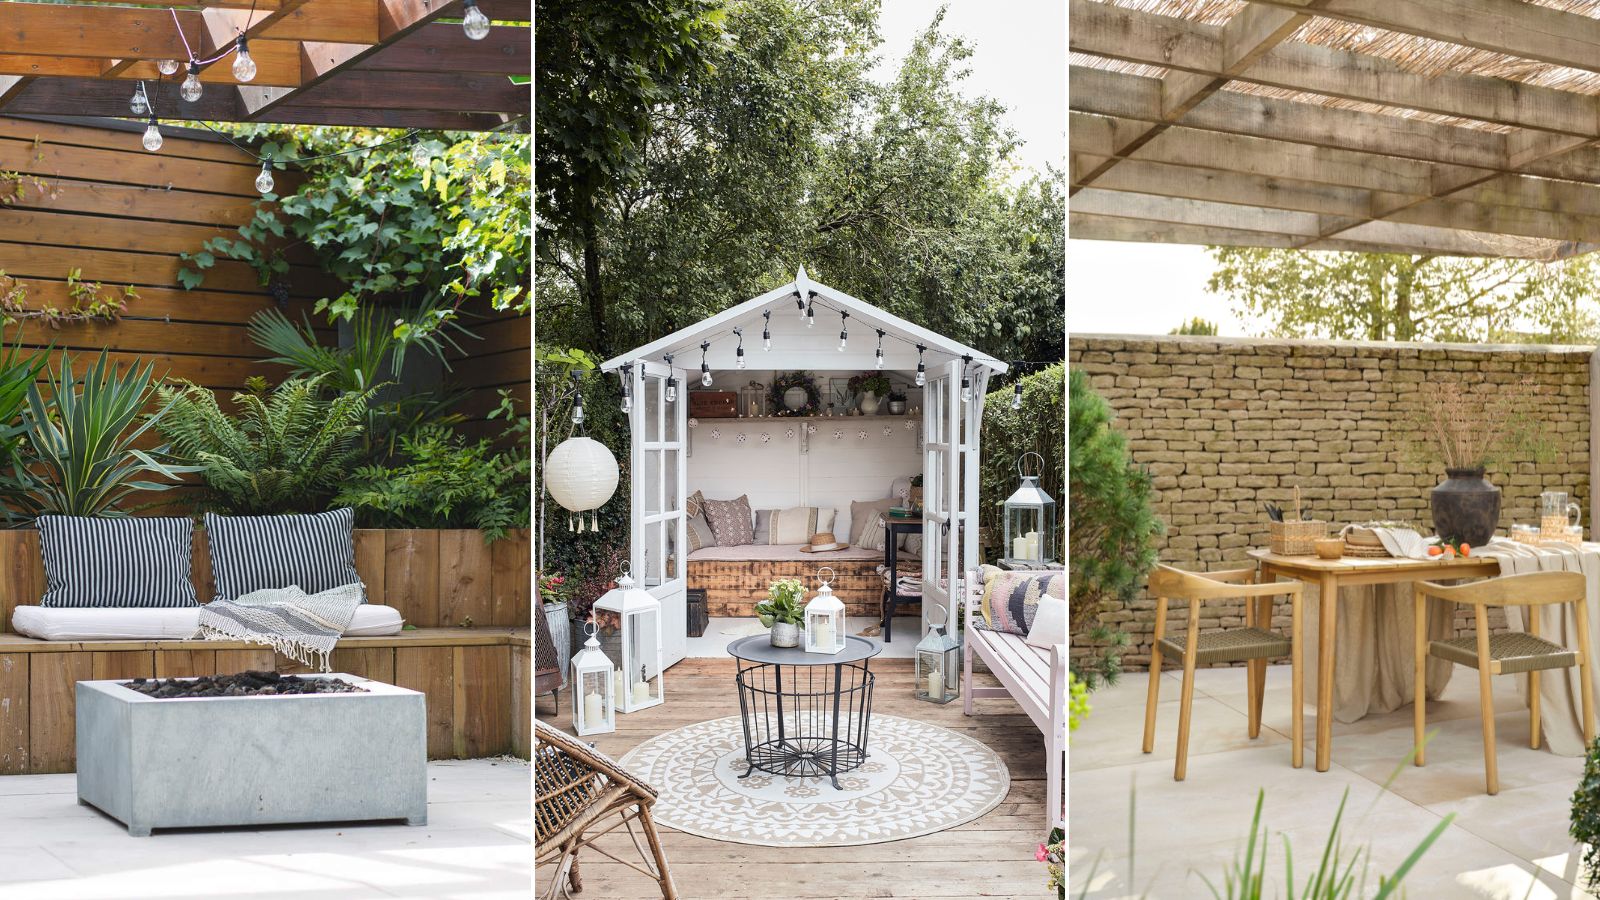

Taking on an exterior DIY project means you can transform your home's curb appeal, add value, and make it a better space for you to enjoy without breaking the bank. If you’ve got the skills and like a challenge, tackling a project yourself is one way to save big on labor costs.
In this article we explore five practical projects that won’t stretch DIY skills too far, or your budget. But they will give you some smart solutions that will enhance your home and provide a better way to spend your precious time.
Dive in and discover what you can do on a weekend, how you can add value to your home and turn your yard into an outdoor haven.
1. Freshen up your windows and doors
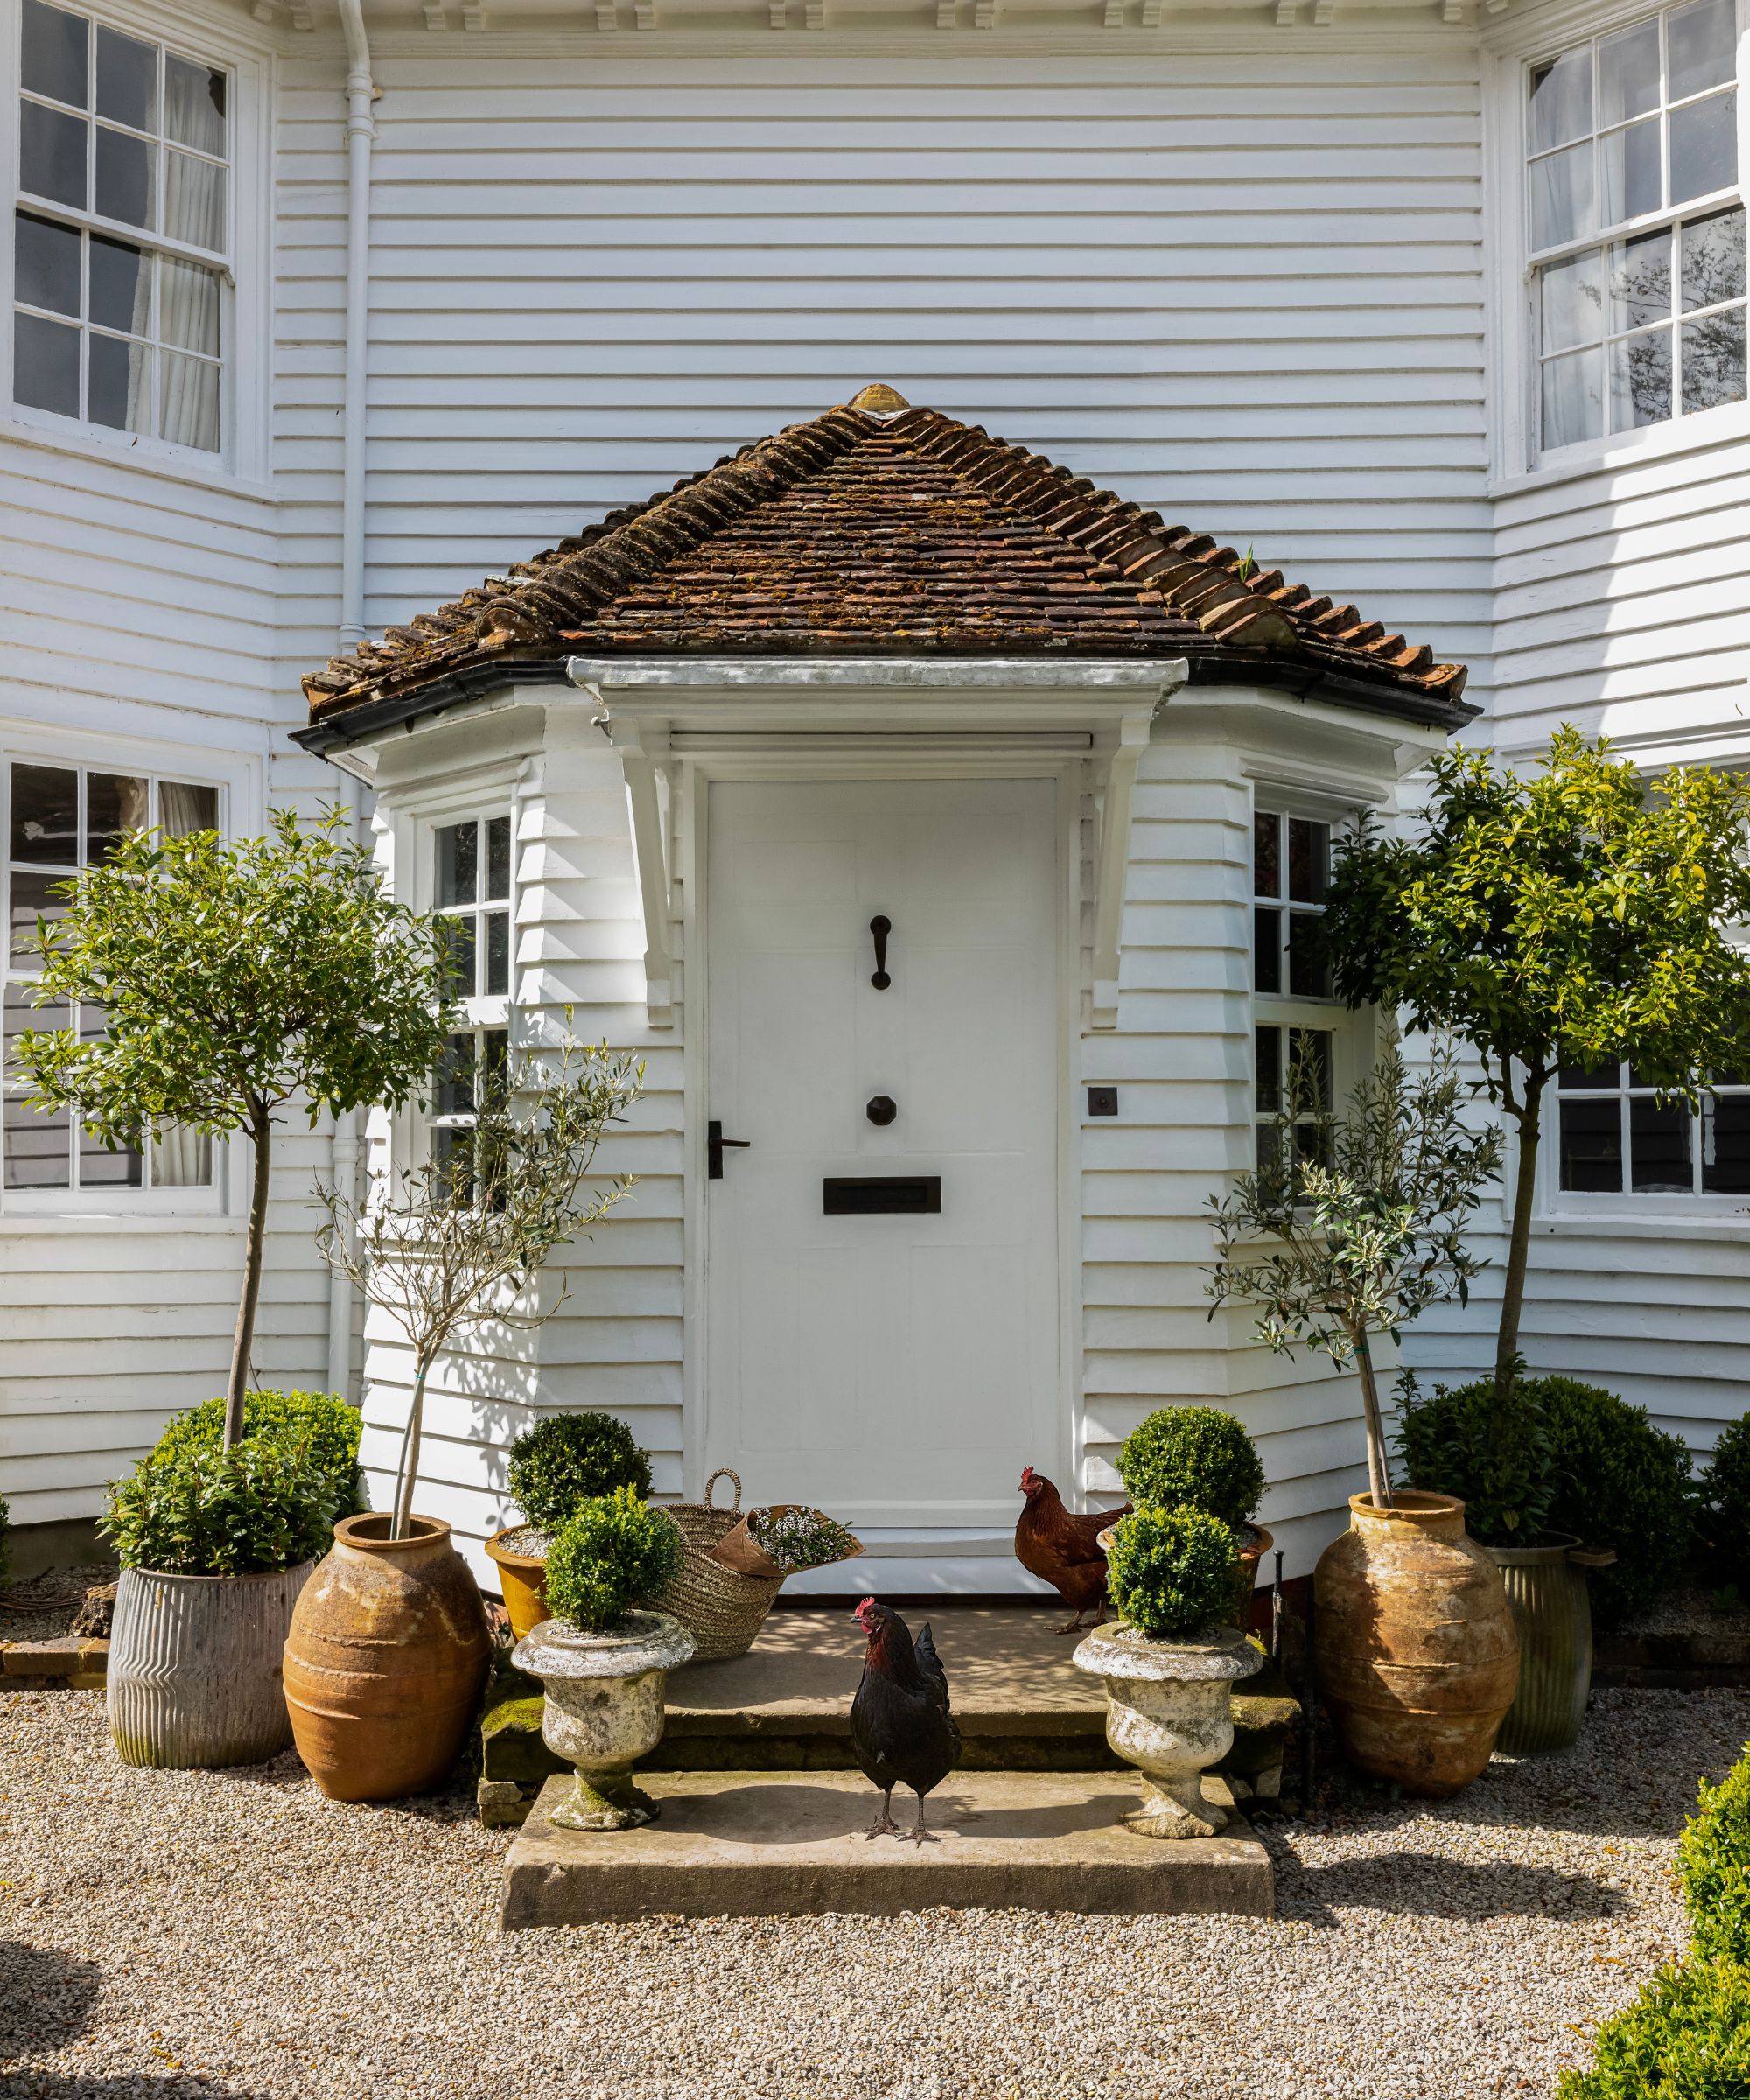
Adding a fresh coat of paint to windows and doors will not only make them look good but will offer some much needed protection against the weather. You can refresh with the same color or pick an on trend color to add a more contemporary feel and increase the curb appeal of the outside of your home.
But make sure to spend time doing any preparation well. Slack off on the preparation process and your doors and windows will soon lose that sparkle a fresh coat of paint adds. And you’ll be repainting much sooner than if done properly.
Before you start painting make sure to check any sealant around the doors and windows. If needed replace with a suitable sealant like this GE Advanced Silicone Caulk for Window & Door from Amazon. Use a suitable exterior primer and paint like Dunn Edwards EZ-Prime for bare wood and Behr Ultra Exterior paint for most types of finishes to help ensure that you get a durable hard-wearing finish.
2. Smarten up your decking
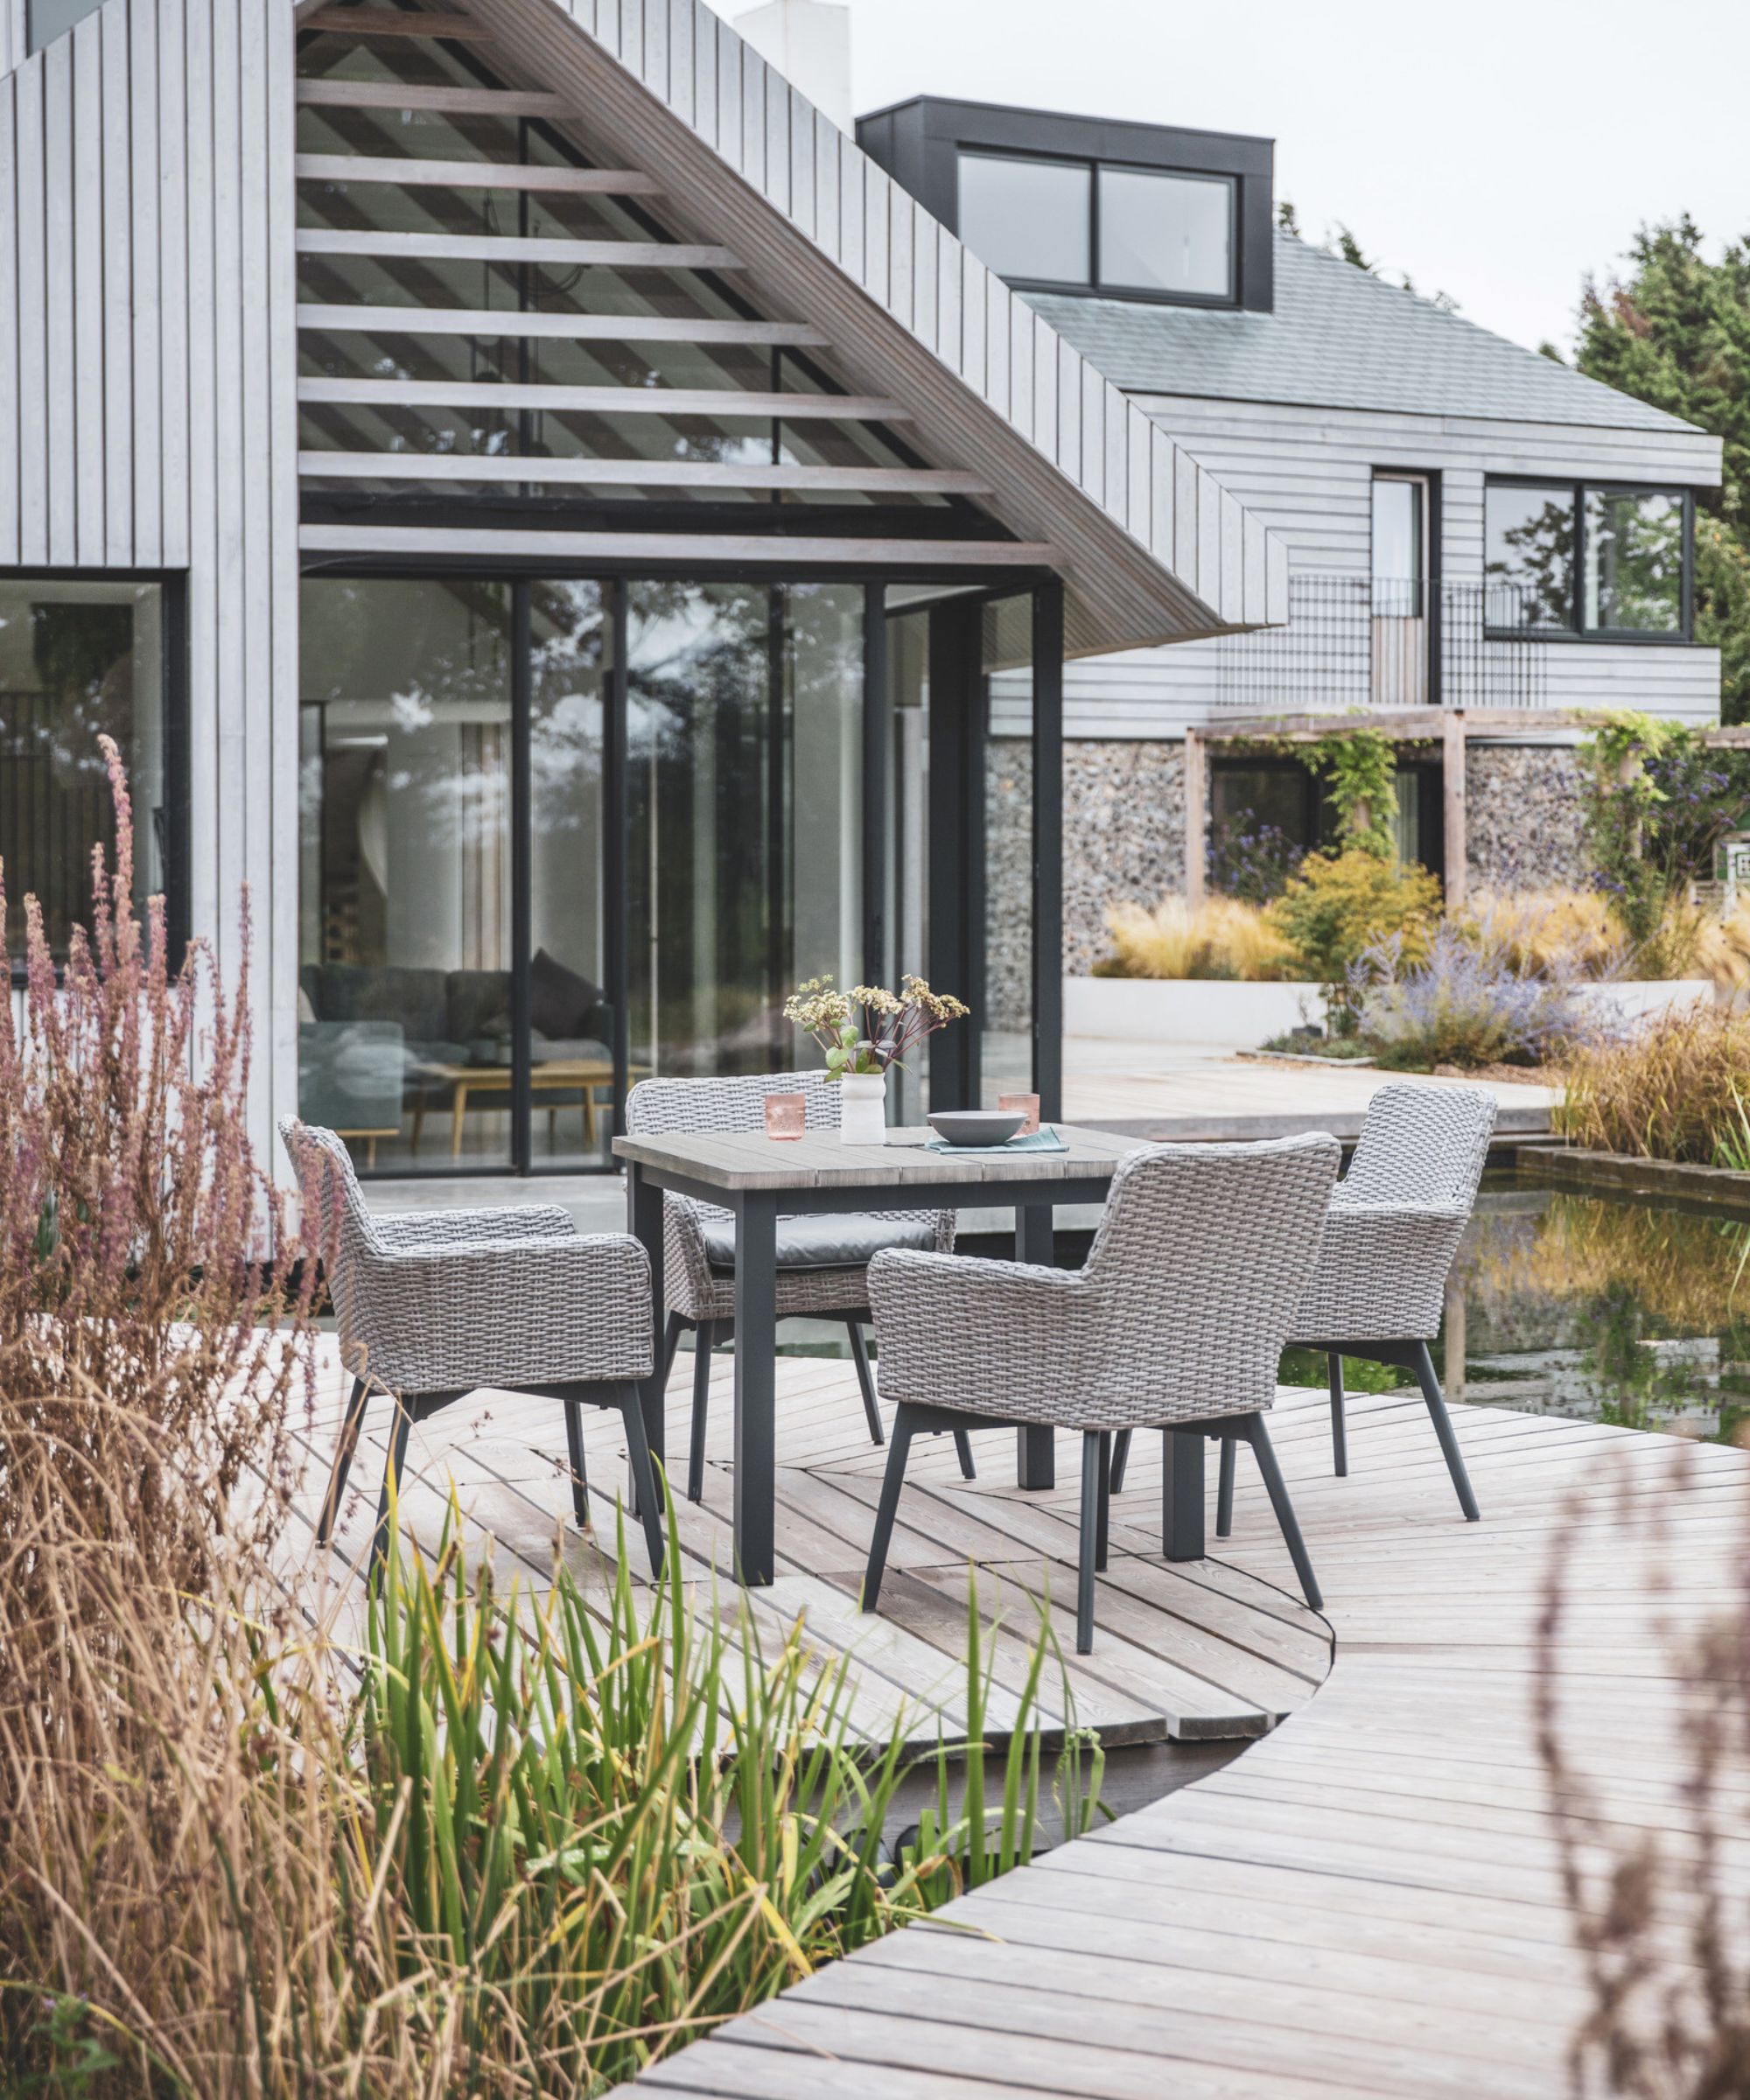
Decking is constantly exposed to the wind, rain, sun and will see a lot of footfall all-year round. This will take a toll on its appearance so you need to maintain it throughout the year to keep it looking good and help ensure its longevity.
The first step is to clean your decking regularly. Make sure to invest in a cleaner that is suitable for your type of decking - wood, composite. Use a stiff brush to remove any dirt, mold and mildew, and wash down with clean water. Alternatively, use a pressure washer to clean your decking, just make sure not to apply too much as this can damage the decking.
With a clean, dry deck in place, you can decide if it needs a coat of paint or stain to spruce it up. Invest in a suitable stain or deck/patio pain like KILZ Low-Lustre Enamel Porch & Patio Latex Floor Paint from Amazon, prepare the surface, apply the paint, leave to dry and enjoy your smart looking deck.
3. Build a vertical garden
If you have a small yard or simply want to add interest to your outdoor space then a vertical garden is a smart option. There’s lots of choices, are you going to DIY it? Or cheat a little and go for a freestanding or a hanging planter? Investing in a hanging planter like this Hanging Planting Grow Bags from Amazon is a quick and easy option and they aren’t expensive.
But, if you want something more bespoke and still cost-effective, you can build your own vertical garden with wooden pallets, timber, or metal trellis. Try Craigslist or Facebook Marketplace to see if you can get inexpensive or even free materials to build your vertical garden with. Consider where you want to place it, on the outside of your home or against a wall or fence are the sensible options. Then attach it to a surface with suitable-sized screws.
What are you going to grow? If you want to save a few dollars on your food bills a vertical garden is ideal for herbs, salad items like lettuce, spinach, and vine tomatoes and fruit like strawberries. Not only will they taste good, but they will bring a riot of color to your yard.
4. Upgrade your gutters
Whether you like it or not, your gutters are not self-cleaning; they need to be cleaned at the very least once a year to ensure that dirt and debris are not clogging them up. Leave your gutters to accumulate with natural waste and they will start overflowing and leaking. This can lead to water damage outside of your home.
The simple solution is to get up a ladder or platform and clean them out by hand. Or if you don’t like heights you can invest in a telescopic gutter cleaning wand like this Gutter Cleaning Tool from Amazon. These extend to around 12 feet and use a high-pressure jet to blast out any debris.
To help stop debris accumulating in your gutters and save time and money on regular maintenance think about installing gutter guards like this A-M Gutter Guard from Amazon.
5. Construct a fire pit

If you love sitting outside in the evenings, adding a fire pit is a smart addition to your yard. It will be a low-cost addition that you can fire up when the temperature drops and spend even more time outside.
It's not a difficult project for any enthusiastic DIYer, and you get to choose what materials you want to use and what sort of design sits well in your yard. First pick a safe location away from anything that’s flammable. Definitely don’t build it too close to a wooden fence.
A clear, flat area is a good choice. Then mark out the size and shape - rectangle, circle, square, whatever fits in your space, though a circle is easier to construct. Make it around 3-4 feet in diameter, make it too big and you won't appreciate the heat as much, keep it cozy.
In the middle dig a 6-12 inch deep pit and line with a layer of gravel. Now lay the first layer of fire-friendly bricks using fire retardant mortar, take your time to get it right - make sure it's level. Then add your additional layers until it's 18-24 inches high. Light it up and enjoy, and if you're feeling hungry whack a wire tray across the top and BBQ some ribs.
If you’re tackling any of these exterior DIY projects, you want to check our Outdoor lighting checklist, 5 steps to the perfect outdoor kitchen, and How to grow spinach guides to add a little extra to enhance your hard work.
Sign up to the Homes & Gardens newsletter
Design expertise in your inbox – from inspiring decorating ideas and beautiful celebrity homes to practical gardening advice and shopping round-ups.

Steve has been a homes writer and editor for two decades, regularly contributing to brands like Homebuilding & Renovating Magazine. He is an avid DIYer with over 20 years of experience transforming and renovating homes. He specializes in painting and decorating but has strong all-around building skills, having worked in the industry for ten years.
-
 What is an estate sale? Everything you need to know about how they work and what to expect, whether you are holding one yourself or shopping second-hand gems
It pays to know exactly what you are getting into when shopping at estate sales
By Ciéra Cree
-
 How to grow lady's mantle – for a shade-tolerant ground cover plant that will thrive in challenging borders
With lush green foliage and luminous lime flowers, lady's mantle can add color and impact
By Thomas Rutter
-
 7 expert-approved painting hacks to minimize clean up – to make an already exhausting task easier
Avoid a backbreaking clean-up after your next painting project with advice from the professionals
By Chiana Dickson
-
 5 beautiful and impactful home improvement projects you can DIY this weekend for under $200 – you don't have to spend big to make a statement
From painting your fireplace to redecorating your door, little changes can transform and refresh your space
By Ottilie Blackhall
-
 How to paint over stained wood – 6 simple steps expert painters swear by for even, lasting finishes
Skipping even one step will result in chipping paint, experts warn
By Natasha Brinsmead
-
 Can you put wallpaper on textured walls? Experts reveal it is indeed possible with this vital step
Prep, prep and prep some more for wallpapering success
By Sophie Warren-Smith
-
 8 helpful ways to re-purpose old pillows – from making handy garden kneelers and draft excluders, to cozy pet beds
Sustainability experts say these bulky items don't have to go to waste
By Sophie Warren-Smith
-
 7 practical things you can do with leftover paint around your home including protecting outdoor furniture, tinting cement and creating touch-up kits
Pro tips to make the most of those extra supplies
By Andy van Terheyden
-
 Construction pros reveal the 6 mistakes to avoid when hanging drywall for perfect walls and ceilings
They see these all the time
By Natasha Brinsmead
-
 Why is my wall paint bubbling? Decorators reveal why it happens and how you can fix it
Bubbles look unsightly and might indicate a more serious problem
By Ottilie Blackhall