
- 1. Not checking where you’re drilling
- 2. Over-reaching
- 3. Using the wrong drill
- 4. Unwanted tear out on wood
- 5. Not drilling pilot holes
- 6. Wrong drill speed
- 7. Dull drill bits
- 8. Wrong drill bit
- 9. Drilling too deep
- 10. Breaking thin drill bits
- 11. Buying cheap drill bits
- 12. Not using a countersink
- 13. Not securing loose wood
- 14. Not replacing screwdriver bits regularly

The humble drill is a key staple of many a DIY project but there are many drilling mistakes that can make new users lose confidence or hinder a task.
It's likely a drill was among the first of your DIY tools and no wonder. It’s multi-functional and can drill holes through wood, plastic, metal, masonry and concrete, making it the perfect companion for novice and seasoned DIY-ers alike.
But whilst it's a king among DIY tools, our home pros share how the 14 drilling mistakes to avoid, how to use your kit properly, and how to get the best drilling results for your project – and stay safe.
The 14 most common drilling mistakes DIY-ers make
It may seem simple to fire up a drill, start drilling holes and driving in screws. Admittedly, as a DIY enthusiast myself, it isn’t difficult if you know what you're doing. Take note of these essential drilling DIY mistakes to steer clear of to ensure a great end product.
1. Not checking where you’re drilling

Neatly aligned art on the wall means care was taken when mounting
When drilling, you need to check what lies under the surface. If you don't know what lies behind a wall, under the floor or above a ceiling you could be heading for trouble as it could result in drilling through a utility pipe or wiring.
Brandon Walker, Construction Manager at ASAP Restoration says, ‘Make sure the spot you’ll be putting a hole into is safe for you to do so first.' Why? Because you could be drilling into electrical cords, plumbing or sewage lines, or anything else that will be hard to replace and could cause a mess inside your walls.
Walker says, ‘Use a stud sensor (such as the Franklin Sensors ProSensor 710+ Stud Finder from Amazon). This will tell you where the studs are in a wall if you need to drill into it.’
Alternatively, a 5-in-1 tool such as this Tyrry one from Amazon will allow you to identify metal and electrics too.
Walker adds, ‘Drilling into studs is usually safer because if there are water pipes running behind it, then you are likely going to hit an embedded nail plate that will prevent you from causing too much damage.’
2. Over-reaching on a ladder

When drilling above head height or into a ceiling I recommend that you use a step ladder or platform, like this Cosco Max Steel Work Platform from Amazon, to ensure you have a sturdy base and a place to put a drill.
Make sure that you are directly, or almost directly in line with the drill hole. Don’t overreach because you’ll get a poor drill hole, could drop the drill and break it, or fall off and injure yourself.
3. Using the wrong drill
A standard combination drill is the popular choice for most DIY tasks. It's multi-functional and can tackle a lot of home projects. But make sure you get your hands on a good one.
I do a lot of DIY at home and worked on a home renovation magazine, speaking to experts year-round and I recommend the BLACK+DECKER Corded Drill from Amazon, if looking for an occasional use drill. But, if you do a lot of DIY projects a more robust drill such as the DEWALT Electric Drill, also from Amazon is a better choice.
For heavy duty DIY tasks you’ll need a different drill type. If drilling through steel, brick, masonry, or concrete you will need an SDS drill. Or, if you are putting in a lot of screws i.e. when building a deck, then use an impact driver such as the 18V ONE+ HP Compact Brushless 1/4" Hex Impact Driver.
4. Causing unwanted tear out on wood

When drilling through wood, a drill bit can rip out large bits of wood at the front or back (though commonly the back) of a drill hole. This is something you want to avoid, especially if the material around the drill hole is going to be seen.
To avoid this drilling mistake, Walker says, ‘Apply a backer board of scrap wood to the back end of what you are drilling through to prevent tear out from having the leverage to make chips.’
One alternative option he adds is to, ‘Drill from both sides of the project hole to avoid having tear out on the back end.’ Walker shares another option, ‘Apply masking or painters’ tape, (I recommend this ScotchBlue Painter's Tape Original Multi-Surface Painter's Tape from Amazon), to the area that will be prone to tear out on the back end.’
He adds, ‘Start the drill before touching it to the wood. This helps to prevent tear out because the drill is already completely up to speed and doesn’t suffer from a lack of torque when making contact.’ His final tip is to, ‘Use the right drill bit. Typically, for the smallest amount of tear out you would want to use something like a brad bit such as these Dremel 631 Brad Point Bits from Amazon.’
5. Not drilling pilot holes

A lovely bedroom with brilliant drill work, showcasing wall sculptures, art and curtain rails
Not drilling pilot holes is a common mistake that a lot of DIYers make, and knowing how to do so correctly is a skill every DIYer should know.
Drilling a pilot hole can save time and reduce mistakes in a project. Walker explains why a pilot hole makes sense, ‘If you need to make a half inch hole through something, you don’t want to just start with the half inch bit and go to town.’
He suggests a more productive option, ‘The better method is to get a much smaller bit, on the other side of the bit set and drill yourself a pilot hole to get things started because this little hole will give the cutting edge and bit point of the larger bit a place to guide into. This method also helps out a lot in preventing tear out on the top end with larger bits.’
6. Using the wrong drill speed

A lot of DIYers will simply go all out and pull the drill trigger down for maximum speed. While this works for some jobs it doesn’t work for all.
Timothy Wood, Founder and CEO of Fix It Today explains, ‘Most of the wood you'll likely be working with around the house would be soft, at least in drilling standards. So, when working with materials on the softer side, it's best to use higher drill speeds.’
However, different woods need a different approach he adds, ‘Use slower drill speeds for hard and dense hardwoods, which is a less likely material for most DIYers to tackle. If you use a slow drill speed on soft wood, it will most likely result in a rough hole.’
7. Working with dull drill bits

Drill bits don’t last forever and will eventually dull and need replacing. However, it's not always easy to know when they need replacing. If used regularly a general guideline would be to replace every year.
But a better guide is to note the quality of the drill hole, if you’re hanging floating shelves for example. Typically the drill hole won’t be as good as it used to be, giving a less secure fix, and it takes longer to drill.
Walker points out, ‘Dull drill bits can cause tear outs in the wood and they put more strain on the drill itself which will shorten its lifespan over time.’
8. Not using the right bit

Beautiful drilled and placed floating shelves in this stylish nook
Walker explains that, ‘Not all drill bits are equal, and not all drill bits do the same job.’ He continues, ‘Some are meant specifically for getting through wood fast, others are meant for wood but will be gentle for the whole cut. Other bits are meant for metal and others still are designed for punching into concrete.’
So when buying drill bits make sure that you are getting the right bit. If drilling wood, get a wood bit, if drilling into masonry, get masonry bits such as the DeWalt DT6952-QZ Drill Driver Bits from Amazon.
Note that the drill tips are different to wood drill bits. It's an easy mistake to make as a novice DIY enthusiast excited about a chic DIY weekend project. It's one I made many years ago, and I can promise you trying to drill wood with a masonry bit as it doesn’t end well, causing a mess.
‘Then there are impact bits and regular bits, and you wouldn’t want to use one when you need the other,’ explains Walker. He offers some simple but smart advice, ‘Know the material you’re working with, and choose bits that will be appropriate for the material as well as the project application.’
9. Drilling too deep
There will be cases when drilling that you need to drill to a certain depth, for example, when drilling holes into a wall for wall plugs, or dowels for your painted furniture ideas. Wood says, ‘This is very common,’ he adds, ‘And it can accidentally cause damage to other things beneath the surface being drilled.’
While the more experienced DIYer might easily estimate when to stop, even they are not immune from mistakes. Wood offers a simple tip to get it right every time, ‘One of the best ways to avoid this is to place some marker like a piece of tape on the drill bit so you always know when to stop.’
10. Breaking thin drill bits
When working with thin drill bits you need to be more careful, as they are more susceptible to breaking as Walker explains, ‘When thin bits get hot, they get weaker, and they stop driving forward into the wood.’ This is typically after prolonged use.
Walker reveals what you shouldn’t do, ‘Novice’s tend to think that this means they need to apply more pressure to the back end with the drill. But, ultimately this results in twisting and bending which can cause the bit to snap in half at its weakest point.’ Leave it to cool and go again.
11. Buying cheap drill bits
When working with drill bits you get what you pay for. It’s tempting to choose the cheapest available, but typically they simply won’t last as well, or even worse, not produce a decent drill hole.
Look for a quality brand such as DeWalt, Craftsman (this Craftsman Drill Bit Set from Amazon offers good quality drill bits), Milwaukee, Bosch or IRWIN. These will cost a little more, but they will be worth it in the long run.
12. Not using a countersink
If you’ve drilled a pilot hole it’s easy to just think your work is done and start drilling in a screw. This is OK if building a stud wall or screwing into a soft wood like pine as the screw head will compress the wood and lie flat with the wood. But, it can cause the wood to split, which doesn't look great.
Some DIY projects need a more subtle and clean finish for instance, when using harder wood in a project. This is when you need to use a countersink bit like you'll find in this IRWIN Black Oxide Countersink Drill Bit set from Amazon. Simply countersink your pilot hole to the right depth and add your screw. No splits here, just a neat finish.
13. Not securing loose wood
If you’ve got a large sheet of plywood, the latest in kitchen cabinet trends, or a long plank of wood you don’t want to make mistakes and end up with unwanted and wonky drill holes. The quick, easy, simple and pro solution is to secure the wood to a surface such as a work bench or table before you start drilling.
A couple of bar clamps like these Jorgensen Bar Clamps from Amazon are the ideal DIY companion, especially when you don't have a buddy to help. It will help hold your wood steady while you work.
14. Not replacing screwdriver bits regularly
Screwdriver bits can quickly get chewed up if working on a lot of DIY projects, and will need replacing regularly. If you’re not using a clean, good condition drill bit it can strip the thread of a screw head, meaning you can’t tighten or loosen when needed.
It makes perfect sense to replace regularly, and always make sure you have spares like this DEWALT Compact Magnetic Drive Guide Set from Amazon, as they cost very little.
Avoid the drilling mistakes above and you can try these 7 DIY projects that will elevate your home in 2024. But make sure you finish whatever project you take on. Try these motivational tips in our how to finish your home DIY projects guide to make it happen.

-
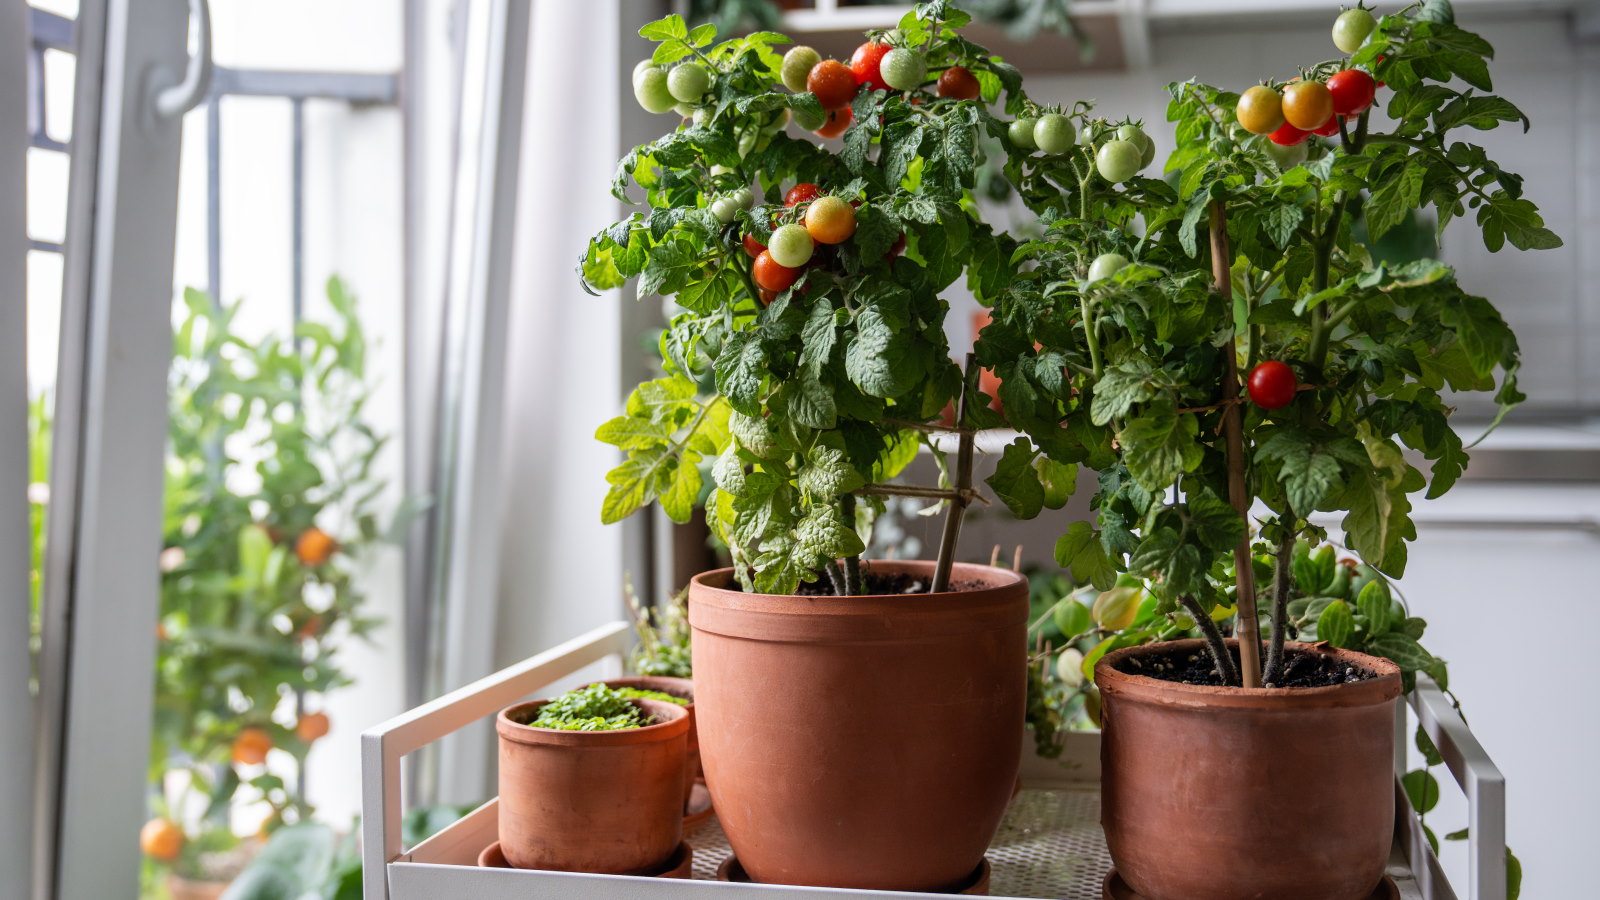 7 of the best tomatoes for growing in pots - expert growers pick their top varieties ideal for large harvests from containers
You can enjoy bumper homegrown harvests in small spaces
-
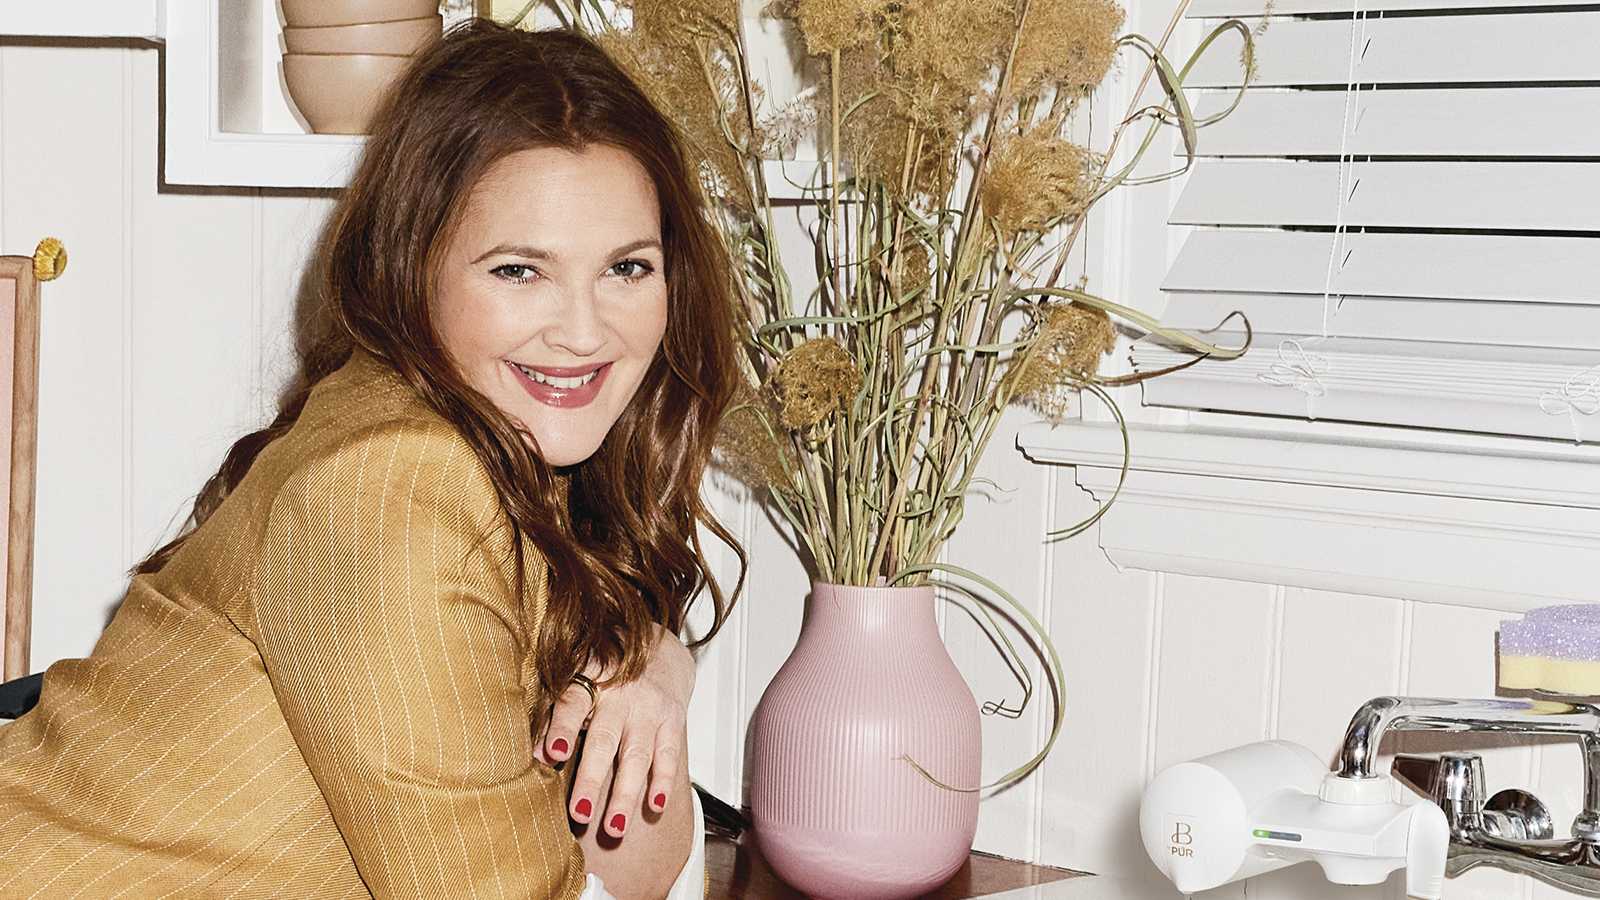 Drew Barrymore creates a 'balanced' kitchen in 4 easy steps – her rules will make your small, compact countertops feel beautiful
Drew proves that with the right styling (and chic appliances), you can make even the smallest of kitchens look harmonious


-
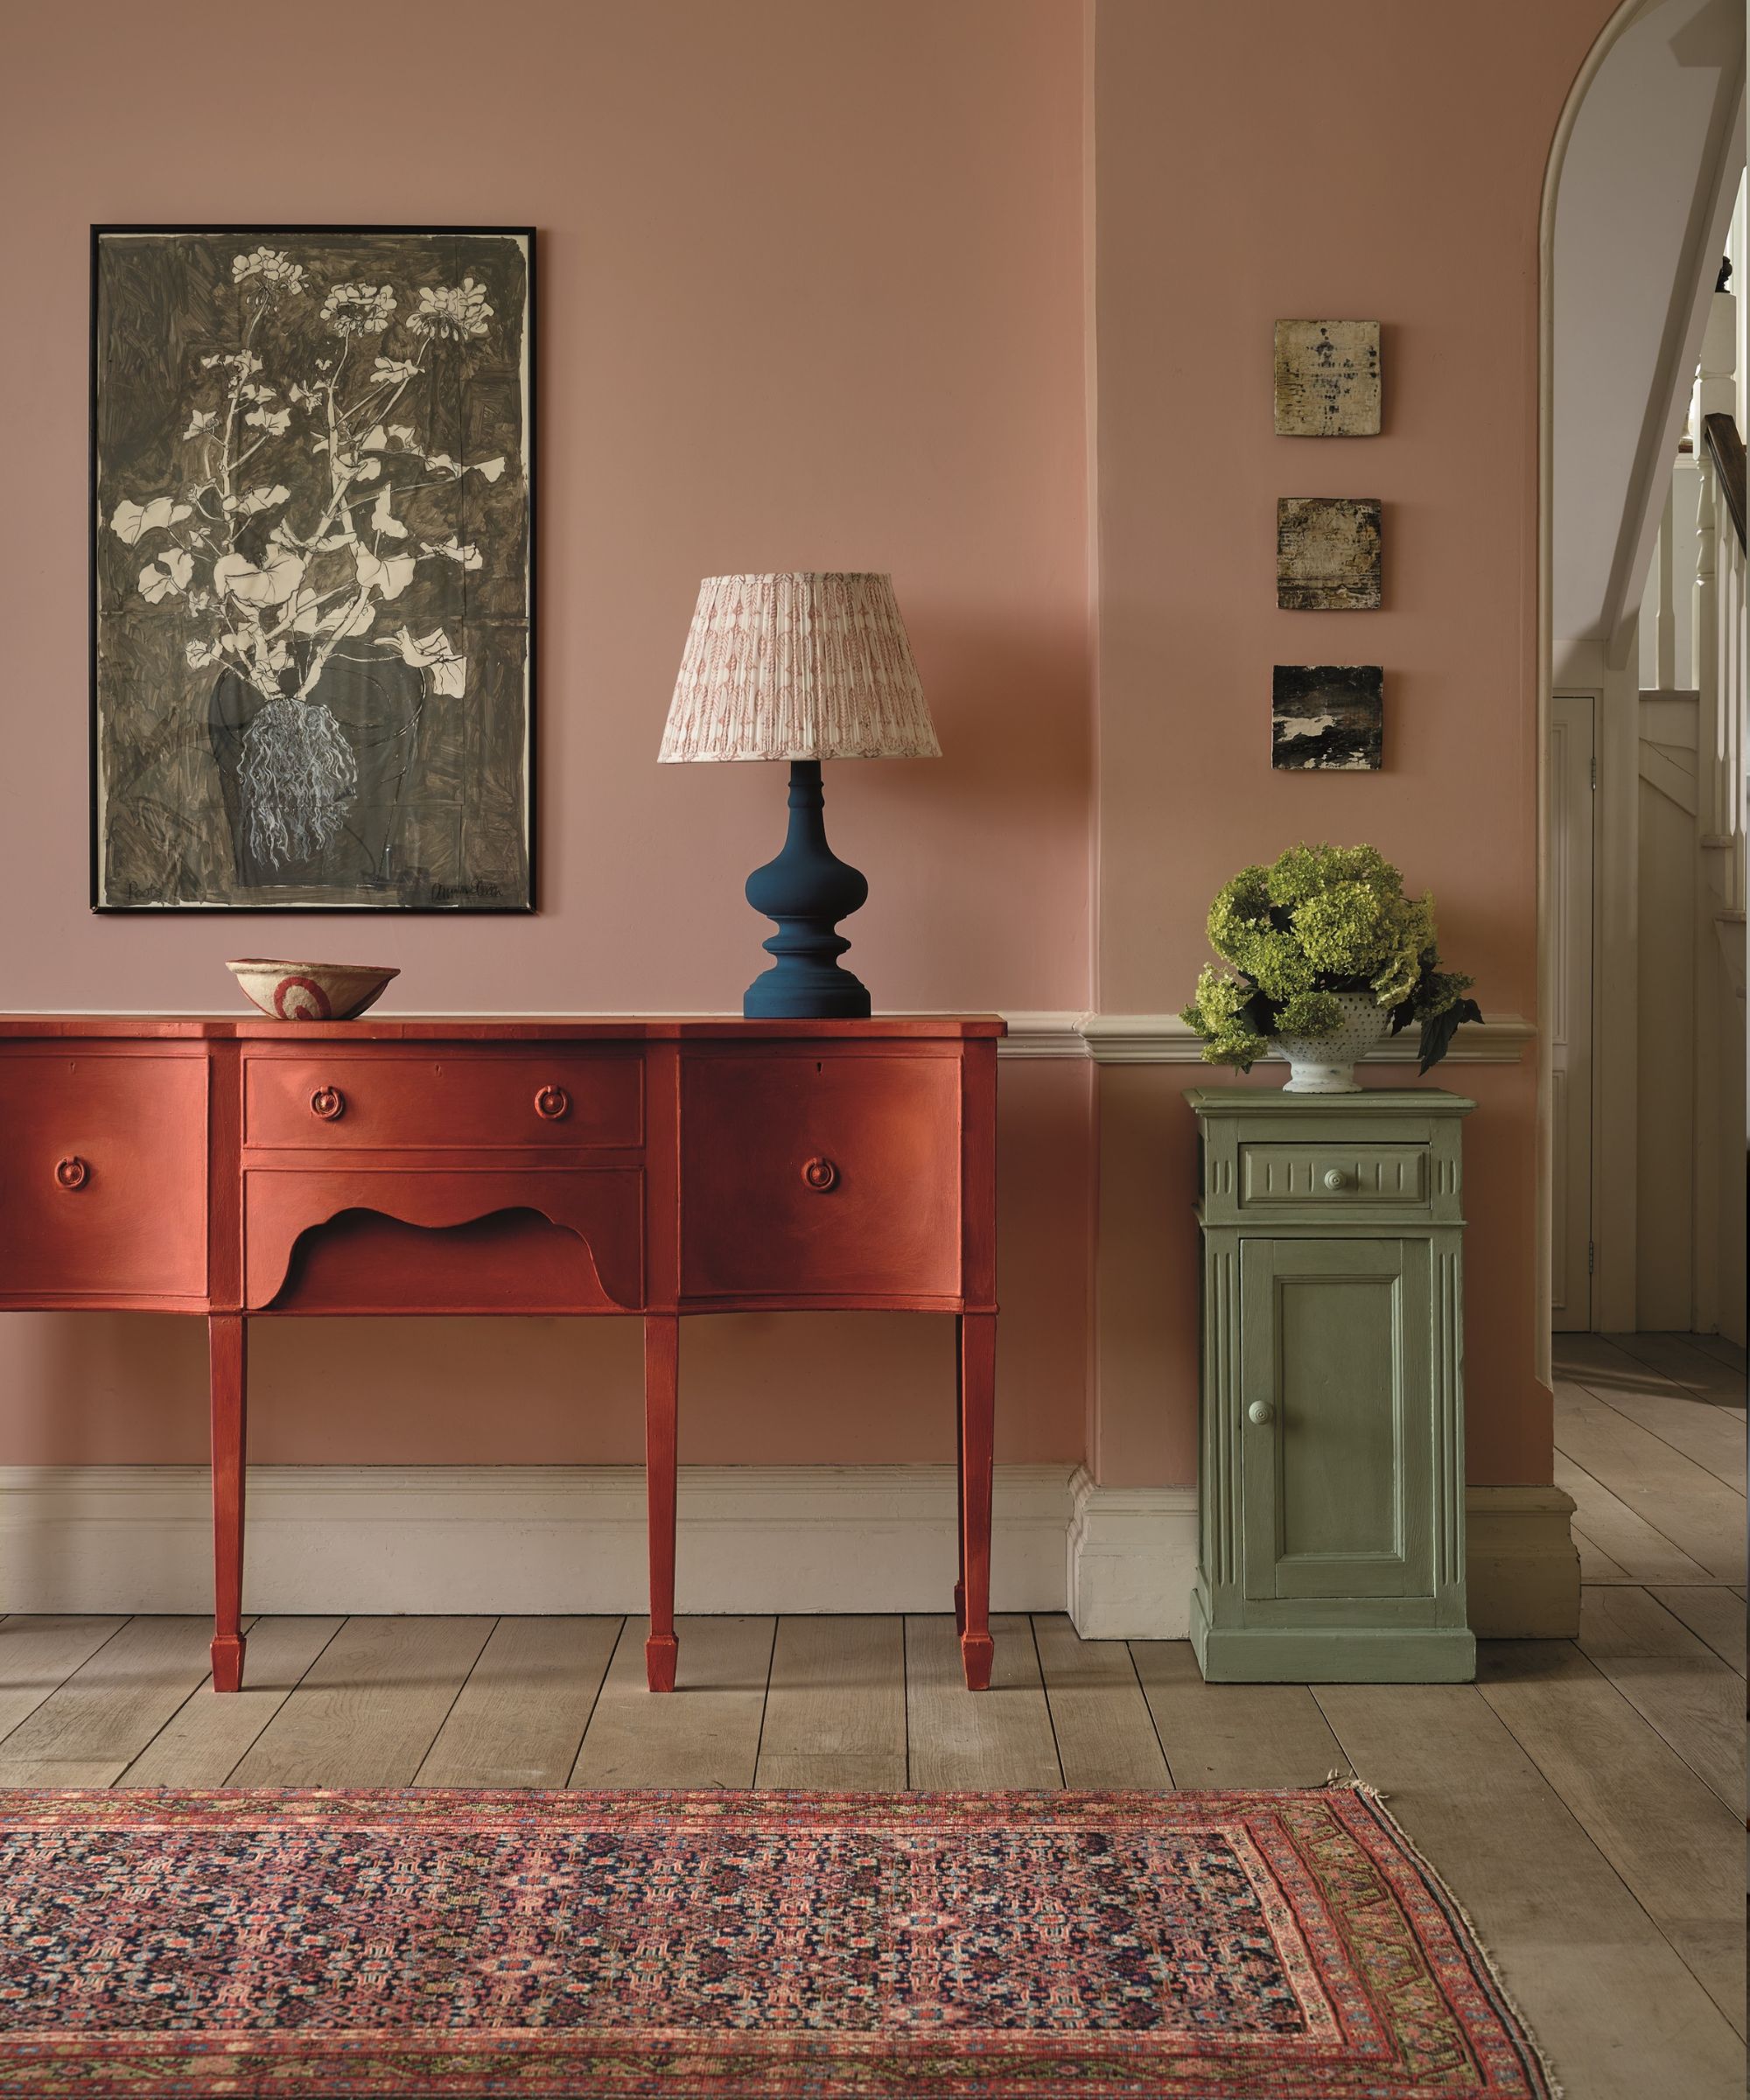
 5 beautiful and impactful home improvement projects you can DIY this weekend for under $200 – you don't have to spend big to make a statement
From painting your fireplace to redecorating your door, little changes can transform and refresh your space
-
 How to paint over stained wood – 6 simple steps expert painters swear by for even, lasting finishes
Skipping even one step will result in chipping paint, experts warn
-
 Can you put wallpaper on textured walls? Experts reveal it is indeed possible with this vital step
Prep, prep and prep some more for wallpapering success
-
 8 helpful ways to re-purpose old pillows – from making handy garden kneelers and draft excluders, to cozy pet beds
Sustainability experts say these bulky items don't have to go to waste
-
 7 practical things you can do with leftover paint around your home including protecting outdoor furniture, tinting cement and creating touch-up kits
Pro tips to make the most of those extra supplies
-
 Construction pros reveal the 6 mistakes to avoid when hanging drywall for perfect walls and ceilings
They see these all the time
-
 Why is my wall paint bubbling? Decorators reveal why it happens and how you can fix it
Bubbles look unsightly and might indicate a more serious problem
-
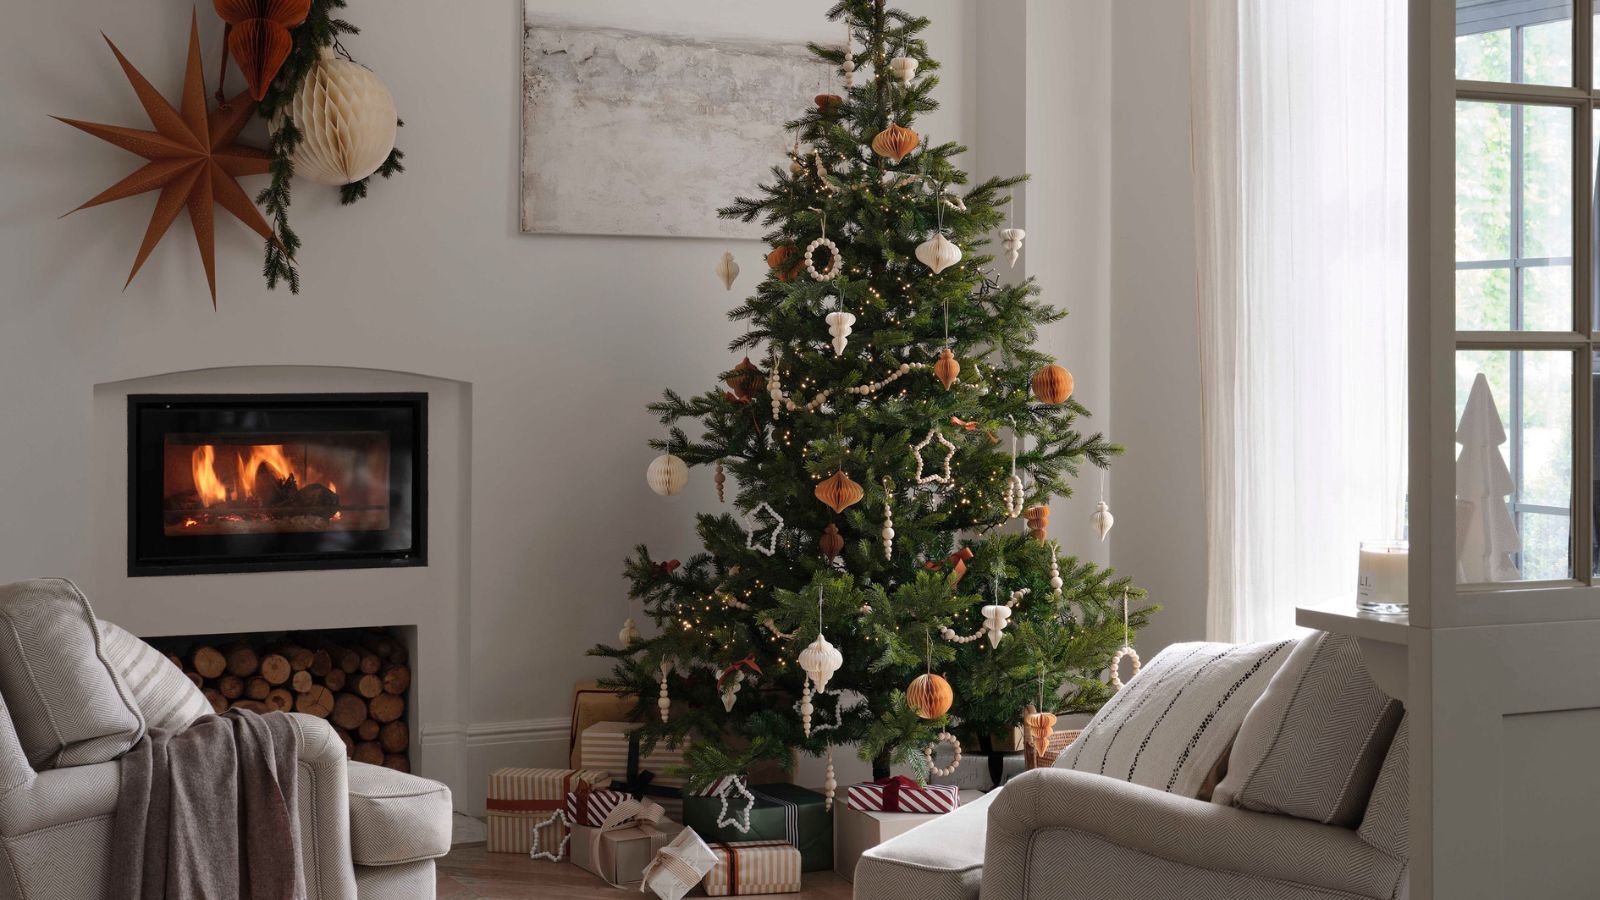 Christmas decorating stalled by missing tools and essentials? These 6 festive DIY job must-haves will get your delayed tasks back on track
Get your holiday decorating going again with our Christmas first-aid kit


