16 genius DIY tips from construction pros for easier, quicker, and more effective jobs around your home
These DIY tips, courtesy of construction and home maintenance experts, will turbocharge your projects
- 1. Reduce mess when hanging art
- 2. Drill into paint can
- 3. Catch screw heads
- 4. Match wallpaper in the middle
- 5. Keep paint rollers in bags
- 6. WD-40 for sticker residue
- 7. Floor screws for creaky boards
- 8. Boost water pressure by cleaning aerators
- 9. Arrestor for quiet pipes
- 10. Latex for long-lasting grout
- 11. Dryer sheets to prep baseboards
- 12. Fill floor cracks with baby powder
- 13. Mark nail spots with toothpaste
- 14. Fabric softener to remove wallpaper
- 15. Use toothpaste instead of spackle
- 16. Toy car for texture-painting walls

Whether you are just learning how to do DIY or have many projects under your belt already, these DIY tips will help make many common jobs you are planning on tackling yourself effortless.
Some will surprise you with the use of readily accessible everyday materials and tools, while others help reduce the effort and mess often involved in DIY. From plumbing to removing wallpaper, we've covered many common DIY projects you may not realize can be improved or simplified.
All of these hacks have been tried and tested by professionals, so you can adopt them with confidence so add these pro-backed tips to your essential DIY skills and you will save time, money, and the need to clean up more than you have to.
16 DIY tips to use around your home
1. Reduce mess while hanging art

If you’re hanging a picture – or an entire gallery wall, perhaps – you’re probably bracing yourself for the inevitable dust that will come out of the wall while you’re drilling.
While gypsum dust from drywall is inevitable, the resulting mess isn’t.
Al Ruggie, construction expert and Marketing Director at ASAP Restoration, recommends putting a folded sticky note under the place where you are about to drill into drywall ‘so that it catches all of the gypsum dust that comes out.’
2. Drill into paint can to prevent spills
This clever DIY tip will help prevent paint spillover from your paint can, which can stain your floor.
To avoid this, use a nail to put a few holes down into the inner rim of a paint can. ‘Make sure to not put holes into the outside of the paint can, just the inner lid rim’, Al advises.
This way, ‘when you wipe paint off onto it while doing work, that paint can drain back into the can instead of collecting on top and spilling over.’
3. Catch screw heads with a rubber band
If you’re taking out screws out of a wall/furniture and want to reuse them, you need to be careful. What sometimes happens is the screw’s head can get stripped in the process, making it impossible to screw back in.
The solution to this common DIY mishap is to place a rubber band into the grooves and then try it again. ‘The rubber band sometimes grab onto the remaining bits of head on the screw and helps to extract it’, says Al.
4. Always match wallpaper rolls by cutting in the middle
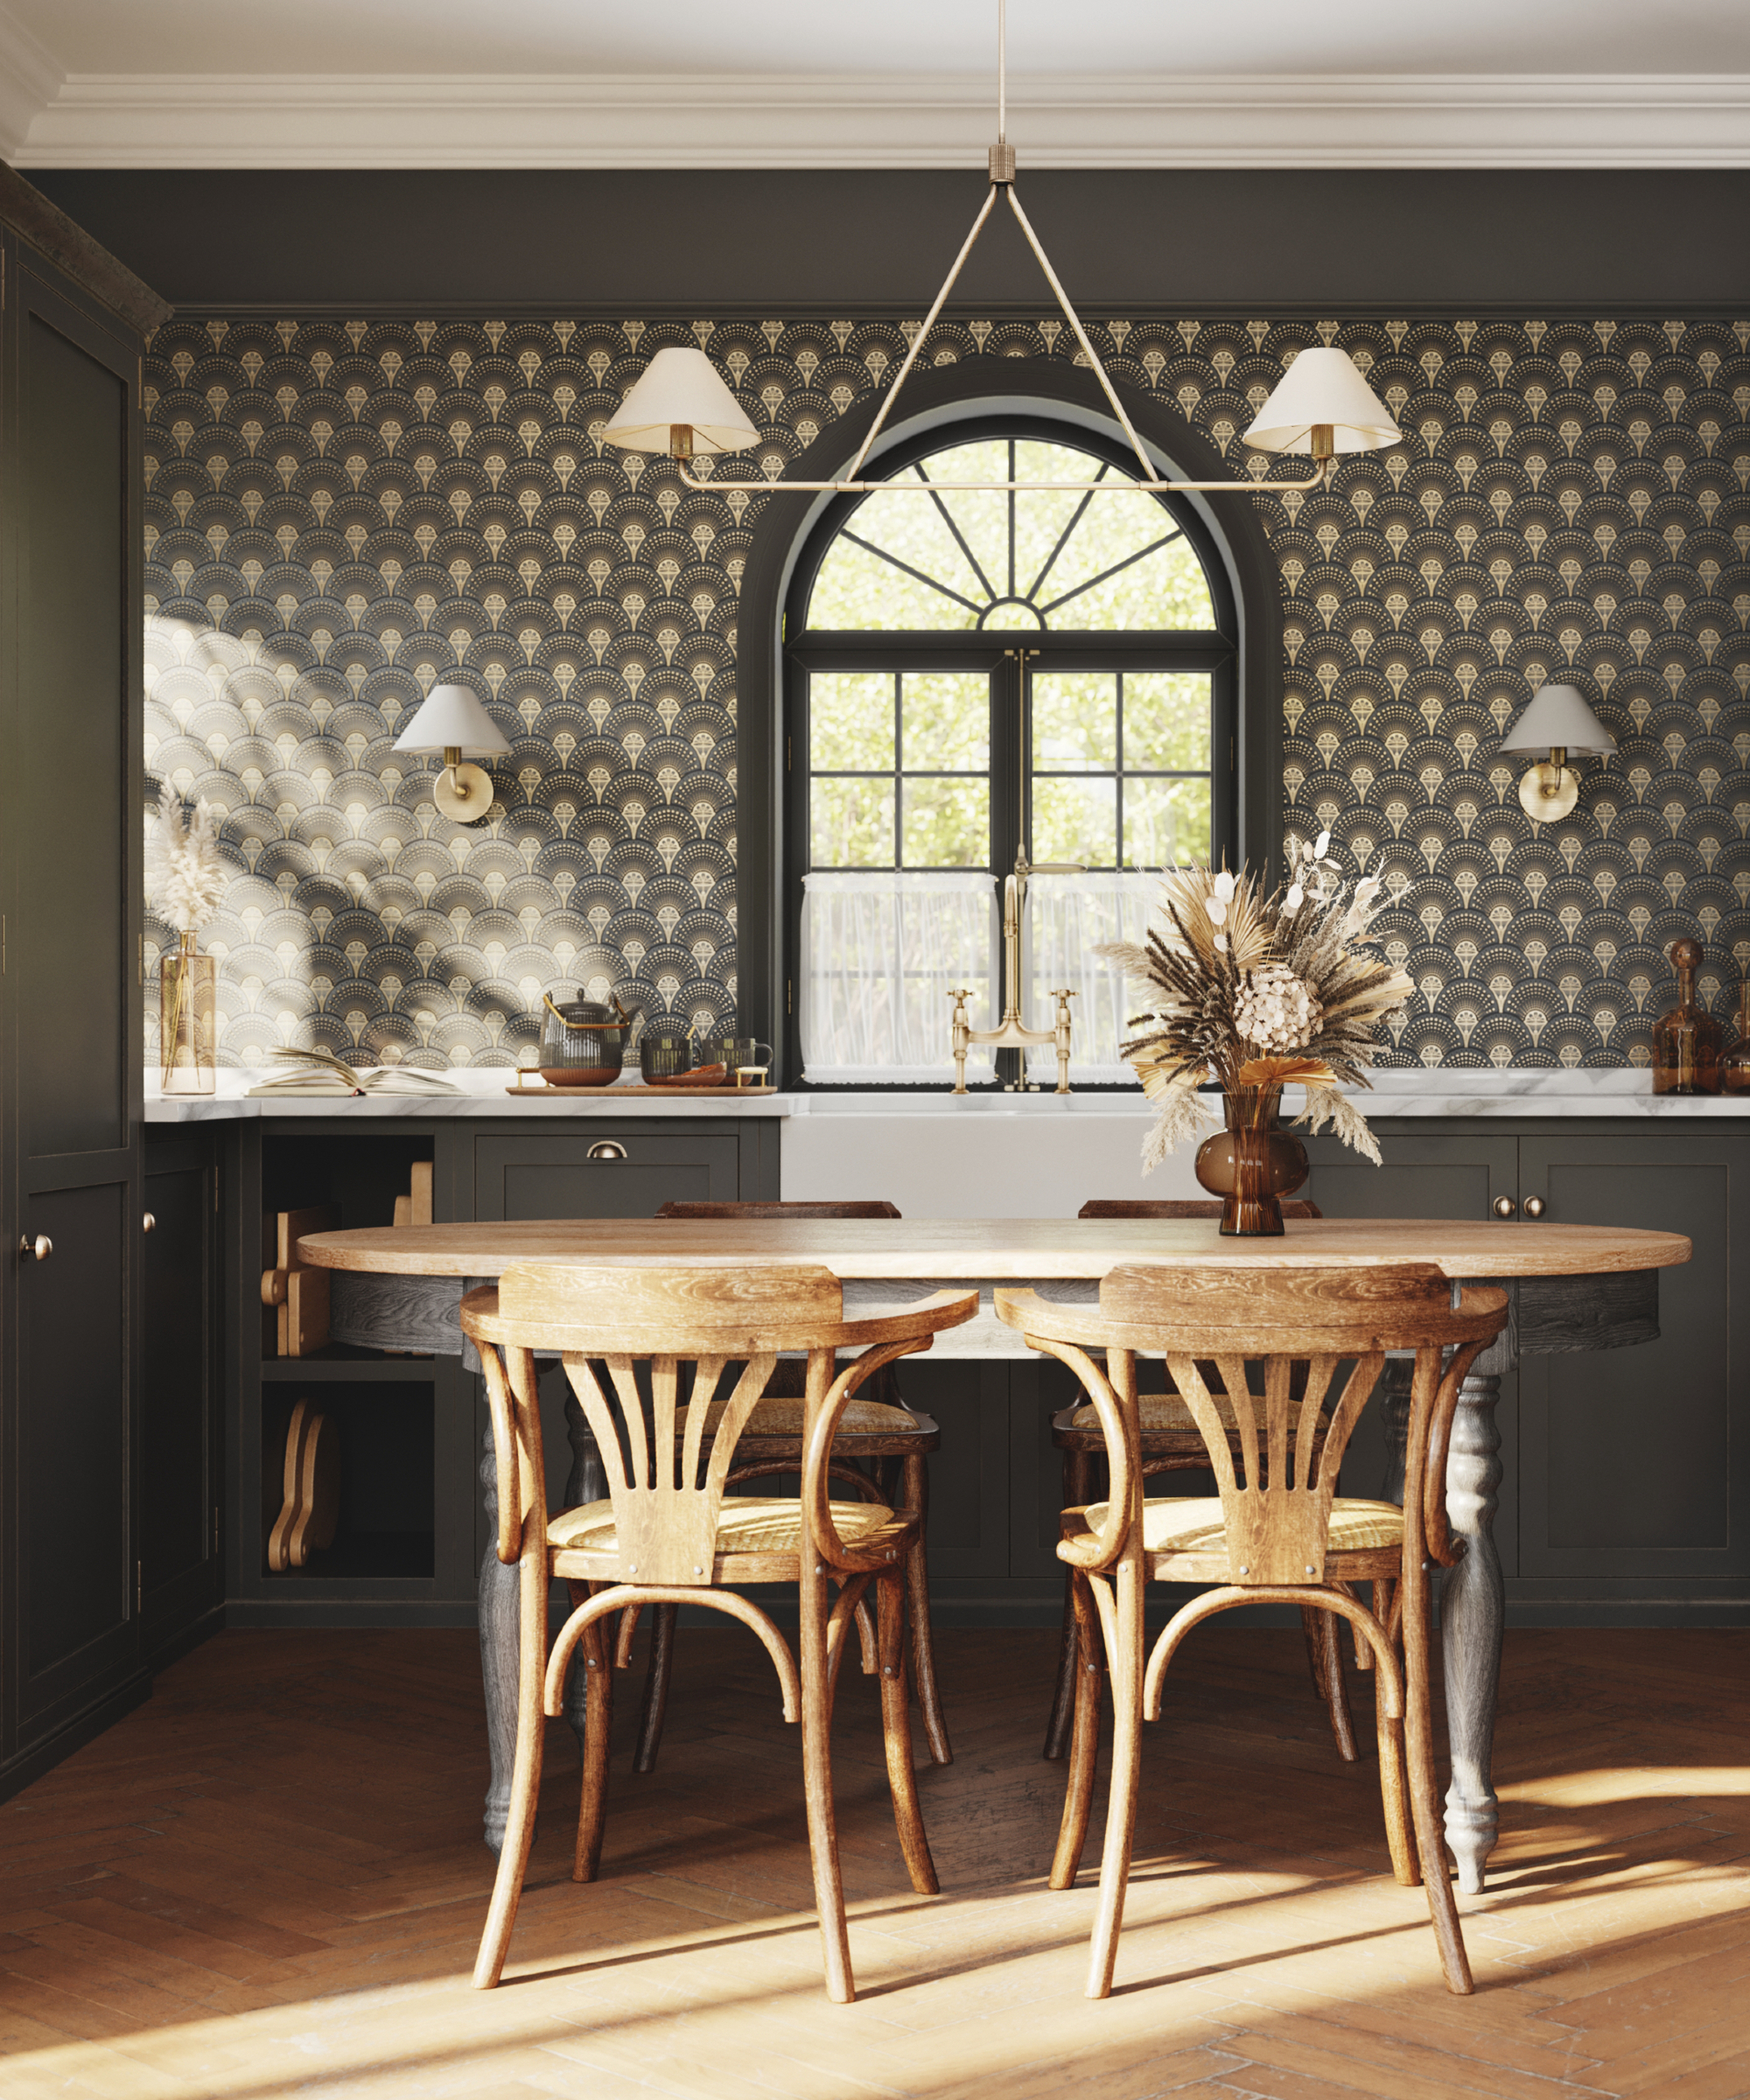
If you’re wallpapering a room and finding that you can’t seem to match up the pattern perfectly, it’s most likely because you’re trying to match up different rolls edge-to-edge. This will never work, warns Al. ‘Don’t try to match up opposing ends of wallpaper with a cut on each side separately.’
What to do instead? Al says, ‘Overlap both sides till you get a match and cut in the middle so that it is identical to both sides of the cut.’ Yes, you will end up with a few off-cuts, but you also will enjoy a perfect finish to your wallpapering project.
5. Keep a paint roller in a Ziploc bag
Cleaning out a paint roller after you’re done using it for an affordable DIY weekend project is an annoying task. Trying to paint with a roller that has dried paint crusted all over it will give you streaky results. Sometimes, paint projects can take more than one day so what to do?
Fortunately, you don’t need to throw away your paint roller after just one day, or clean it every time you use it. Instead, Al recommends putting it ‘into a big Ziploc bag and seal it up until you’re ready to start work again. This will keep the paint on the roller fresh for a day or so until you can resume the project.’
It's one of the many handy things you can use Ziploc bags around the house for.
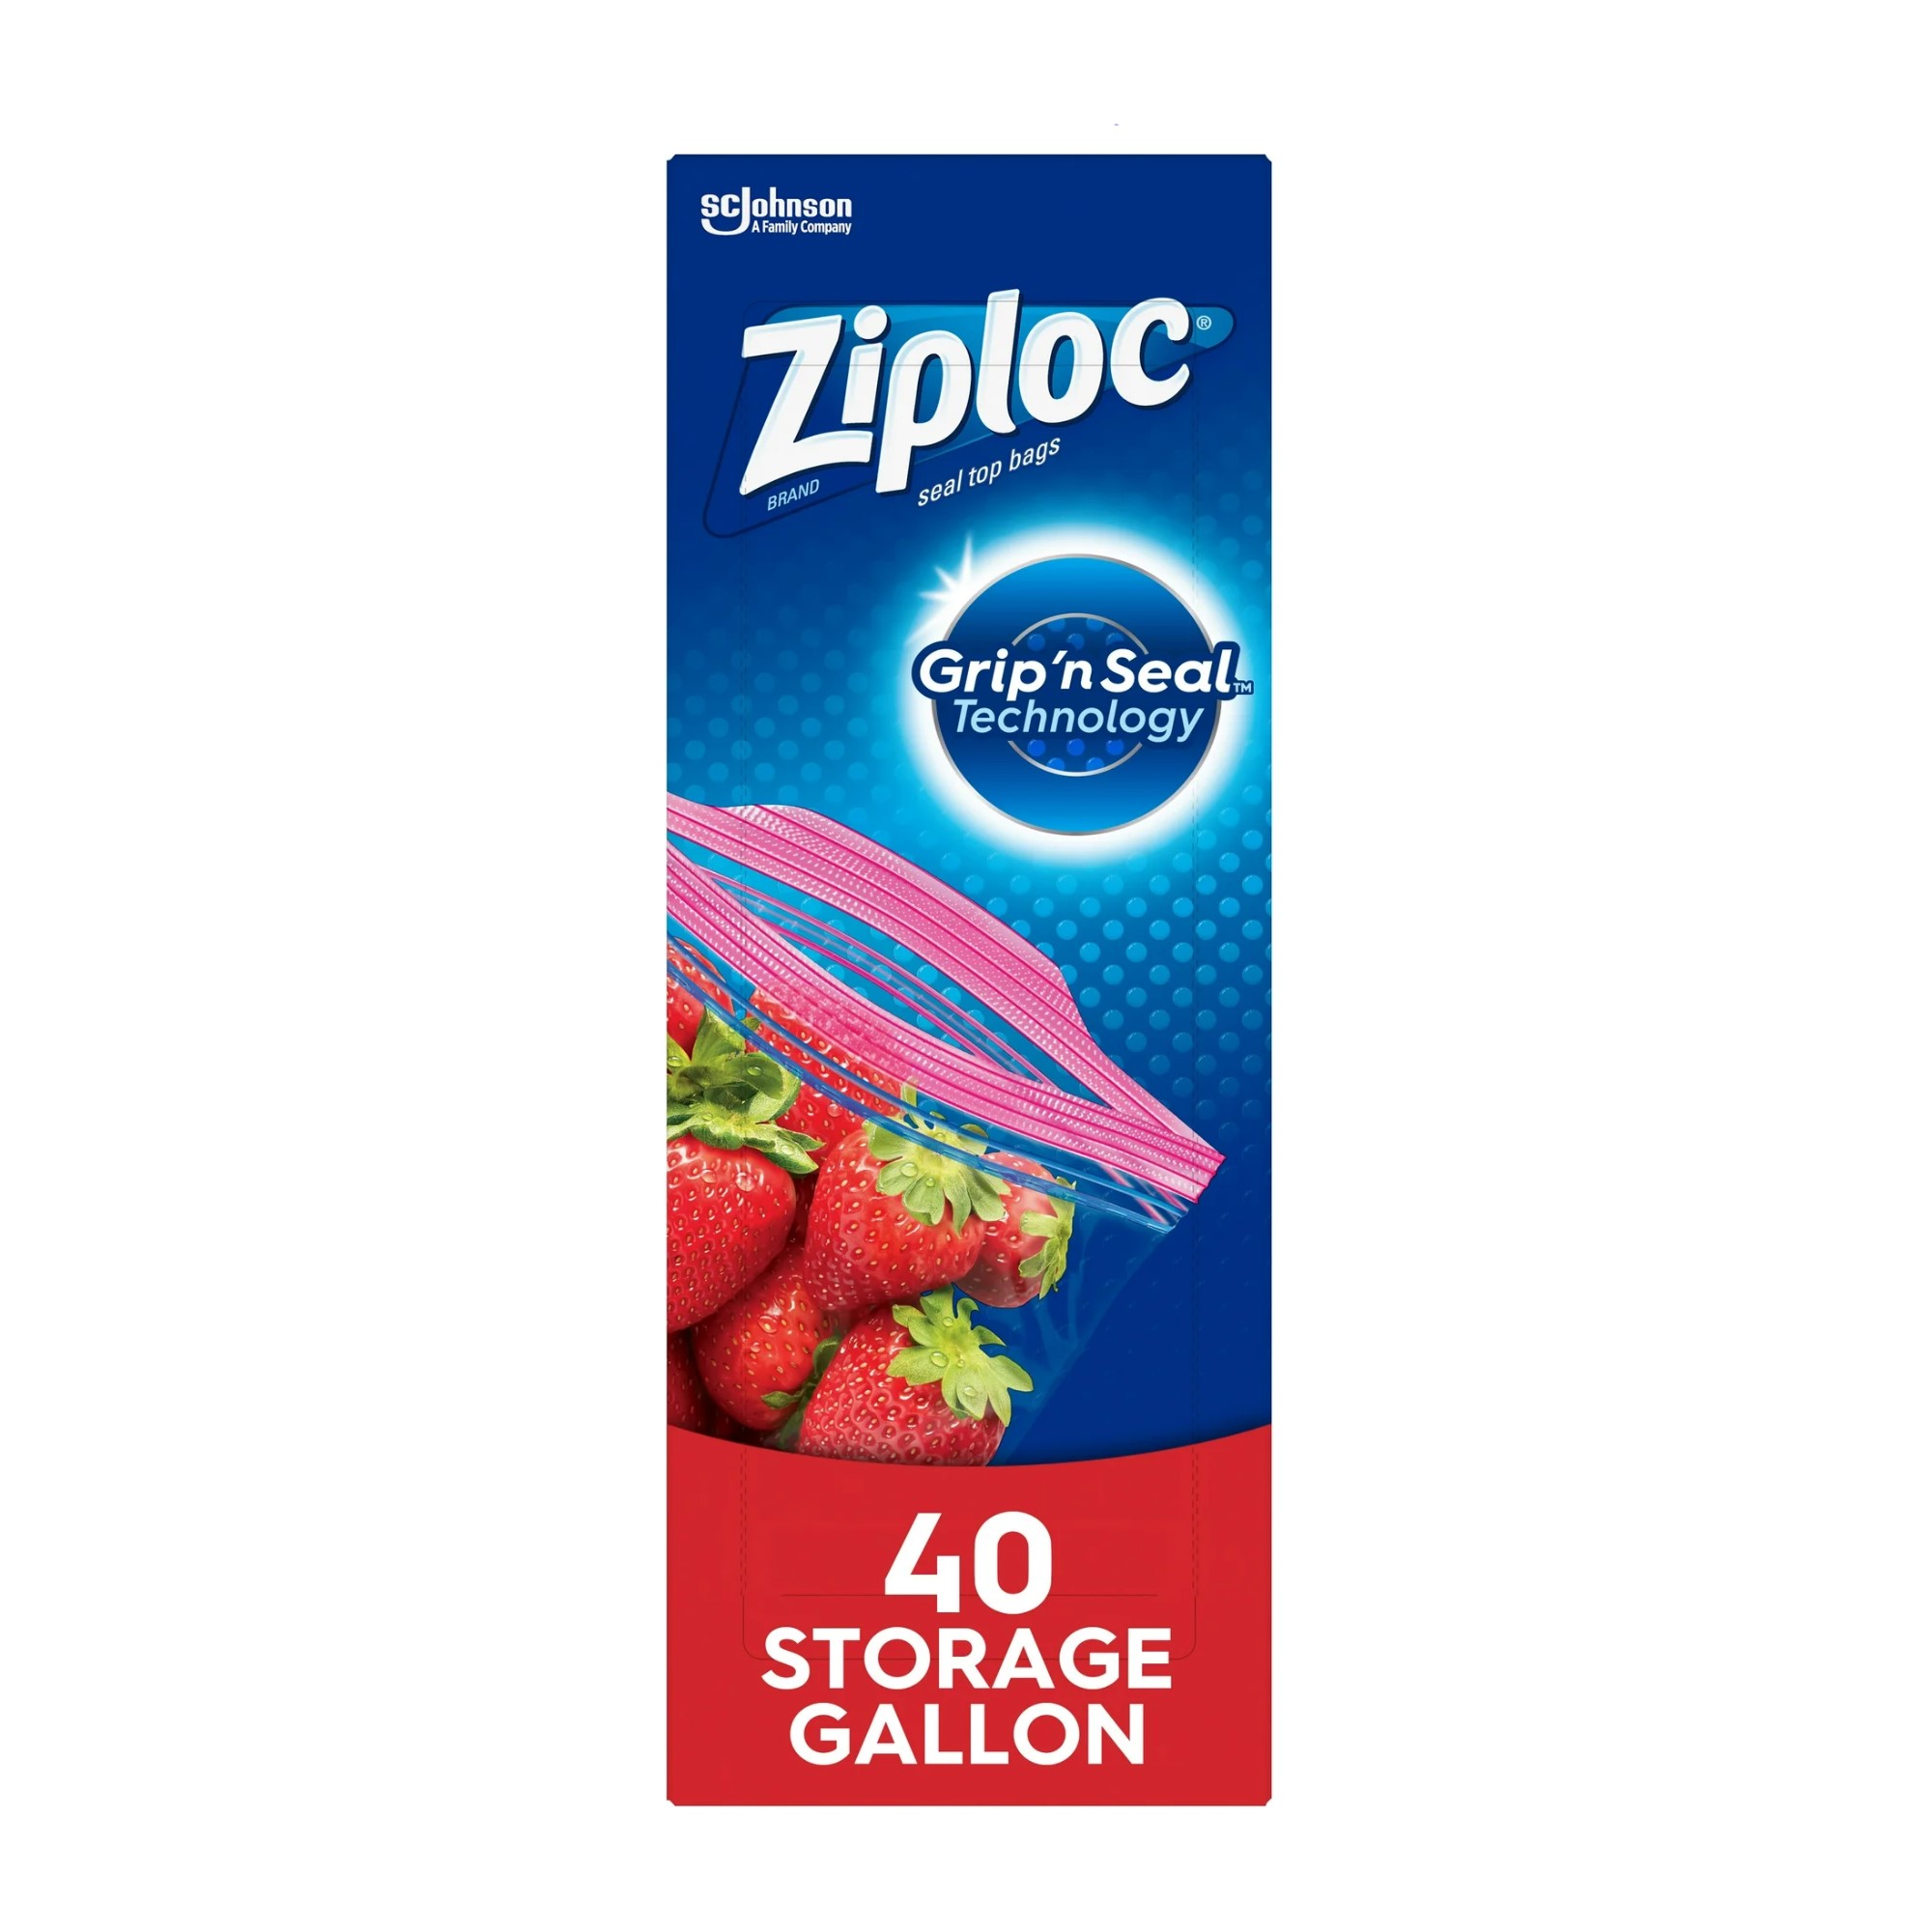
There's so much more to the humble Ziploc bag than its primary purpose as a food storage bag. We now know that they're great for keeping paint rollers fresh in-between painting sessions. They can also be useful for storing cosmetics, medications, and even for keeping clean laundry odor-free.
6. Use WD-40 as sticker residue remover
We wish we could ask all manufacturers to put price stickers on the outside packaging rather than on household products themselves. You know the situation: a beautiful, brand-new piece of dinnerware, with a very sticky price sticker in a prominent place. Try peeling it off and you’re left with very sticky glue residue.
The solution? Reach for the WD-40. ‘Simply apply some WD-40 to a dry paper towel and then wipe away the residue’, advises AL. ‘Wash again with soap and water to get rid of the WD-40 and you’re good to go.’
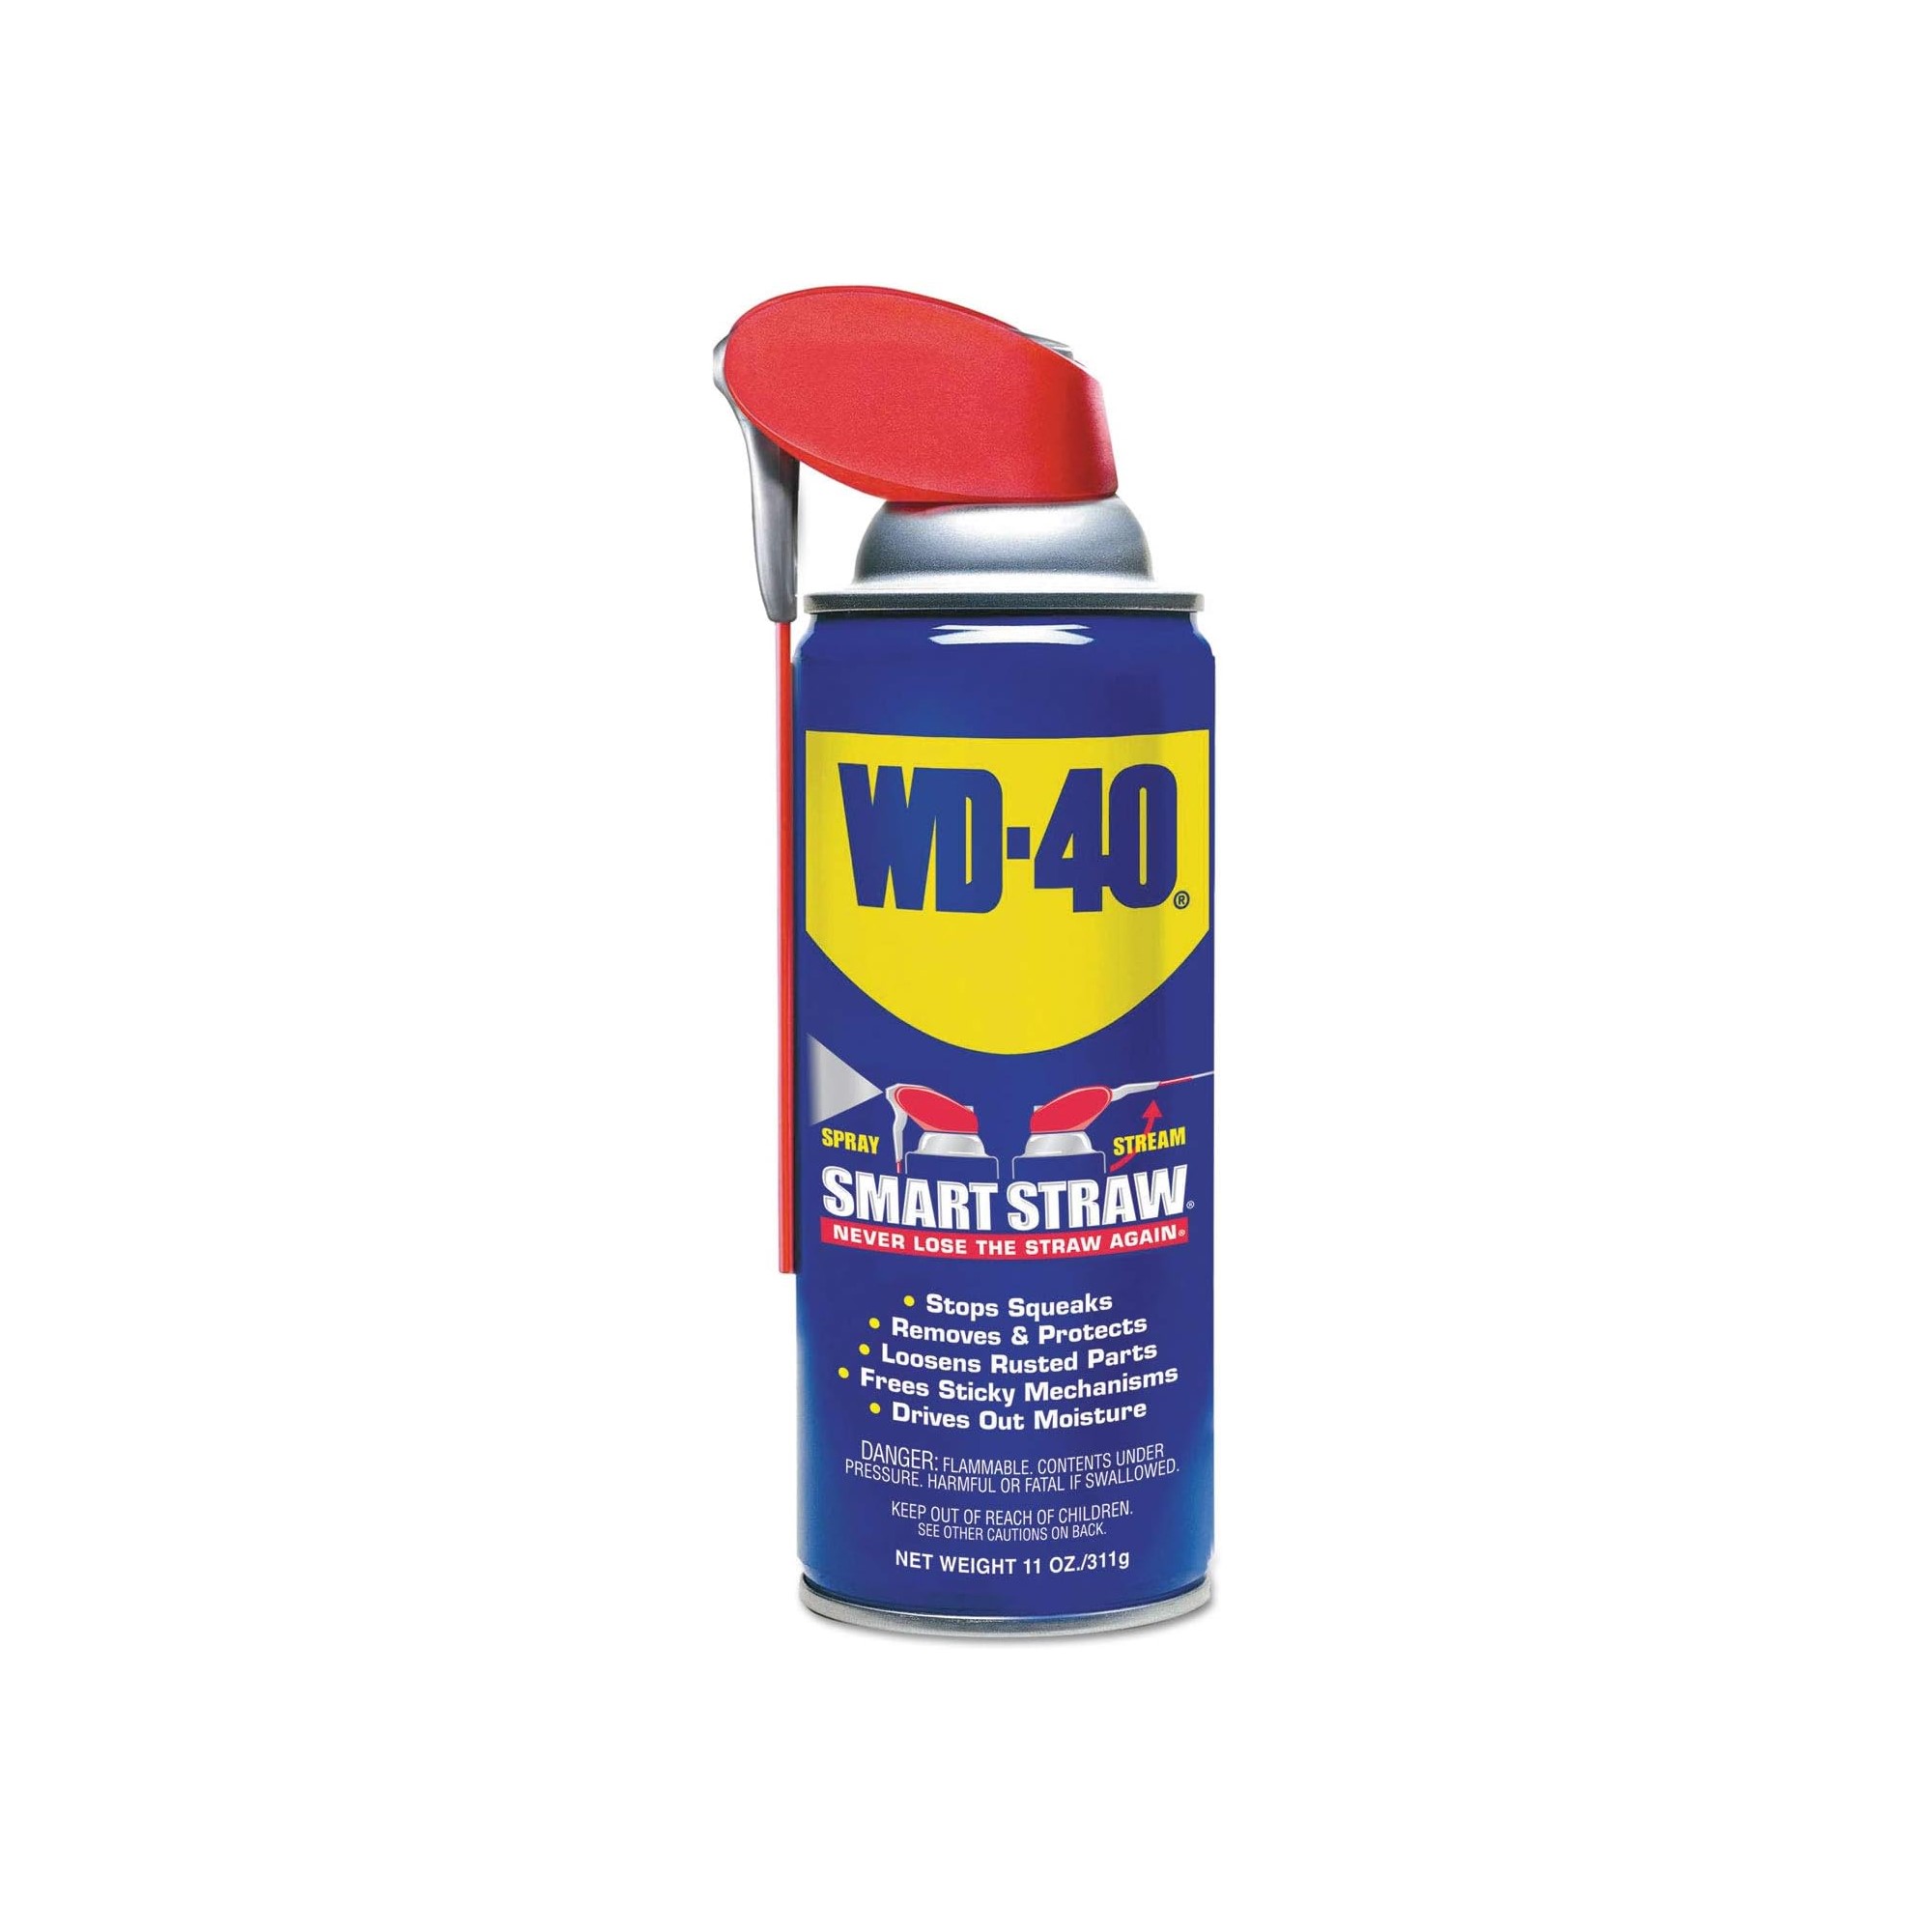
You probably know WD-40 from its frequent use in car maintenance, but WD-40 is one of those miracle products that may just help you remove what nothing else will from a whole range of surfaces. Think very tough-to-remove stuff like superglue, industrial oil, rust...the list goes on. Obviously, this is strong stuff, so always test on a small, inconspicuous area first.
7. Stop floorboards creaking with floor screws
If you have wood flooring in your home the chances are the floorboards will creak over time due to the natural expansion and contraction of the wood. The traditional DIY hack for this is to hammer nails into the floorboards.
The problem with nails is that they will loosen over time, and your floorboards will once again begin to creak. Gordon Chalk, Managing Director at Next Level Underfloor Heating And Screed Solutions, recommends using floor screws, available on Amazon, ‘for a long-term fix’ instead. He says, ‘Screws will hold the boards in place without loosening over time.'
Top tip: Use specialist screws for floorboards that have a reduced thread near the head so the board and joist grip together tightly, eliminating the noise.
8. Increase water pressure by cleaning aerators
If your faucets and shower heads have lower water pressure than they should, the problem might be mineral build-up in the aerators. Aerators are small mesh screens at the end of your faucets that mix air with the water to create a smooth flow. Cleaning or replacing these regularly will restore water pressure without replacing the whole fixture.
How to do this? ‘Soak the aerators in a vinegar solution overnight to remove limescale deposits, then rinse with warm water and re-fit’, according to Gordon.
Learn more about the best ways to clean your showerhead.
9. Install a water hammer arrestor for silent pipes
If you hear banging in your plumbing when you turn off faucet, it could be water hammer which occurs when fast flowing water suddenly stops. A water hammer arrestor will prevent this by providing a cushion for the pressure surge and keep your pipes safe and quiet.
Gordon says, ‘Install water hammer arrestors near washing machines, dishwashers or anywhere high water pressure devices are installed as these are the most common culprits.’
Shop water hammer arrestors at Lowe's.
10. Add latex to grout for longer-lasting fixes
Over time, bathroom tile grout can crack or wear out and water will get behind the tiles. The good news is you can fix your bathroom grout with a longer-lasting mix than regular grout.
According to Gordon, you should ‘add a small amount of latex additive, available on Amazon to make it more flexible and reduce the chance of cracking in high moisture areas like showers.’
You can make this DIY grout mix in small batches and grout your tiles with a grout float. Make sure you wipe down excess grout before it dries to avoid hazy residue on the tiles.
11. Use dryer sheets to prep baseboards for painting
This lesser-known baseboard painting tip comes courtesy of Yaeir Moinzadeh, a MHIC licensed contractor and the owner of Blue Rise Baltimore Roofing. Yaeir explains that ‘removing any kind of dust and static will help the paint to adhere better and reduce the build-up of lint.’
The dryer sheets should be unscented, such as Bounce Unscented Dryer Sheets from Walmart.
12. Fill cracks in hardwood floors with baby powder
Yes, you read that right. The baby powder will ‘act as lubricant’ and reduce noise, according to Yaeir. ‘You can further add a thin bead of wood glue in the cracks to obtain a longer and lasting solution.’
13. Mark picture hanging spots with toothpaste
This DIY tip reduces mess when hammering or drilling and allows for precision. You need just a dab where the nail will go in. Then, ‘press it against the wall before drilling. It is the best method for mounting shelves or for any other wall fixtures.’
14. Use fabric softener to remove wallpaper
Removing wallpaper is much easier using a mixture of one part fabric softener to four parts warm water in a spray bottle. ‘This will easily remove wallpaper by softening the adhesive’, says Yaeir.
For rigid areas you need a utility knife to poke little holes in the wallpaper before applying the solution.
15. Use toothpaste instead of spackle to fix small holes in walls
Toothpaste is a secret DIY ingredient that works wonders in so many areas in your home. Why is it good for patching up holes in walls? Yaeir explains, 'It is easy to sand smooth, dries quickly, and doesn't shrink. For best results, use a putty knife to apply the non-gel, white toothpaste.’
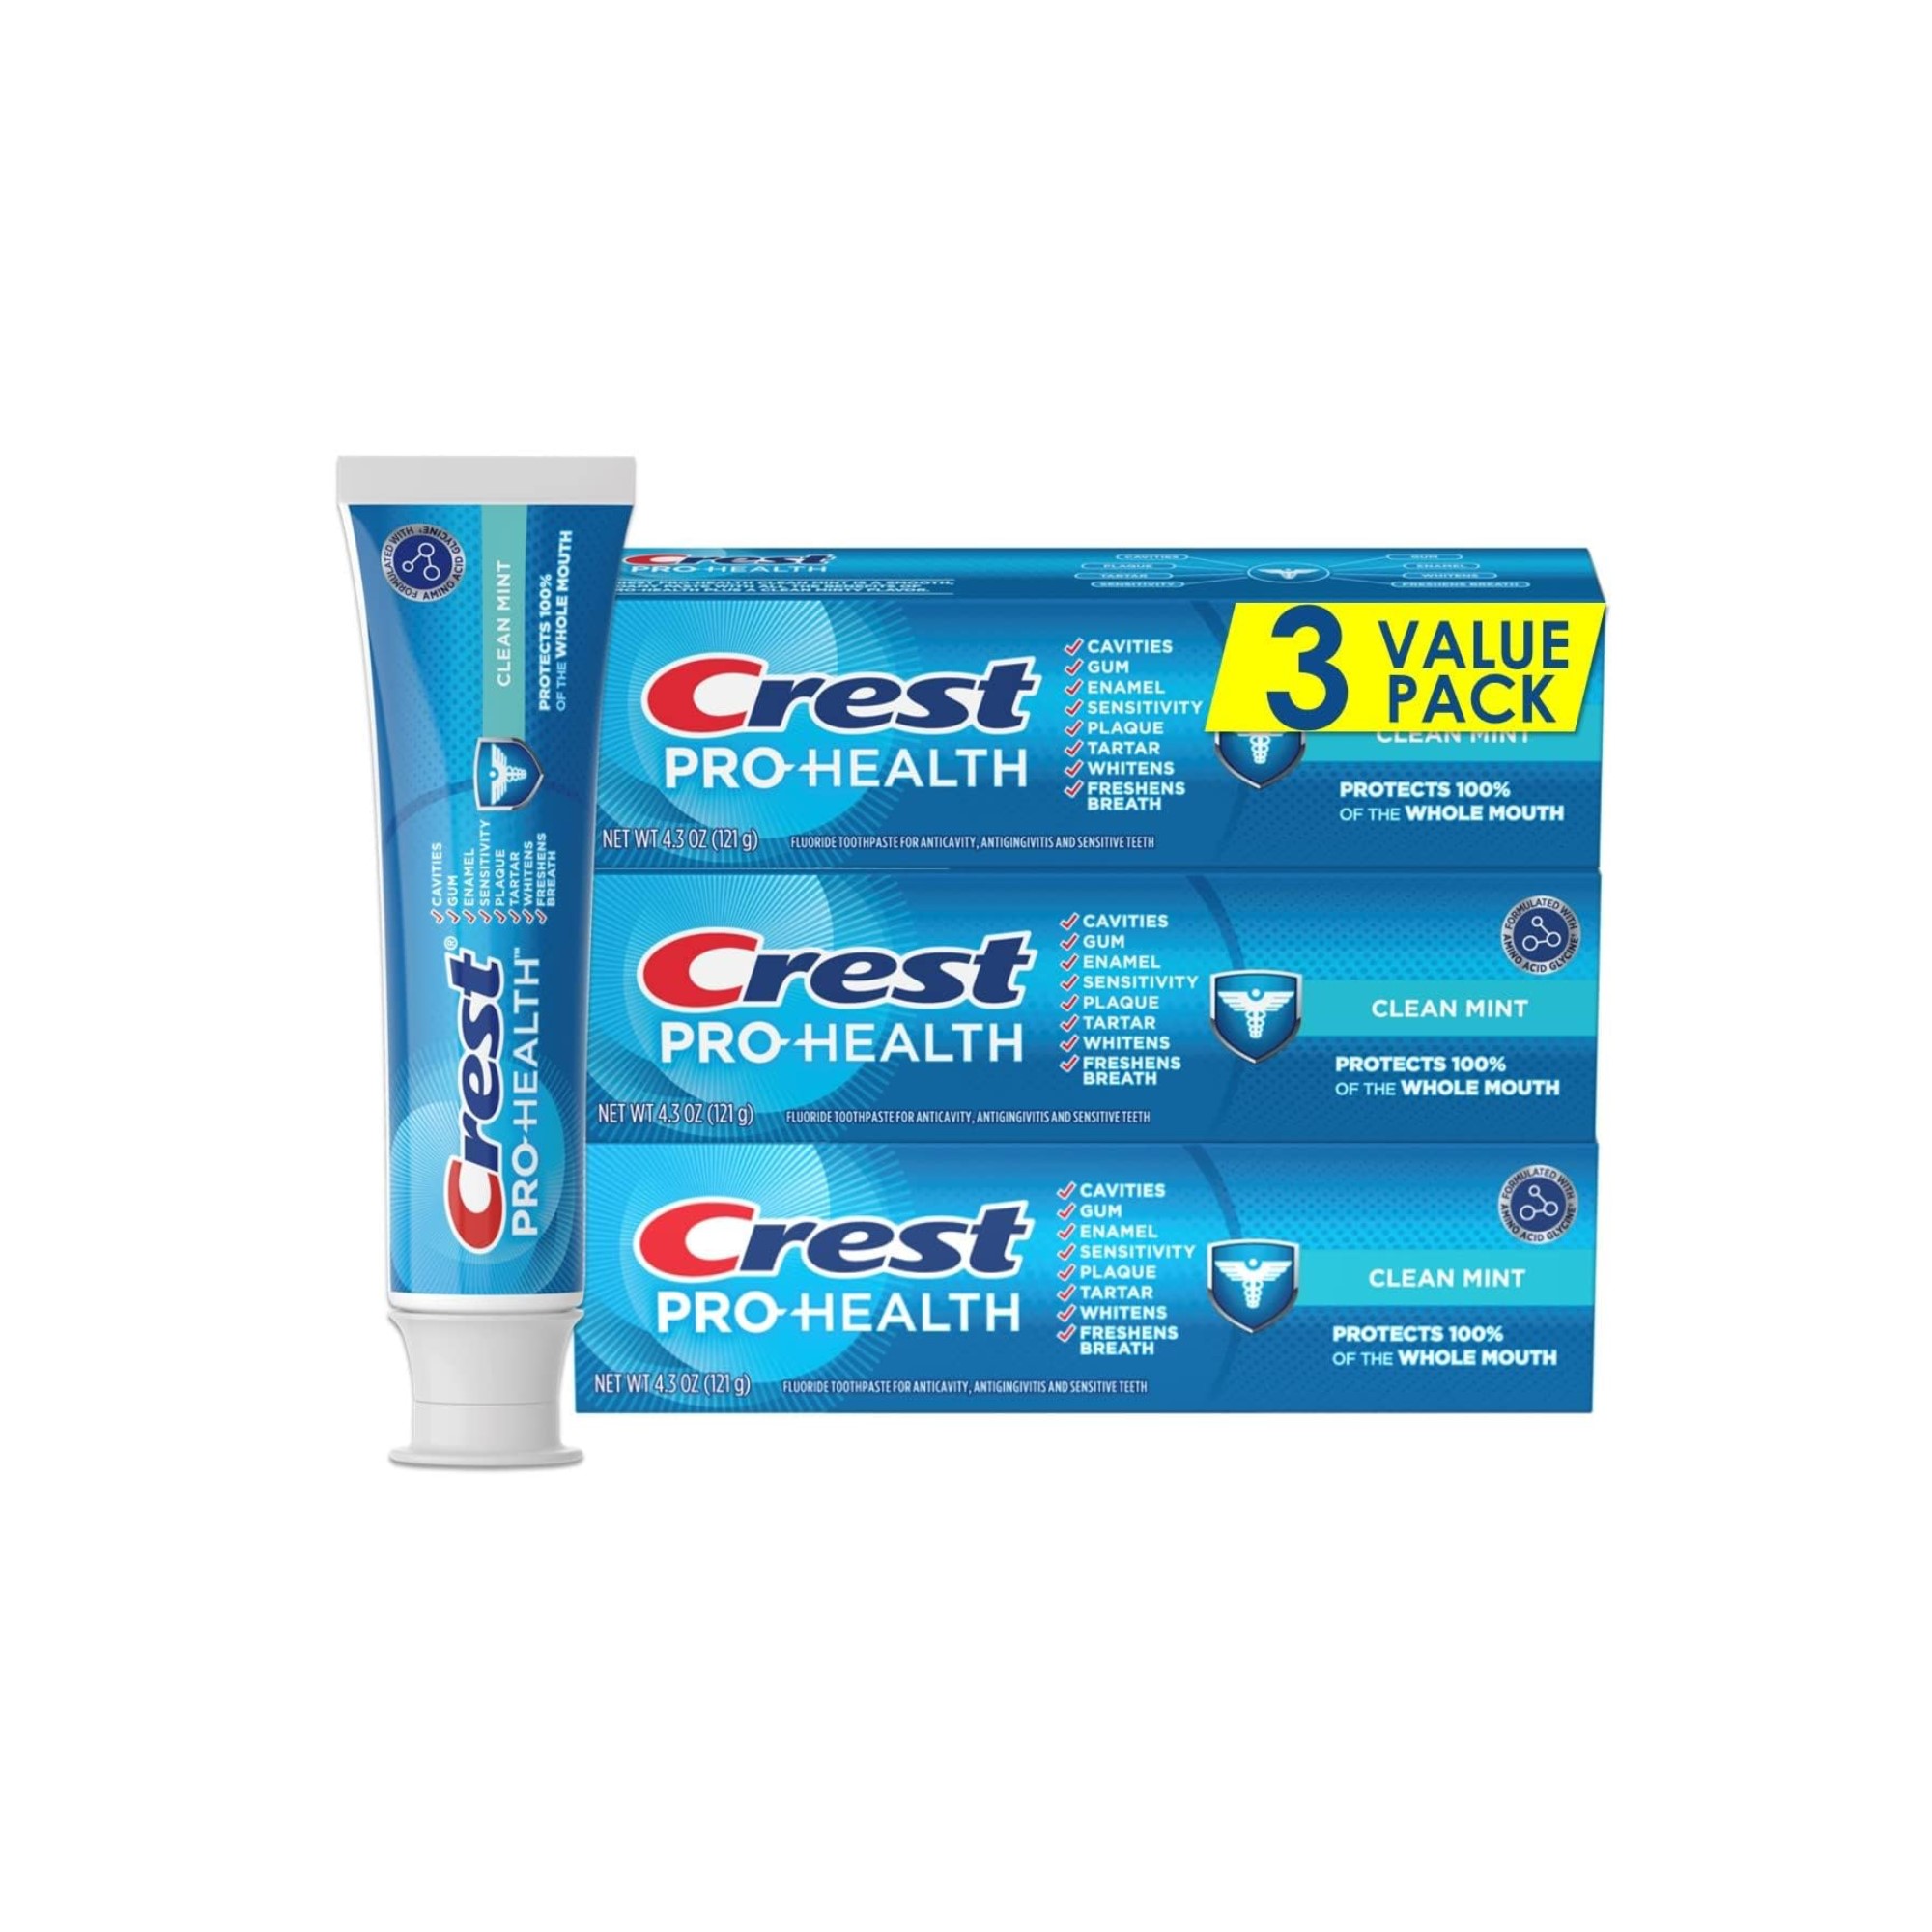
You probably didn't expect to see toothpaste in an article about DIY, but it's is incredibly handy around the home. It's great for filling holes in walls and marking the exact spot where you want to drill a hole. We wouldn't use your expensive, advanced toothpaste for this purpose. Just get a value pack of standard, non-gel toothpaste like this one.
16. Use a toy car for texture-painting walls
‘It might sound weird’, Yaeir admits, ‘but this will help you cover large areas in no time. This is a perfect technique to go with textured surfaces or if you are planning to create a faux finish.’
These simple DIY tips can make a whole range of tasks around your home easier, as well as helping you repair, rather than replace items. For most of these, you don't need expensive gadgets or additional tools as many can already be found in your kitchen cupboards or your bathroom shelves. You can even make use things you already have with practical uses for leftover paint, for example.
From fixing creaky floorboards to hanging artwork, you are now ready to do your DIY more successfully and efficiently. Next, explore the chic DIY projects that can transform your home in a weekend, including painting uPVC window frames and why a DIY saw guide is transformative.
Sign up to the Homes & Gardens newsletter
Design expertise in your inbox – from inspiring decorating ideas and beautiful celebrity homes to practical gardening advice and shopping round-ups.

Anna is a professional writer and academic. She taught English Literature for several years before joining Future where she wrote for Real Homes, Homes & Gardens and Livingetc for four years. She is a regular contributor for Parade Home, BiggerPockets, and many other publications. In her spare time, Anna enjoys hiking and gardening.
-
 Plants never to grow next to fruit trees
Expert advice on which plants to keep away from fruit trees to encourage a healthy harvest
By Jacky Parker Published
-
 Martha Stewart's tips for arranging daffodils are unbelievably simple and effective – it's the only flower advice you need this springtime
Martha shows us that we can create gorgeous bouquets of this seasonal flower by simply trimming the stems and placing them in specific vases
By Hannah Ziegler Published
-
 5 beautiful and impactful home improvement projects you can DIY this weekend for under $200 – you don't have to spend big to make a statement
From painting your fireplace to redecorating your door, little changes can transform and refresh your space
By Ottilie Blackhall Published
-
 How to paint over stained wood – 6 simple steps expert painters swear by for even, lasting finishes
Skipping even one step will result in chipping paint, experts warn
By Natasha Brinsmead Published
-
 Can you put wallpaper on textured walls? Experts reveal it is indeed possible with this vital step
Prep, prep and prep some more for wallpapering success
By Sophie Warren-Smith Published
-
 8 helpful ways to re-purpose old pillows – from making handy garden kneelers and draft excluders, to cozy pet beds
Sustainability experts say these bulky items don't have to go to waste
By Sophie Warren-Smith Published
-
 7 practical things you can do with leftover paint around your home including protecting outdoor furniture, tinting cement and creating touch-up kits
Pro tips to make the most of those extra supplies
By Andy van Terheyden Published
-
 Construction pros reveal the 6 mistakes to avoid when hanging drywall for perfect walls and ceilings
They see these all the time
By Natasha Brinsmead Published
-
 Why is my wall paint bubbling? Decorators reveal why it happens and how you can fix it
Bubbles look unsightly and might indicate a more serious problem
By Ottilie Blackhall Published
-
 Christmas decorating stalled by missing tools and essentials? These 6 festive DIY job must-haves will get your delayed tasks back on track
Get your holiday decorating going again with our Christmas first-aid kit
By Chiana Dickson Published