Pros reveal how to make a DIY saw guide for perfect straight cuts on any home renovation project
Say goodbye to unwanted wonky cuts forever


If you are new to DIY projects or come up against wonky cuts when using a saw, you're most likely in need of a DIY saw guide. It'll give you perfectly straight cuts and you can make your own in just a few simple steps.
Typically made from plywood or MDF, a DIY saw guide is most often needed for long, straight cuts. They’re easy to make, easy to use and give great results according to our home maintenance experts.
And while they can come in different forms and sizes, they all have one thing in common – a long straight edge to guide your circular saw. This step-by-step will lead to a DIY tip you'll use again and again.
What you'll need to build a DIY track guide
To make a DIY saw guide, you'll need the help of a circular saw and a few other tools as Jimmy Harris of We Buy Houses In West Georgia points out, ‘I made one a few years ago and still have it and use it’.
Swindle suggests another couple of DIY tools to help complete the process. ‘You’ll need clamps to secure the guide and work piece during cutting. Don’t forget sandpaper to smooth edges after cutting.’
John Swindle, Owner of Chase Roof Inspections shares the benefits of using a saw guide, explaining, 'They prevent wandering cuts, minimize splintering, and help you avoid uneven edges on plywood and wooden boards.’
He adds, 'They're great for DIYers, furniture builders, general construction workers, and woodworkers who need straight, accurate cuts. Those with dedicated track saw systems will already have what they need.
You will need:
- Circular saw
- Drill
- Screws
- Chalk line
- Tape measure
- Pencil
- Aluminum channel (to ensure you get a strong, straight edge on your DIY saw guide).
Shop DIY items on Amazon for quick home delivery, available to all Prime members, or at your local Walmart or Home Depot.
All prices correct at time of publication.
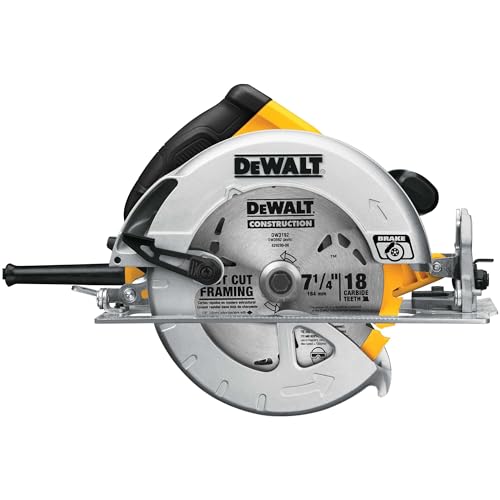
Invest in a compact circular saw from Dewalt, a tools brand that’s popular with the pros, including John Swindle who rates its lightweight nature and reliability. This item comes with a carbide tipped blade and storage bag.

Recommended by Jimmy Harris, this set of bar clamps is perfect for holding your saw guide in place when you are ready to use it. These are easy to operate and produce a tight grip on any surface.
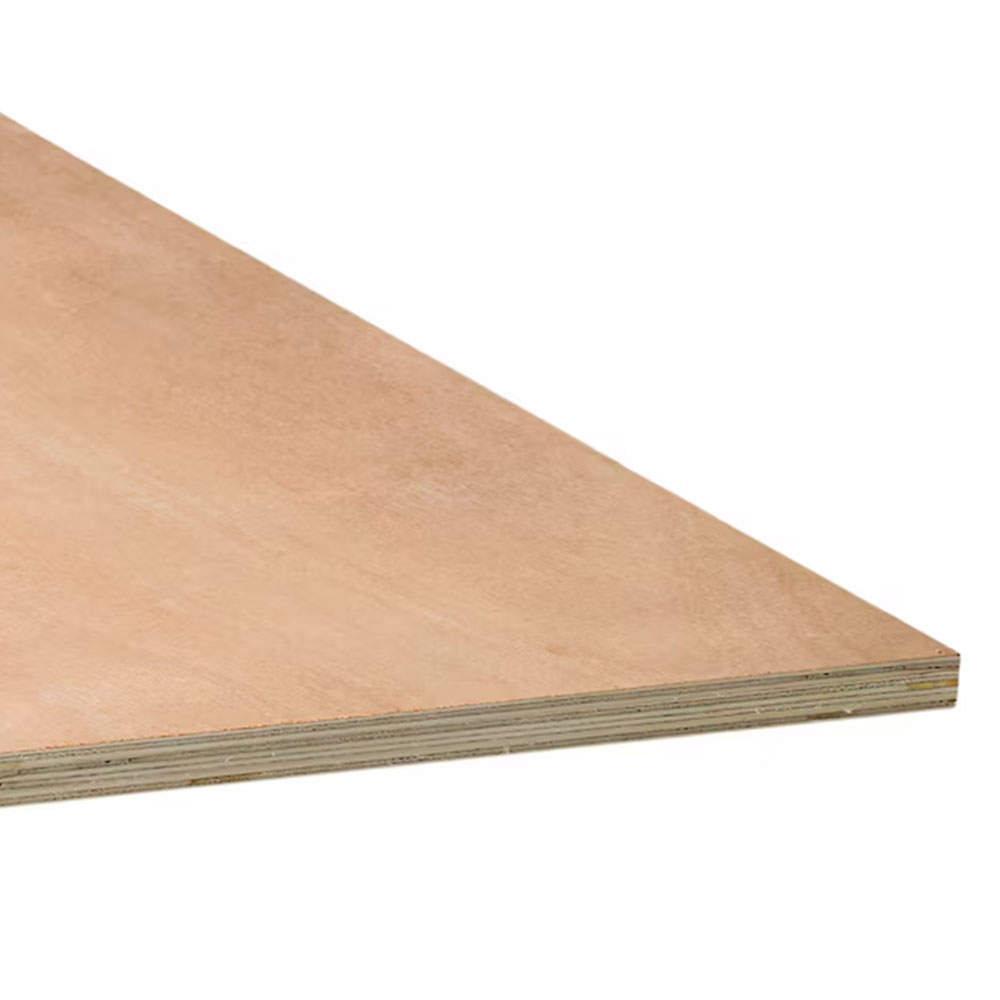
High quality (B2 graded) smooth, sanded plywood sheet that provides the perfect base for a DIY saw guide. Edges have smooth, even cuts with square-cut corners ensuring they are ready to use.
Alongside the tools, Harris and Swindle both recommend using plywood, or MDF for your DIY saw guide. Swindle adds, ‘Use straight-grained plywood or MDF, typically half inch thick for stability.’
‘They are inexpensive, easy to cut, and offer a smooth surface for the saw to glide along. High-quality, straight-grained plywood works best to avoid warping over time.’
Ideally, do not use anything less than half an inch thick, however, if you want extra stability you can use thicker plywood up to three-quarter inch. To help get a good deal, refer to our guide on how to source building materials for less.
How to build a DIY saw step-by-step guide
A DIY saw guide can be any size you want, but if you’re cutting a lot of standard size board Harris recommends an 8ft x 4ft sheet of plywood to work with.
1. Measure and mark

To start Harris says, ‘From the bottom left side of the half inch plywood on the eight foot side, measure three inches over and make a mark.'
Then, repeat the three-inch measurement at the top left of the eight foot side. To finish, pop a chalk line on your three-inch marks to get a straight line.
2. Add aluminum channel
The aluminum channel is the guide for the saw to ensure straight cuts. Harris says, ‘Predrill holes on the bottom of your aluminum channel, such as the Steelworks Aluminum Weldable Trim Channel from Lowes) every six inches.’
Then align your aluminum channel to the right-hand side of your three-inch line and screw the aluminum channel to the plywood, making sure to keep your channel on the chalk line.
Alternatively, you can use a length of factory cut wood which will have a straight edge.
3. Cut to size
To create the right size guide for your saw Harris says, ‘Use your circular saw to cut the excess plywood from your guide. Raise your saw blade so just enough of the blade is showing to cut through the plywood.’
On the largest side of your plywood sheet, align the base of your circular saw against the aluminum track so the blade is furthest from the aluminum guide and cut. 'This will leave you with around four to five inches of plywood which will be your guide for future cuts,' adds Harris.
Put the large piece of plywood to the side for a future DIY project or to make a smaller DIY saw guide.
4. Make guide double-sided
The guide will now have one edge ready to use, but Harris suggests another cut so you have two edges. He says, ‘This will allow you to be able to use both sides of the guide, depending on what your needs are.’
And it's perfect for left or right-handed people.
To create the second straight edge, align the base of the circular saw on the three-inch side of the aluminum guide, so the blade is closest to the aluminum guide, and cut. Now your guide is ready to use.
If you've bailed out of previous projects for the difficulty of getting a straight edge, it might be time to finish your home DIY projects.
If you don’t have the time to make your own saw guide, Swindle recommends a Kreg Rip-Cut Guide (like this Kreg KMA2685 Rip-Cut Circular Saw Guide from Amazon). ‘It's a good pre-built guide for circular saws with adjustable functionality.’
How do you use a saw guide?
Before you start up your saw, check by eye and make sure that the blade is lined up with your cut line and clamp your guide firmly to the material. Then, use your dominant hand to push your saw, and your non-dominant hand to hold the saw guide.
Swindle says when running along the guide, keep a consistent speed and pressure.
Harris adds, ‘Move the saw slowly and don’t try to go too fast.’ Don't force the blade. Circular saws cut up so you can flip the wood over, but that is not necessary if you have the correct blade.’
This stops tear out and gives a neater cut on the surface that is seen.
FAQs
What is the best way to secure a saw guide?
When using a saw guide it's commonly used with a power tool, so for your safety it needs to be secured. But it's not just for your protection as Harris explains, ‘A saw guide needs to be secure, if it’s not it can lead to a poor cut on the wood.’
To avoid injury, or a wonky cut Harris advises clamping your guide to the material you want to cut.
Swindle adds, ‘Use quick release clamps’, such as the these WORKPRO Bar Clamps from Amazon. You squeeze the handle to get a vice-like grip on wood. But if you don’t have clamps to hand, Swindle suggests screwing the guide into the workbench, if the material allows.
But be warned, as I know from experience that will leave screw holes in the wood. So make sure to screw into a side of the wood you don’t want, or turn it over to cut, leaving the screw holes on the underside of the wood.
The best way to get a clean cut?
To get a cleaner cut Swindle says ‘Use a blade with more teeth for finer cuts.’ Harris adds, ‘The more teeth on the blade, the cleaner the cut you will get.’
The common choice for blades that come packaged with a new circular saw is 24 teeth. Choose a blade with 40 or 60 teeth, such as the Makita 40T Carbide-Tipped Circular Saw Blade from Amazon, this will be marked as 40T or 60T.
One note of caution when choosing a new blade is to make sure it's the right size for your circular saw. If you have a 165mm saw, you need a 165mm saw blade.
A saw guide is the perfect companion for neat straight cuts on a host of DIY projects.
It's ideal if you're learning how to install shelves in an alcove as your DIY saw guide can be called into action.
Design expertise in your inbox – from inspiring decorating ideas and beautiful celebrity homes to practical gardening advice and shopping round-ups.

Steve has been a homes writer and editor for two decades, regularly contributing to brands like Homebuilding & Renovating Magazine. He is an avid DIYer with over 20 years of experience transforming and renovating homes. He specializes in painting and decorating but has strong all-around building skills, having worked in the industry for ten years.