I didn't have enough storage in my tiny bedroom so I turned an alcove into a DIY closet – it tripled my storage space and cost 90% less than a built-in
I used a few IKEA items to maximize space in my tiny bedroom
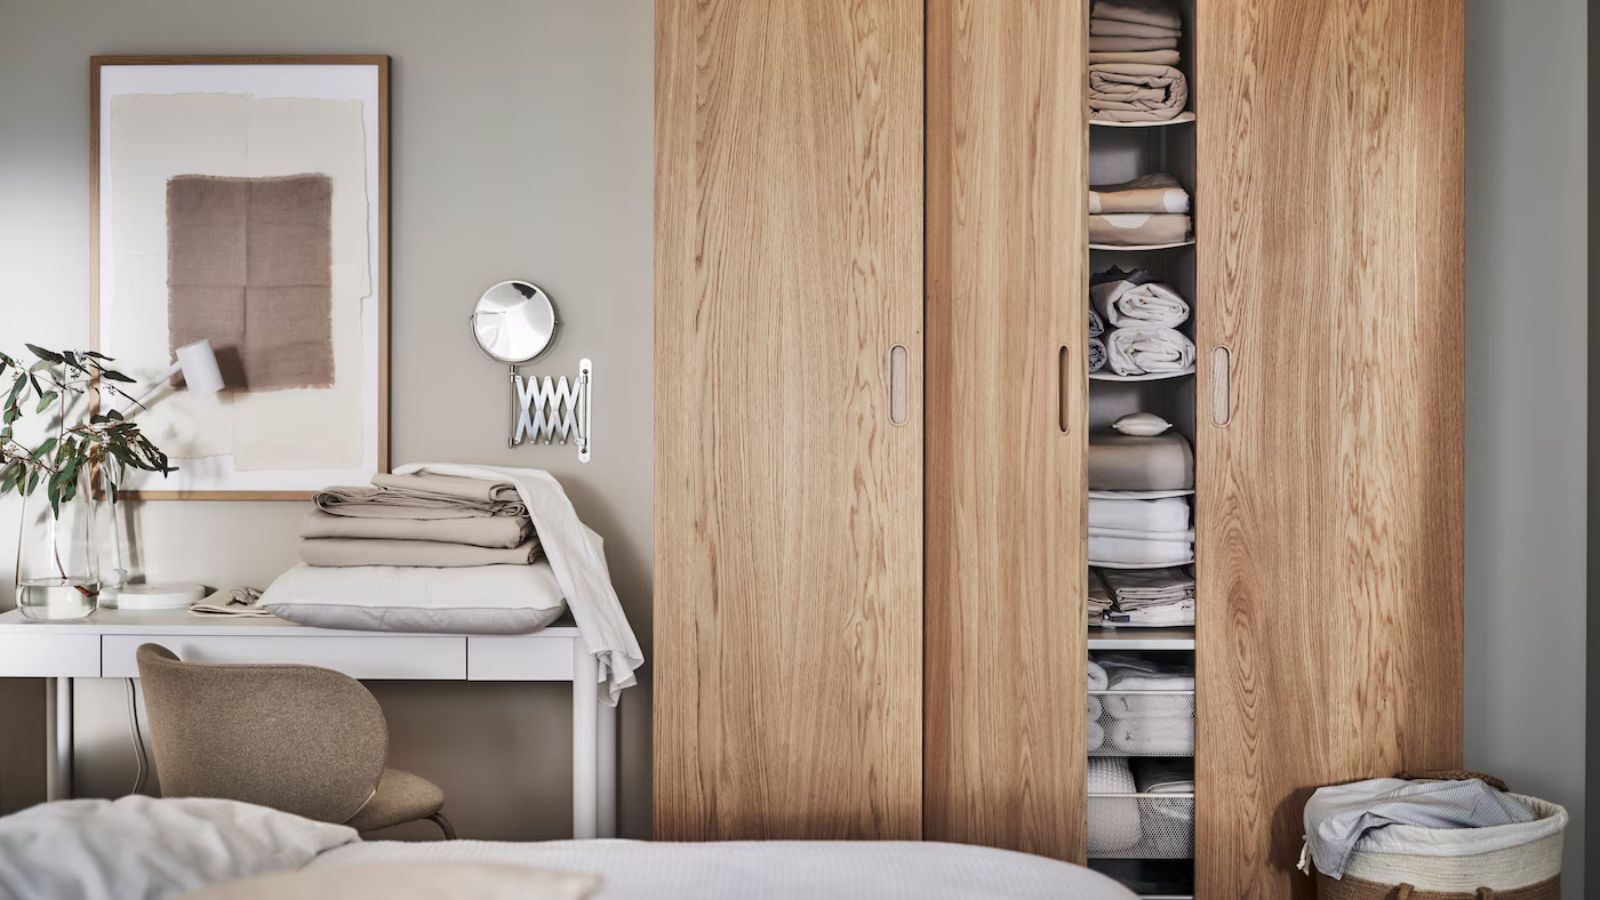

Space was always going to be tight in my apartment. I live in an expensive city, where money doesn't go far, but I was so grateful to be able to buy my tiny home, that I was willing to make the small proportions work.
The open plan living room and kitchen doesn't feel crowded but the tiny bedroom was a whole other story. It didn't have the space to handle any bulky furniture beyond my bed and dresser leaving me without a closet.
That's why I thought a bespoke built-in closet in the corner alcove would be perfect, until I heard the eye-watering costs. Instead, I used a few bits from IKEA to carry out a weekend DIY project that tripled my bedroom storage and cost just a tenth of the price I was quoted for a built-in version.
Turning my tiny bedroom alcove into a closet in one weekend
How I added extra storage to my tiny bedroom with this easy DIY
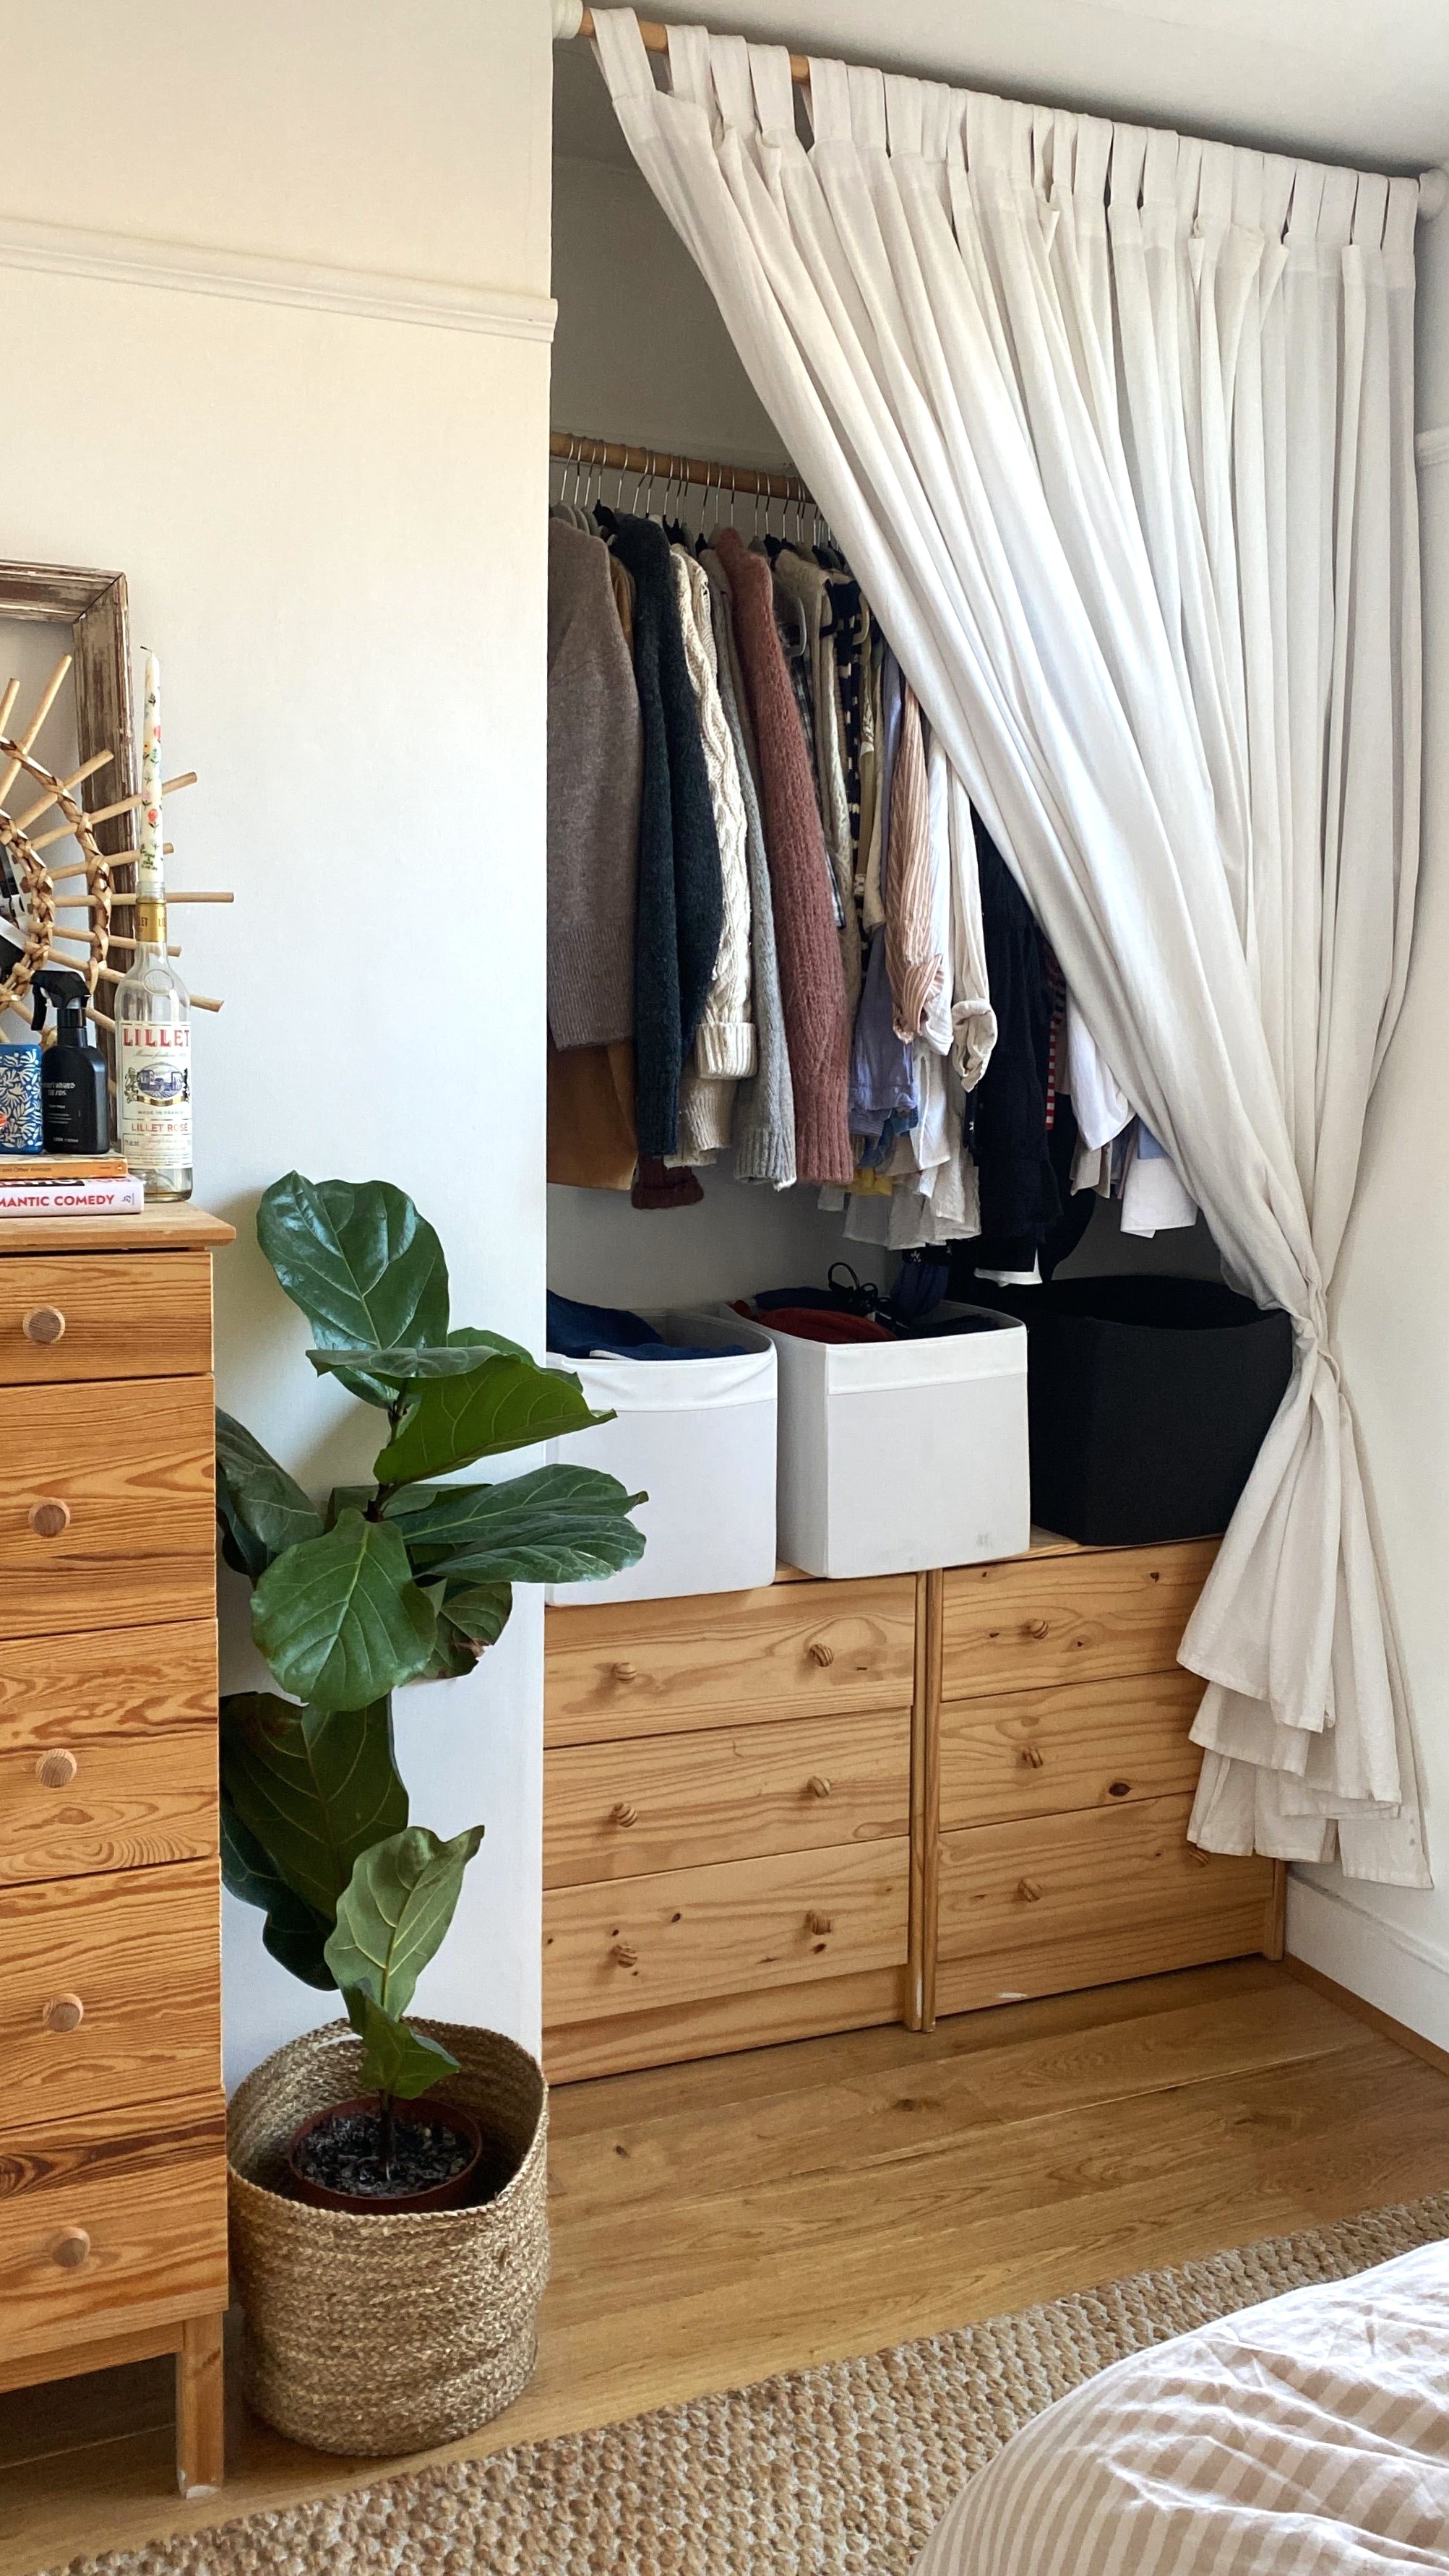
The result of my weekend DIY project
While I was looking over the many eye-wateringly expensive quotes I received for a really small built-in closet, I had a very handy epiphany, and it all came together in my mind, what I was going to do instead, right down to the last detail.
Even as I explained it excitedly to my partner he couldn't really see the vision. But with a whole load of clothes currently living on the couch, I thought my small closet idea was worth a try.
And five years later, I still love the DIY closet I created and haven't felt the need to switch to a built-in either.
With just five products (mostly from IKEA) I made use of every inch of that alcove space and tripled the bedroom storage I would have had with a small freestanding closet, or the visual clutter of open storage.
What you'll need
- All from The Home Depot
- Spirit level
- Two round wooden dowels: the thicker the better
- Tape measure
- Step ladder
- Two-closet rod sockets
- A drill
- Storage boxes (optional). I like this lidded storage bin which comes in four matte colors
- Chest drawers (optional)
- Heavy curtain (optional)
1. Measure up your space and plan how you use it
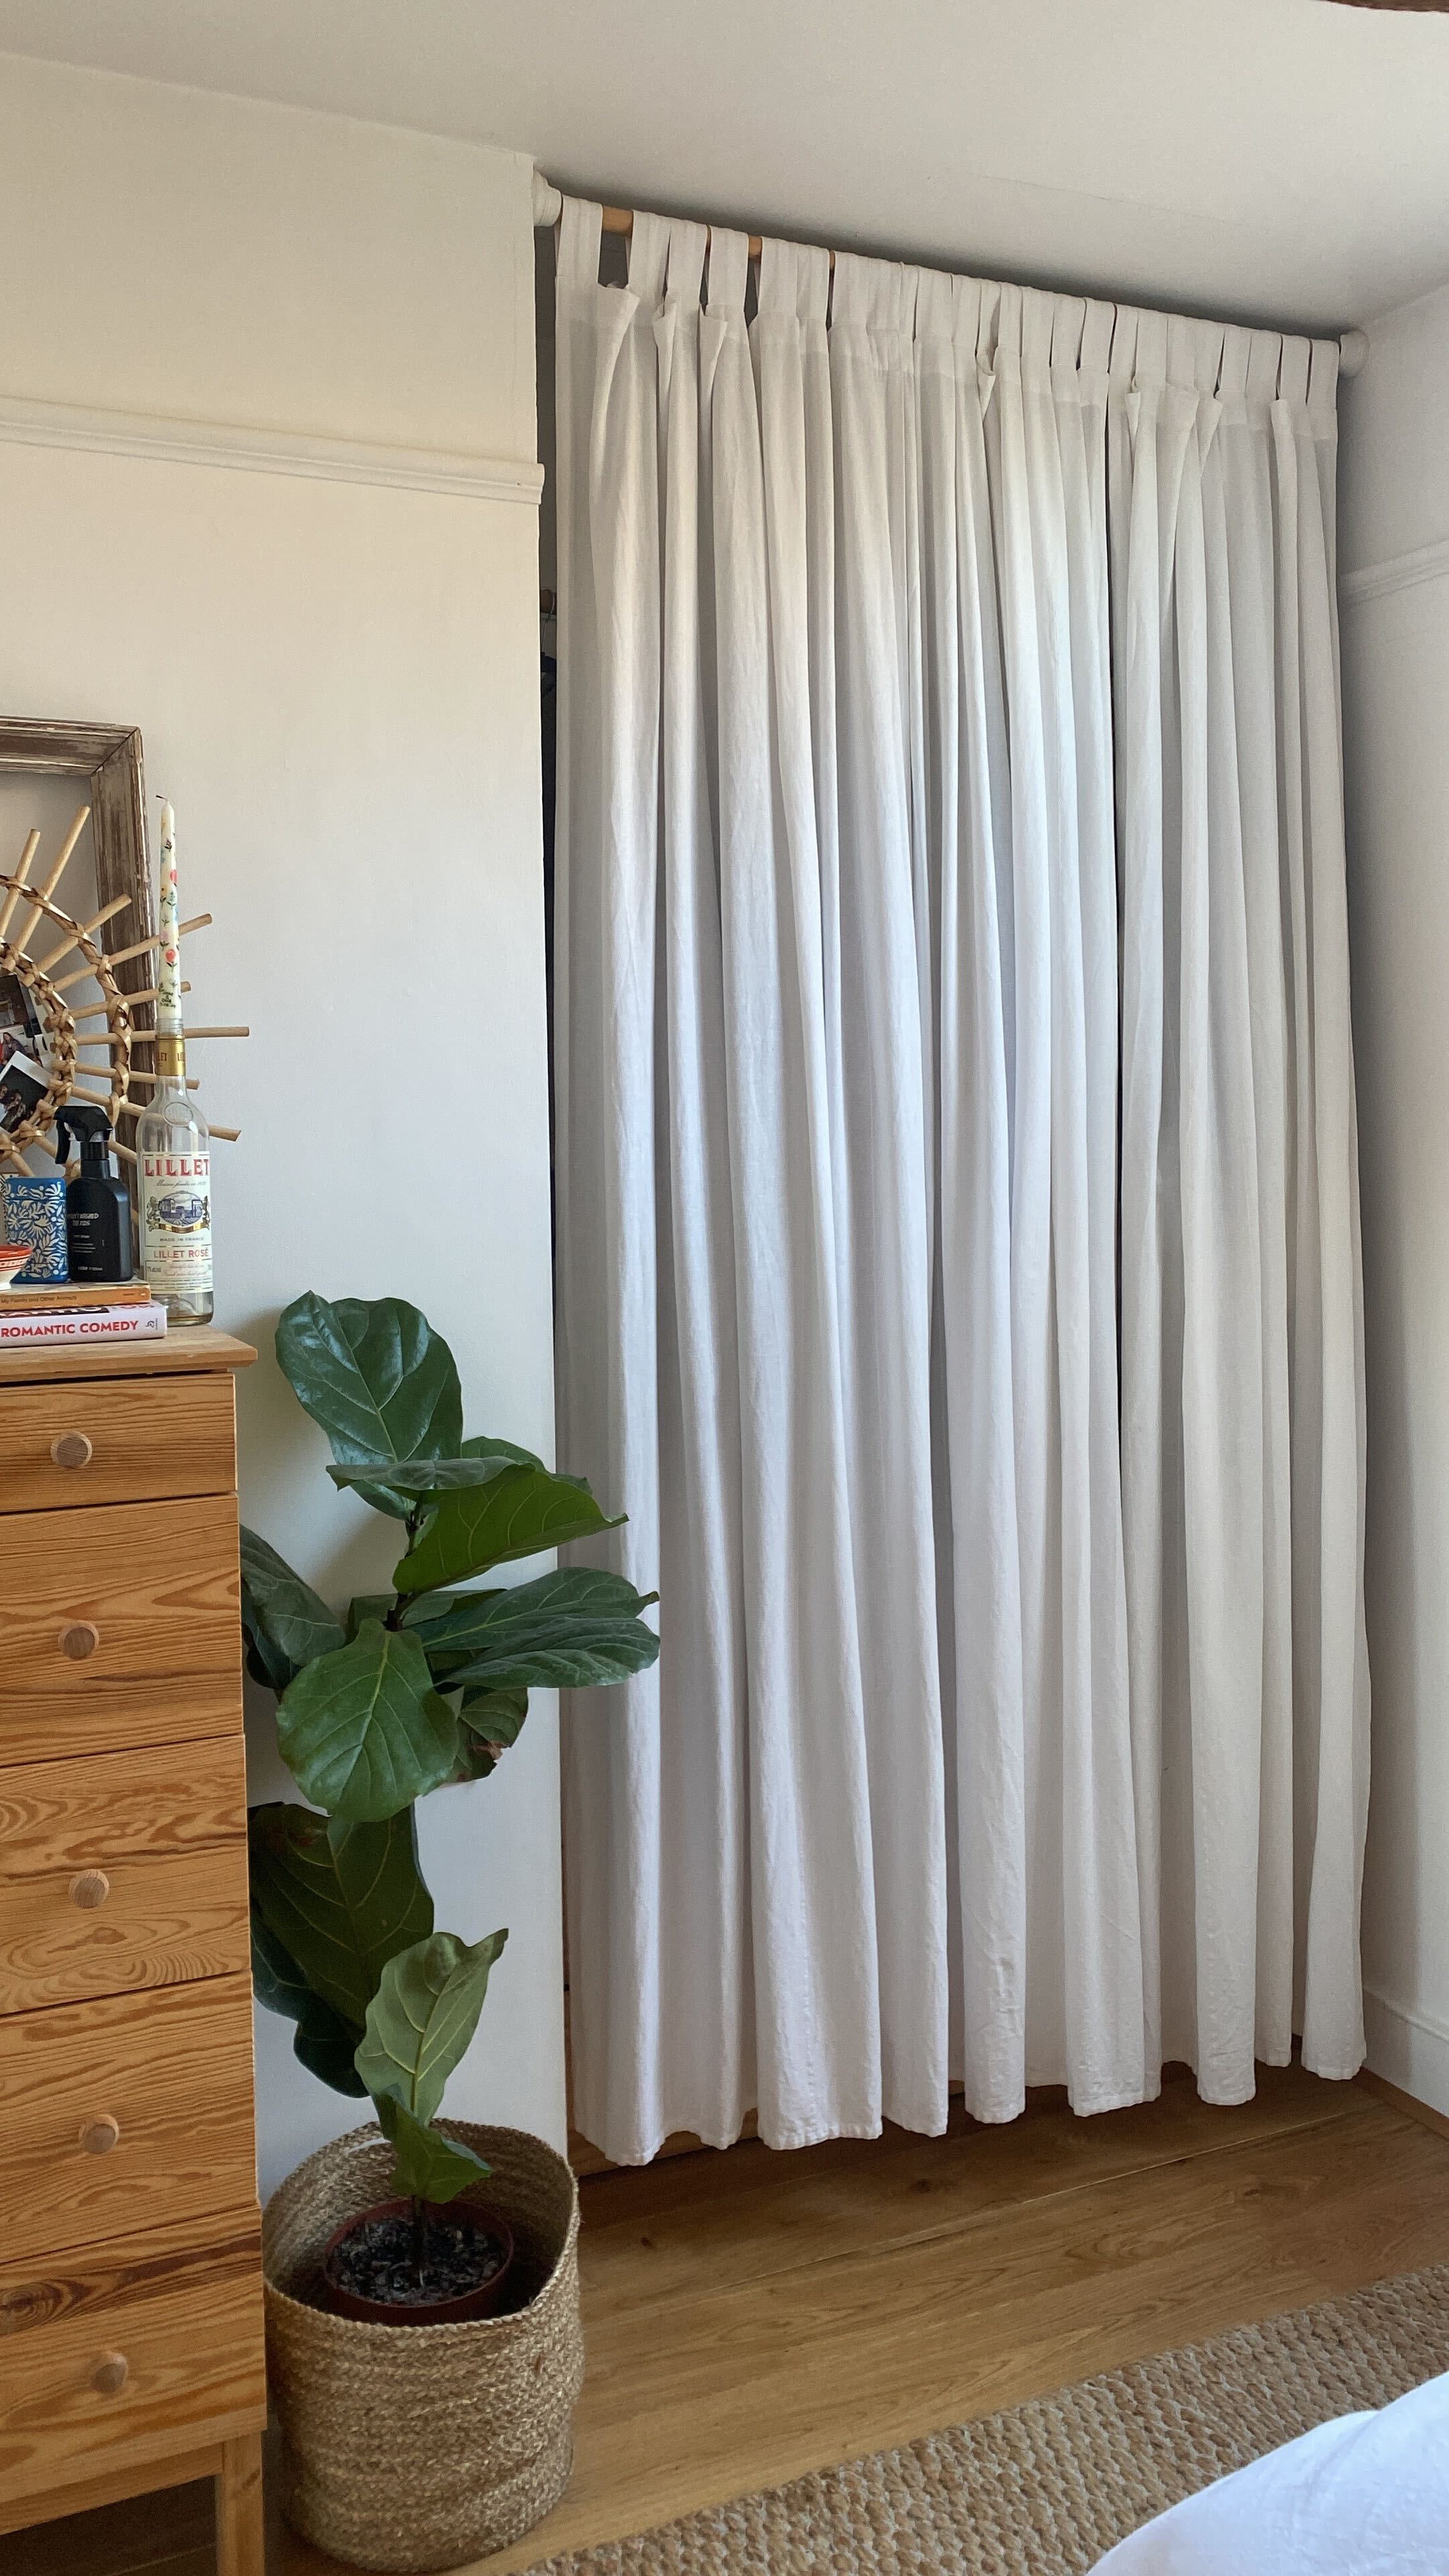
The first thing I did for this project is measure up the dimensions of the alcove. This meant I could find the right length dowel for the hanging rail and the curtain rail. But it also meant I could find the right storage pieces to sit at the bottom of the closet. I was so pleased to find that two of the IKEA RAST drawers fit snuggly within the dimensions. And on top of those, three of the DRÖNA boxes.
I would say at this point, while you are measuring up, think about how you want to use the space. Drawers made sense for me as I had limited drawer space elsewhere, but you could add just boxes or leave the space empty for storing bulky items like suitcases or shoes, or longer clothes such as dresses or items clothing bags.
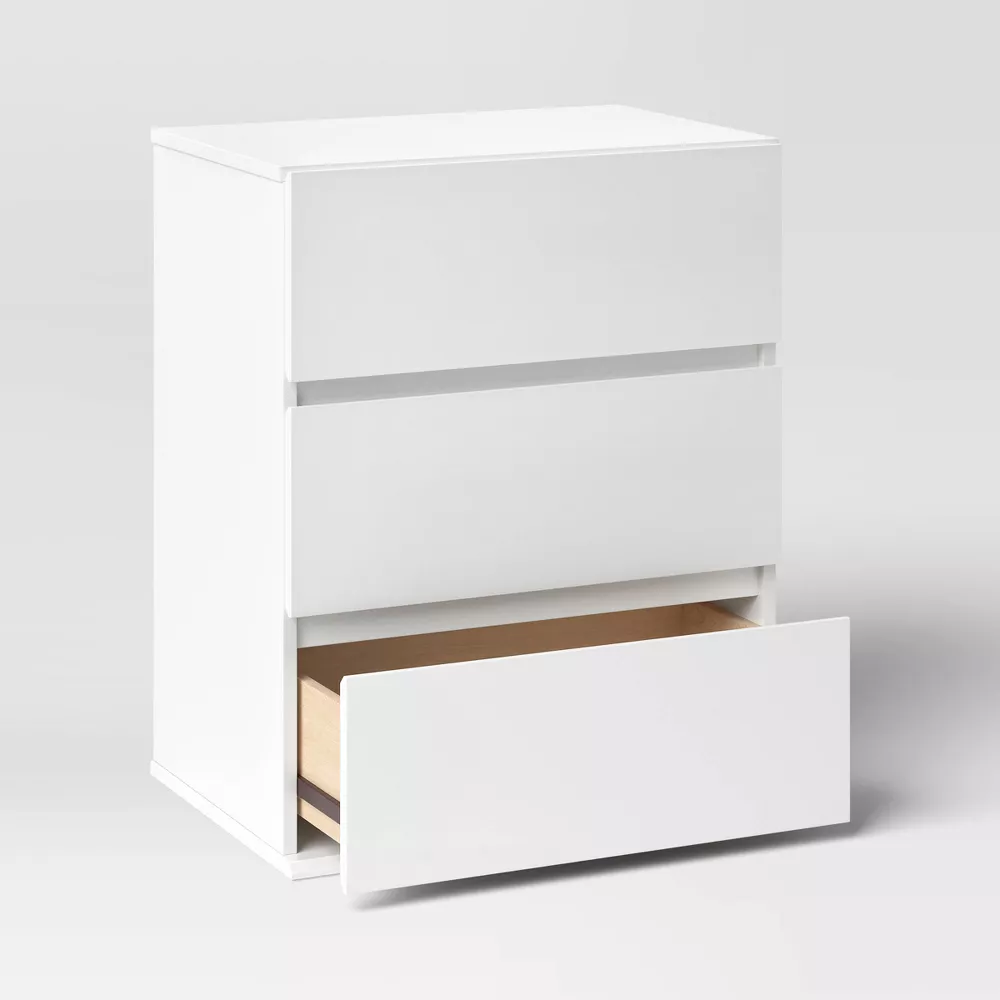
A slight regret I have for my DIY is going for wooden drawers over something more simple and white. I think it would look more streamlined and make the drawers blend in with the alcove better. These from Target are still super affordable and have a small floor footprint.
2. Plan the height you want your hanging rail

Then, based on what you want to hang, and what setup you want at the base of your closet, decide on the height of your hanging rail.
If you hang lots of dresses or longer pieces, you want this to be high enough for them to hang nicely without getting creased at the bottom. And make sure the height is at a comfortable one for you to be able to reach up easily and pick out your outfits.
If you weren't hanging too much in your closet, you could even use a tension rod – it would be one of the alternative ways to use a tension rod around your home.
This heavy duty expanding tension curtain rod from Amazon can fit anywhere between 51-126 inches and take the weight of a pair of thick curtains so it will work well if you don't overload it.
3. Mount the hanging rail
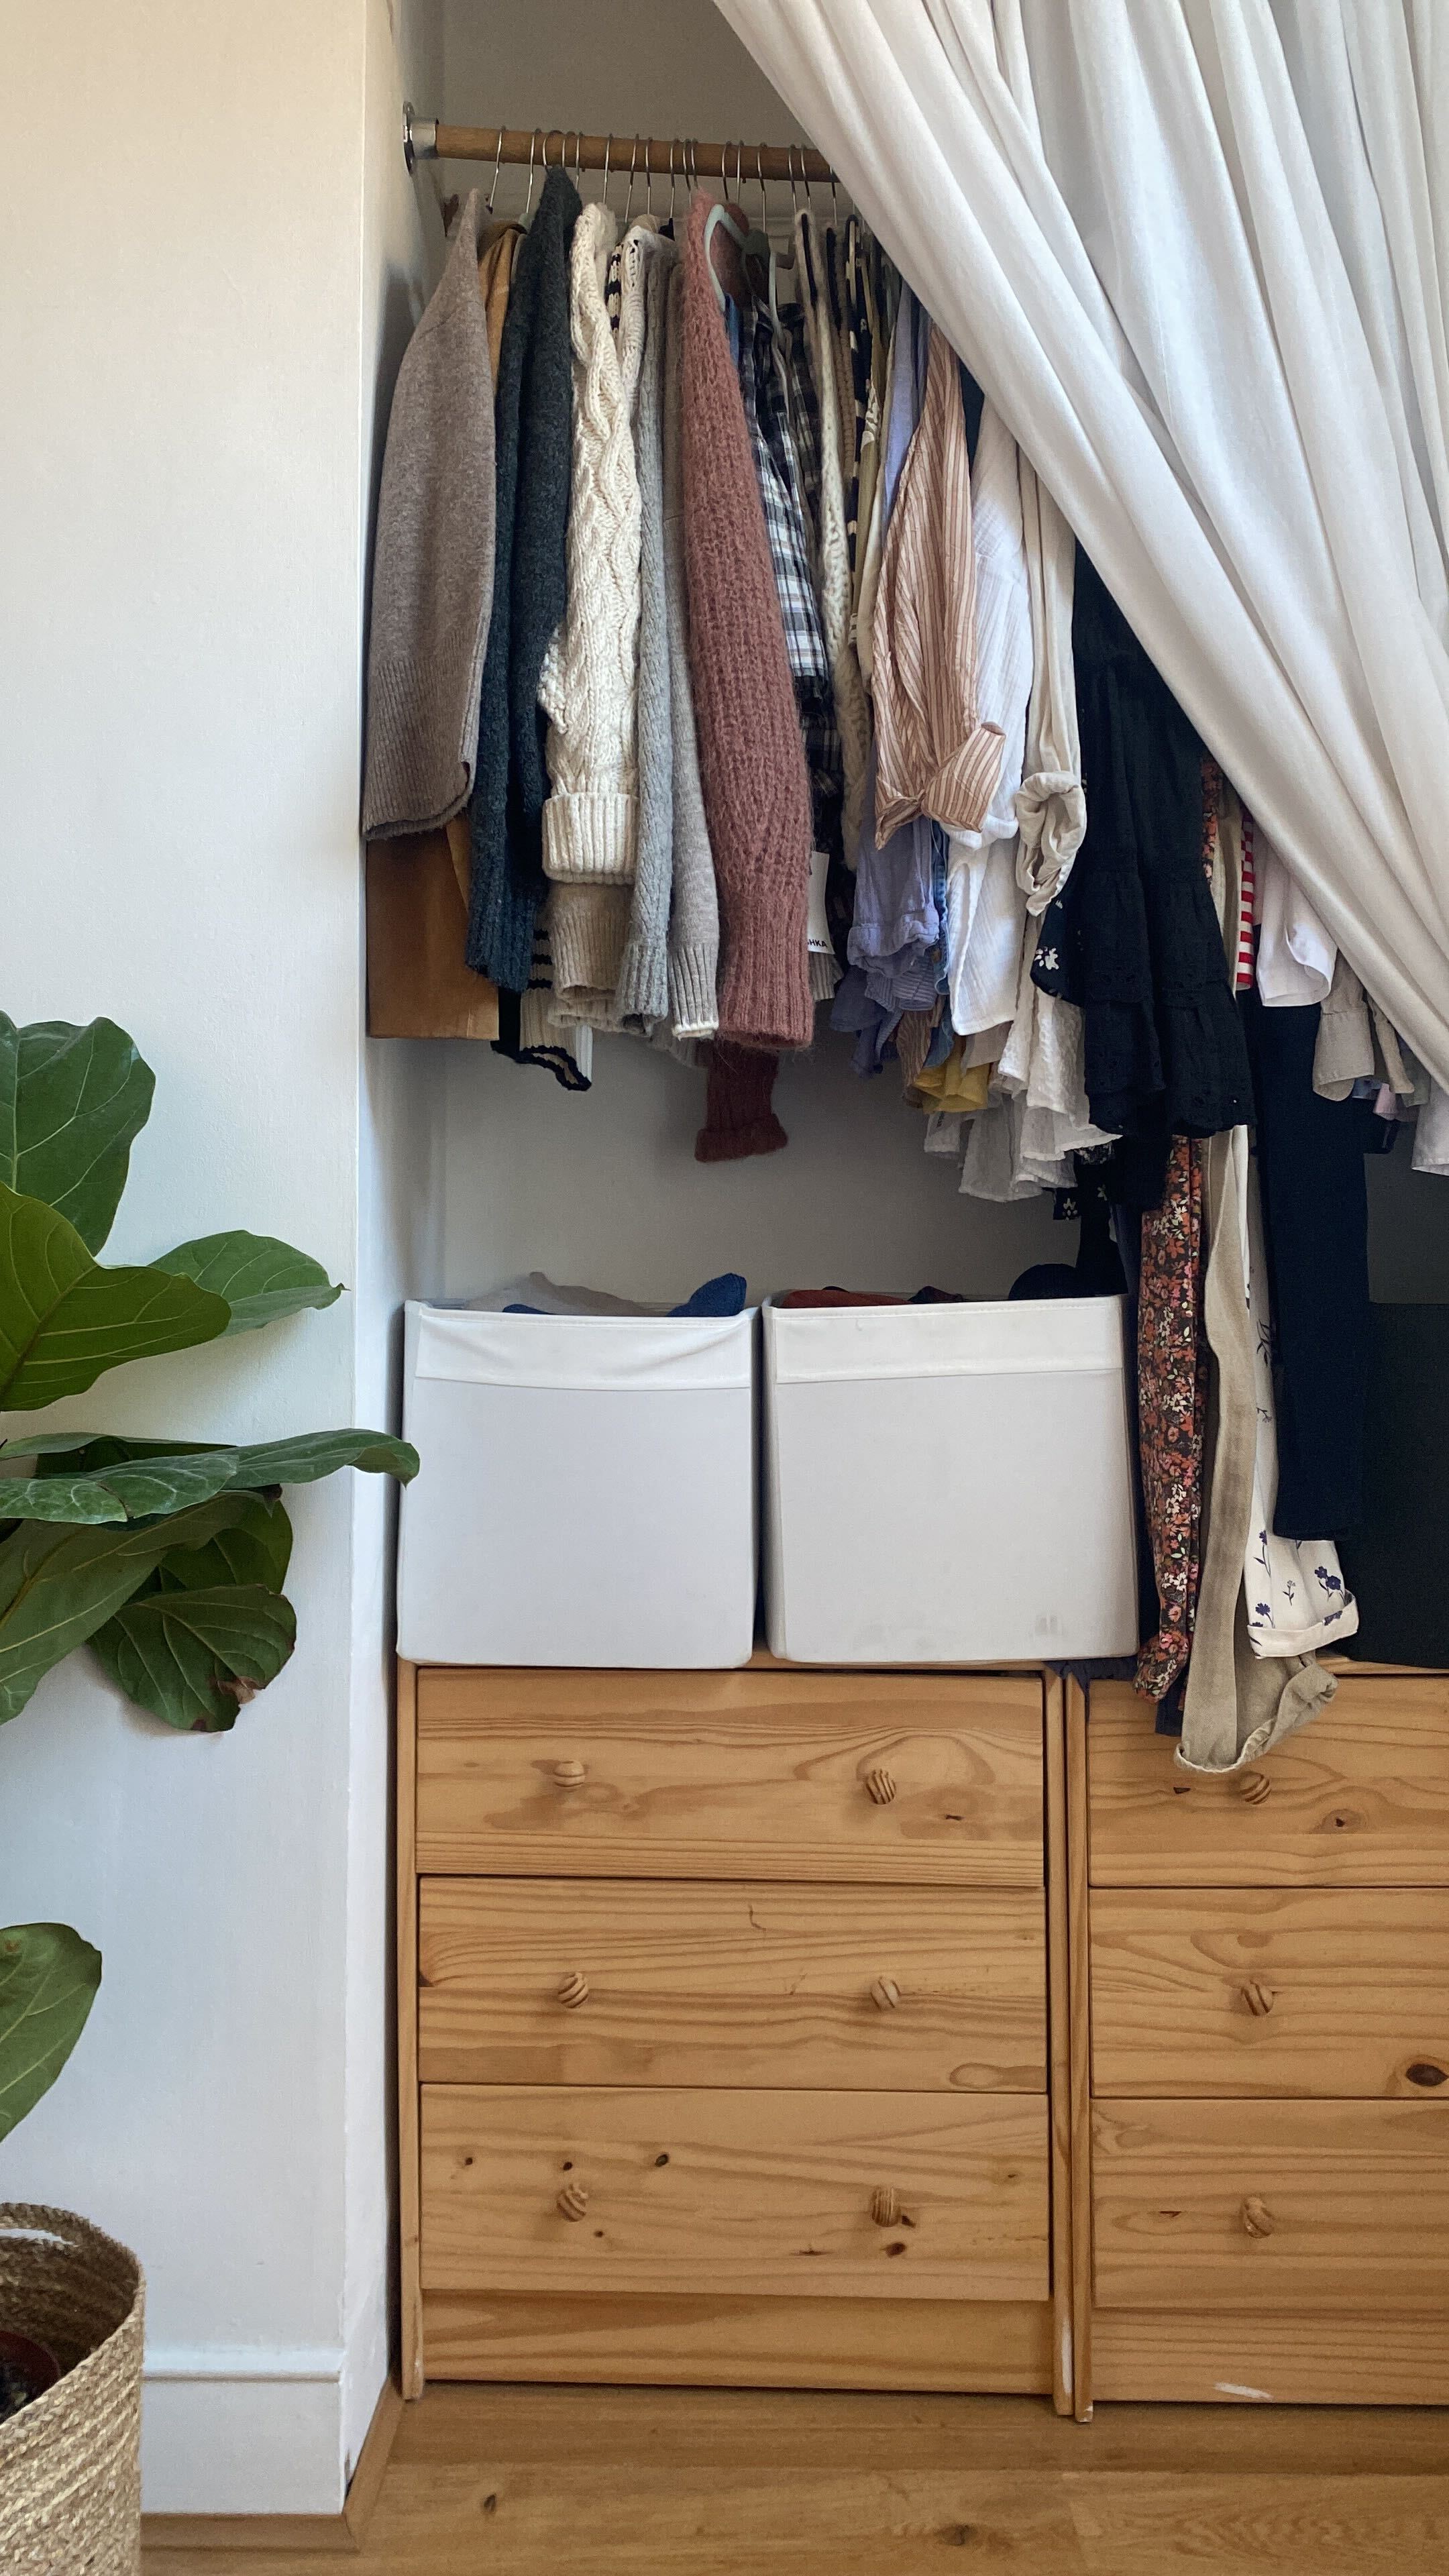
Once I had decided on the right height for my space, adding in the hanging rail was the first 'element' I added to the alcove. I checked the measurements of the width of the alcove again, and cut the wooden dowel down to length.
It was a two-person job to ensure it was straight using a spirit level, so I'd recommend a digital laser level if you like doing doing. You can check the straightness without any doubt or help.
I then clearly marked on each side of the alcove where the dowel would need to be secured to the wall. I then drilled each bracket into the wall at the point I had marked – go for half-enclosed brackets, it makes the job far easier.
Lastly, I placed the dowel into the brackets and again used a spirit level to check it was straight.

This comes with a magnetic part to help keep it steady as you work.
4. Mount the curtain rail
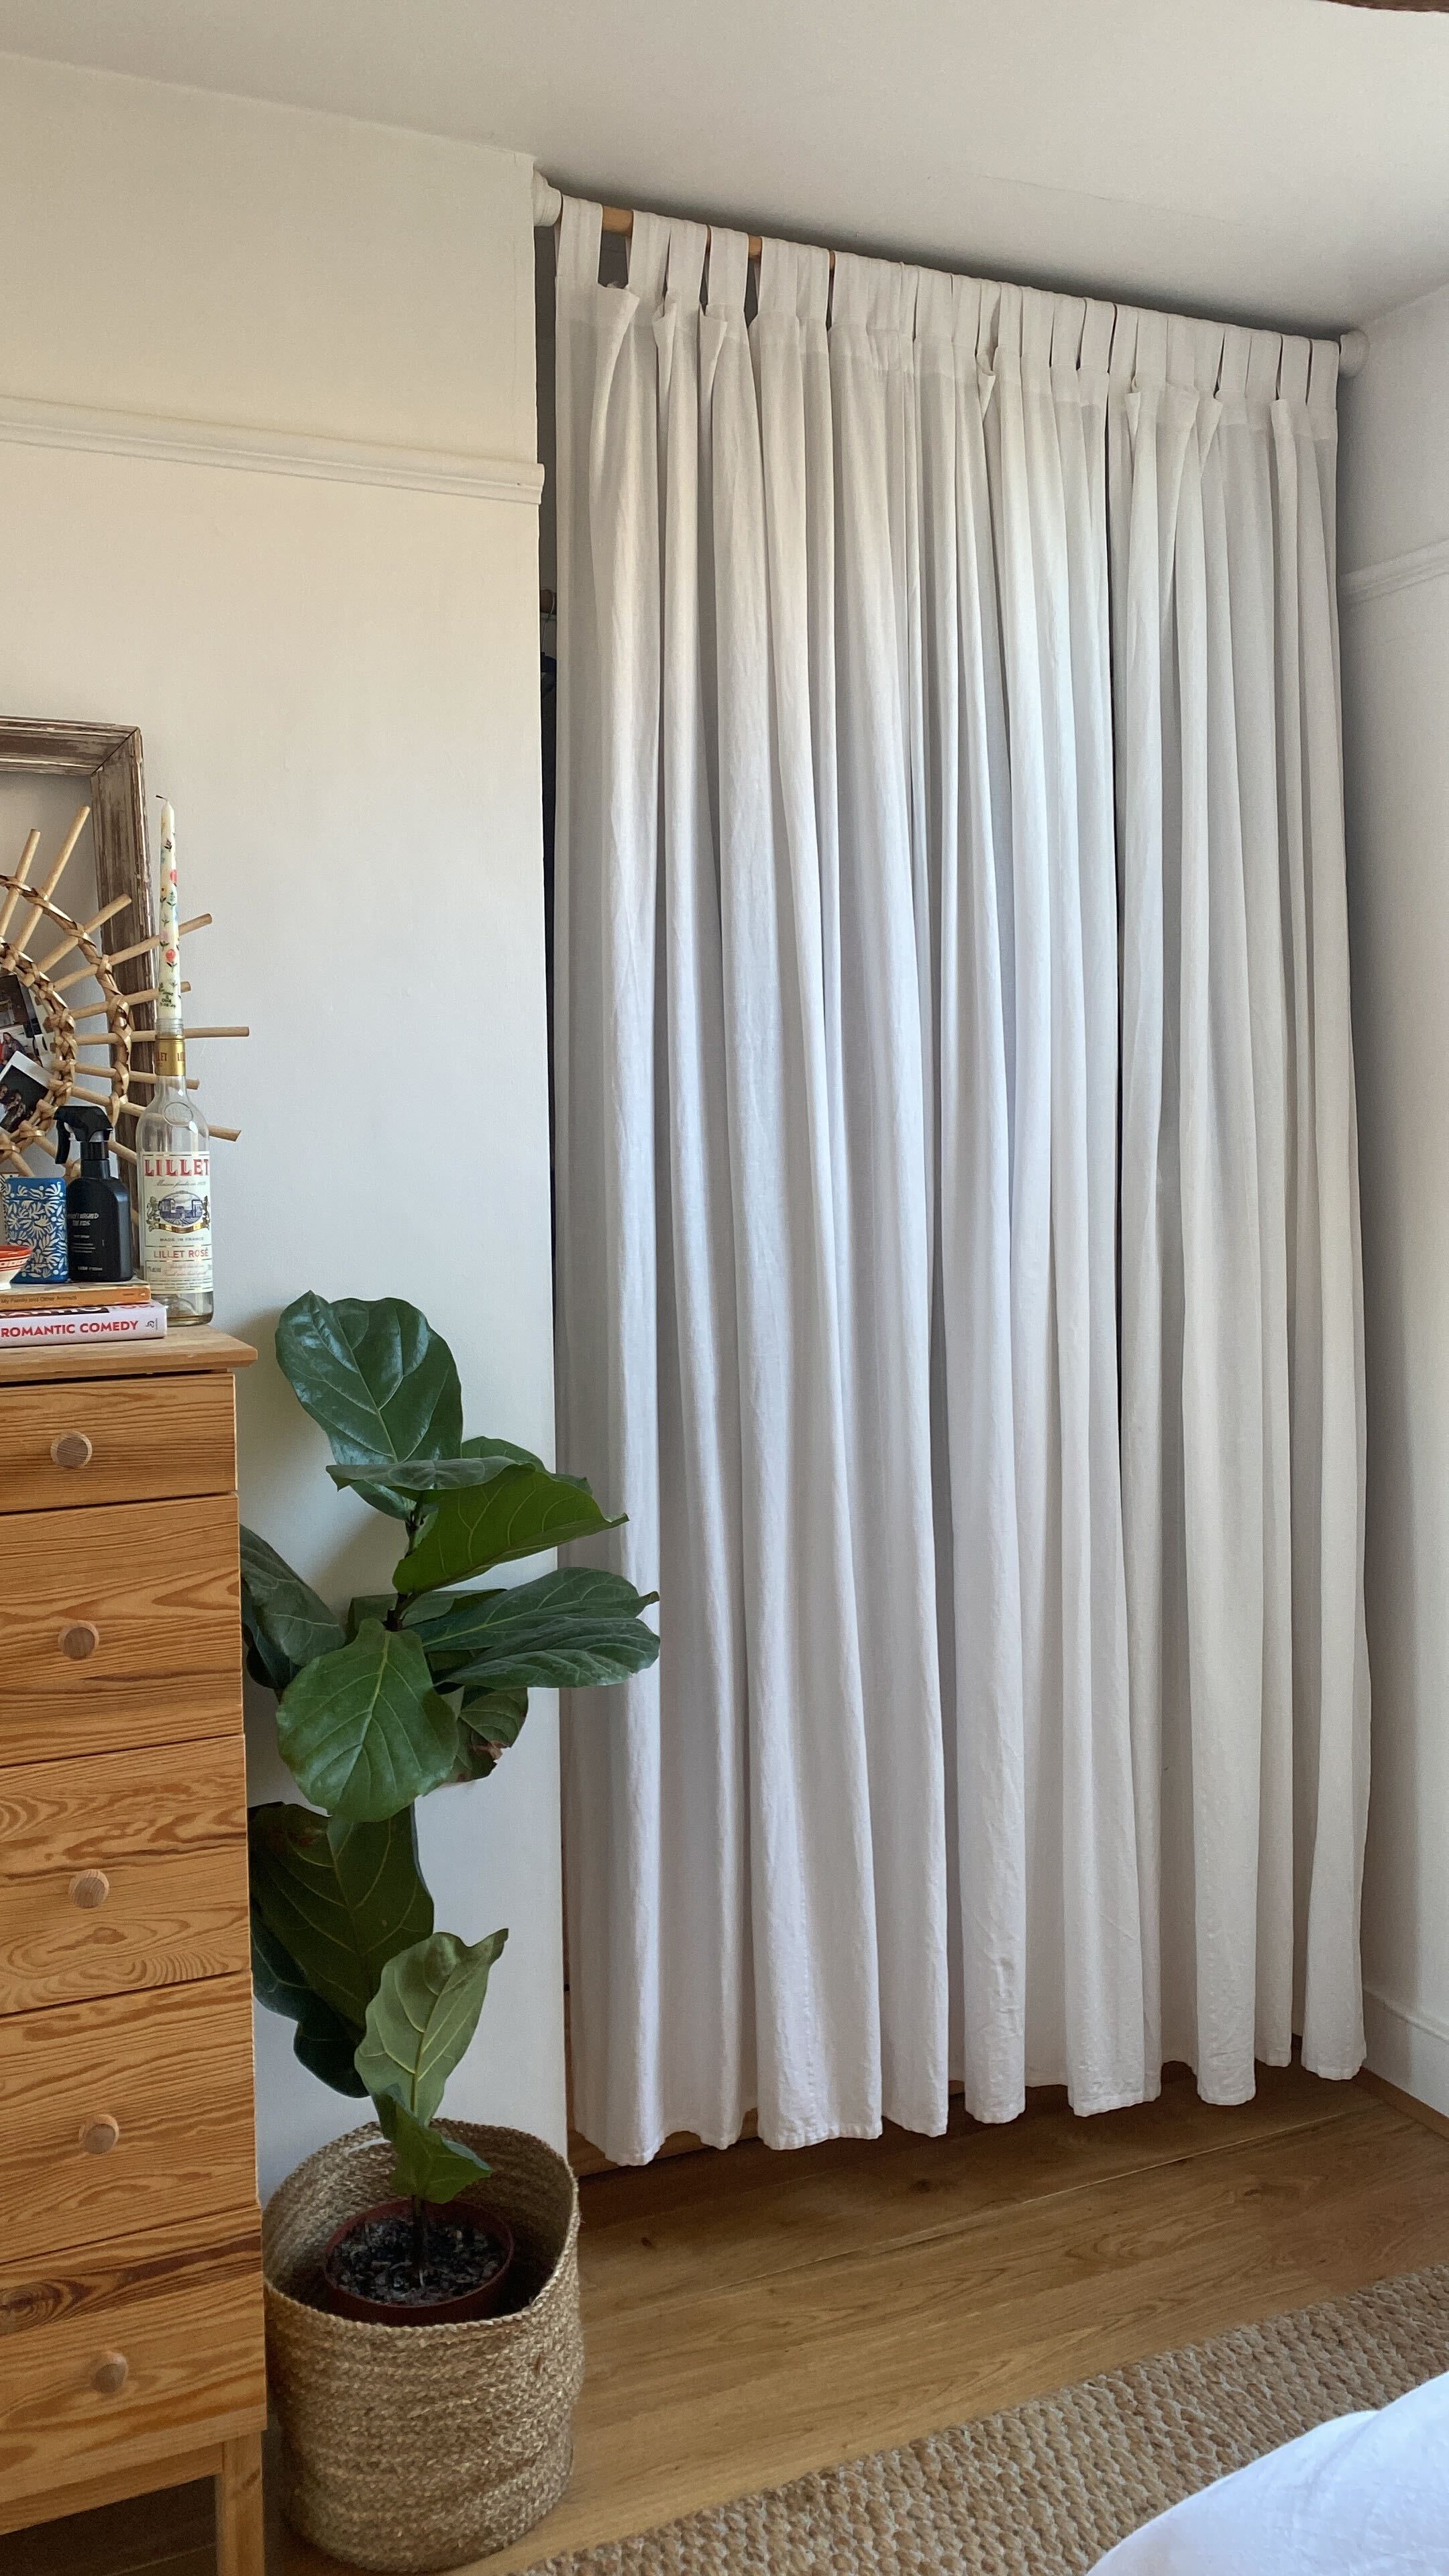
I opted for a floor-to-ceiling length curtain to draw the eye up
If you are someone who has an aesthetically pleasing space already packed with closet organisation ideas, you could skip this step and leave your closet open. But I am no such person, so something to cover my closet was a must and a simple, white curtain seemed like the most obvious answer.
For this step, it's very similar to hanging the clothing rail, however, be sure to hang this dowel a few inches from your ceiling. And when adding in the brackets do make sure you have enough room to be able to lift the dowel in and out of place, so you can get it in initially but also so you can easily remove your curtains to wash or switch them out.
5. Add in your extra storage

I used boxes to house sweaters
Before you start hanging clothes, add in any of the extra closet storage ideas you want at the bottom of the closet. Give the empty alcove a quick vacuum first to ensure it's clean and you've got rid of any dust from drilling in the brackets. If you've never used a Damp Duster, available on Amazon, before you're missing out on much easier cleaner.
6. Hang the curtains
The final step is to hang the curtains. I went with something simple and white. Measure your curtains to check they will hang nicely all the way to the floor of your alcove and go for a heavy fabric. These will be like your closet doors so you want them to be thick and strong enough so clothes and hangers aren't always poking through.
I made the mistake of first ordering some gorgeous gauzy ones, which totally weren't up for the job.
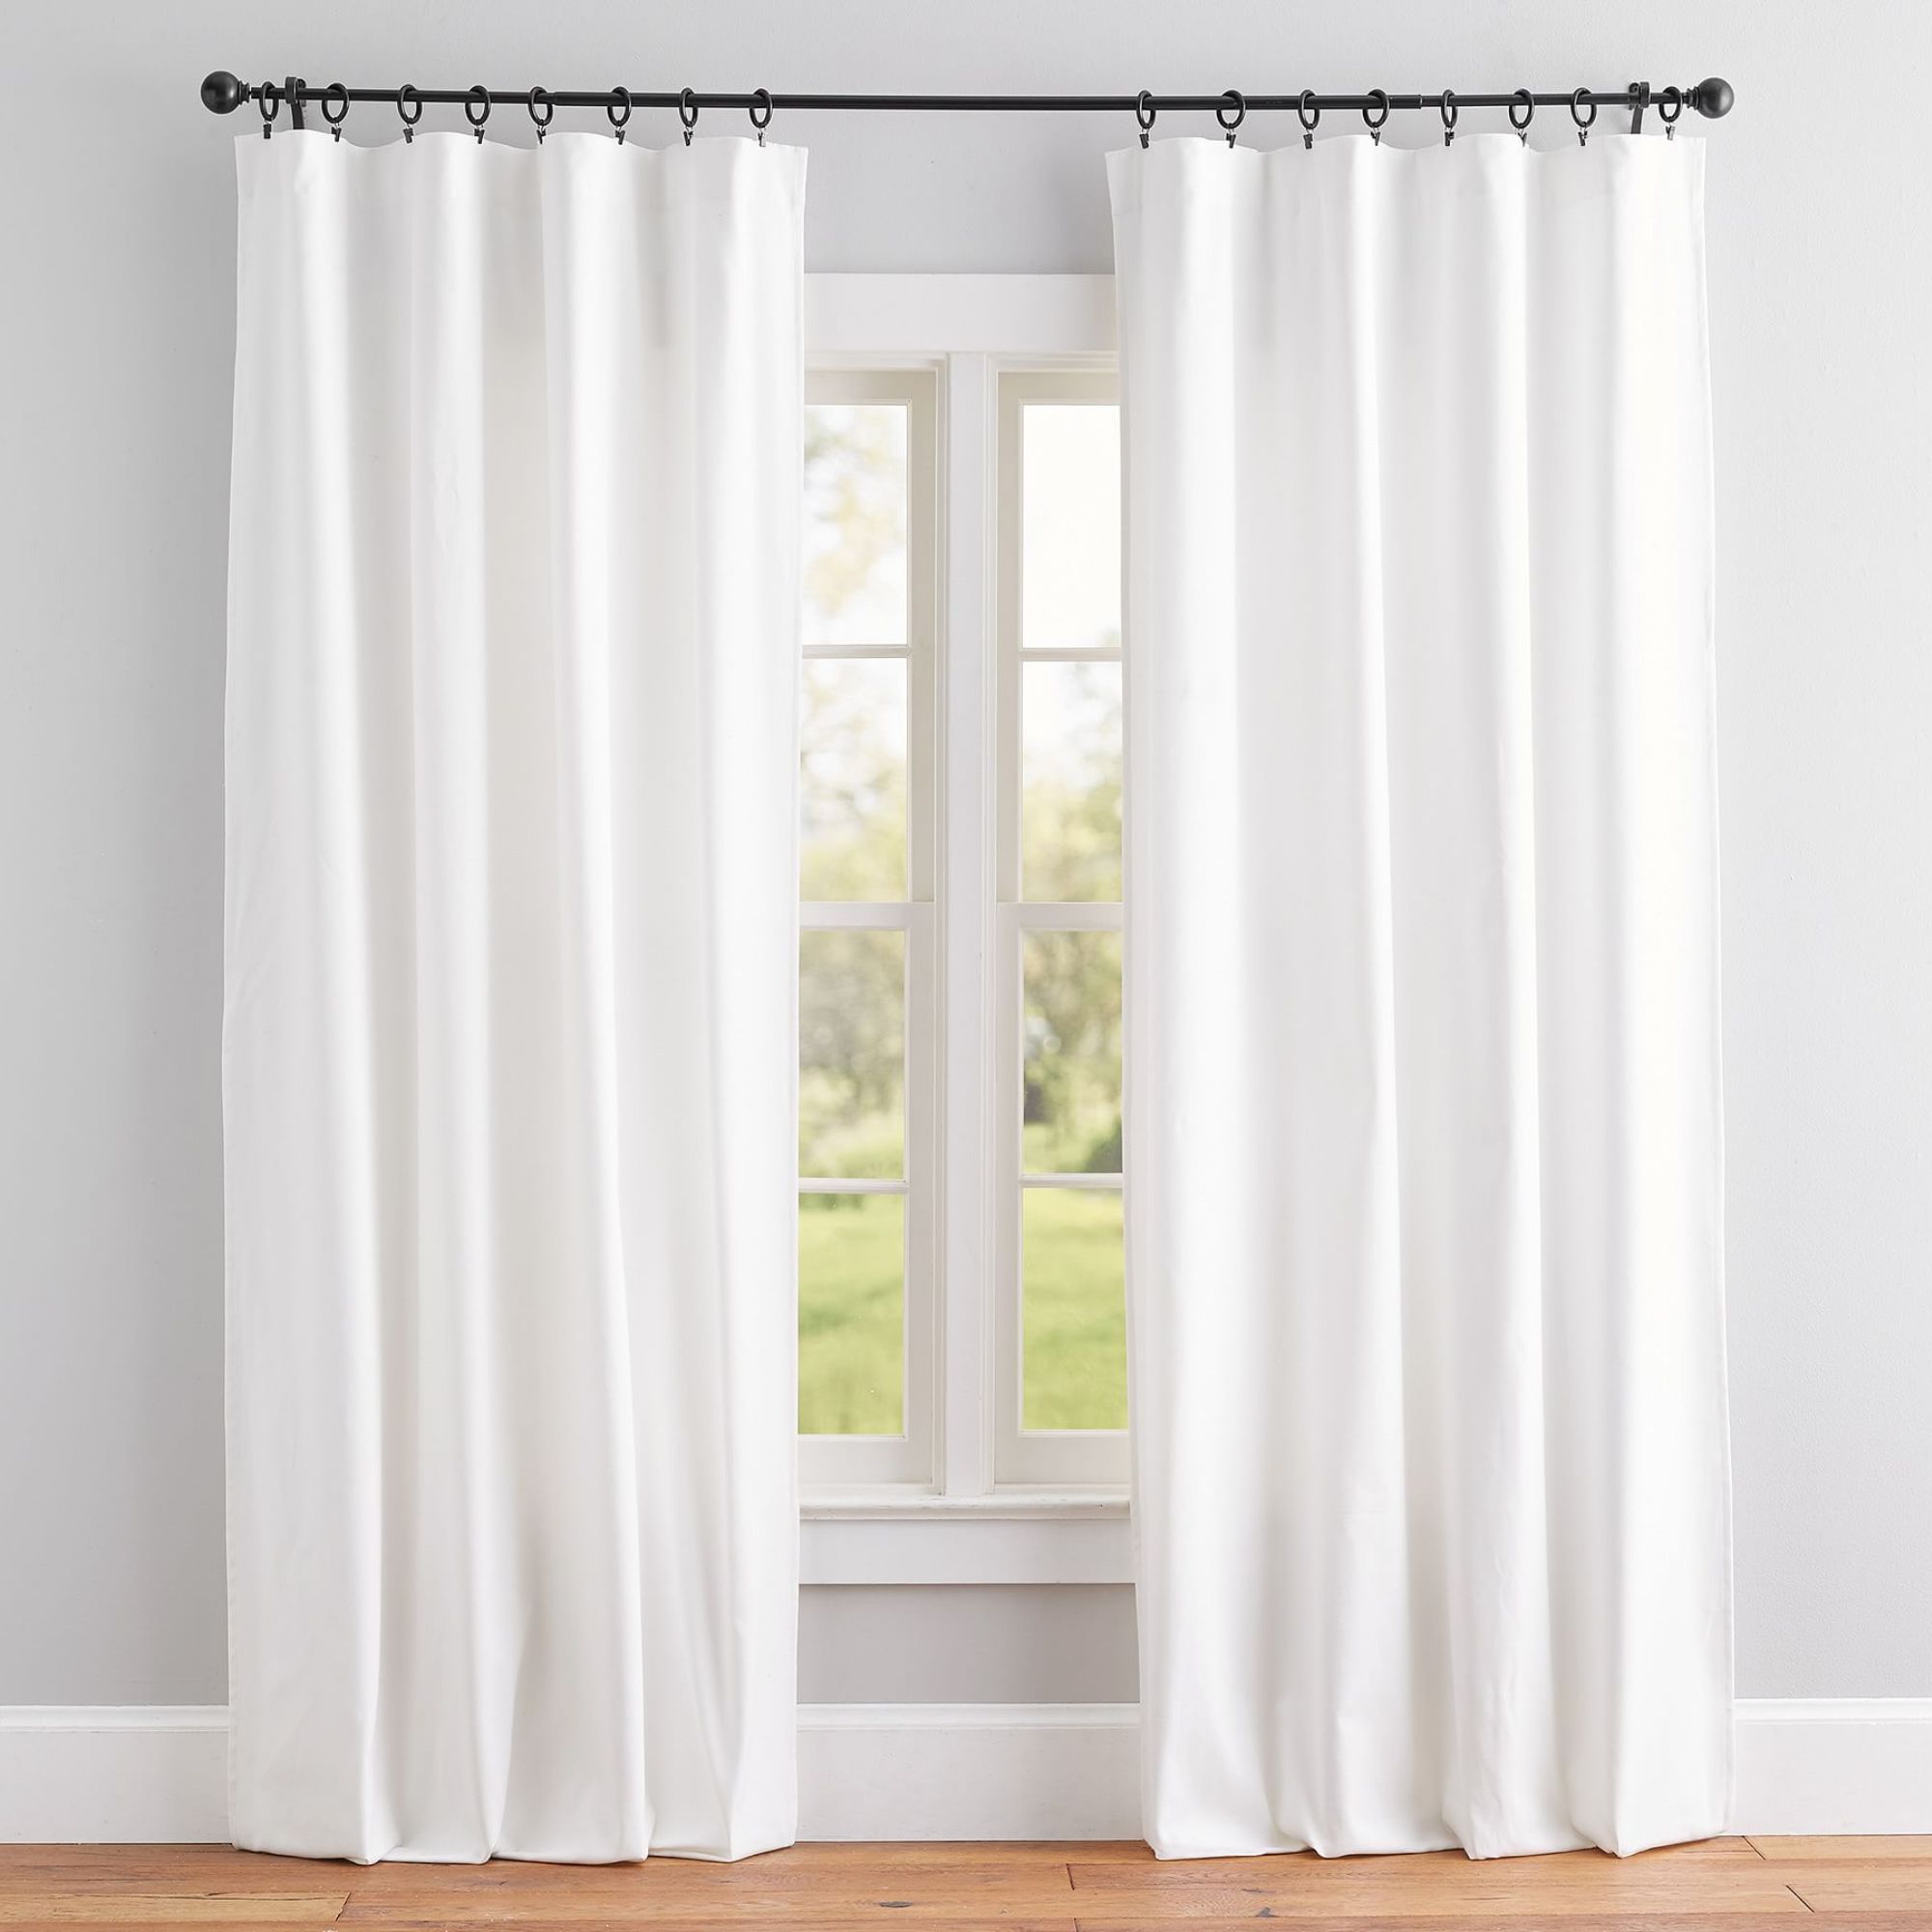
As Head of Interiors at H&G, I often prioritize aesthetics over practicality, but the curtains for my closet needed to do both. Thick enough to hold clothes in slightly, but not so thick they hang awkwardly, you want something with a bit of weight and a nice texture too – and these pure cotton curtains from Pottery Barn are perfect.
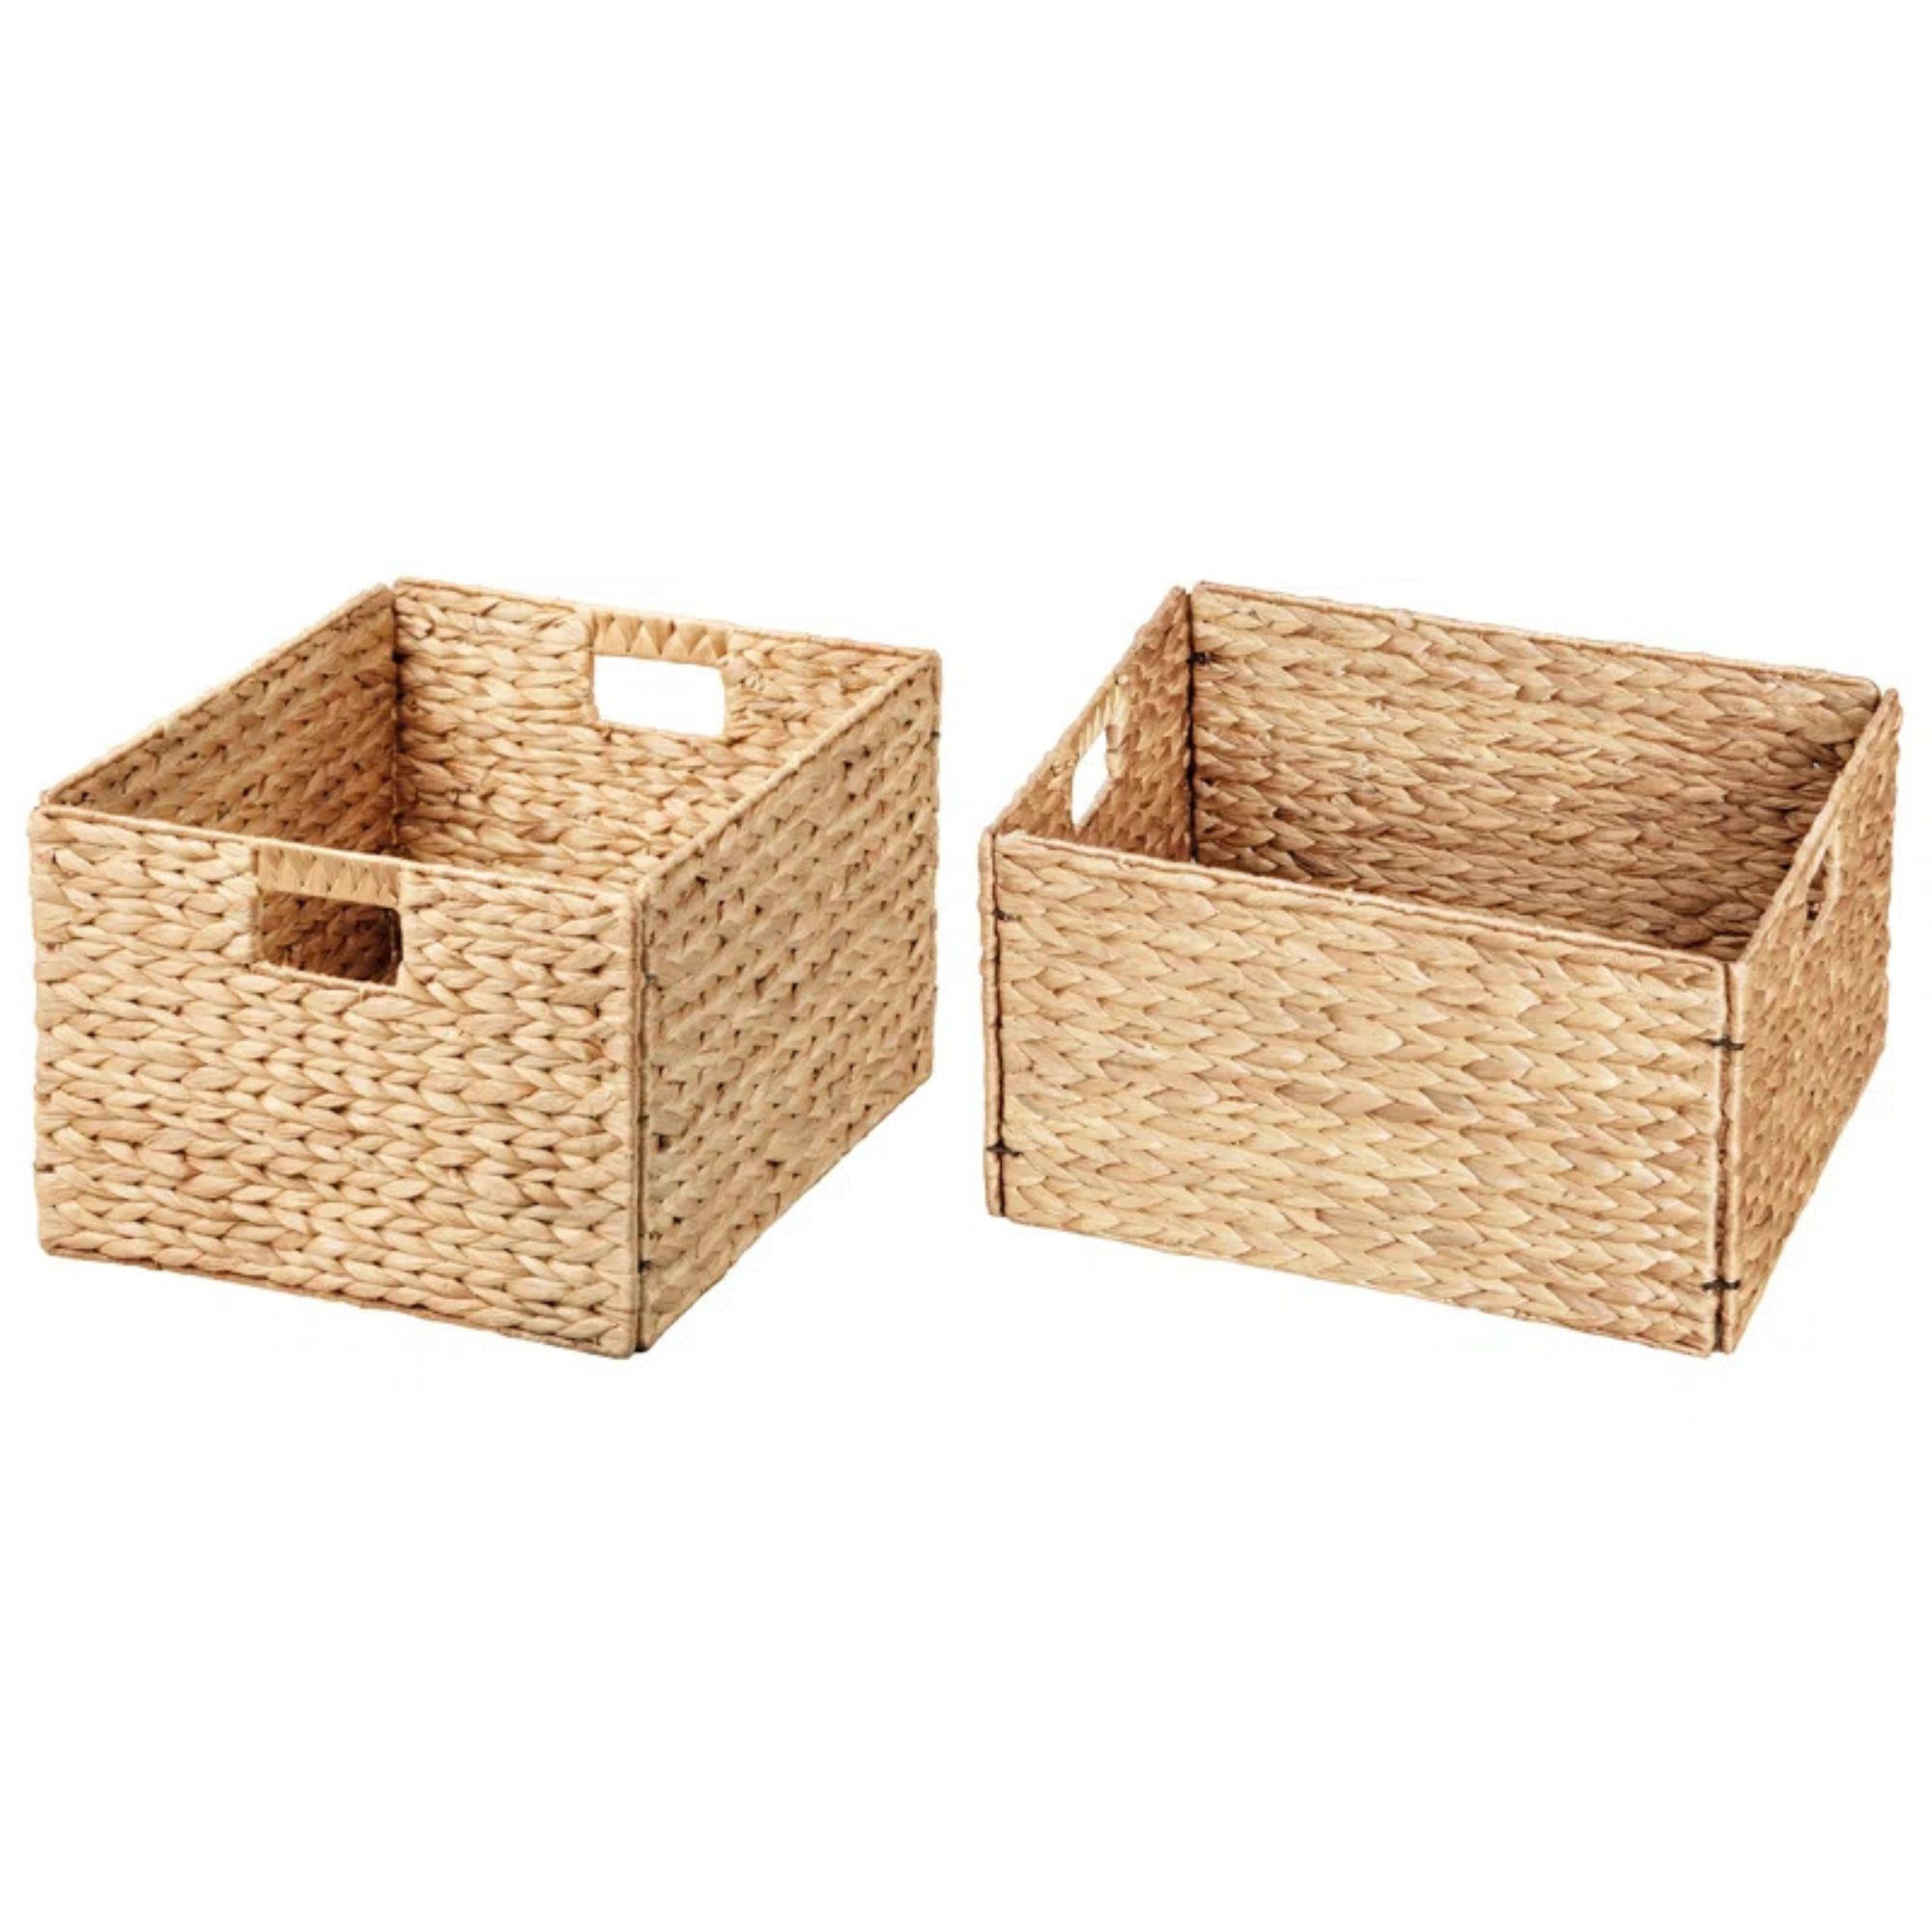
I am thinking of upgrading the boxes I use in my closet, and these ones look sturdy, as well as much nicer than my current cheap and cheerful ones.
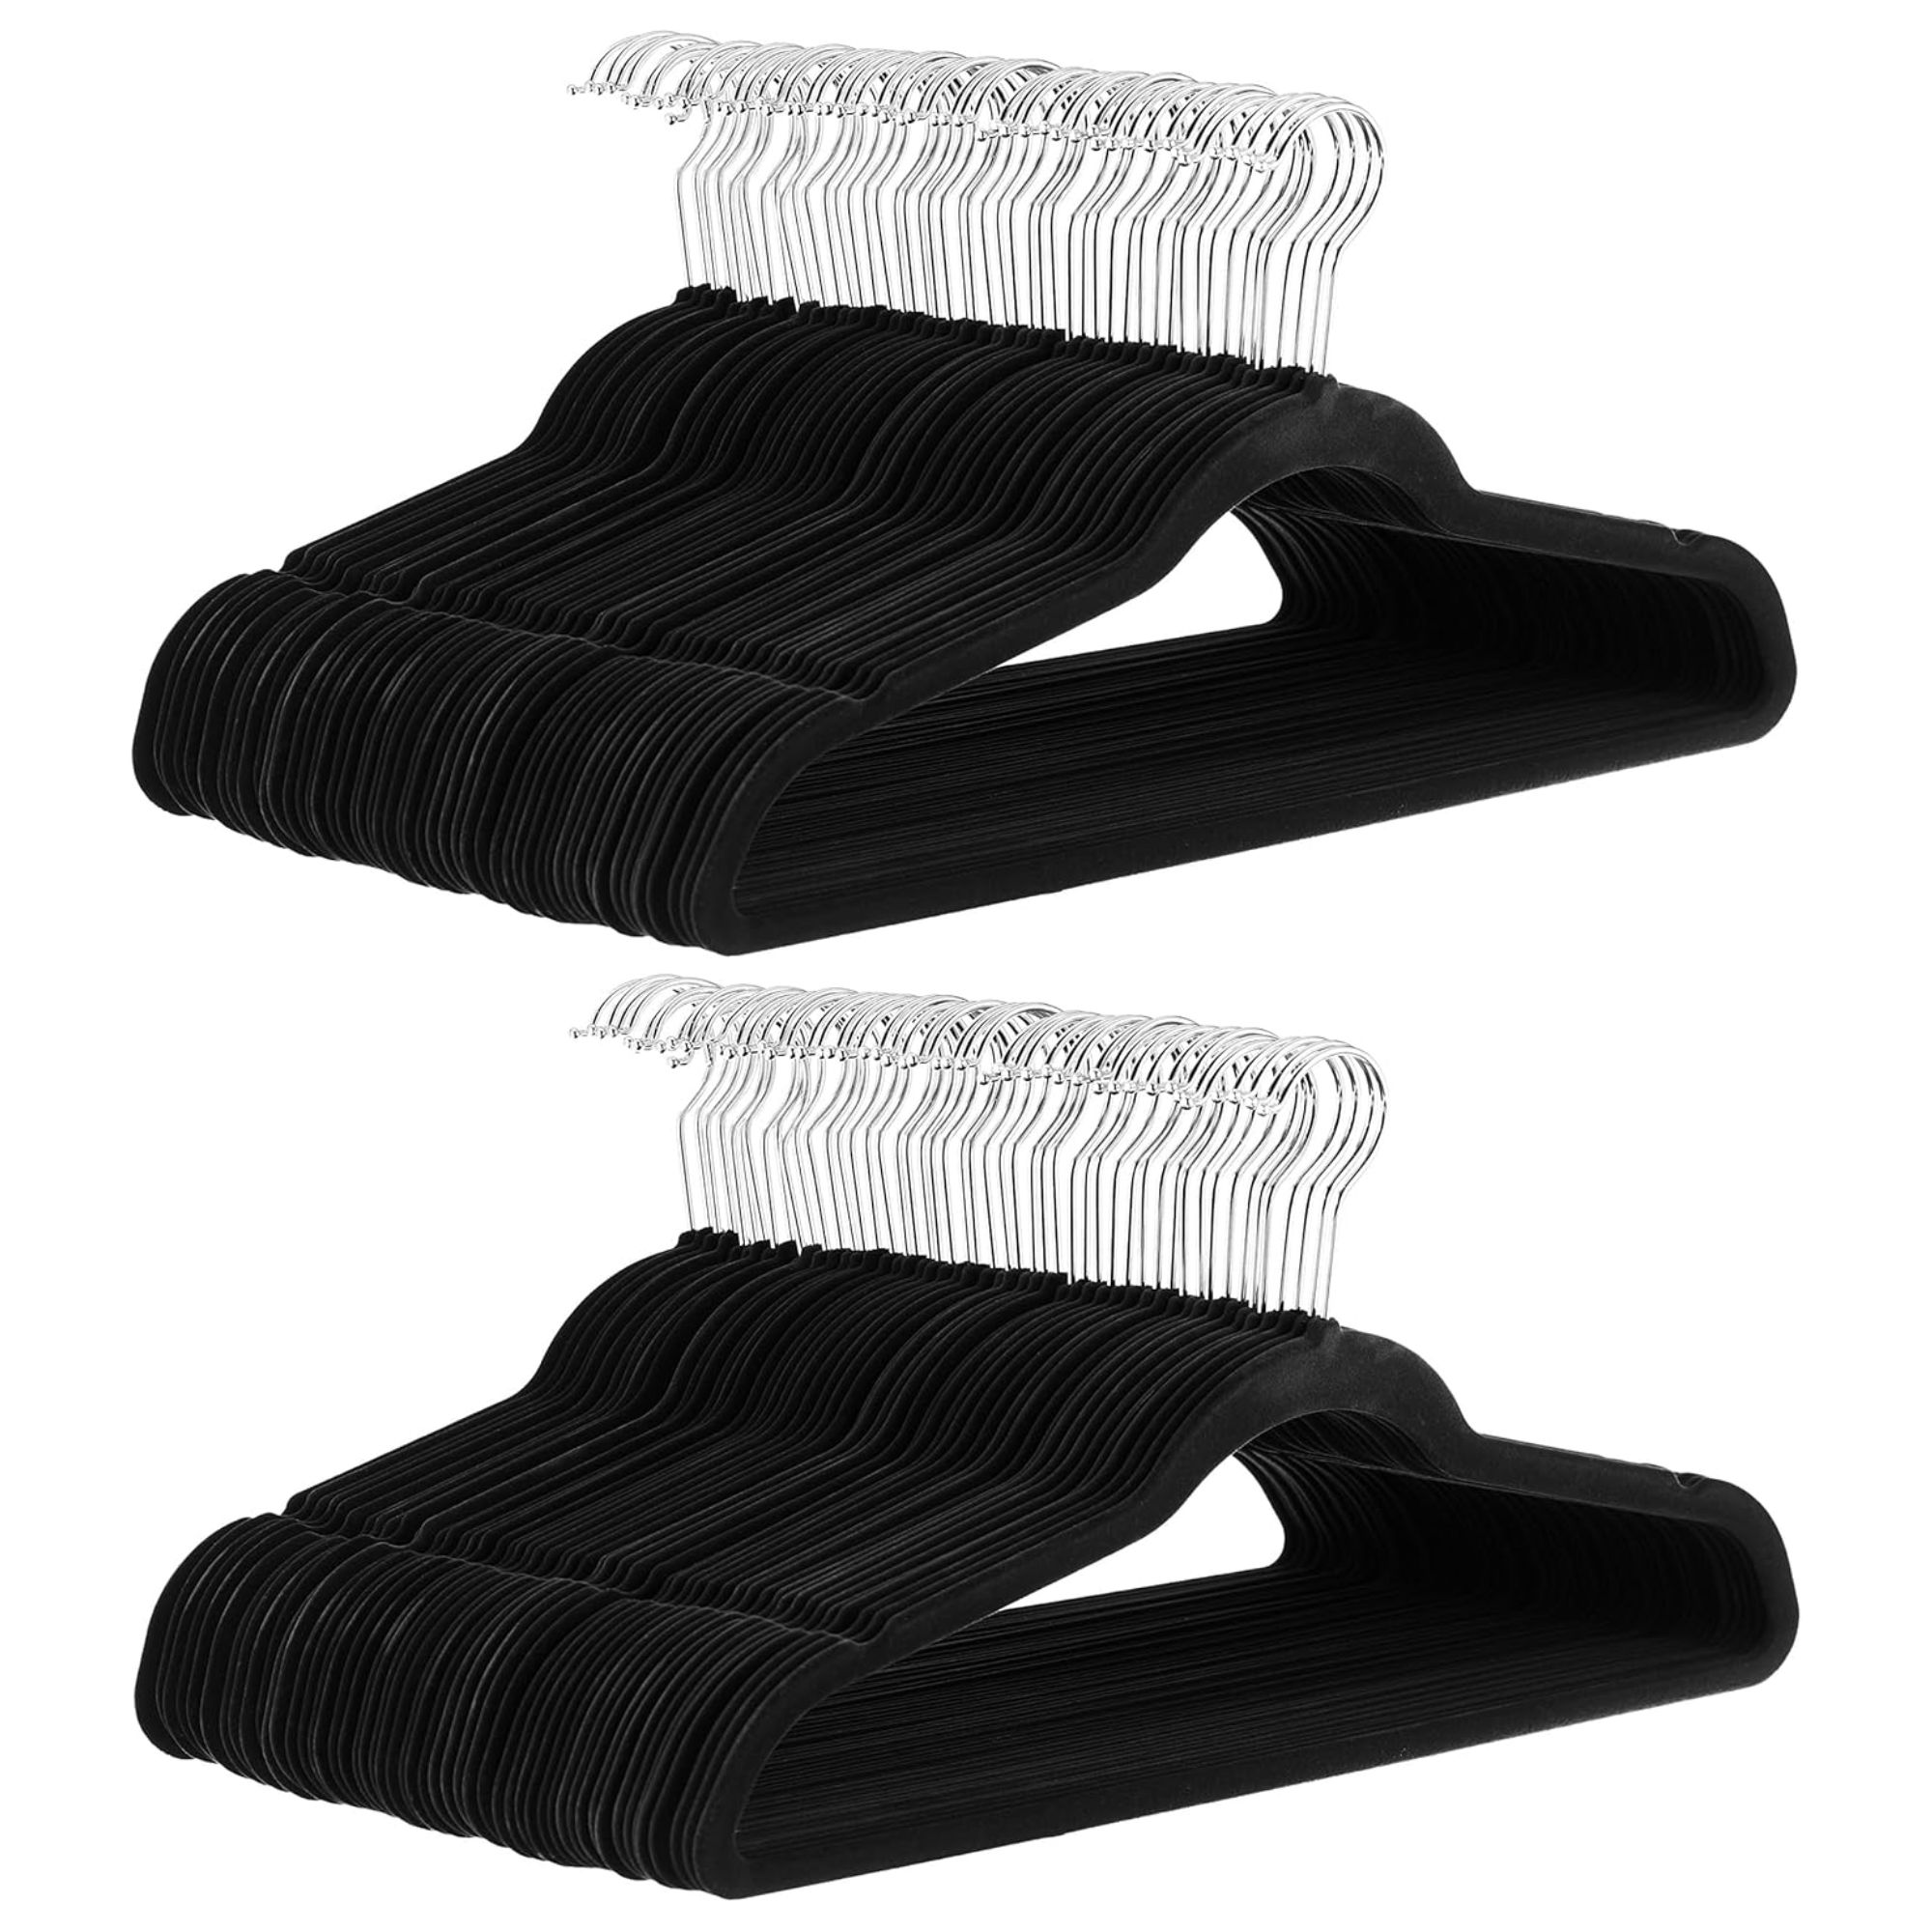
Although not technically part of my DIY, these hangers did also change the game when it came to saving space and ensuring everything hung nicely. You can fit far more with these than bulky wooden hangers and nothing slips. They also help reduce visual noise.
Retracing my steps to write about this closet DIY, I have been reminded of not only how easy it was to execute, but how effective it's been. Over the years I have changed out the kind of storage, switched the curtains a few times and I have no plans to change it for a built-in option any time soon.
All the pieces in this DIY cost around $100 and the quote I got for a built-in version was over $1000.
Next, delve into essential DIY skills every homeowner should know.
Sign up to the Homes & Gardens newsletter
Design expertise in your inbox – from inspiring decorating ideas and beautiful celebrity homes to practical gardening advice and shopping round-ups.

I am the Head of Interiors at Homes & Gardens. I started off in the world of journalism in fashion and luxury travel and then landed my first interiors role at Real Homes and have been in the world of interior design ever since. Prior to my role at H&G I was the digital editor at Livingetc, from which I took a sabbatical to travel in my self-converted van (not as glamorous as decorating a home, but very satisfying). A year later, and with lots of technical DIY lessons learned I am back to writing and editing, sometimes even from the comfort of my home on wheels.
-
 Sarah Michelle Gellar's kitchen cabinets are moody yet elevated – I've always used dark paint with caution, but they make bolder tones accessible
The actress's black kitchen cabinets are bold yet palatable, proving that this dark shade is a trendy yet timeless color pick
By Hannah Ziegler
-
 Jeremiah Brent's new NYC-inspired rug collection has got to be the easiest way to bring his modern Manhattan style into your own home
Jeremiah Brent has teamed up with Loloi Rugs to create a contemporary collection of home furnishings inspired by his city
By Eleanor Richardson
-
 7 expert-approved painting hacks to minimize clean up – to make an already exhausting task easier
Avoid a backbreaking clean-up after your next painting project with advice from the professionals
By Chiana Dickson
-
 5 beautiful and impactful home improvement projects you can DIY this weekend for under $200 – you don't have to spend big to make a statement
From painting your fireplace to redecorating your door, little changes can transform and refresh your space
By Ottilie Blackhall
-
 How to paint over stained wood – 6 simple steps expert painters swear by for even, lasting finishes
Skipping even one step will result in chipping paint, experts warn
By Natasha Brinsmead
-
 Can you put wallpaper on textured walls? Experts reveal it is indeed possible with this vital step
Prep, prep and prep some more for wallpapering success
By Sophie Warren-Smith
-
 8 helpful ways to re-purpose old pillows – from making handy garden kneelers and draft excluders, to cozy pet beds
Sustainability experts say these bulky items don't have to go to waste
By Sophie Warren-Smith
-
 7 practical things you can do with leftover paint around your home including protecting outdoor furniture, tinting cement and creating touch-up kits
Pro tips to make the most of those extra supplies
By Andy van Terheyden
-
 Construction pros reveal the 6 mistakes to avoid when hanging drywall for perfect walls and ceilings
They see these all the time
By Natasha Brinsmead
-
 Why is my wall paint bubbling? Decorators reveal why it happens and how you can fix it
Bubbles look unsightly and might indicate a more serious problem
By Ottilie Blackhall