Oster Expressbake Breadmaker review – for easy, speedy loaves
The Oster Expressbake Breadmaker makes bread in as little as one hour, but how did it hold up when we made four different loaves in this compact breadmaker
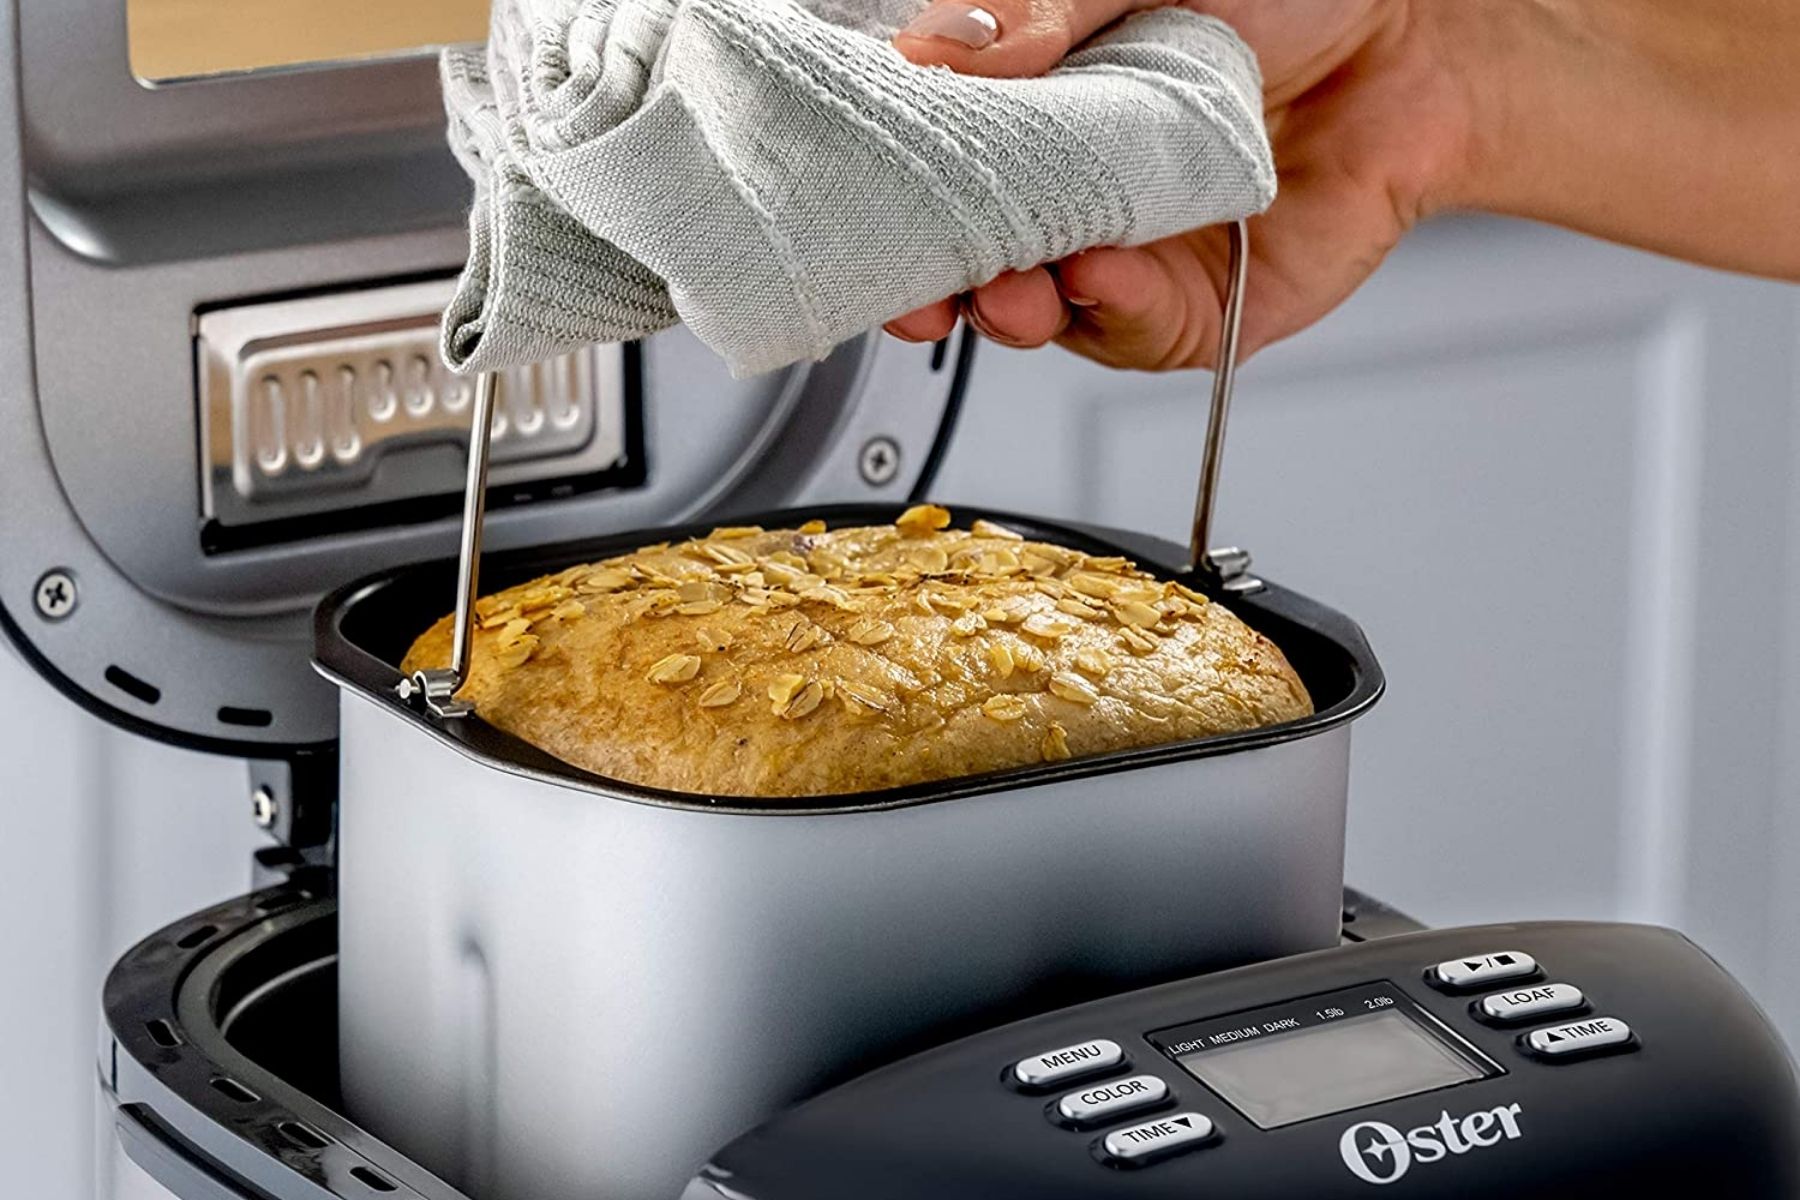
Small and smart, the Oster Expressbake is a capable bread maker with an in-built nut dispenser
-
+
Easy to use
-
+
12 programs for bread, cake, and more
-
+
Able to make two loaf sizes
-
+
Multiple browning settings
-
+
Automatically dispenses mix-ins
-
+
Keeps bread warm for one hour after baking
-
+
Extremely easy to clean
-
-
Awkwardly shaped loaves
-
-
Certain recipes require unconventional ingredients
You can trust Homes & Gardens.

There’s nothing quite as delicious as a homemade loaf of bread fresh out of the oven, but the traditional process of baking bread is quite time-consuming. You have to mix the ingredients and knead the loaf together, then wait patiently while it rises– sometimes multiple times – before baking it. The whole process requires lots of patience and careful attention, which is often in short supply for those with busy schedules, and that’s exactly why the best bread makers such as the Oster Expressbake Breadmaker are so popular.
This countertop appliance makes bread baking a truly hands-off task, and is perfect for matching up with the best toaster. All you do is measure the ingredients into its removable bread pan and press 'Start', and within a few hours, you’ll be rewarded with a freshly baked loaf of bread. The Oster Expressbake Breadmaker can make white, whole-grain, French, sweet, and even gluten-free bread, and it stands out from competitors thanks to its Expressbake setting, which bakes a loaf of bread in just one hour. It certainly sounds amazing, but is it one of the best bread makers on the market?
As a professional product tester with several years of experience testing kitchen gadgets, I was excited to see if the Oster Expressbake Breadmaker was as cool as it seemed. I spent a week baking several loaves of bread and eating lots of toast along the way, and in the end, I was extremely pleased about how easy this appliance was to operate and clean.
Product specs
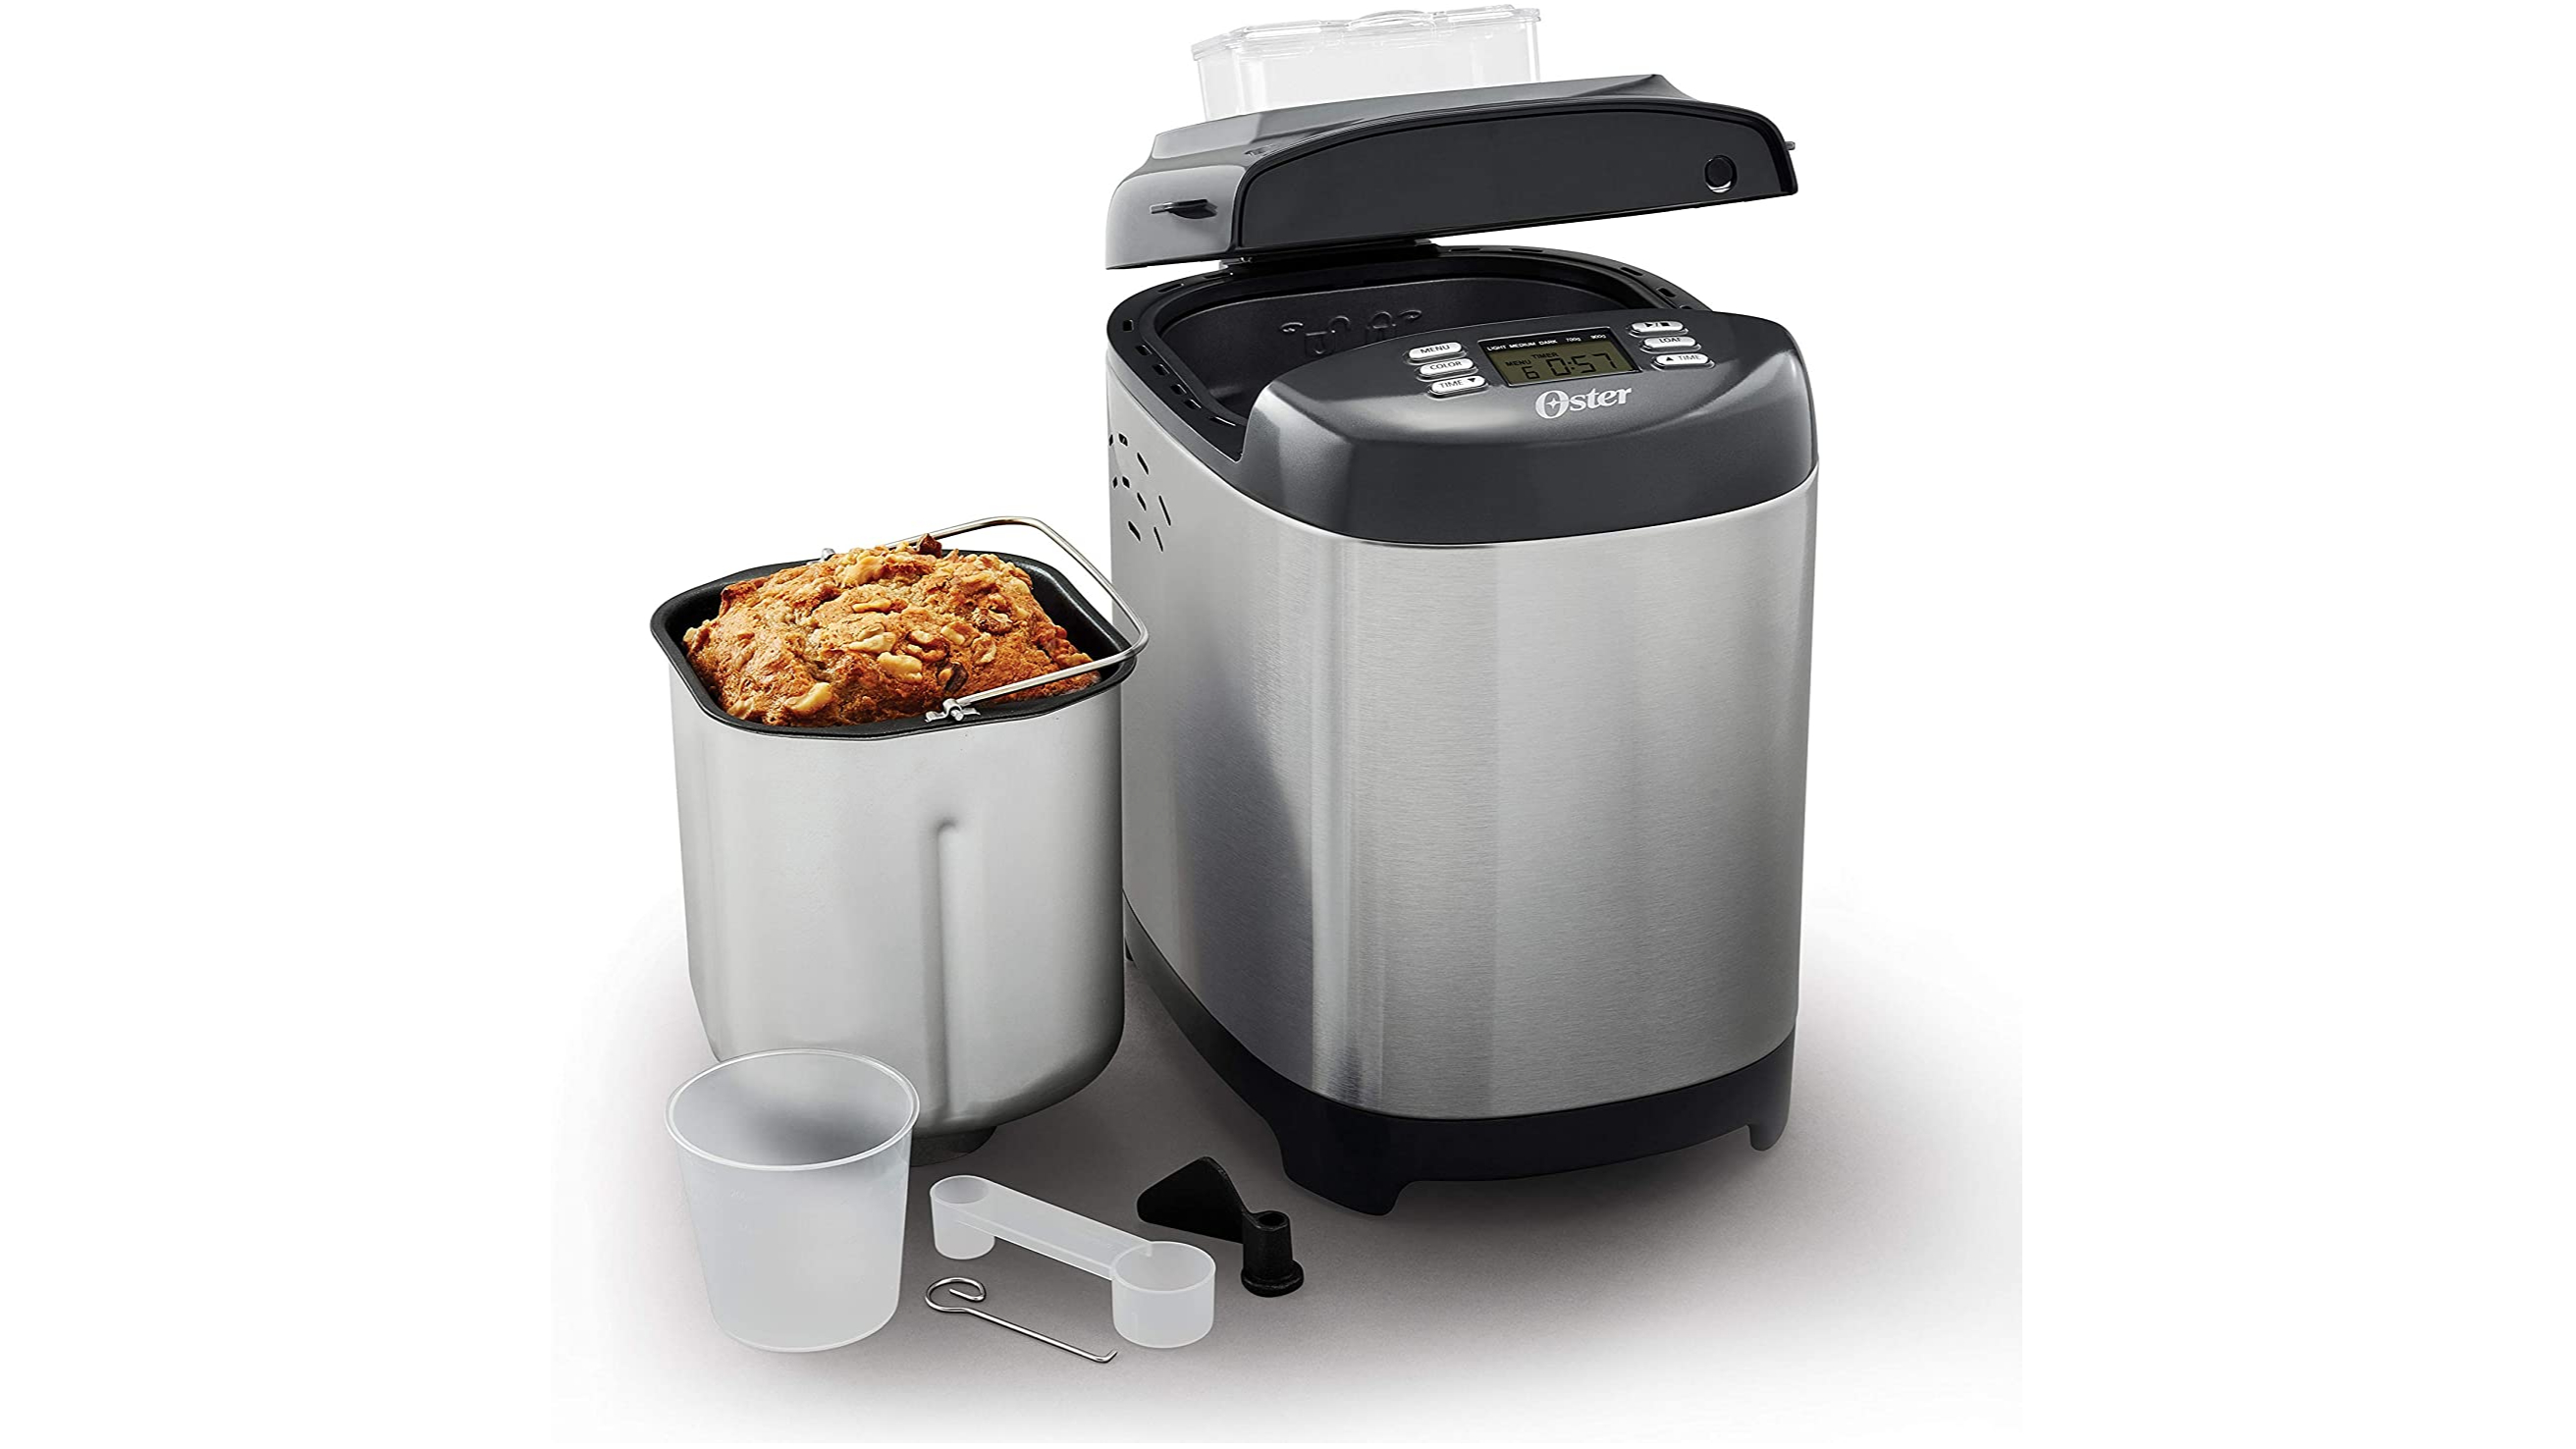
- Dimensions: 11.55 x 8.81 x 13.02 inches
- Weight: 10.2 pounds
- Wattage: 1,200
- Settings: Basic, whole grain, Expressbake, gluten free, French, sweet, oatmeal, yogurt, dough, bake cake, jam
- Loaf size(s): 1.5 or 2 pounds
- Included: Manual/recipe book, measuring cup, measuring spoon, hook
First impressions
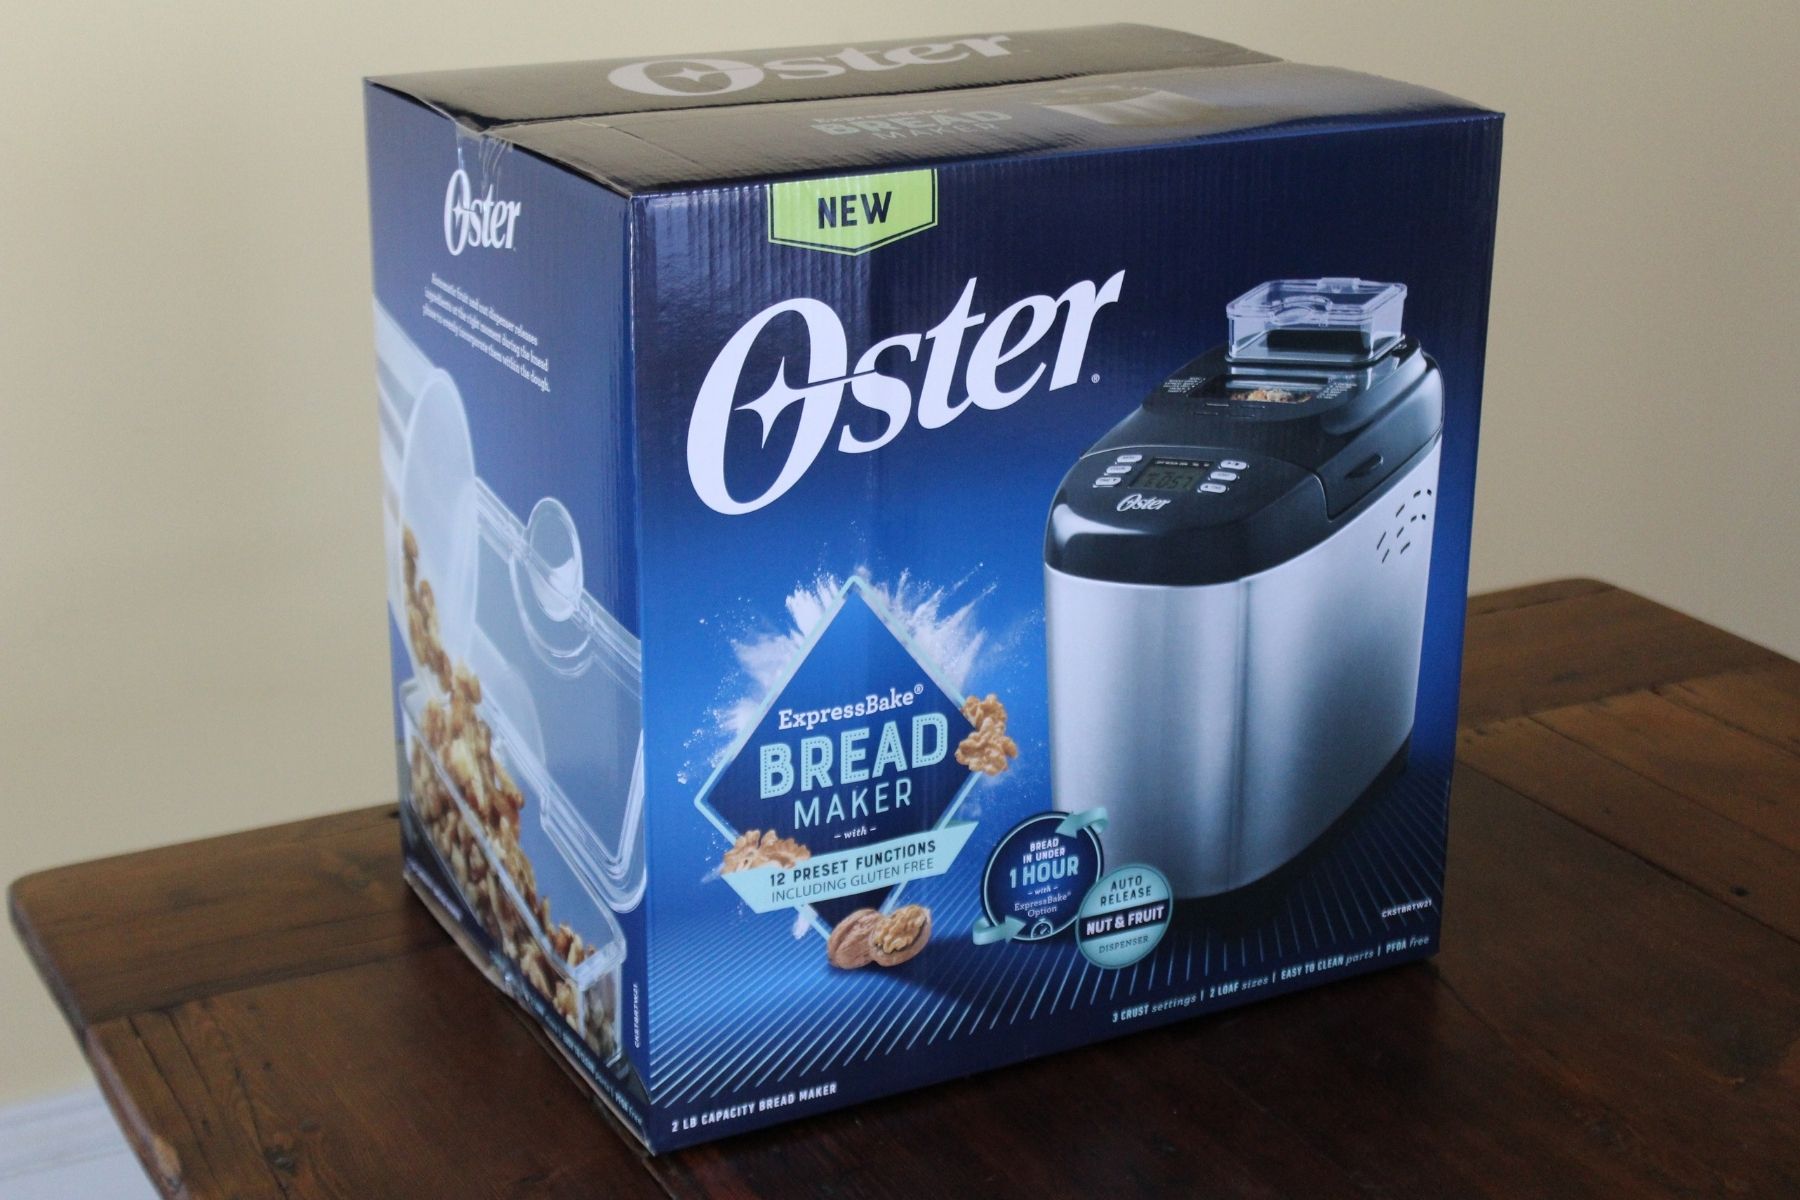
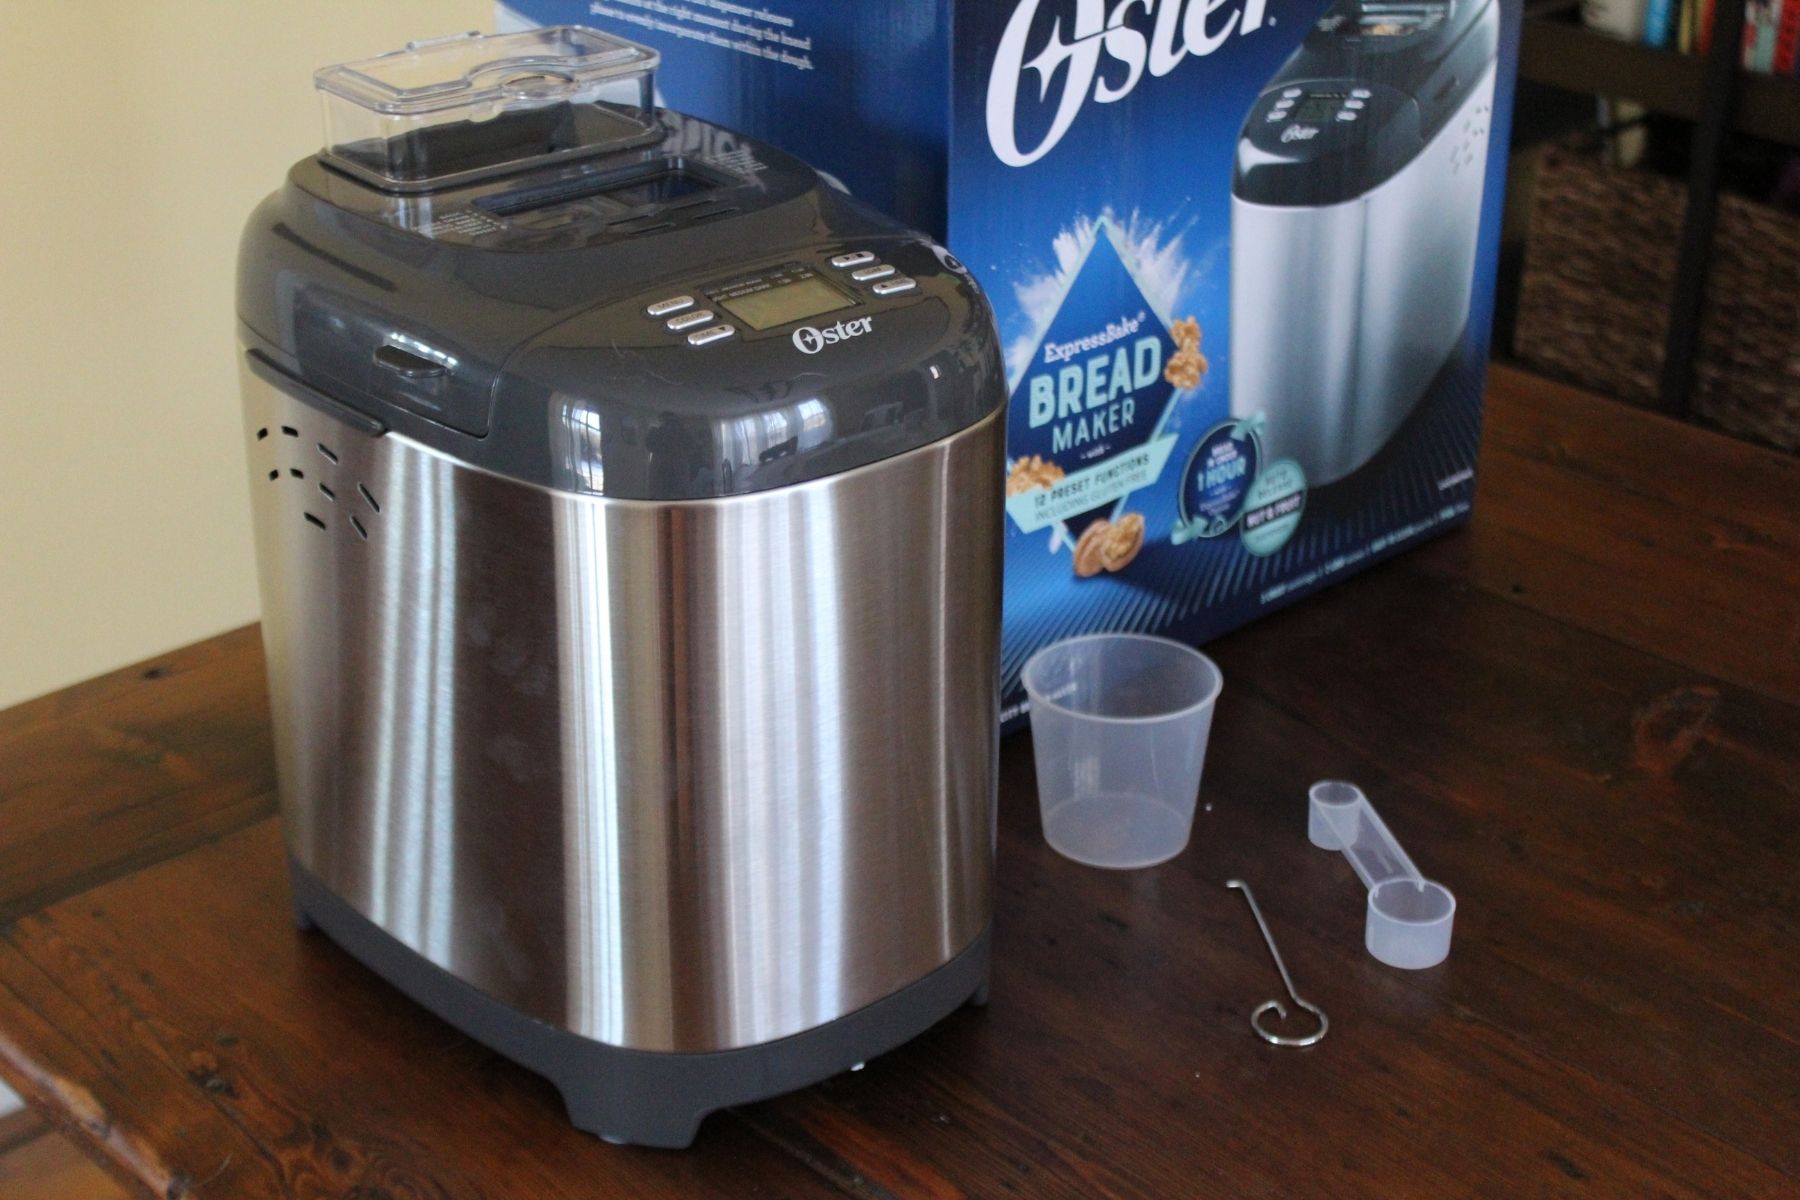
The Oster Expressbake Breadmaker comes in a fairly light box, and upon opening it, I was pleasantly surprised to find that there was minimal packaging inside. The appliance was held in place by two fairly small pieces of styrofoam, and it was easy to unbox, unlike many other kitchen appliances, which are wrapped in numerous layers of packaging. All of the included accessories were inside the breadmaker, including a measuring cup and spoon, and a hook that helps you get bread out of the pan if it’s ever stuck.
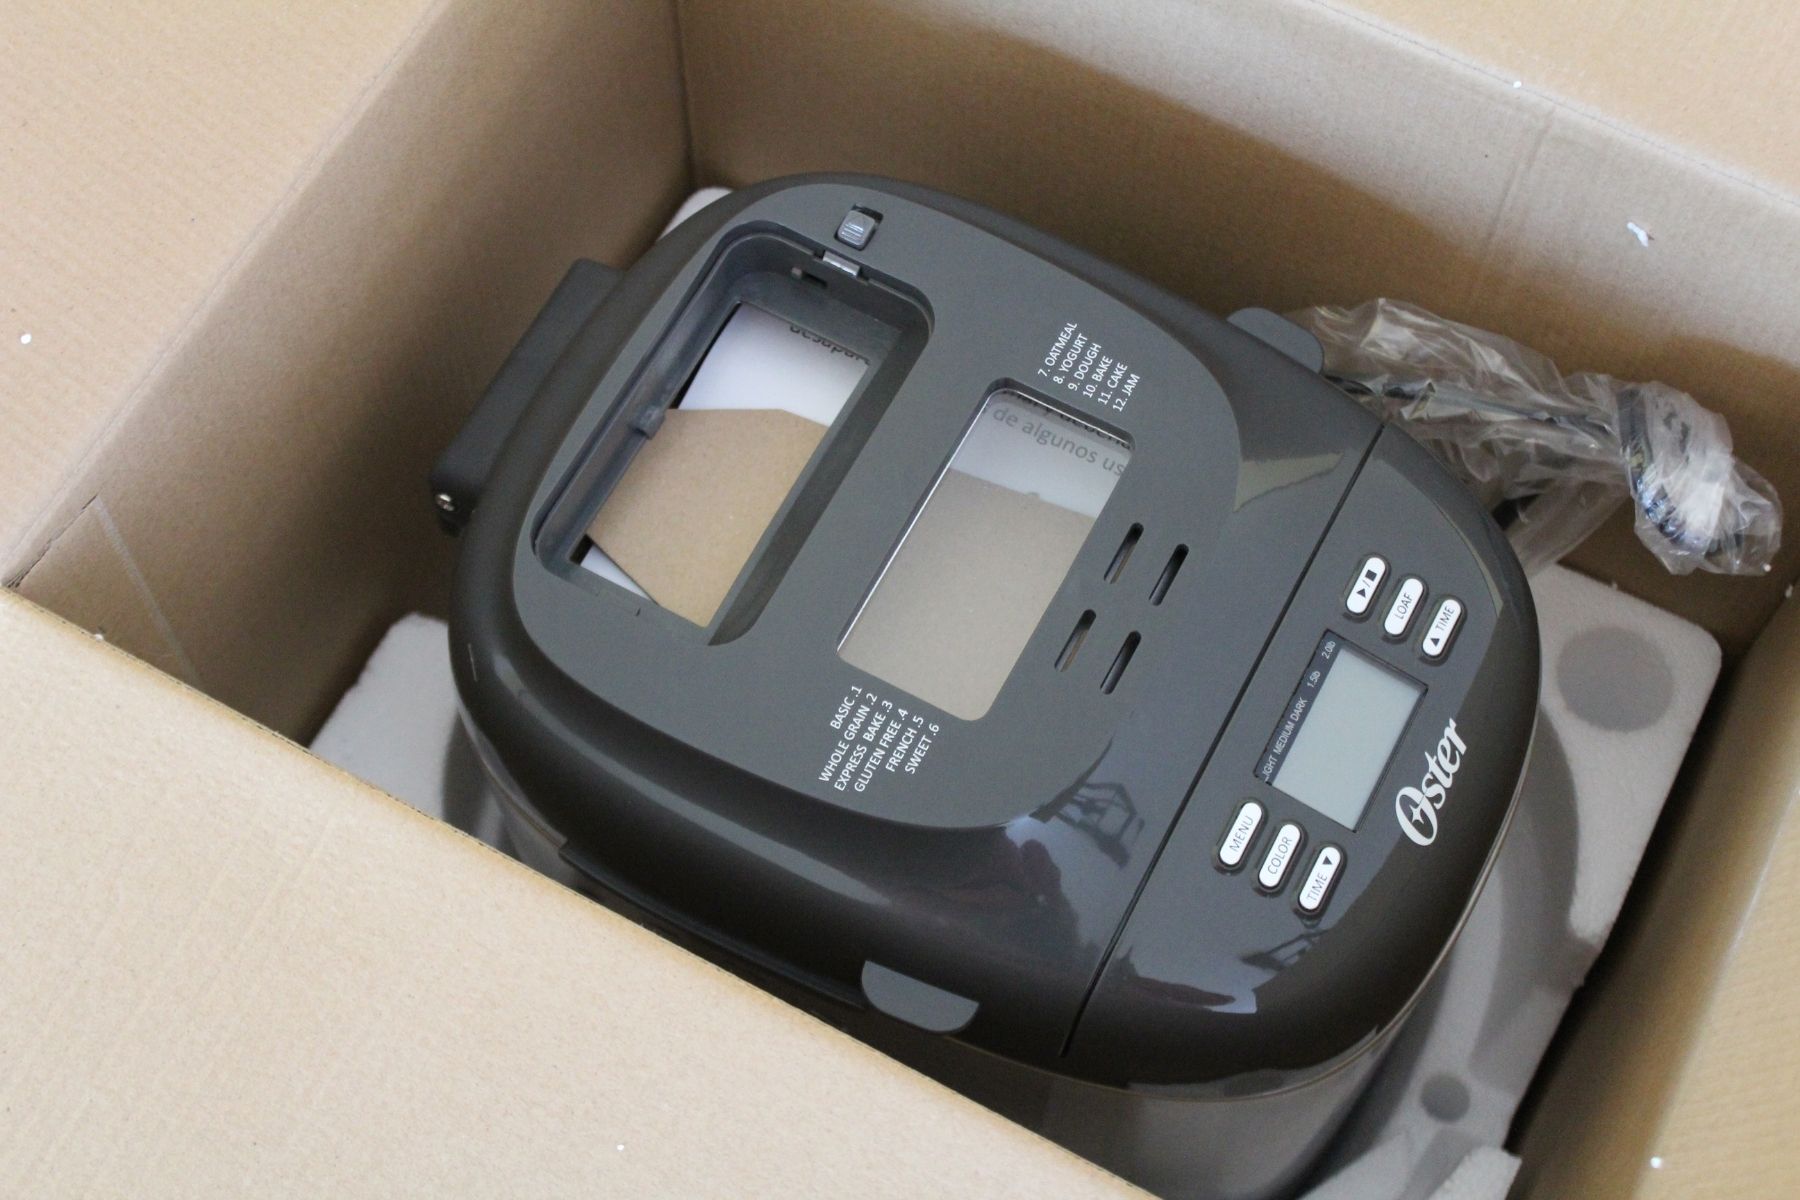
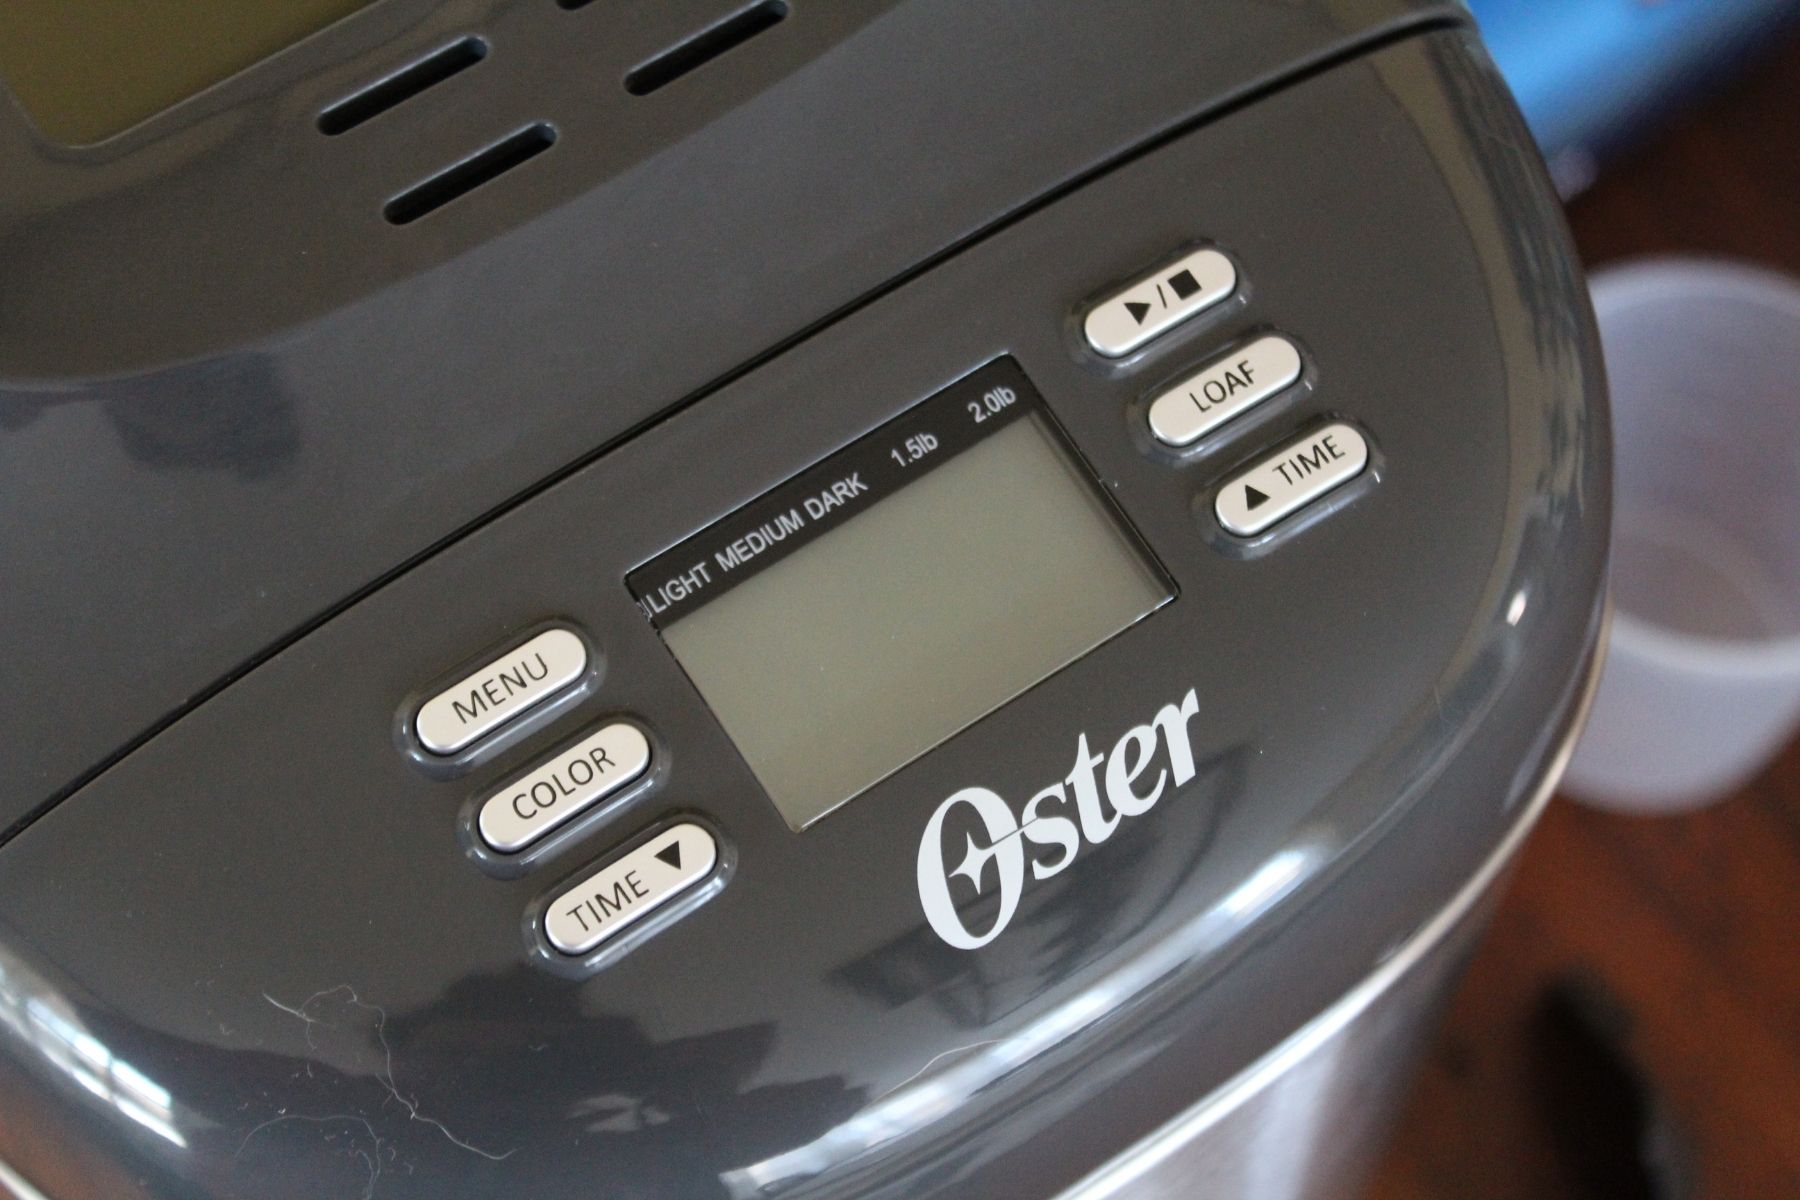
This breadmaker was actually smaller than I expected, which I think is a good thing, especially for those who have smaller kitchens or limited storage space. I also like that all the accessories can be tucked away inside the appliance, making it compact to store. My only complaints were that the stainless steel finish smudges very easily—it already had fingerprint marks on it just from me taking it out of the box—and that the manual was creased in half.
Making white bread in the Oster Expressbake
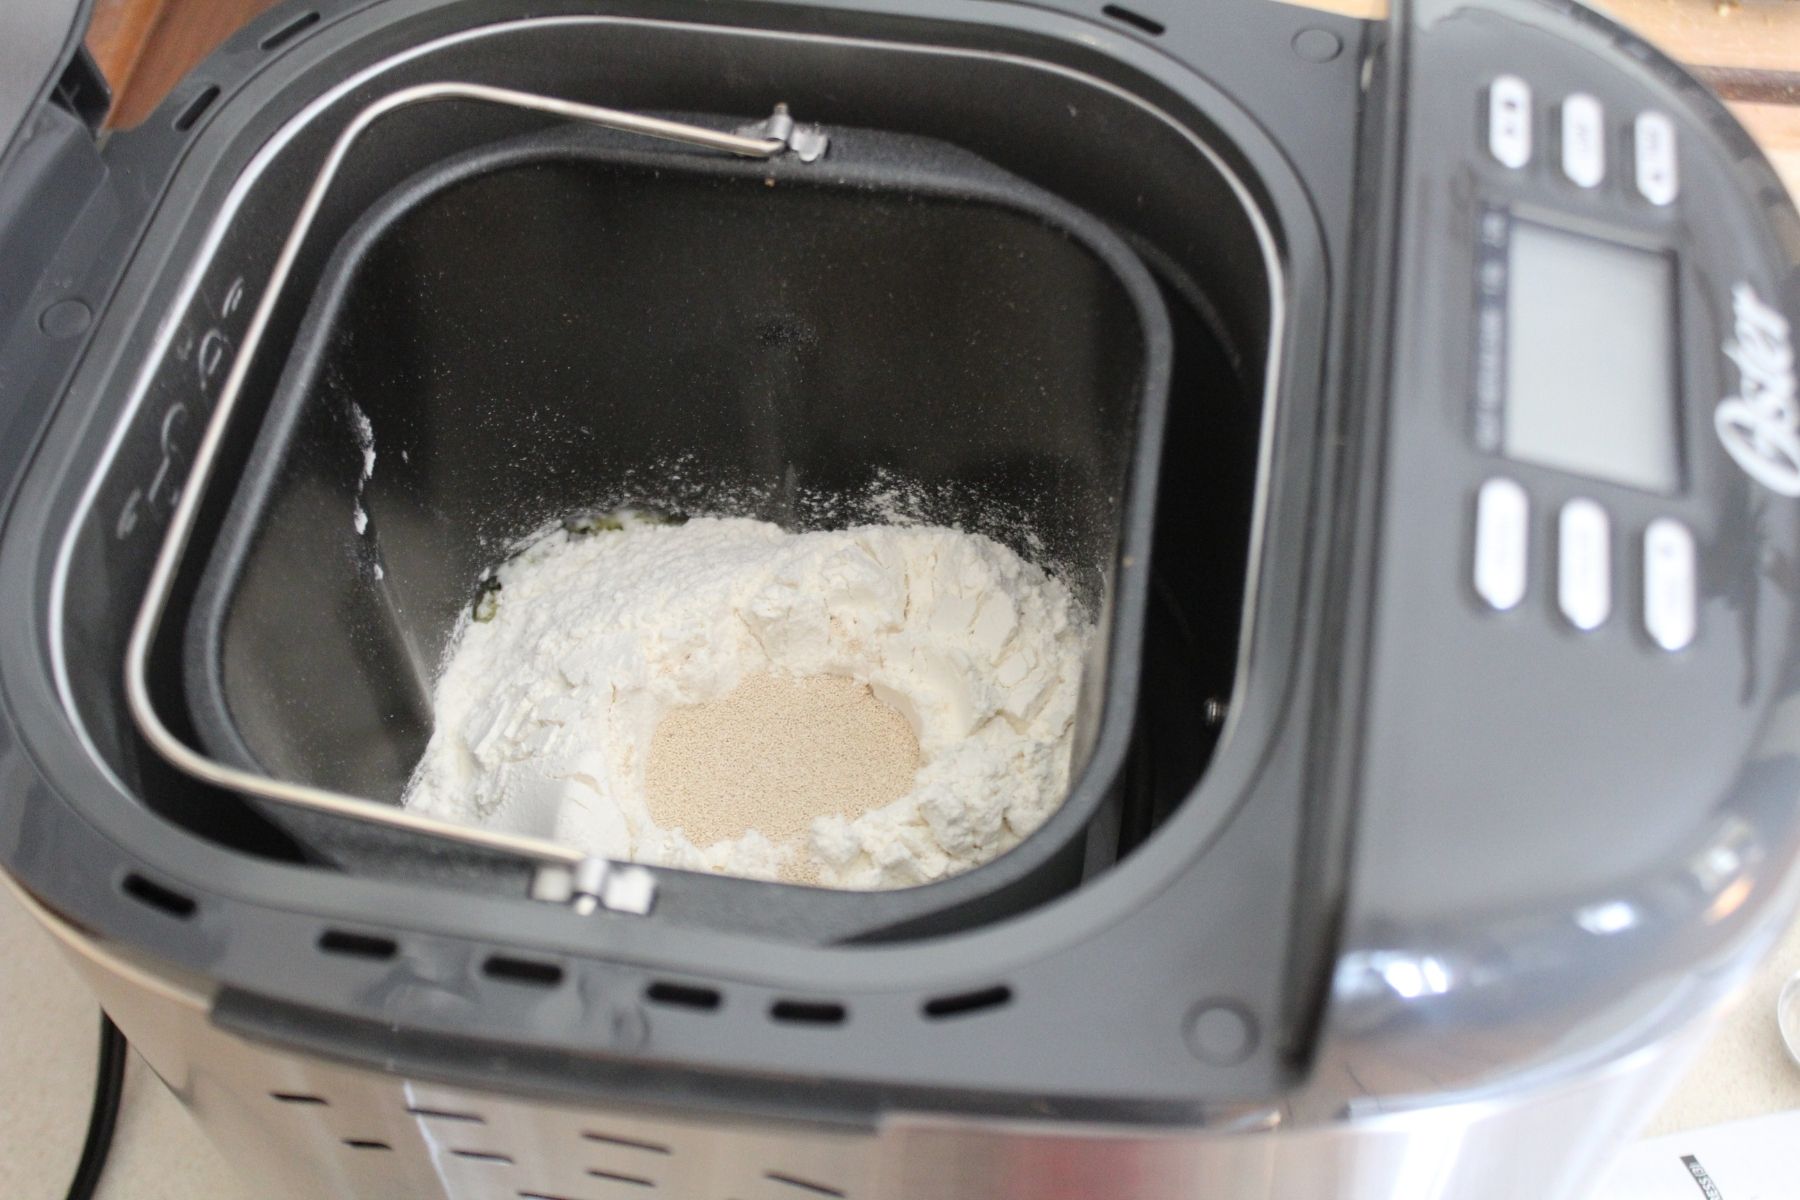
To test this breadmaker, I baked my way through several of the recommended recipes, which are included in the manual. I started with a basic white bread in the smaller 1.5-pound size. I’m an avid baker, so I have most baking ingredients on hand, including specialty flours, different types of yeast, and even mix-ins like diastatic malt powder. Given my wide pantry, I was quite surprised to find that I actually didn’t have all the ingredients needed for a simple white bread recipe! In particular, this recipe requires a few tablespoons of dry milk, which I had to pick up from the grocery store before I could proceed with baking.
Once I finally had all the ingredients handy, it was time to bake my first loaf. The process is truly simple: First, you add the liquid ingredients into the bread pan. In this case, it was just water and butter. Next, you add the dry ingredients on top. This included bread flour, salt, sugar, and the dry milk. Finally, you make a little well in the middle of the flour and spoon in your yeast. The instructions make it very clear that the yeast shouldn’t come in contact with the water when you’re adding ingredients, so it’s important to add everything in the order specified. One thing I thought was a bit annoying is that the included measuring spoon can only measure a teaspoon or tablespoon, and the recipe called for 1-3/4 teaspoons of yeast. It seems like a waste to include accessories that don't actually have the necessary measurements for the recipes.
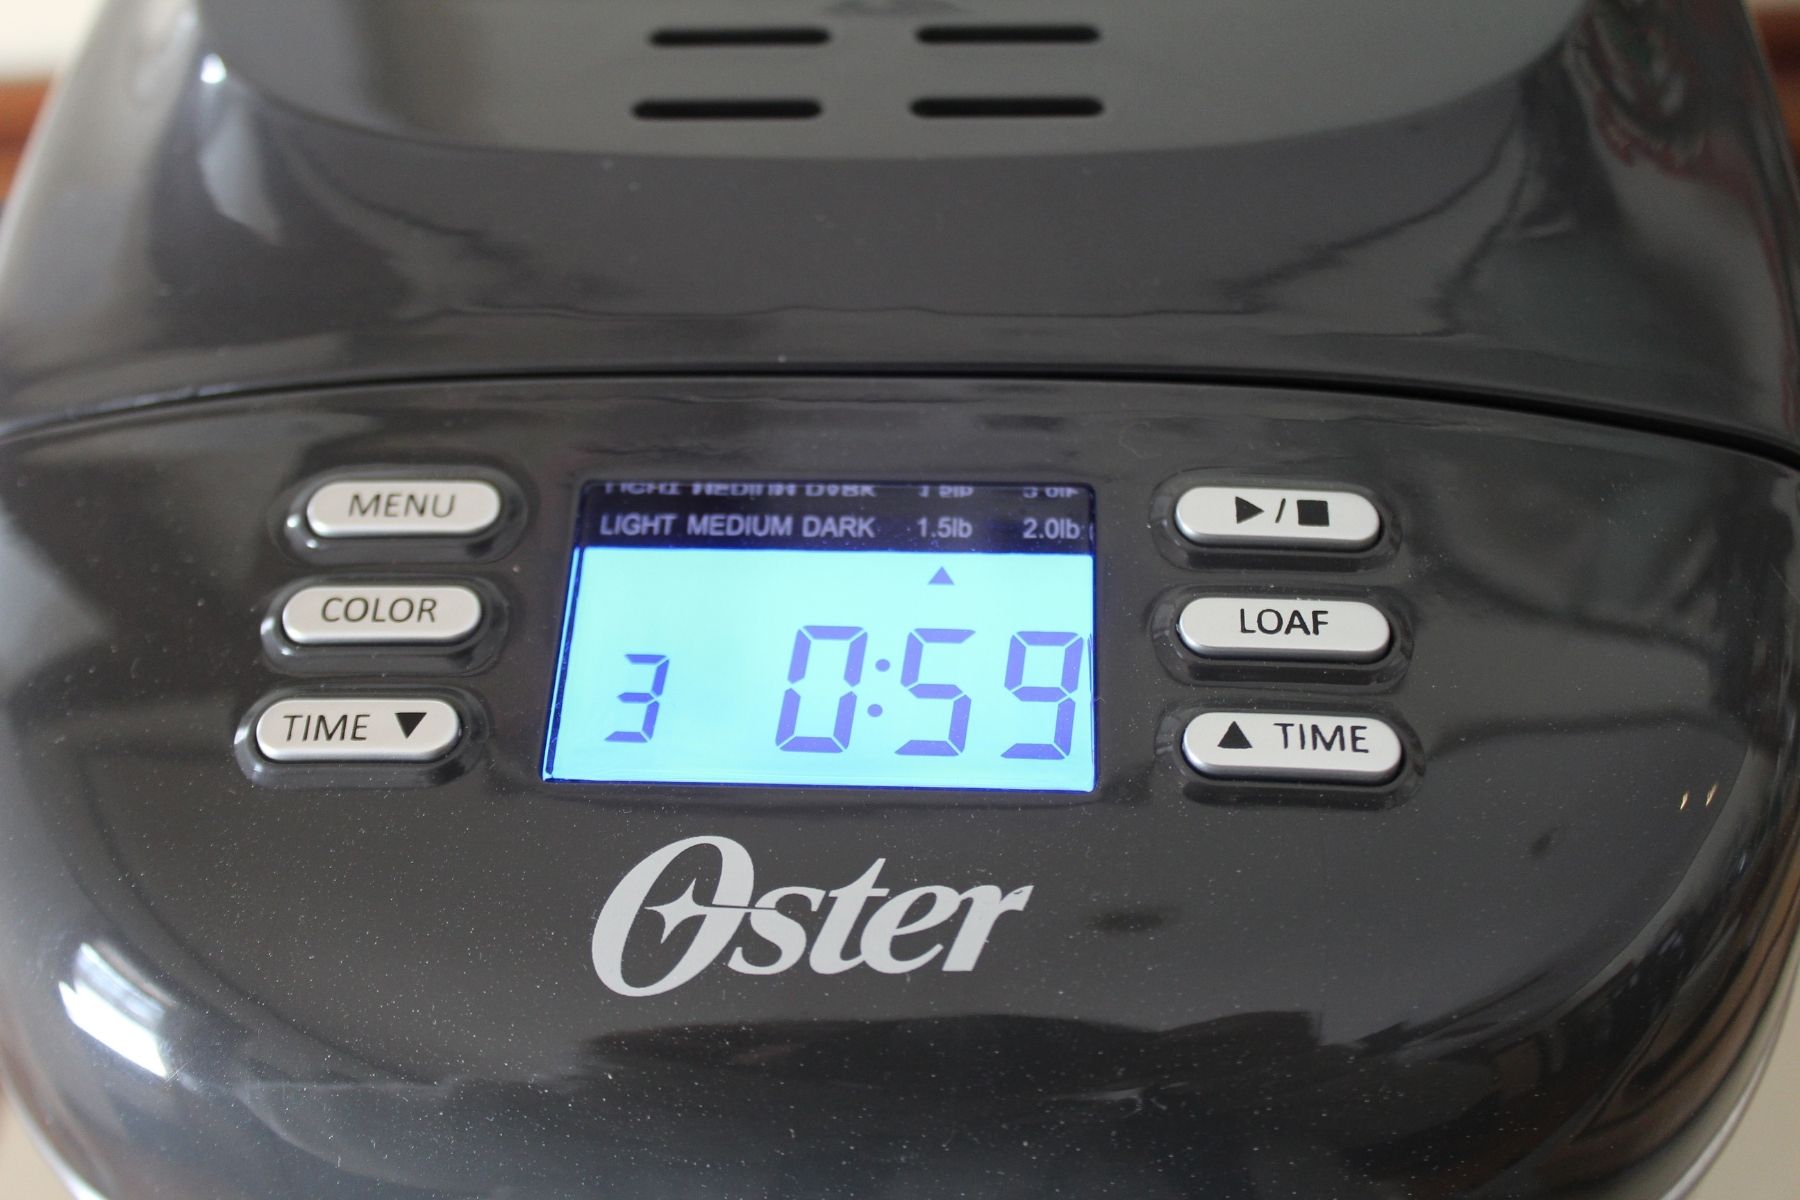
With all the ingredients in the baking pan, I inserted the container into the appliance and locked it into place by turning it. I closed the lid, then selected the white bread setting, along with the 1.5-pound loaf setting and the medium “browning” setting. I hit the start button, and the machine started work immediately, churning the ingredients together to form dough. It’s fairly loud as it works, making a pulsing sound that I could hear throughout the house, but it only mixes the ingredients for a few minutes, then it’s quiet for most of the baking time.
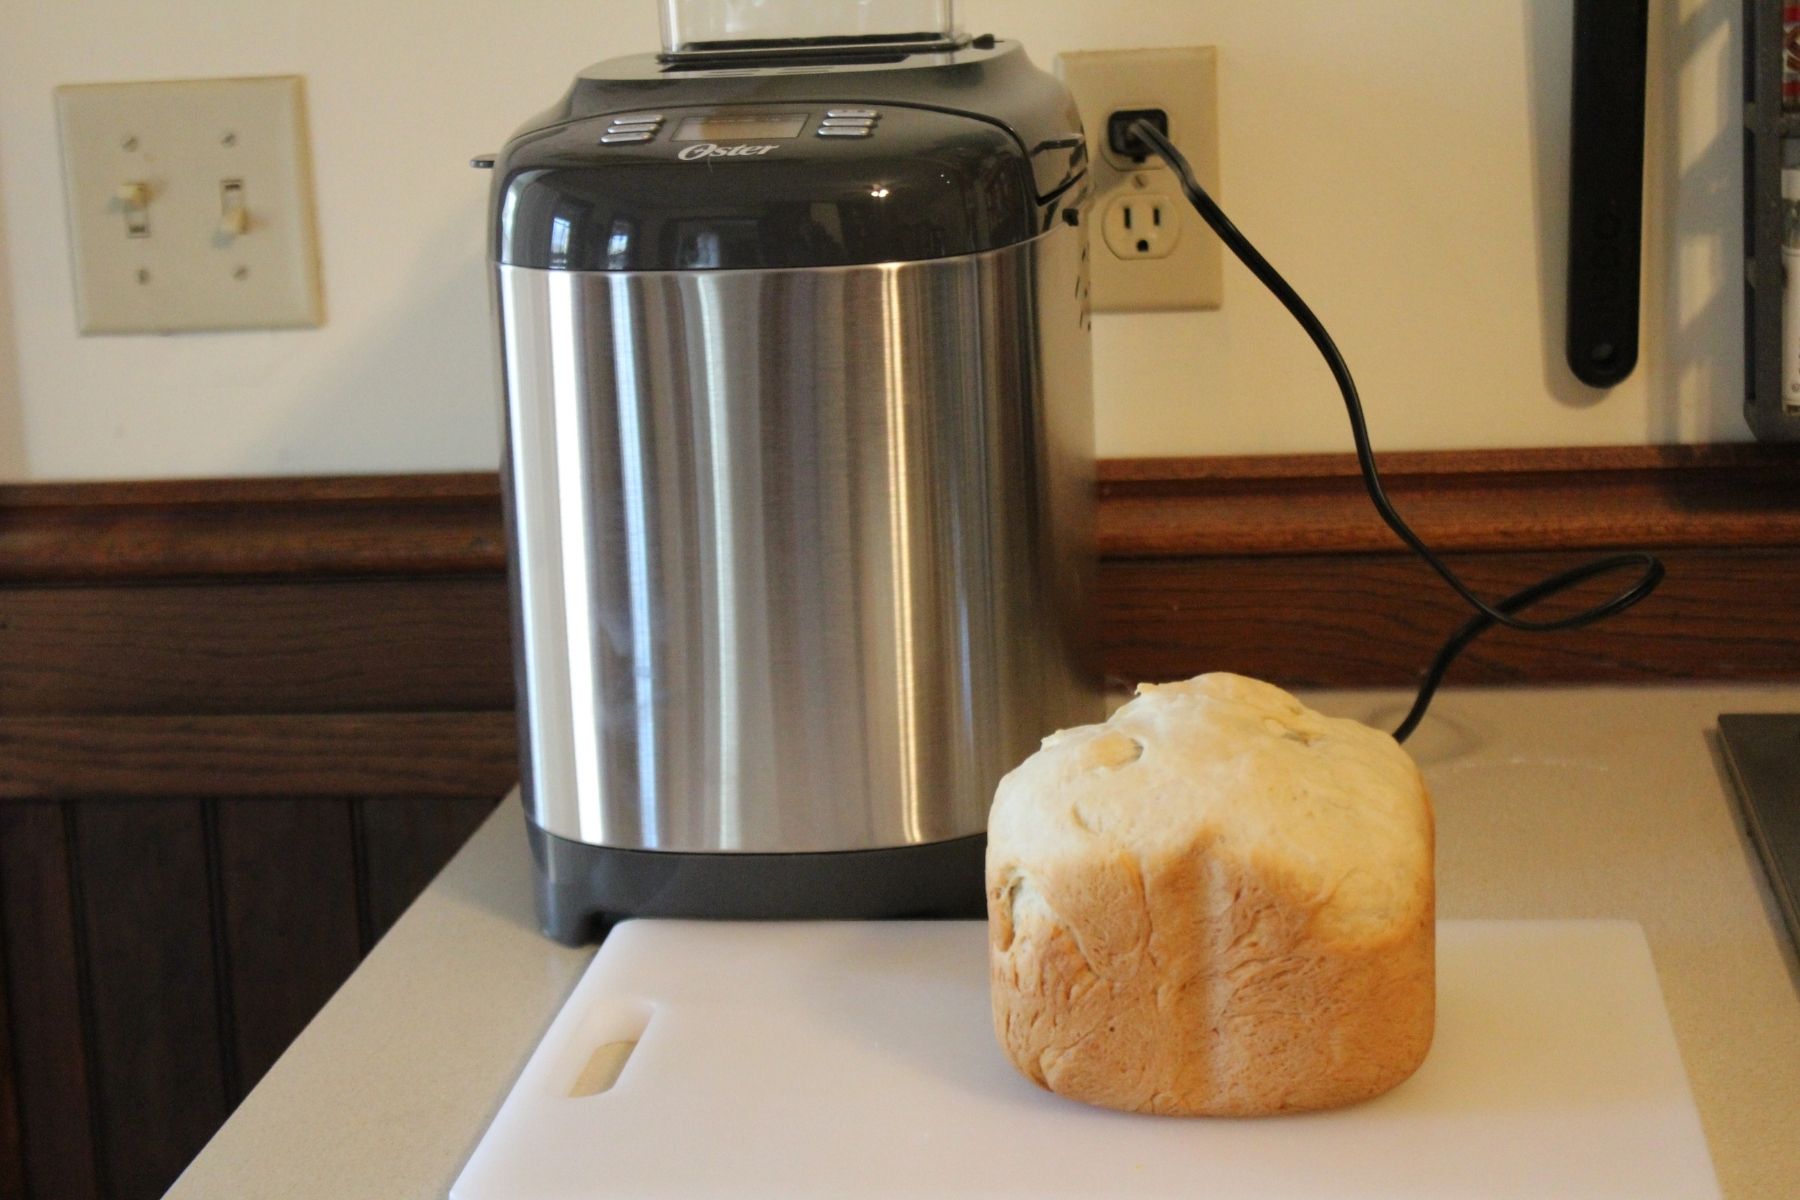
This loaf of bread took around 2 hours and 40 minutes to bake, and when the appliance finished, it beeped several times. (The end-of-baking alert sounds similar to a fire alarm, so it actually scared me the first time.) I removed the bread pan using a pair of oven mitts, and the loaf slid out easily when I flipped the pan over. Because the loaf pan is tall and skinny, the loaf was a bit awkwardly shaped, and it had a small hole in the bottom from the mixing blade.
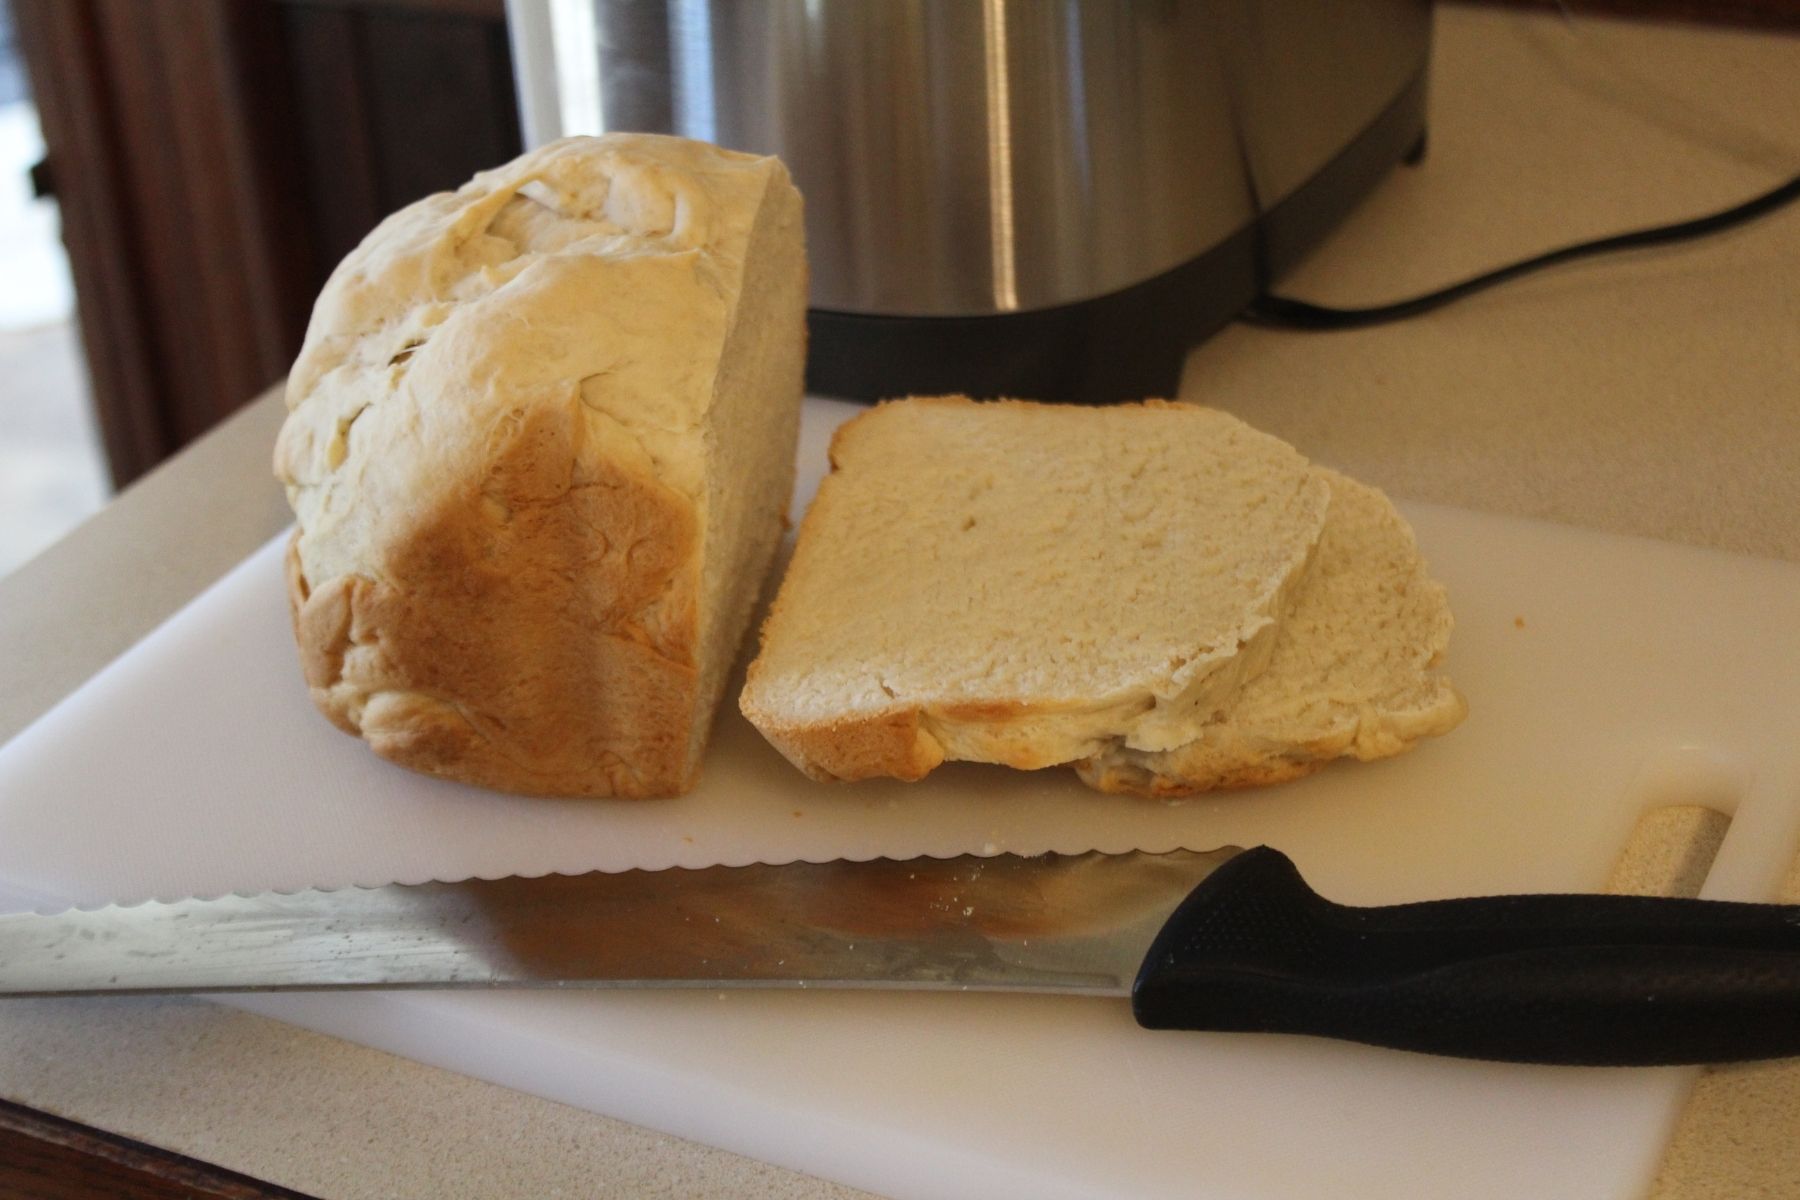
Unfortunately, it was apparent right away that something wasn’t quite right with my loaf. The top of it wasn’t smooth, making me think it hadn’t been mixed well enough, and when I cut it open, the bread was extremely dense. The taste was great, but the loaf was extremely heavy and doughy. I consulted the manual, which has a decent troubleshooting section, and it said this is often the result of using old flour. Admittedly, my flour had been sitting in the cupboard for six months or more, so I purchased a new bag before continuing with my testing.
Making honey grain bread
The next recipe I tested was a 2-pound loaf of honey grain bread, which included whole wheat flour, quick-cook oats, and a small amount of honey. This recipe was baked on the appliance’s whole grain setting, and it took around 3 hours and 20 minutes to cook. The process for adding ingredients was the same, and I made sure to use new bread flour and a new bag of whole wheat flour.
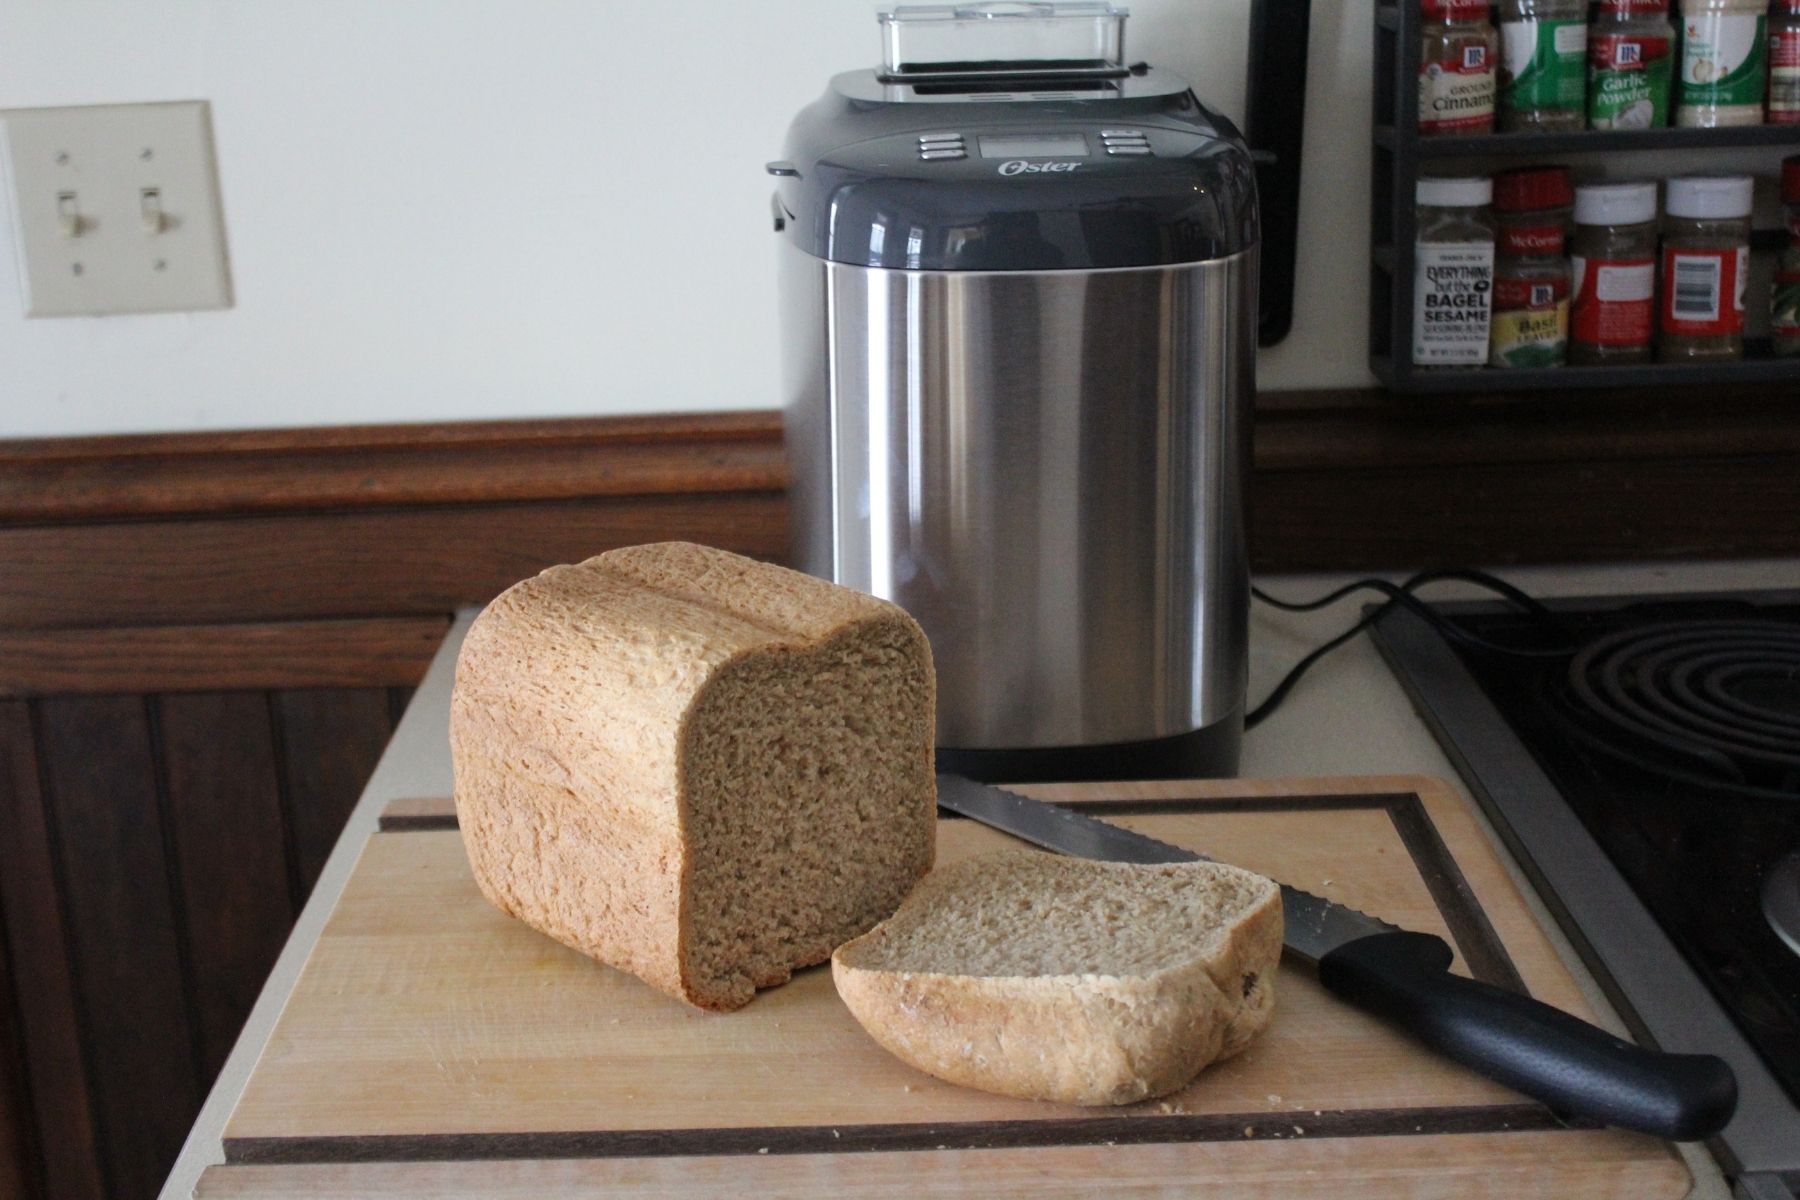
The baking process went off without a hitch, and a few hours later, I took out a beautiful loaf of whole grain bread. I could tell right away that this loaf was much better than the first – it had a nice smooth top and had risen more. The texture was infinitely lighter and more enjoyable to eat, and I liked the slightly sweet taste of the bread. It was great for morning toast and lunchtime sandwiches, and this is definitely a recipe I’d make again.
Making apple walnut bread
The Oster Breadmaker can also be used to make sweet bread, so my next project was a 1.5-pound apple walnut loaf. Not only did this sound delicious, but it was also a great chance to test out the appliance’s mix-in dispenser. There’s a small container on top of the breadmaker where you can put nuts or dried fruit, and it automatically dispenses these ingredients at the right time during the baking cycle.
This recipe used applesauce and apple juice for its liquid ingredients, and it also contained sugar, an egg, and baking soda. After adding all the ingredients into the bread pan, I poured 1/2 cup of chopped walnuts into the dispenser and set the machine’s settings as usual. Then, I let it work its magic.
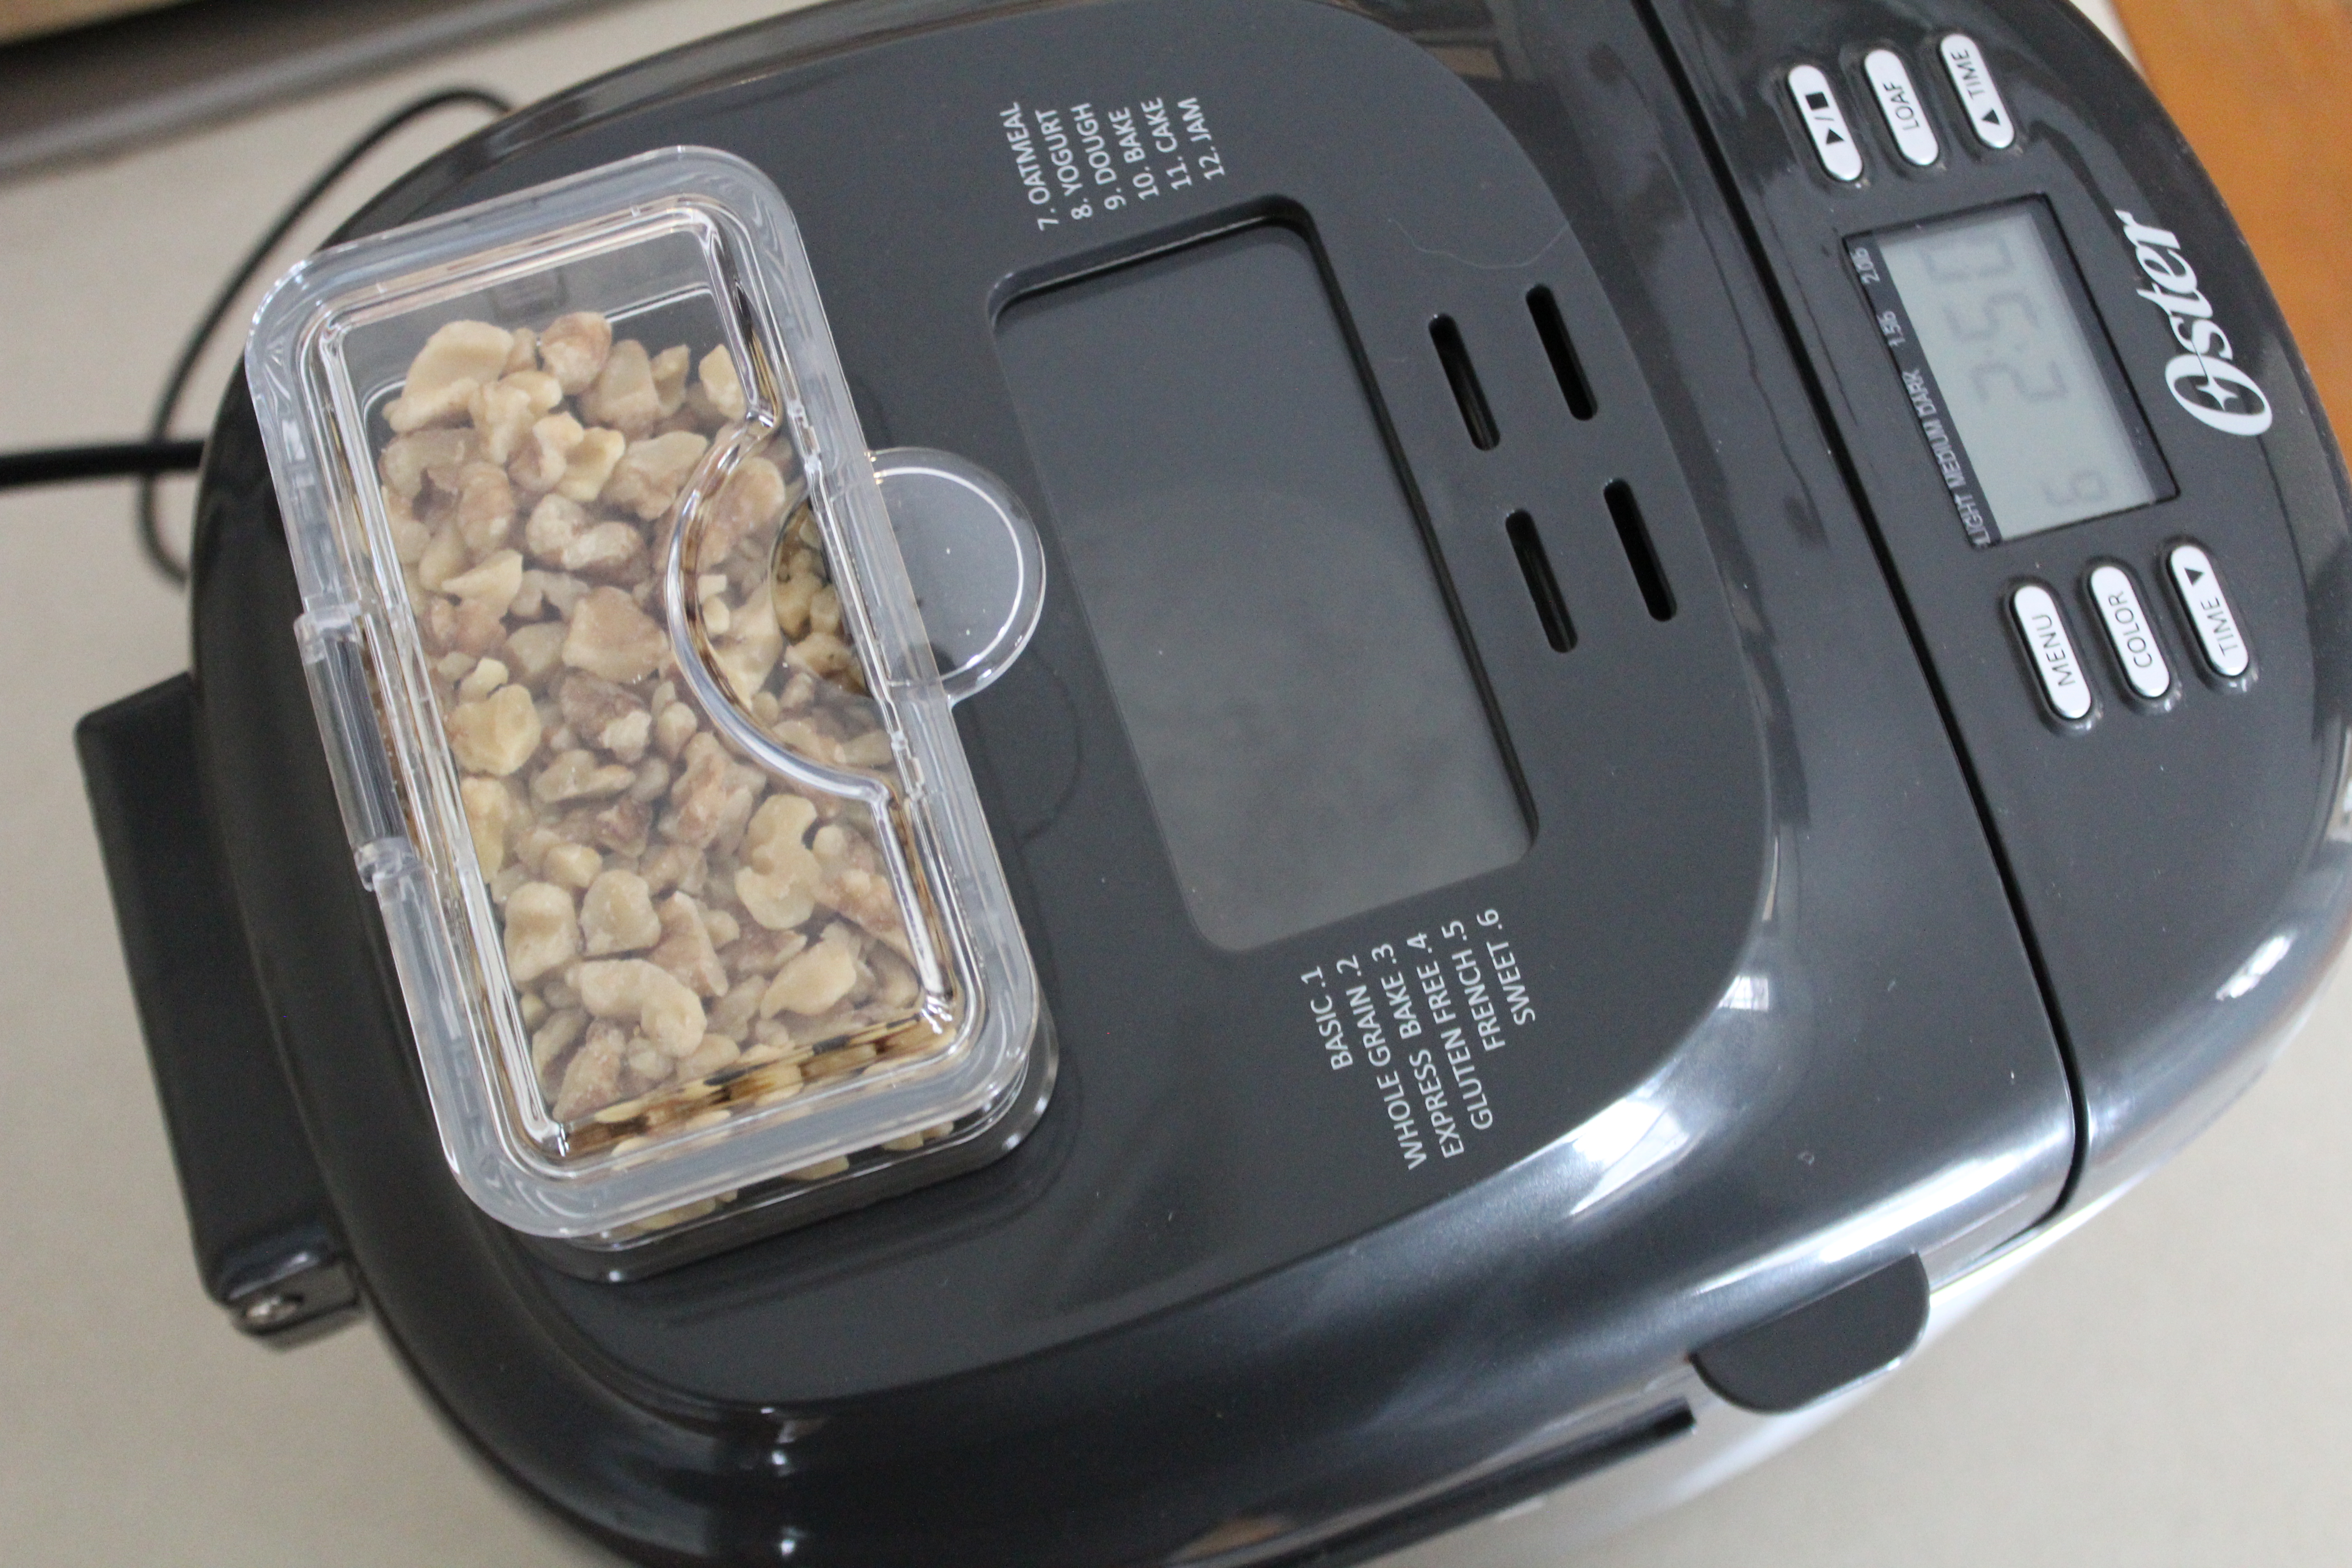
Because this was the first time I used mix-ins, I was caught off-guard when they dispensed into the bread. This happened around 20 minutes into the cycle, and the mixing noise changed as the hard nuts were adding to the loaf. It actually sounded like the machine was broken, so I got up and looked inside via the window on top to make sure everything was OK.
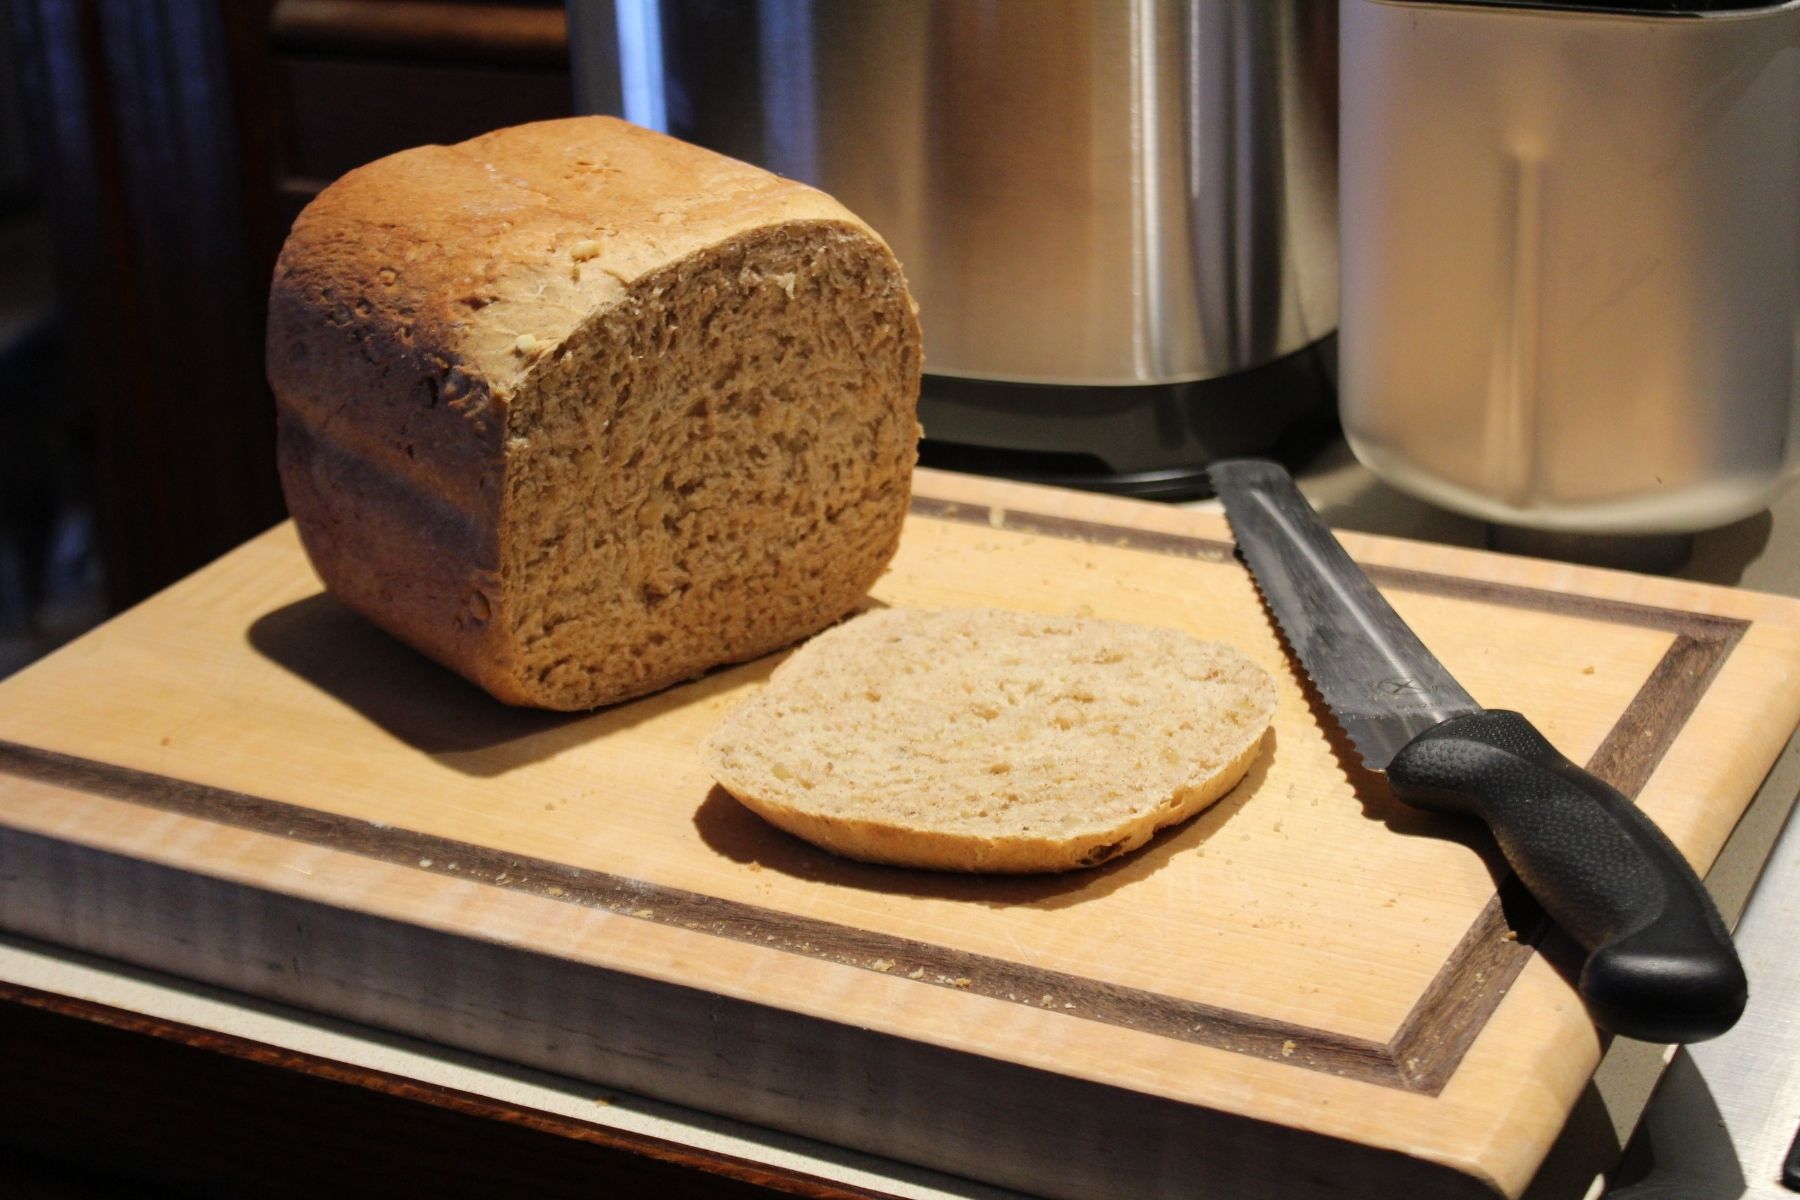
I had taken my dogs outside for a walk while this loaf was baking, and we got back around 30 minutes after it finished. The appliance’s “keep warm” setting had automatically turned on, and the bread was still warm when I finally took it out of the pan. The loaf had a great texture and smelled wonderful thanks to the addition of cinnamon, but I was a little disappointed that the apple taste didn’t come through very much. Additionally, a lot of the walnuts ended up in the bottom of the loaf. If I try this recipe again, I think I’d add some dried apple pieces to amp up the flavor and make sure the nuts were finely chopped so they don’t sink to the bottom.
Making an Expressbake loaf
I’d be remiss not to test out the appliance’s Expressbake option—after all, it’s what sets the machine apart from many others—so it was the final loaf that I cooked. The Expressbake recipes are designed to cook in less than an hour, and there are several changes you have to make to speed up the baking process. Expressbake recipes use fast-rising yeast instead of regular yeast, and you also have to heat up the water to 115 to 125 degrees before adding it to the pan. Additionally, you aren’t able to change the browning level when using the Expressbake setting.
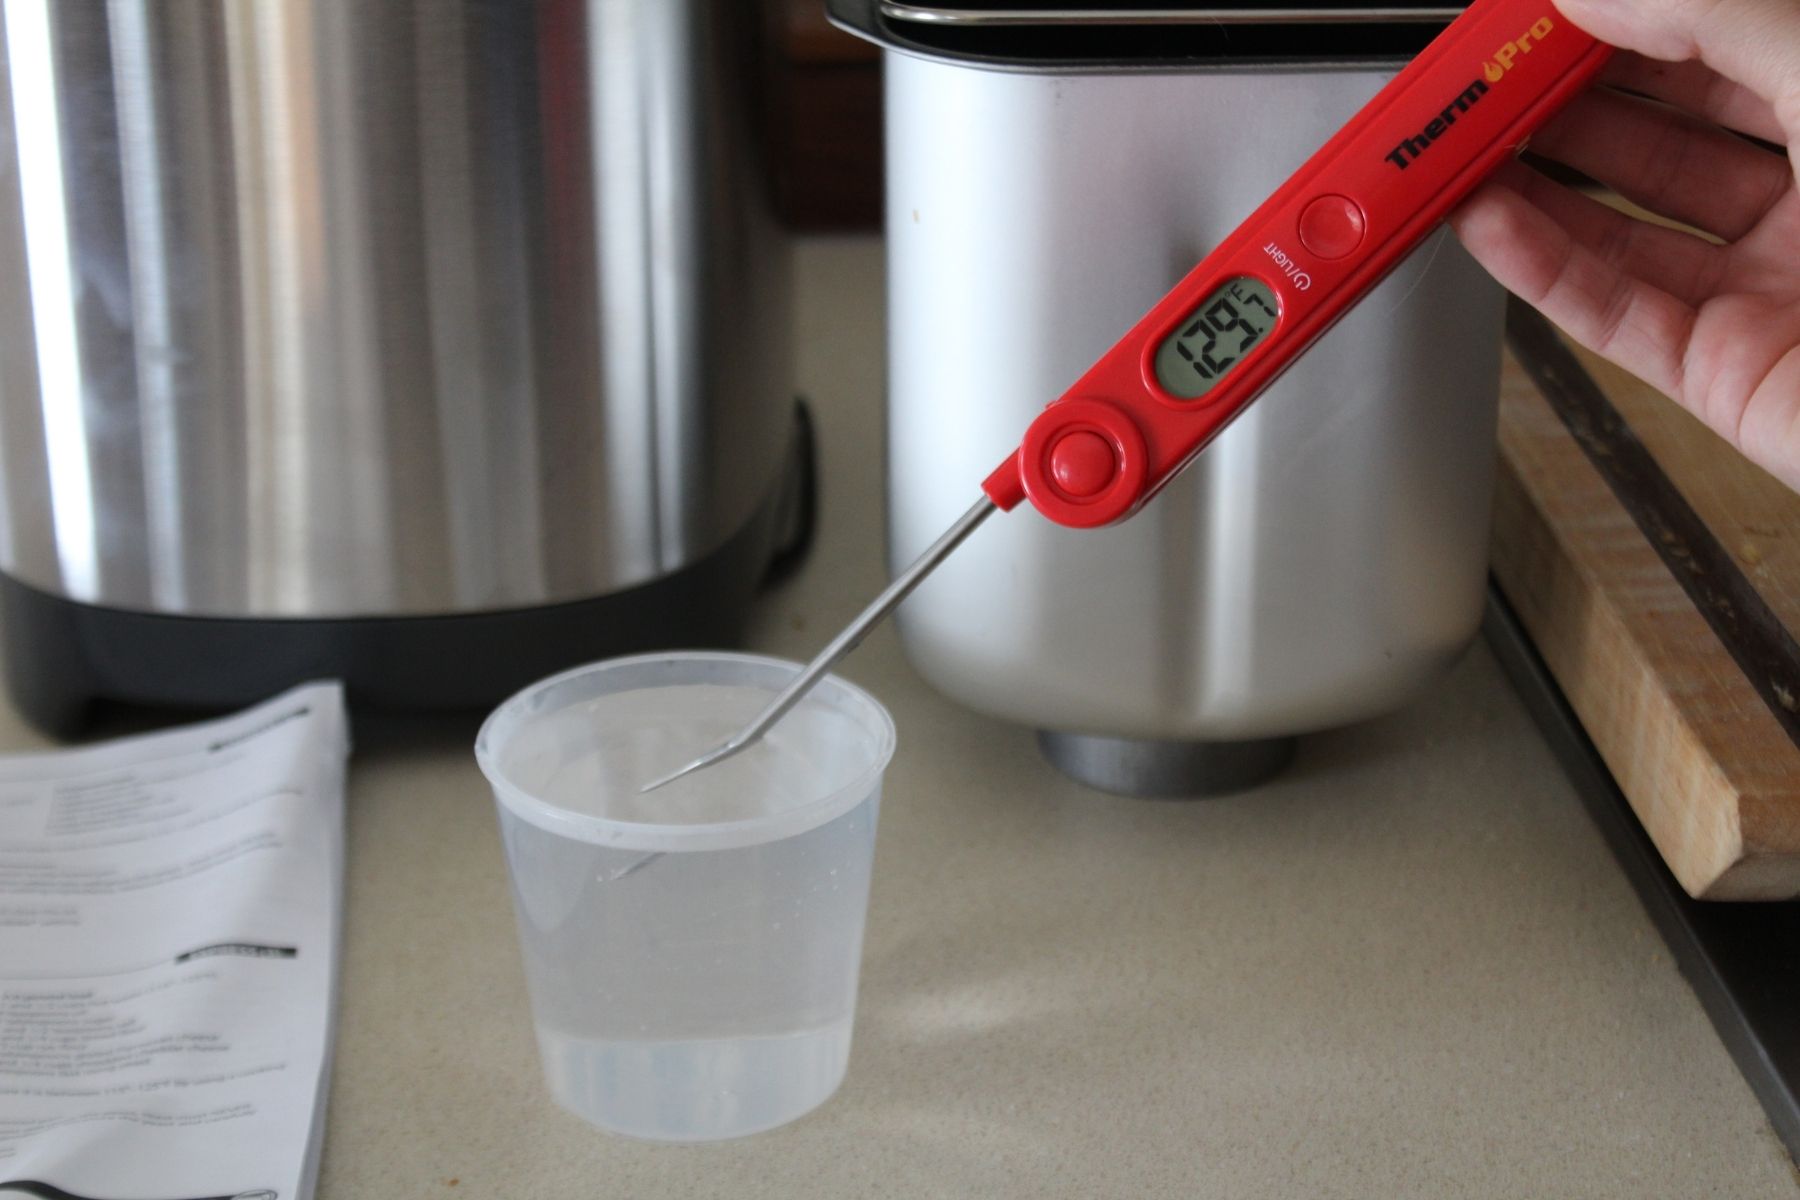
I decided to try a 1.5-pound loaf of white bread on the Expressbake setting, and I was surprised to find that it called for 4 teaspoons of fast-rising yeast. (That’s a lot.) I followed the instructions carefully, making sure to use a digital thermometer to get the water to the right temperature, and an hour later, my bread was baked.
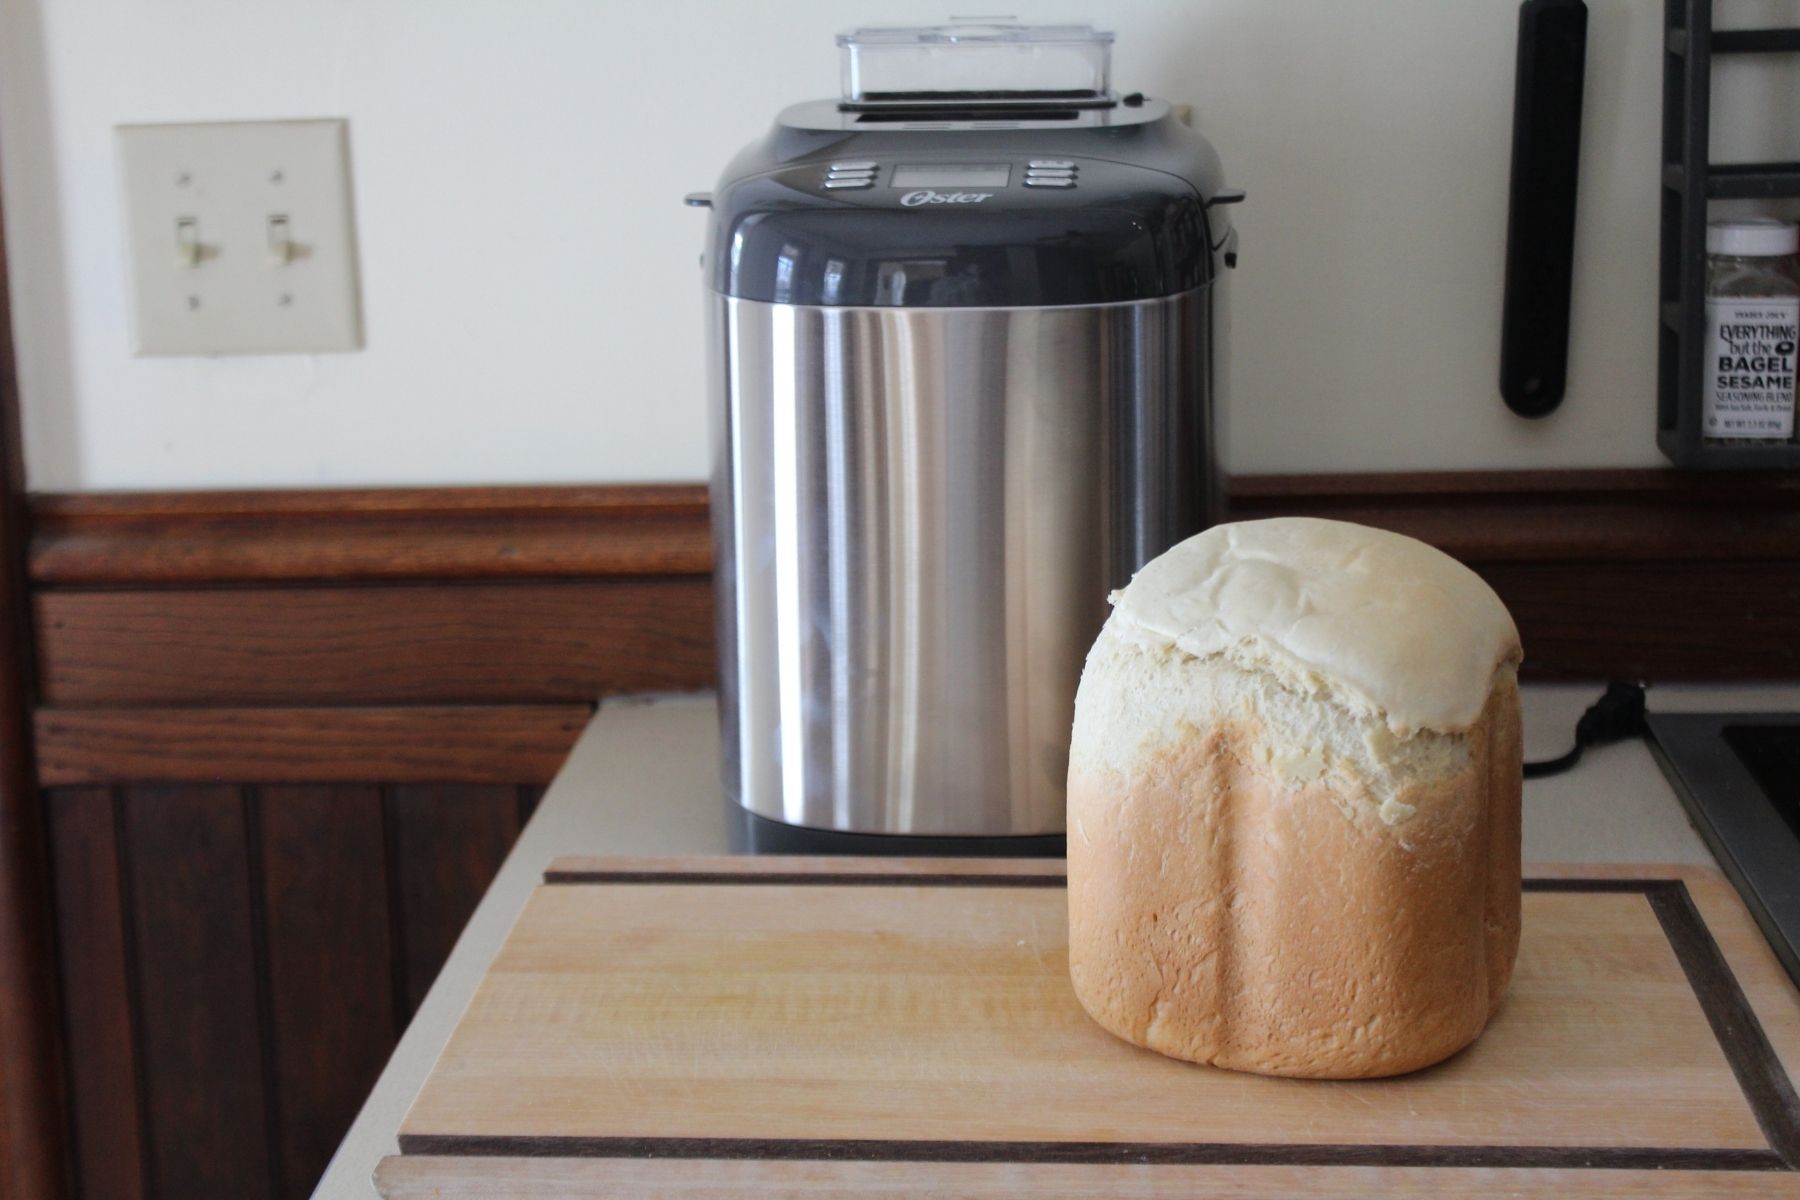
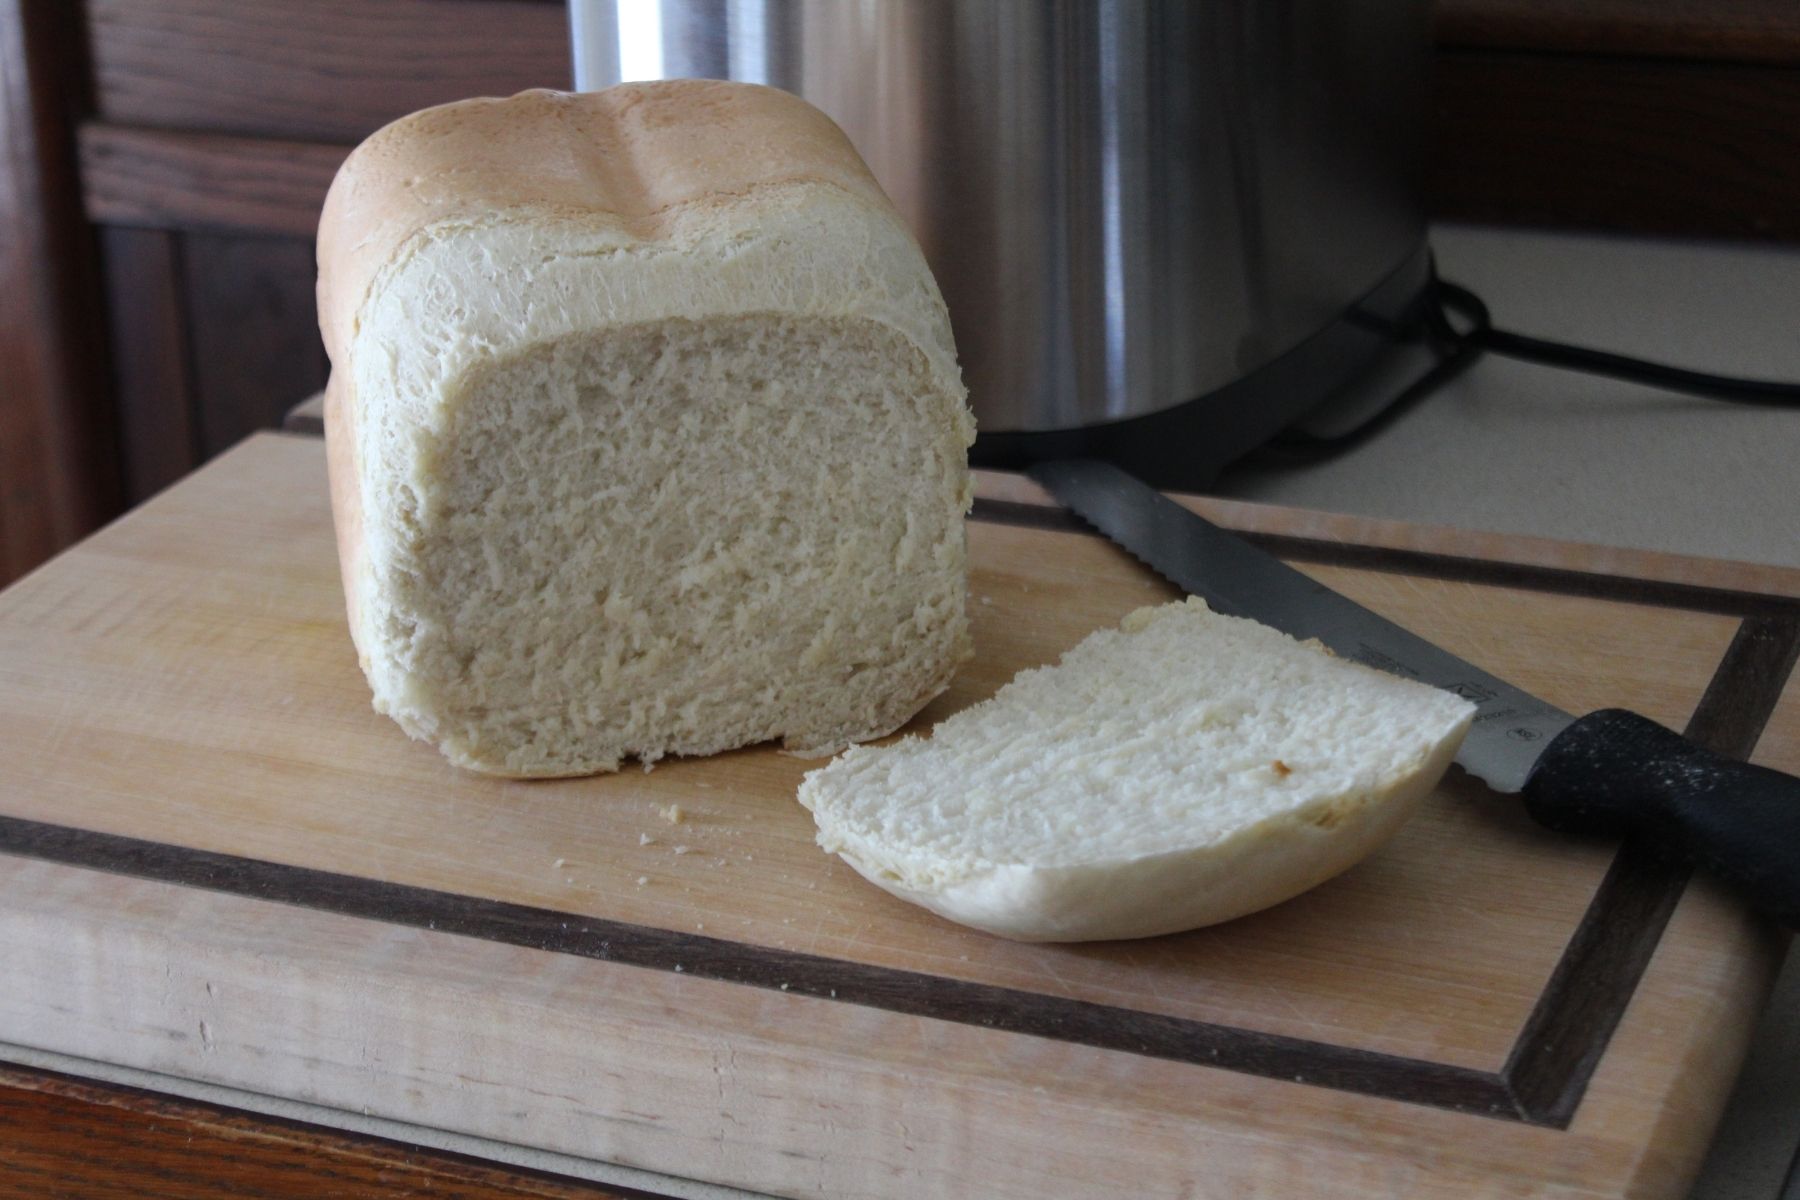
I didn’t have high expectations for this loaf—after all, bread traditionally needs way more than 14 minutes to rise—but it wasn’t bad! The bread wasn’t as browned as other loaves, but it has a light, fluffy texture. The taste was plain, but I think you could easily dress it up with butter or jam. Overall, it was a solid loaf of bread considering how quickly it was baked.
Cleaning the Oster Expressbake
The manual warns not to put the bread pan in the dishwasher, as it will likely harm the finish. However, the good news is that the pan is incredibly easy to clean—and this is coming from someone who hates hand-washing anything.
Because the loaves slide out so easily, the pan barely has any residue left behind after use. Sometimes there’s a little flour or a piece of crust that gets stuck on the mixing blade, but I never needed to do anything more than rinse the pan and wipe it out with a paper towel. It’s actually one of the easiest-to-clean kitchen appliances I’ve ever owned.
Should you buy the Oster Expressbake Breadmaker?
Overall, I was impressed with the Oster Expressbake Breadmaker and the loaves of bread it produced. While there was a hiccup the first time I used it, I was able to troubleshoot the problem using the manual, and all the other recipes I tried came out great. The appliance is quite versatile, allowing you to bake several types of bread, and the Expressbake function is ideal for those times you want fresh-baked bread but don’t have a lot of time.
Not only does it perform well, but this breadmaker is actually one of the more affordable options available today, retailing for around $100. The loaves do have an unconventional shape, which might be a turnoff for some people, but the versatility and ease of use make it a worthwhile purchase for anyone who’s looking to make homemade bread.
About this review, and the reviewer
Camryn Rabideau is a freelance writer and product reviewer who has been testing small kitchen appliances (as well as other home goods) for several years. She’s tested everything from toasters to oil infusion machines, and as an avid baker, she loves trying out any gadgets that promise to make her creations more delicious or easier to bake.
Camryn does her product testing from her small homestead in beautiful Rhode Island. When she’s not tinkering around with the latest home gadgets, she spends her time tending to her animals, working in her garden, or crafting.
Sign up to the Homes & Gardens newsletter
Design expertise in your inbox – from inspiring decorating ideas and beautiful celebrity homes to practical gardening advice and shopping round-ups.

Camryn Rabideau is a writer and product reviewer specializing in home, kitchen, and pet products. In her five years as a product tester, she's tested hundreds of items first-hand, including many, many kitchen appliances for Homes & Gardens. Camryn does her product testing from her small homestead in beautiful Rhode Island.
-
 Kevin Bacon and Kyra Sedgwick's rustic kitchen island is stunning, but controversial – designers say you can get the look without the hassle
A popular material finds an unorthodox home in the couple's kitchen, but experts disagree on whether it should be used – here's how to do it instead
By Sophie Edwards
-
 I struggled for 10 years to redesign my living room until I saw Joanna Gaines's 'quiet luxury masterpiece' – she's totally reinvented '50s style
I was never a fan of '50s style until I saw this perfect room
By Jennifer Ebert
-
 Gwyneth Paltrow's quiet luxury kitchen is so beautiful, we almost overlooked her ultra-smart cabinets – they make the use of 'every inch' of storage space
The Goop founder makes use of dead space in her kitchen with customized cabinetry that reaches to the ceiling, providing ample storage
By Hannah Ziegler