KitchenAid Ice Cream Maker Attachment: churning perfection
The KitchenAid Ice Cream Maker Attachment is mesmerizing. It churns the perfect soft scoop in under twenty-five minutes and I could hardly take my eyes off it
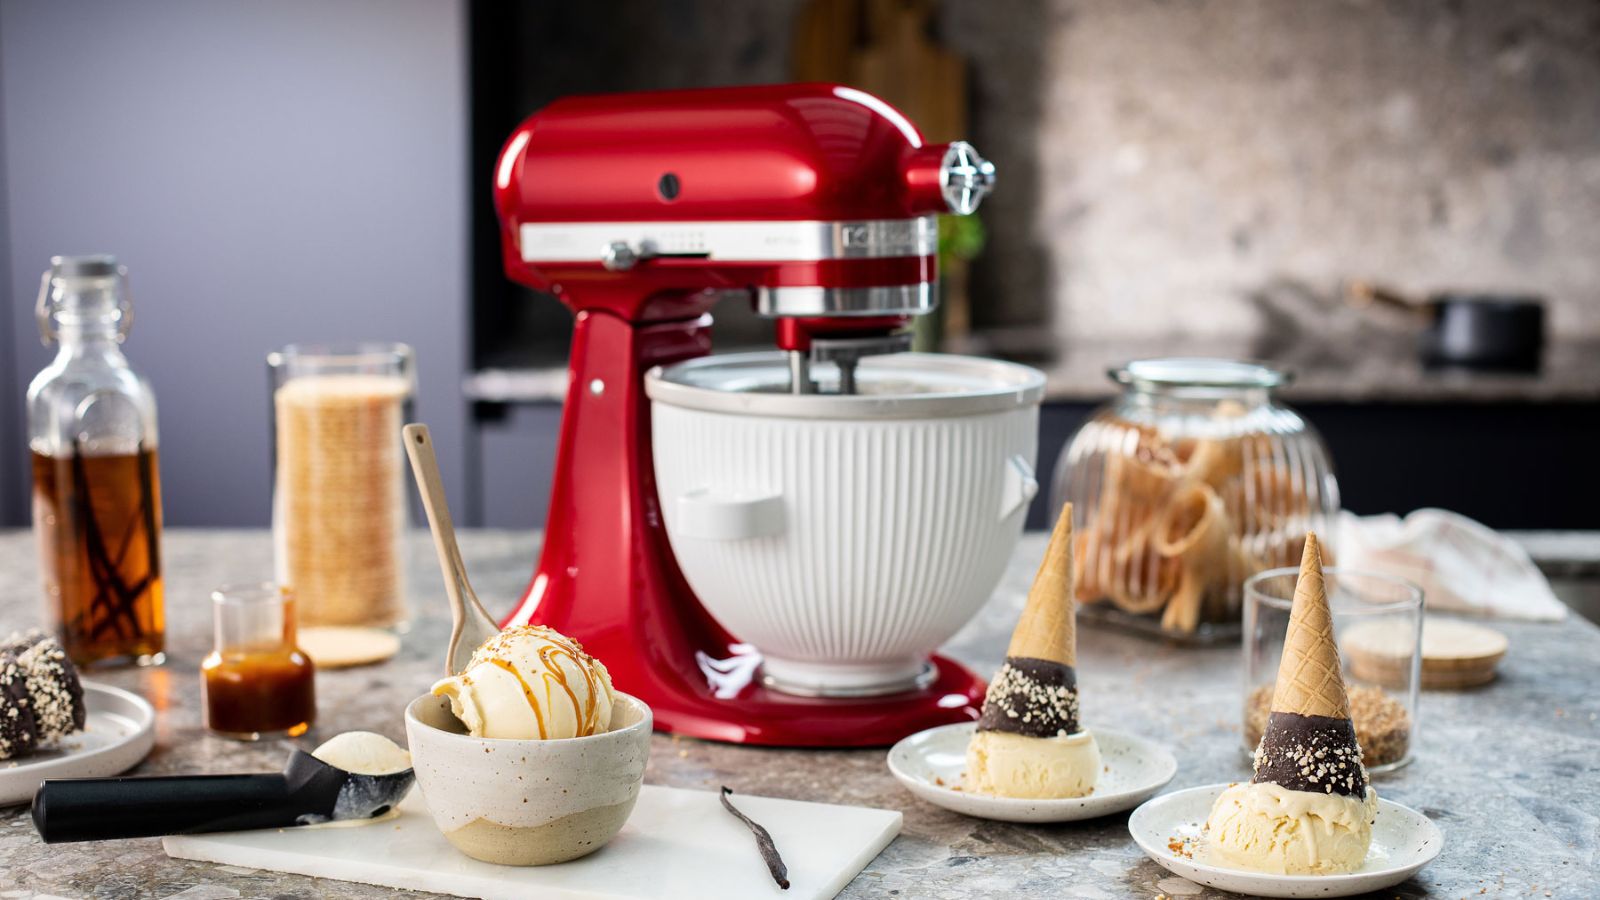
If you’ve dreamed of making your own ice cream, but don’t want to buy an entirely new appliance, the KitchenAid attachment is for you – as long as you already have a KitchenAid stand mixer.
-
+
Simple to use
-
+
Saves space
-
+
Relatively quiet
-
+
Great quality results
-
+
Good value
-
-
Need a KitchenAid
-
-
Potential for mess when adding in mix
-
-
Bowl is big
-
-
Messy to clean
You can trust Homes & Gardens.

KitchenAid’s appliances are iconic. They have an enduring reputation for quality and performance and ice cream is another notch on their belt. If you already have a KitchenAid and want to make ice cream at home, this is a cost and space saving alternative to other ice cream makers.
After doing some research, it was clear that I needed to test this attachment. It looks premium and customers praise it highly. I took it to our test kitchen to put it to the test against other market-leaders. We made ice cream, dairy free ice cream, sorbet, and frozen yogurt.
It’s relatively quick and consistently churned the best texture of ice cream, sorbet, and frozen yogurt. It isn’t without its quirks, but if you already have a KitchenAid stand mixer, this is an attachment you won’t regret.
KitchenAid Ice Cream Maker Attachment Specs
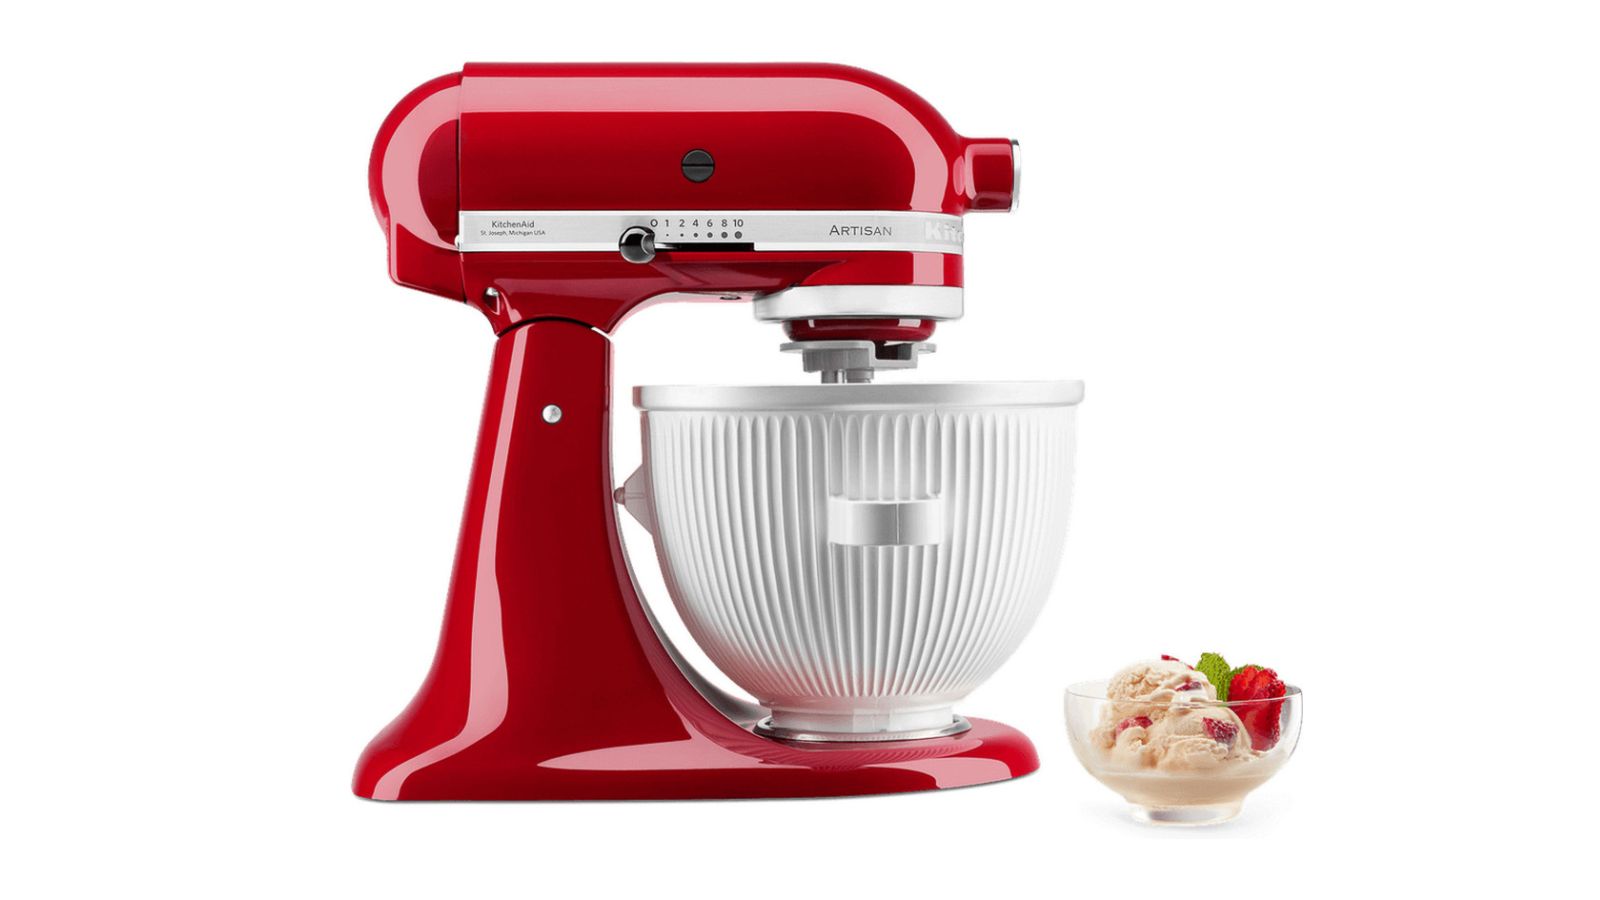
| Product code | KICA0WH |
| Method | frozen bowl and churn |
| Weight | 6lbs |
| Dimensions | 10.9 x 10.3 x 10.3 inches |
| Included | mixing bowl, assembly drive, dasher |
| Pre-freeze time | 16 hours |
| Dishwasher safe | dasher is |
| Batch yield | 2 quarts |
| Sound | 84 dBA |
Unboxing
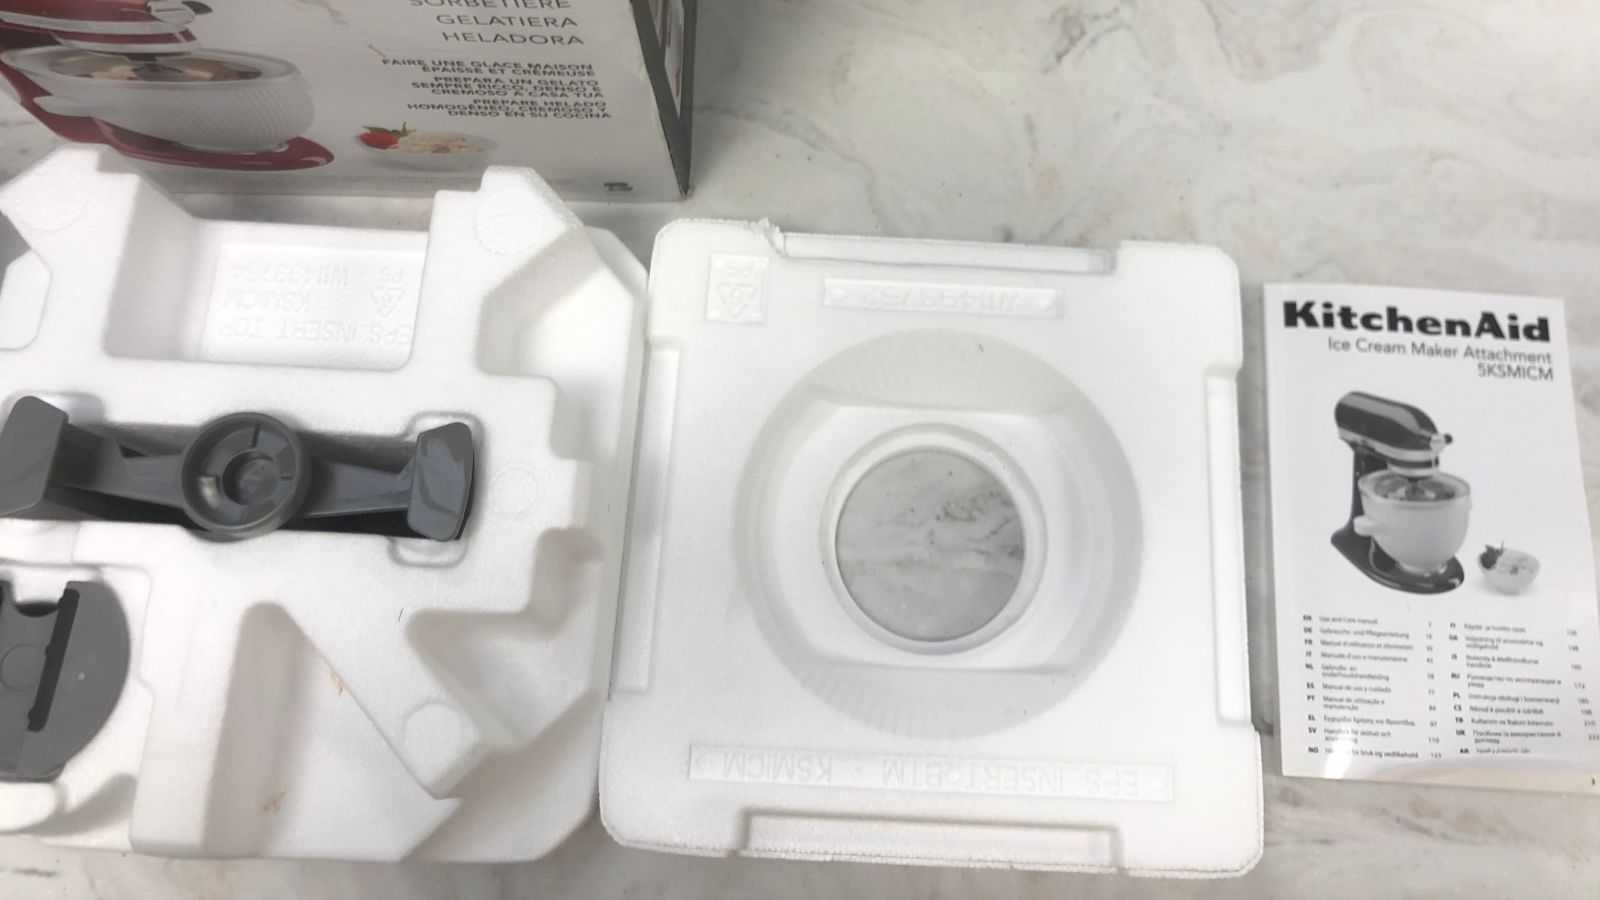
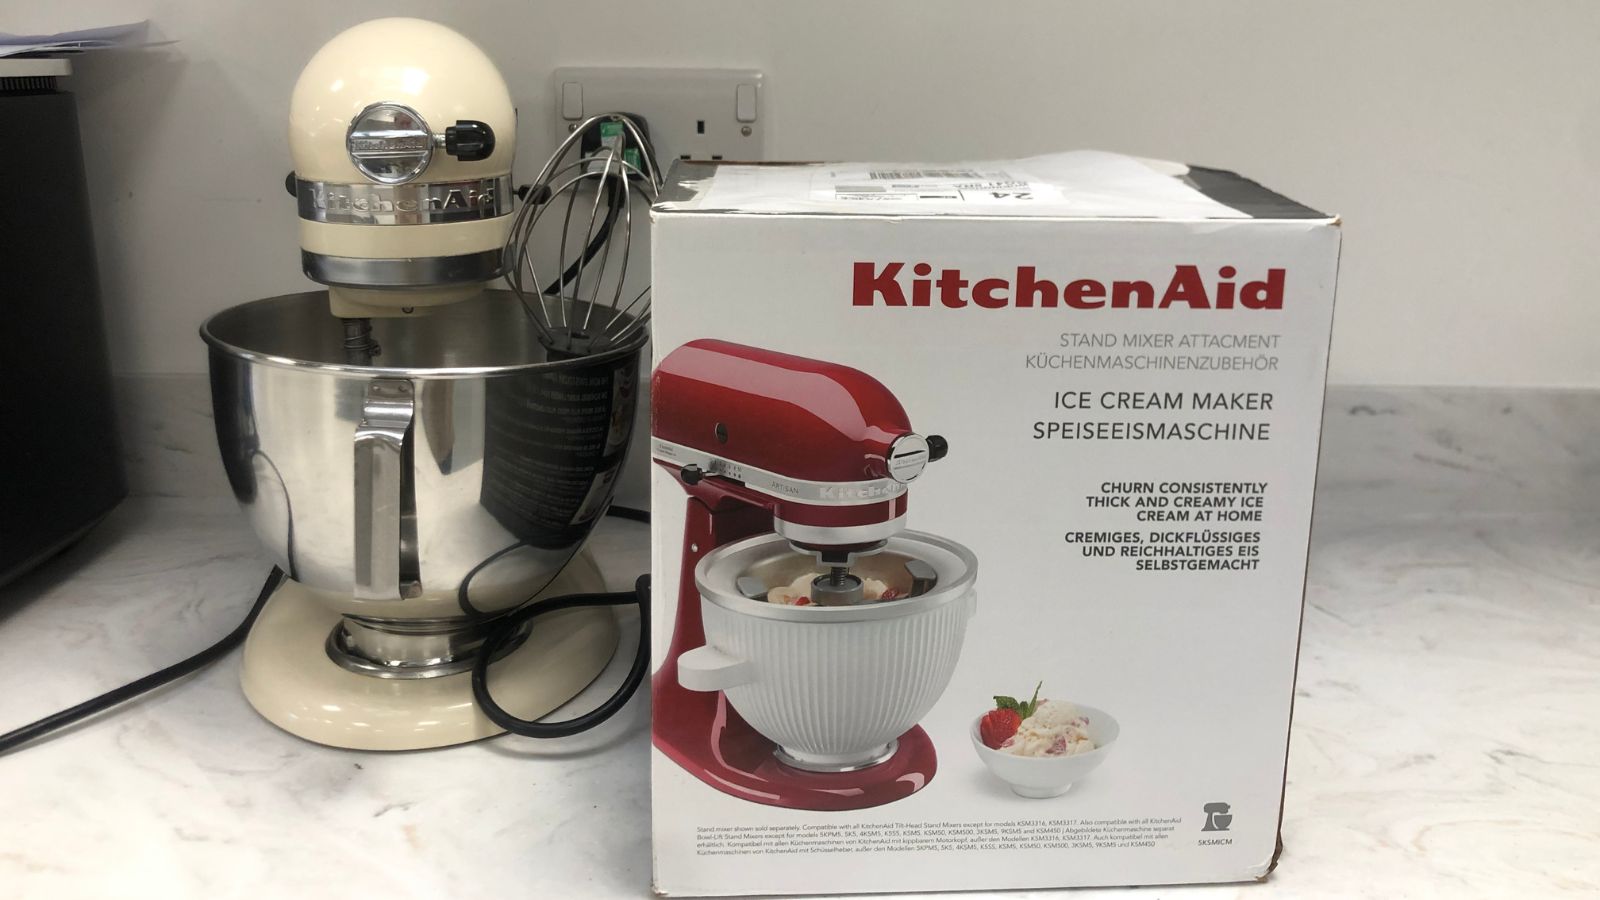
To use the KitchenAid ice cream maker, you need to have a KitchenAid stand mixer. It doesn’t matter if it’s a tilt head or bowl lift, both will work. The only ones which aren’t compatible are the 3.5 qt Artisan Mini mixers and the KPM5 bowl-lift models.
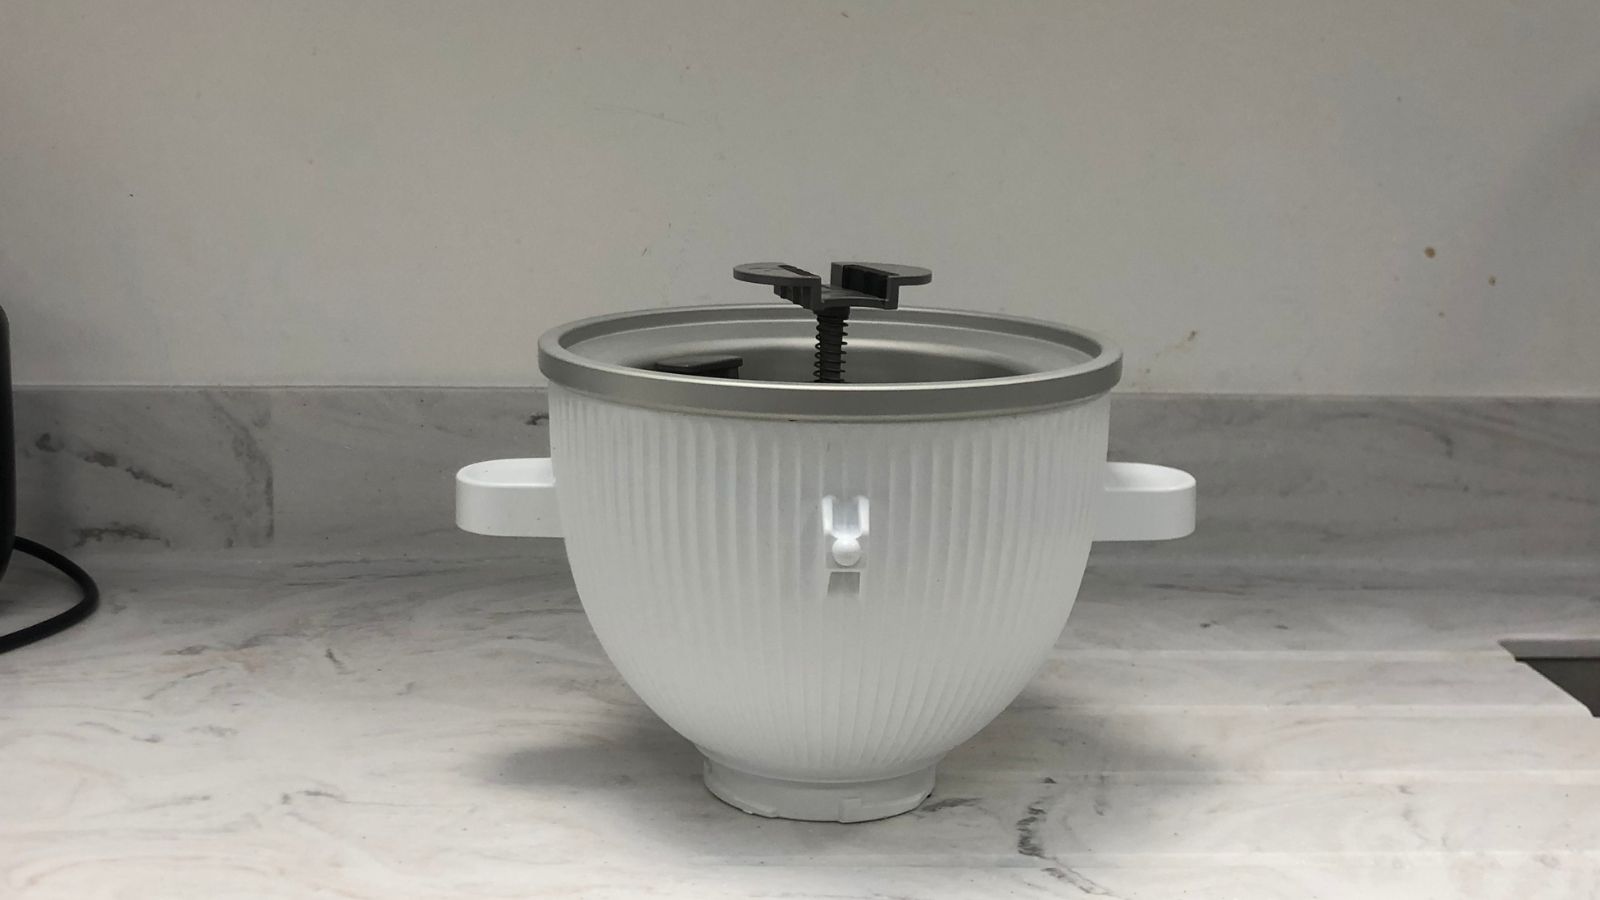
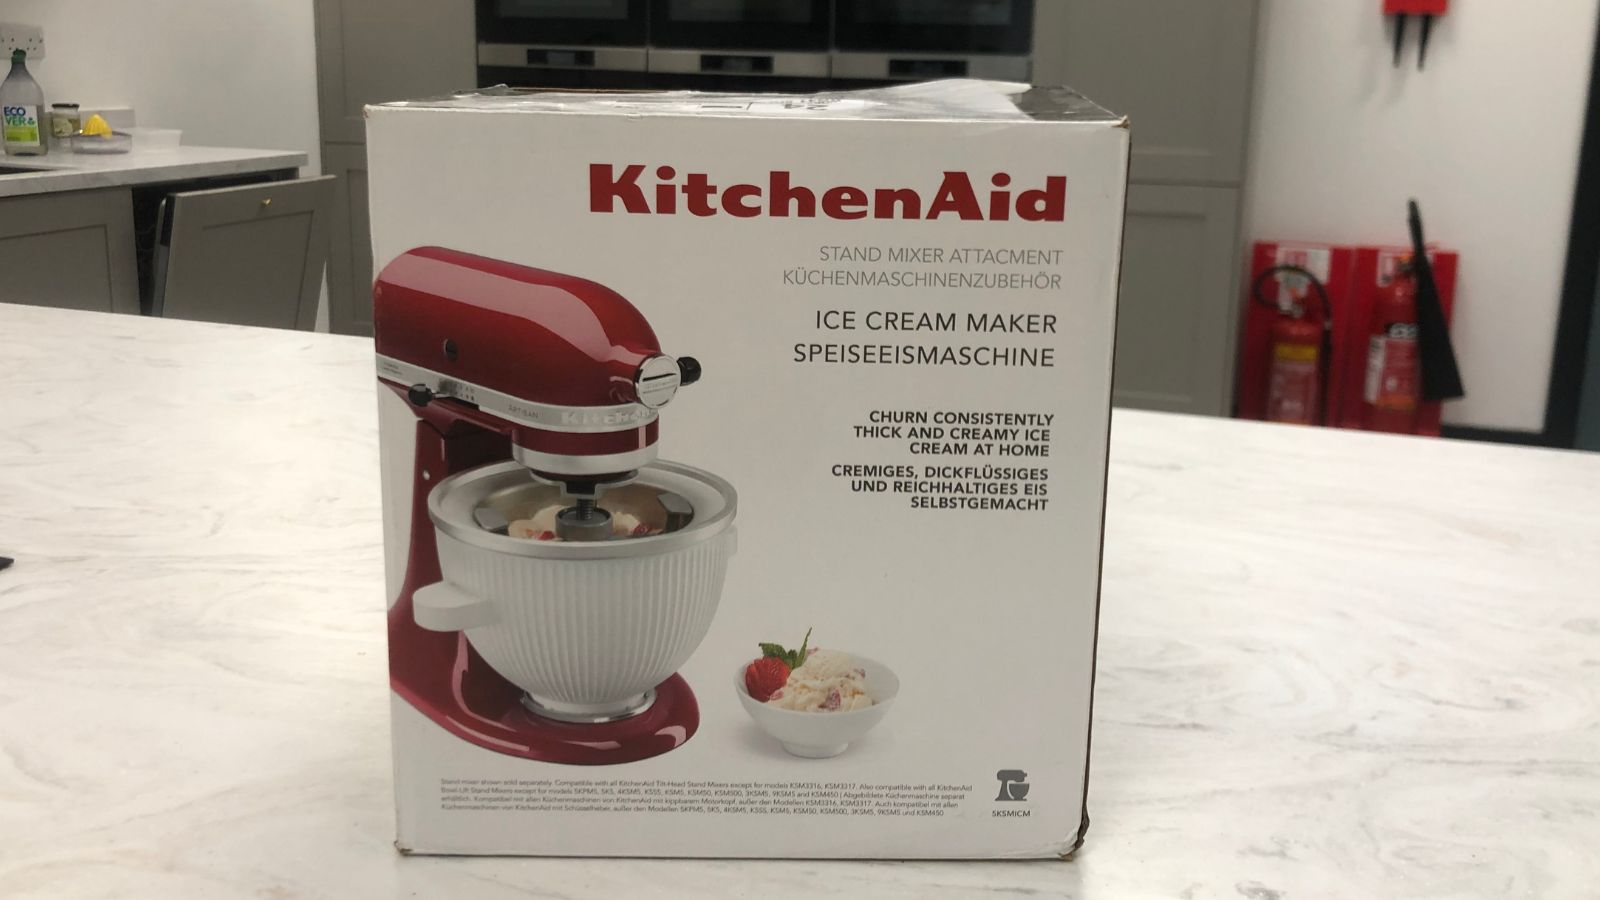
Given that the bulk of the appliance is already in your home, I didn’t expect to have to tackle much packaging. The box itself is small, but it was full of polystyrene. Whilst this delivered a pristine bowl attachment, it’s not great for the environment and bulky to dispose of. Lifting the bowl out of the box, it’s quite heavy, but that’s because it’s iron and filled with liquid that you’ll need to freeze. It feels more premium than the plastic dasher, which is a little flimsy.
Before use, KitchenAid recommends that you freeze the bowl for 16 hours. Although this is a common feature of ice cream makers, this is nearly eleven inches tall. You'll have to clear at least half a shelf of space for it. It also needs to be at the back or coolest part of your freezer, so you can’t precariously push it in anywhere.
Who will it suit?
If you’re looking to make considerable quantities of soft serve ice cream, sorbet, or frozen yogurt, this is perfect. It’s relatively quick, quiet, and very hands-off. It's not particularly child-friendly; for that, I would recommend the Zoku ice cream maker. However, the results of the KitchenAid are in a different league.
The price point for a KitchenAid ice cream maker is much lower than other countertop appliances - it costs around $80. However, KitchenAid assumes that you’ll already have the KitchenAid stand mixer, which is an investment in itself. This means that the ice cream maker attachment is only suitable for households who already own a KitchenAid stand mixer. This isn’t for you if you have a small freezer either, because the bowl is big and needs overnight storage.
What is it like to use?
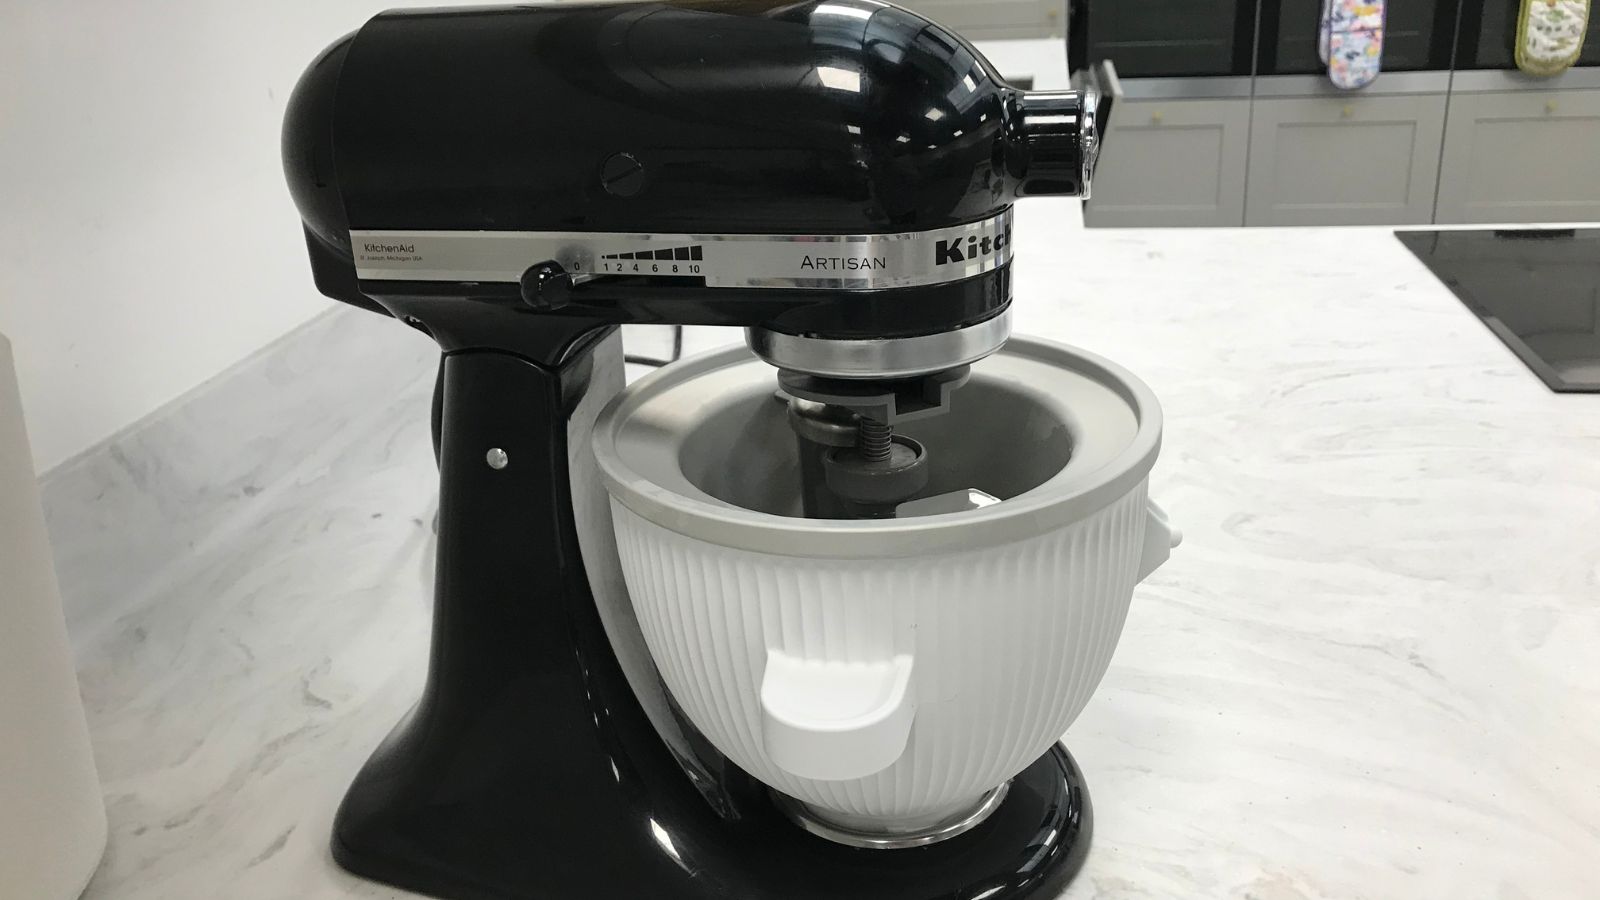
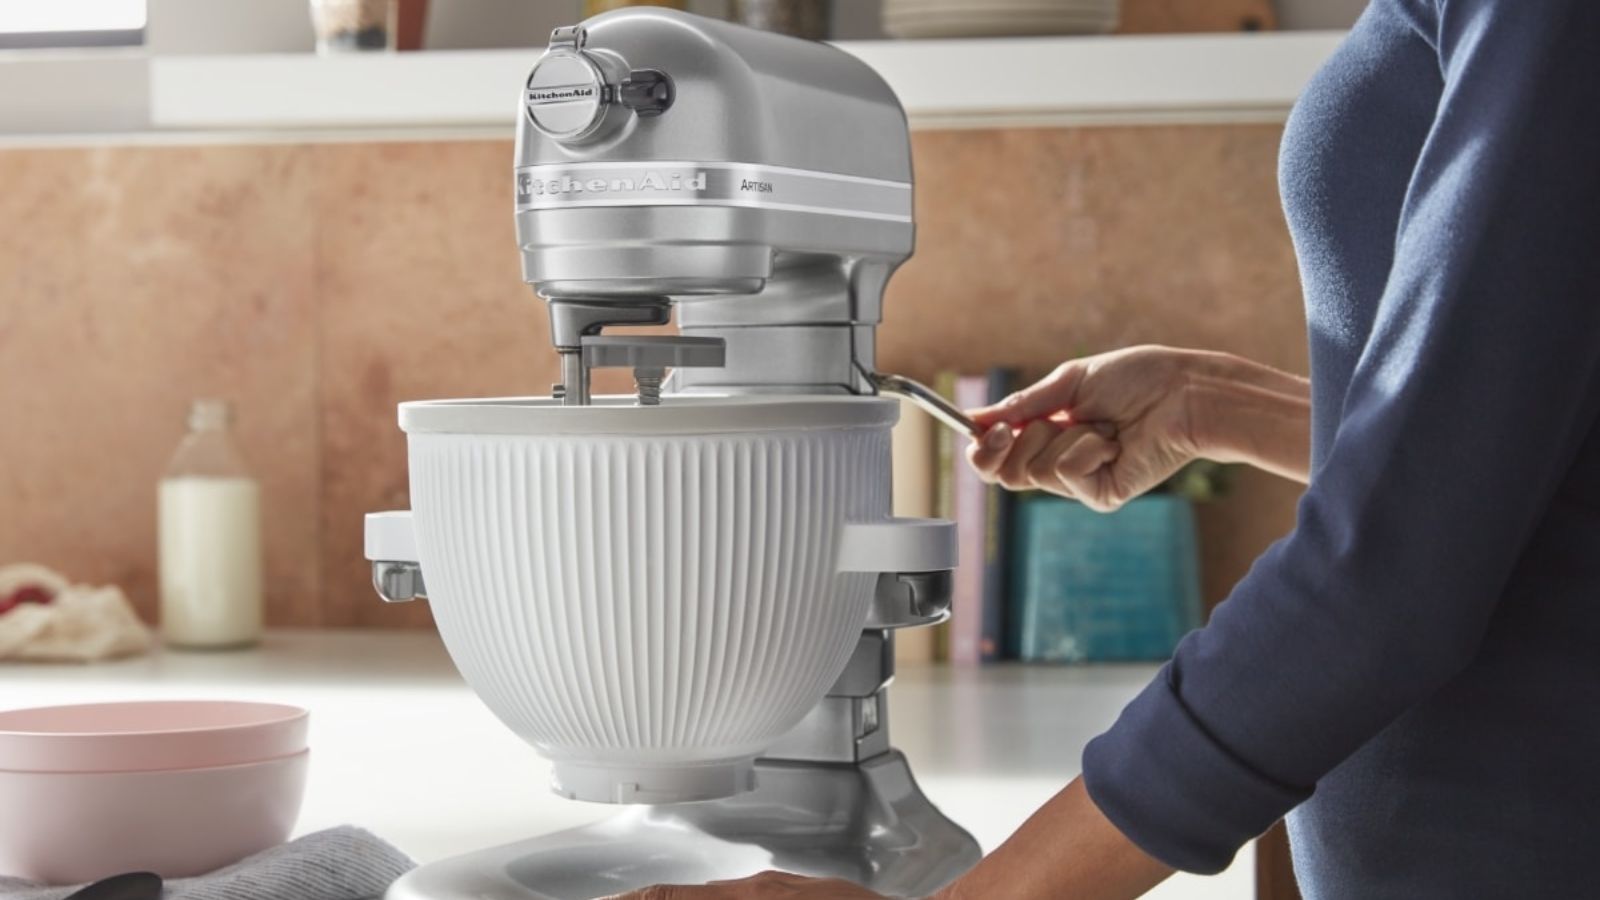
After cooling in the freezer overnight, the bowl was really cold to hold. I had to use oven gloves to carry it so that I didn’t stick myself to the bowl. We used a tilt-head KitchenAid Artisan. The bowl lift machine follows a slightly different set up process, but the instructions explain this well. To lock the bowl into place you twist it on the clamping plate. The dasher - which is the blade which churns the ice cream - sits inside and the drive easily slides onto the motor head - push it until you can’t slide it any more. Thankfully, there is a useful video which you can follow if you’re unsure. I lowered the head down so that the drive and dasher were touching. Once I had figured this out the first time, every other time was easy. It’s a very simple set up process.
Test 1: Vanilla Ice Cream
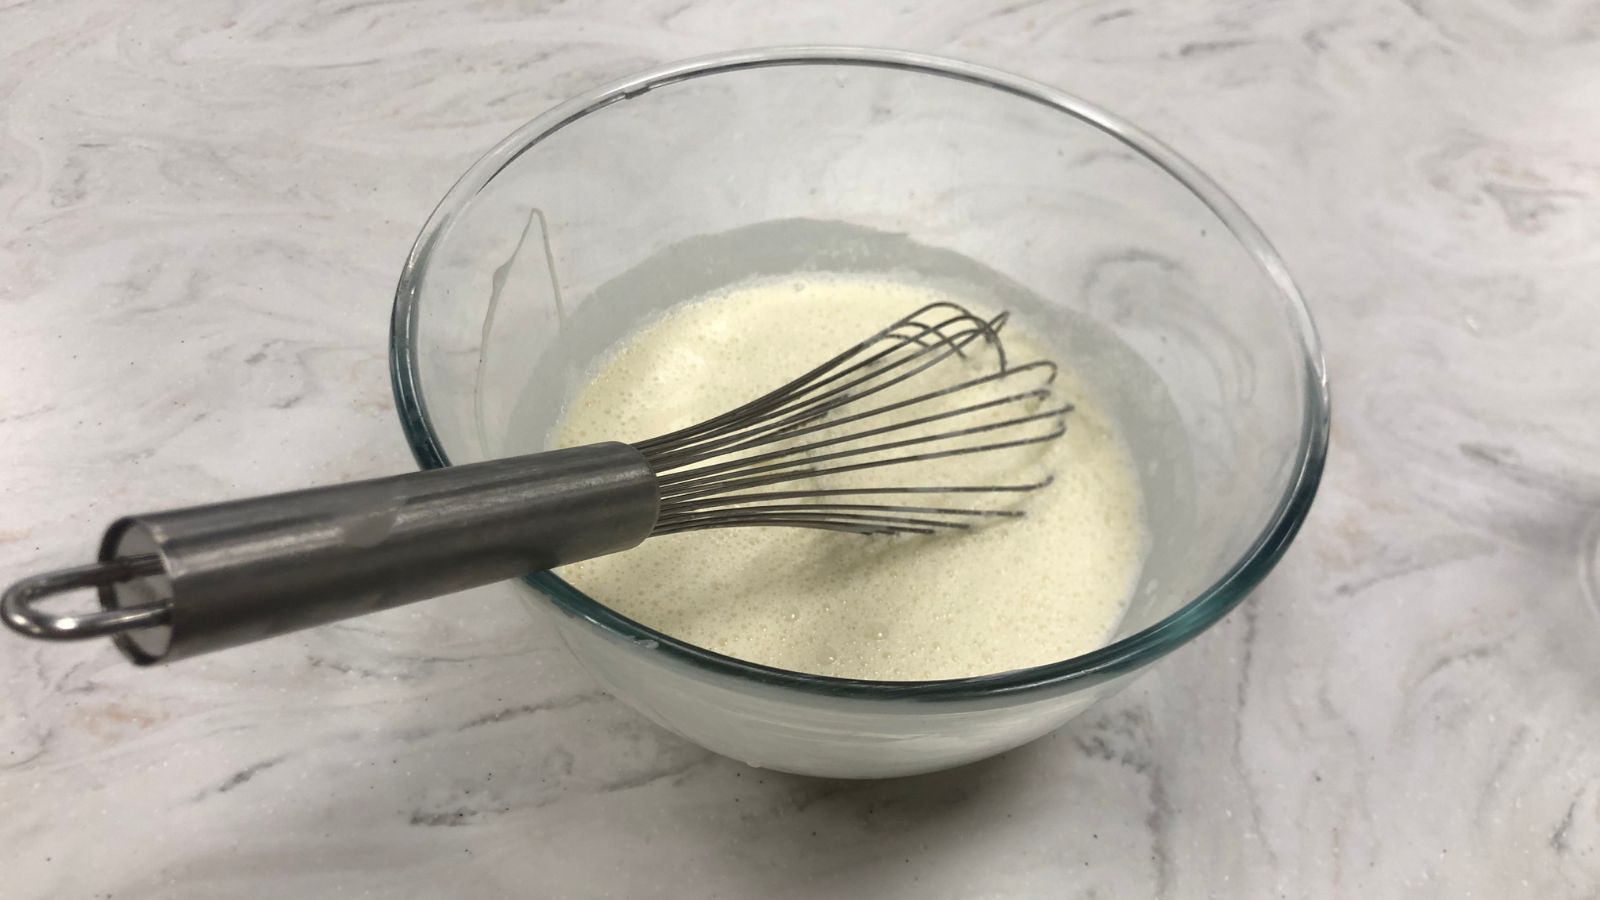
Any mixture that you add to your KitchenAid needs to be around 40 degrees Fahrenheit, which is fridge temperature. I prepared an ice cream mix by whisking one cup of whole milk with ¾ cup of granulated sugar. Once the sugar had dissolved, I whisked in two cups of heavy cream and two teaspoons of vanilla paste. This made more than enough for a 2 quart. batch of ice cream.
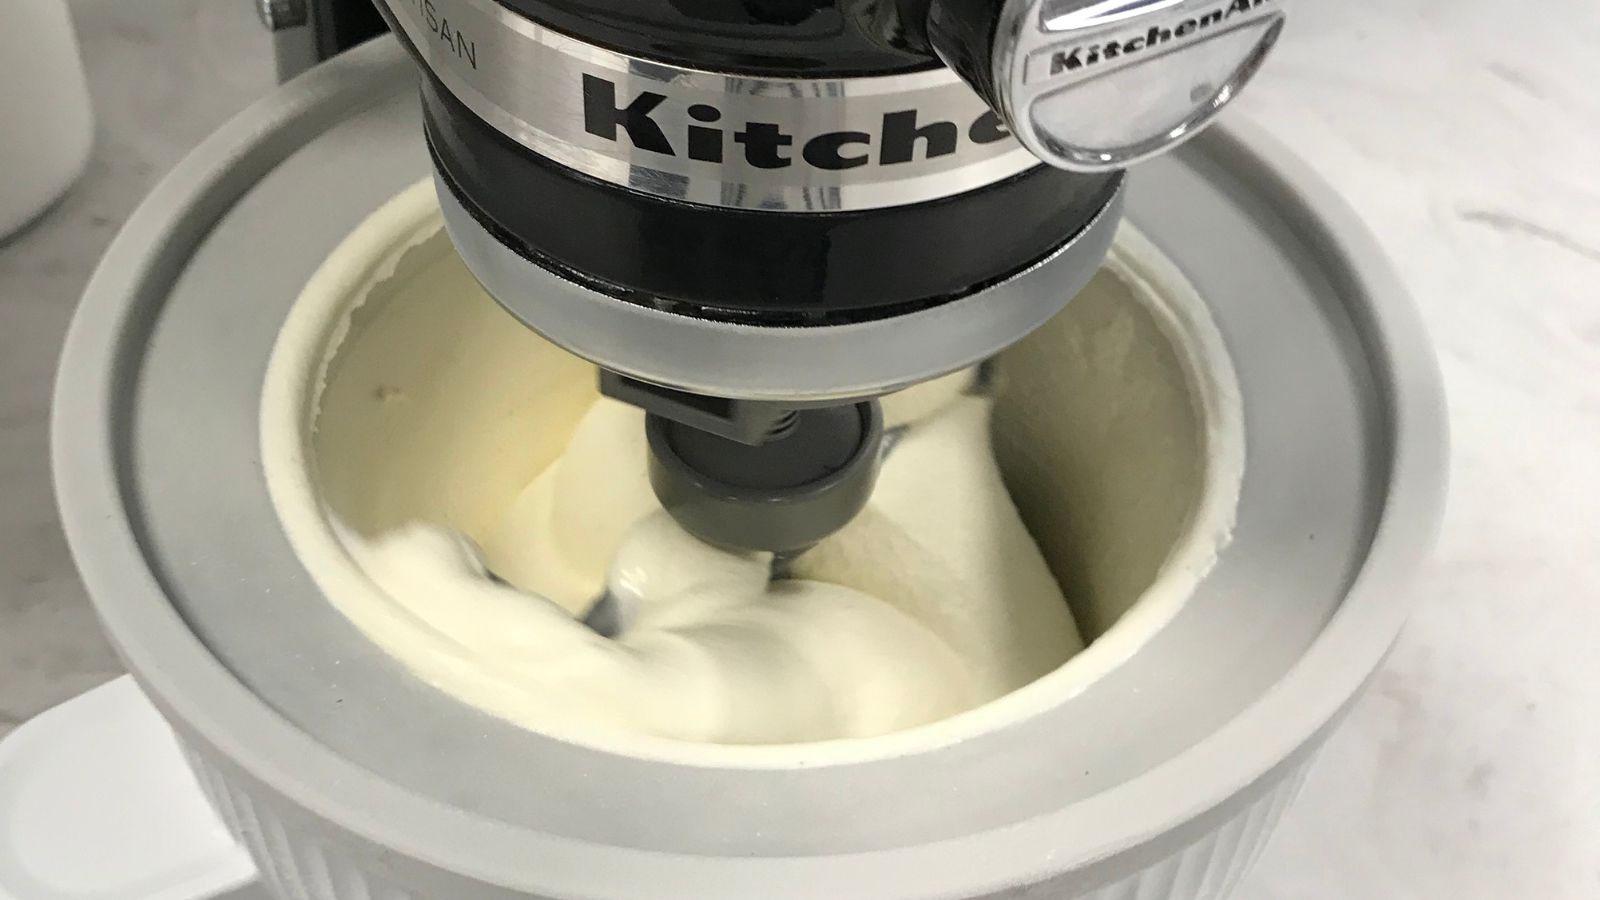
KitchenAid recommends that you begin on the lowest speed setting before adding any ice cream mix to the bowl. This prevents your mix from instantly freezing at the bottom of your bowl, because this solid mass would stop the dasher from rotating and churning the ice cream. Once spinning, you can add your mix. As I began to slowly pour my ice cream mix, I noticed that splashes sat on top of the dasher as I was pouring. This works itself off after a while, but is a lesson in cautious pouring. After I had added all of my mix, I increased the churning speed to half of the full capacity. The mixer’s noise got louder, but was not unbearable. I used a dBA recorder and the highest measurement I got was 100 dBa, it was consistently around 75-80dBA, which is like a loud conversation.
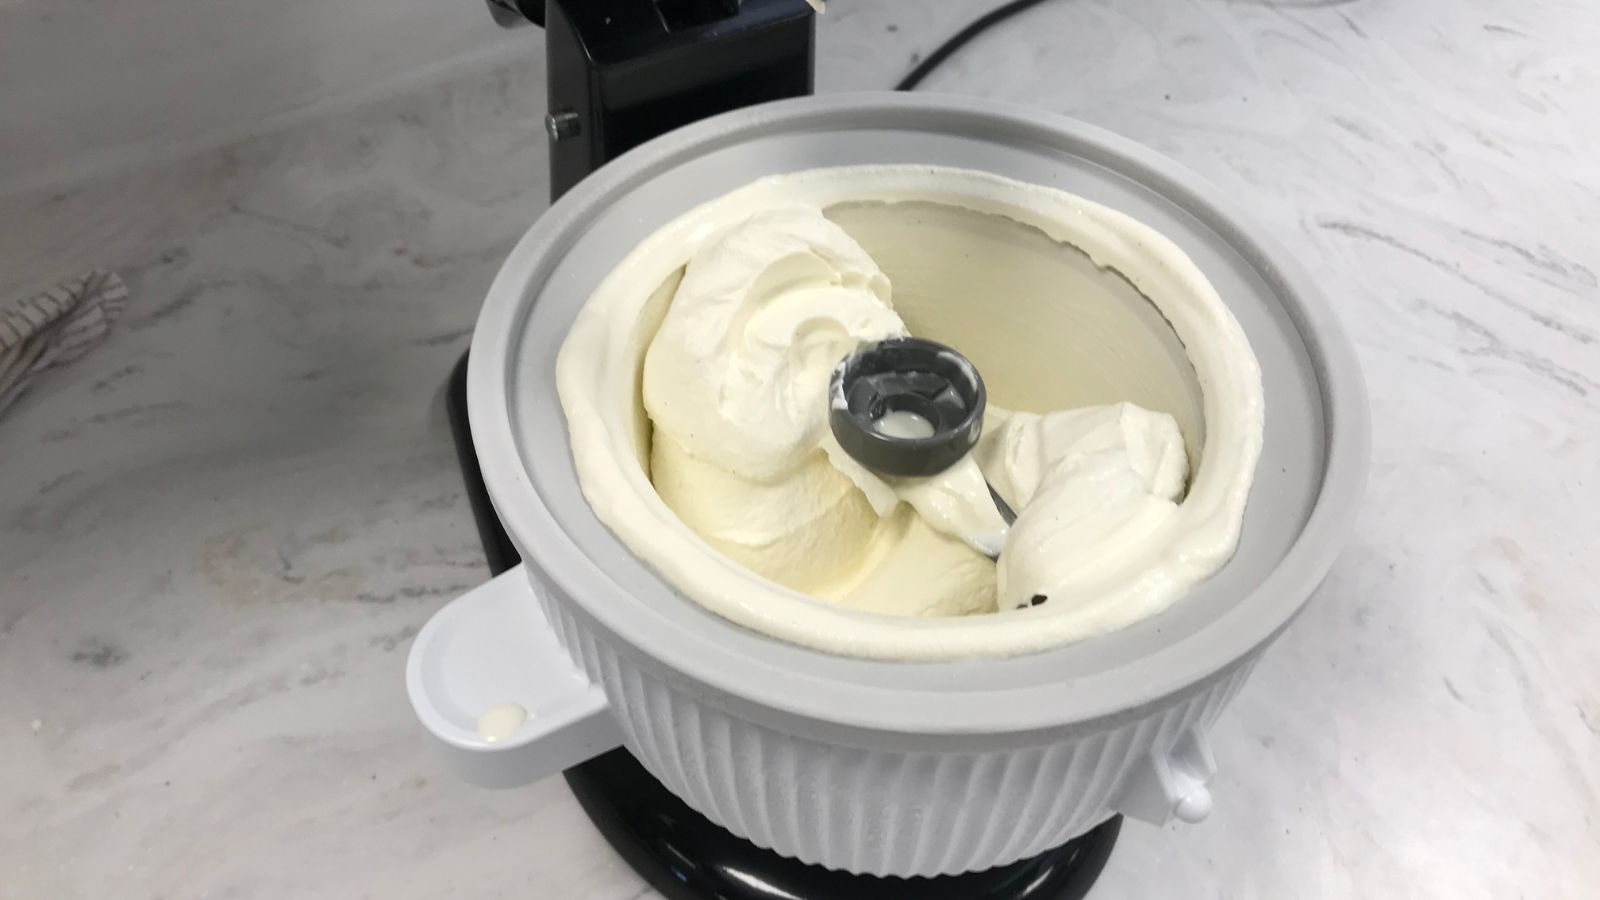
KitchenAid says that within 30 minutes, your ice cream will be ready. I checked my mix at fifteen minutes and could see that I was close to ice cream, but it wasn’t soft serve quality. At this not-yet-soft-serve stage, you can add in any extras. I kept churning and checked the mixture after five minutes. In just over twenty minutes, my ice cream was the perfect soft serve. I took some ice cream out for tests and mixed in some brownie chunks to the rest of the mixture.
After five minutes, the chunks were evenly distributed and the ice cream was really thick. Even though I only poured in enough for 1.5 quarts, the mix expanded to make more. I read a tip that you should listen for a clicking sound as your paddle rotates. If you can hear that, it’s definitely ready. Whilst this isn’t official KitchenAid advice, it worked in practice.
Once I could see the ice cream clinging to the dasher, I stopped the mixer. In my excitement, I lifted the tilt-head. My dasher, heavy with freshly churned vanilla ice cream, toppled, coating itself in ice cream. After I’d scraped this clean, it was ready to taste. The ice cream was glossy, smooth, and, unsurprisingly, cold. I was really pleased with the texture; there were no ice crystals or lumps and it was a really firm scoop. After refreezing it for three hours, the ice cream was still really scoopable.
Test 2: Vegan Ice Cream
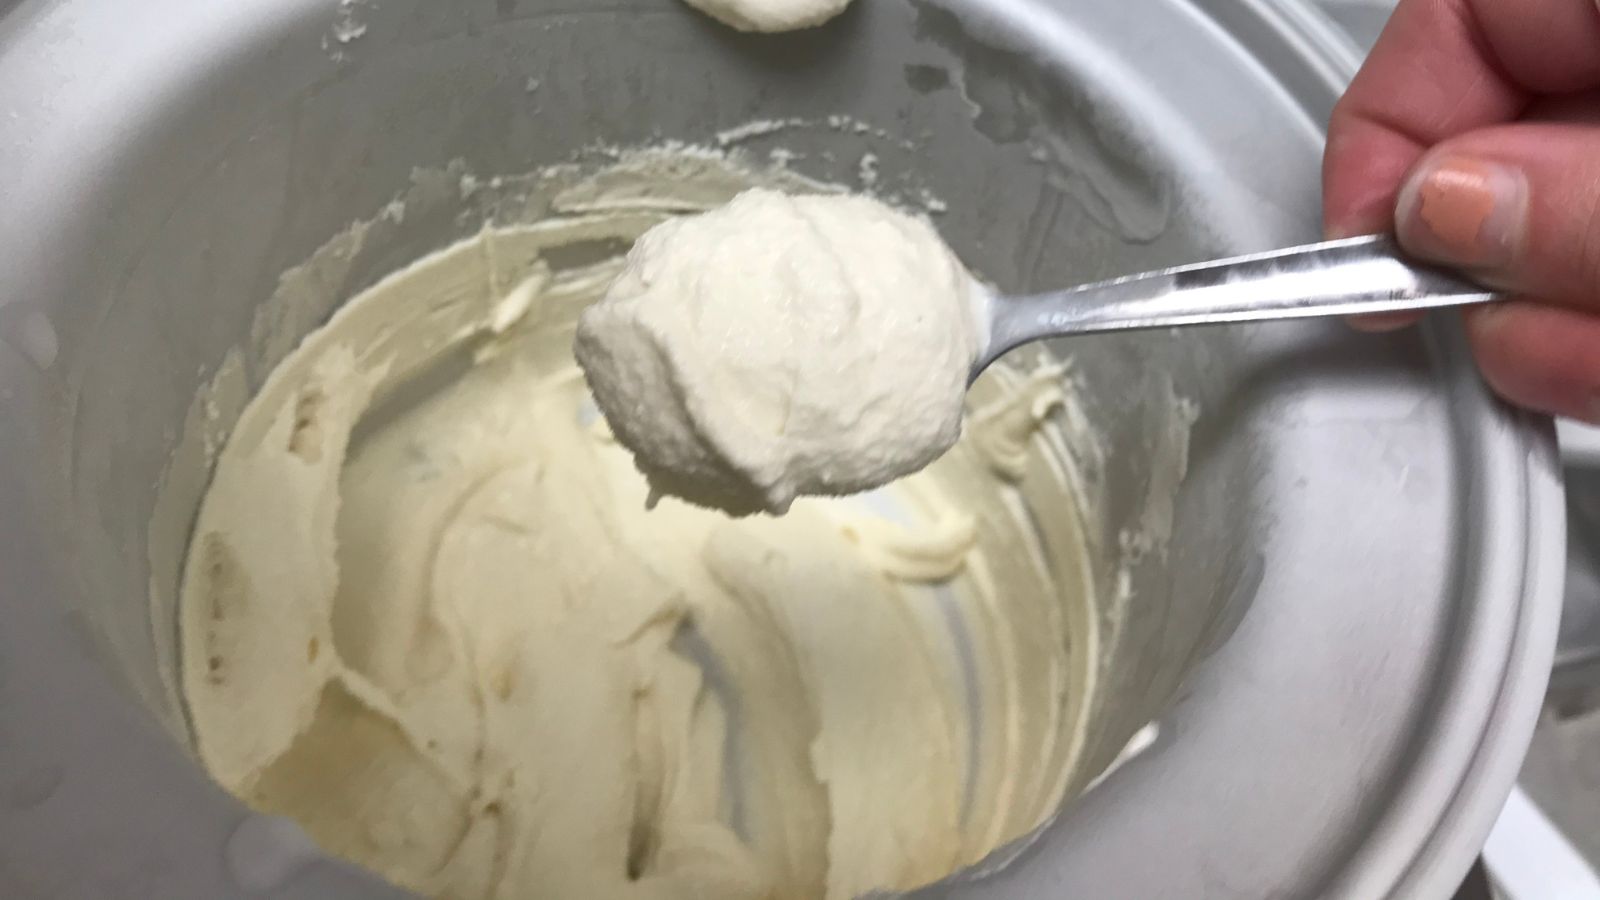
I didn’t want to warm up the freezer bowl by washing it in warm soapy water, but I didn’t want to churn dairy into my vegan ice cream. After using a silicone spatula to remove most of the ice cream, I used a slightly warm sponge to get the rest out. If you plan on using your KitchenAid for back-to-back batches, work backwards from what you don’t mind having mixed in.
I went through the same process with a vegan vanilla ice cream mix. I substituted oat milk and vegan heavy cream into the recipe. These ingredients can be temperamental, freezing at different temperatures, splitting, or simply not co-operating. Once made, I poured my vegan mix into the frozen bowl. I checked after 15 minutes and it looked like it was about five minutes behind where the dairy ice cream was. After 30 minutes, the vegan ice cream still wasn’t quite ready. After another 10, it was perfect.
Clearly, having not learnt from the first time, I lifted up the tilt-head. Again, my dasher, heavy with freshly churned vegan vanilla ice cream, toppled, coating itself. After cleaning up the sticky mess, I can confirm that the vegan ice cream was as perfect as the dairy ice cream. I could have stopped churning a little earlier, but I wanted it really thick. It was similarly velvety, smooth, and really light, but without having lots of air bubbles.
Test 3: Making Sorbet
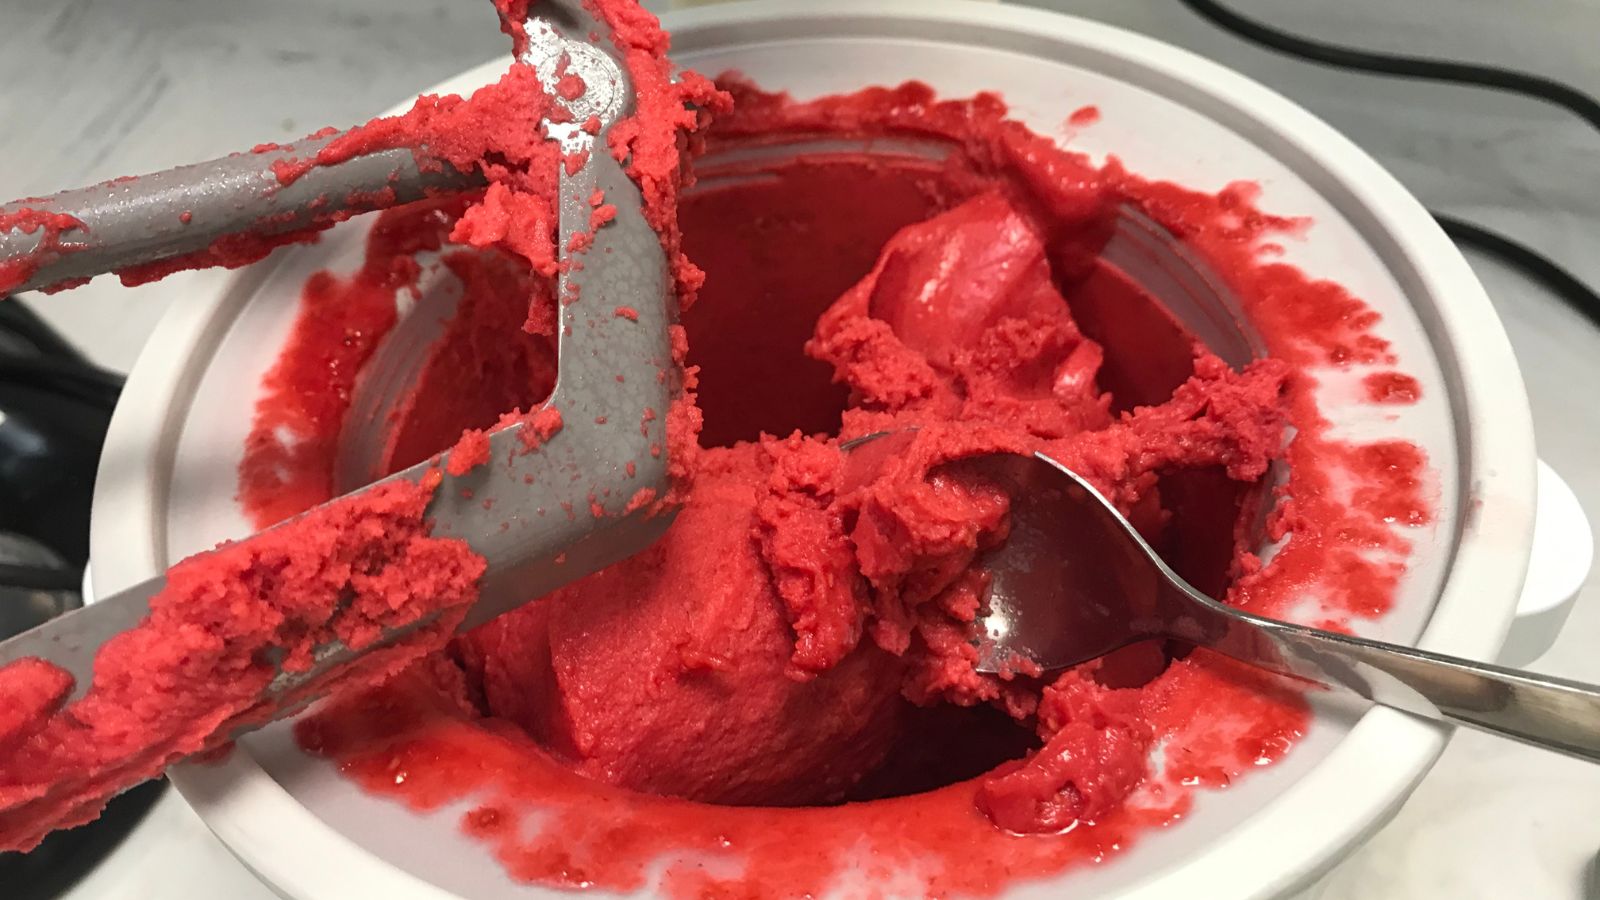
At this point, the KitchenAid had been working hard, in a hot kitchen, for over two hours. I’d cleaned it twice and so I was unsure whether it could handle more tests. The sorbet thickened, but never got to being as thick as my ice cream. I put it back in the freezer to test again under more fair conditions.
To make the sorbet, I chilled a mixture of 450g blended raspberries and 200g of sugar syrup. I followed the same process as the ice cream and poured my sorbet mix slowly into the bowl, with the dasher rotating slowly. The top of the dasher deflected the sorbet at times, leading to a few red splashes on the side. Lucky, I dodged these, but don’t wear white if you’re making raspberry sorbet. Within 15 minutes, my sorbet was thick and ready to be eaten. It was cold, smooth, and delicious. Some sorbet had created a frozen layer on the edge of the bowl, but this was easy to scrape away. There weren’t any ice crystals and when I returned to the sorbet after freezing it for a few hours, it was still very scoopable.
Test 4: Frozen Yogurt
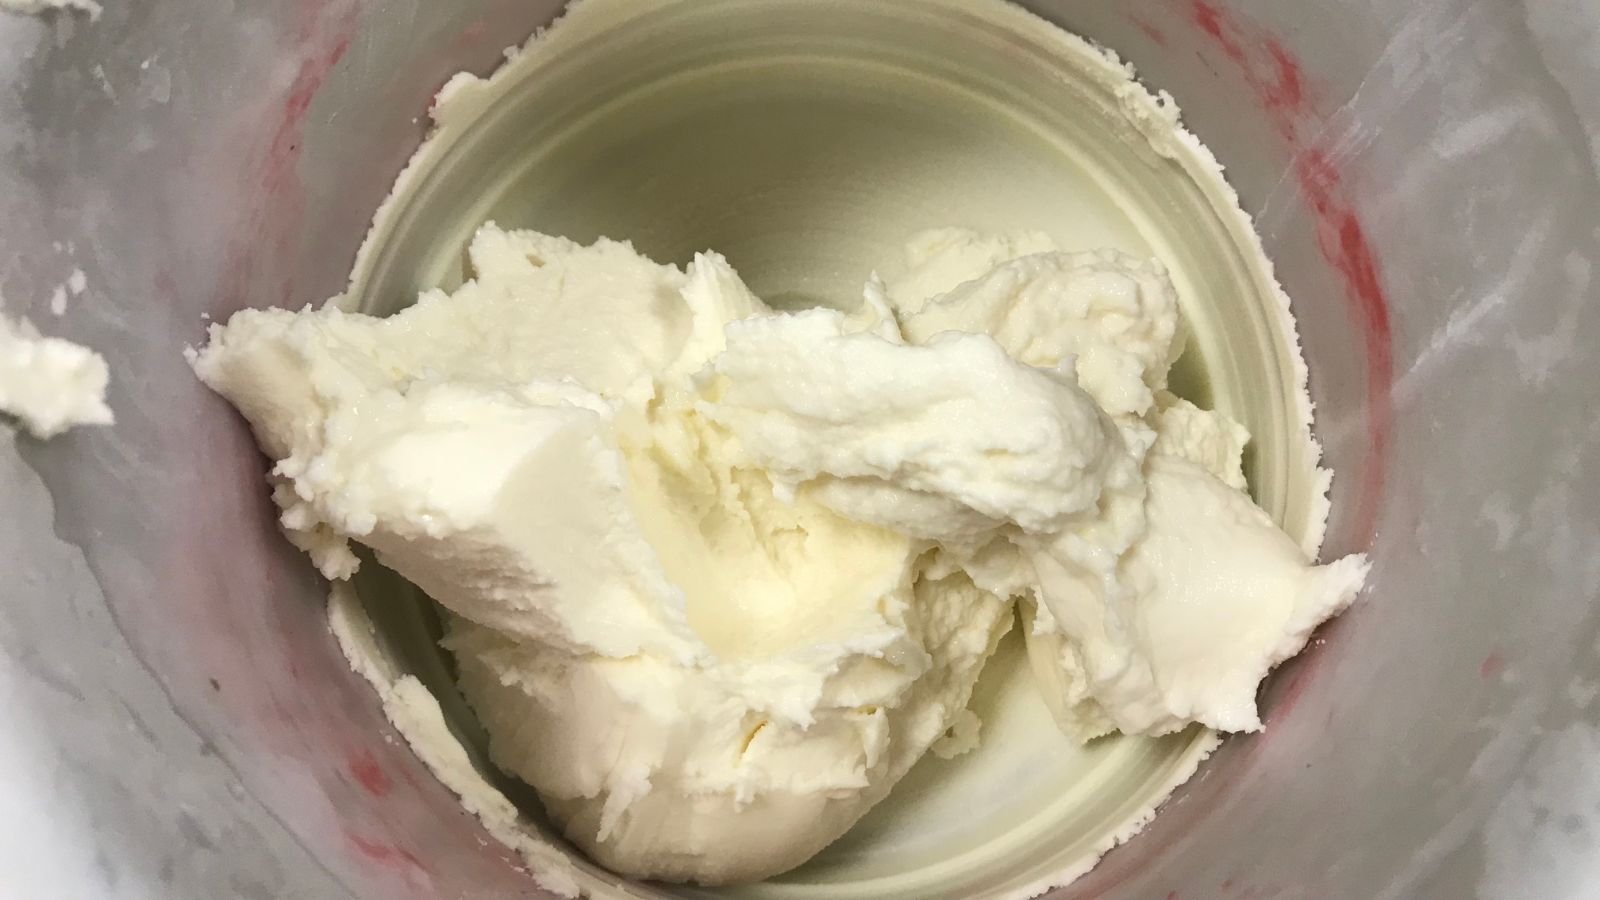
Of all the ice cream makers that we tested, this was the best and easiest frozen yogurt. All I had to do was pour a tub of yogurt into the mixer, on a slow speed. Within fifteen minutes, the yogurt was cold and clinging to the dasher. It was a thick, smooth, soft serve texture. There weren’t any ice crystals either – a flawless performance.
Cleaning and Storage
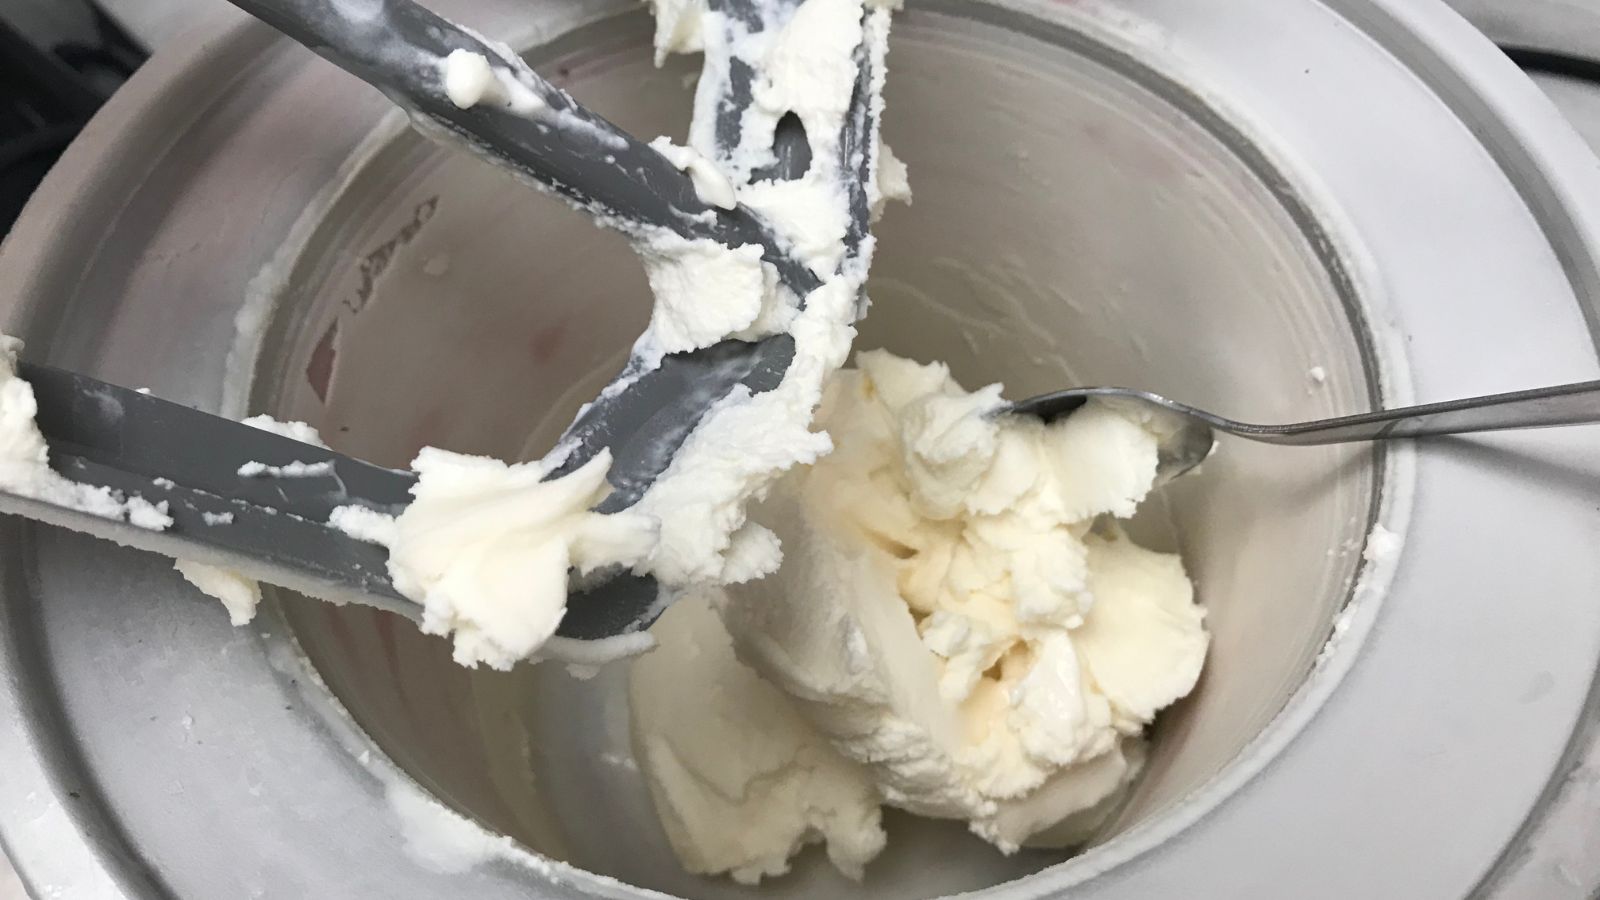
After lifting the KitchenAid, the dasher fell into the ice cream, making it a little sticky and messy to clean up. By the time I made sorbet and frozen yogurt, I was ready to hold the dasher to stop it falling. After use, twisting the bowl off took a bit of muscle.
The parts, aside from the bowl, are dishwasher safe. I washed them easily by hand in warm soapy water. I used a soft sponge on the bowl, so that I didn’t scratch it and the ice cream all came easily away. I read reviews where people re-froze their ice cream and struggled to clean the bowl, so it’s better to get it cleaned pretty quickly. When I re-froze anything, I transferred it to a different tub.
Normally, I would recommend always storing your frozen attachment in the freezer. There’s no shortcut or forward wind for freezing, so if you forget to prep, you’re in the sort of sticky mess that I was after all the ice cream testing. The sheer size of the KitchenAid bowl makes it difficult to fit in the freezer, so you’ll probably need to keep it in a cupboard and make sure that you plan your ice cream production well.
How does it rate online?
Reviewers and customers alike were really pleased with the results from their ice cream maker attachments. I didn’t see many reviews that weren’t over 4.5 stars. People loved the quality of the ice cream produced. Users described it as ‘impressive', ‘smooth’, and I even saw a ‘life changing’.
However, I also came across a cluster of issues. If you hadn’t been warned already, make sure to check your freezer size. This bowl is big and better suited to adjustable shelf or chest freezers. Also, if the freezer bowl was not in the coldest part of the freezer, it didn’t freeze properly. This meant that some people had uneven ice cream results, with ice crystals in their final product. If frozen properly, this shouldn’t be a problem, but it’s good to know. I also found that people who re-froze their ice cream after churning had much more trouble cleaning the mixing bowl out. Small parts become more ice than cream and they clung to the edges of the bowl. In this case, you’re best to melt it off.
How does it compare?
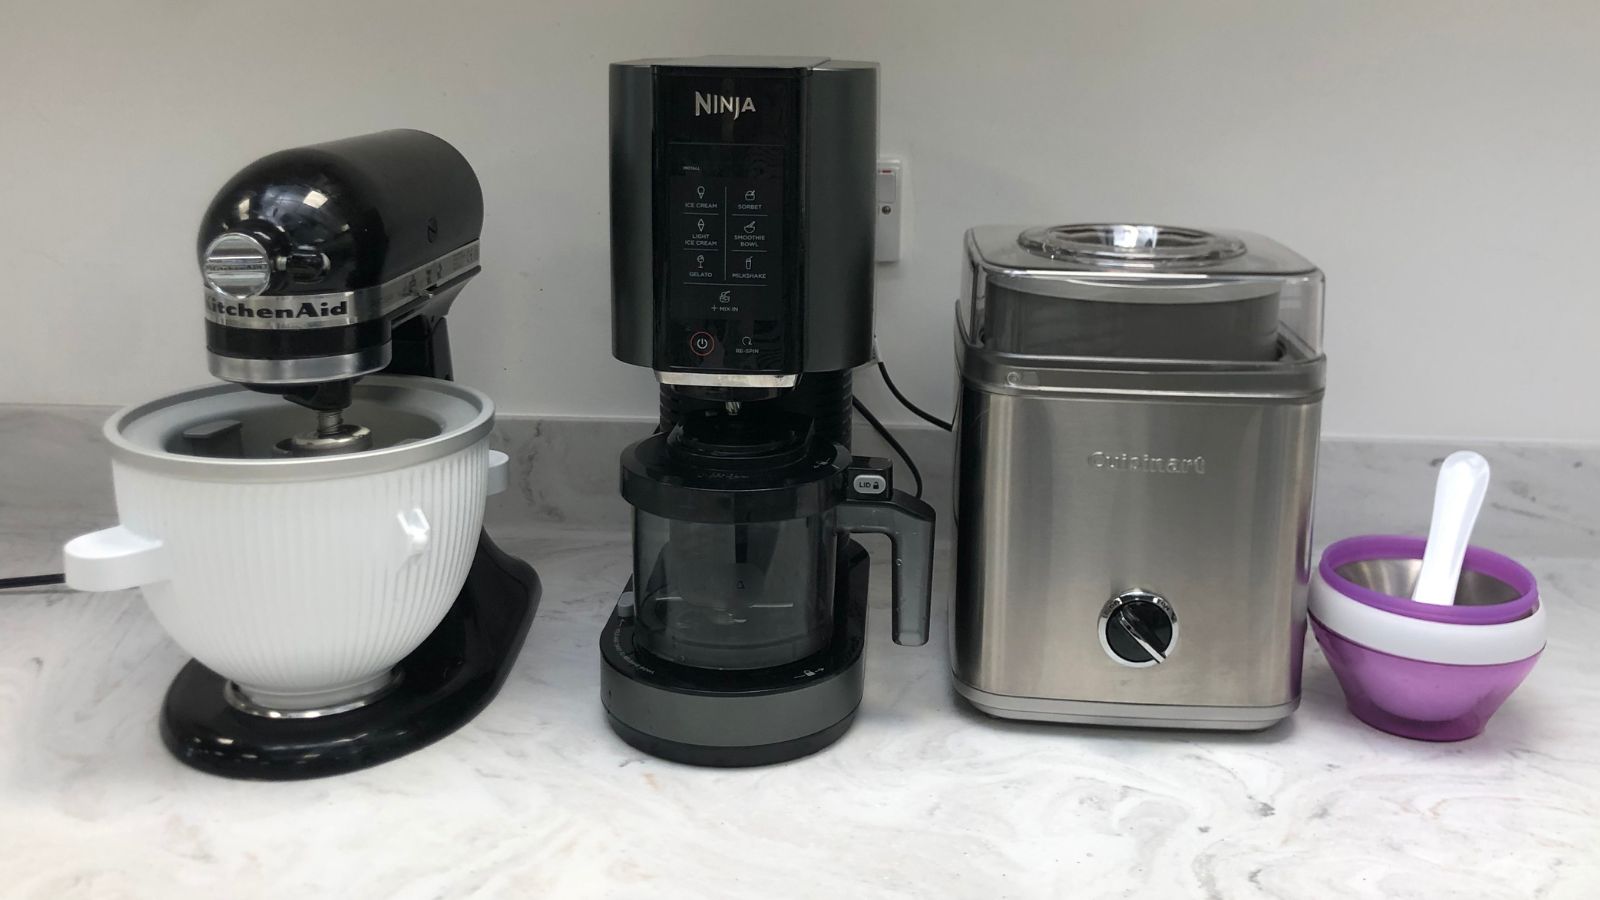
At under $100, this is reasonable value. Obviously, this price doesn’t account for having to already purchase a KitchenAid, but it offers you an opportunity to save on storing another bulky appliance. I found the KitchenAid to be one of the quieter and quicker models. Its capacity is good and the prep freeze time is average for an ice cream maker. There are models which have a freeze motor, requiring less preparation, but these can be over triple the price and significantly louder.
This is a very traditional design, method, and look. The prep time is average, but the results are exceptional. Of all the ice cream makers that we tested, this was the best.
Should you buy it?
Having an open top to your ice cream maker is mesmerizing. Aside from getting used to the KitchenAid mechanisms, I really enjoyed using it and tasting the results. The textures were consistently smooth, professional, and pretty quick. The KitchenAid is an option that looks premium, but doesn’t come with an excessive price tag. If you have deep freezers and a KitchenAid mixer, I wouldn’t hesitate. If you have a smaller freezer, look elsewhere. There are comparable models on the market.
How we test
We are dedicated to how we test all of our appliances. All of our experts are well-established product testers, bringing with them the expertise needed to discern whether these are worthy investments for your home.
For ice cream makers, we researched the best products on the market. We wanted to look for appliances that were good value for money with exceptional results. We took these to our test kitchen and, over the course of a few days, tested these on ice cream, non-dairy ice cream, sorbet, and frozen yogurt. We made notes on the whole process from unboxing to cleaning up to make sure that we didn’t miss a thing. All of these ice cream makers were tested alongside each other, so we could make direct comparisons between them and their results.
Sign up to the Homes & Gardens newsletter
Design expertise in your inbox – from inspiring decorating ideas and beautiful celebrity homes to practical gardening advice and shopping round-ups.

Laura is our eCommerce editor. As a fully qualified barista, she's our expert in all things coffee and has tested over thirty of the best coffee makers on the market. She has also interviewed Q-Graders and world-leading experts in the coffee industry, so has an intimate knowledge of all things coffee. Before joining Homes & Gardens, she studied English at Oxford University. Whilst studying, she trained as a master perfumer and worked in the luxury fragrance industry for five years. Her collection of home fragrance is extensive and she's met and interviewed five of the world's finest perfumers (also known as 'noses'). As a result of this expansive fragrance knowledge, she always puts quality and style over quantity and fads. Laura looks for products which have been designed simply and with thoughtful finishes.
-
 Make your pool cleaning routine more luxurious with Beatbot AquaSense 2 Ultra technology
Celebrate National Pool Opening Day by saving up to $618 on a luxurious pool cleaning solution from Beatbot.
By Sponsored Published
-
 Isabella Rossellini's kitchen defines 'pantry perfection' – her sleek storage method is one of the most beautiful ways to bring order to your shelves
A custom Chilean applewood pantry lines the walls of the Conclave actress's kitchen – you can tap into her stunning technique from $42
By Megan Slack Published
-
 Gwyneth Paltrow uses LED lights to bring a gallery-like feeling to her kitchen cabinets – you can achieve the same, unique look for $24
Gwyneth's glass-front cabinets become more chic and accessible with their hidden lights, which create a subtle glow in the space
By Hannah Ziegler Published