How to paint over watermarks – 5 simple steps professionals use
Painting over watermarks is not as simple as slapping on fresh paint, these five steps are vital
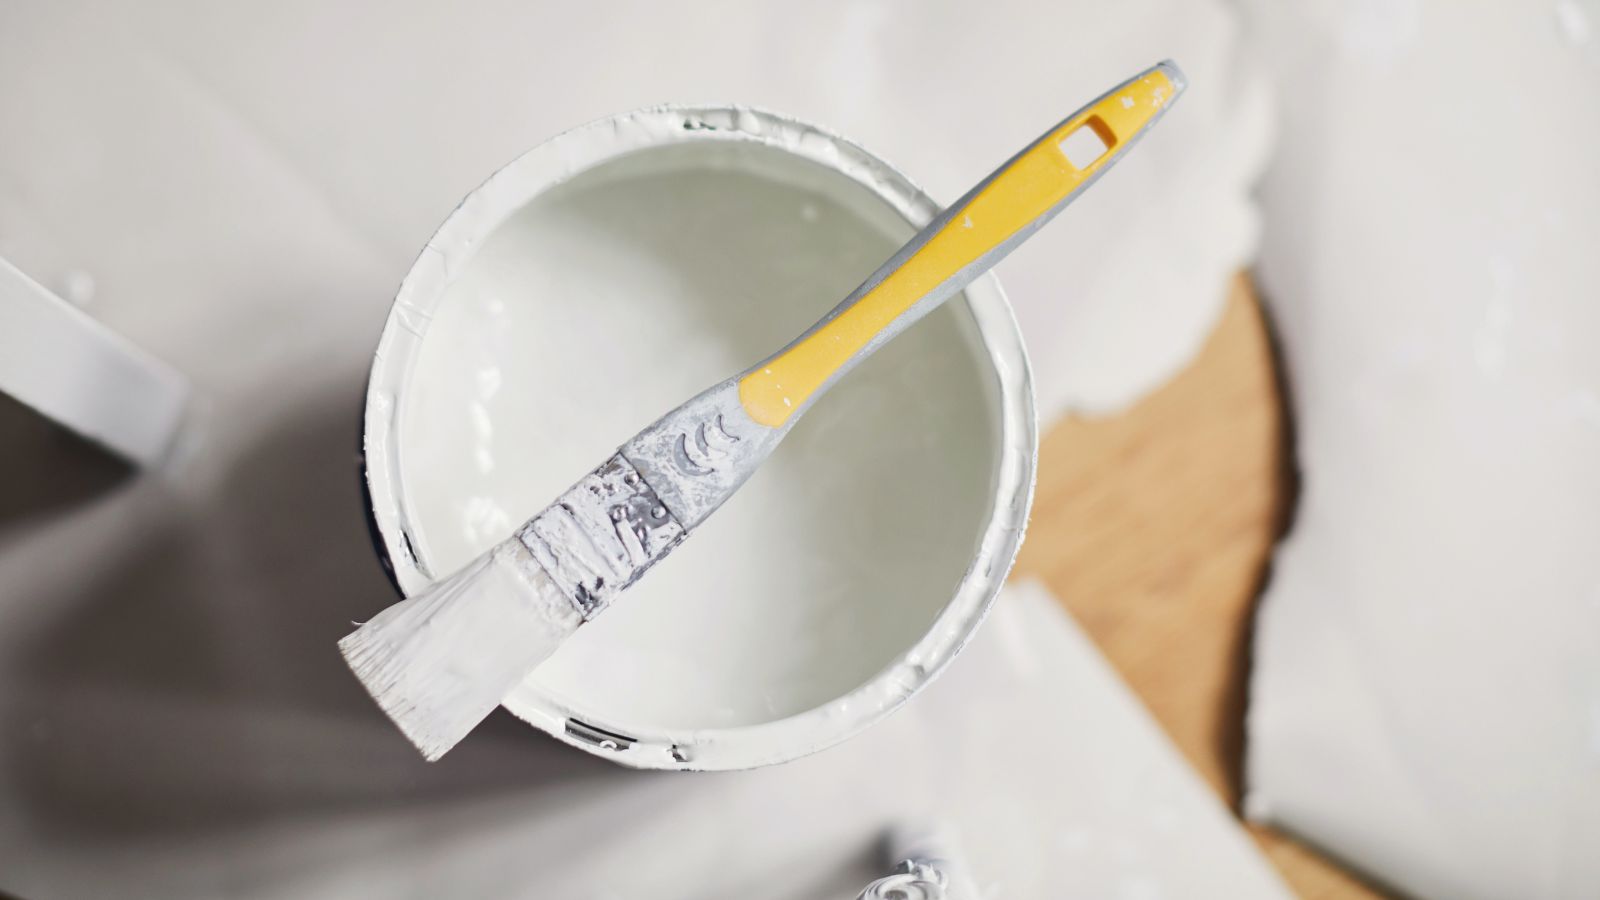

Unsightly watermarks ruin the look of walls and ceilings. Often showing as yellow or rust-brown stains resulting from a leaking pipe or roof leak, it can be tempting to slap some paint over the top and call it a day. These persistent marks will simply seep back through, however – even if the source of the leak is resolved.
So, how do you paint over watermarks? To prevent these marks from haunting your paintwork, experts recommend following these five essential steps for painting walls, cornice, and ceilings.
How to paint over watermarks
The key to successfully painting over watermarks is to complete good prep before applying any layer of paint. This guide takes you through the steps.
1. Ensure the source of the leak has been fixed
Any attempts to paint over a watermark should begin with fixing ceiling leaks, or leaks in walls, says Tam Tran, home improvement writer at home blog Daily Dream Decor. Locate the source of the stains. It could be a leaky roof, pipe, or even a one-off spill. Address any underlying issues and allow the area to dry completely before trying to paint, he says.
‘It is also important to make sure the water did not damage the sheetrock or wood that is stained,’ adds Matt Stone, professional painter and founder of Hometown Painting. ‘Push on the surface with your finger or another firm object. If it is easily dented, that section or board should be replaced.’
It could be a good idea to use a good dehumidifier to help dry the area out quickly to prevent mold from making the situation worse.

Matt Stone is a second-generation professional painter and co-founder of Hometown painting Oklahoma. An expert in his field, Matt is adept at a painting over water stains and marks.
2. Clean and sand the dried area
Once you know the leak is fixed, it's time to clean and sand. Whether you are repairing a stained wall, or fixing a ceiling with water damage, a top tip is to clean and sand the dried area before priming, says Rick Hernandes, founder of Sepi Painting & Waterproofing.
‘Use a solution of equal parts water and bleach to clean the affected area as this will help remove any mold or mildew that may have grown on the surface,’ he explains. ‘Once dried, use fine-grit sandpaper to smooth the surface of the area you will be painting. This will help create a more even surface and ensure the paint adheres properly.’
3. Apply a layer or two of paint-blocking primer
Primers are always recommended when preparing walls for painting if you want a professional finish, but they are essential when trying to paint over watermarks, too.
‘Don’t cut corners! Using a primer is important when painting over water stains because it helps to seal the stain and prevent it from showing through the topcoat of paint,’ explains Tam Tran, home improvement specialist. ‘Without a primer, the stain can bleed through the paint and cause discoloration and unevenness. A stain-blocking primer is specifically designed to prevent this from happening and ensure a smooth, even finish.’
There are four types of watermark primers that you can pick from, with each one offering a different degree of coverage, continues professional painter Rick Hernandez:
- Oil-based primers: This is a good option for severe water damage, as it provides excellent coverage and seals the surface effectively. However, it does have a strong odor and takes longer to dry.
- Shellac-based primers: This is a great option for smaller stains or for surfaces that may be difficult to paint, such as wood or wallpaper. It dries quickly and seals the stain effectively.
- Stain-blocking primers: This type of primer is specifically designed to block stains and prevent them from bleeding through the paint. It is a good option for moderate water damage.
- Latex primers: This is a water-based primer that is easy to clean up and dries quickly. It can be used for minor water damage and on surfaces such as drywall and plaster.
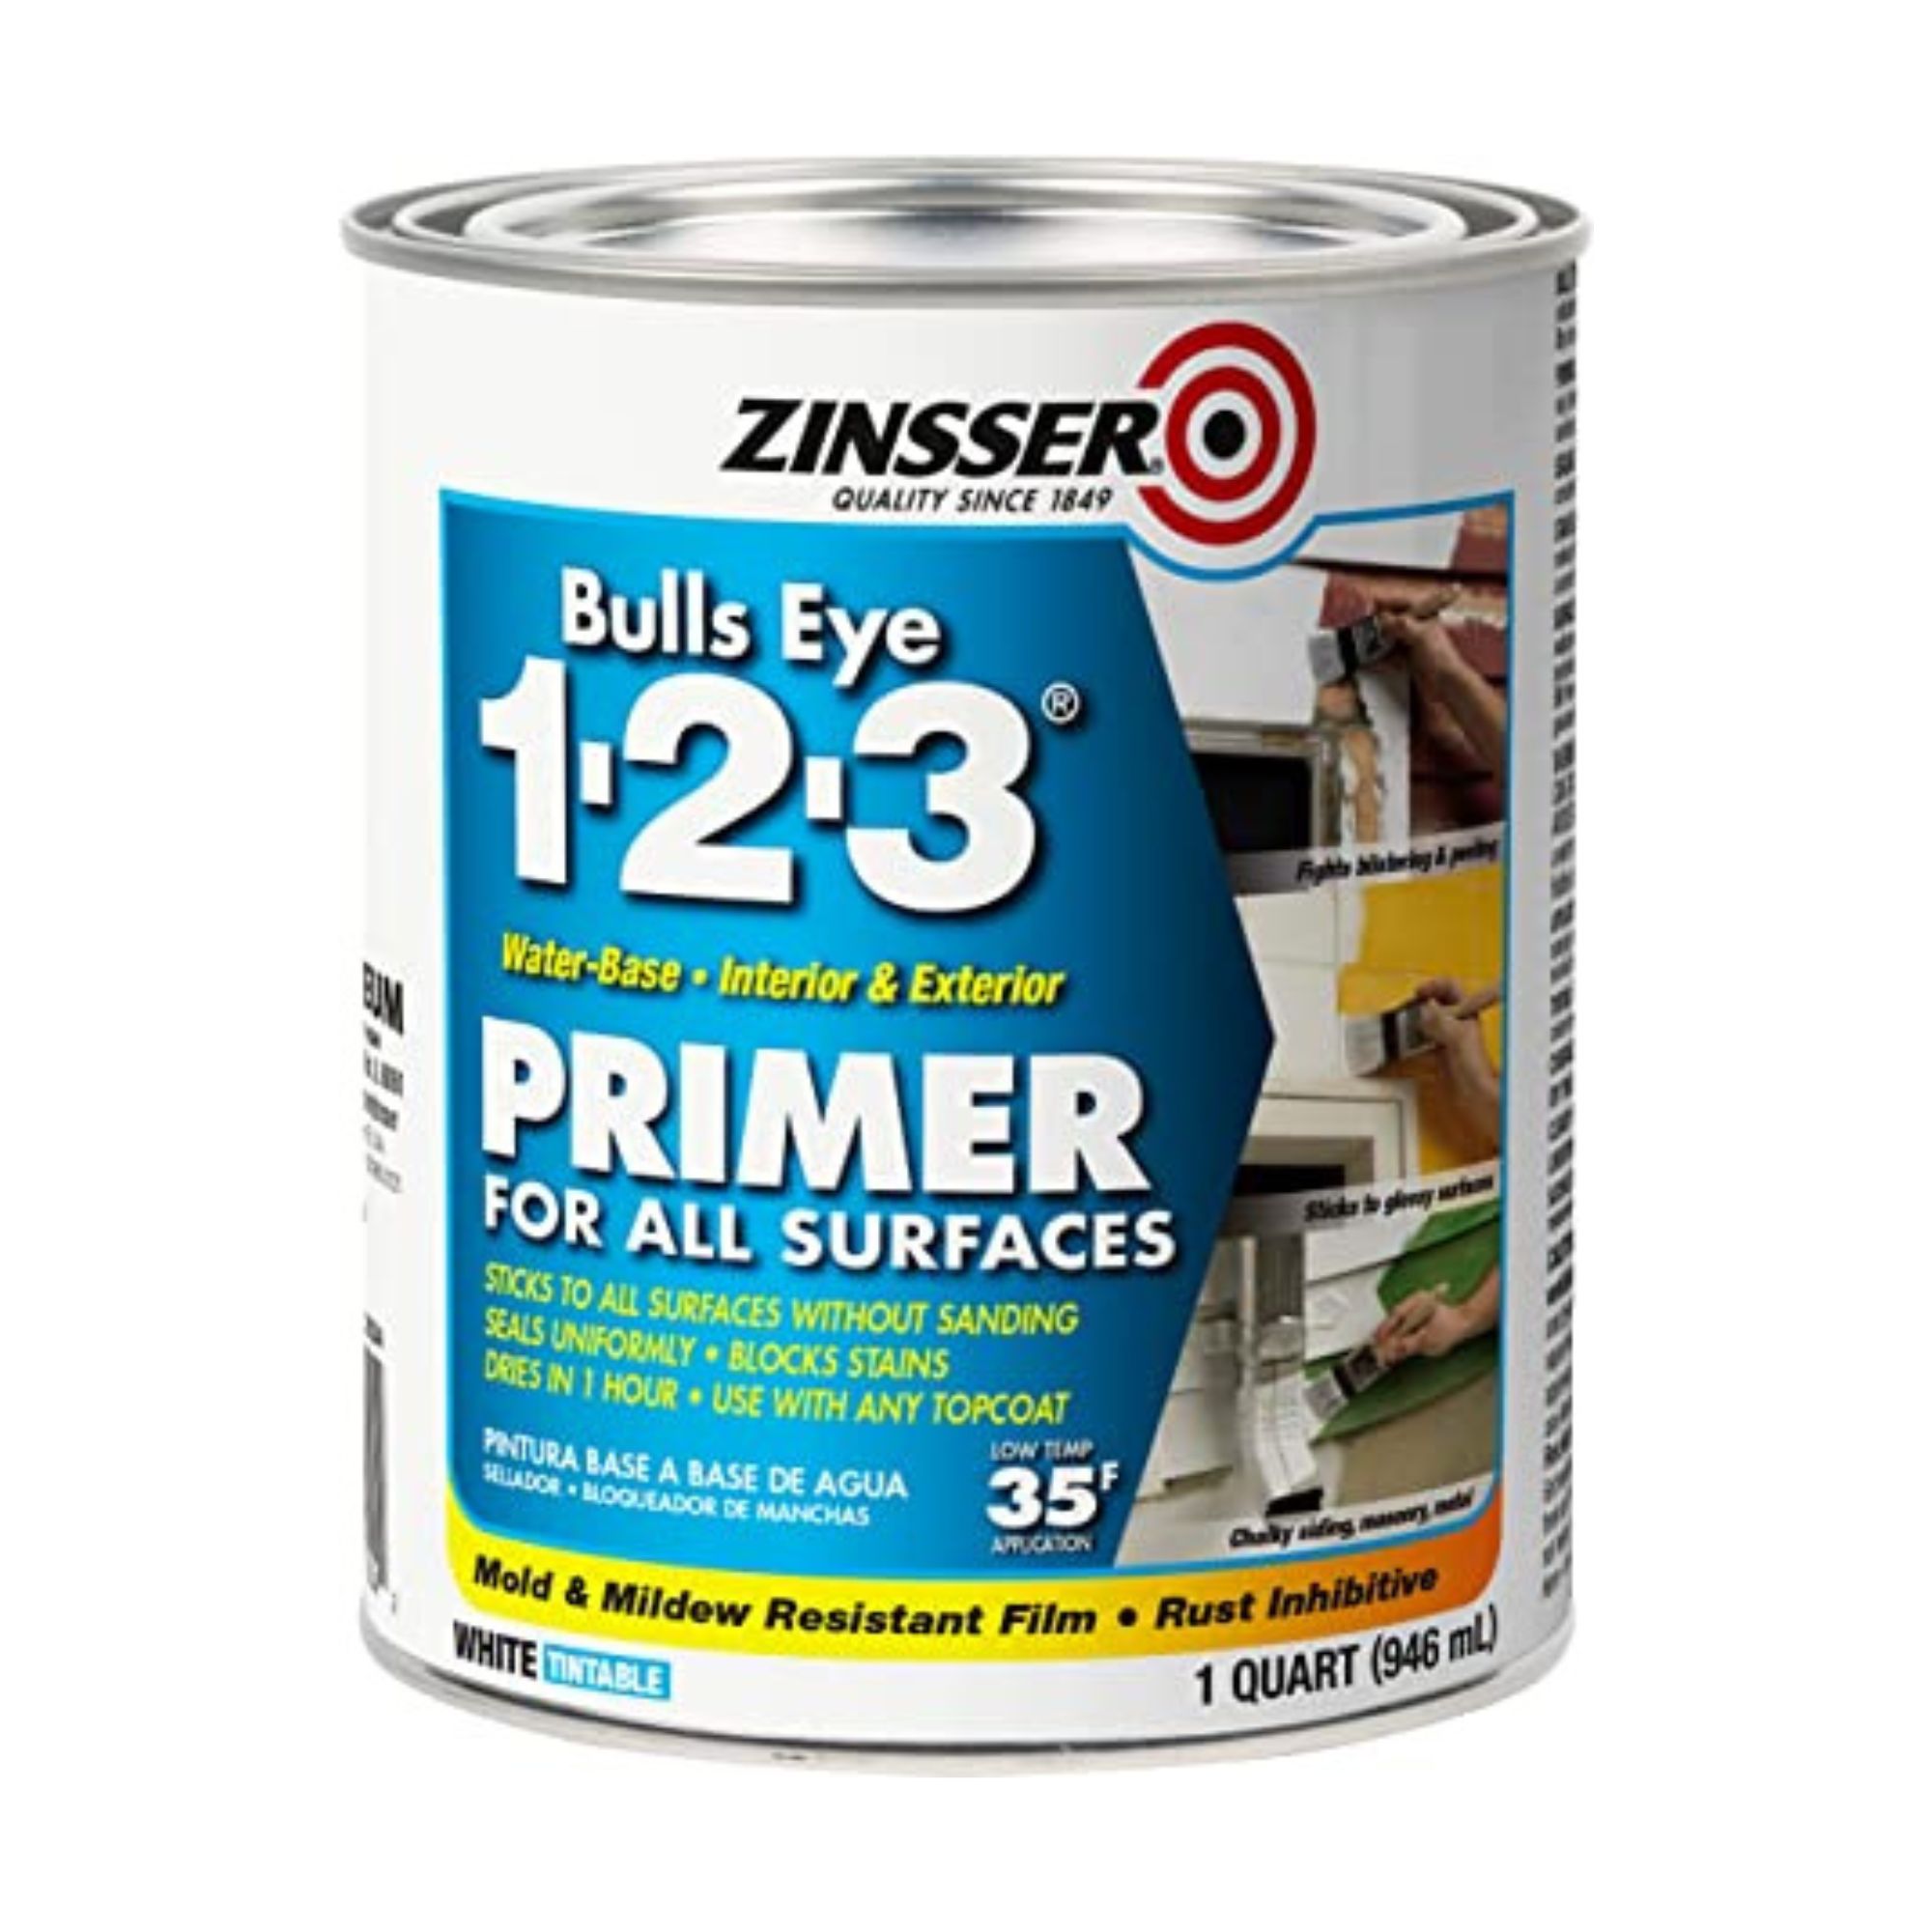
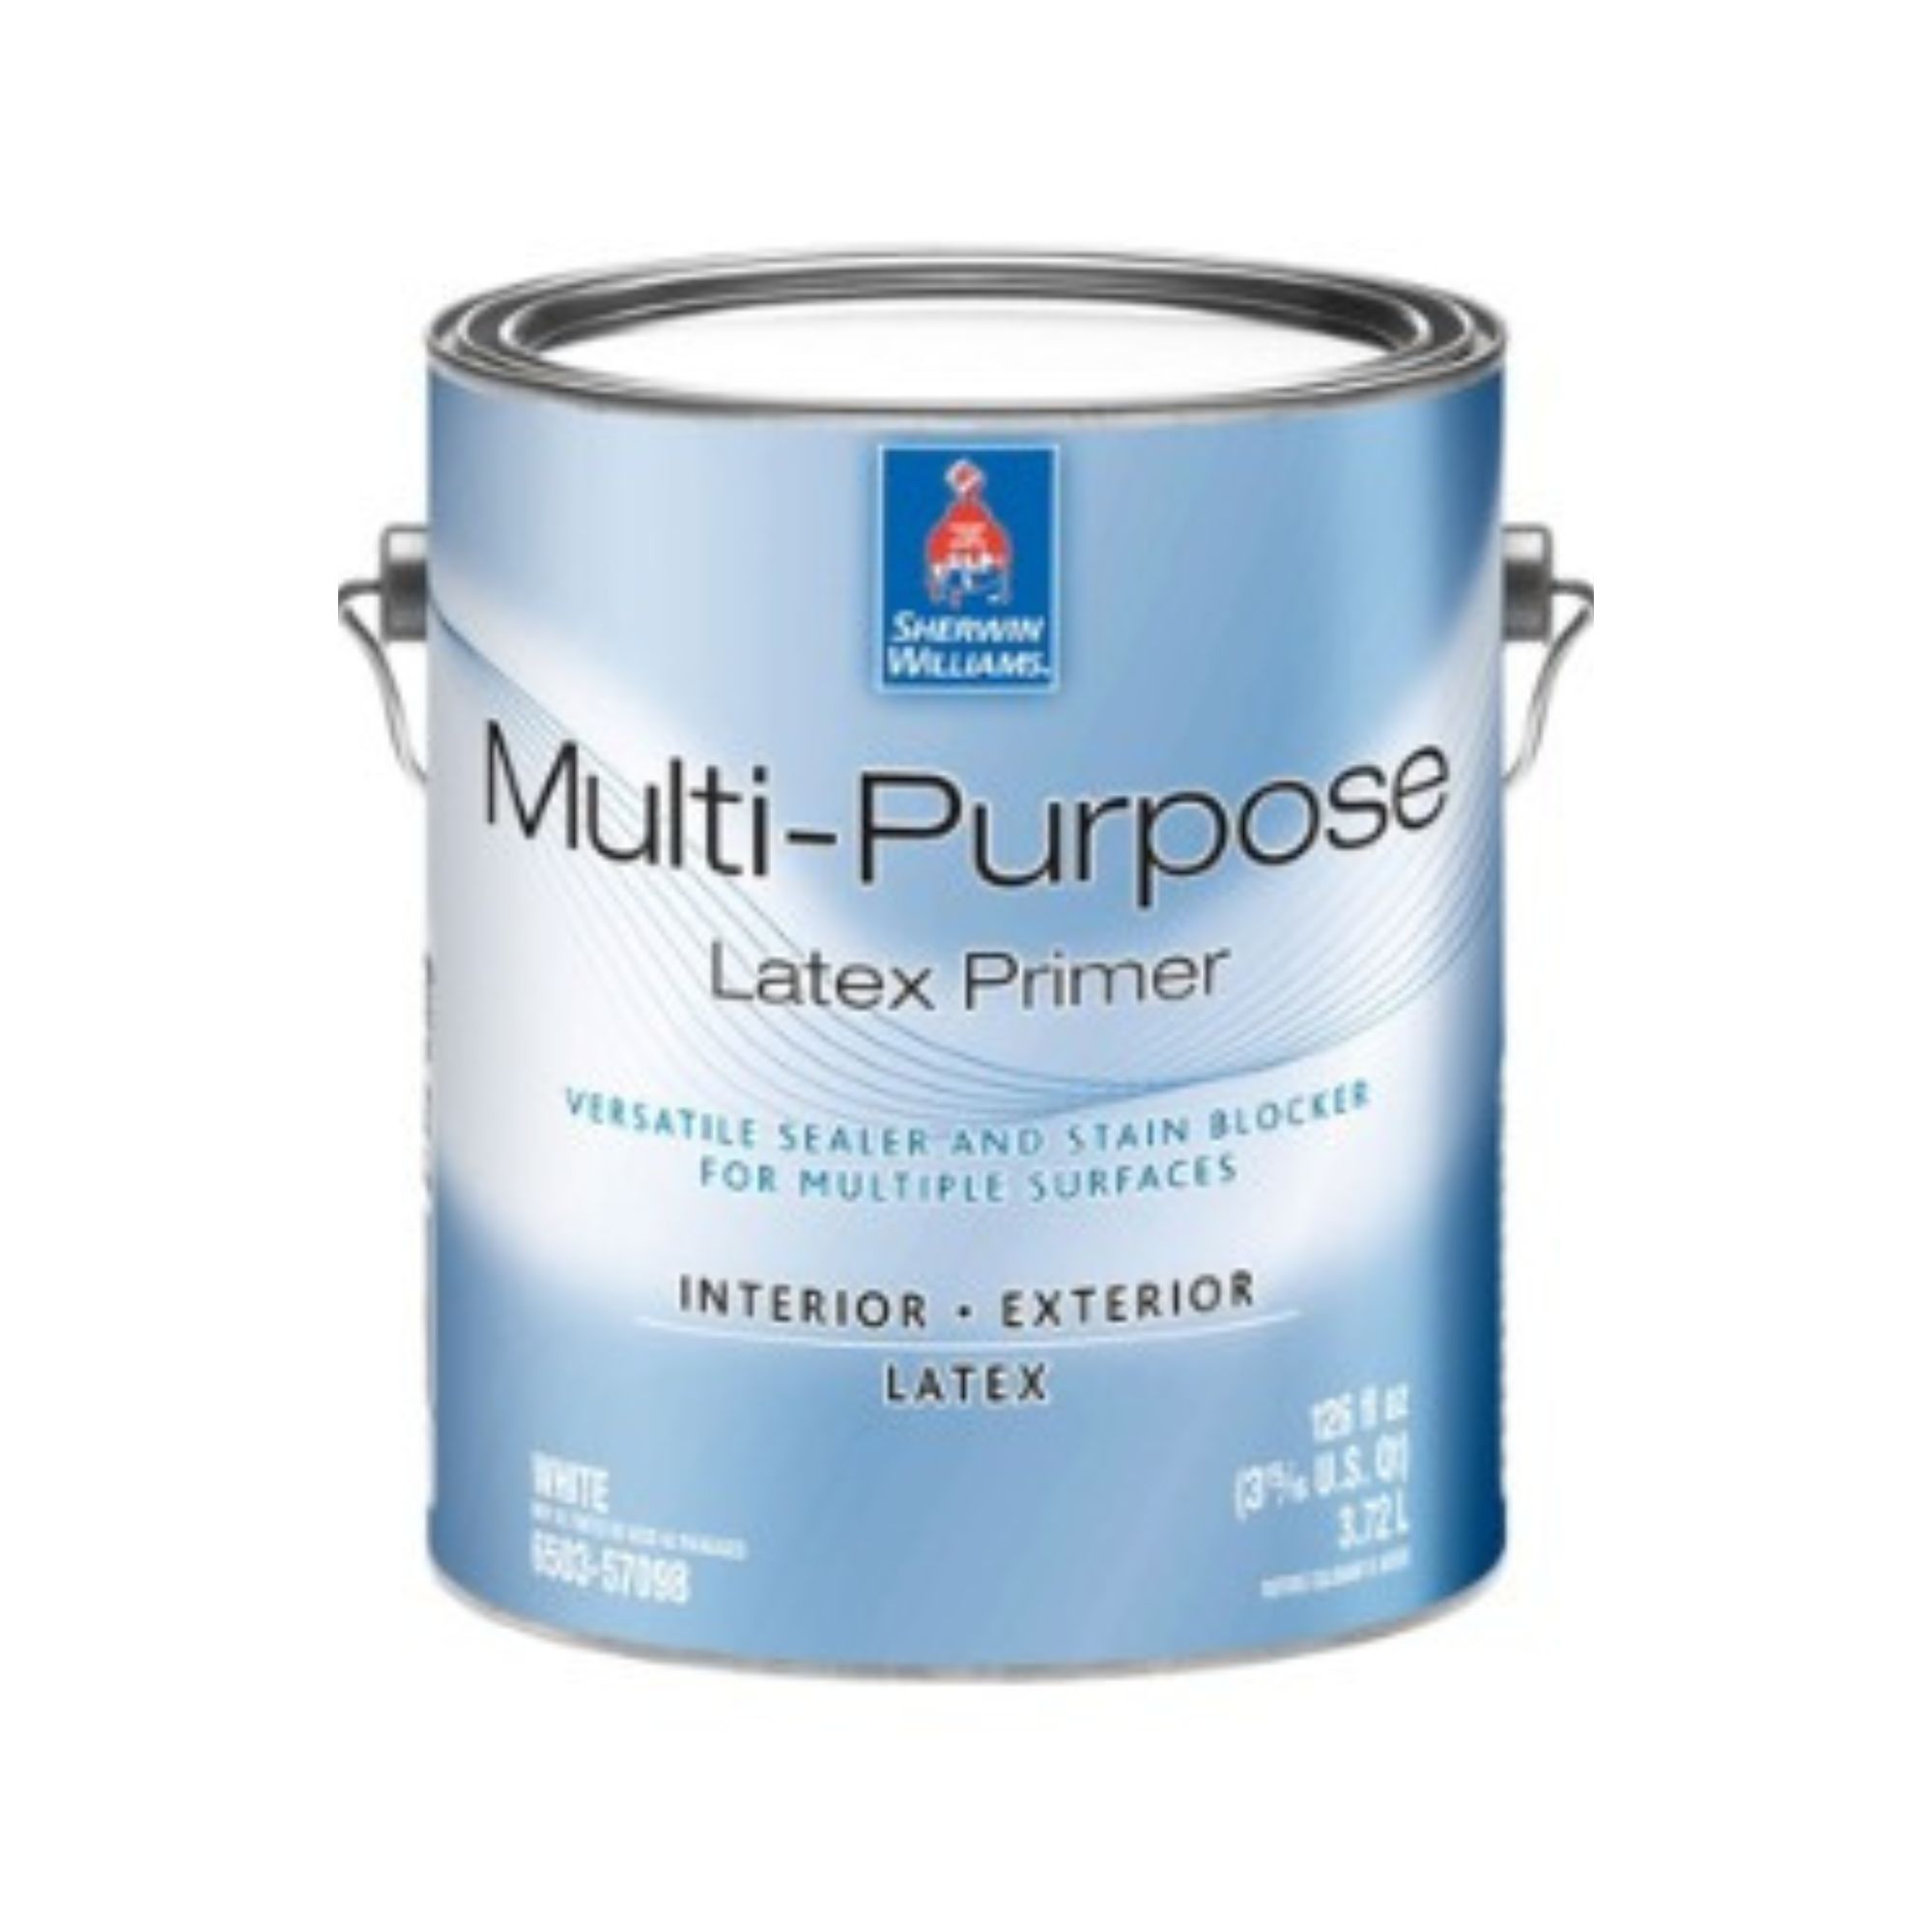
‘Some popular options include Kilz Original, Zinsser Bulls Eye 1-2-3, and Sherwin-Williams Multi-Purpose Latex Primer,’ says Tam Tran.
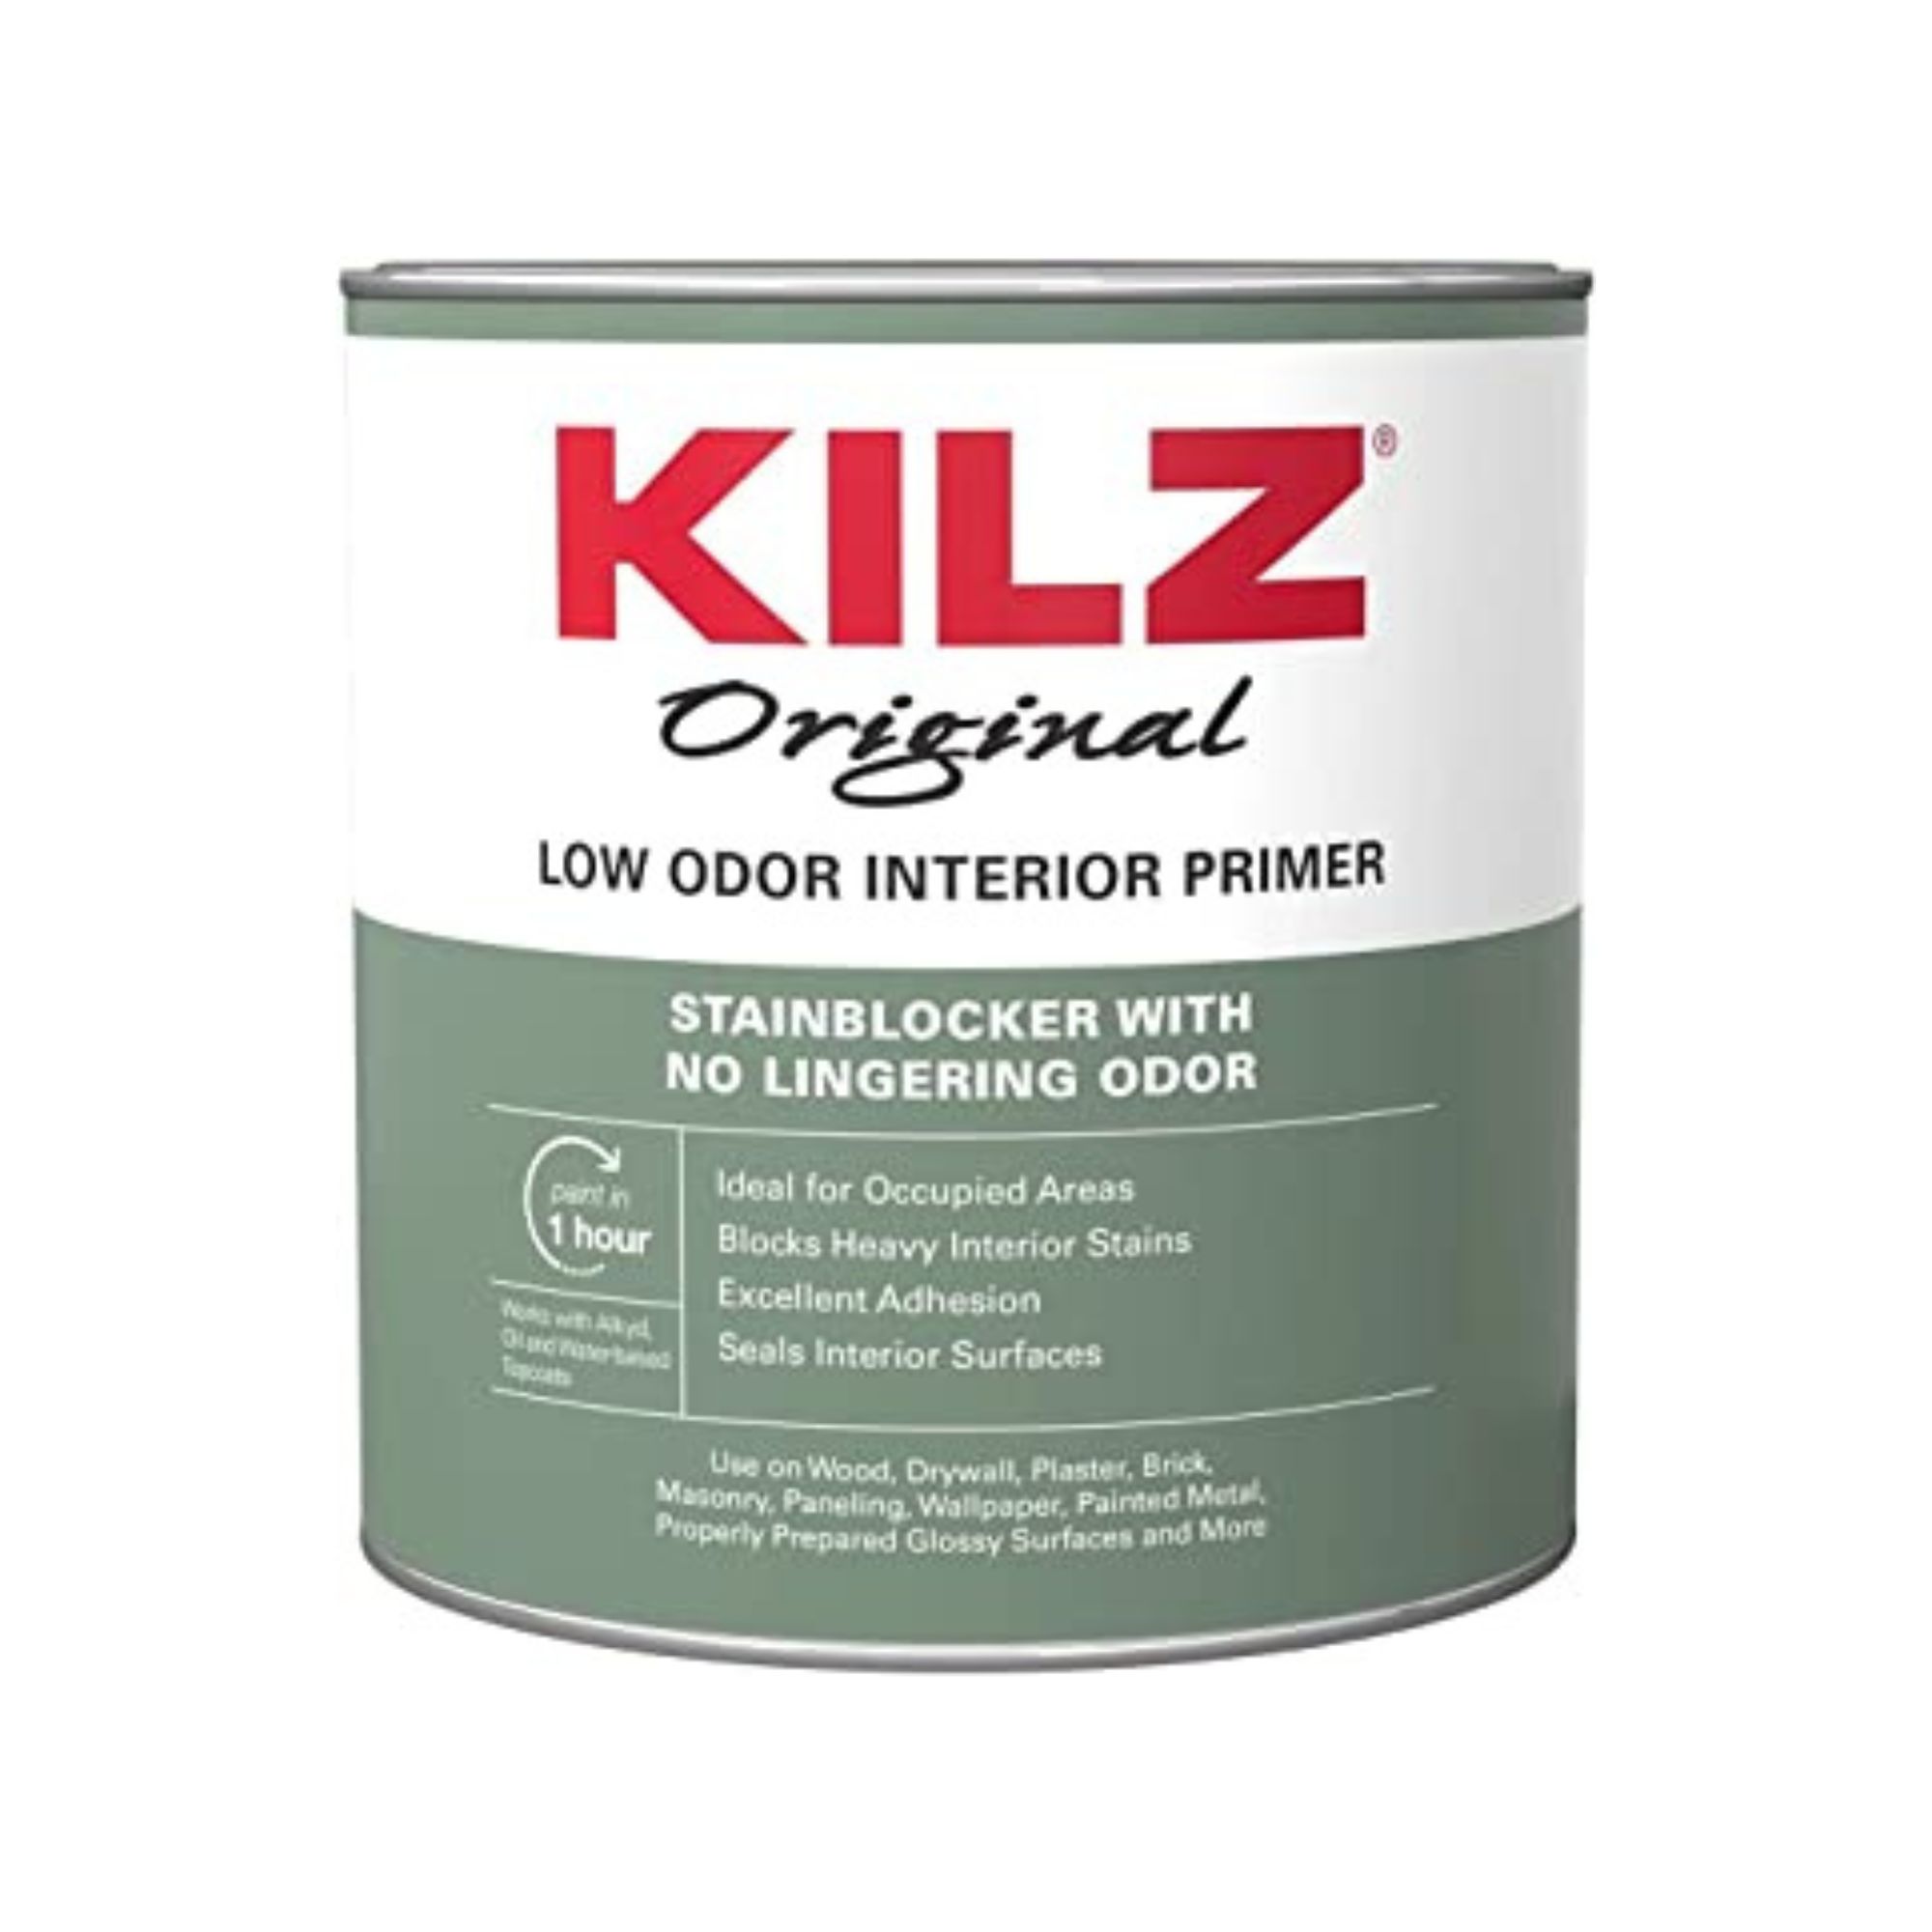
KILZ Original Low Odor is formulated to provide on both adhesion and stain blocking performance.
4. Follow up with paint
Once you have treated the area with a layer or two of primer, depending on the size of the stain, it is time to finish with a layer of paint. Try to match your paint to the paint finish and color already on the wall by taking a paint chip sample to a local paint matching service, suggests Rick Hernandez, a professional painter.
‘Depending on the severity of the water stain, you may need to apply a second coat of paint. Be sure to allow the first coat to dry completely before applying the second.’
FAQs
Why is it so hard to cover up water stains?
As many indoor paints are water-soluble, they easily allow watermarks to seep through, making it hard to cover up water stains. This is made worse if you are trying to use light-colored paint over an area affected by a leaky pipe that may also have rust stains. To fix this, use a dedicated stain-blocking primer to help contain the stain.
Why are yellow marks coming through white paint?
Yellow staining can be caused by leaks or a build-up of moisture in the home. These watermarks will seep into water-based indoor emulsion paint, showing yellowing stains even on paint that has been there for a long time. To rectify this, ensure any leaks are fixed, and consider ways to improve ventilation and reduce humidity in your home, either by opening windows and external doors regularly or investing in a dehumidifier.
Painting over watermarks is not difficult to do yourself and is a good job done – much like sealing over any cracks or cleaning windows, it will make the space feel cared for. Following these five steps as soon as you see a watermark will ensure that the watermark is sealed for good, and save you time and money in the future.
Sign up to the Homes & Gardens newsletter
Design expertise in your inbox – from inspiring decorating ideas and beautiful celebrity homes to practical gardening advice and shopping round-ups.

Chiana has been at Homes & Gardens for two years and is our resident 'queen' of non-toxic living. She spends most of her time producing content for the Solved section of the website, helping readers get the most out of their homes through clever decluttering, cleaning, and tidying tips. She was named one of Fixr's top home improvement journalists in 2024.
-
 Bryce Dallas Howard's bedroom is the most creative, social space in her entire home – she uses 'conversational seating' to create a multifunctional 'salon'
The actress's bedroom doubles as a home office thanks to its clever layout and furnishings, proving that this area is much more than a sleep space
By Hannah Ziegler
-
 7 questions to ask yourself before moving house – realtors promise answering these questions will prevent buyer's regret
Don’t make your move harder, ask these questions before moving to avoid mistakes
By Chiana Dickson
