How to fix cracks in plaster walls – 4 steps recommended by experts
Cracks in plaster walls can look bothersome, but they are often harmless – here’s how to fix them


A crack in a plaster wall can look intimidating, and even be a cause for concern. While the sudden appearance of a crack in a previously pristine wall should always be approached with caution, they are relatively simple to repair yourself.
Whether they have appeared after foundations have settled, drastic changes in temperature, or even just a bump or bang when moving heavy objects, there are plenty of things that can cause cracks in walls.
Here is how professional decorators fix cracks in plaster walls, with instructions so simple even the most amateur home DIYer could manage it.
How to fix cracks in plaster walls
Like repairing a plaster ceiling, this DIY project only requires six tools, and you can do it yourself with a little time and patience, says Don Reed, custom home builder at RealCraft. Learning this skill is also essential if you want to maintain the integrity of your walls too, he adds.
‘If you let cracks continue, you risk increasing the damage especially if water or moisture gets in. It can lead to mold damage, and the cracks can also move into other areas which make the issue even worse.’
You will need:
- A utility knife, at Amazon
- Scissors
- A drywall knife, like this putty knife set from Walmart
- Drywall joint compound: such as Wallboard from Amazon
- Drywall tape: like Duck tape from Amazon
- Sandpaper
- Matching wall paint
1. Score the crack to make it a little wider
Making a wall crack bigger doesn't sound like the smartest idea, but nevertheless, it is the best way to go about repairing any plaster cracks – including repairing ceiling cracks. The idea, custom home builder Don Reed explains, is to ensure that you remove any surrounding paint and plaster from the crack to make sure the whole crack is filled and there are no air gaps underneath existing paint.
You can do this with your utility knife, gently scoring away the edges of the crack to remove any loose plaster.
2. Use jointing tape to cover the crack
While not all home repair experts use this step, applying a layer of jointing tape can provide an extra layer of support and make filling the crack with compound easier. Apply mounting tape to the crack and allow it to fully seal to the crack.
Jay Sanders, contractor and founder of Castle Dream Construction suggests cutting the tape so that it is just larger than the crack itself before sticking it over and allowing it to dry and adhere fully before moving on to the next step.
3. Spread an even layer of joint compound

Joint compound is a great DIY product to have in your home to fix a variety of holes, dents, and cracks in walls or patch a drywall ceiling. Investing in a high-quality product will make all the difference too, and the large tubs usually last a long time.
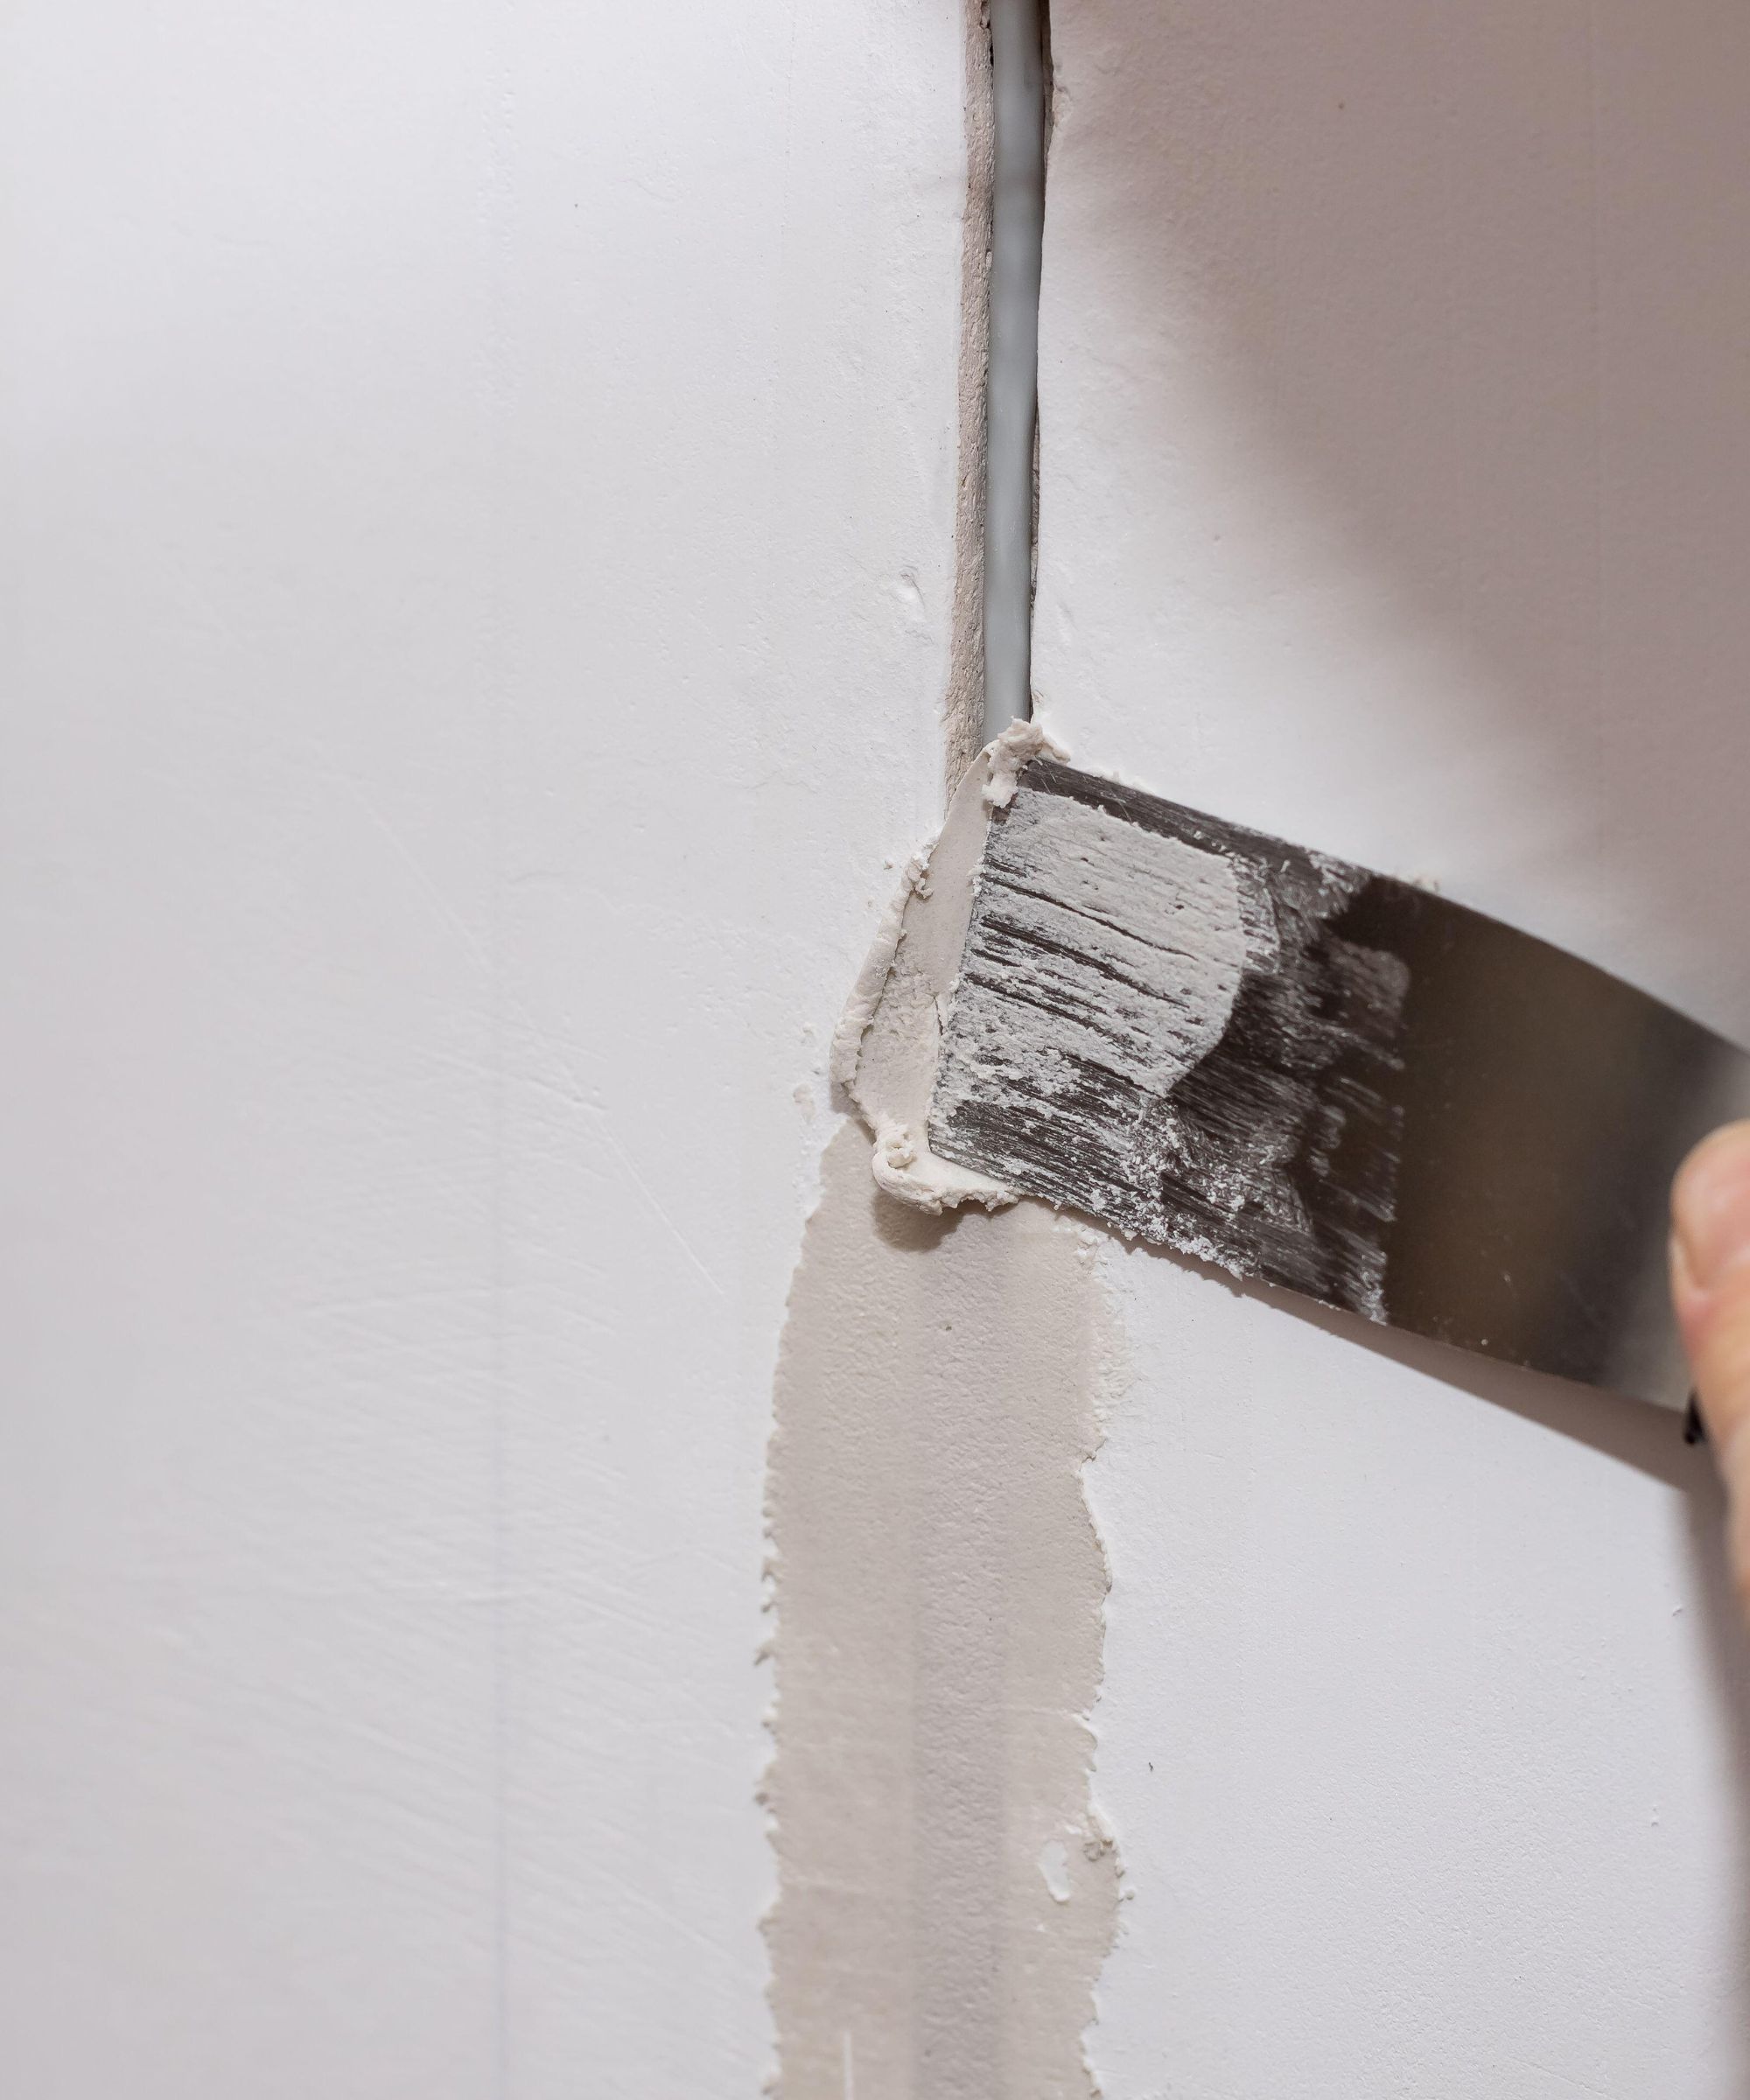
To apply the putty to your walls, scrape a good amount with your putty knife and spread it with pressure over the crack, going a little over on either side to ensure it is covered and supported, says Don Reed, custom home builder.
‘You will want to allow it to dry between each layer of compound, and do so about three times. Going around the crack a little further each time helps to make the plaster more stable and will ensure the crack is properly repaired,’ he explains.
4. Sand the dried compound flat and repaint
Sanding is the final step towards restoring your smooth wall surfaces and preparing your walls for painting. You should allow the compound to dry completely before attempting to sand it with fine-grit sandpaper until the patch lays flat on the wall.
Once the plaster patching compound is dry and sanded smooth, you can apply paint or finish to match the surrounding wall, says Michael Bashari, manager and professional painter at Purely Paint home services. ‘Use a primer before painting to ensure proper adhesion of the paint to the repaired area,’ he recommends.
‘If necessary, you can also use a texture spray or a textured paint to match the texture of the surrounding wall.’
Possible causes of cracks
‘Cracks in plaster walls can be caused by a number of factors, so the exact cause can be difficult to identify,’ begins Andre Kazimierski, home decorator and CEO of Improovy Painters Madison. ‘However, moisture and temperature fluctuations are likely culprits, along with time – since your home's foundation will settle as it ages, which can shift the structure and cause cracking.
‘While cracking is inevitable and can be considered normal, it's important to identify the cause since it can point to structural issues, especially in older buildings. It's also important to repair before painting in order to ensure cohesion of paint and a professional, polished result,’ he adds.

Andre Kazimierski founded Improovy in 2019 and has developed it into a leading home improvement service. It is his mission to make painting more efficient for all of his clients and uses generations of expertise to inform his work.
Types of cracks in plaster walls
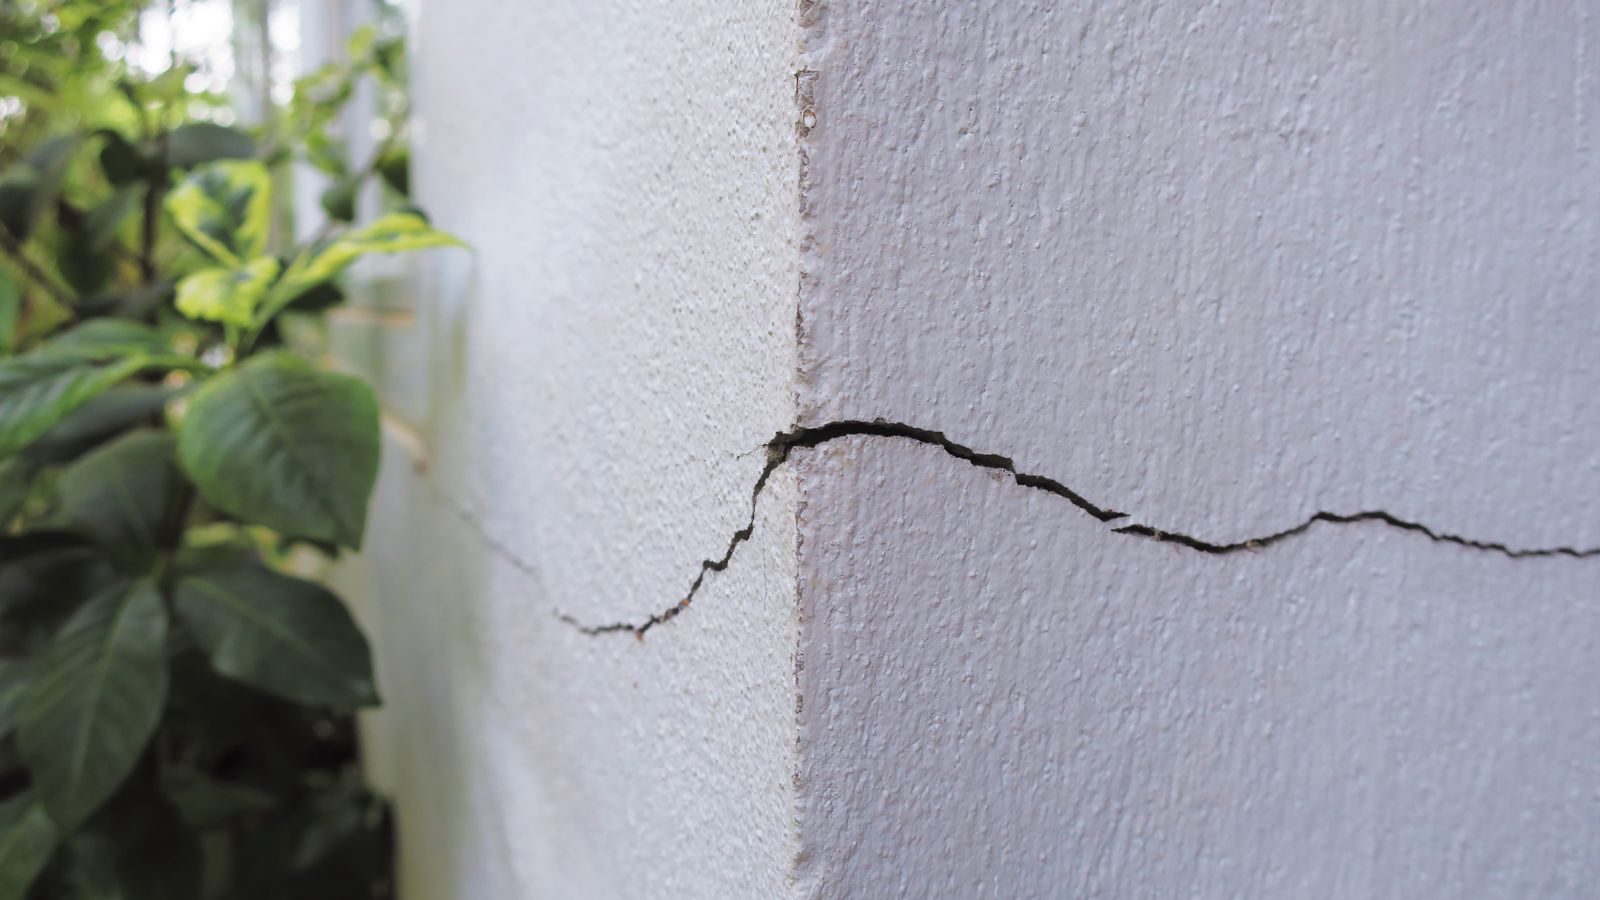
Hairline or web-like cracks: These small cracks are often thinner than your fingernail and often pose no damage other than to the look of your space. You can repair them if you want to prevent them from spreading or leave them alone.
Straight Line cracks: Traveling either horizontally, vertically, or diagonally, these cracks are often caused by the foundations settling and the plaster moving with the walls of your home, Don Reed, the custom home builder says.
‘If the cracks all seem to be in the same place, and are running in the same direction, then this is more likely than not, your house settling. This isn’t a major issue, but it can be a good time to have someone come in to check your foundation and make sure all is well.’
Bulging cracks: A bulging crack does not bulge away from the wall as the name suggests, but is a large crack that has smaller cracks leading off from it. This is often caused by a process called delamination where an outer layer of plaster separates from an inner layer of plaster. If you have this, it may be that the outer layer of plaster needs removing and replacing.
Bubbling cracks: If you have a plaster wall crack accompanied by bubbling paint or wallpaper, then you may have a pipe leak in the wall that urgently needs addressing. If this is the case, it is best to call a professional plumber to help address the cause of the issue before you fix the crack.
FAQs
Are cracks in plaster walls normal?
Cracks in plaster walls are normal, especially as plaster moves when foundations settle or there are dramatic temperature changes in your home as we transition through the seasons. Plaster ‘breathes’ in a way, expanding in humidity and shrinking back down again as moisture reduces. The result is a cracked or uneven surface that can mar the overall look of your home.
Do hairline cracks in plaster get worse?
Often, a hairline fissure in a plaster wall or ceiling can get worse if you do not fill it in or stop the cause of the crack in the first place. The plaster's tendency to swell and shrink with humidity and temperature changes, along with the ever-settling foundations of both new and old houses means these small cracks can quickly expand or become wider with time and more difficult to repair.
Fixing cracks in plaster walls is not difficult even though it can be time-consuming. Addressing the cause of the crack and fixing hairline fissures before they become worse is the simplest and most effective way of completing the repairs yourself, says Jay Sanders, contractor. ‘Using high-quality repair materials is important and should not be overlooked too,’ he concludes.
Sign up to the Homes & Gardens newsletter
Design expertise in your inbox – from inspiring decorating ideas and beautiful celebrity homes to practical gardening advice and shopping round-ups.

Chiana has been at Homes & Gardens for two years and is our resident 'queen' of non-toxic living. She spends most of her time producing content for the Solved section of the website, helping readers get the most out of their homes through clever decluttering, cleaning, and tidying tips. She was named one of Fixr's top home improvement journalists in 2024.
-
 I tried this glycerin hack to stop the mirror in my bathroom from fogging up – and it worked like magic
It instantly fixed one of my biggest pet peeves
By Chiana Dickson
-
 7 habits every good plant parent has, according to houseplant experts – number 3 will surprise you most
Watch your houseplants thrive after you build these tasks into your routine
By Tenielle Jordison