How to decorate Easter eggs – for a pretty seasonal display
Discover how to decorate Easter eggs with painting, decoupage and more


Learning how to decorate Easter eggs is a fun way to make a seasonal display, and is an activity that the whole family can take part in.
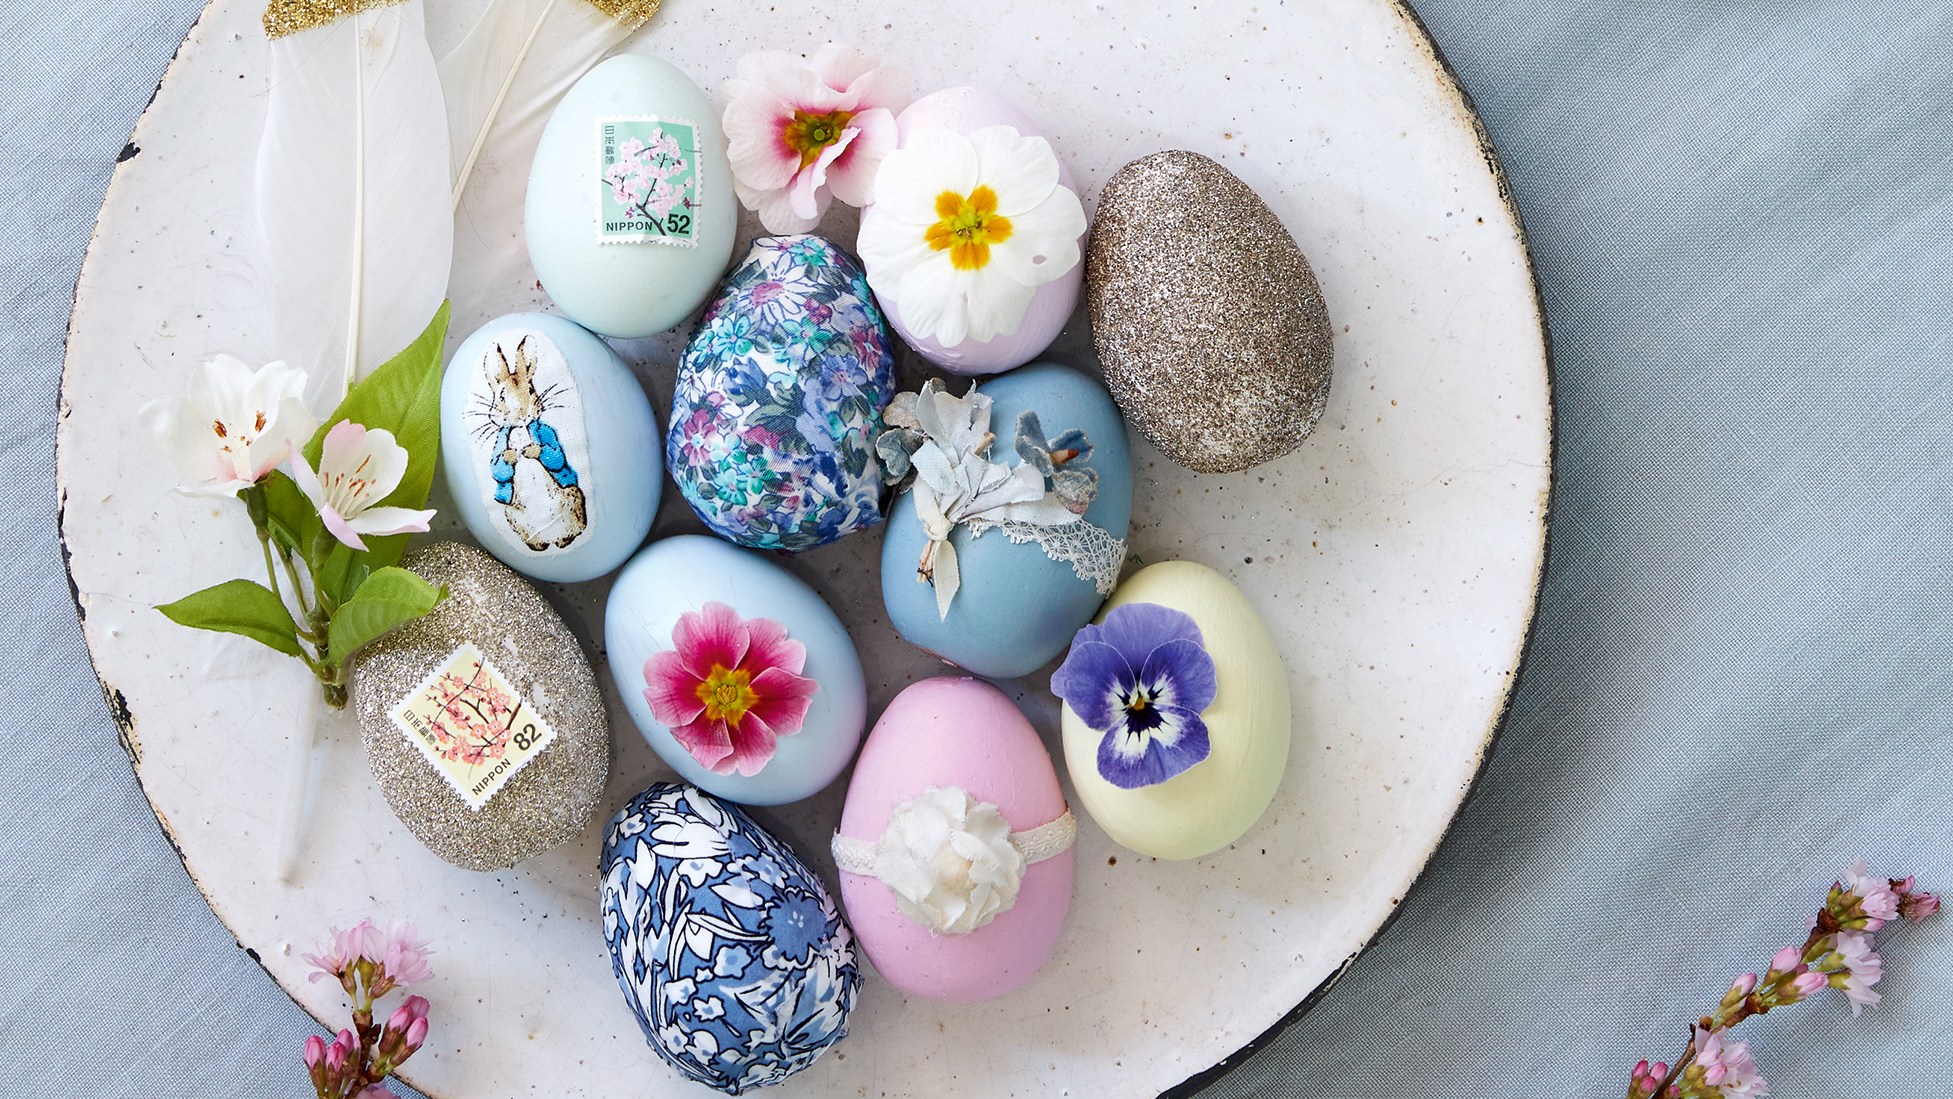
If you're looking for Easter egg ideas that are stylish as well as enjoyable to make, then painting or decoupaging on to eggs is ideal, as you can choose pretty colors and prints, and tailor the designs to your other Easter decorations and Easter craft ideas.
You can arrange your decorated eggs together on a plate to make an Easter table centerpiece. Alternatively, paint on names and use them to make place settings for a celebration dinner.
Don't forget to complement your egg display with beautiful Easter wreath ideas.
How to decorate Easter eggs – step-by-step guide
There are several ways to decorate Easter eggs, so why not mix and match different designs for an eclectic display?
It is essential to prepare your eggs before decorating. If you don’t want to save your eggs for next Easter, you can simply hard boil the eggs and allow to cool before decorating. Otherwise, you will need to hollow them out.

1. How to hollow out an egg
- To hollow out an egg, insert a large pin into the top end to make a small hole.
- Then, make another hole in the bottom of the egg. Push the pin right up to break the yolk, and wiggle it around to make a slightly larger hole than at the top.
- Holding the egg over a bowl, gently blow through the top hole to force out the egg.
- When the shell feels empty, rinse it and immerse it in a bowl of warm water to wash the insides.
- Allow the egg shell to dry before decorating.
2. How to paint Easter eggs
- You can paint Easter eggs using watercolor, acrylic paint or emulsion.
- Use a thick brush for the base color, and a fine brush for painting detail work, such as flowers or names.
- It’s best to decorate in two halves, placing the egg in an egg cup or carton to allow each half to dry.
- Always allow to dry between coats.
- It's possible to dye your eggs using liquid food dye, diluted in water. Add around 10-20 drops to half a cup of boiling water. The colors will be light pastels, but if you want them to be more vivid, you can add a splash of vinegar to the mix.
3. How to decoupage Easter eggs
Why not learn how to decorate Easter eggs with decoupage? This traditional craft involves covering a surface with decorative paper or fine fabric, then sealing with layers of varnish.
- Choose your papers and tear or cut out small sections or images – these could be from magazines, gift wrap or craft papers.
- You can alternatively use strips of fabric, but these must be fairly lightweight.
- Attach the papers or fabric pieces using white school glue – or PVA – and an old paint brush.
- Decoupage usually involves overlapping different papers until the desired effect is achieved. However, if you only want to partially cover the eggs with decoupage, then paint them first.
- When finished, you can apply several layers of varnish to seal the design and make your egg last for future Easters.
4. How to cover Easter eggs in glitter
- To make sparkly eggs, you'll need a pot of glitter and white school glue – or PVA.
- Dip one half of your egg in glue, and allow it to drip off. Alternatively, you can use a thick paintbrush to coat the shell.
- Dip the egg half into a pot of glitter, moving it around to ensure it is well coated.
- Place the egg in an egg cup or carton to dry, then repeat the process on the other side.
- Once dry, you can repeat the process if the glitter coating isn't as thick as you would like.
5. Add finishing touches
When choosing how to decorate Easter eggs, don't forget the finishing touches.
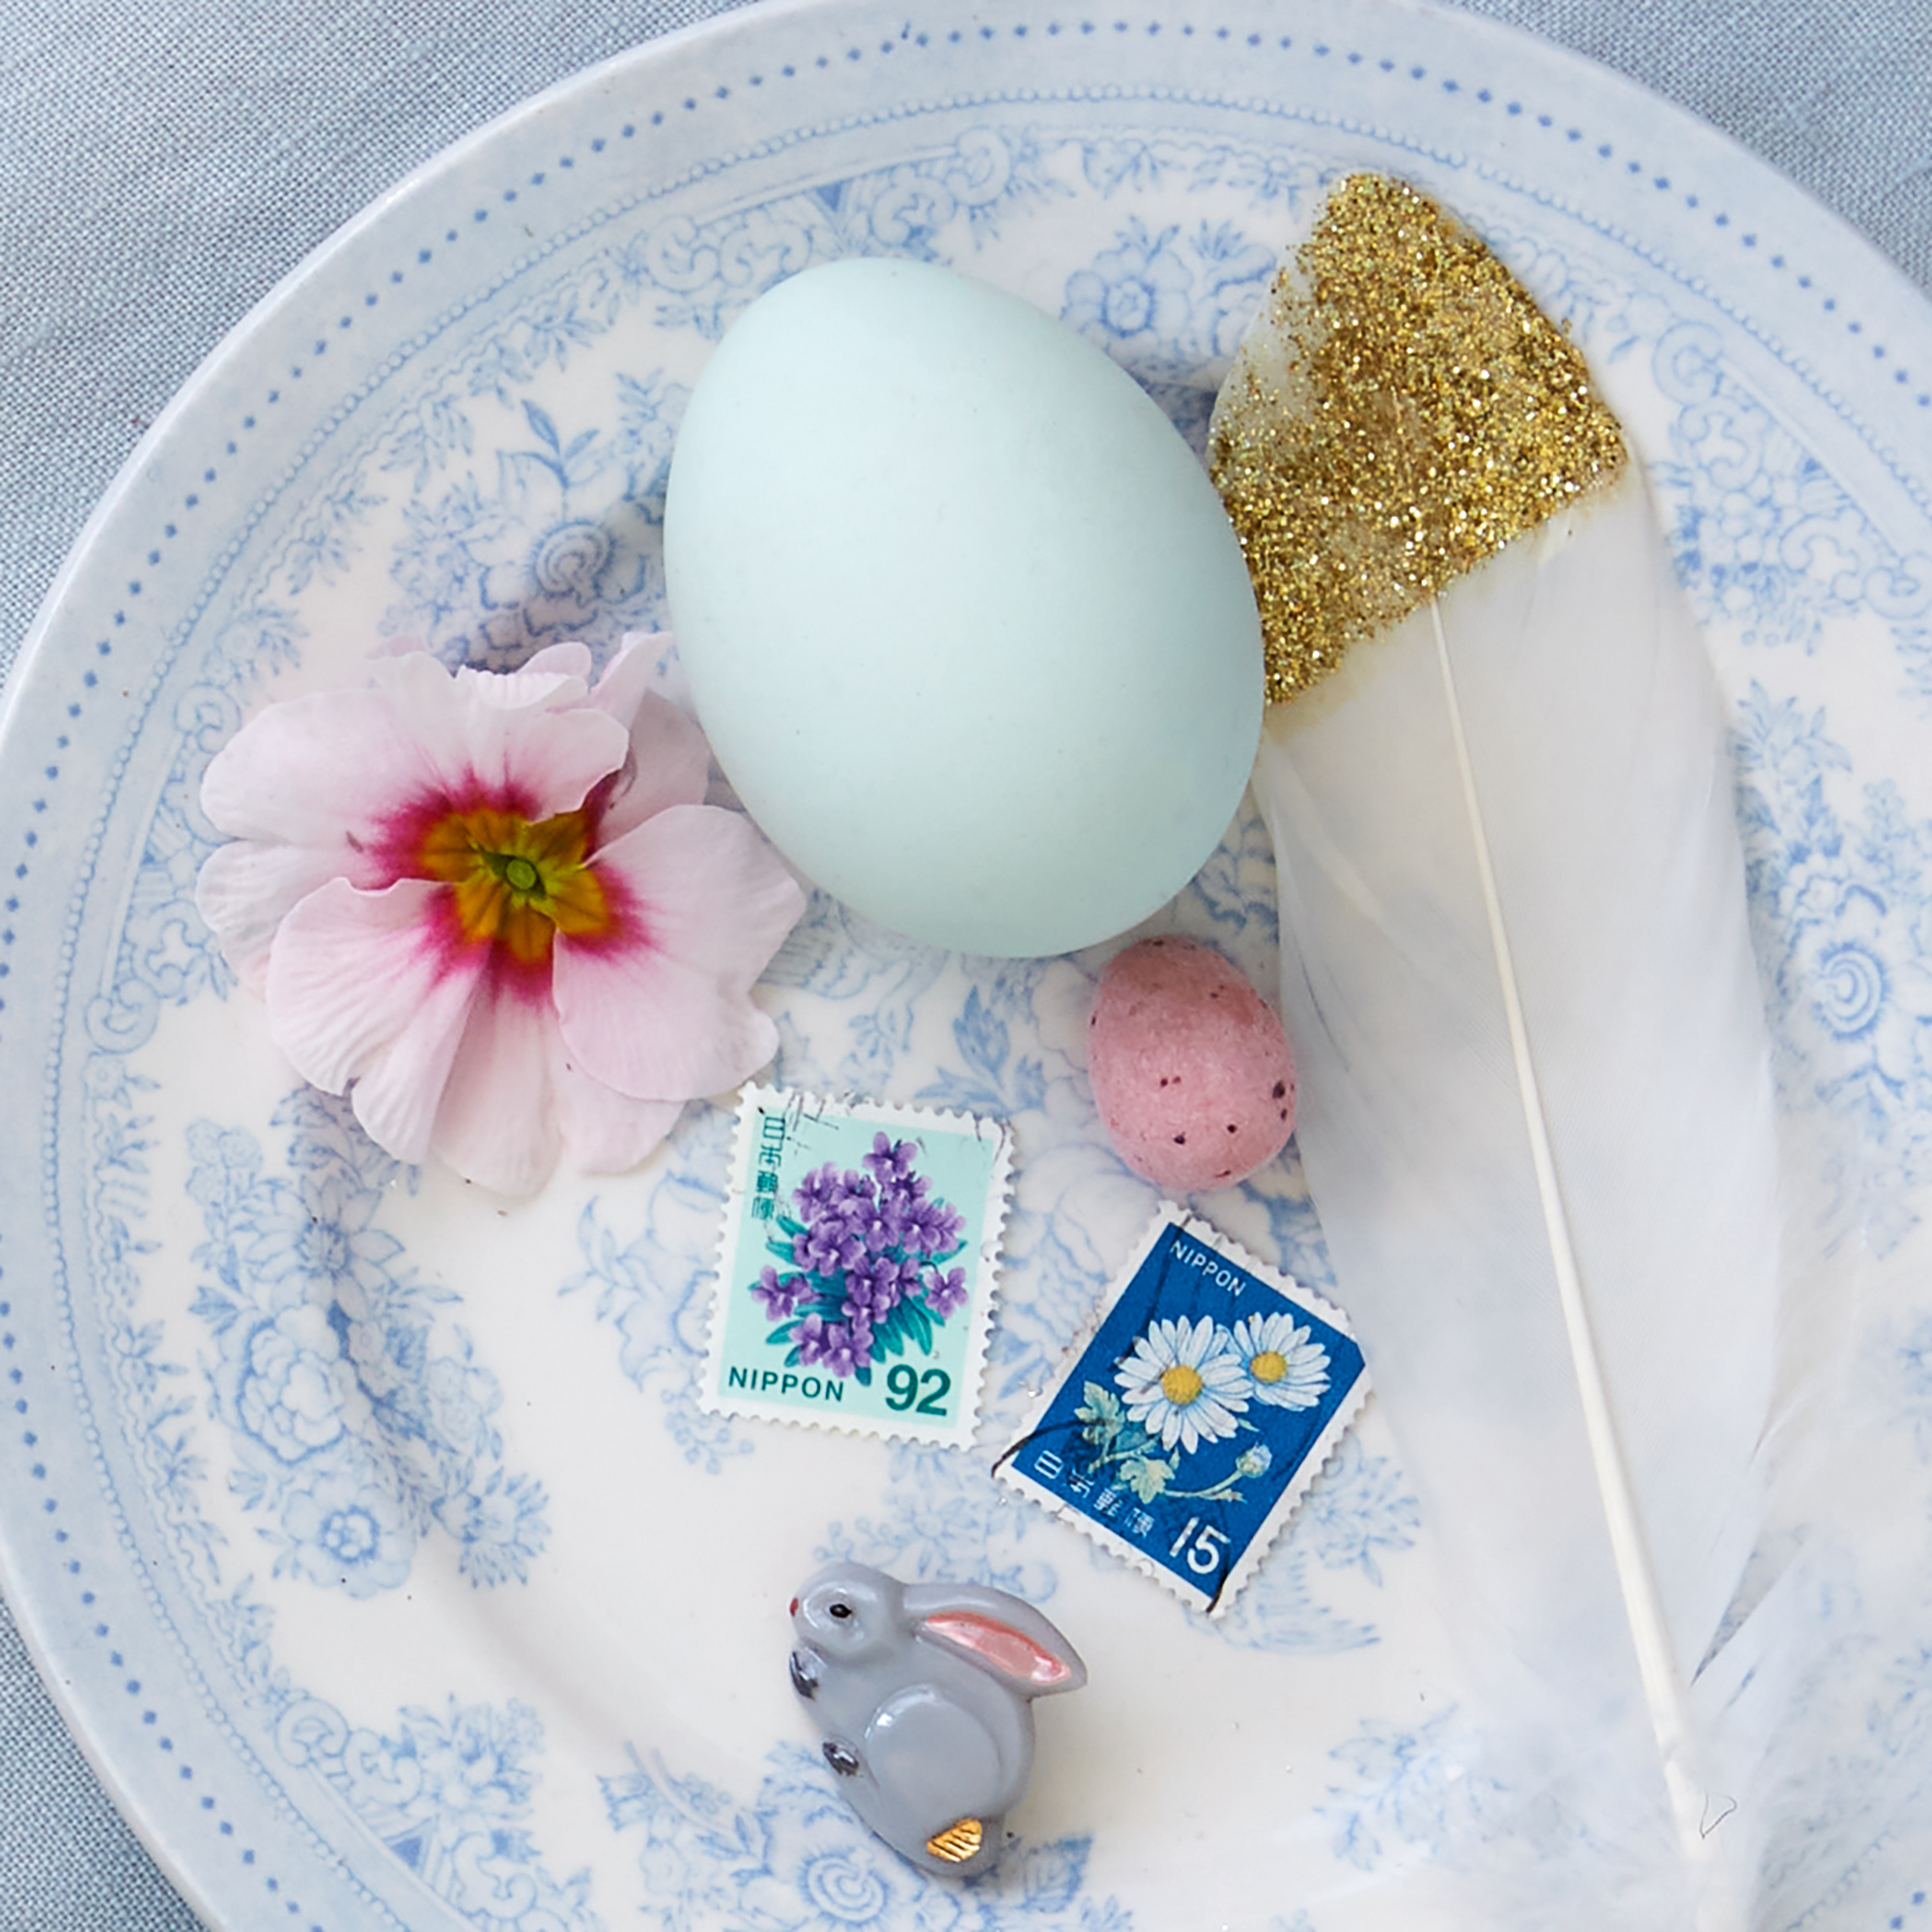
There are so many different accessories you could adorn your eggs with, so get creative. Some good ideas are stamps, flowers, name tags, buttons, lace and ribbons.
Once your eggs are dry, simply use glue to attach your chosen decorations.
Sign up to the Homes & Gardens newsletter
Design expertise in your inbox – from inspiring decorating ideas and beautiful celebrity homes to practical gardening advice and shopping round-ups.

Melanie has worked in homes and gardens media for two decades. Having previously served as Editor on Period Living magazine, and worked on Homes & Gardens, Gardening Etc, Real Homes, and Homebuilding & Renovating, she is now focusing on her passion for gardening as a Senior Editor at Gardening Know How. As a keen home grower, Melanie has experimented with pretty much every type of vegetable at some point – with mixed results. Often it is the simplest things that elude you, which may explain why she just can't seem to master zucchinis.
-
 I always get my small space storage from Wayfair – and these discounted $35 stackable Martha Stewart storage boxes are the perfect fix for my tiny vanity
I'm going vertical for tiny space storage success with this Early Way Day 2025 bargain
By Punteha van Terheyden
-
 These are the colors that just don't work with purple – 4 shades to sheer clear of if you want to bring this on trend color into your home
Why some colors sabotage purple, and how to get it right every time.
By Sophia Pouget de St Victor