How to steam milk at home – with and without a steam wand
Baristas share their top tips for making smooth, silky milk at home, both with and without a steam wand
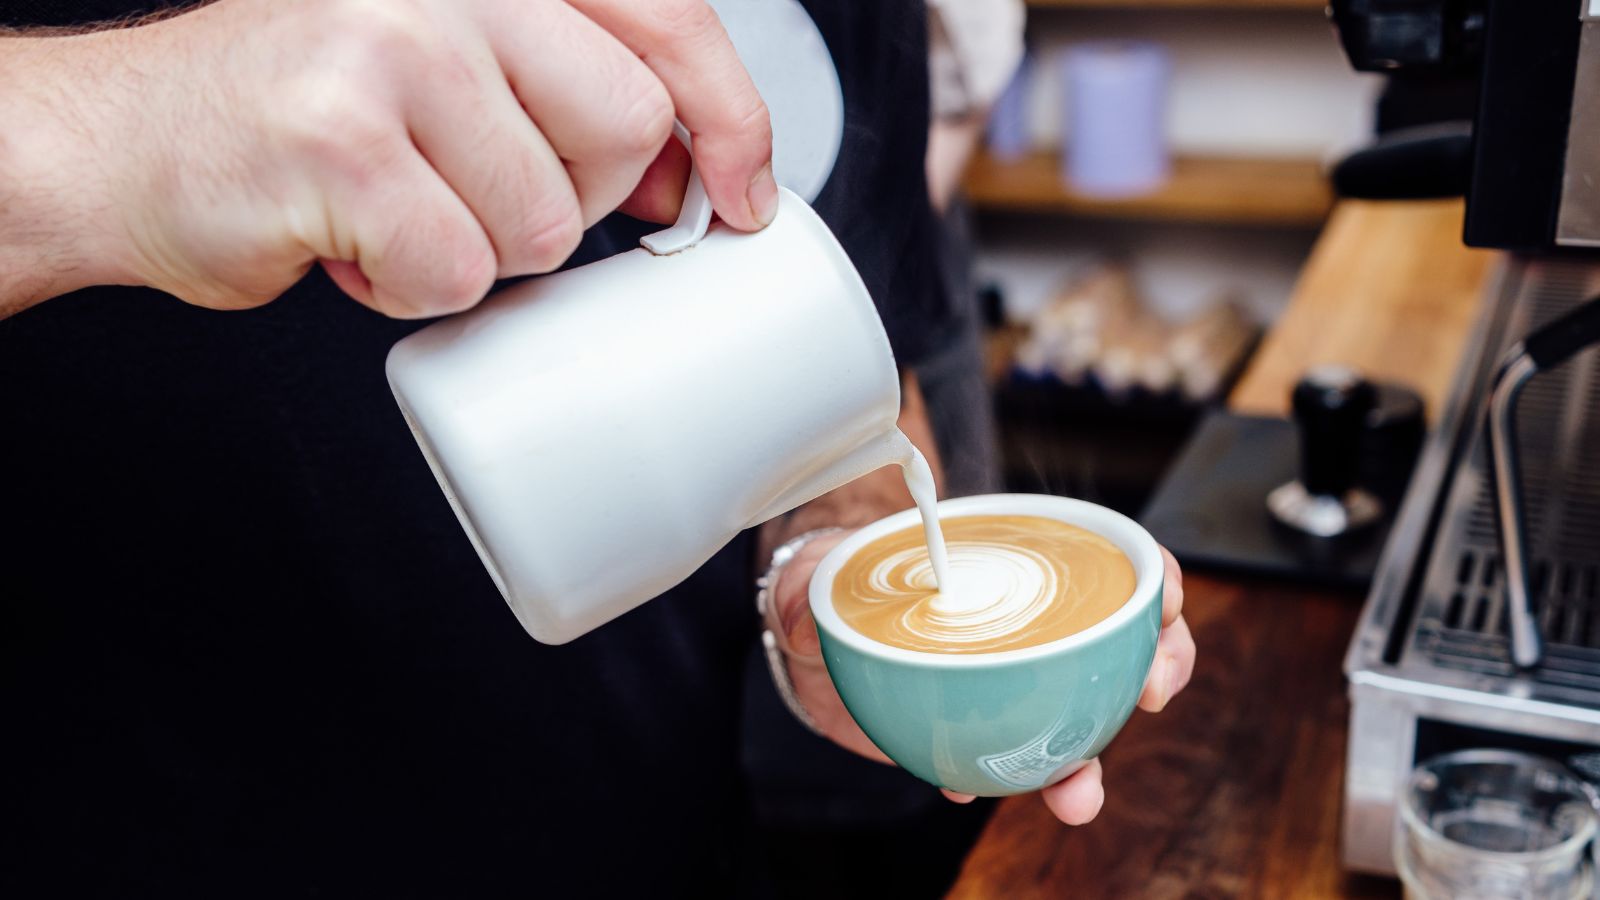

Practice makes perfect when you're learning how to steam milk. While it might not be an instant success, if you team some expert barista tips with a few weeks of practice, you'll be making silky, velvety milk for your lattes, cappuccino, and chai in no time.
When it comes to making hot drinks at home, you have some method options. The most obvious way to steam milk is using a steam wand. All of the best espresso machines come with one of these. Some steam wands will be partially automated, but most require you to learn some technical skills from people like me, a former barista.
If you don't have a steam wand, but still want silky milk for your coffee at home, don't worry, there's plenty of alternatives. You could use one of the best milk frothers on the market, which can be expensive, but are incredibly easy to use. Alternatively, you could use a whisk, which is time consuming, but cheap. If neither of those appeal, you could try one of the many alternative uses for a French press.
I've spoken to other professional baristas and we've collated everything you need to know to be able to make expertly textured milk at home. It's easy when you know how. Next stop, latte art.
The essentials for steaming milk
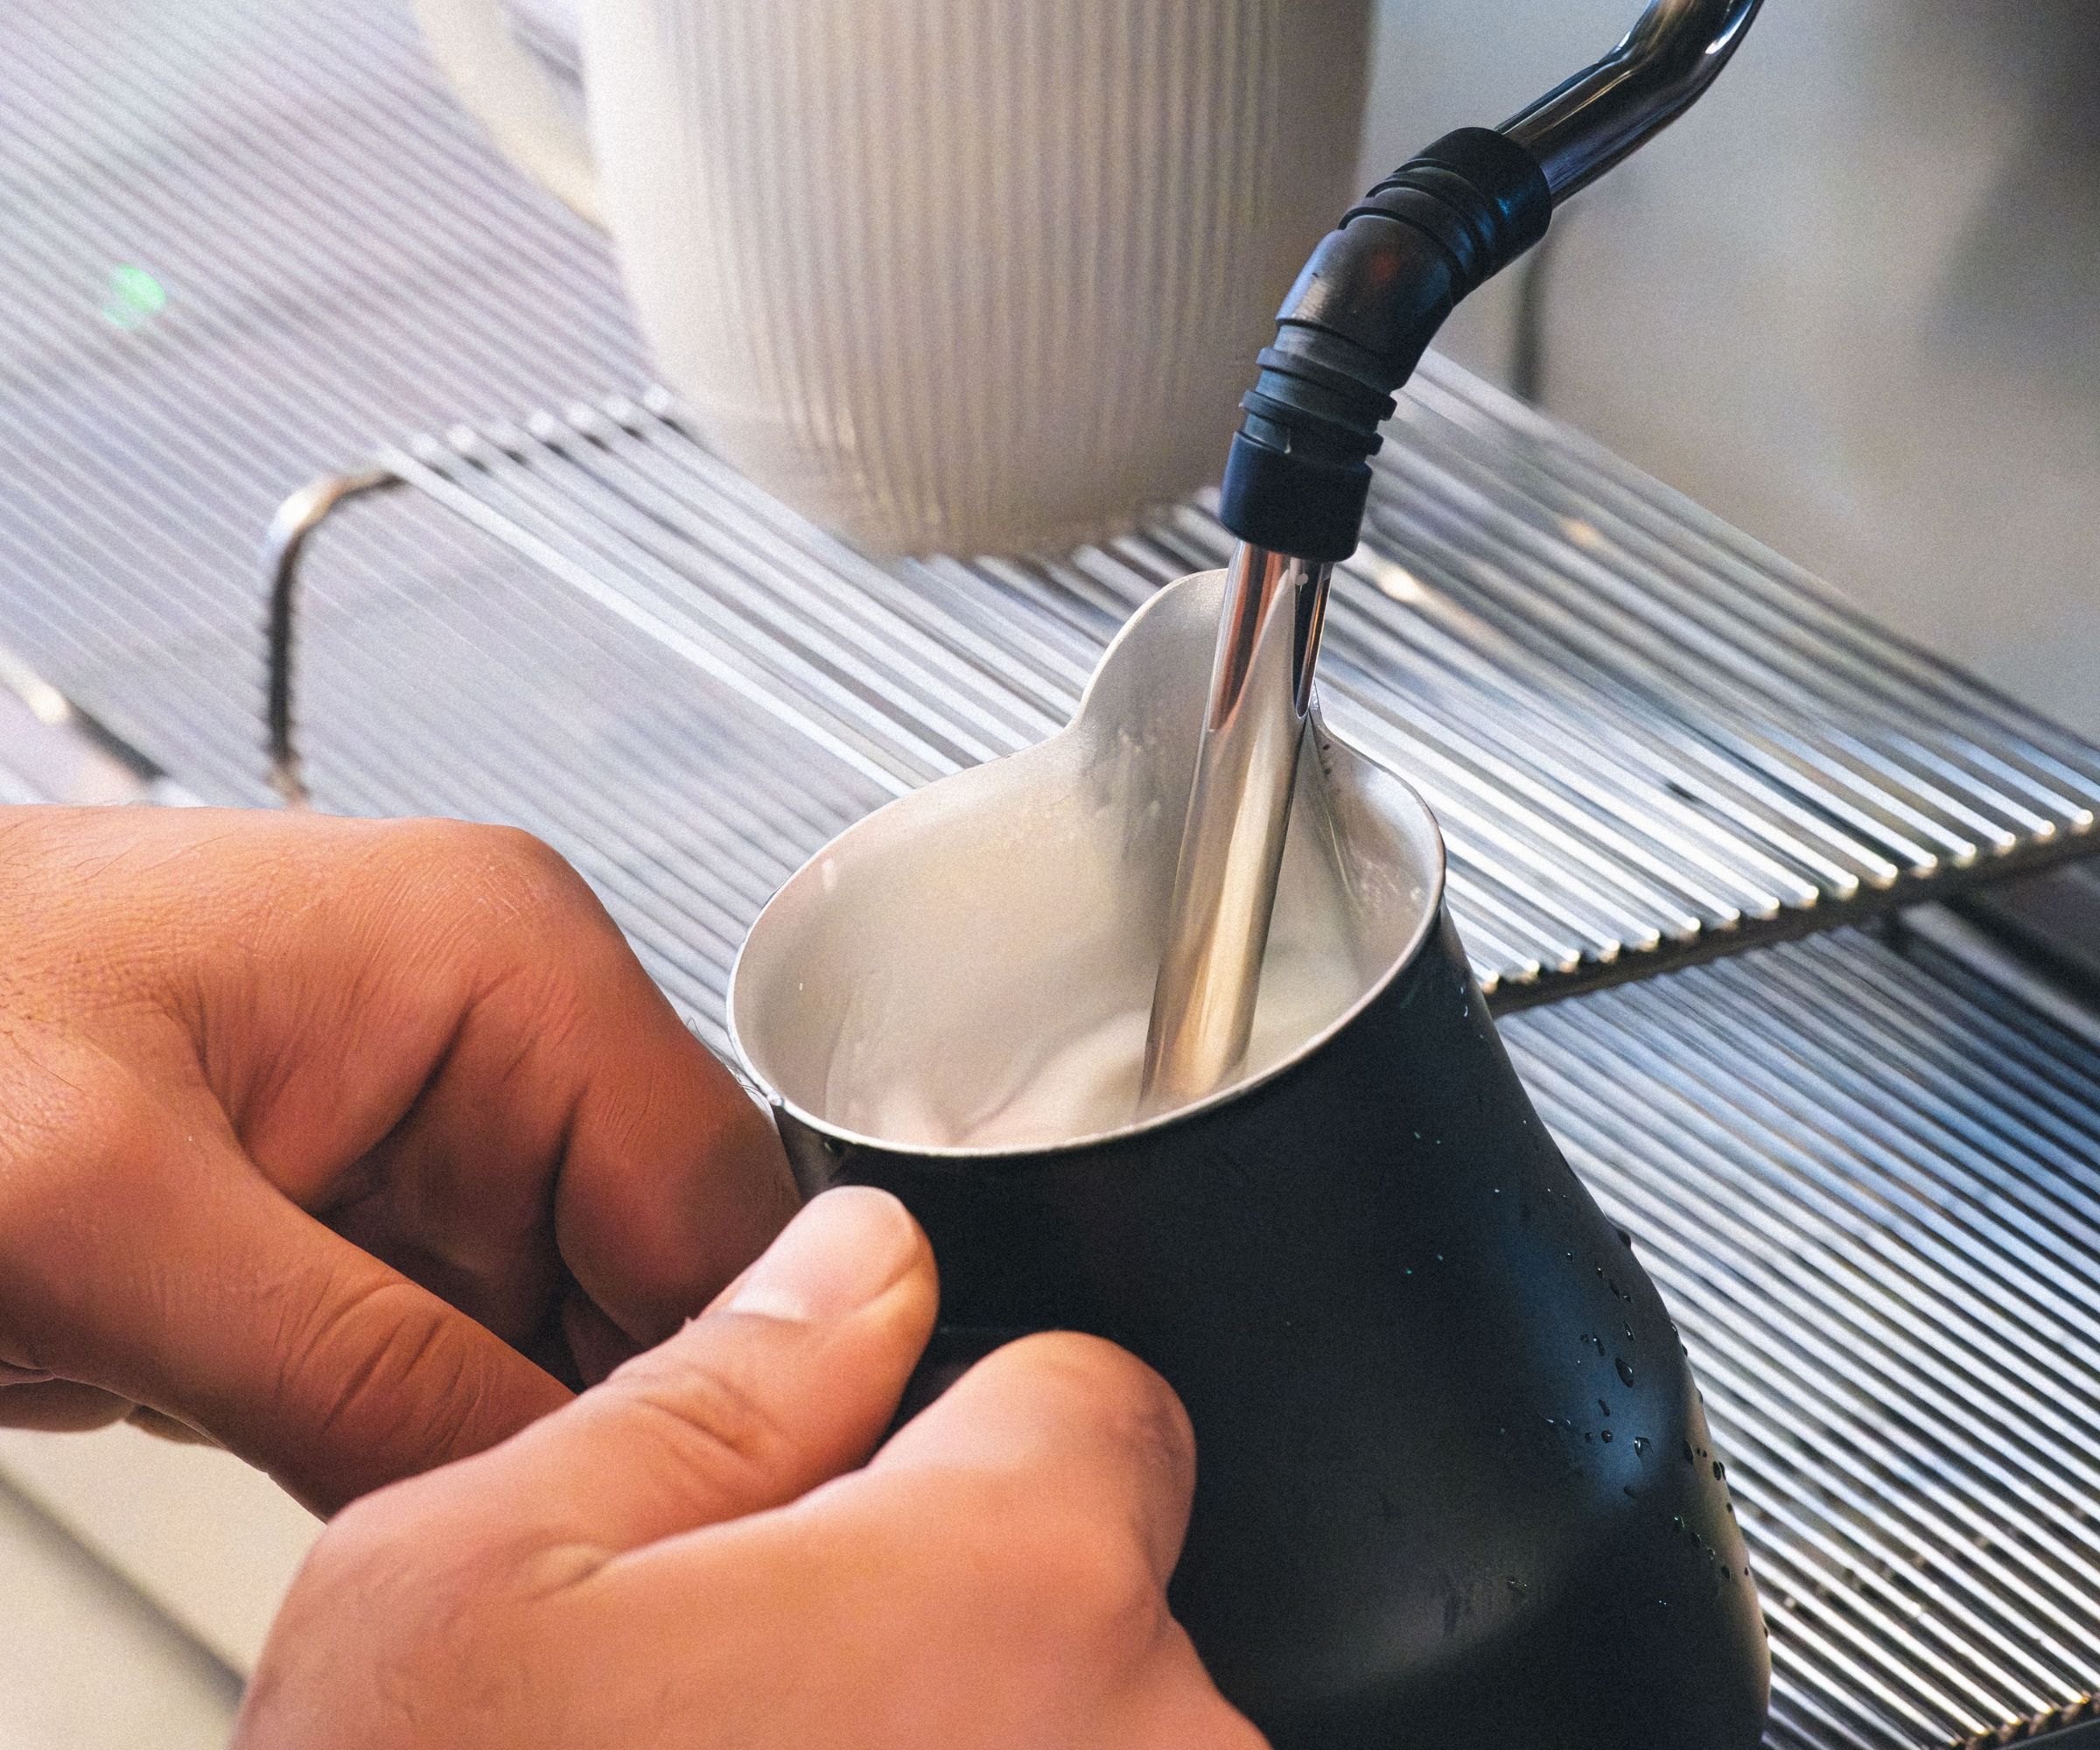
Before you get started, you'll need to make sure that you have the milk steaming essentials. You're probably here because you have an espresso machine with a steam wand. Make sure to always have a microfiber cloth (like these from Walmart) to hand, because this is crucial for cleaning your steam wand, preventing the milk from drying, blocking, and souring.
If you don't own an espresso machine, the easy way to steam milk is with a milk frother. I've included three of my favorites below, but we have a whole buying guide dedicated to the best milk frothers on the market.
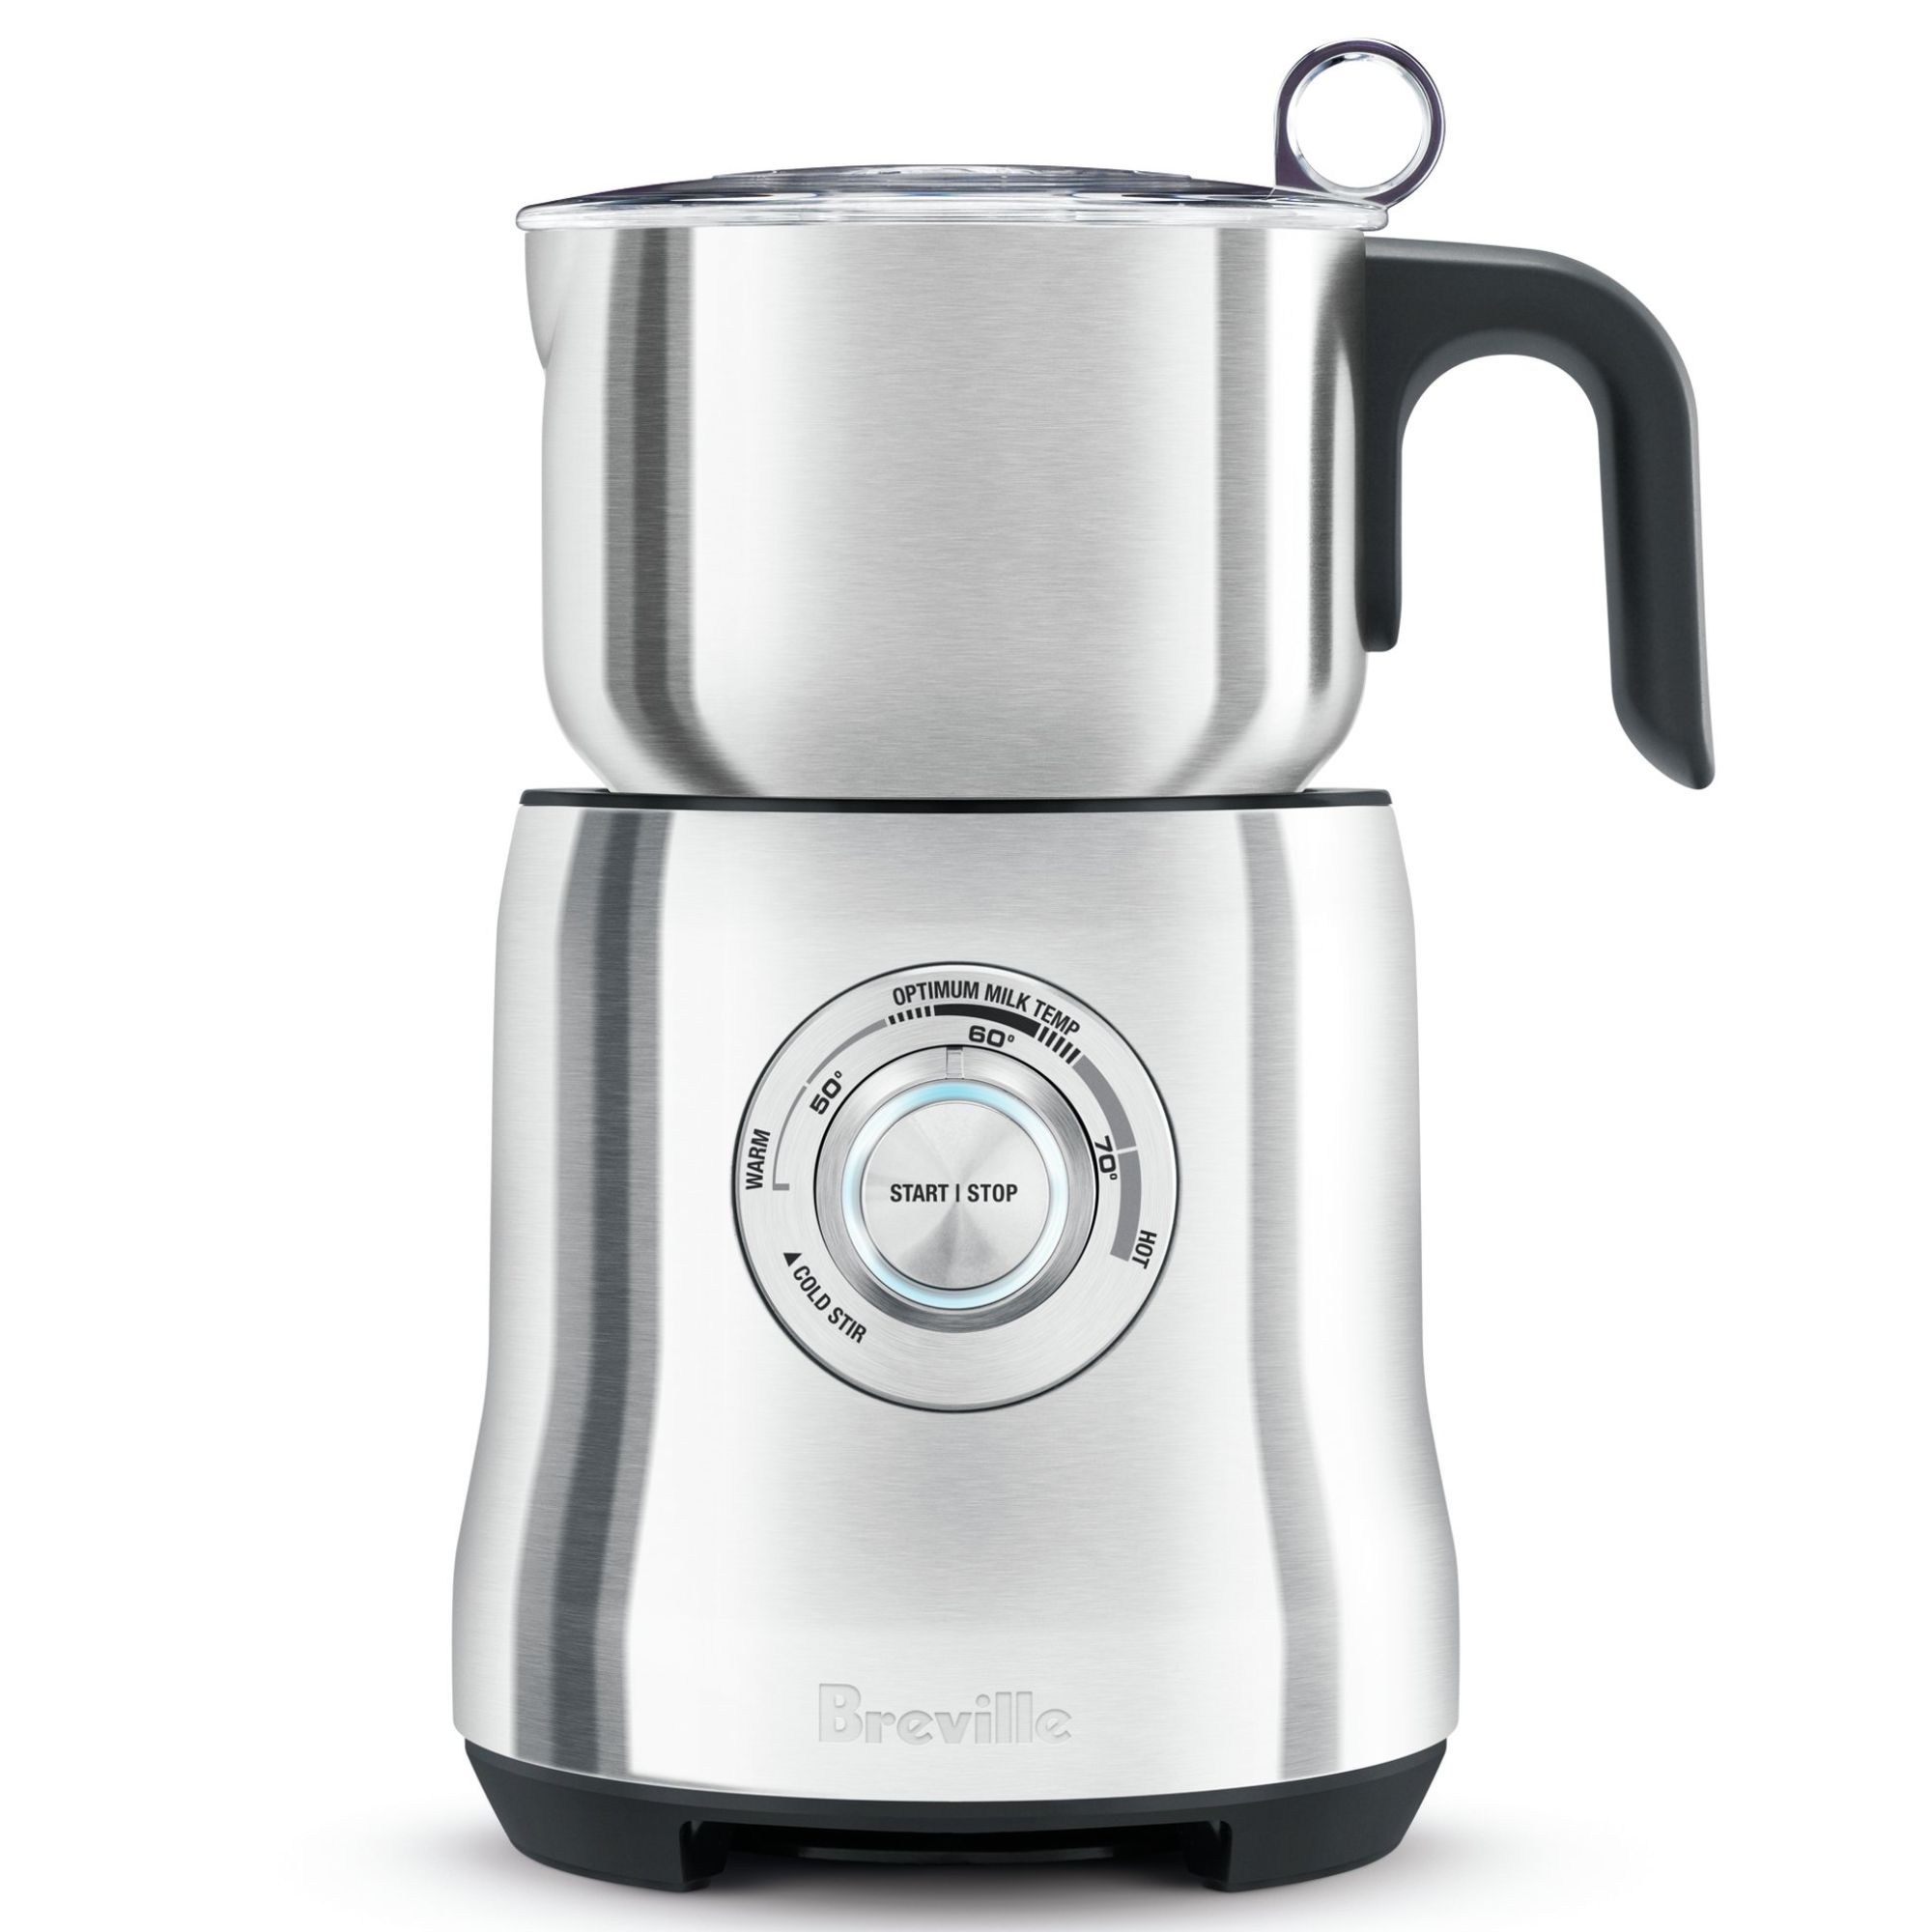
This is the biggest, most versatile (and also the most expensive) milk frother on the market. It can expertly texture milk at a range of temperatures, but can't handle cold foam.
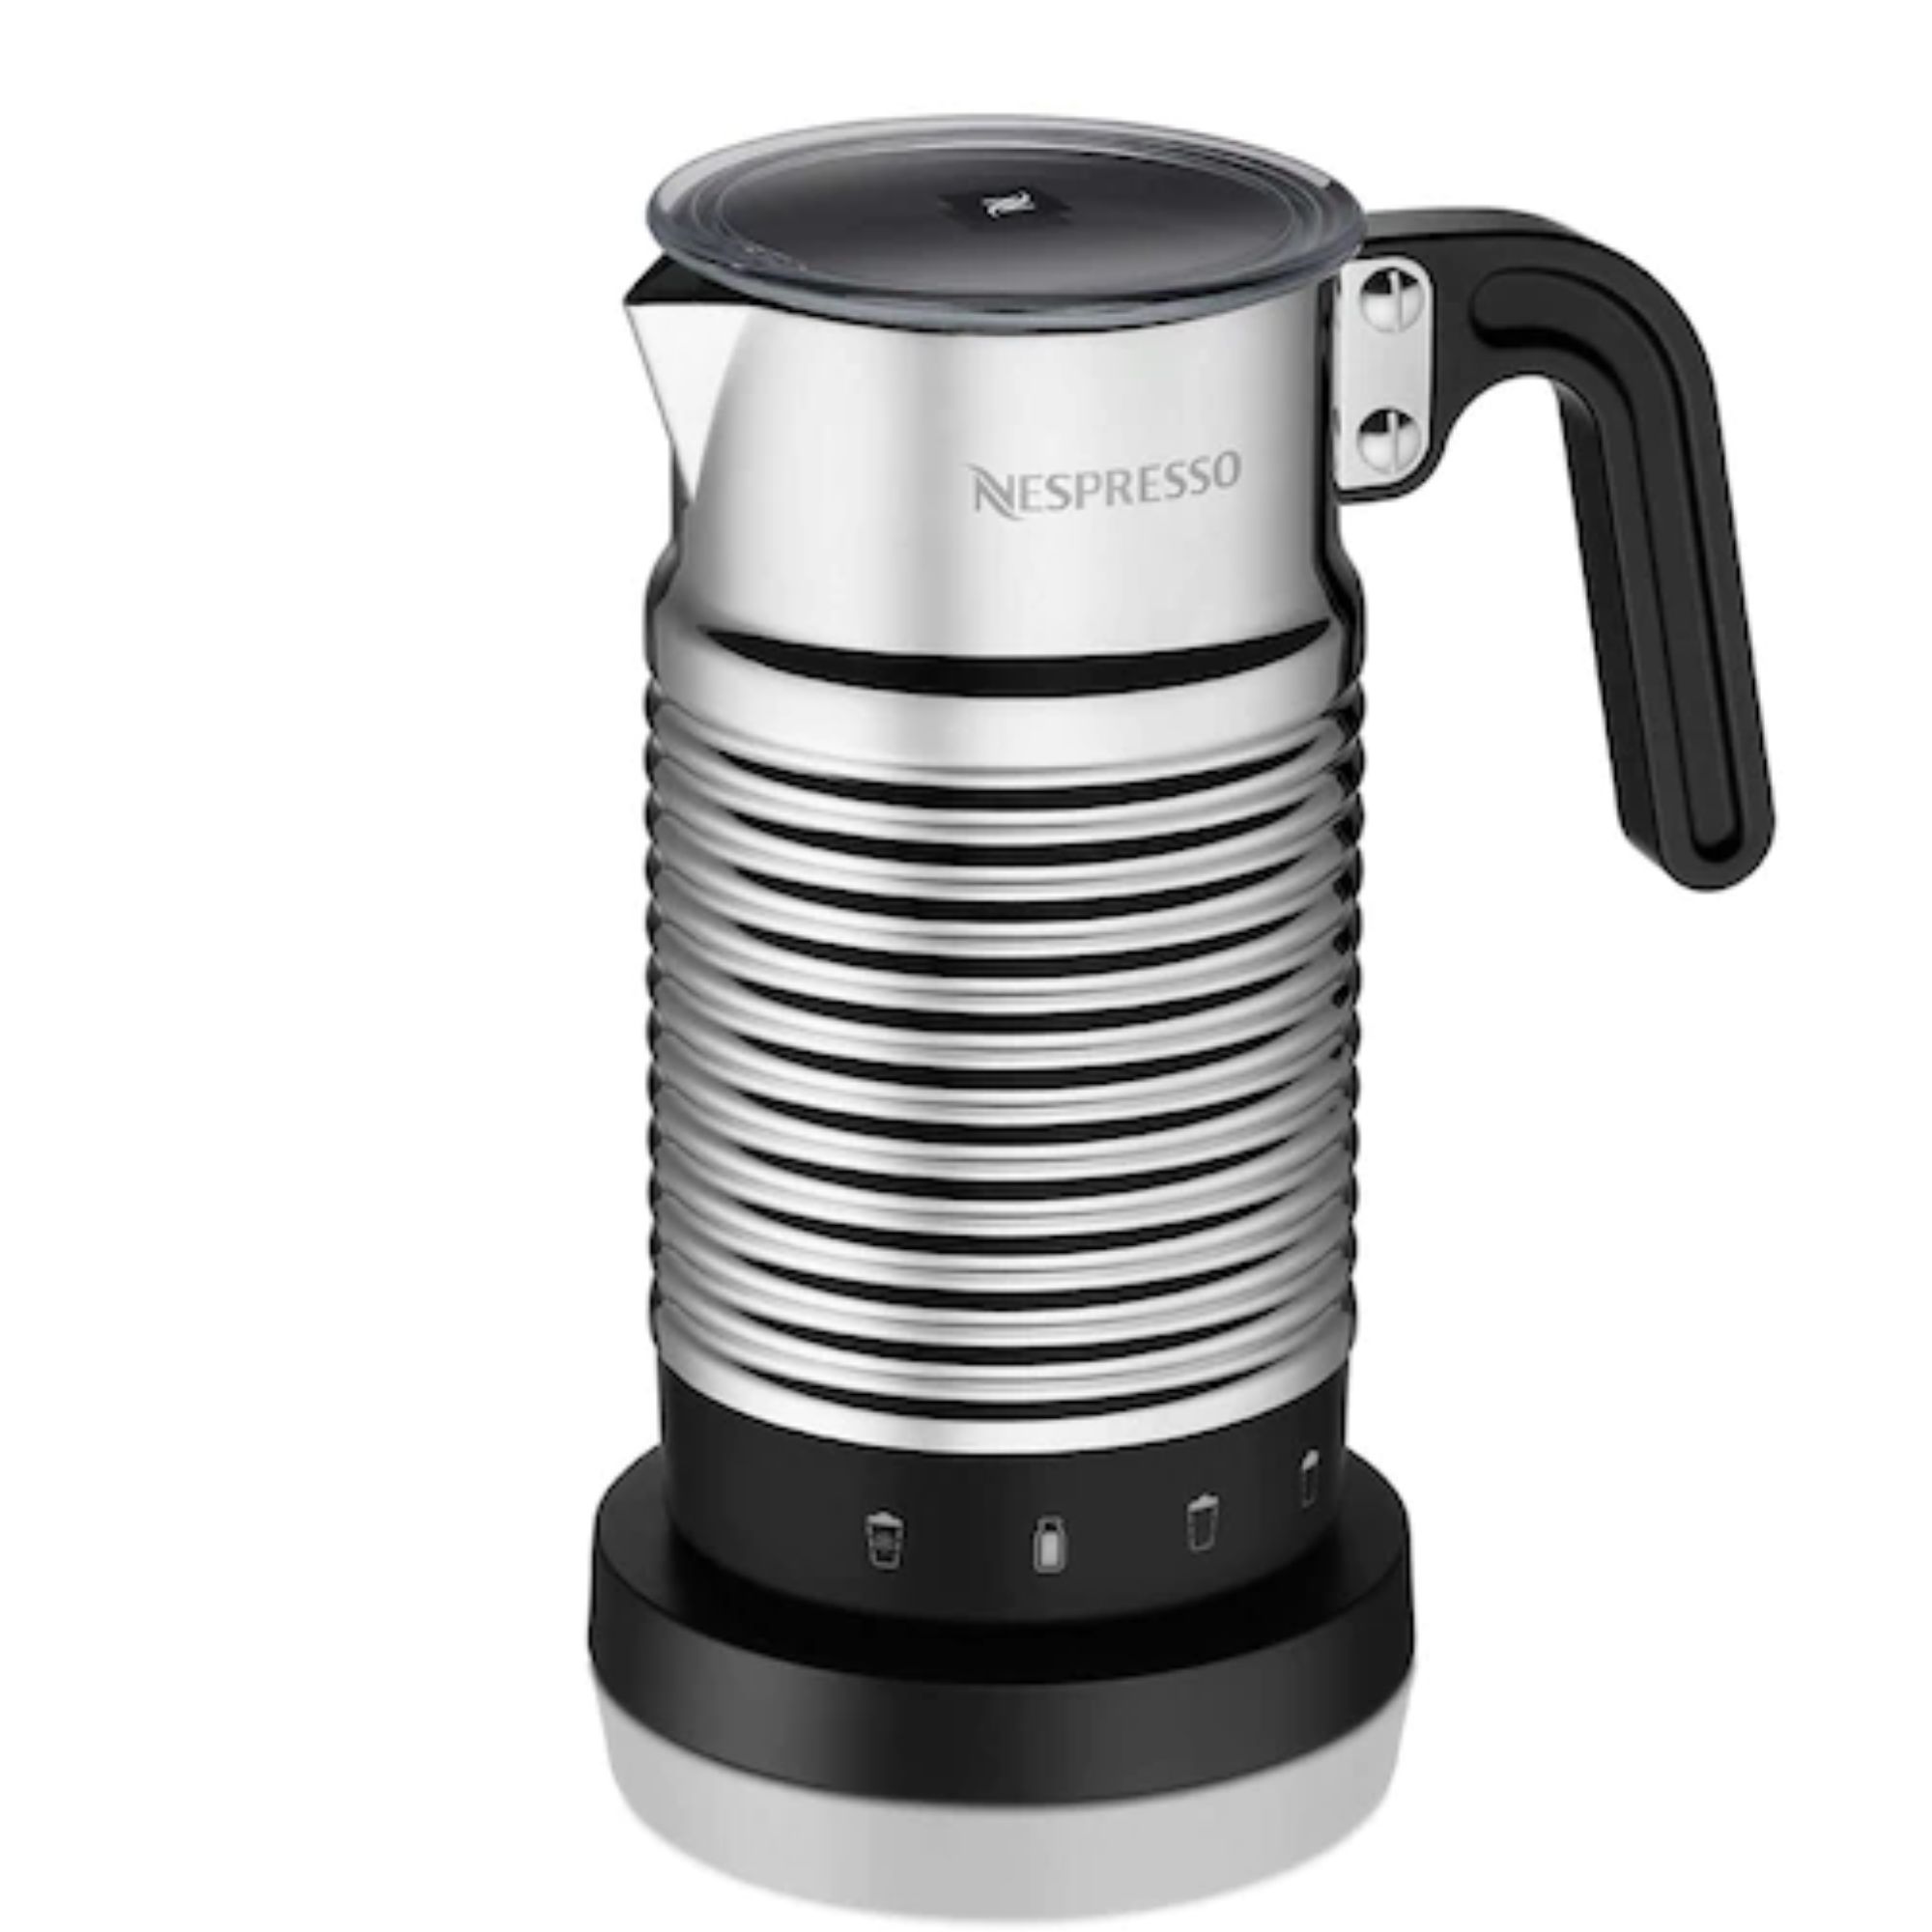
If you're looking for a small, silent, and speedy option, this is the one for you. It's not super technical, but it can make hot and cold foam on plant-based milks too.

This petite powerhouse of a milk frother is proof that you can get compact models to rival the best. Sure, it can only do single-servings, but it does them like an expert.
The next essential investment is a good, stainless steel milk pitcher (available at Walmart). These conduct enough heat for you to monitor your milk's temperature, whilst being easy to clean and hold too. Most espresso machines come with one already included, but these can get lost or you might want to up or downsize depending on how much milk you're steaming. If you're serving 6-8 oz of coffee, you'll need a 12 oz jug, use a 20 oz jug for 12-16 oz servings.
Kayla Stavridis, former barista, says investing in a good thermometer or way to measure milk temperature can make a significant difference to your milk steaming experience'. If you don't already have one, you can place a temperature sticker (available at Amazon) on your stainless steel pitcher. This will stop you from over- or under-heating milk, especially if you're not used to how it should feel.
The other essential is using cold whole milk or a 'barista' (protein-enhanced) plant-based milk, such as the Almond Breeze Barista cartons, available at Amazon. These will both froth better and hold their structure. The best (and only) way to store these milks is in a cold fridge. If they're chilled before you start steaming, you give yourself more time to steam and texture the milk before it gets close to burning.
Kayla Stavridis, former barista, recommends using a chilled pitcher as well as cold milk, because you double-up on the cooler temperature, giving you more time to control the initial, microfoam phase.
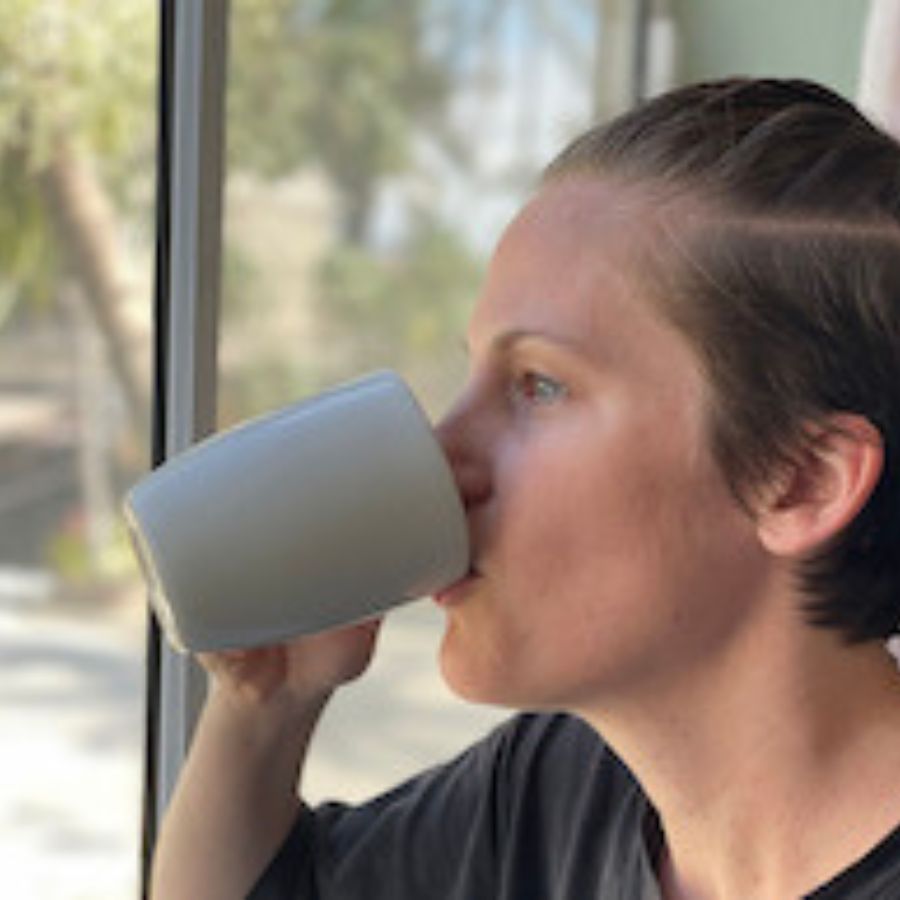
Kayla is a former barista, who trained in texturing milk at Starbucks. Thousands of coffees later, she is now the the Head of Marketing at Barista HQ and spends all of her time (work and leisure) making coffee.
How to steam milk with a steam wand
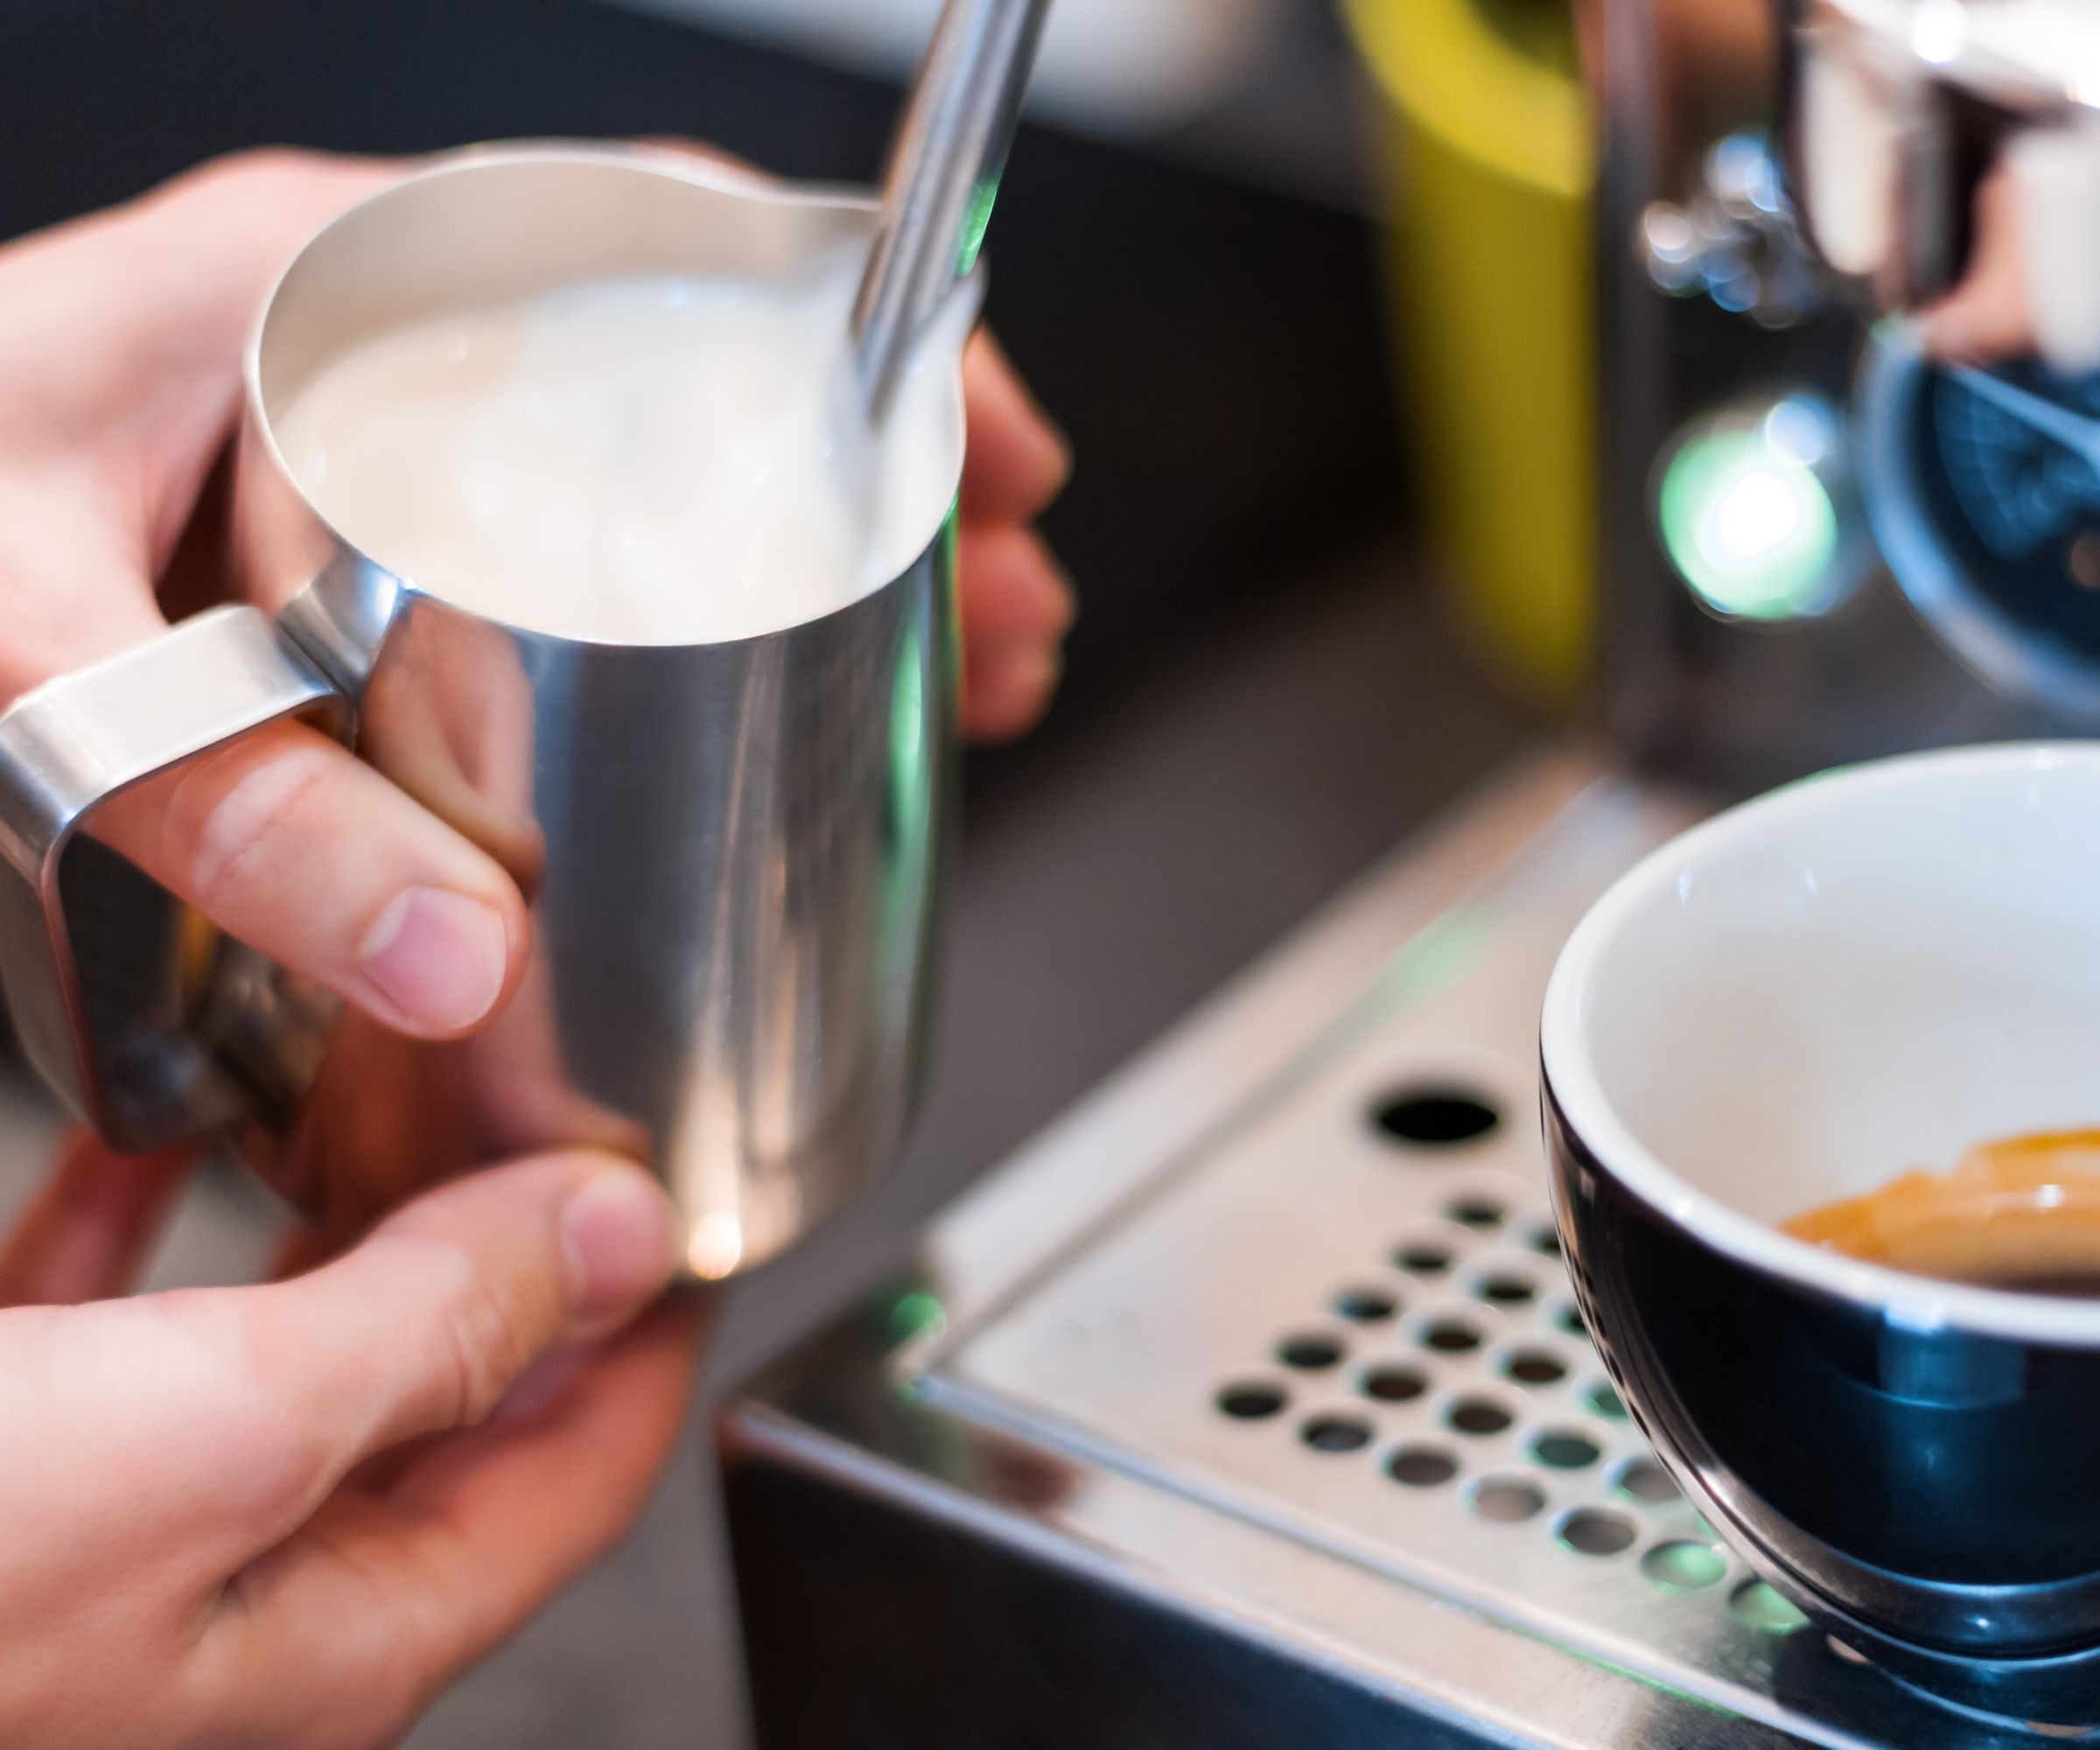
When you're steaming milk, the important place to start is with getting to know your espresso machine. Before the machine is on and the steam wand is hot, try moving it around to see which angles you can reach and how you like to move it, especially with the stainless steel pitcher in-hand.
Steaming milk with a steam wand can be brokwn down into into two stages. The first is aerating, also known as stretching. Steve Spring, professional coffee roaster, says that this is when you need to 'turn the steam to full power and keep the tip close to the milk surface to introduce air. You should hear a paper tearing sound, which some people describe as kissing or ticking. Whatever you call it, this indicates that air is bring incorporated to create all-important foam'. The milk will look like it's rising towards the top of your jug. If you've heard people talk about micro-foam (a tight bubble structure), this is how it is made.
Once you're happy with how much foam you've got (20-30% for a latte, 50% for a cappuccino) you can bury the nozzle further into the milk, maintaining the vortex. You can lift the steam wand so that the tip is just below the surface, but make sure you can't hear the ticking or ripping sound any more. This is the second stage, texturing, is also known as emulsifying. It mixes the micro-foam with the rest of the milk, making it smooth and silky.
The optimal temperature for your milk is 150 degrees Fahrenheit. Ideally, you'll have
a thermometer or temperature sticker. Don't worry if you don't though. Most baristas can tell by feel: touch your palm to the side of the stainless steel pitcher and when it gets too hot to touch for more than one or two seconds, you've reached the perfect temperature.

Steve owns his own coffee roasting business and drinks more coffee than he'd like to admit. He believes that steaming coffee is both an art and a science and he's got the hang of it. He's got a lot to say about how to steam milk at home and all of it is incredibly helpful.
There are two important things to remember after steaming the milk. Make sure to pour as soon as you've textured your milk, because the foam and warm milk separate very quickly. If you've gotten distracted, give your milk pitcher a few swirls to try to re-incorporate the foam and warm milk. You'll also need to clean and wipe down the wand straight away. Release a blast of steam to clear any leftover milk from inside the wand and use a microfiber cloth to clear the outside.
How to steam milk without a steam wand
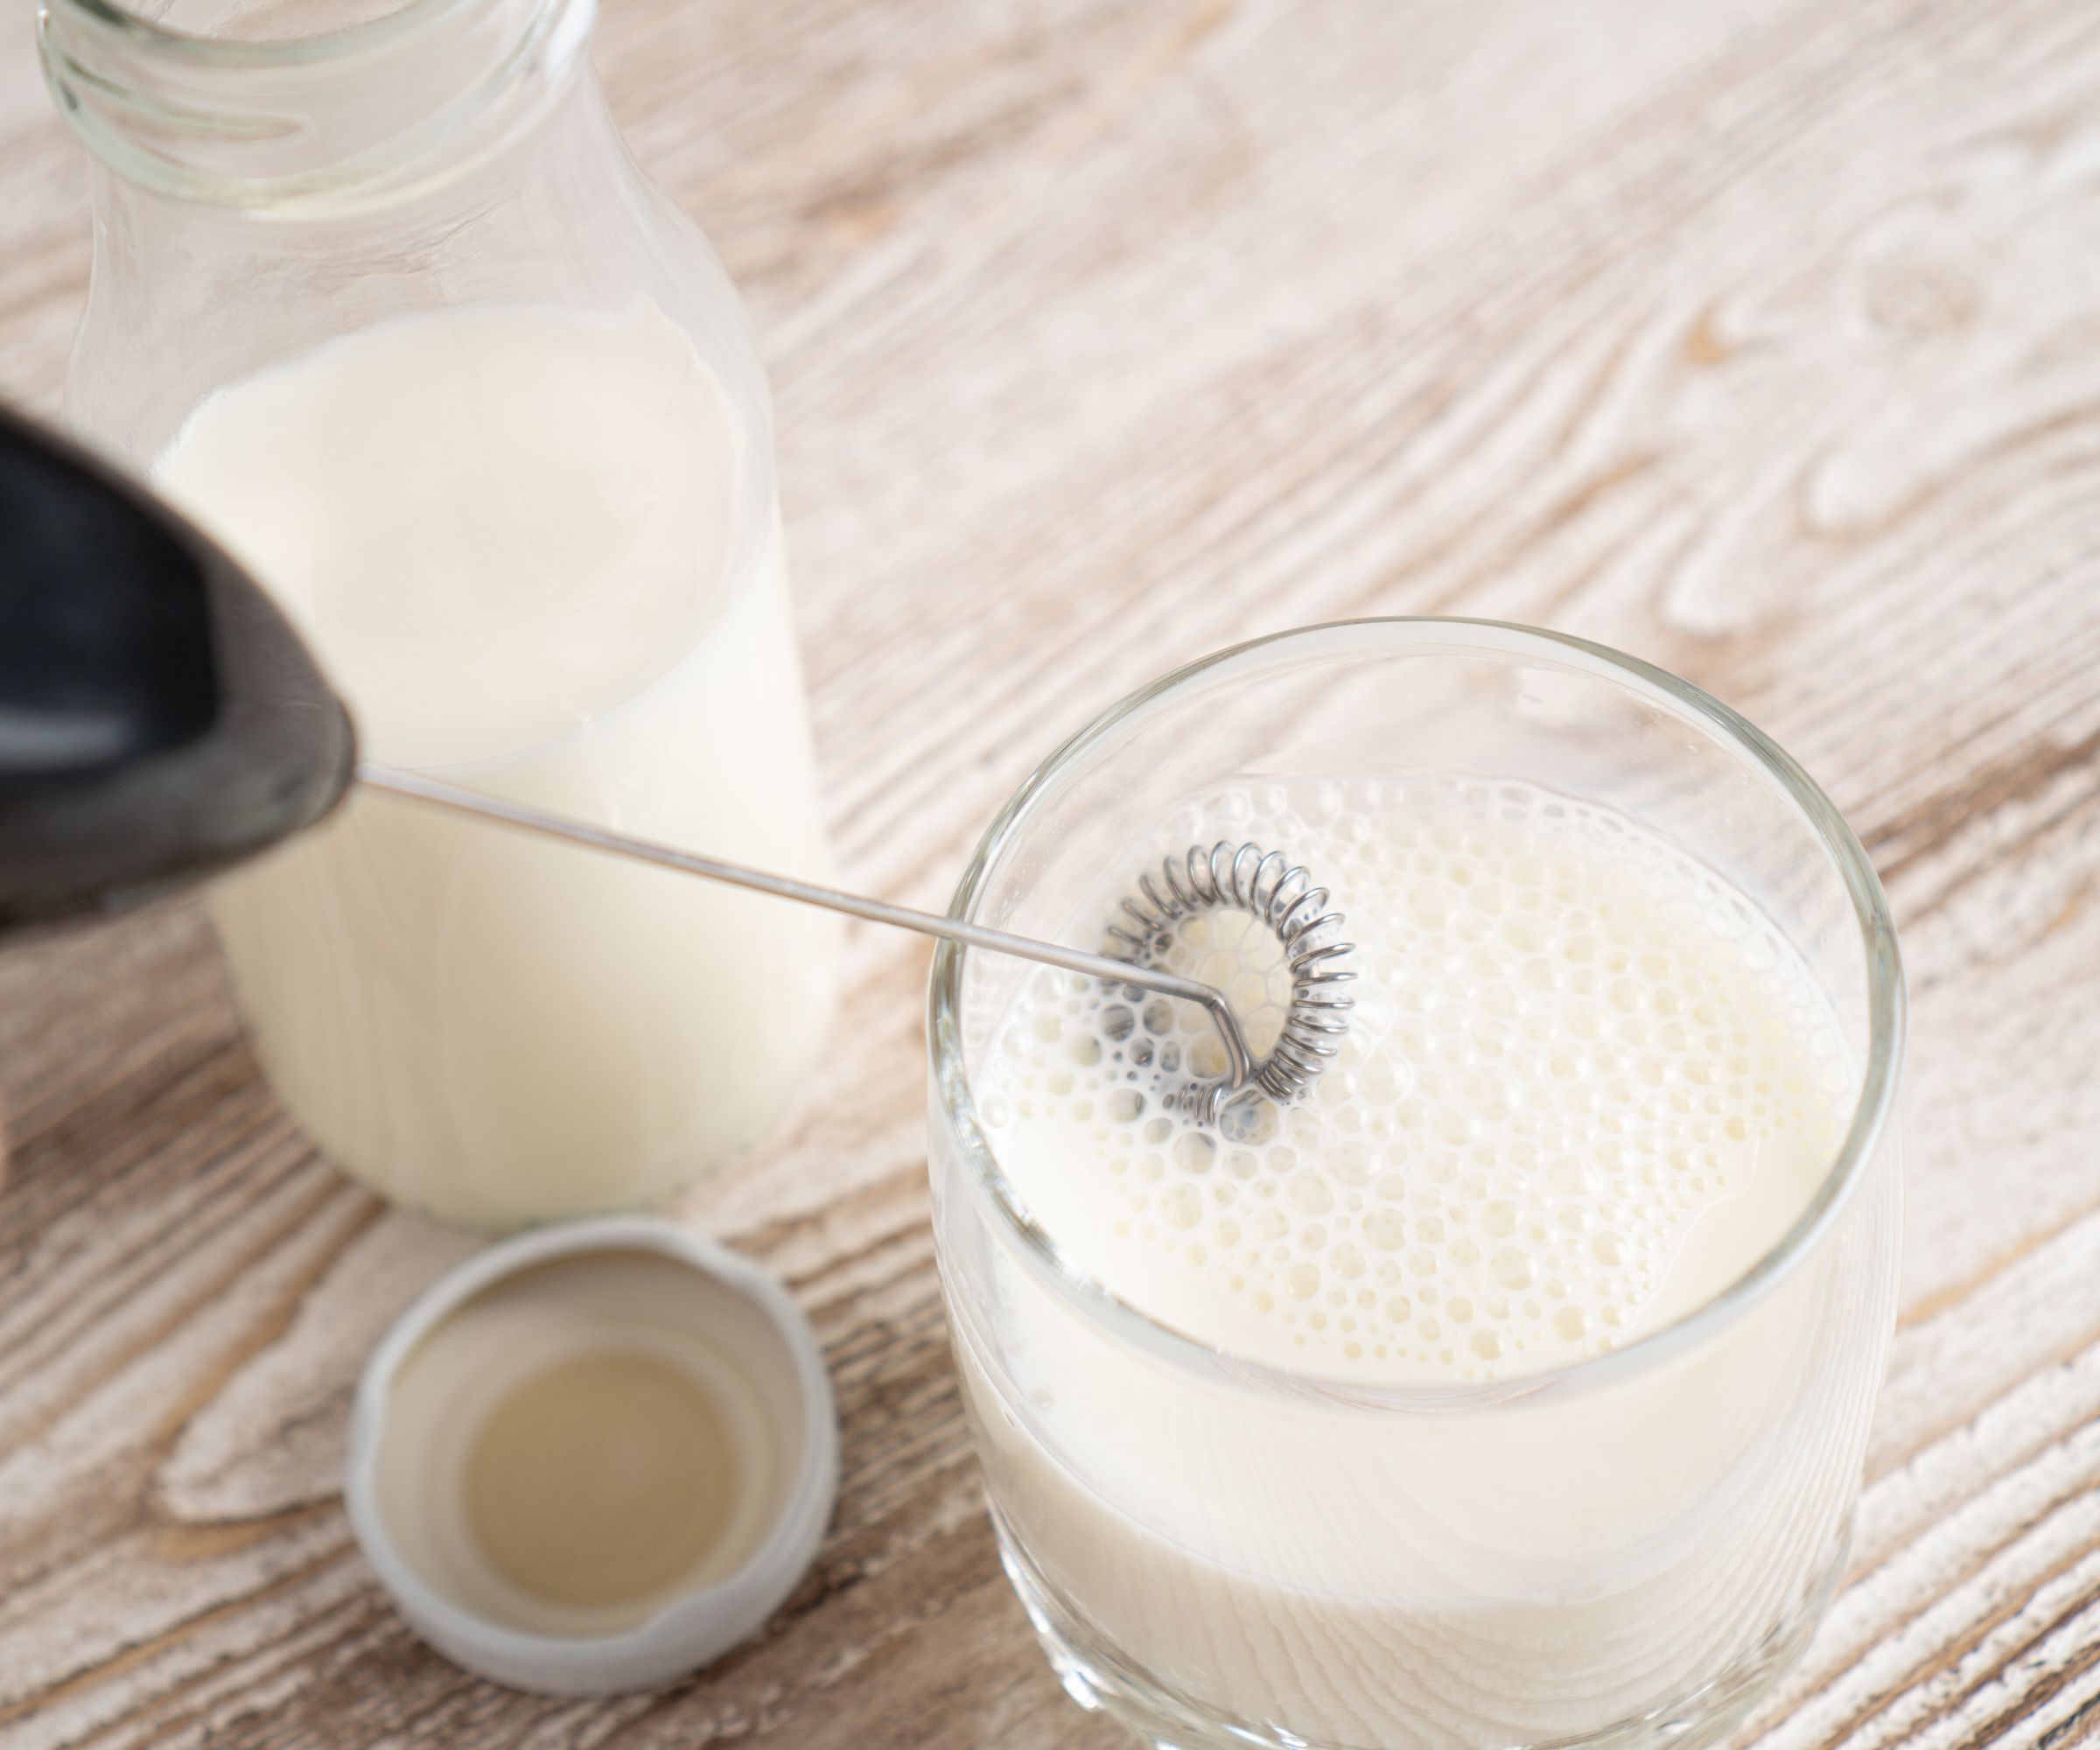
The good news is that you don't need an espresso machine to steam milk. You can get the same results warming milk on the stove and then using some appliances.
Kelsey Waddell, coffee expert from Roasty Coffee says, 'the simplest method is to go old-school and heat milk on the stove whisking vigorously to get some froth. Alternatively, you can use a French press to pump and plunge, aerating the milk'. The French press method takes a lot of power and patience, but it's worth it.

Kelsey is a coffee expert. She writes for Roasty Coffee, a team of coffee connoisseurs who offer tips to at-home baristas. She's used a range of coffee machines, so knows the best tips and tricks for texturing milk perfectly.
Ironically, I wouldn't suggest using our top pick for the best French presses (the Espro P7), because it has a tight seal, so is hard to plunge. Opting for an inexpensive model, such as the Bodum Chambord or Brazil, will save you money and effort, whilst producing expert results.
A basic whisk, such as this one from Walmart, can also achieve some nice, light foam. Again, you'll need to practice patience and effort, whisking your milk on the stovetop over a low heat. If you don't like the sound of all that effort, I would recommend using an immersion blender with a whisk attachment or a small, electric milk frother, such as the Zulay, available at Amazon, which acts like a whisk too. It requires a lot less muscle.
Your final (and my favorite) option is making an investment in one of the best milk frothers and put them all into a buying guide.
If you like the sound of these alternative options, but need some help shopping for yourself, here are my top picks for each method:
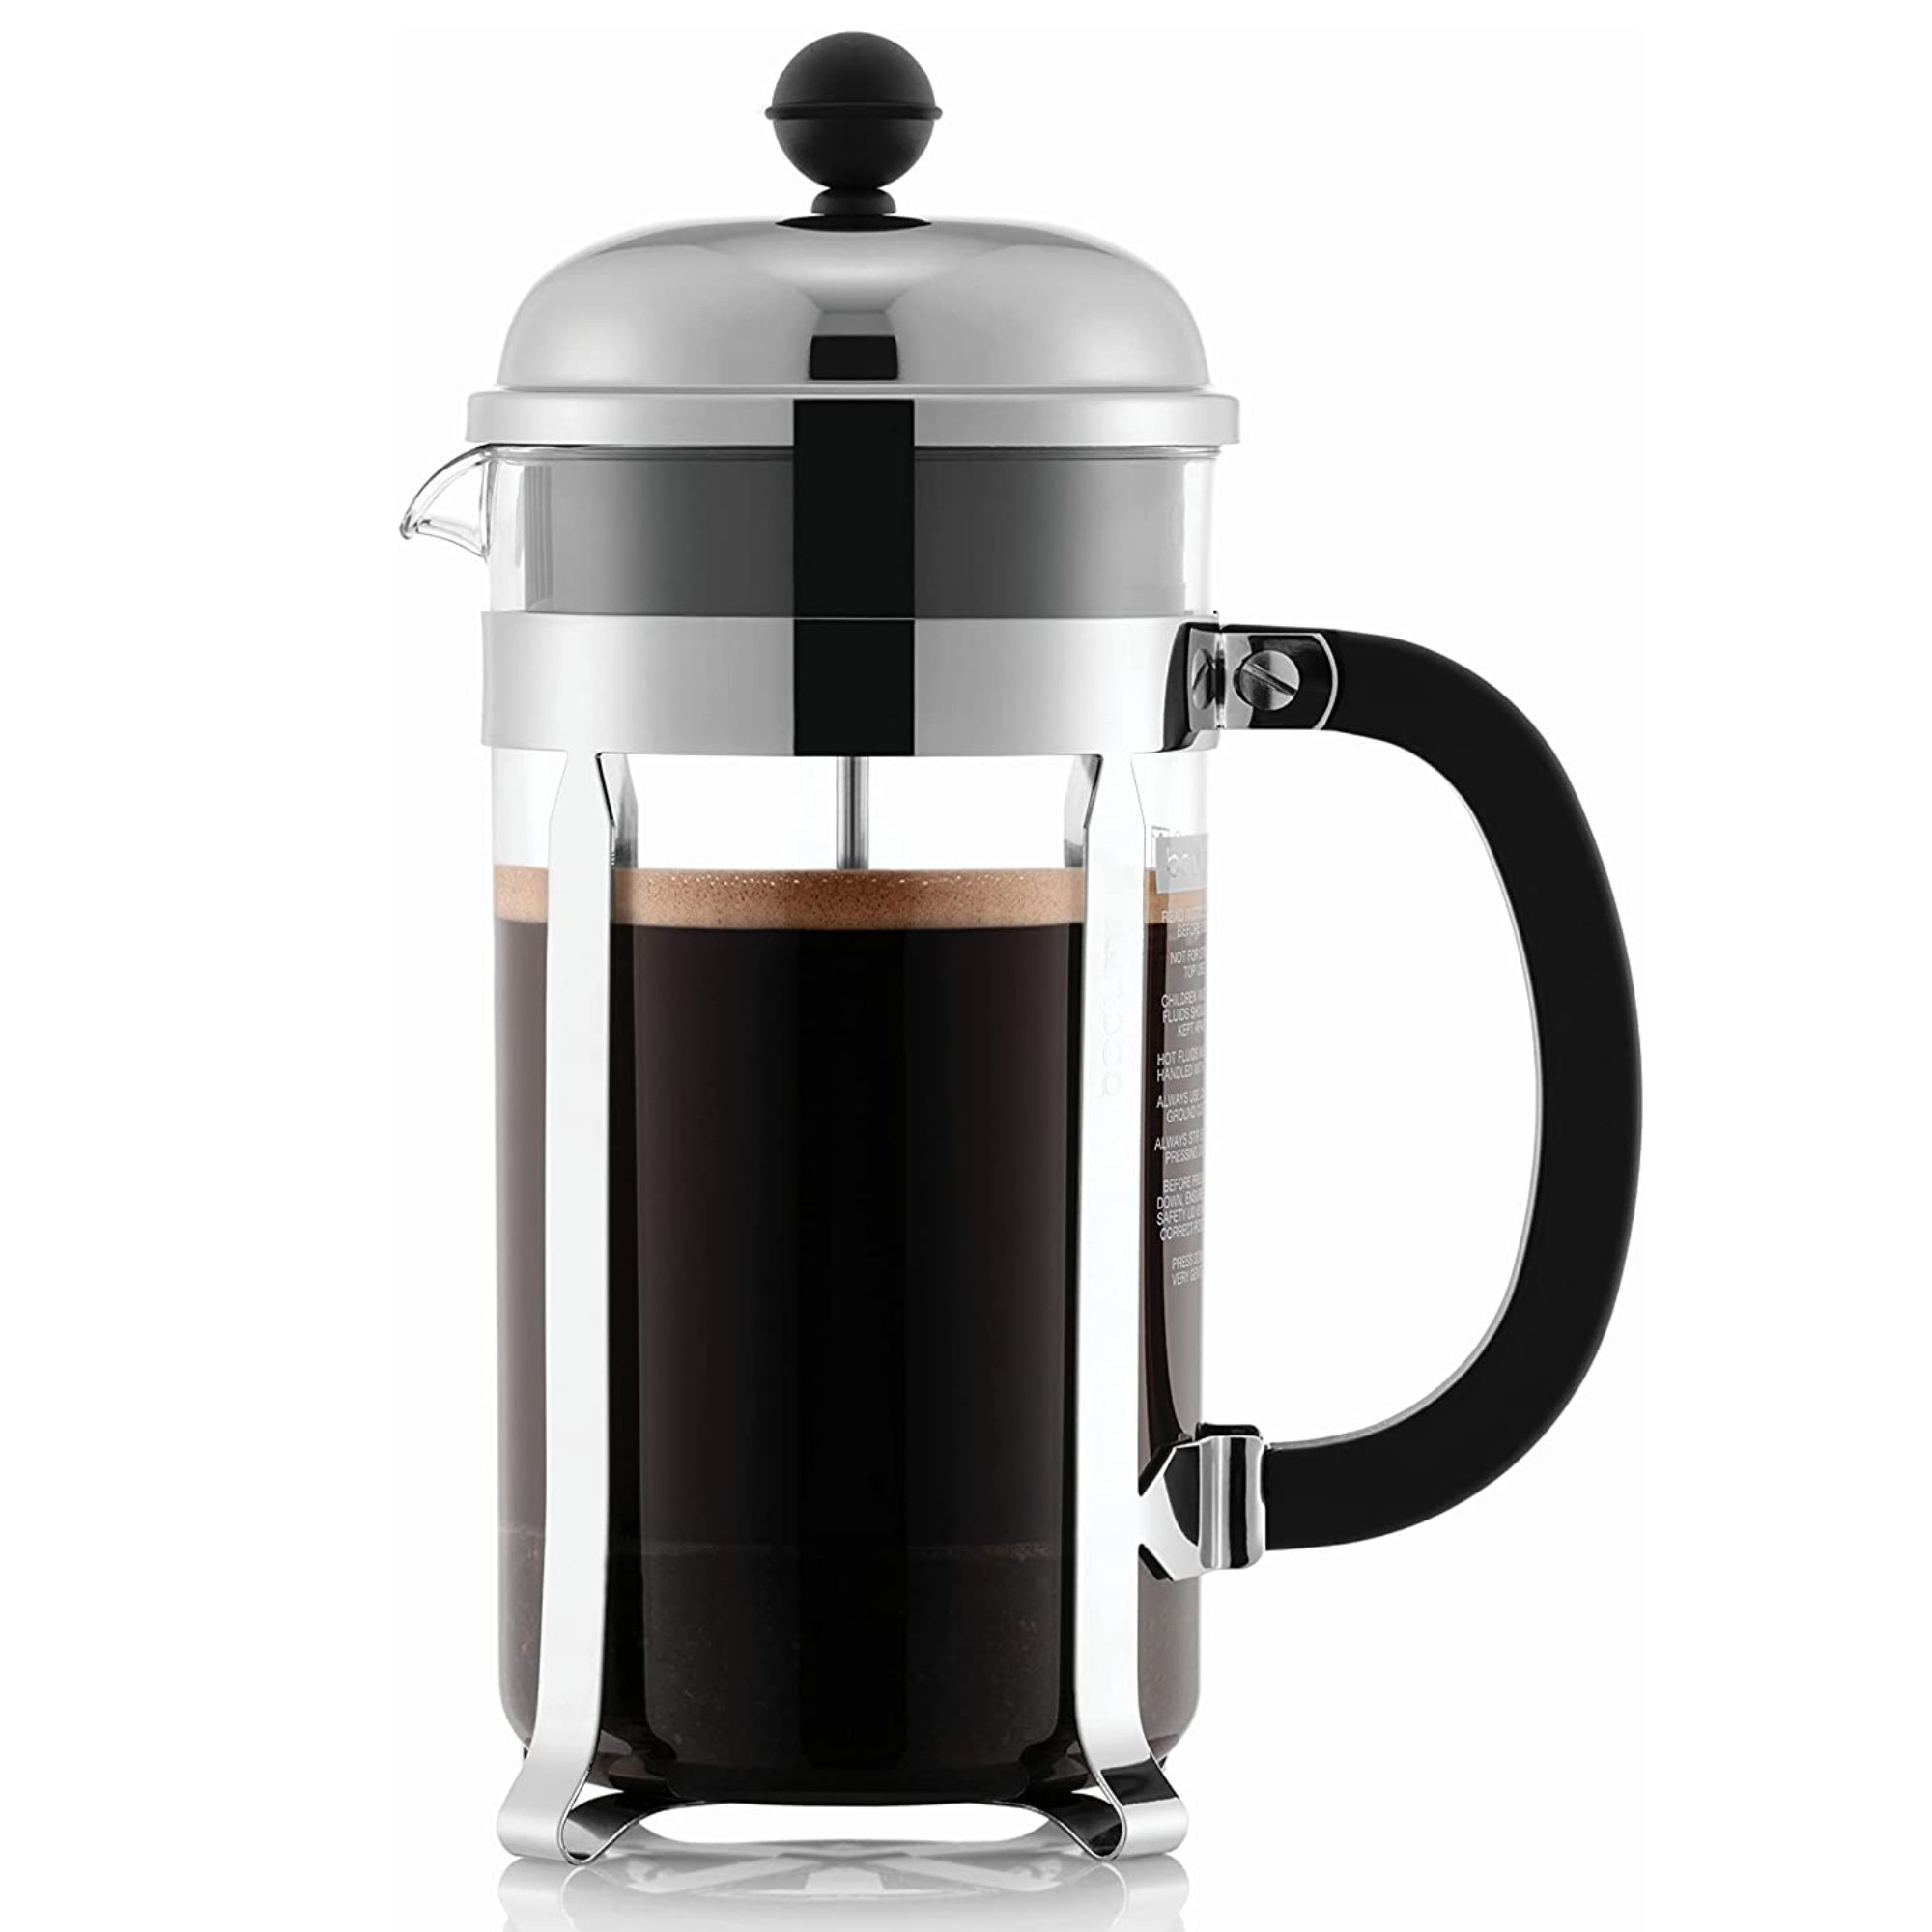
Bodum makes special milk frothers which work on the same principles as the French press rule, but if you want to enjoy coffee too, this is your best bet. It's great value and beautiful too.
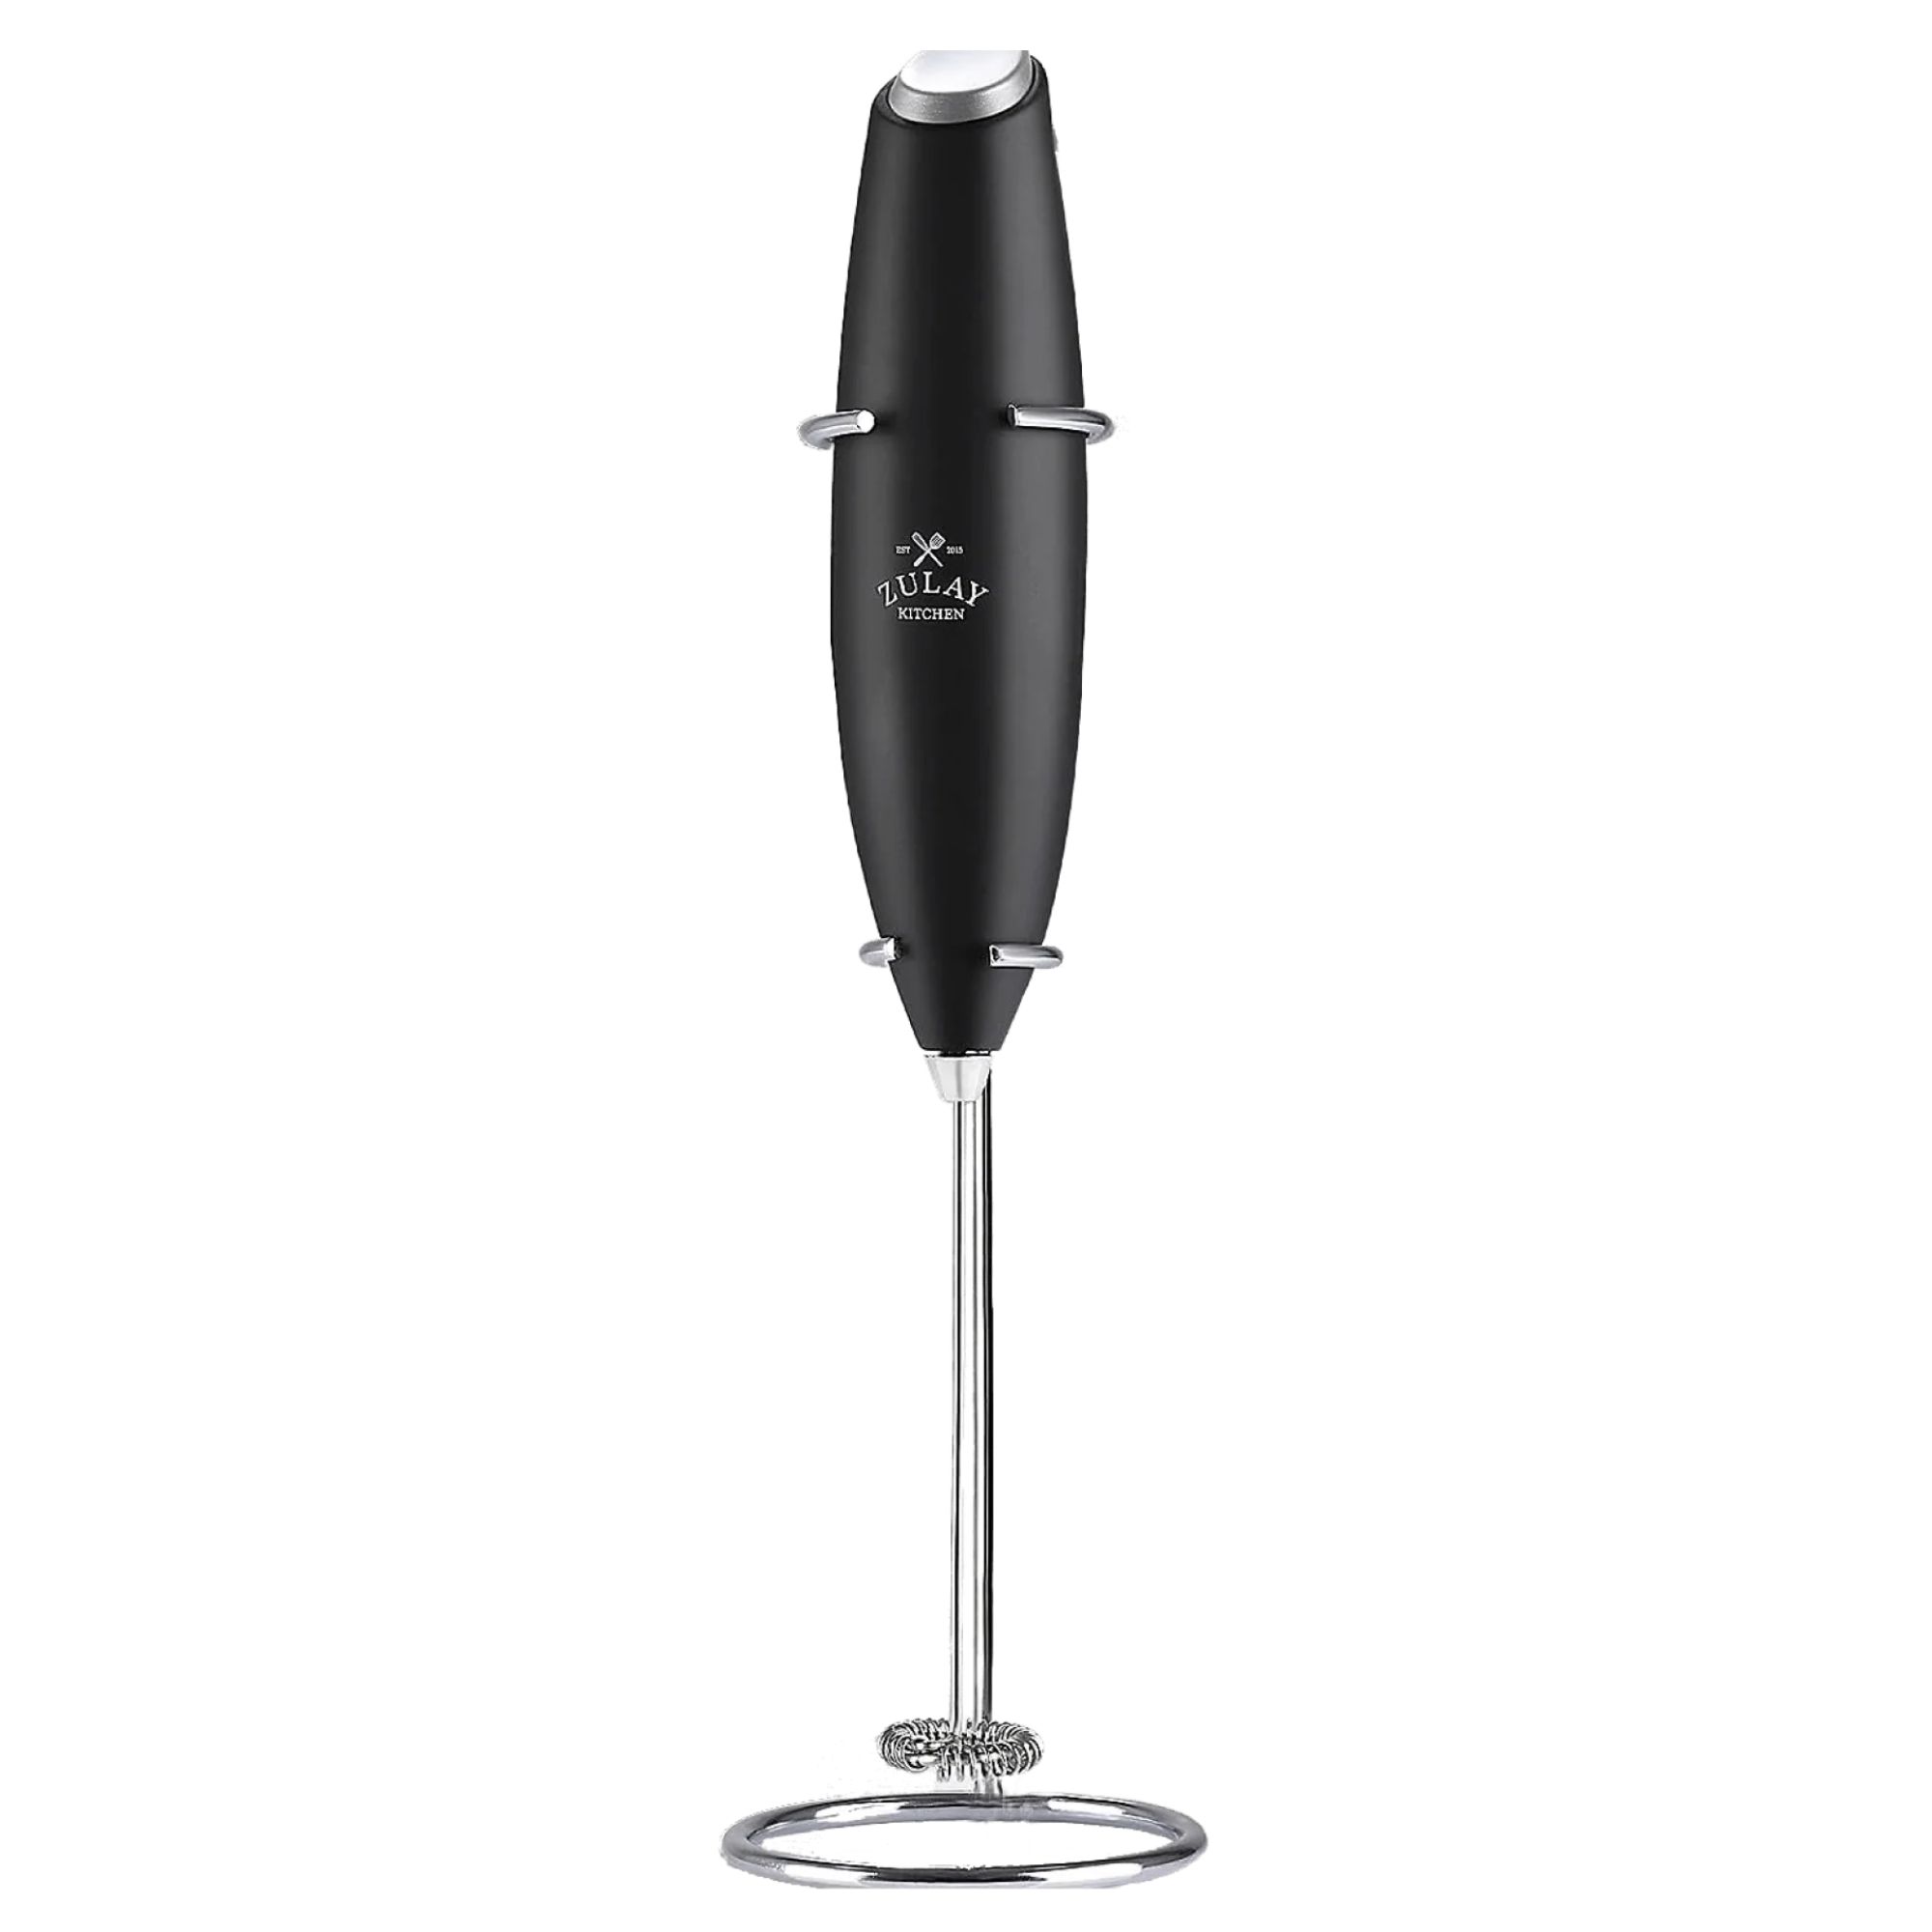
Inexpensive and compact, this is a small kitchen's dream. The Zulay is perfect if you don't fancy spending hours hand whisking, but don't have a huge budget. It has a lifetime guarantee too.
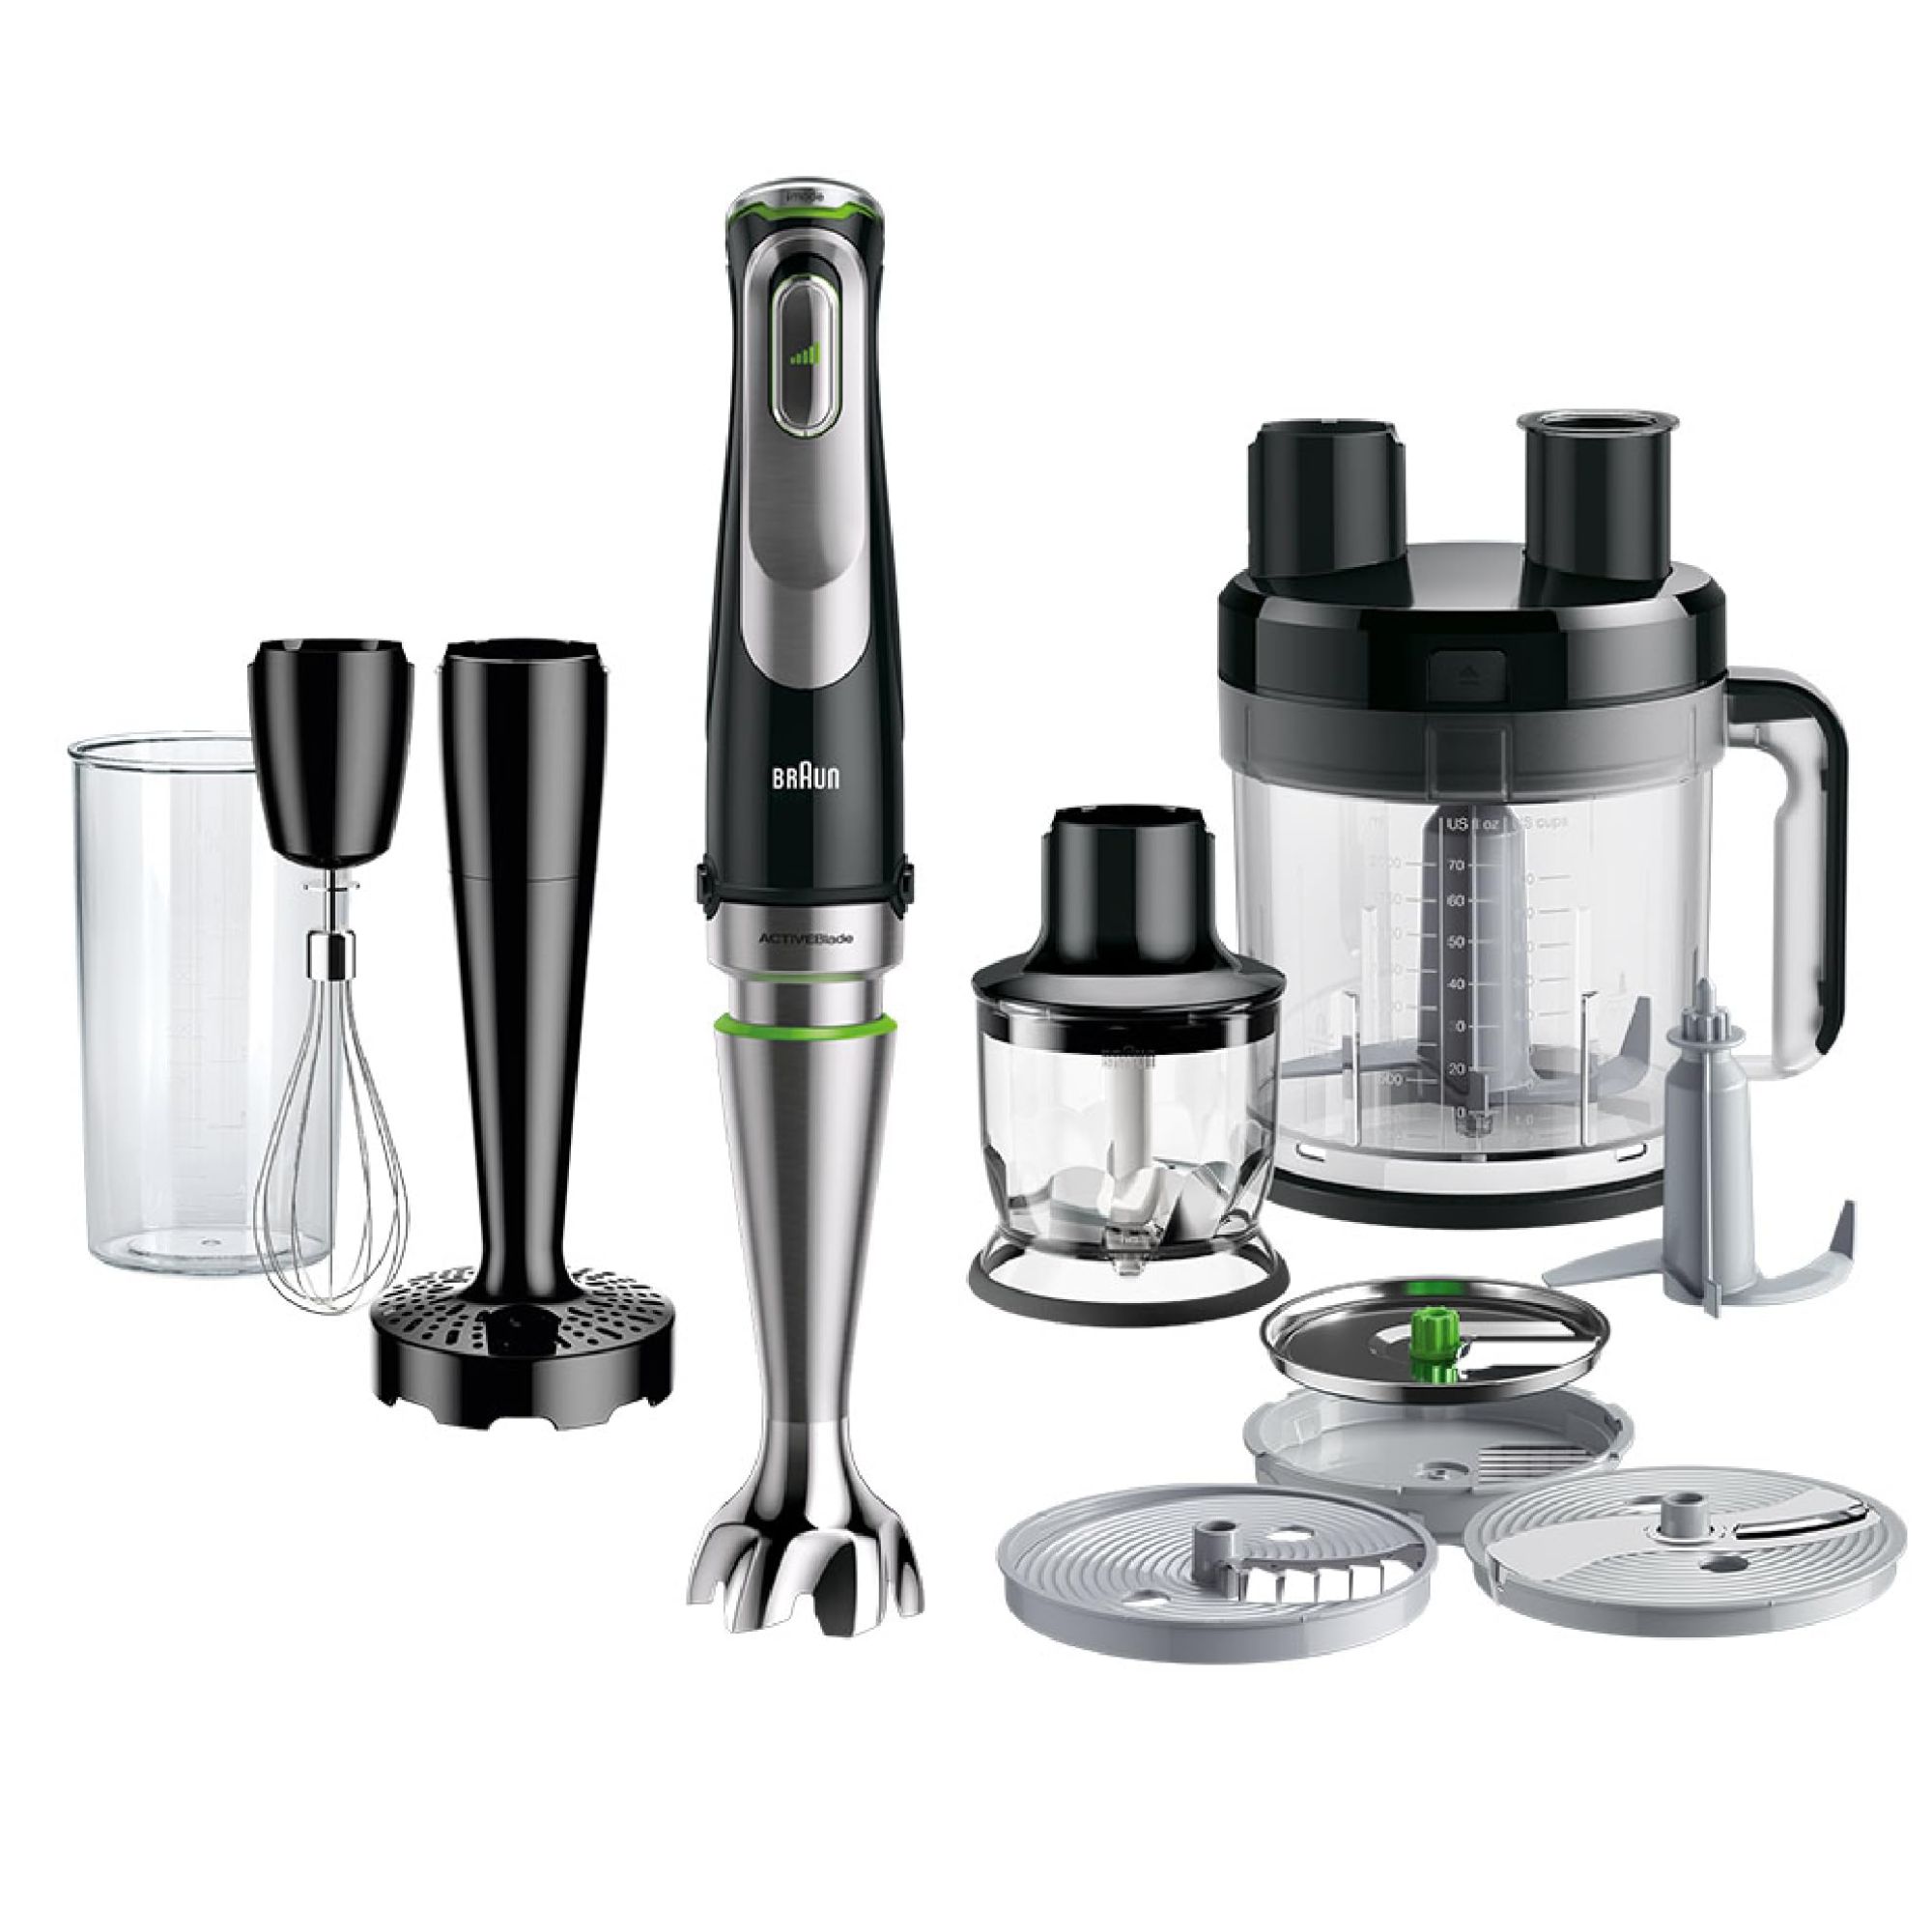
There are plenty of good immersion blenders on the market, but this is our favorite. It's versatile and powerful, especially on the whisk function, but you'll need to wash it by hand.
Common mistakes people make when steaming milk

Whether you're getting big milky bubbles, no foam at all, or a sour-tasting drink, there's a reason and a solution. Kayla Savridis, coffee expert, says that there are three common mistakes people make when frothing milk.
If you're not careful with the temperature you can overheat the milk. Kayla says that this is when it goes beyond 155 degrees Fahrenheit, both ruining the texture and flavor of your milk and coffee'.
If you're struggling to get your milk textured or it's warming up too quickly, make sure that you're introducing enough air. Kayla recommends submerging the tip if the steam wand, slightly off-center and listening for a hissing sound. You need to hear the hissing (ticking, kissing, or tearing) sound, because this is air being incorporated. If you end up with bigger bubbles, you've aerated the milk too much. You should really only texture the milk until it reaches 100 degrees Fahrenheit.
It's important to maintain the whirlpool effect on your milk. If it doesn't taste smooth or the texture is uneven, you'll get lumps of frothy milk and then plain, hot milk.

Kayla is a former barista, who trained in texturing milk at Starbucks. Thousands of coffees later, she is now the the Head of Marketing at Barista HQ and spends all of her time (work and leisure) making coffee.
FAQs
What should my milk look like for different coffee drinks?
This is a topic for much debate amongst baristas – and you won't get the same answer from any of them, however, the industry standard latte or flat white should have a surface of anything between the width of your little finger to the width of one finger. Cappuccinos need a foamed surface of double that.
Should I steam milk for coffee?
You don't have to steam milk for coffee, in fact, some people just add a splash of cold milk to their Americanos for a touch of sweetness. However, lots of people like steamed or frothed milk in their coffee, because, warmed milk tastes sweet and can give your coffee a thicker, more velvety mouth feel.
What's the difference between steamed and frothed milk?
Steamed, frothed, foamed, whatever you call it, they're all the same. Lots of people think that steamed milk is heated without foam, but all of them have some aeration and can be used in your coffee, hot chocolates, chais and more.
If you're trying to delineate different types of milk, when a barista makes cappuccino milk, it will have more or thicker foam. You can pour your milk out of the stainless steel jug in big bursts to get this, or spend a little longer 'stretching' your milk.
Can I steam milk more than once?
After you've heated it, the properties of your milk will have changed. You can steam it after you've heated it and it's cooled, but it won't froth up like it would the first time around.
Sign up to the Homes & Gardens newsletter
Design expertise in your inbox – from inspiring decorating ideas and beautiful celebrity homes to practical gardening advice and shopping round-ups.

Laura is our eCommerce editor. As a fully qualified barista, she's our expert in all things coffee and has tested over thirty of the best coffee makers on the market. She has also interviewed Q-Graders and world-leading experts in the coffee industry, so has an intimate knowledge of all things coffee. Before joining Homes & Gardens, she studied English at Oxford University. Whilst studying, she trained as a master perfumer and worked in the luxury fragrance industry for five years. Her collection of home fragrance is extensive and she's met and interviewed five of the world's finest perfumers (also known as 'noses'). As a result of this expansive fragrance knowledge, she always puts quality and style over quantity and fads. Laura looks for products which have been designed simply and with thoughtful finishes.
-
 How to clean a patio – 6 different methods, and when you must use a chemical cleaning agent
From manual scrubbing, natural solutions or calling in the pros, industry experts reveal the benefits and considerations of each method
By Andy van Terheyden Published
-
 Kris Jenner's favorite air fryer, the Ninja Crispi, is the perfect small kitchen solution – it deserves a place on the most compact of countertops
Kris approves of this compact yet powerful air fryer, and so do our own kitchen appliance experts, praising it for its multifunctionality
By Hannah Ziegler Published