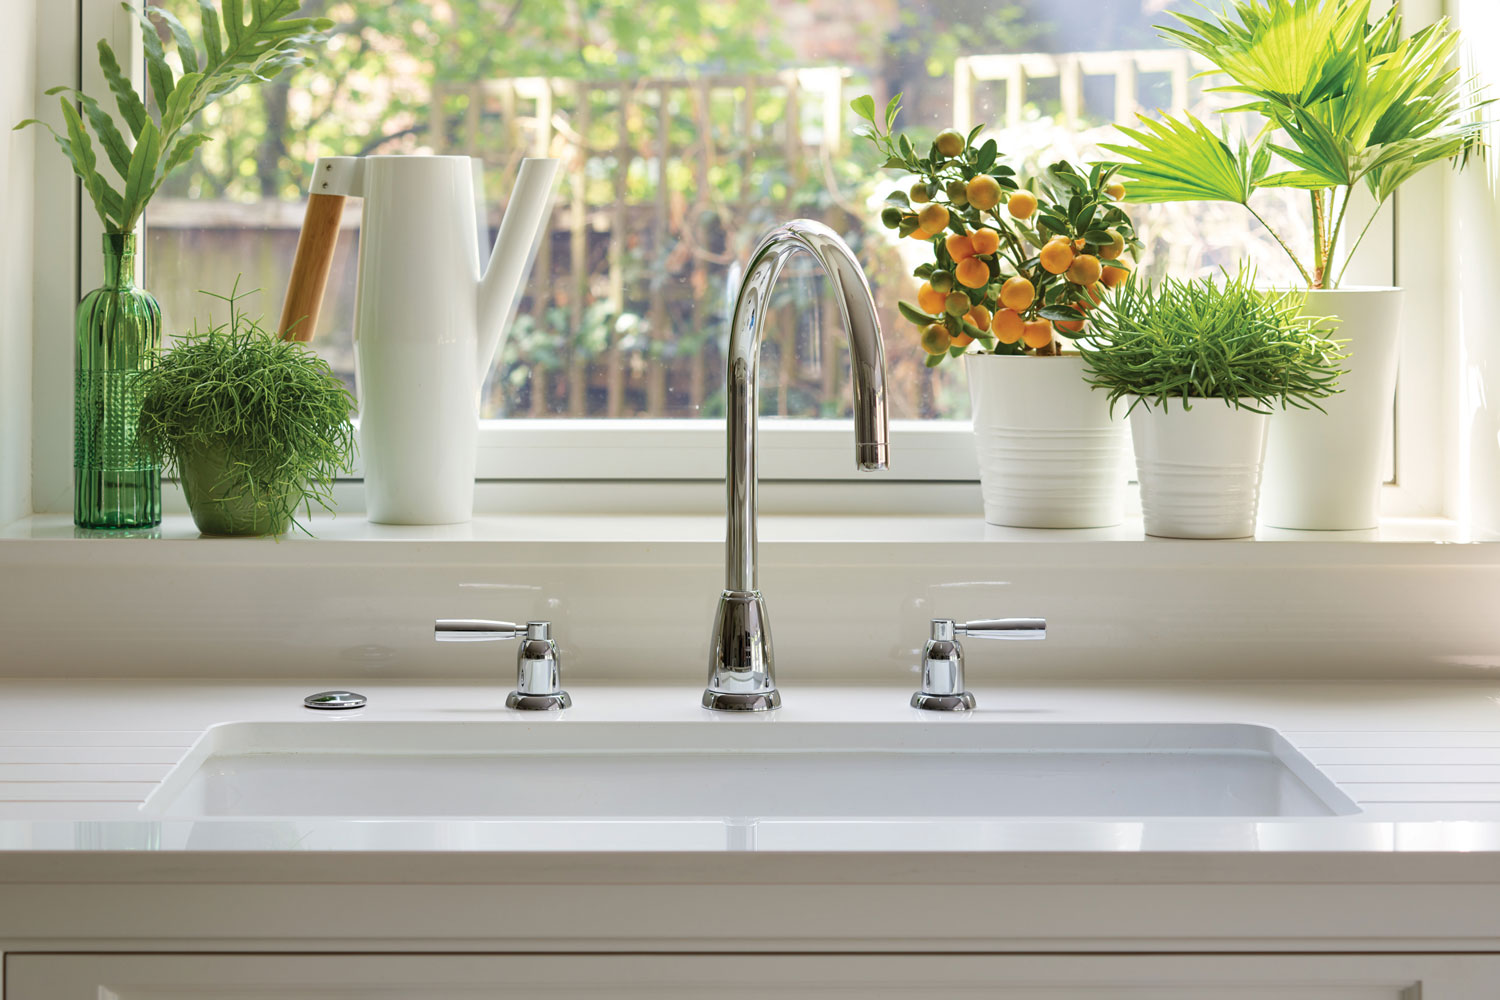
How to replace a kitchen sink
Update a tired washing-up area by replacing the kitchen sink. Our handy guide takes you through the process step by step


When your current kitchen is in need of a fresh new look but you don’t have the time, money or inclination to rip it all out and start again, replacing a kitchen sink is a really effective way to breathe new life into this space. It is up there with knowing how to unclog a toilet without a plunger and learning how to unclog a sink.
‘Changing the sink can have a huge impact on the kitchen,’ confirms Lucy Searle, global editor in chief for Homes & Gardens. ‘Not only will it enhance cabinets and countertops, but it can also create added functionality, especially if you choose a sink that is deeper, has accessories such as drainers and cutting boards or is easier to clean than your last one.’ Replacing the kitchen sink may not be a quick or simple task but it is really rewarding when you get it right.
How to replace a kitchen sink
We asked plumbing expert David Cruz of My Job Quote for advice on how to tackle this as a DIY project.
‘Learning how to replace a kitchen sink is a simple but time-consuming task,’ he says. ‘Sinks come in various shapes, sizes and materials, many of which are more challenging to work with than others. You must remove the old kitchen sink before installing the new one. Remember that you must approach this job cautiously to avoid damaging the kitchen countertop or the new sink.’
You will need:
- Adjustable wrench
- Screwdriver
- Stanley knife or something similar
- Jigsaw
- Silicone sealant
- Old towel and a bucket
How to remove the old sink
1. Detach the supply lines and turn off the water
First, turn off both the cold water supplies to remove your sink. Then, using the adjustable wrench, disconnect the supply lines and the drainpipe that attaches to the house sewage system.
2. Drain any remaining water and put a bucket beneath the sink
Fill a bucket with water and place it under the sink. When there is nothing left, turn off the water and discard the bucket.
3. Disconnect the drain and pipes
Remove the p-trap and drain pipes from beneath the sink. Before changing the sink, make sure to remove another kitchen sink component.
Design expertise in your inbox – from inspiring decorating ideas and beautiful celebrity homes to practical gardening advice and shopping round-ups.
4. Remove the metal clips and trim the caulk
After you've removed the clips, cut the caulk. Under-mount sinks have caulk underneath the metal clips, whereas top-mounted sinks have caulk on top where the broader part of the sink meets the counter.
5. Take out the old sink and scrape away any caulk
Remove the sink once you've finished cutting the caulk. Then scrape away any remaining caulking and thoroughly clean the worktop.
How to install the new one
1. Check the size of the cut-out
If you need to enlarge or change the cut-out in your countertop, use a jigsaw fitted with a down-cut timber blade to protect the countertop from chipping. Before you begin sawing, cover any exposed pipework.
2. Test match the new kitchen sink
Using gloves, test match the new sink into the cut-out and ensure the waste pipes line up correctly. If they don't, you'll have to cut it or buy an extended substitute.
3. Install the countertop
It is easier to install the faucets after the sink has been installed. Then, when you're satisfied that the sink fits, you can install it on the countertop. A silicone sealant or non-setting compound can be used.
4. Tighten the retaining clips
After the sink has been installed, tighten the sink retaining clips.
5. Install the faucets on the new sink
Fit new faucets following the instructions given. Next, attach the tap hoses to the central power water system pipework.
6. Re-fit the waste pipework
Once you are sure there are no leakages, you can begin re-fitting the waste pipework. First, check that all seals are in good condition and adequately positioned. If in doubt, replace them.
7. Check for leakage
If you discover a leak in the waste pipework, undo each linkage and inspect the seal to ensure it is not damaged or out of place before stiffening the joint. Avoid over-tightening the plastic thread.
How long does this job take?
An experienced plumber would take around two hours to replace a kitchen sink. If you’re taking this task on yourself, set aside a whole day so you can concentrate without having to leave it and come back.
What do I need to know?
Check the depth of the new sink matches the old one and also that the holes for the faucets line up. Silicone caulk is the best sealant to use and the whole drain assembly should also be replaced at the same time. This is the pipework that connects the sink to the P-trap to drain water.

Hayley is an interiors journalist, content provider and copywriter with 26 years experience who has contributed to a wide range of consumer magazines, trade titles, newspapers, blogs and online content. Specialising in kitchens and bathrooms, she has twice won the CEDIA Award for Best Technology feature. Hayley writes for H&G about kitchens, bathrooms, cleaning, DIY and organizing.