'Don't start your next space with clutter' – how to pack kitchen items when moving, according to pros
Take the stress out of moving and unpacking your kitchen with these top tips
- Bubble wrap is the most reliable
- Use paper instead of plastic
- You can use an even more eco-friendly alternative
- Leave your appliances behind
- Toss your expired, opened food items
- Do a final declutter as you pack
- Pack your least used items first
- Make your settling-in process as easy as possible
- Place heavy items on the bottom
- Label everything
- Pack by section instead of category
- FAQs

Just after spring cleaning season ends, another time of year begins, and it's one that also signals fresh, new starts. That’s right, the start of summer is often known as the moving season.
Anyone who’s done it knows that moving house is notoriously stressful. Even if you’re excited about your move or looking forward to your brand new (or new-to-you) home, the very act involves a ton of decluttering, planning, forethought, and time management.
One of the biggest concerns is that things will break or go missing in your move, and the kitchen is often a major source of moving stress for this exact reason.
How to pack kitchen items when moving
In an effort to head off any future moving stress, we turned to a few experts and asked them to share their top tips for packing your kitchen when moving.
Read on to find out all the best ways to make your move as seamless as possible – as well as tips for unpacking and settling in with ease.
1. Bubble wrap is the most reliable
If you’re looking for the best way to protect your breakables, professional cleaner and organizer Jill Koch of Jill Comes Clean says good old bubble wrap is tried and true for a reason.
'You can purchase large rolls of it from most stores, especially office supply stores or Amazon,' says Koch.
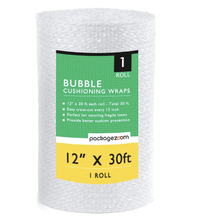
Bubble Cushioning Wrap for Packing and Moving | $13.61 at Amazon
One roll of bubble cushioning wrap for packing, twelve inches wide by thirty feet long, with perforation every twelve inches for easy tear and use. It's perfect for protecting your delicate and expensive items from damaging, scratching, and corrosion while in transit or storage.

Jill Koch writes the Jill Comes Clean blog, about organizing, tidying up after her family and cleaning. An author, mom, wife, nurse, and former news reporter who never really lost the sharing side of reporting, she describes herself as 'a bit of a “Jill” of all trades trying to do it all and share about it in the process'. You can find Jill's favorite household finds on Amazon.
2. Use paper instead of plastic
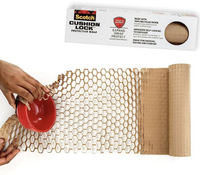
Scotch Cushion Lock Protective Wrap | $7.77 at Amazon
One 30-foot roll starts flat and expands to do the work of 75 feet of standard plastic bubble wrap. This uses up to 60% less vs. plastic bubble wrap. No scissors or tape are required.
Catherine McCord, founder of Weelicious and author of Meal Prep Magic, agrees bubble wrap is a great protective layer, but she says paper can work, too – as can stacking your items for efficiency and added padding.
'To avoid breakage when moving, make sure to wrap plates and glassware in several layers of paper with tape, offering padding to avoid hitting other items during transport,' says McCord. 'Stacking plates and bowls saves space and provides extra padding too.'

Catherine McCord is a mom of three, an entrepreneur, and a cookbook author. Catherine graduated from culinary school before working in high-end restaurants. When she had her first child in 2007, she discovered there was no comprehensive guide that offered new parents simple, nutritious, flavorful recipes and guidance on how to feed their new eaters. So, she created Weelicious, which now addresses not just baby's mealtime but the whole family's. In 2015 she launched One Potato, a meal delivery service focused specifically on the dinnertime needs of families.
3. You can use an even more eco-friendly alternative
While bubble wrap or paper protectors might give you the most peace of mind that your items will arrive safely and intact, Koch acknowledges it’s not the most eco-friendly.
'Another option would be to wrap items in t-shirts or clothing that you will be packing anyways,' Koch suggests. 'This allows you to pack the clothing and the items while still protecting the breakables.'
Just keep in mind that once you arrive, this means you might have a load of laundry – Koch warns wrapping your clothes around dishware is a surefire way to get wrinkles. For this reason, kitchen dish towels, at Amazon are another great option.
4. Leave your appliances behind
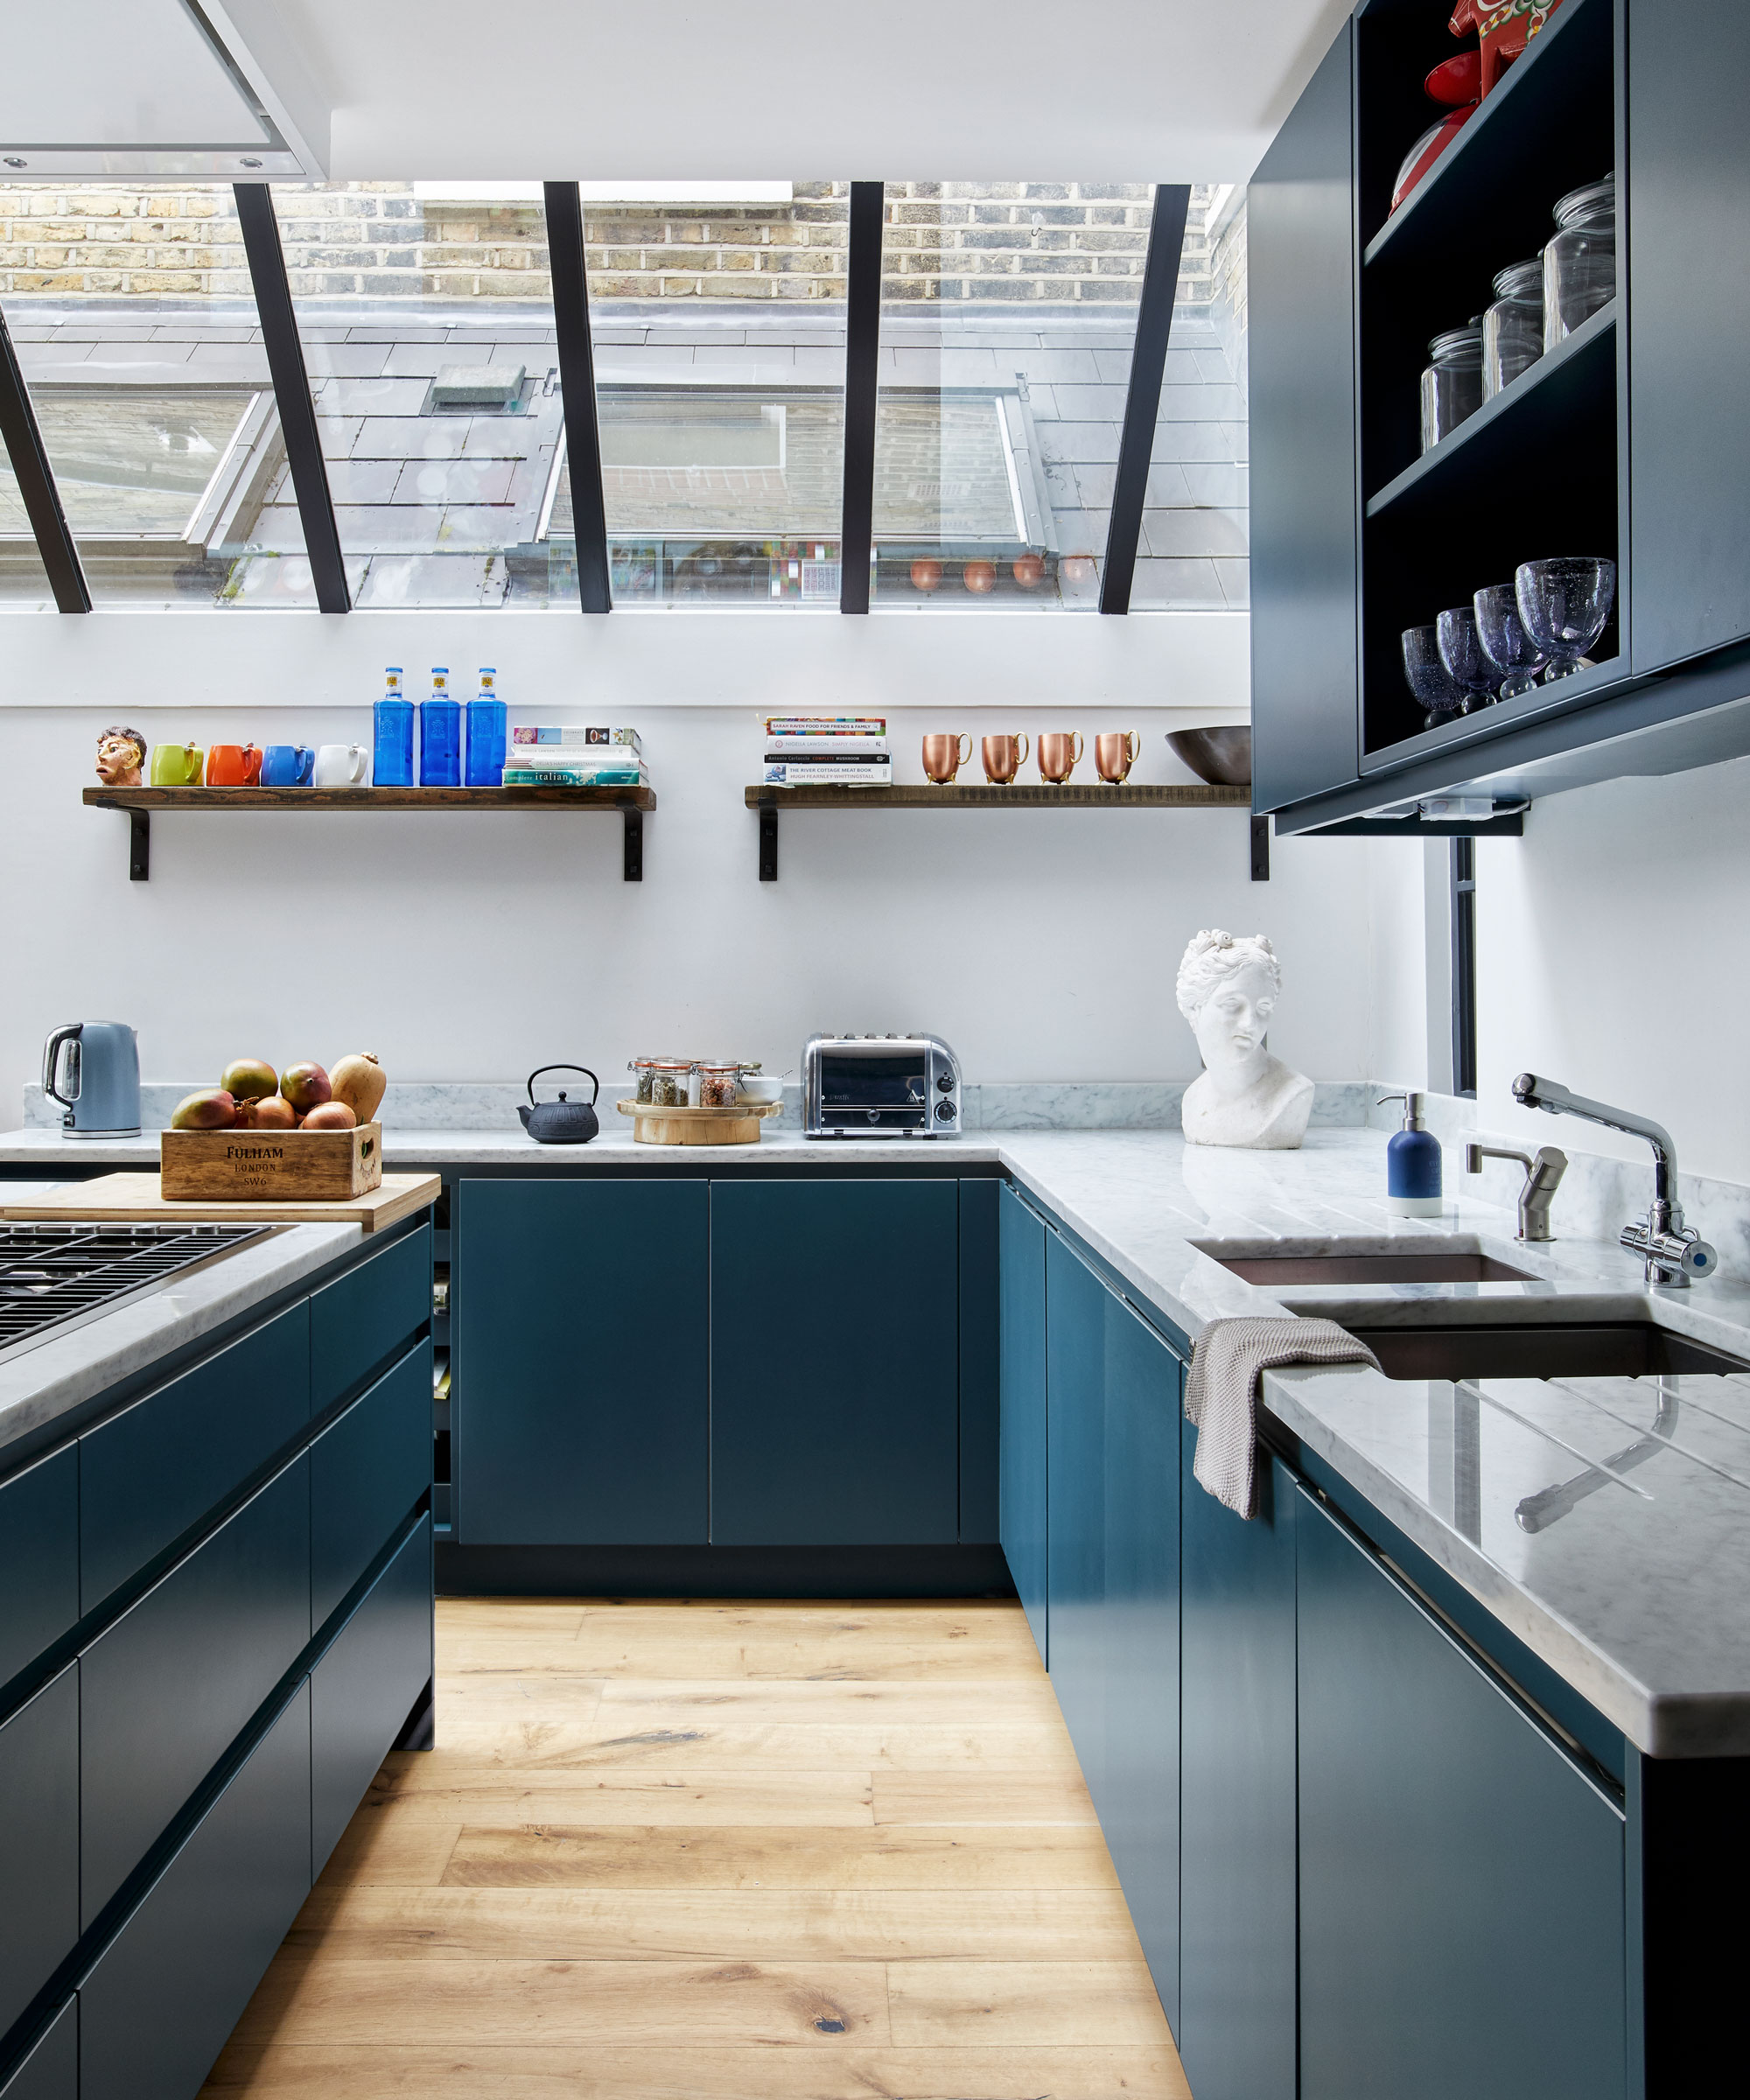
If you’re planning ahead and still in the process of selling your house, Koch says it’s probably best to save some space in your moving van and leave your current appliances with your current home’s new owner.
'The caveat to that is if you recently purchased brand new appliances and want to keep them but otherwise, I'd say leave them for the next owner and save the hassle,' says Koch.
5. Toss your expired, opened food items
In the weeks leading up to your move, McCord says it’s a worthy goal to try and finish off any opened refrigerated foods. But there are a lot of things you still might need to toss.
'Avoid packing expired foods, old pot holders, chipped or damaged dish wear, duplicate items, and kitchen tools you never use, especially plastic containers,' says McCord, who also notes that moving is a great time to switch to glass food storage containers, at Amazon.
6. Do a final declutter as you pack
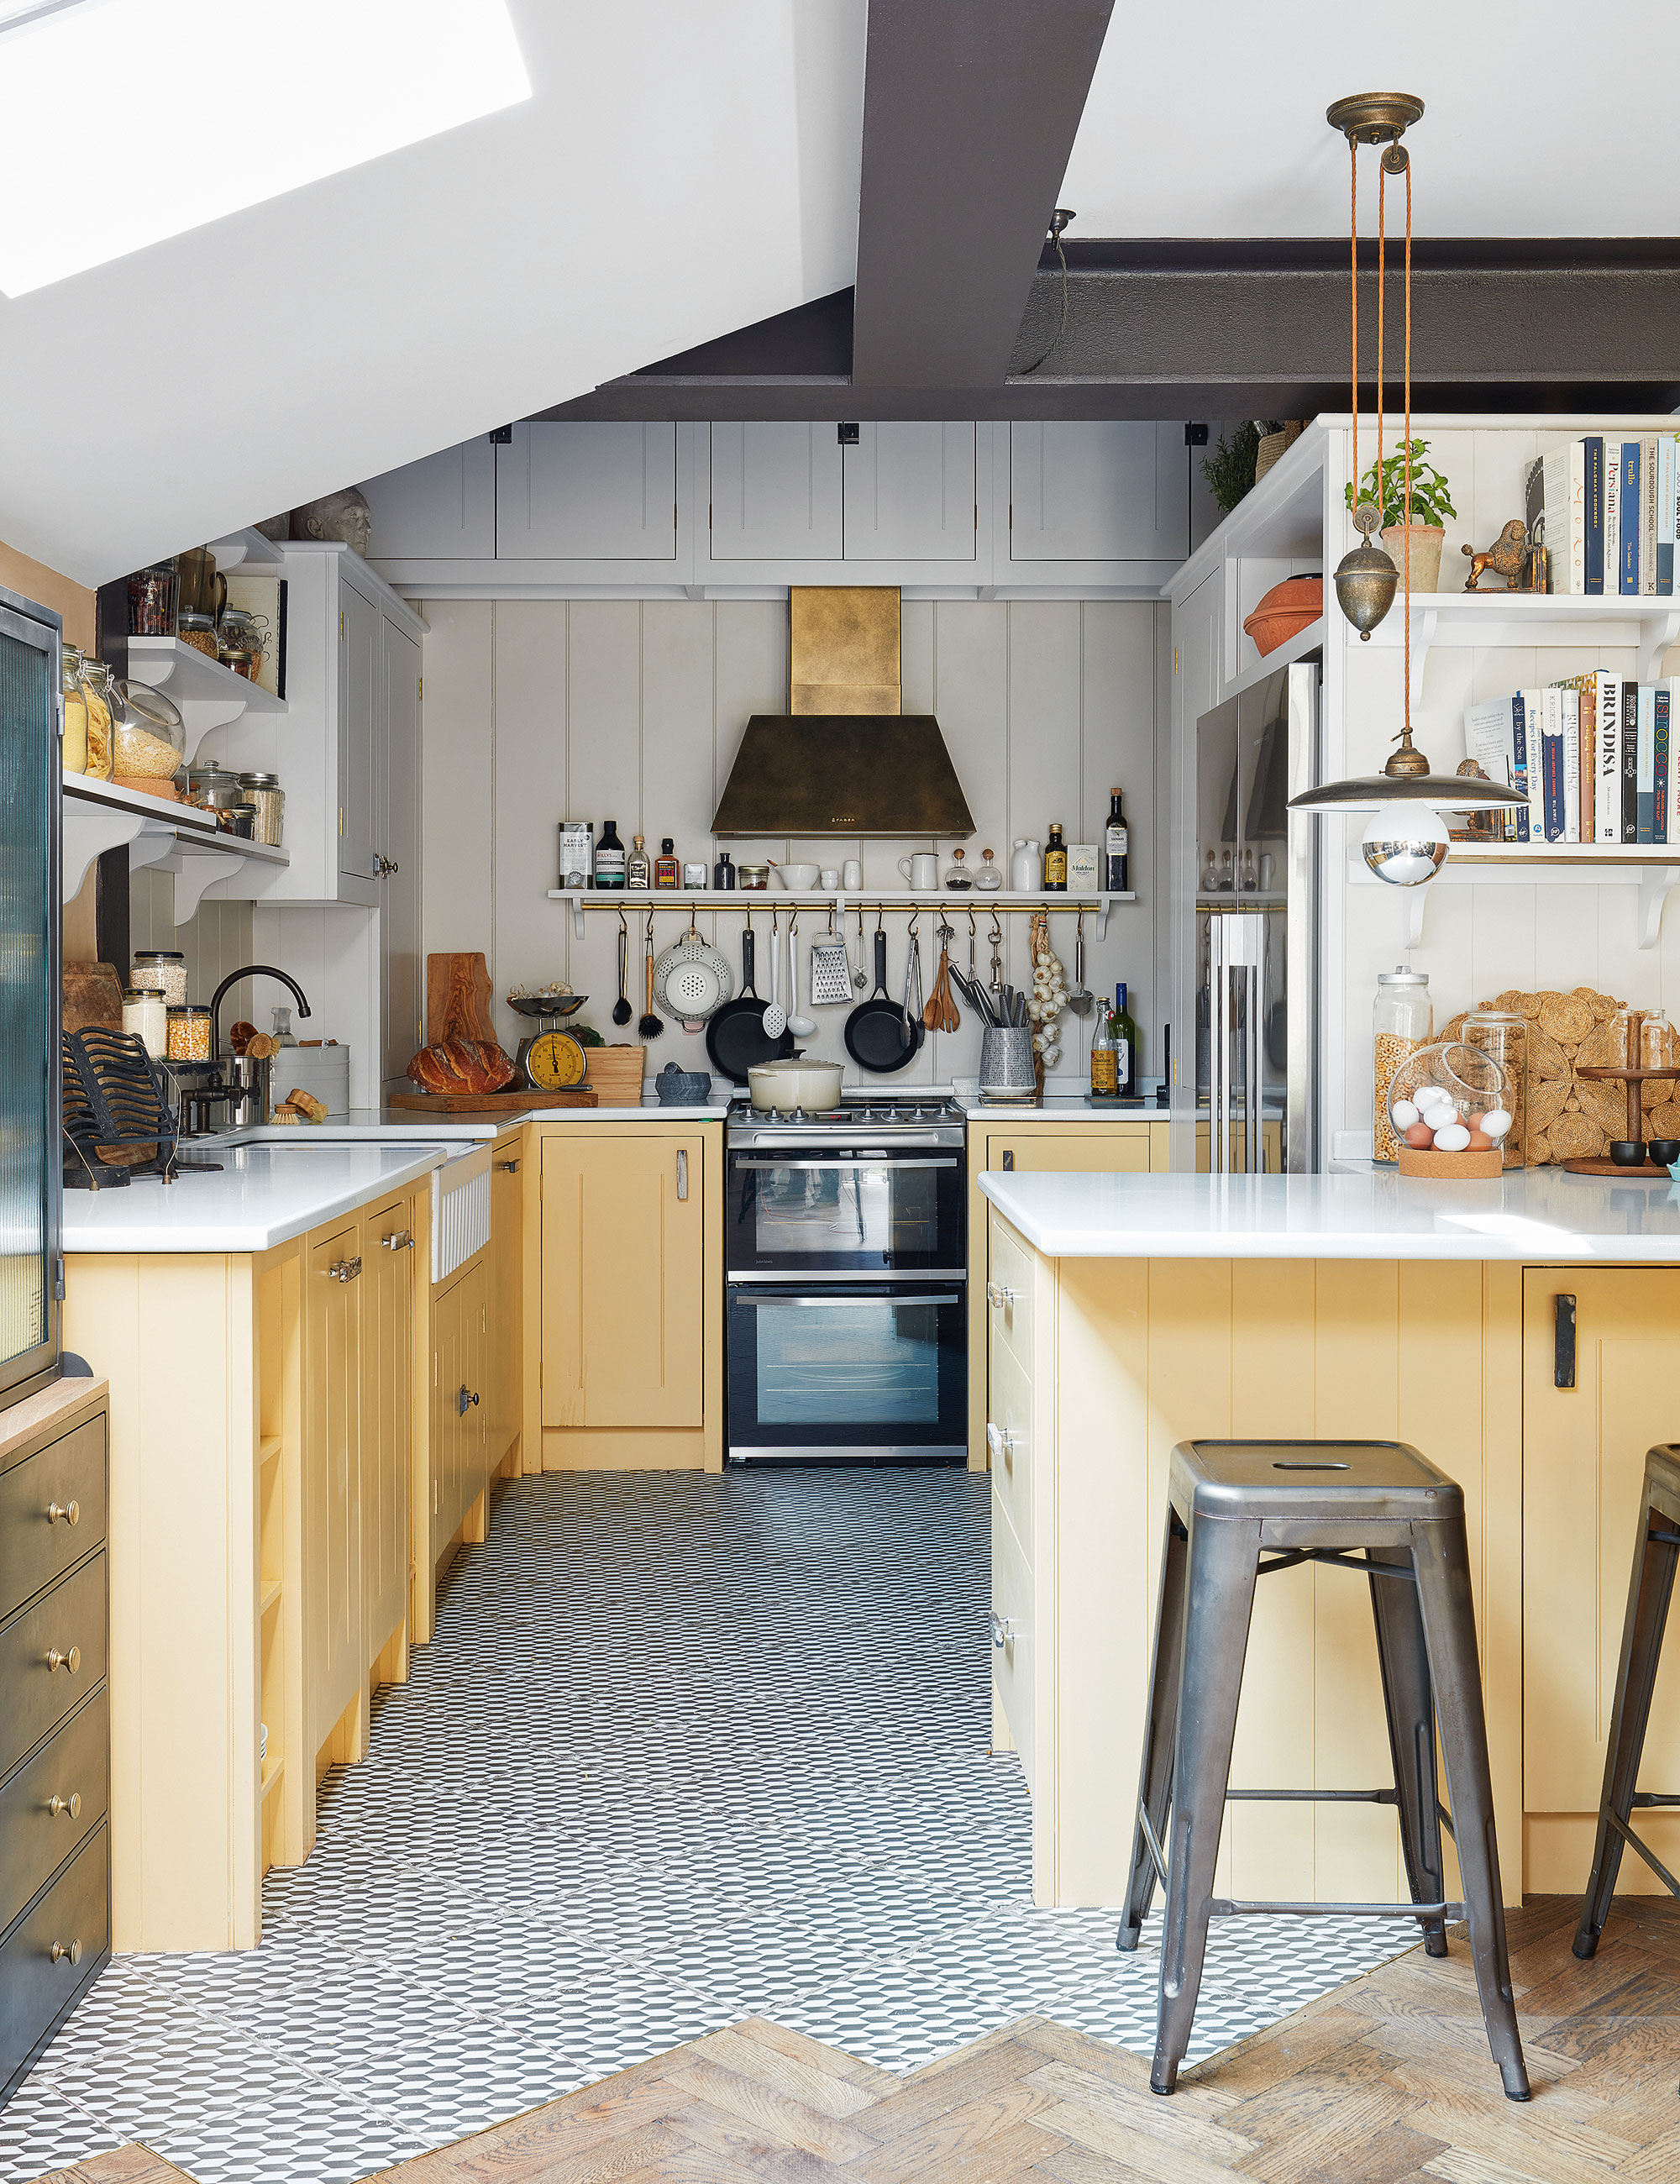
Chances are, you’ve done a decent job of decluttering ahead of your move, but Koch says the kitchen is a spot where another round of decluttering is always a great idea. In fact, she tells us it’s best to do that final kitchen decluttering session as you pack.
'[Then, you] don't pack anything you no longer use or love, and you don't start your next space with clutter and items you don't need,' Koch explains. 'Separate items into a donate pile, a trash pile, and a pack pile.'
7. Pack your least used items first
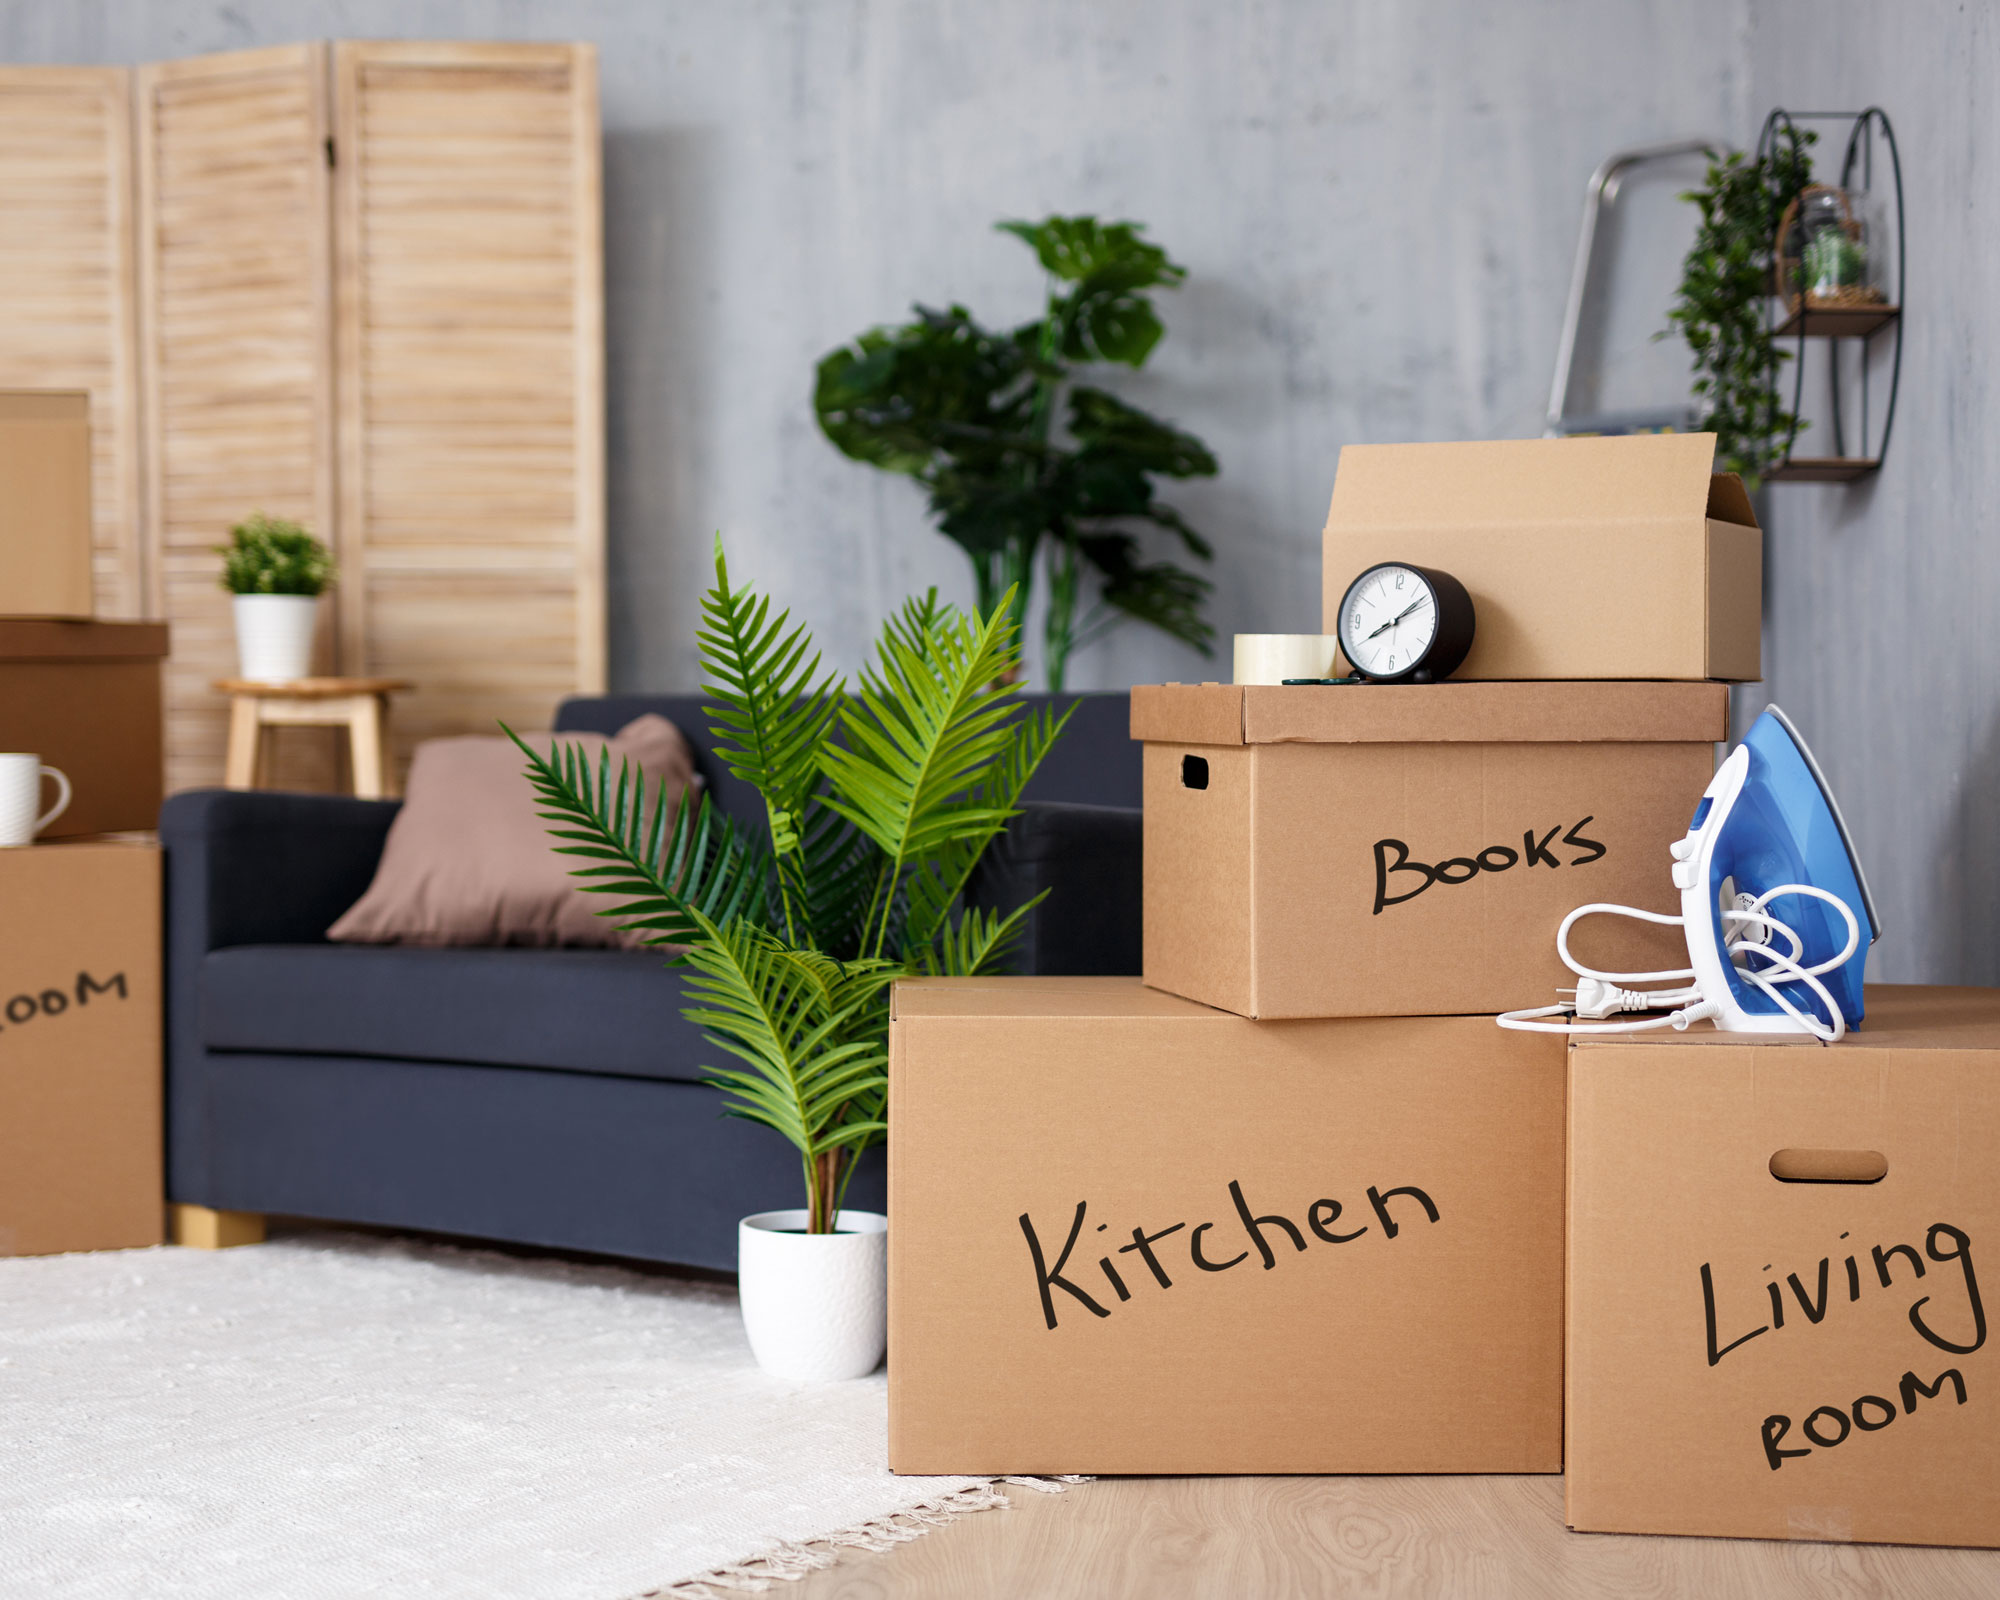
Unless you’re using professional movers, unpackers, and organizers, it’s likely you’re going to have at least a day or two where you’re living between two homes. That’s why Koch says you should make your kitchen isn’t totally packed and ready to go. You might need a few things.
'Start with the least used items first and move to the most used,' says Koch. 'Since you’ll still need the kitchen for your day-to-day life while packing and moving, you want to keep dishes or cooking gadgets and utensils you use daily readily available.'
On the day of your move, Koch says it’s imperative to also clearly mark your most-used items.
'Those can be boxes you take with you versus sending with movers,' she explains.
8. Make your settling-in process as easy as possible
Here’s one of the best packing hacks: your unpacking and settling-in process starts before you’ve even packed up your former home. That’s why Koch says you should pack strategically – especially because you’re probably going to need your kitchen fairly quickly once you’ve moved.
'When packing a box, put the less used or less important items on the bottom,' she says. 'That way, if you need something quickly, you can open the box and pull out what you need from the top.'
9. Place heavy items on the bottom
Placing your least-used items on the bottom is a great tip, and McCord agrees with it, too, but structurally, there could be other elements at play.
'Place larger, heavier items at the bottom and lighter ones at the top,' she says.
10. Label everything
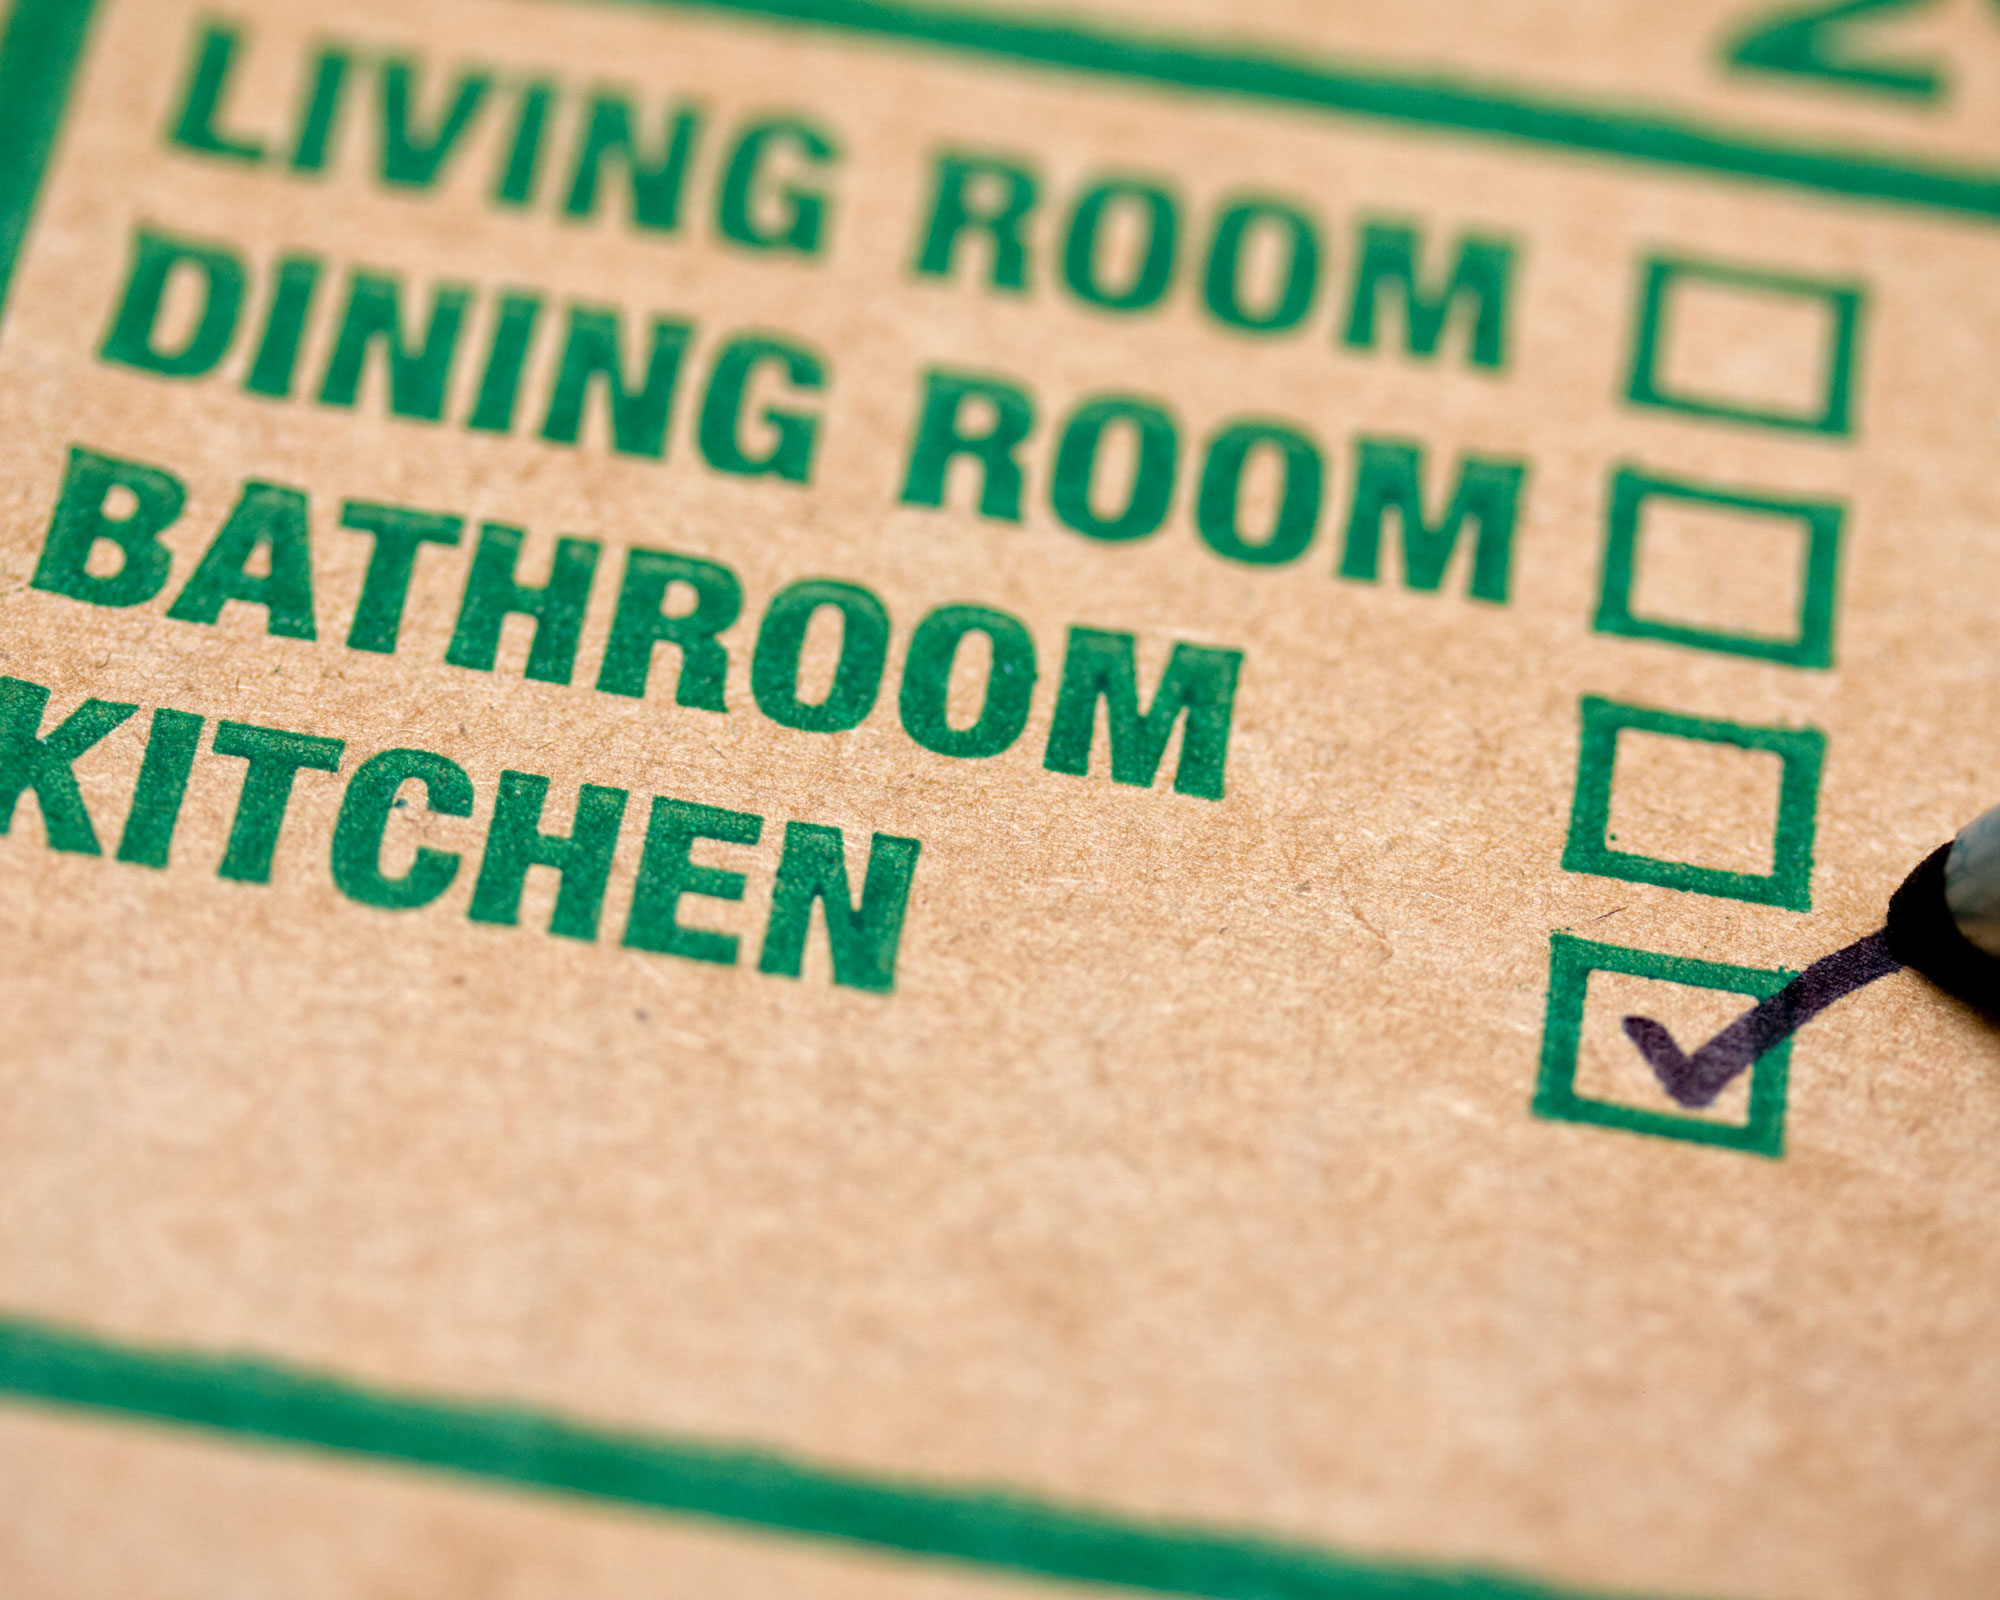
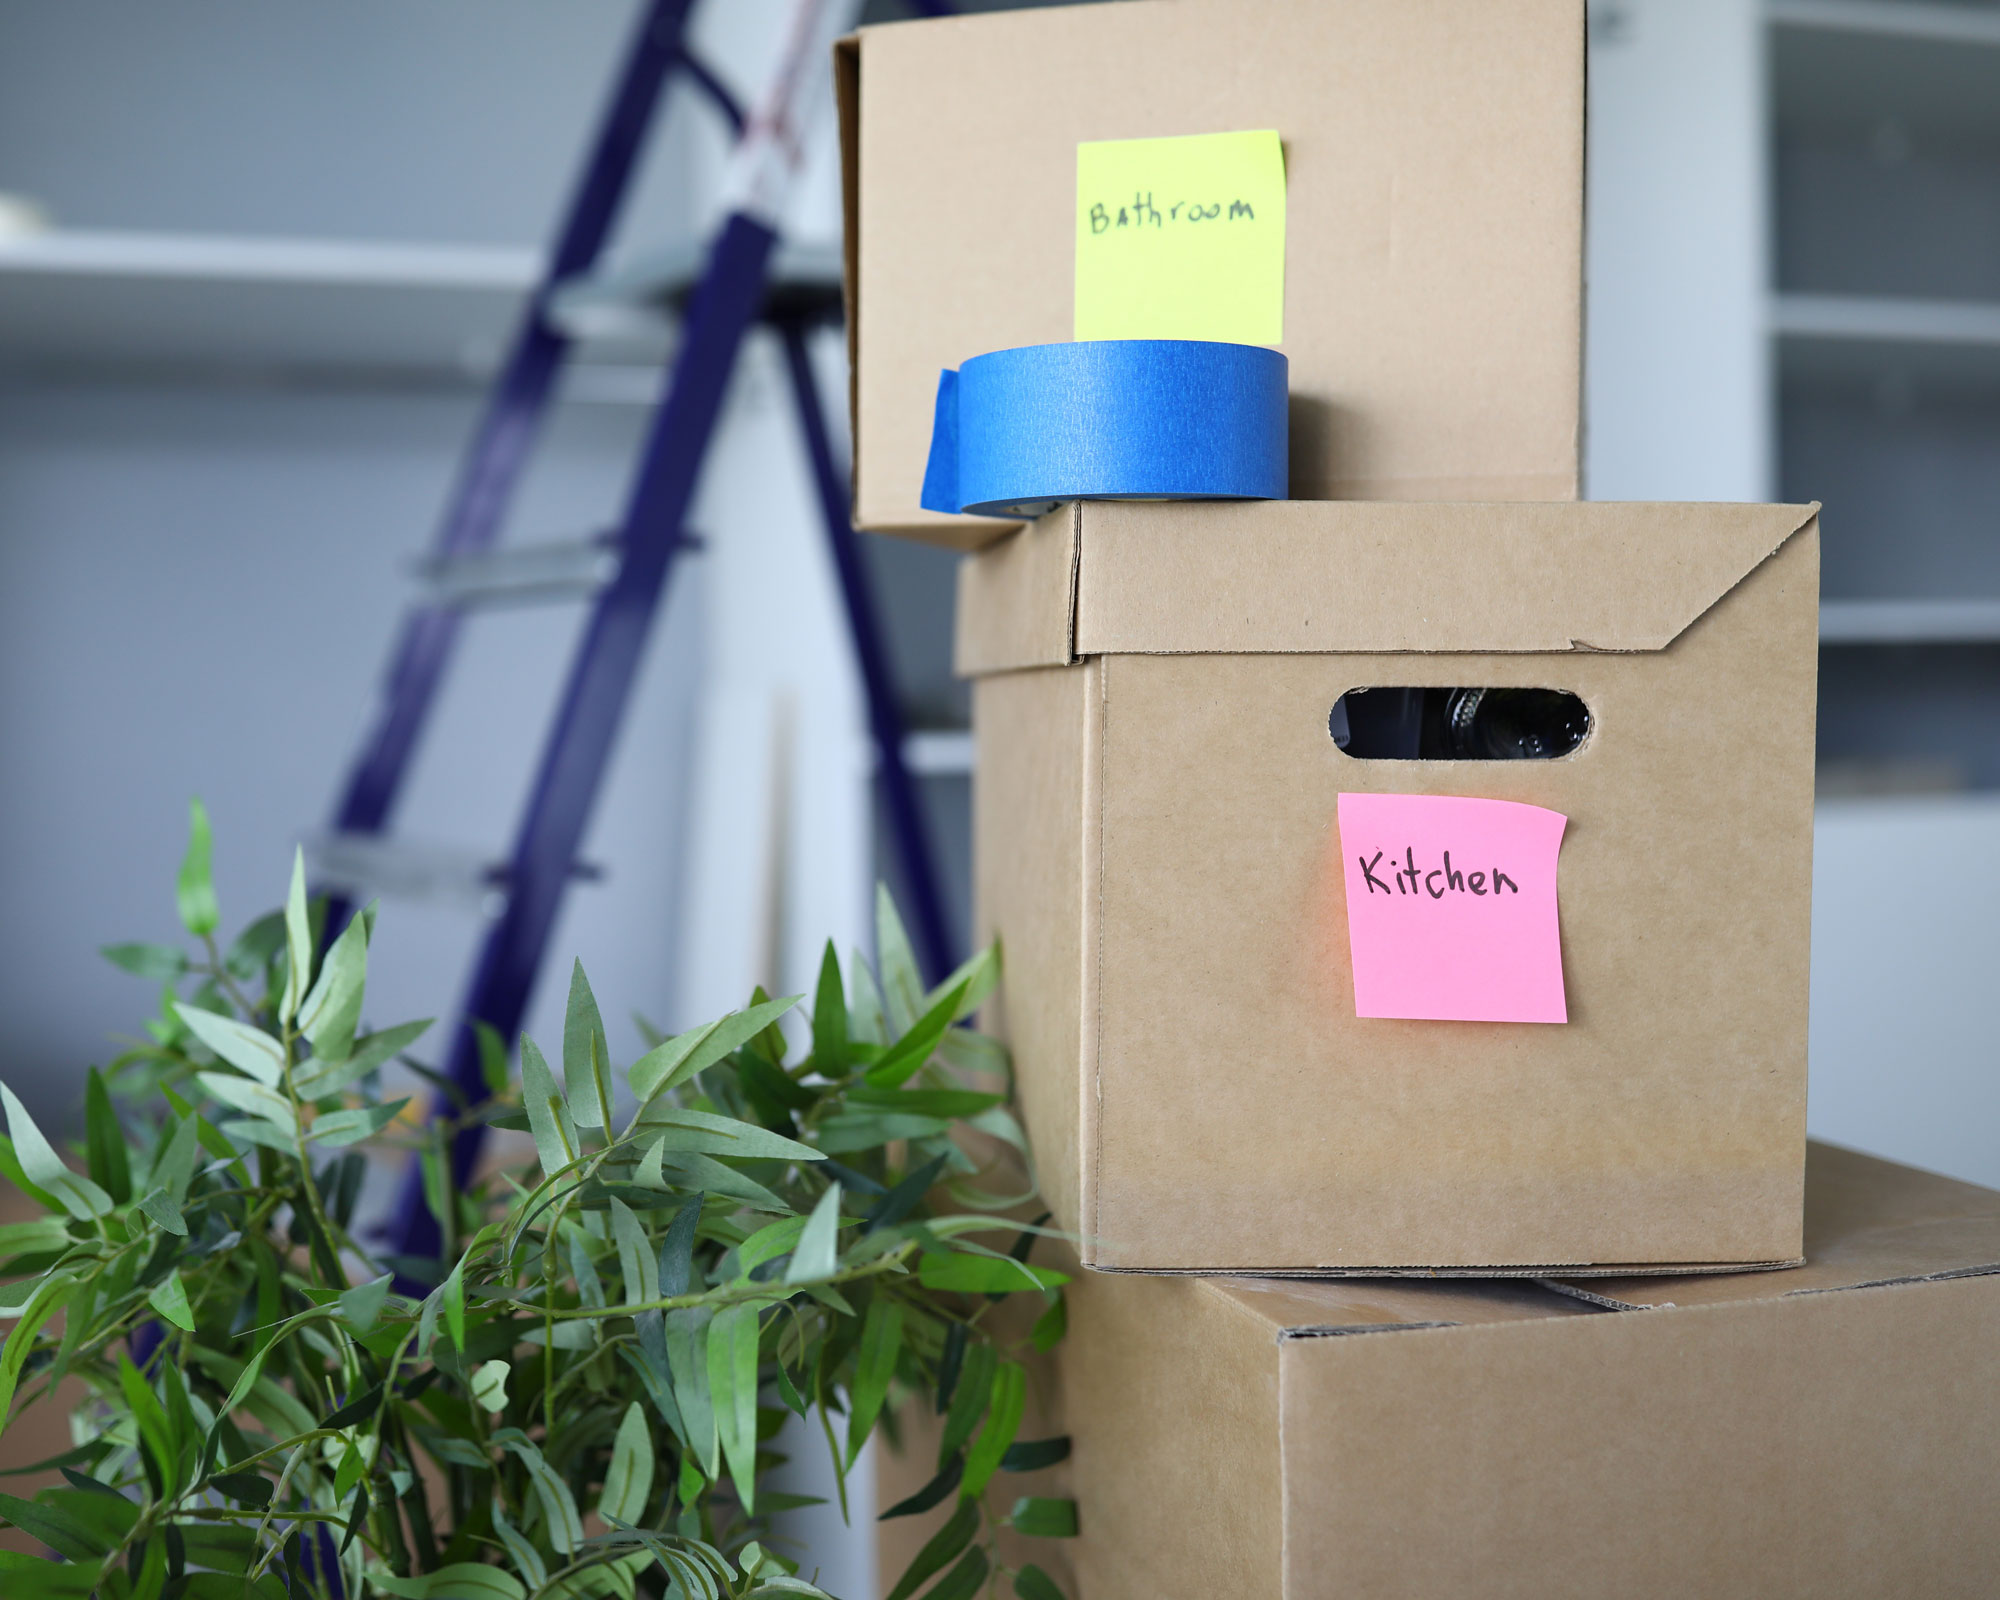
Both Koch and McCord stress the importance of labeling everything – yes, everything, in detail.
'I always label boxes so when they arrive at the destination, you can organize them by room and priority,' says Koch, who also suggests working from bottom to top.
'Use a Sharpie permanent marker and don’t be afraid to get granular,' says McCord. 'The more details and specifics you put on the outside of the boxes, the easier it will be to find items later.'
Label a box of cleaning products to make it quick and easy to clean your new home before moving in and unpacking all of your things.
11. Pack by section instead of category
Your gut instinct might be to pack things by category, but Koch suggests instead packing by section. Consider how your things are currently organized and let that determine what goes in each box.
'For example, pack a box labeled pantry so you know everything goes right into the pantry,' explains Koch. 'Another example is your kitchen linens. Pack a box for all linen items versus spreading out the items into separate boxes.'
FAQs
When should I start packing my kitchen for moving?
'It's a good idea to begin packing a week before you move, putting away anything that you use less regularly, from rice cookers and slow cookers to mugs,' says Homes & Gardens' content editor Zara Stacey. 'This will take the pressure off moving day. In the mean time, use an edited-down collection of essentials that you use day-to-day.'
While packing is never going to be fun, both Koch and McCord assure us that using a systematic approach like this will at least make it less painful.
'The more organized you can be when packing, the more organized you'll be when unpacking,' says Koch. 'Your new space will come together so much easier.'
Sign up to the Homes & Gardens newsletter
Design expertise in your inbox – from inspiring decorating ideas and beautiful celebrity homes to practical gardening advice and shopping round-ups.

Ashley Chalmers is a freelance writer for Homes & Gardens with over 10 years' experience as a digital writer and content creator. Ashley started her career in entertainment and fashion PR in New York, before moving to the French countryside and taking up travel blogging. Now, Ashley lives in London. Her passion for travelling is only matched by her love of making her house feel like a home, and she loves to include her finds from around the world in her decor.
-
 Do cleaning products expire? Professional cleaners warn time could make them ‘less effective, and in some cases, irritating to use’
For the best results, it pays to stay on top of the timeline of your cleaning products
By Chiana Dickson Published
-
 7 of the best tomatoes for growing in pots - expert growers pick their top varieties ideal for large harvests from containers
You can enjoy bumper homegrown harvests in small spaces
By Drew Swainston Published
