How to make any pan non-stick without the chemicals, according to our Kitchen Appliance Editor
Can you make any pan non-stick? Our Kitchen Appliance Editor does the tests and reveals the results

Many home cooks tell me that they want to get rid of their chemical-laden non-stick frying pans, but they struggle to get to grips with alternatives like stainless steel or cast iron.
Non-stick coatings certainly make cooking more intuitive. You don't need to learn any technique or prep ahead to get a good sizzle going. With alternative materials, there's a little learning curve required, but it will pay off in the long run. Plus, you'll get to reap the health benefits of using non-toxic kitchen appliances.
Before we get into my cheffy techniques and tips to make any pan non-stick, I need to tell you something. A little 'sticking' in your pan is actually a very good thing! It's called 'fond,' and you can deglaze it with a splash of wine to make a delicious pan sauce that will perfectly complement your meal. It's almost impossible to make steel and iron pans 100% non-stick, but they are beloved in professional chef kitchens for this exactly this reason.
However, I do understand that if you have too much food sticking to the surface, it can be incredibly frustrating and make cleaning tricky (which often leads to stainless steel cleaning mistakes). Without further ado, here are my hacks for making light work of stainless steel and cast iron cooking. It's very satisfying when you know how.
How to make stainless steel and enamel pans more 'non-stick'
1. Temper your ingredients
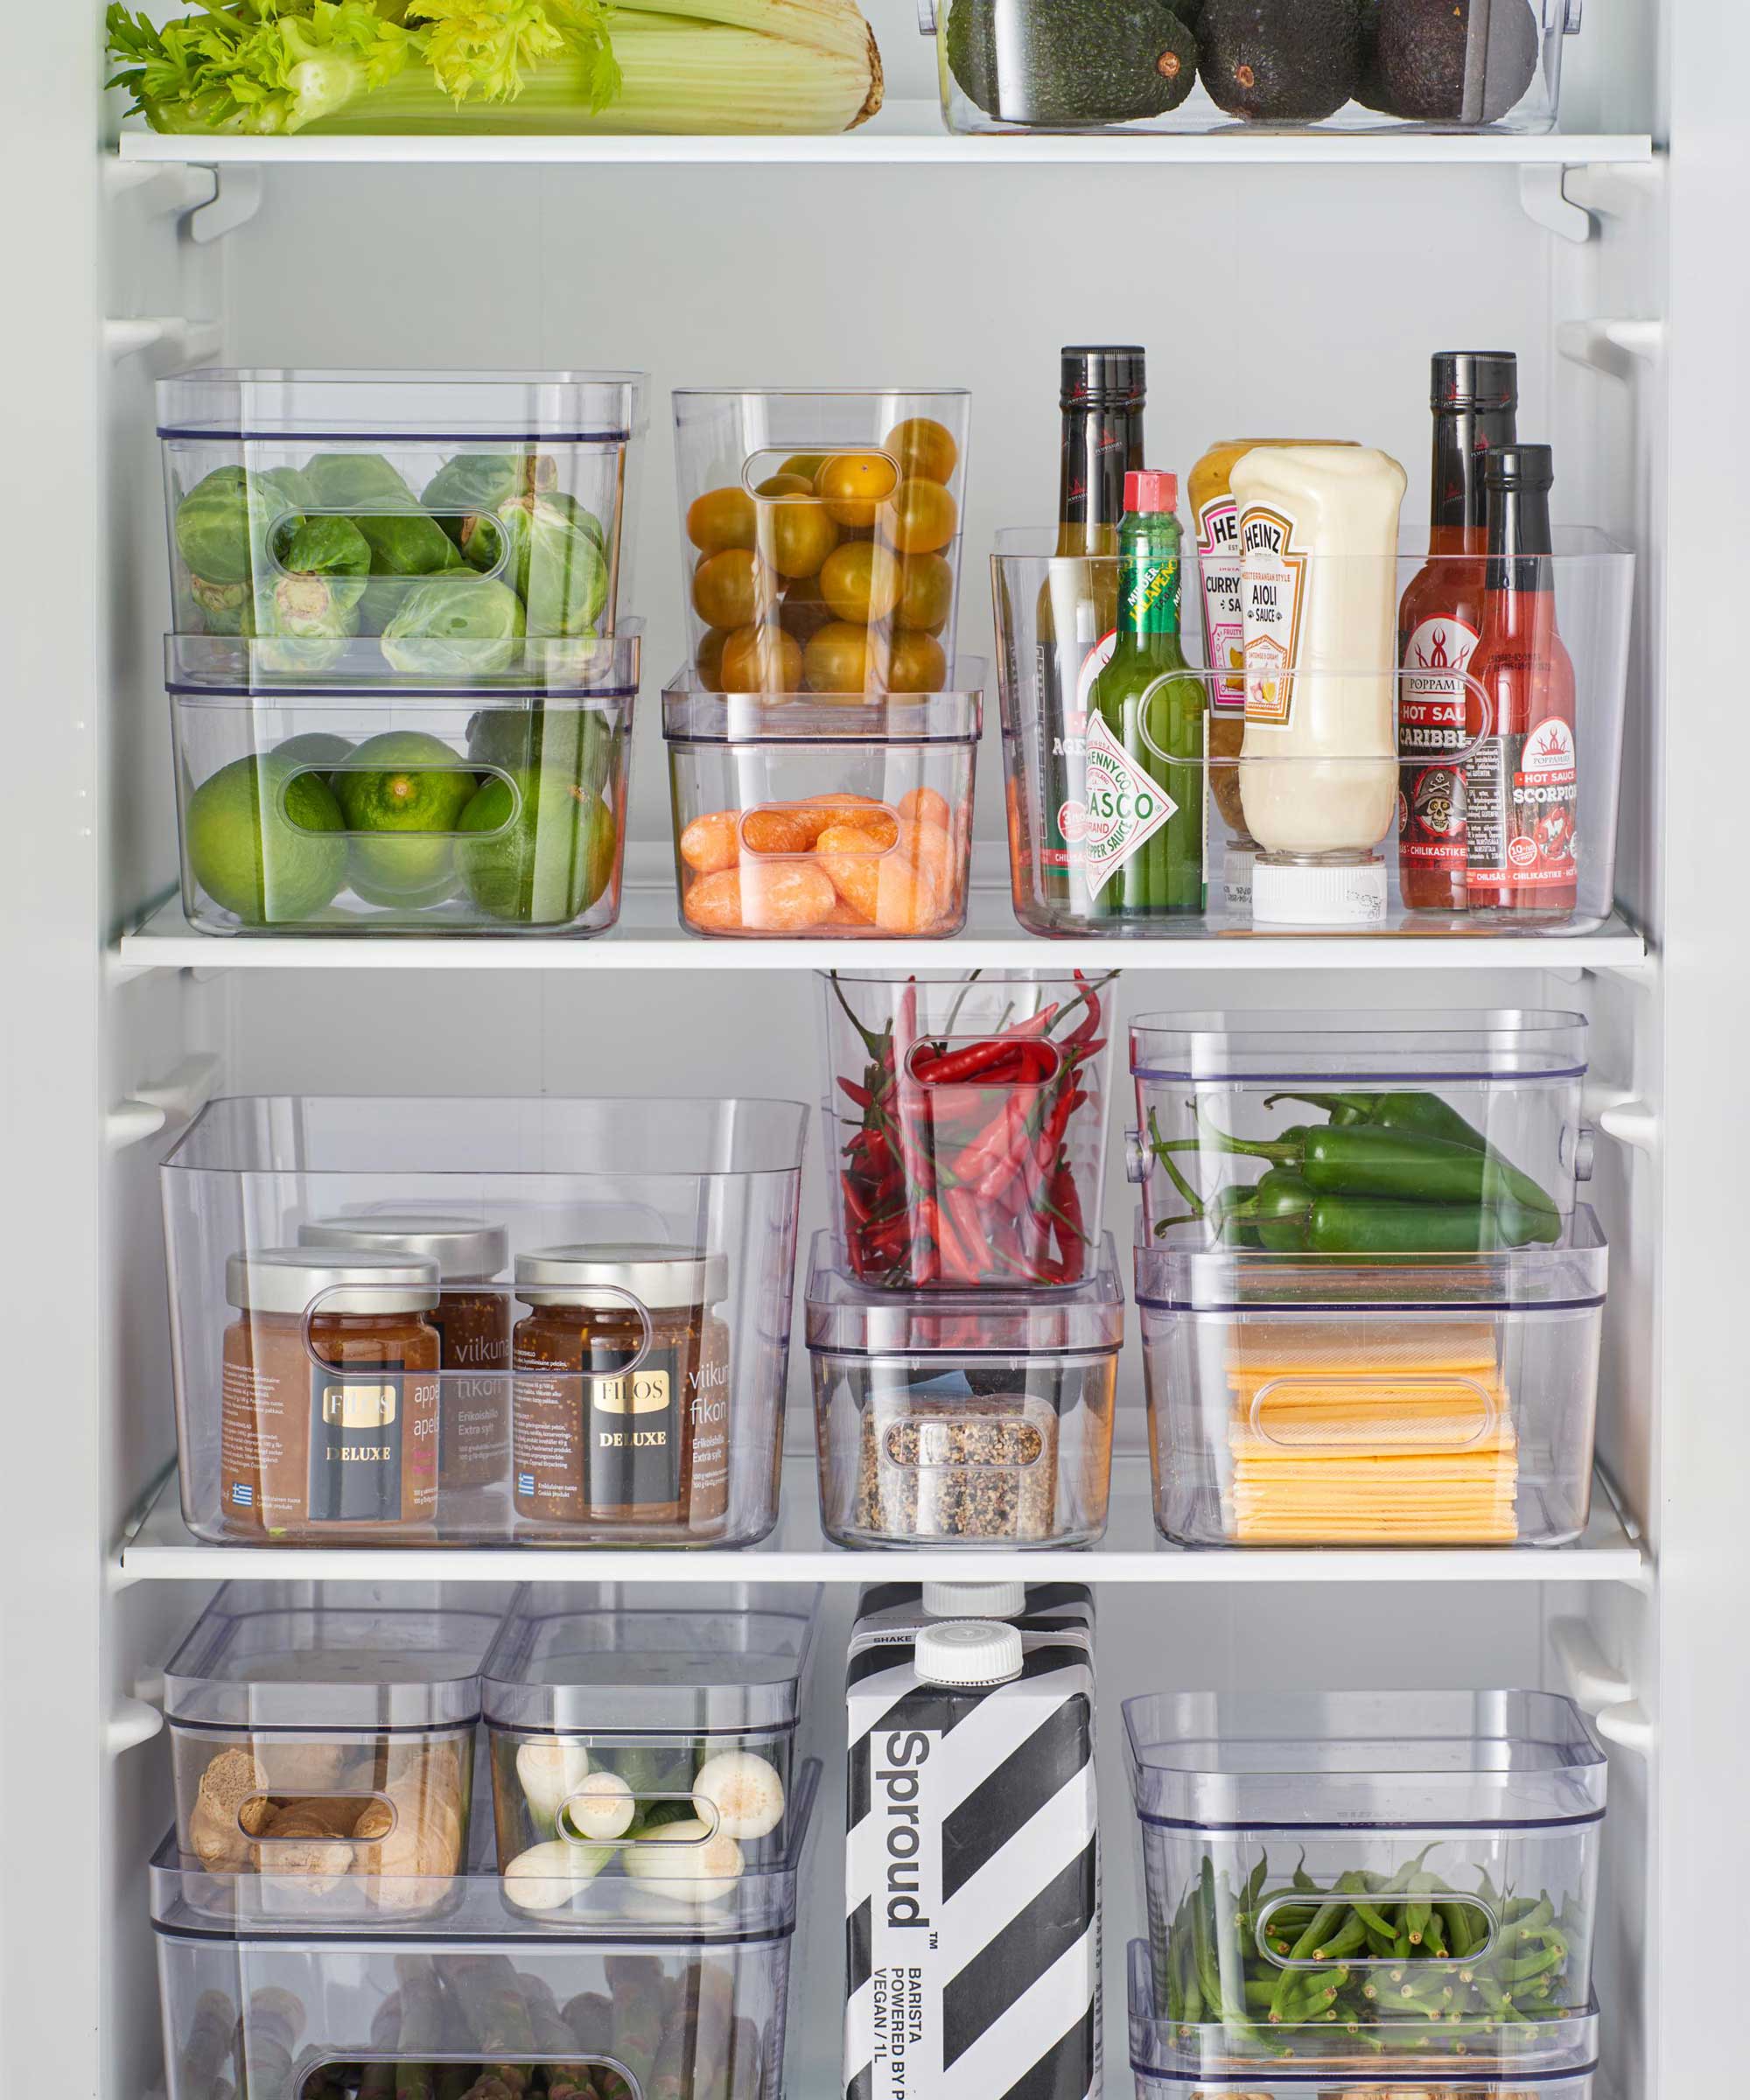
To minimize the amount of sticking in your stainless steel or cast iron enamel pan, you need to do some prep work. Thinking ahead is the first principle of becoming a fantastic cook. Around 20 minutes before you start sizzling, take your ingredients out of the refrigerator and let them sit at room temperature. Ice cold ingredients in a hot pan is a recipe for messy sticking, but this tip will help prevent that. In fact, I always recommend prepping all your ingredients before you start pan-frying, as this will help you stay connected to the pan and mindful of any warning signs.
2. Preheat the pan to the right temperature
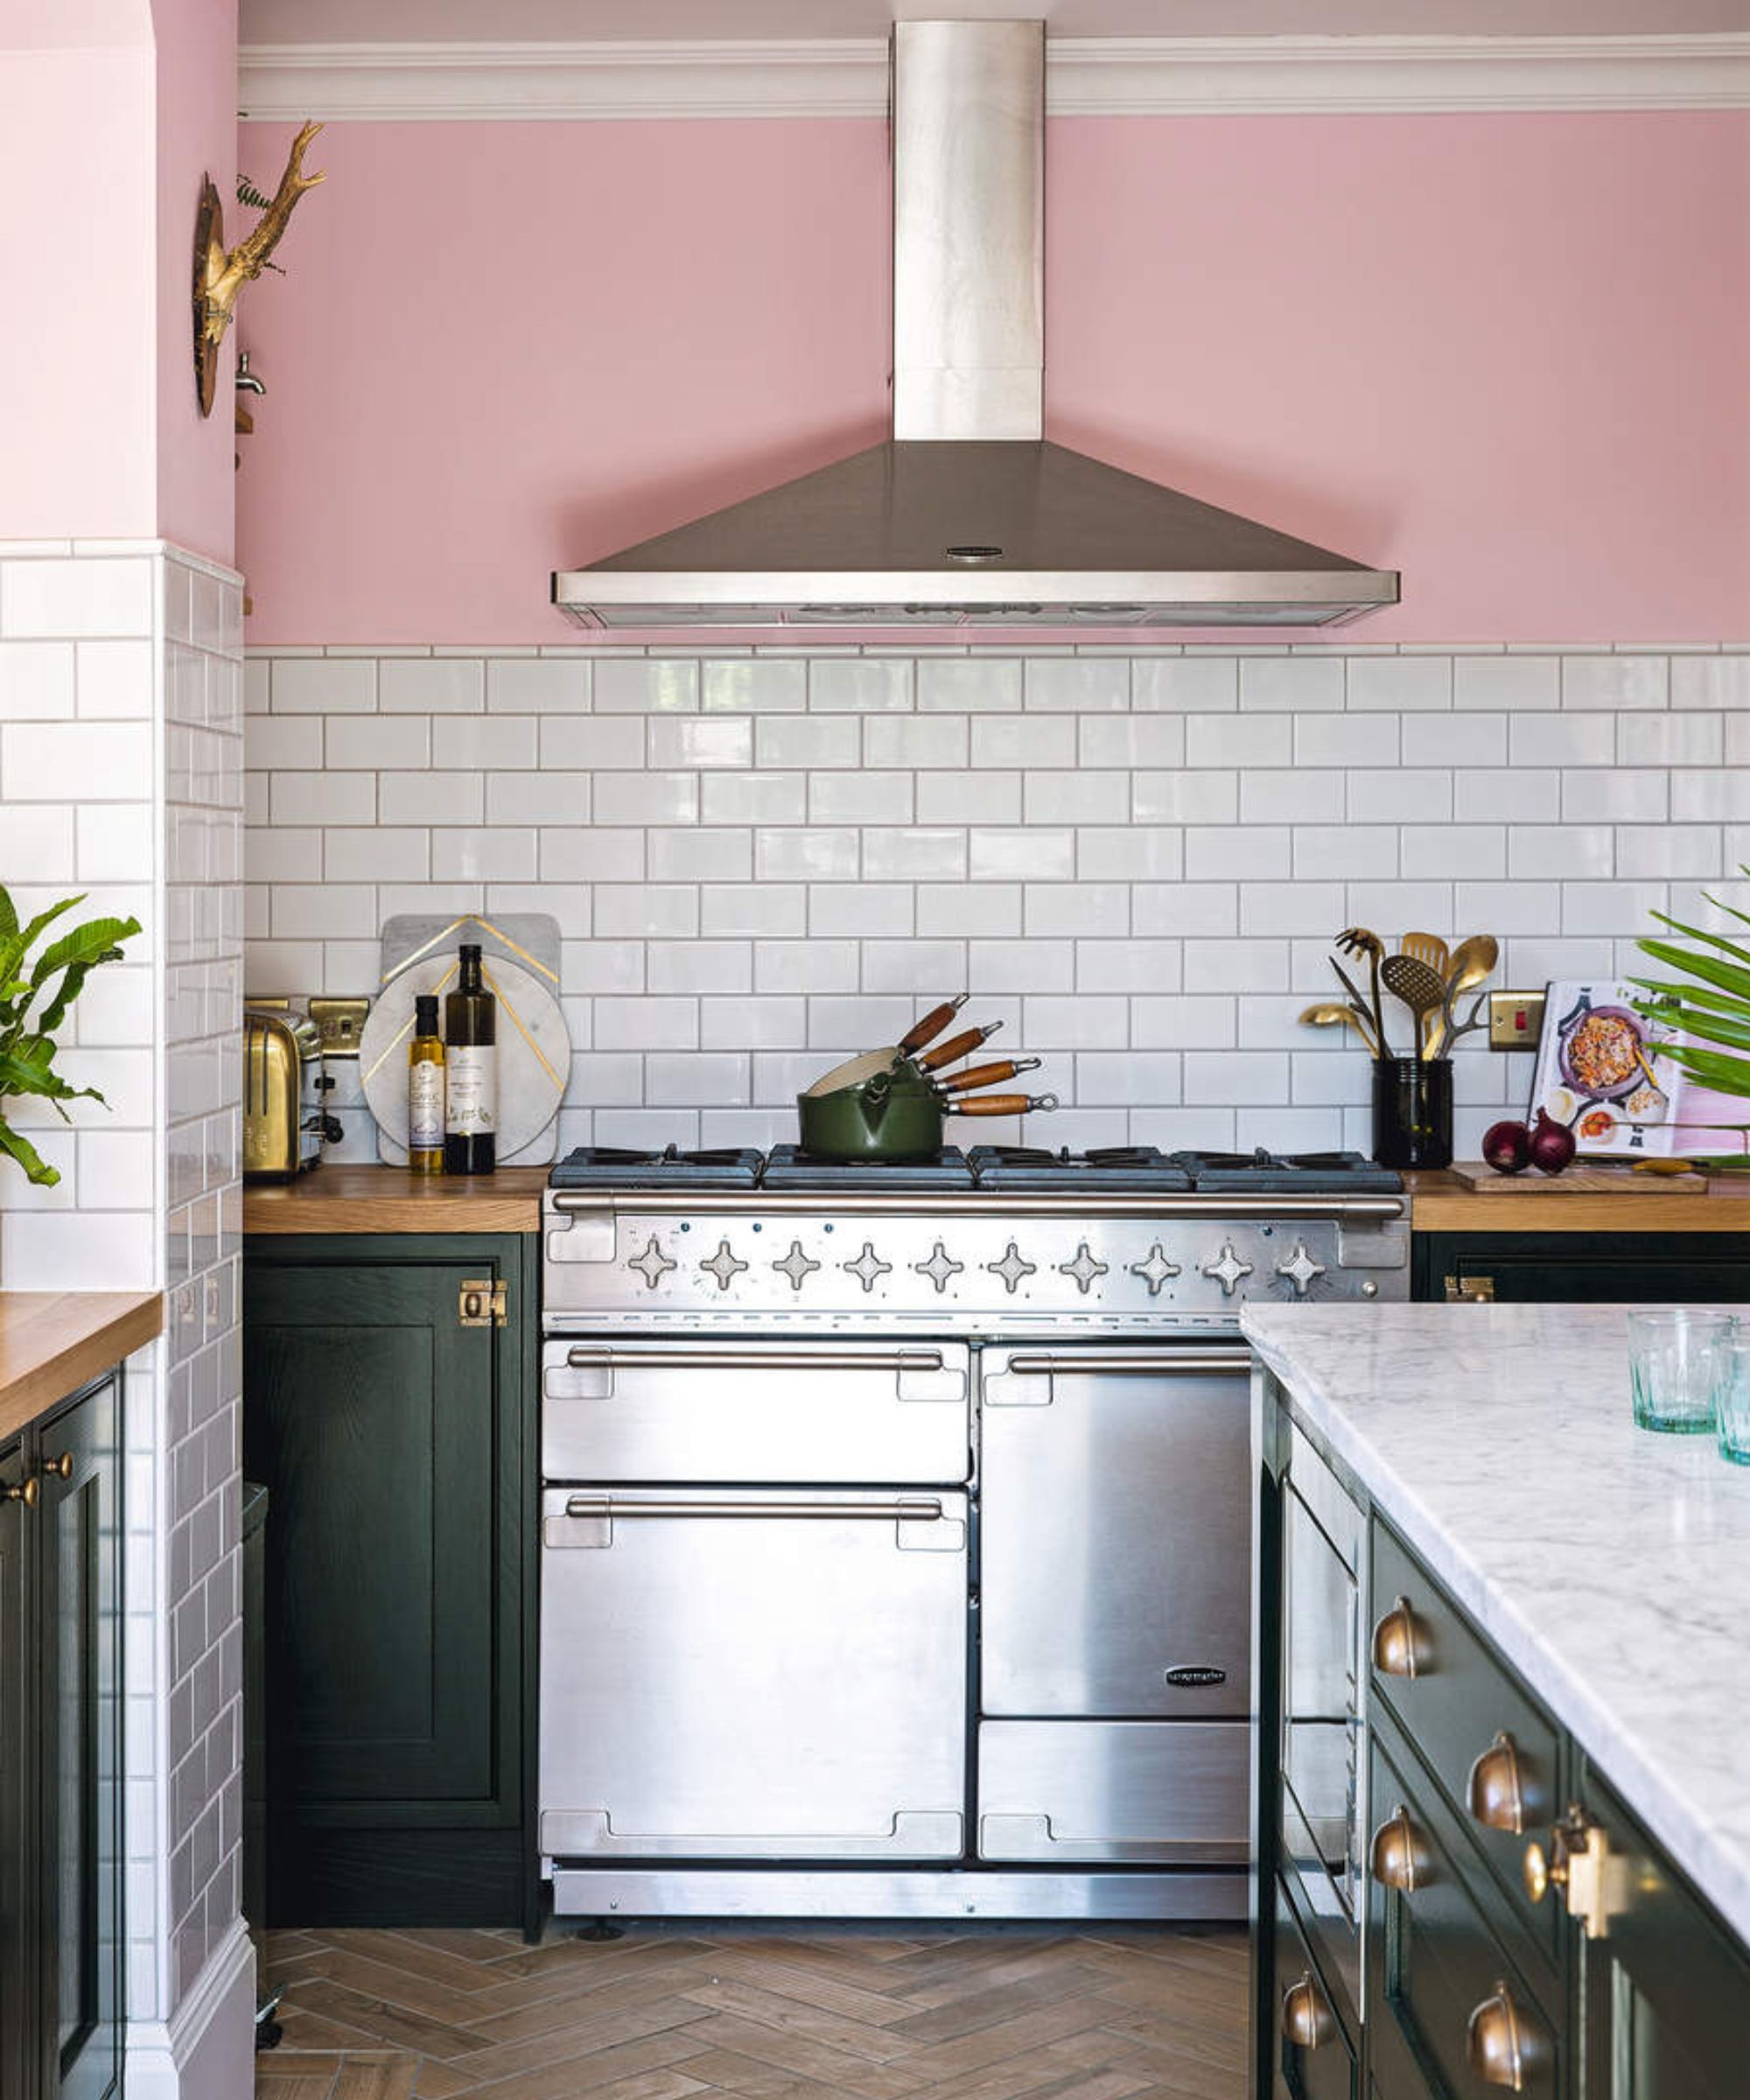
Sticking often occurs if the pan is too hot or too cold when food is added. Once you find the correct temperature, things will be a lot easier. If you're using stainless steel, there's a simple trick to test the temperature: the Leidenfrost test.
First, heat the pan on medium for two to three minutes. Then, flick a few drops of water onto the surface. If the droplets fizzle and evaporate, you need to wait a minute or so longer for the pan to get hotter. Once the water droplets dance and glide around the pan, you're good to go. Just make sure to wipe away the water residue before you add your cooking fat.
3. Create a shimmery layer of oil
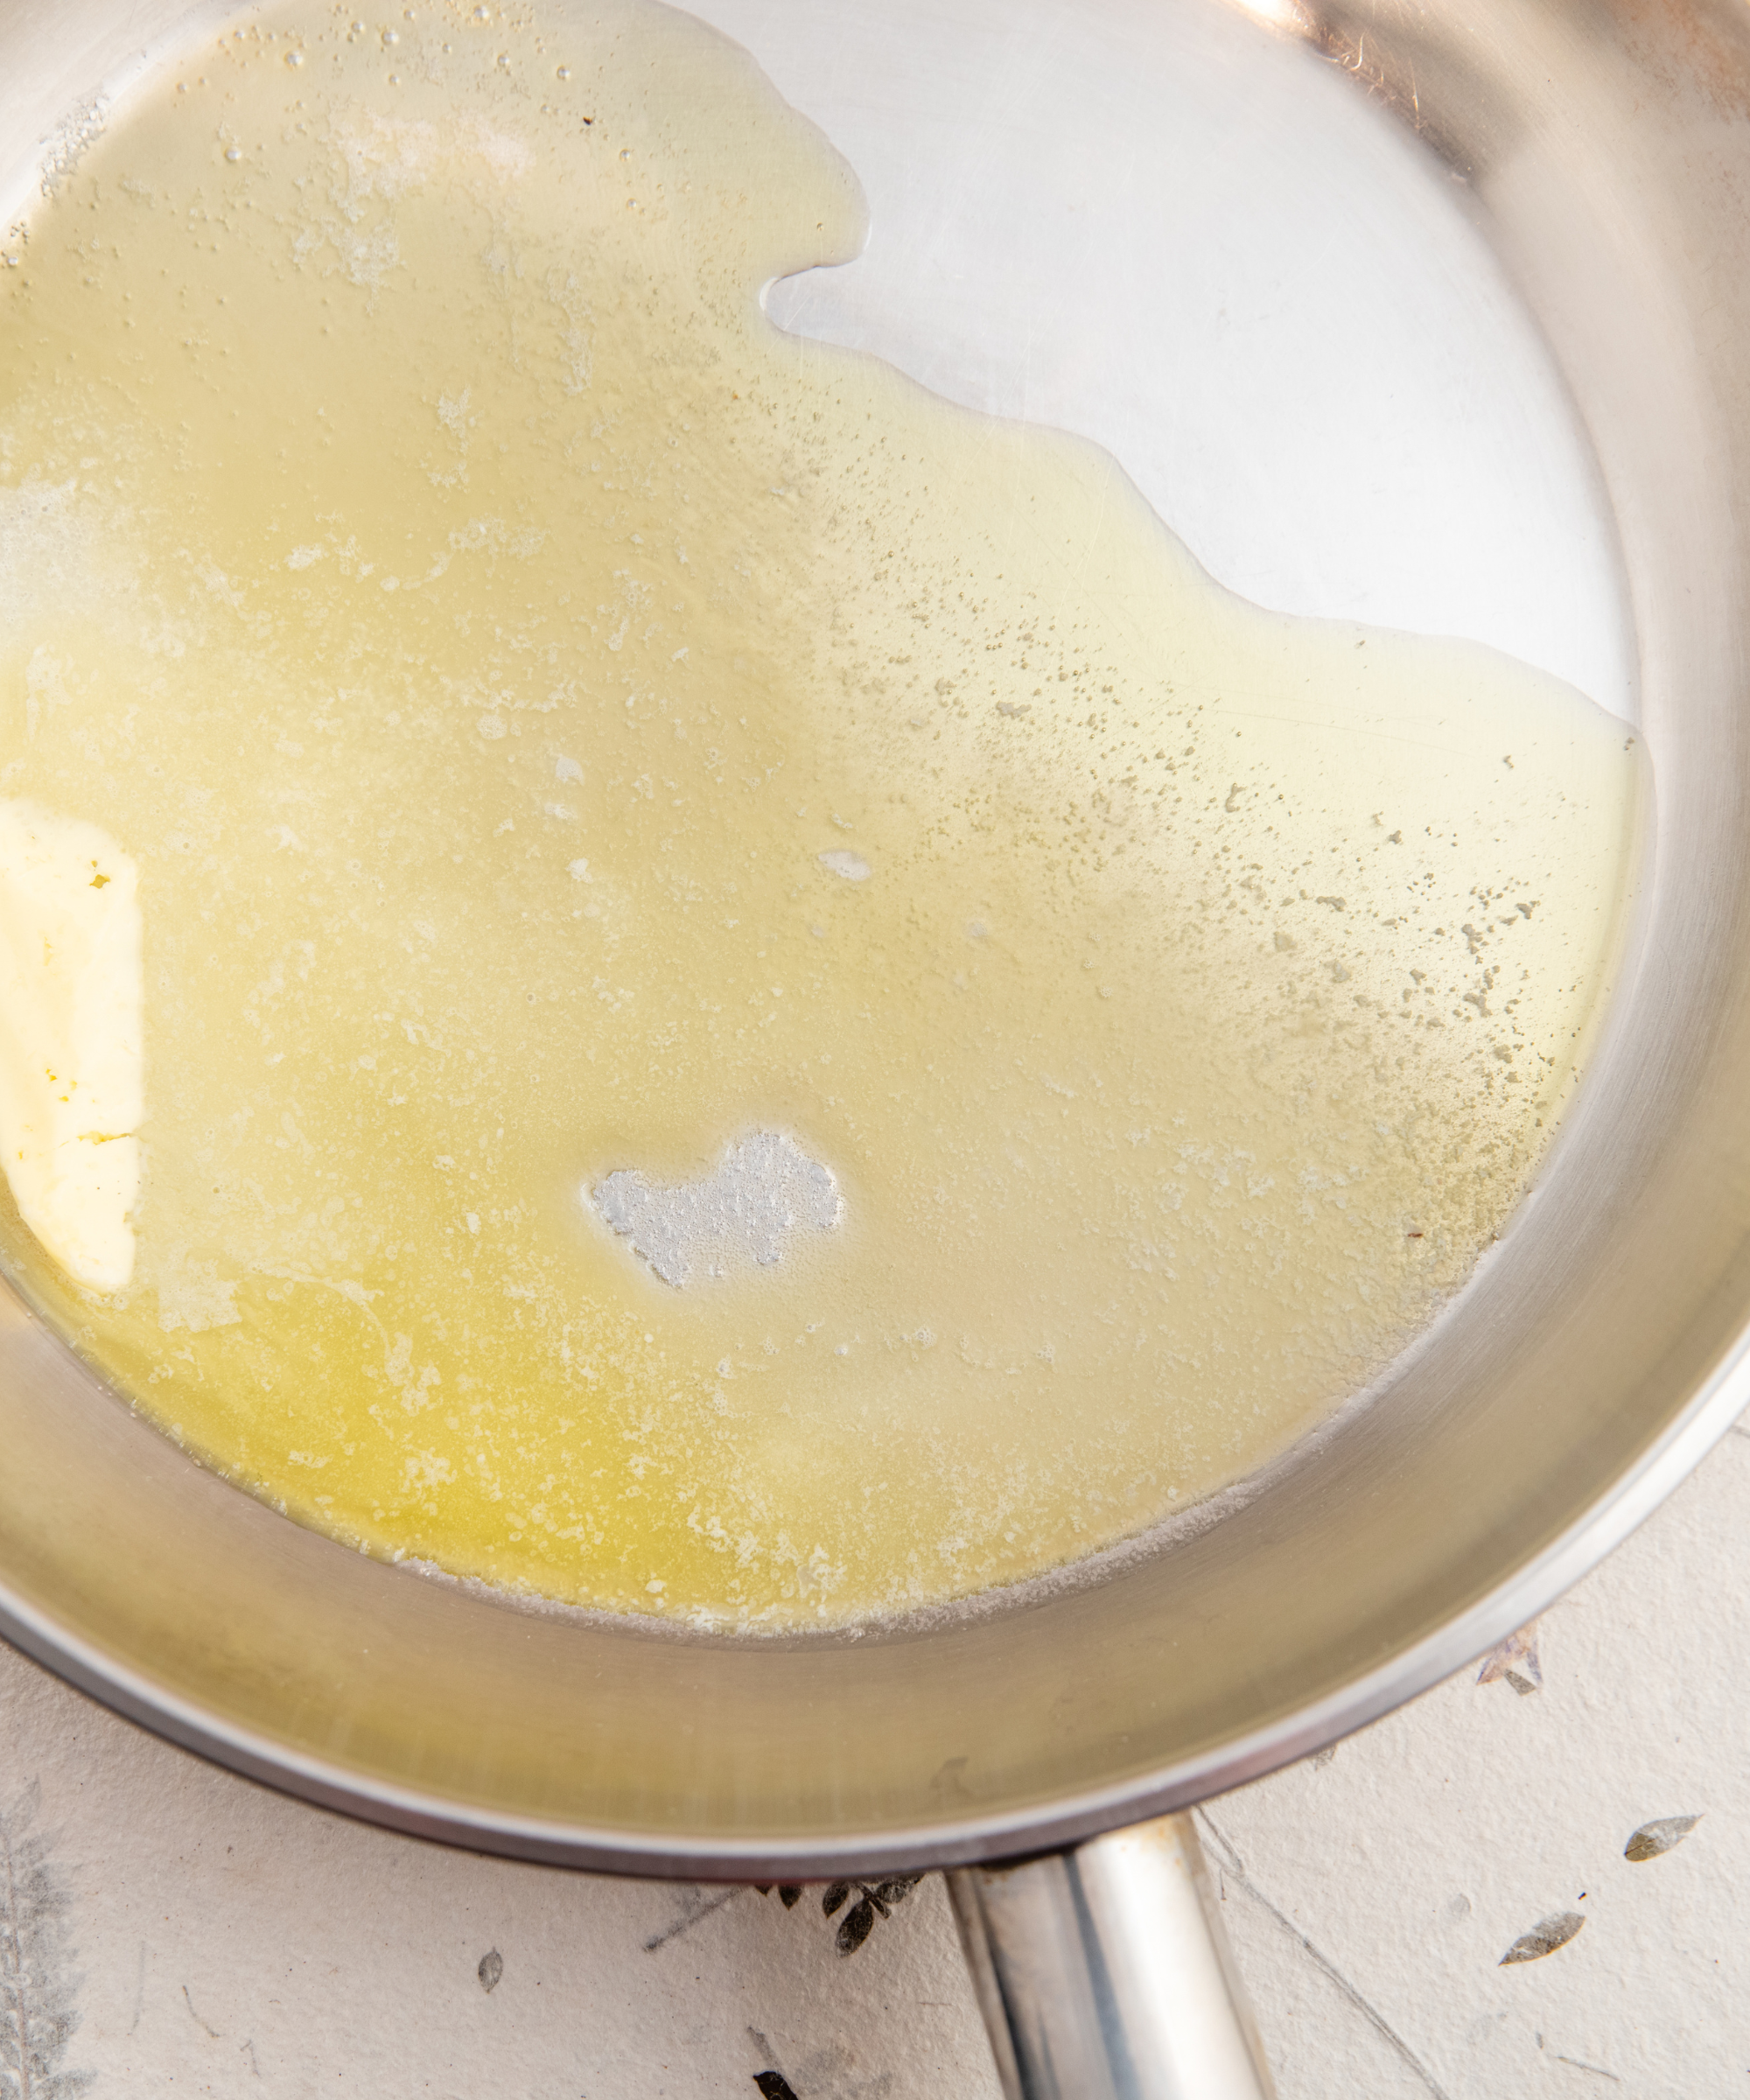
When you add the oil or butter, thoroughly swirl it around the pan so you have a thin but full coating across the entire surface. Otherwise, your ingredients could slide into an uncoated area, and that's when they cling or become burnt. Keep in mind that you'll almost definitely need to add more oil or butter than you'd use in a nonstick pan.
Next, allow the oil to come up to temperature. It shouldn't take more than a minute; once the oil shimmers and ripples, it's ready. If the oil starts to smoke, it's bad news. Your pan is too hot, and you need to start again. That's why I recommend prepping your ingredients in advance, so you aren't distracted and lose focus when hot ingredients are in the pan.
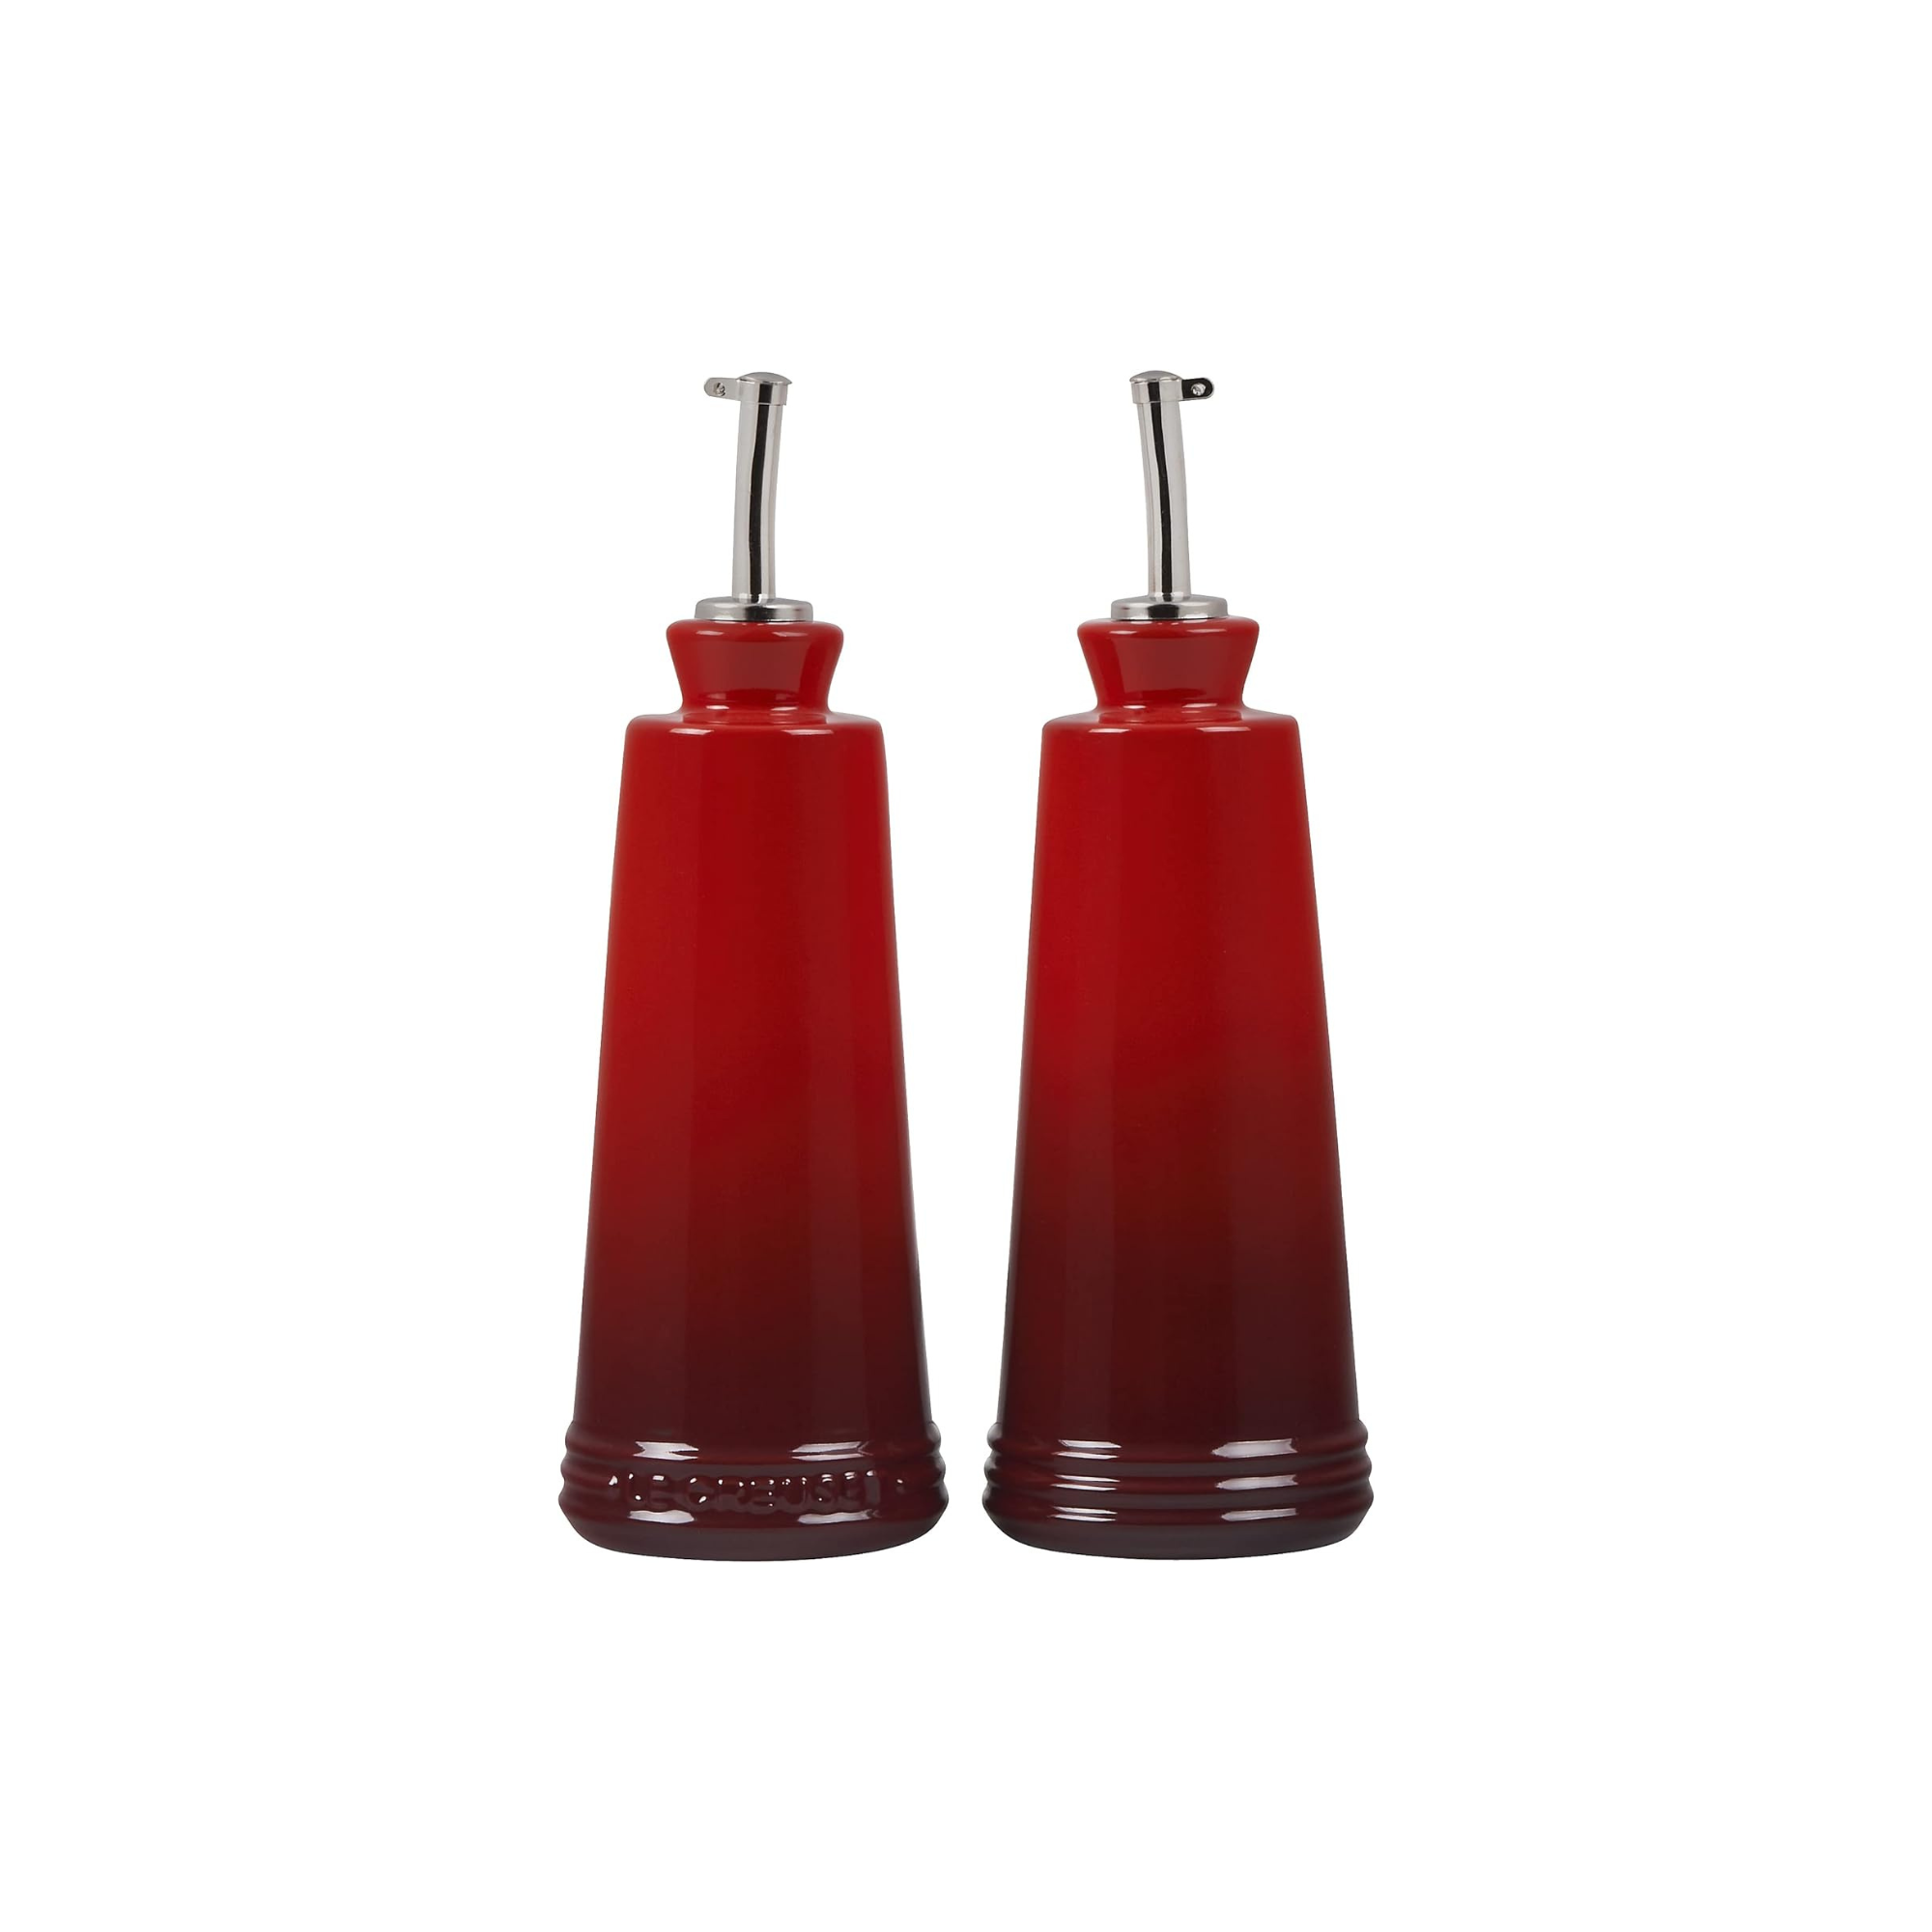
I love these Le Creuset bottles for swishing oil into my pan and swirling it around. They are easy to control and look beautiful, too.
4. Wait for a proper sear and release
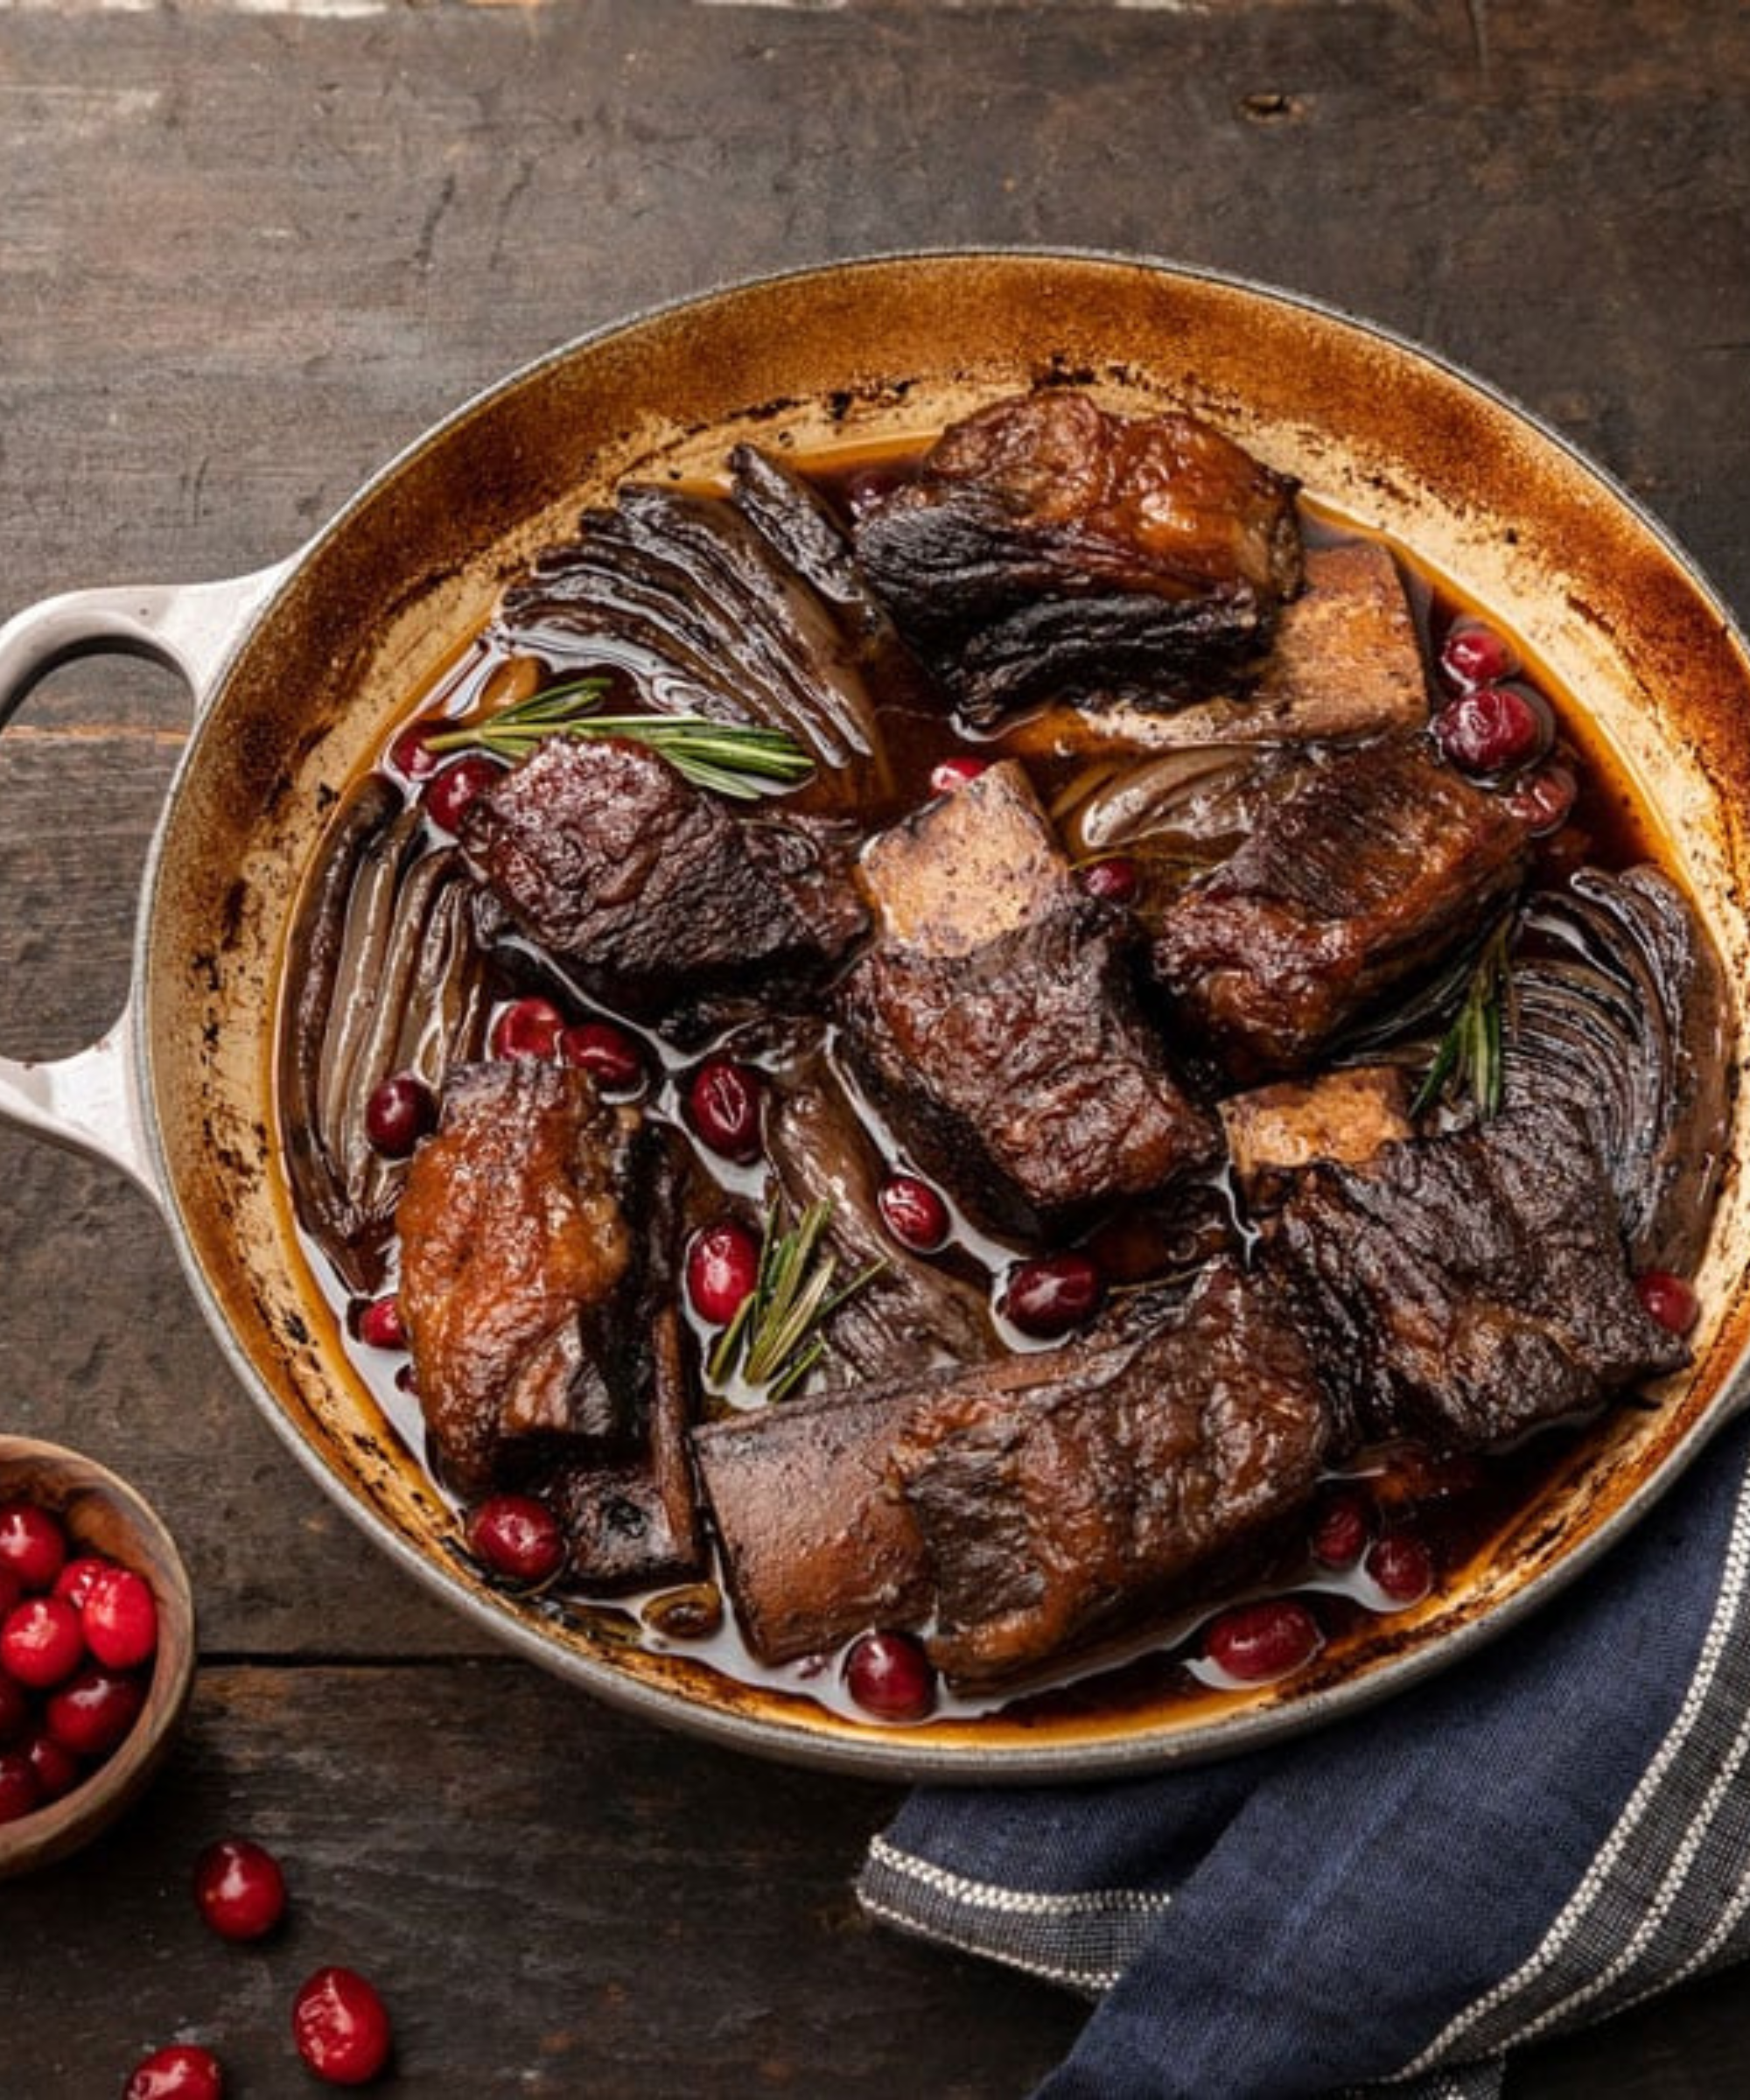
'Wait!' This is a repeated phrase in my kitchen since my partner is often impatient and wants to stir ingredients before they've had a chance to sear properly. You need wait a couple of minutes to let your food form a crust, then the food will naturally release from the pan and magically become moveable.
This is known as the Maillard reaction. If you interrupt the crusting process before it has had time to release, you'll be left with a sticky mess.
I also recommend flipping with a delicate fish slice, like the one below. It has a very fine steel edge, which allows you to lift a corner of the food to peek at the crusting process without too much interruption. When the food has been released, you can flip with precision and ease. This is another perk of using steel and enamel cast iron; you don't need to be as cautious with metal tools.
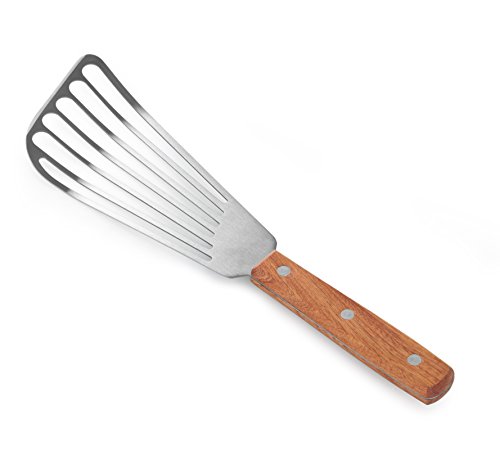
After speaking to chef friends, I realized this is the very best spatula you can buy. It's made from super thin and flexible stainless steel. Designed for flipping delicate fish, eggs, and pancakes perfectly.
5. Clean up properly
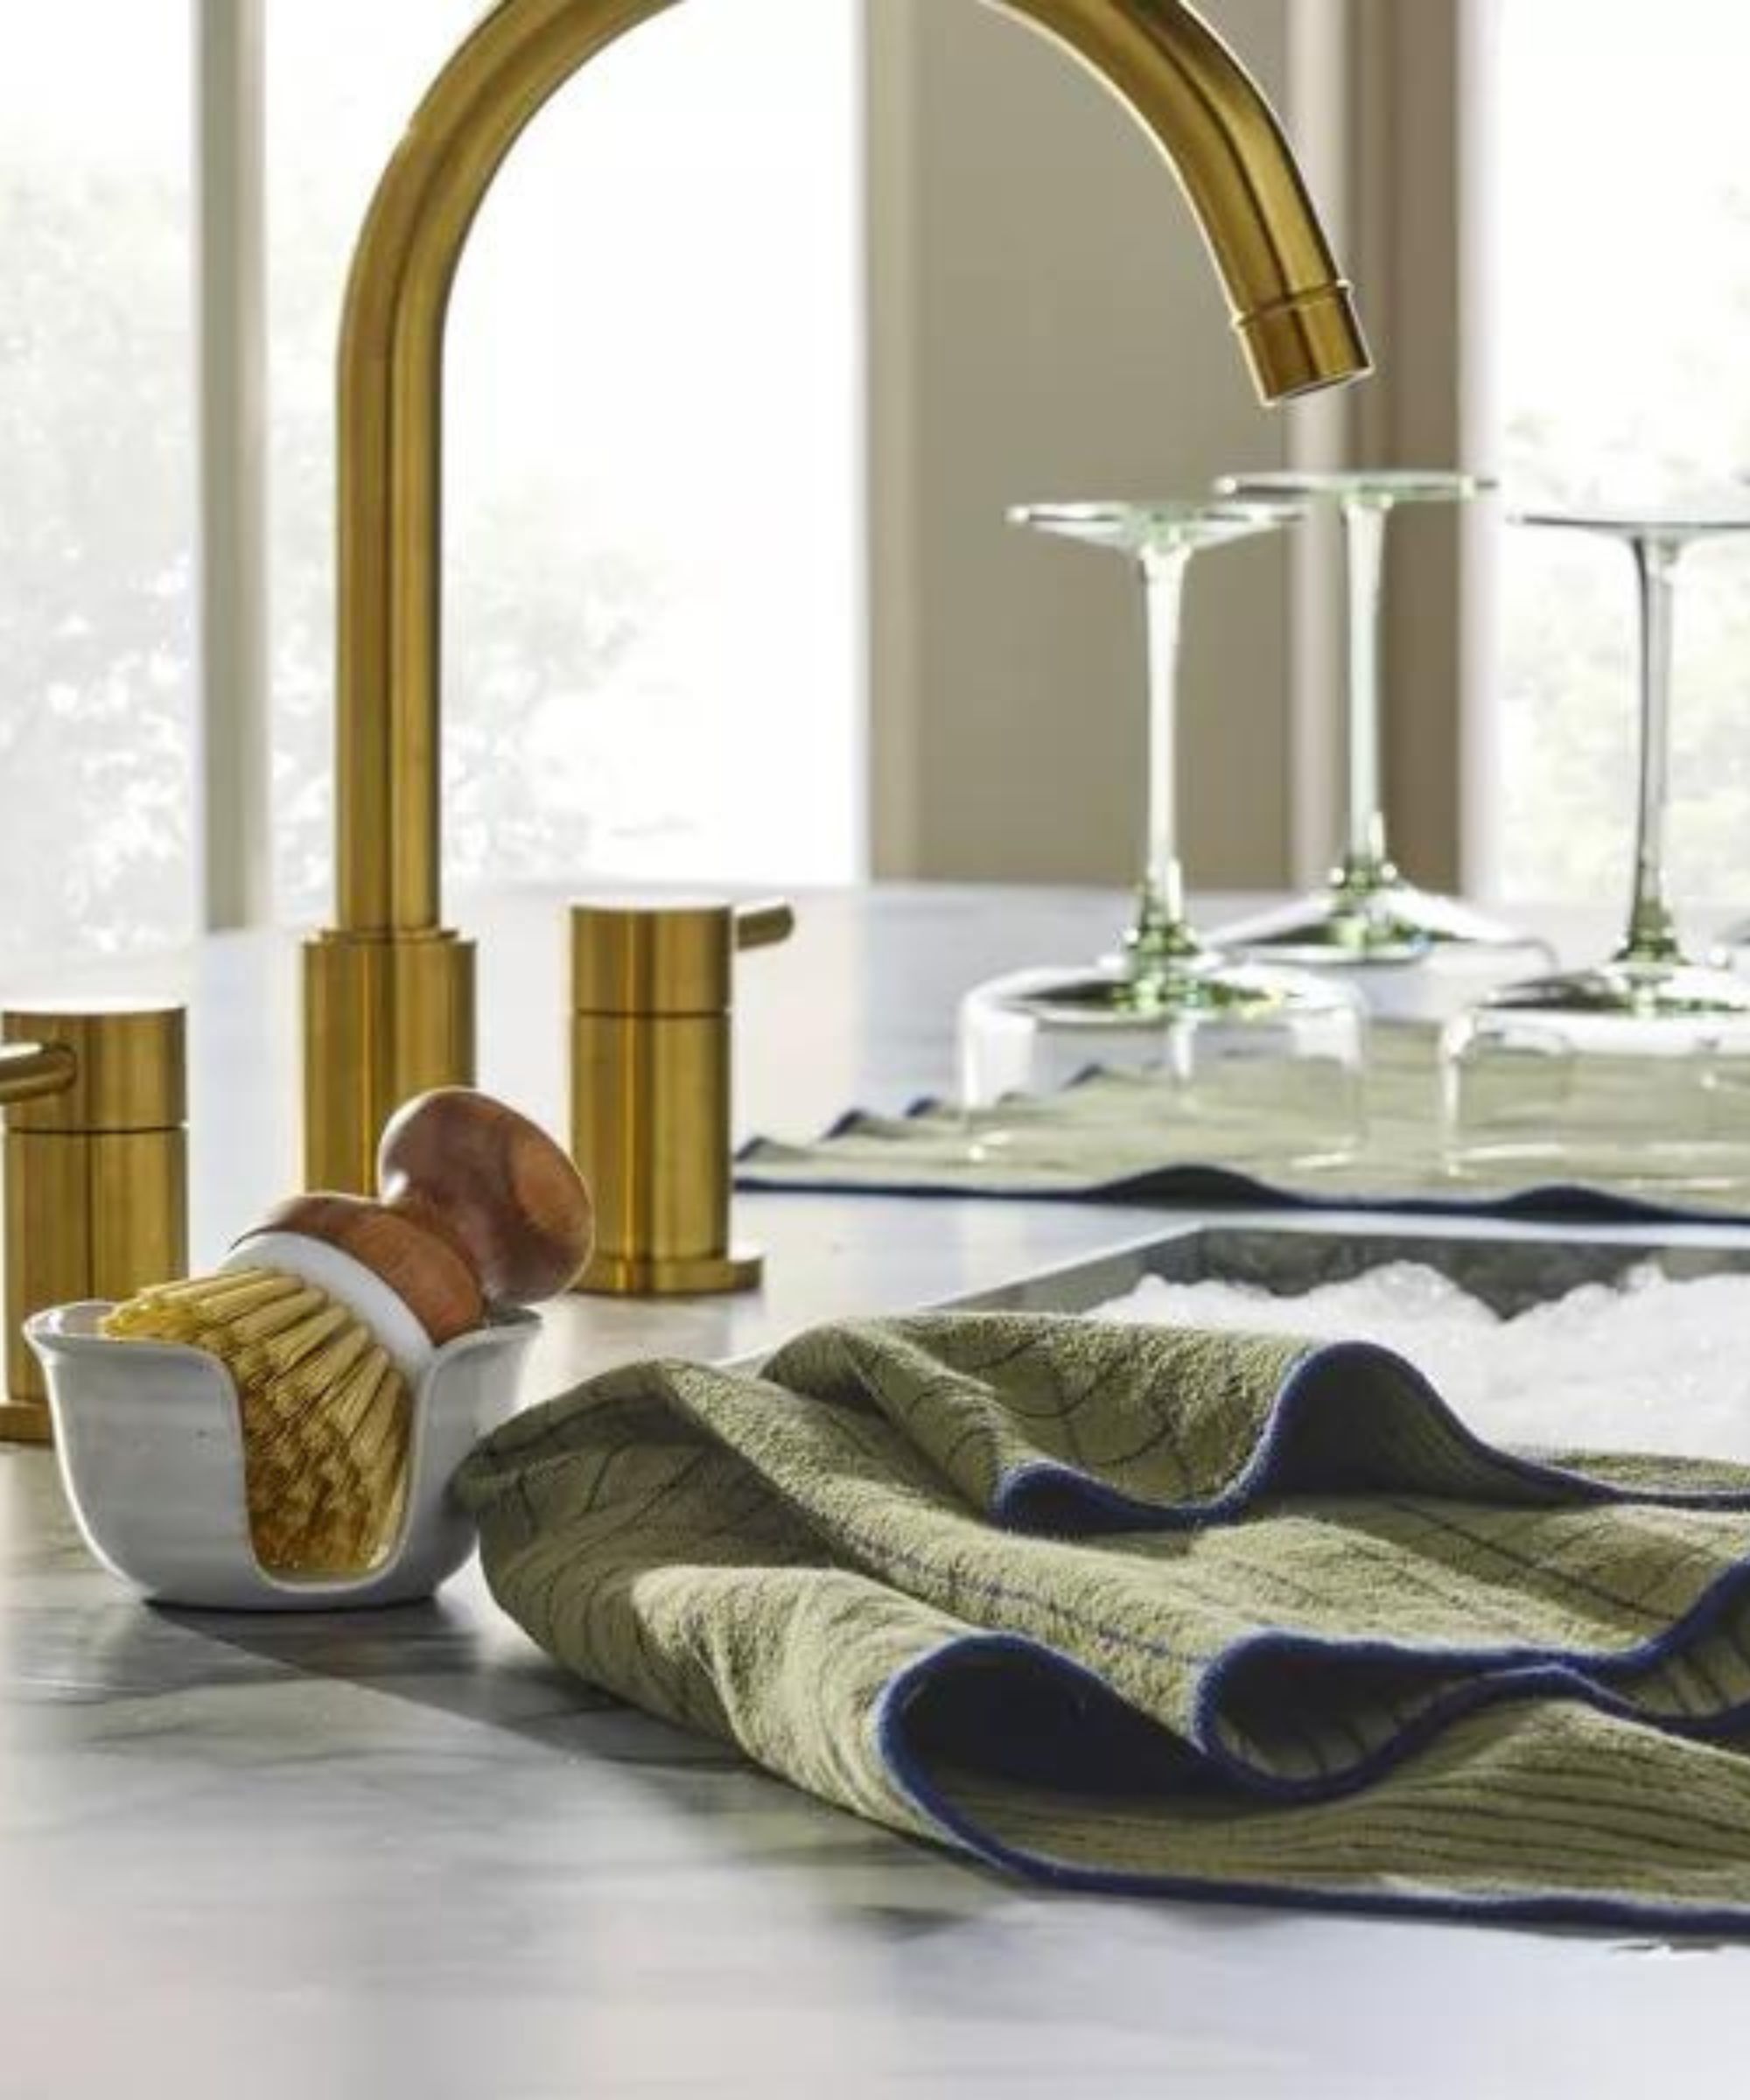
If your food does stick, don't stress. Practice makes perfect, and cleaning stainless steel and enamel cast iron is fairly easy anyway. Just make sure to clean the pan thoroughly after your mistake. If you've got burn leftovers in the pan, it will impact your next attempt.
Karina Toner, operations manager at Spekless Cleaning, says soaking with a gentle dish soap is simple but effective method for most types of pans. 'The soap helps to loosen grease and stuck-on food particles, making it easier to scrub away residue.'
'To begin, fill the pan with warm water and a few drops of dish soap.' says Karina. 'Allow it to soak for at least 15 minutes, or longer for tougher stains, then use a soft sponge to scrub away food debris. Rinse thoroughly with warm water, then dry with a clean towel to prevent water spots.' Our team has put together ten more brilliant tips for cleaning stainless steel here.
My favorite pans
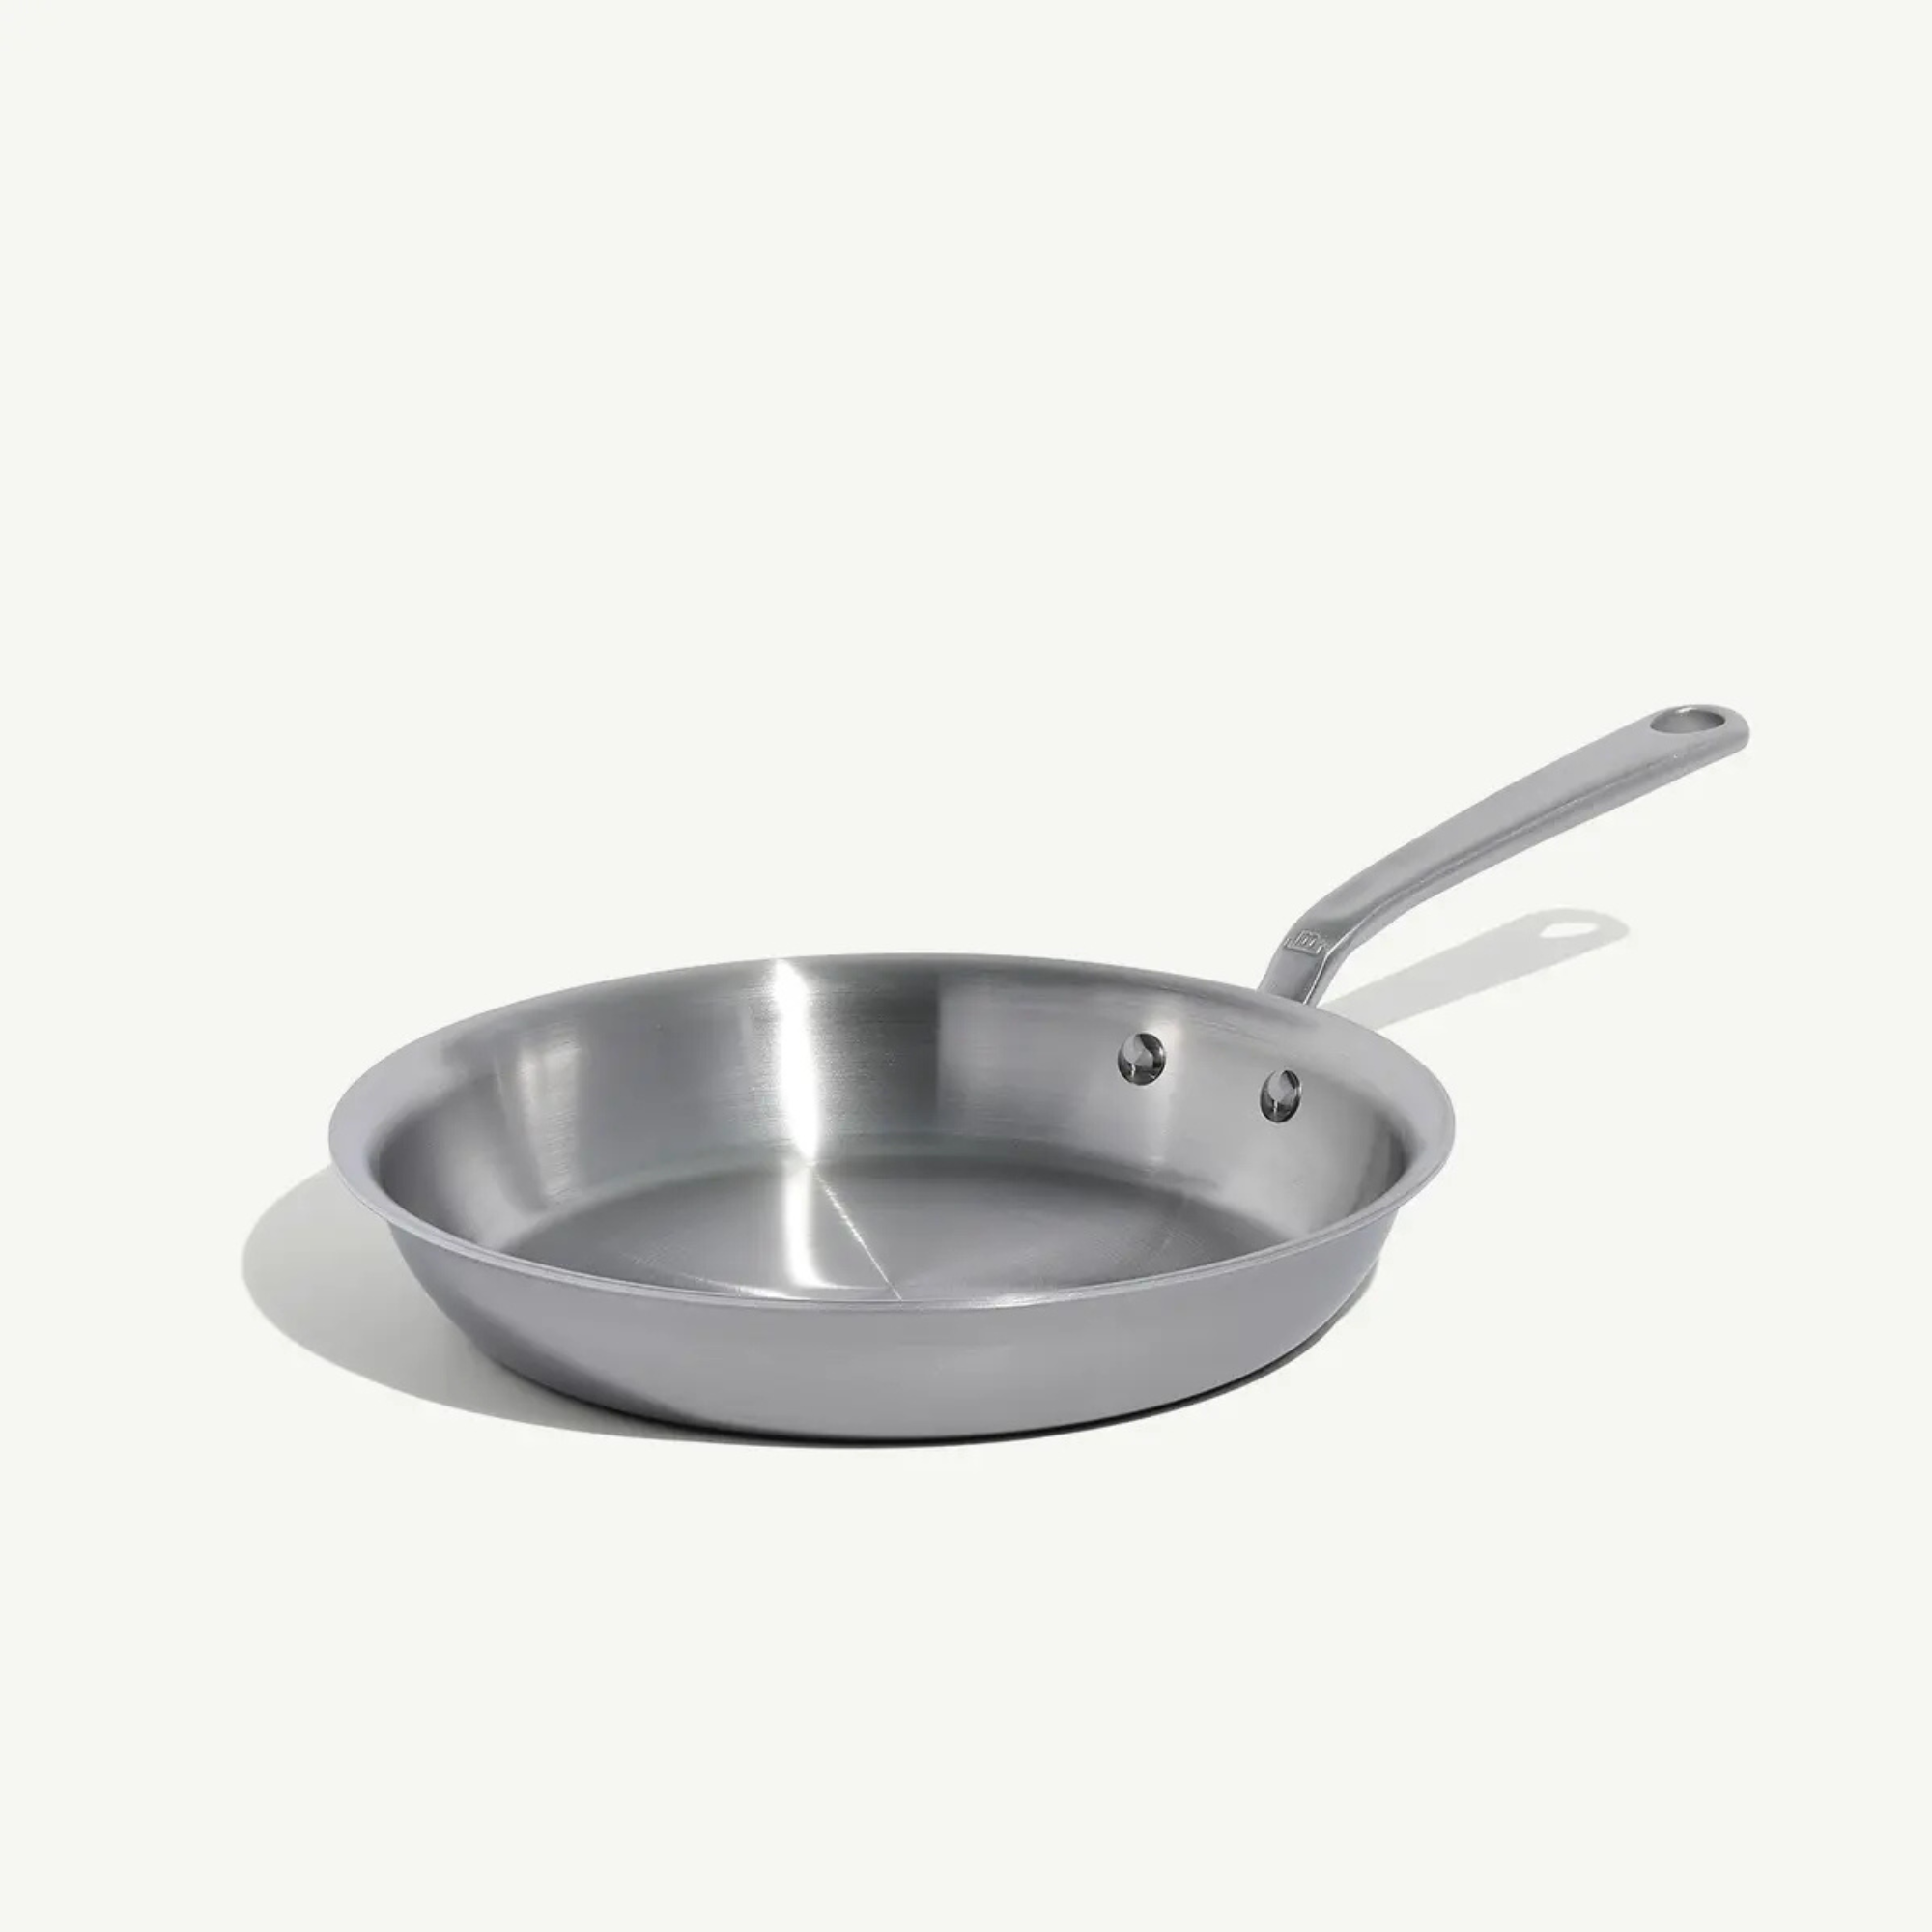
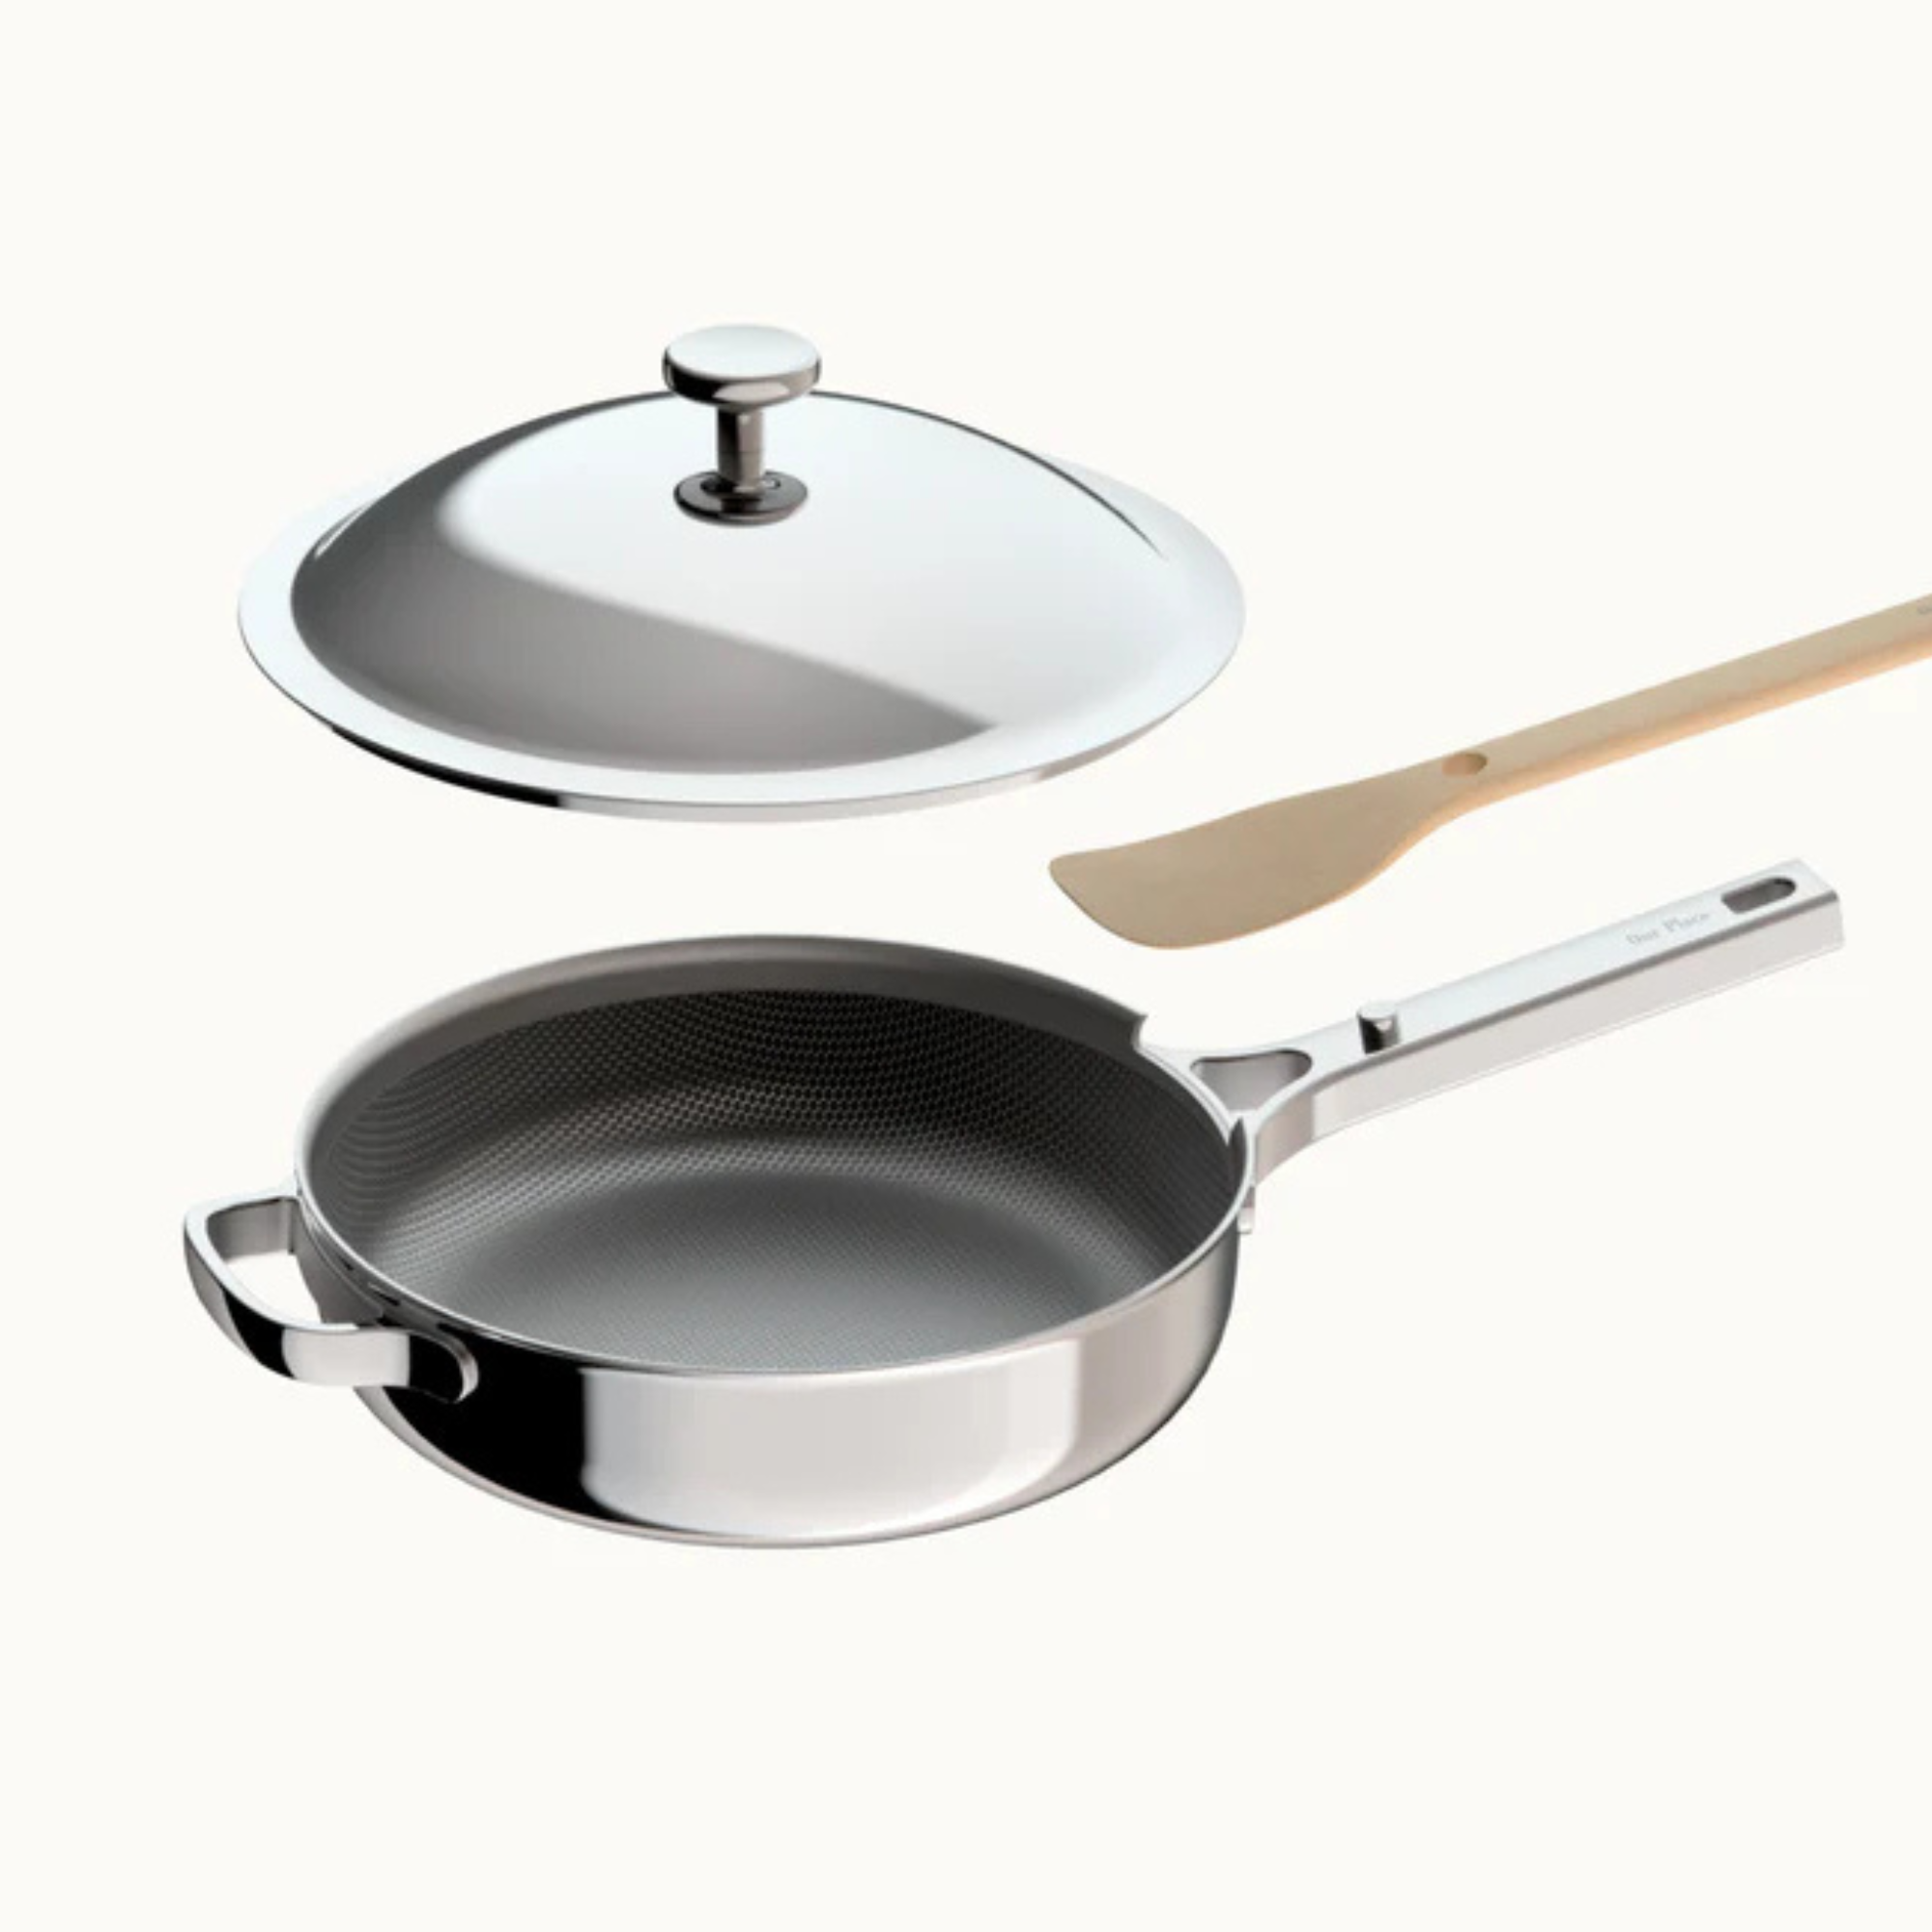
This is the best stainless steel pan I've ever used. Crafted in Italy and the USA, it looks professional, cooks beautifully and cleans well. I've managed to turn out crispy fried eggs, steaks, and more in my tests.
Sign up to the Homes & Gardens newsletter
Design expertise in your inbox – from inspiring decorating ideas and beautiful celebrity homes to practical gardening advice and shopping round-ups.

Lydia is the Kitchen Appliances Editor for Homes & Gardens, testing everything from air fryers and mixers to juicers and coffee machines. She trained in Culinary Arts at Leiths School of Food & Wine and previously served as the Recipe Editor for Mindful Chef.
You must confirm your public display name before commenting
Please logout and then login again, you will then be prompted to enter your display name.
-
 10 of the best plants for clay soil – experts recommend the flowers, shrubs and trees that can thrive in challenging conditions
Discover what varieties to grow if you want the best plants for clay soil
By Sarah Wilson
-
 The biggest curtain trends to follow in 2025 – 8 key looks to shop that will instantly elevate your rooms
These are the colors, styles, and materials to embrace in your windows this year if you want desirable drapes, plus our favorite places to shop the trends
By Lilith Hudson
