How to end a backsplash on an open wall – experts share the secrets
Score style points by learning how to end a backsplash on an open wall from the pros

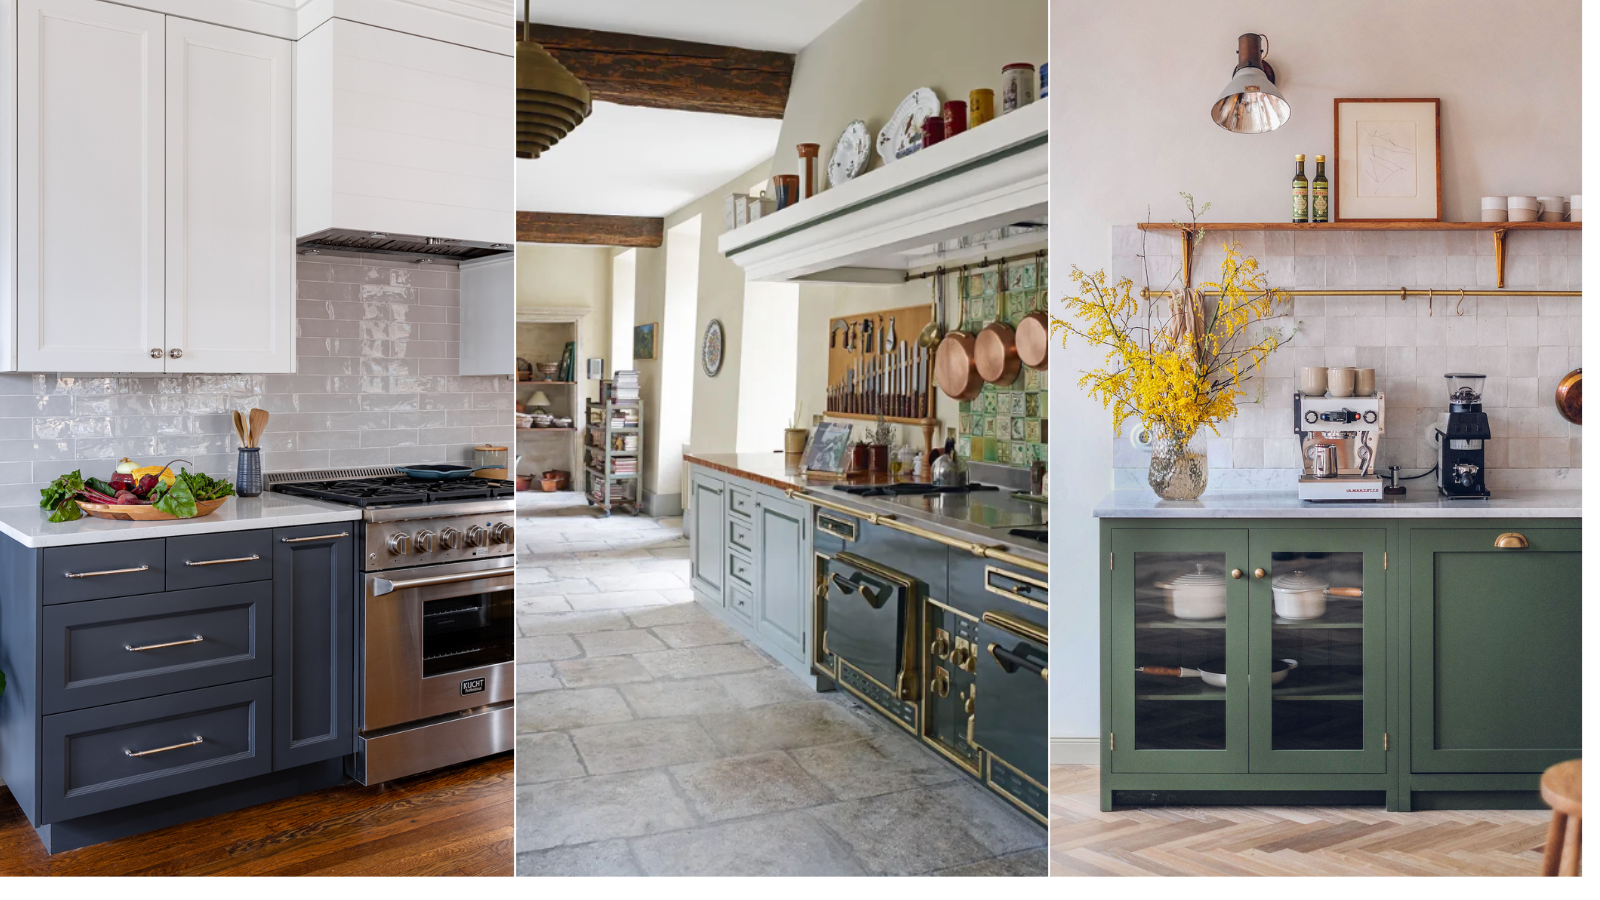
Knowing how to end a backsplash on an open wall so it looks perfectly positioned and beautifully finished can be challenging.
Kitchen backsplash ideas, like other elements of the design, have a functional role to play; in the case of a backsplash, it needs to protect the wall during preparation and cooking. But as part of the room’s look, the backsplash also needs to be pleasing to the eye.
Here, we offer advice from the pros on where to end a backsplash when the layout of your home means it has to be positioned on an open wall to make getting it right easy.
How to end a backsplash on an open wall
Designing a kitchen in an open layout may mean there aren’t the usual architectural cues about where to end a backsplash and its end won’t be enclosed by cabinets or other features. ‘Many open wall backsplashes are done incredibly poorly and can detract from an otherwise gorgeous kitchen,’ says Cheryl Kees Clendenon, owner of In Detail Interiors.
To avoid the trap, there are guidelines you can follow so it’s aesthetically appealing as well as fulfilling its role.
1. Use base cabinets as a guide
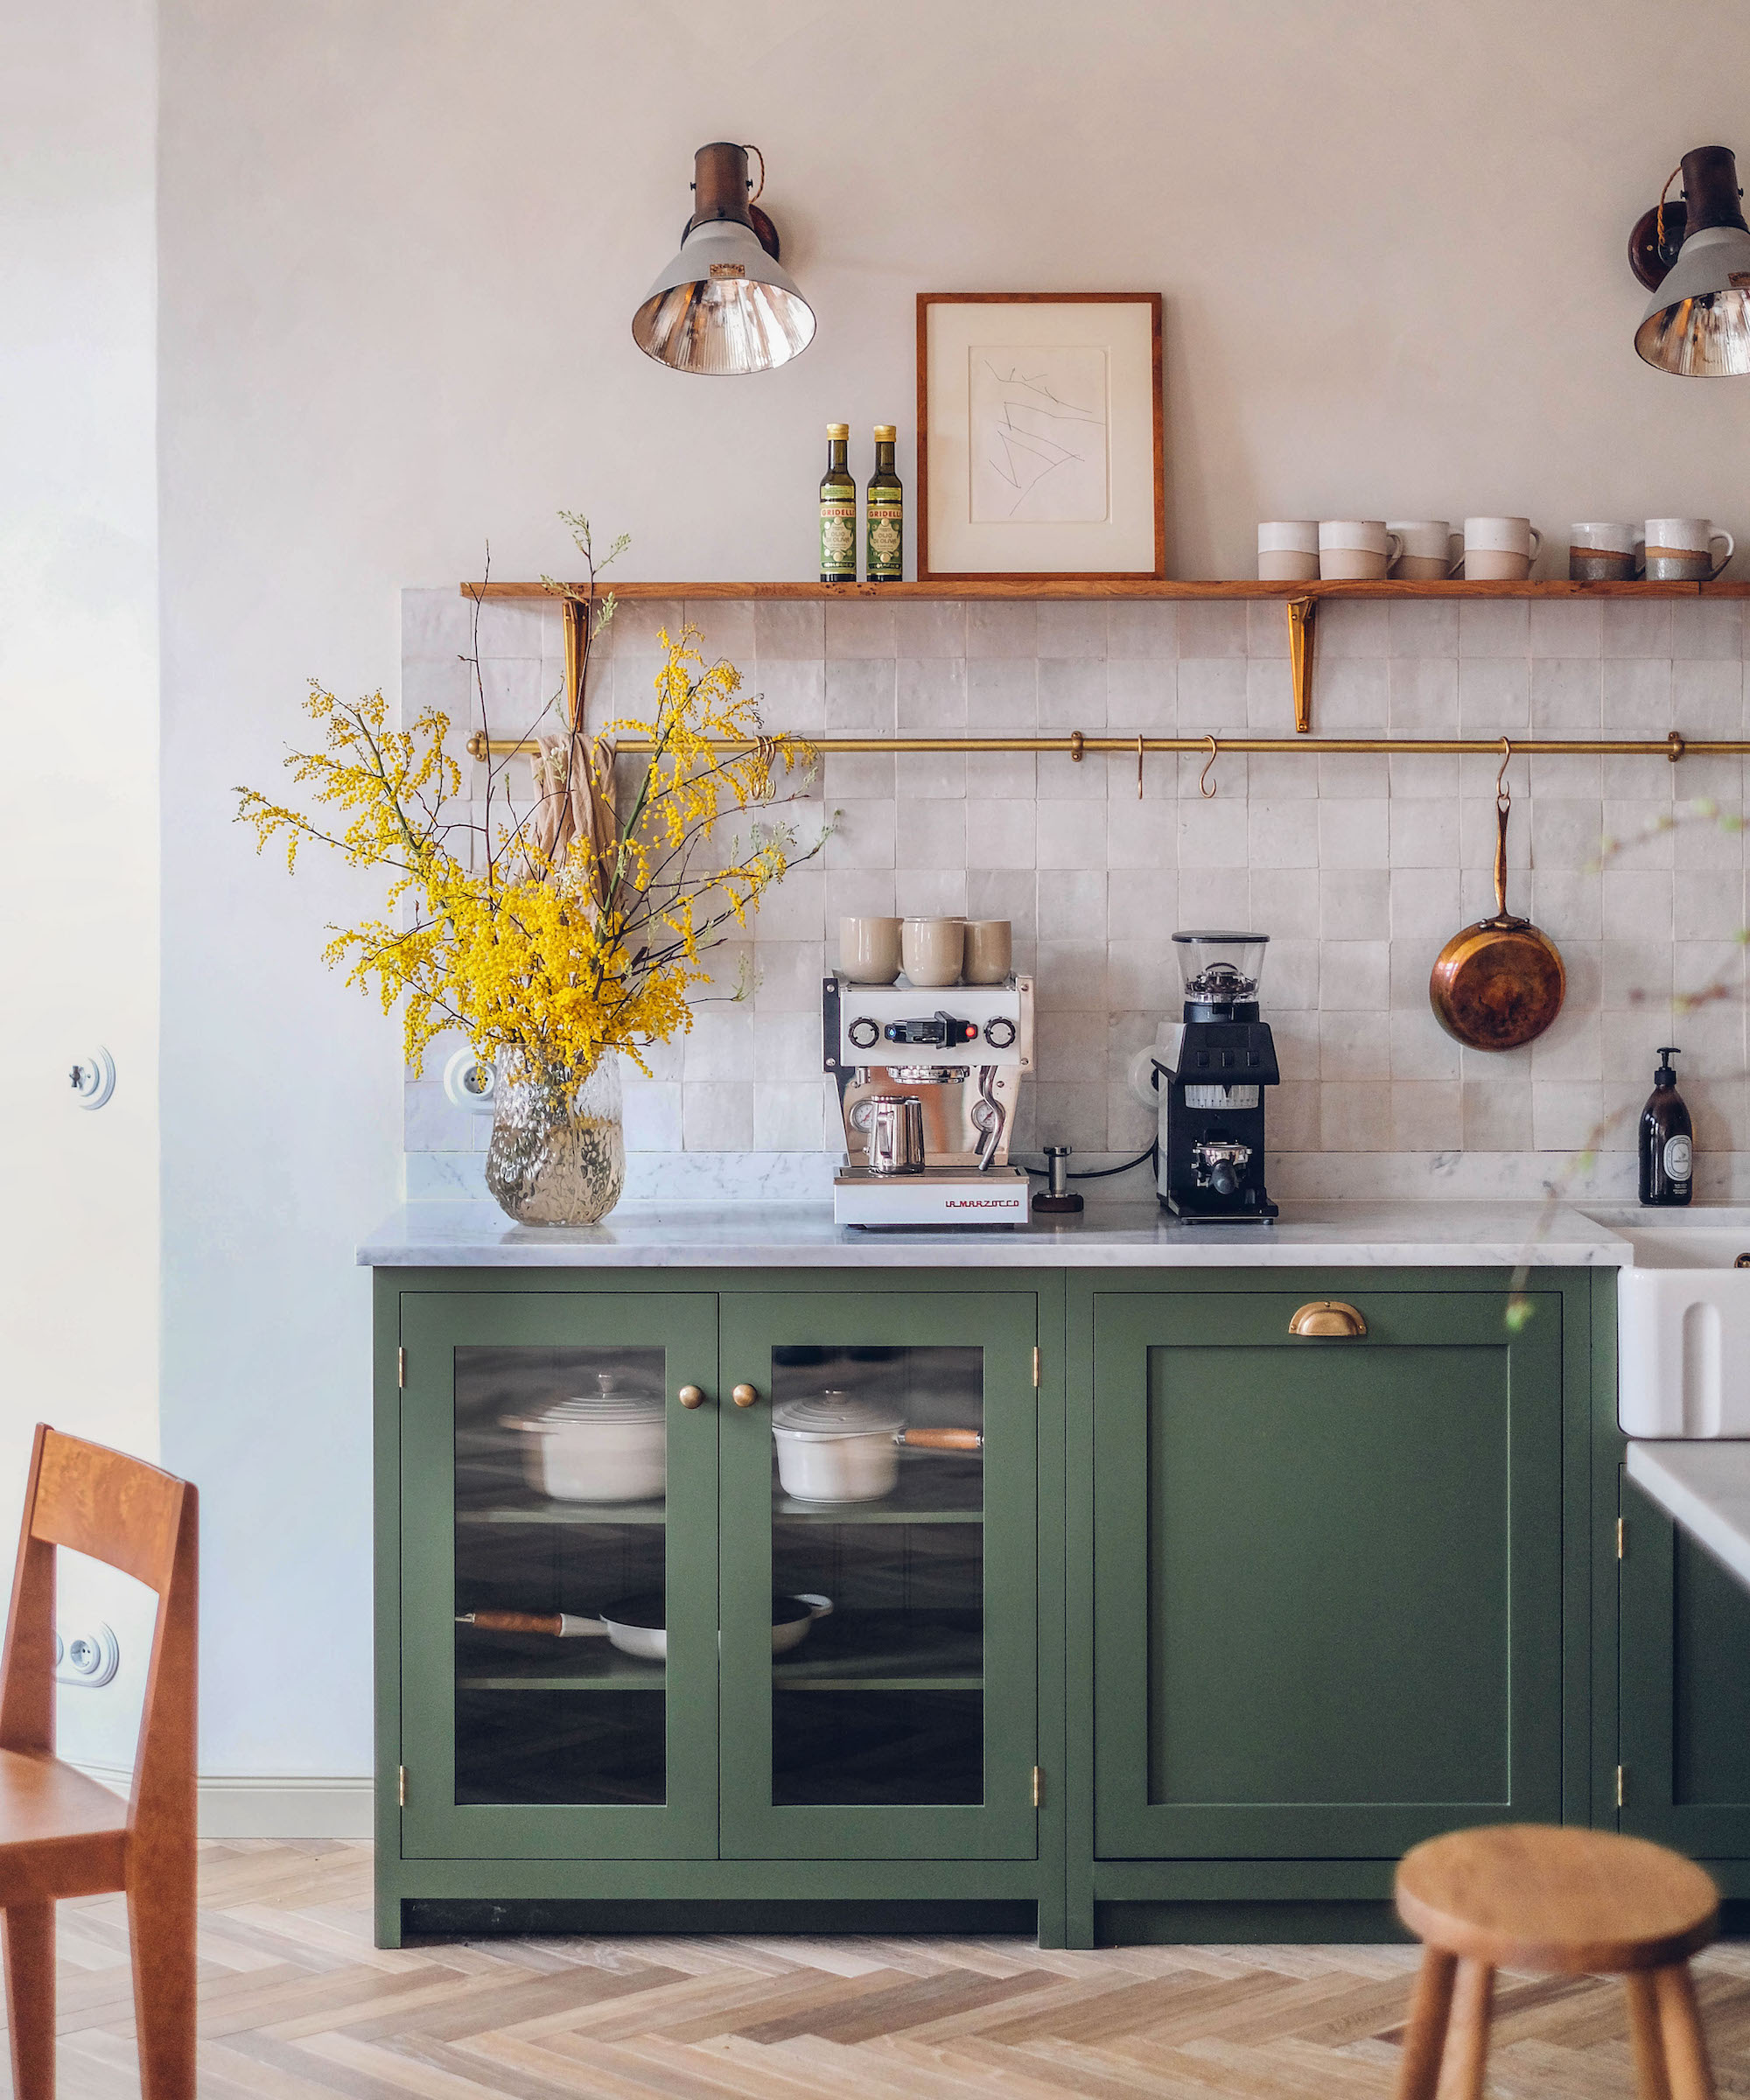
Kitchen cabinets can be your guide when a backsplash is on an open wall. ‘If you are installing a tiled backsplash on an open kitchen wall, I would advise that the tiles end in line with the lower kitchen cabinets,’ says Damla Turgut, founder and creative director of Otto Tiles & Design.
‘This will ensure that the backsplash looks considered and proportionally everything is visually balanced.’
Design expertise in your inbox – from inspiring decorating ideas and beautiful celebrity homes to practical gardening advice and shopping round-ups.
Consider the top of the backsplash, too, Damla suggests. ‘Personally, I like the top edge of a backsplash to be fitted with a kitchen shelf,’ she says. ‘This really enhances the look of a backsplash, adds an elegant finish, and of course provides usable space for cookbooks and glassware, etc.’
2. Create a clean edge
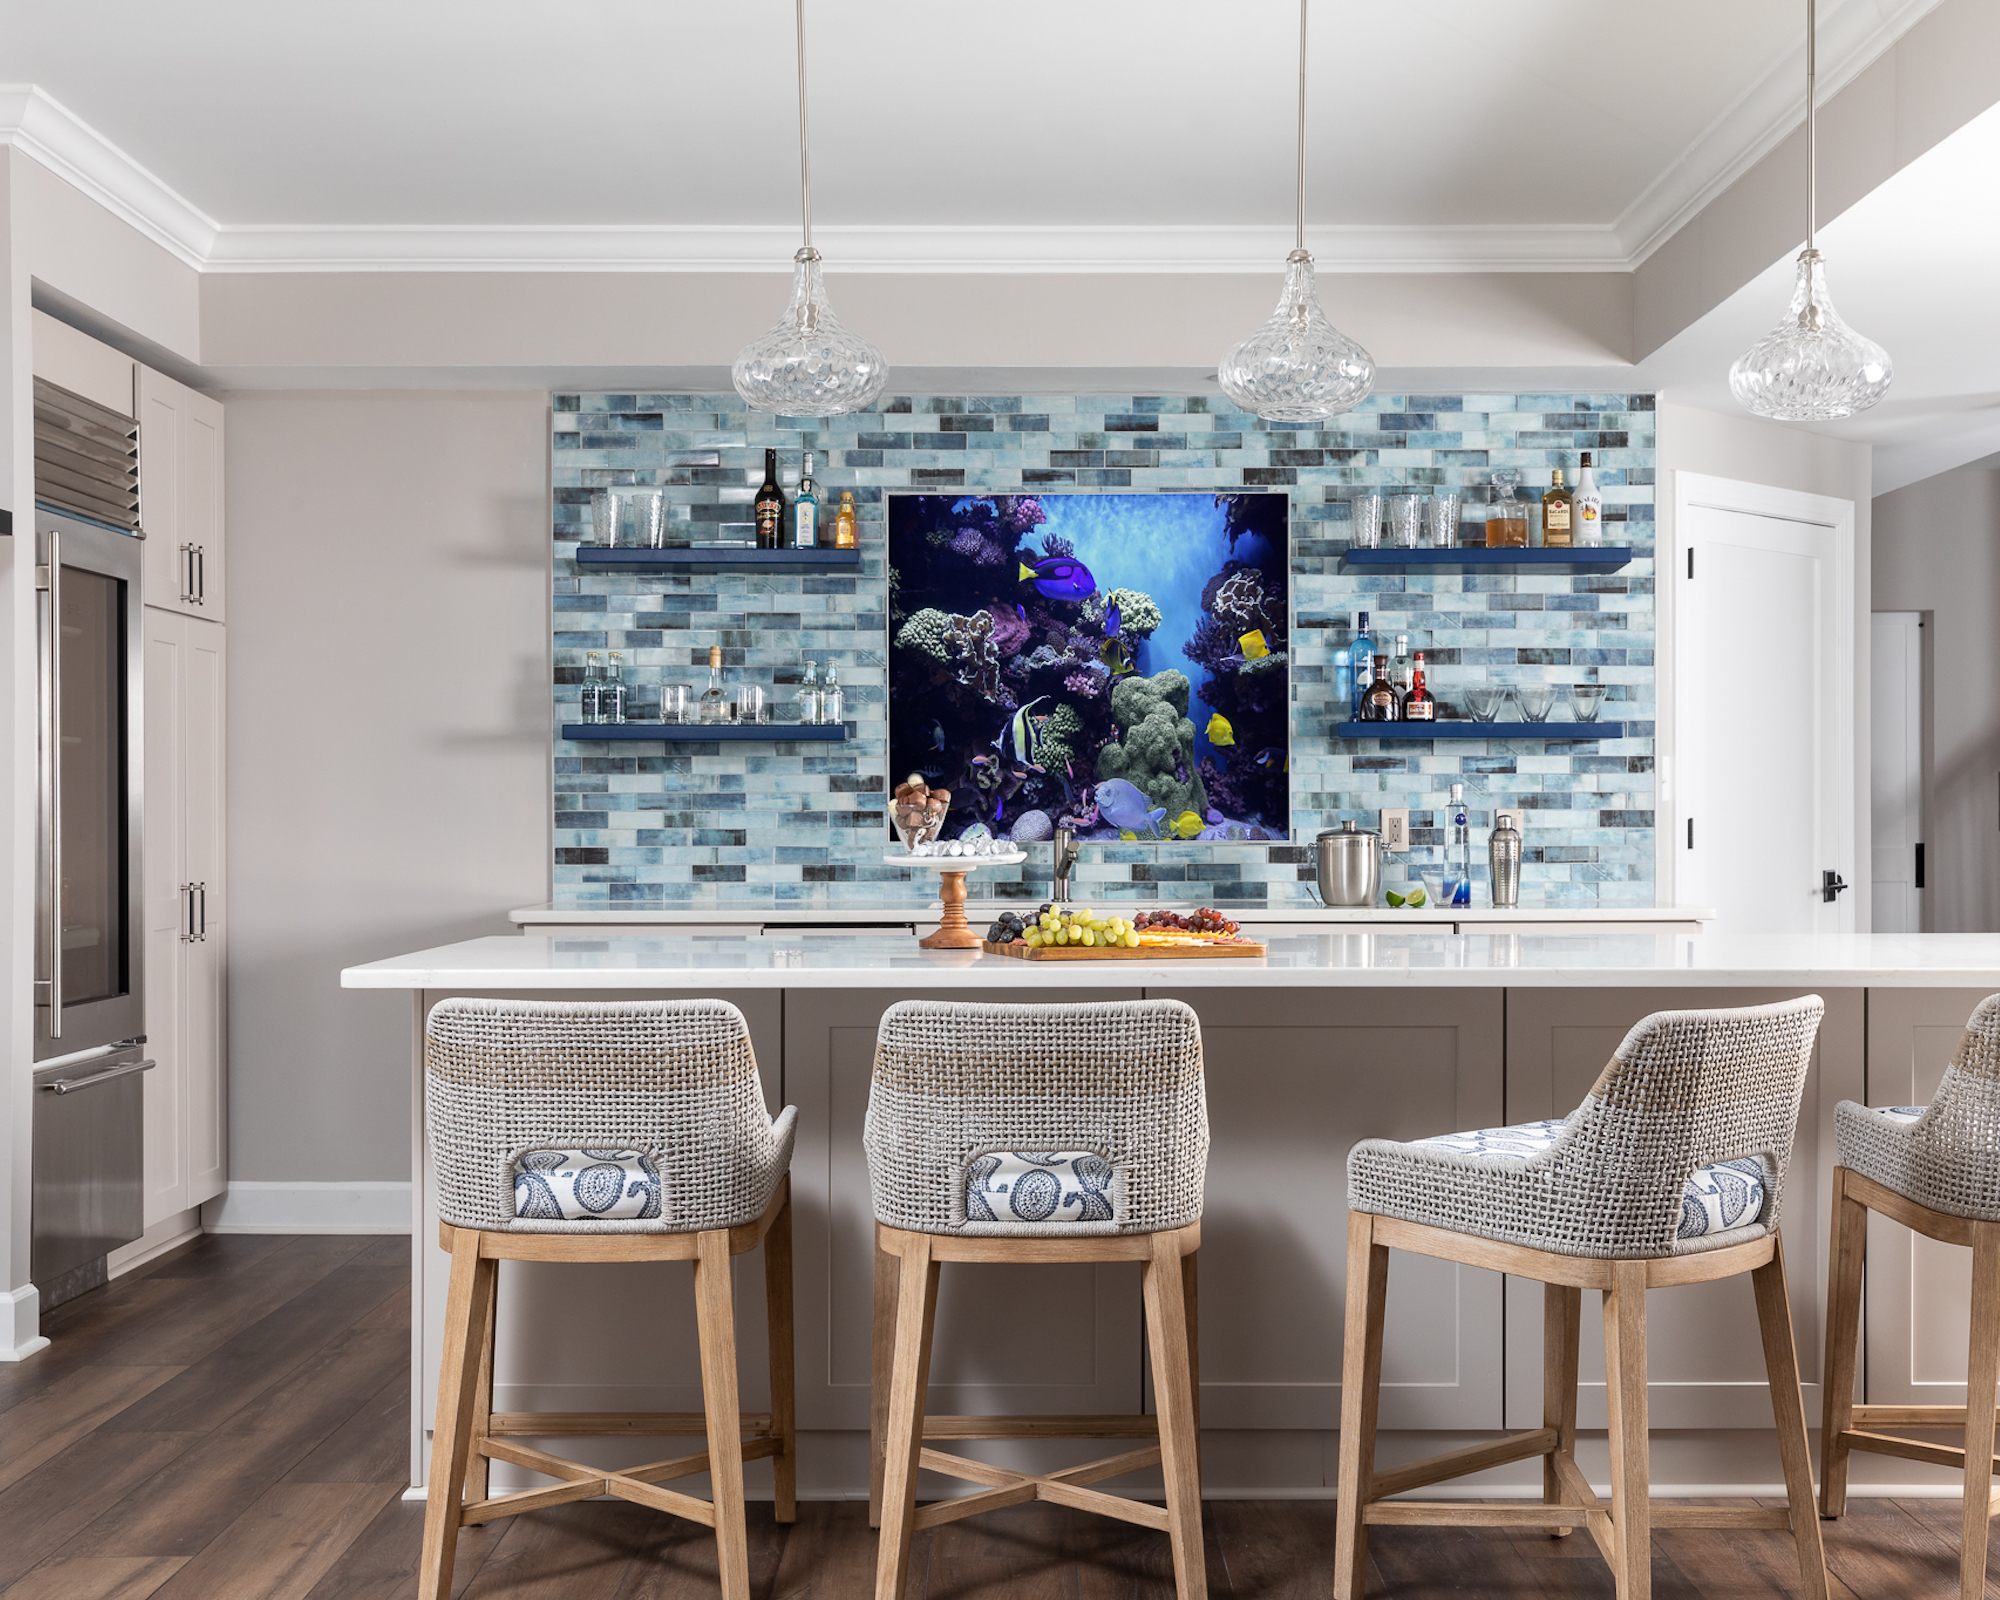
A backsplash on an open wall should end neatly and one way to achieve this is to use a bullnose tile to line the side edges and the top, if needed, says Stacey Dobrovolny, owner and principal designer of Two Navy Lane. ‘However, not every style of tile has a coordinating bullnose tile,’ she notes.
There’s another alternative. ‘Use a Schluter to give a nice, clean edge to the tile,’ says Stacey. ‘A Schluter is a “C” channel piece of plastic or metal where the tile slips in between to give a clean edge.
‘I prefer this most of the time because it gives one solid piece and there are not any grout lines like you would have with a bullnose border tile,’ she explains. ‘You have a variety of colors and metals to select from and they come in different sizes. It is best to work with your tile installer to get the correct size needed.’
3. Think trims
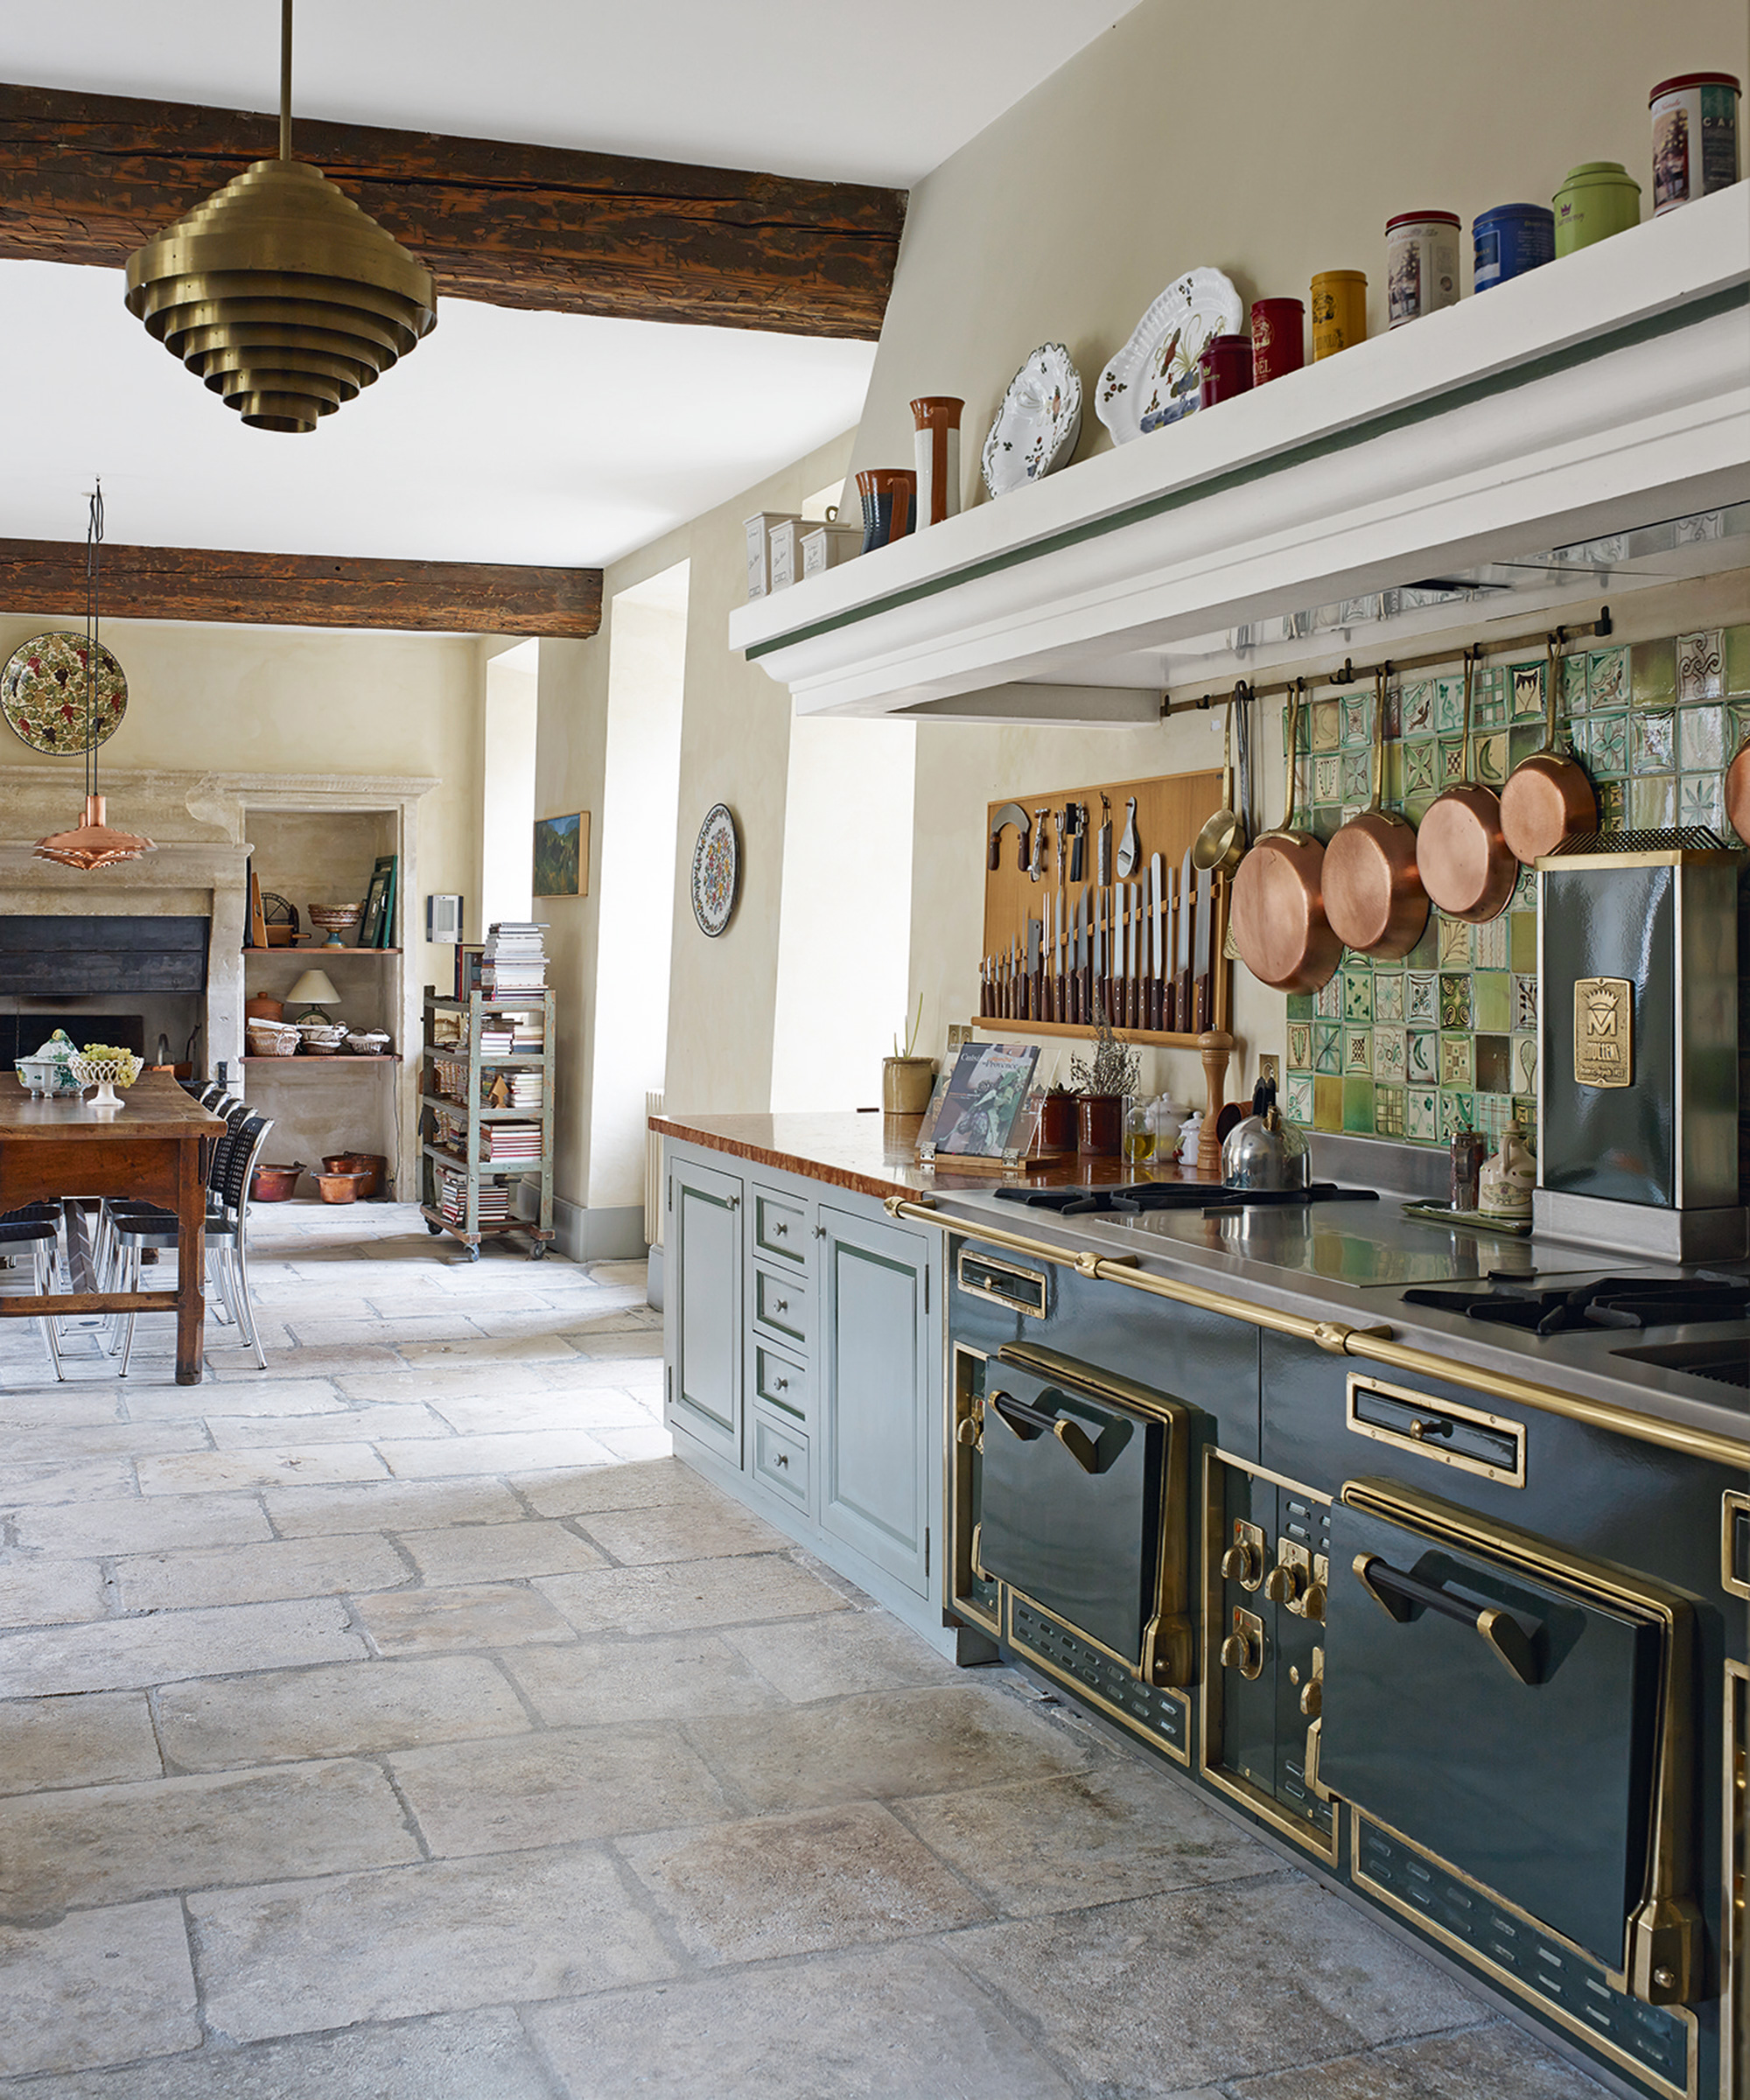
There are other alternatives for ending tile on an open wall.
‘The transition point between the backsplash tile and the drywall is important when installing a backsplash and there are a few ways to handle it,’ says Megan Hersch, the founder, CEO and lead designer at roomLift. ‘One option is to use a coordinating trim piece, either a quarter round or pencil liner tile, that is installed and grouted at the end of the backsplash run.
‘This is the most traditional method, found in homes with more traditional kitchens. It is the easiest method for installers and covers almost any change of plane or not exactly perfect wall condition. Tile installers love this one for that reason (read: less pricey install).
Trim works particularly well if you are including millwork, shiplap or other paneling in your design, explains Janelle Patton, principal designer and owner of Lark Interiors.
‘In these cases, plan your millwork design so that the tile can terminate directly into a piece of trim,’ she advises. ‘If you aren’t using millwork, consider using a marble or white ceramic pencil tile to provide a clean edge for your tile where it meets the drywall.’
4. Miter the tile
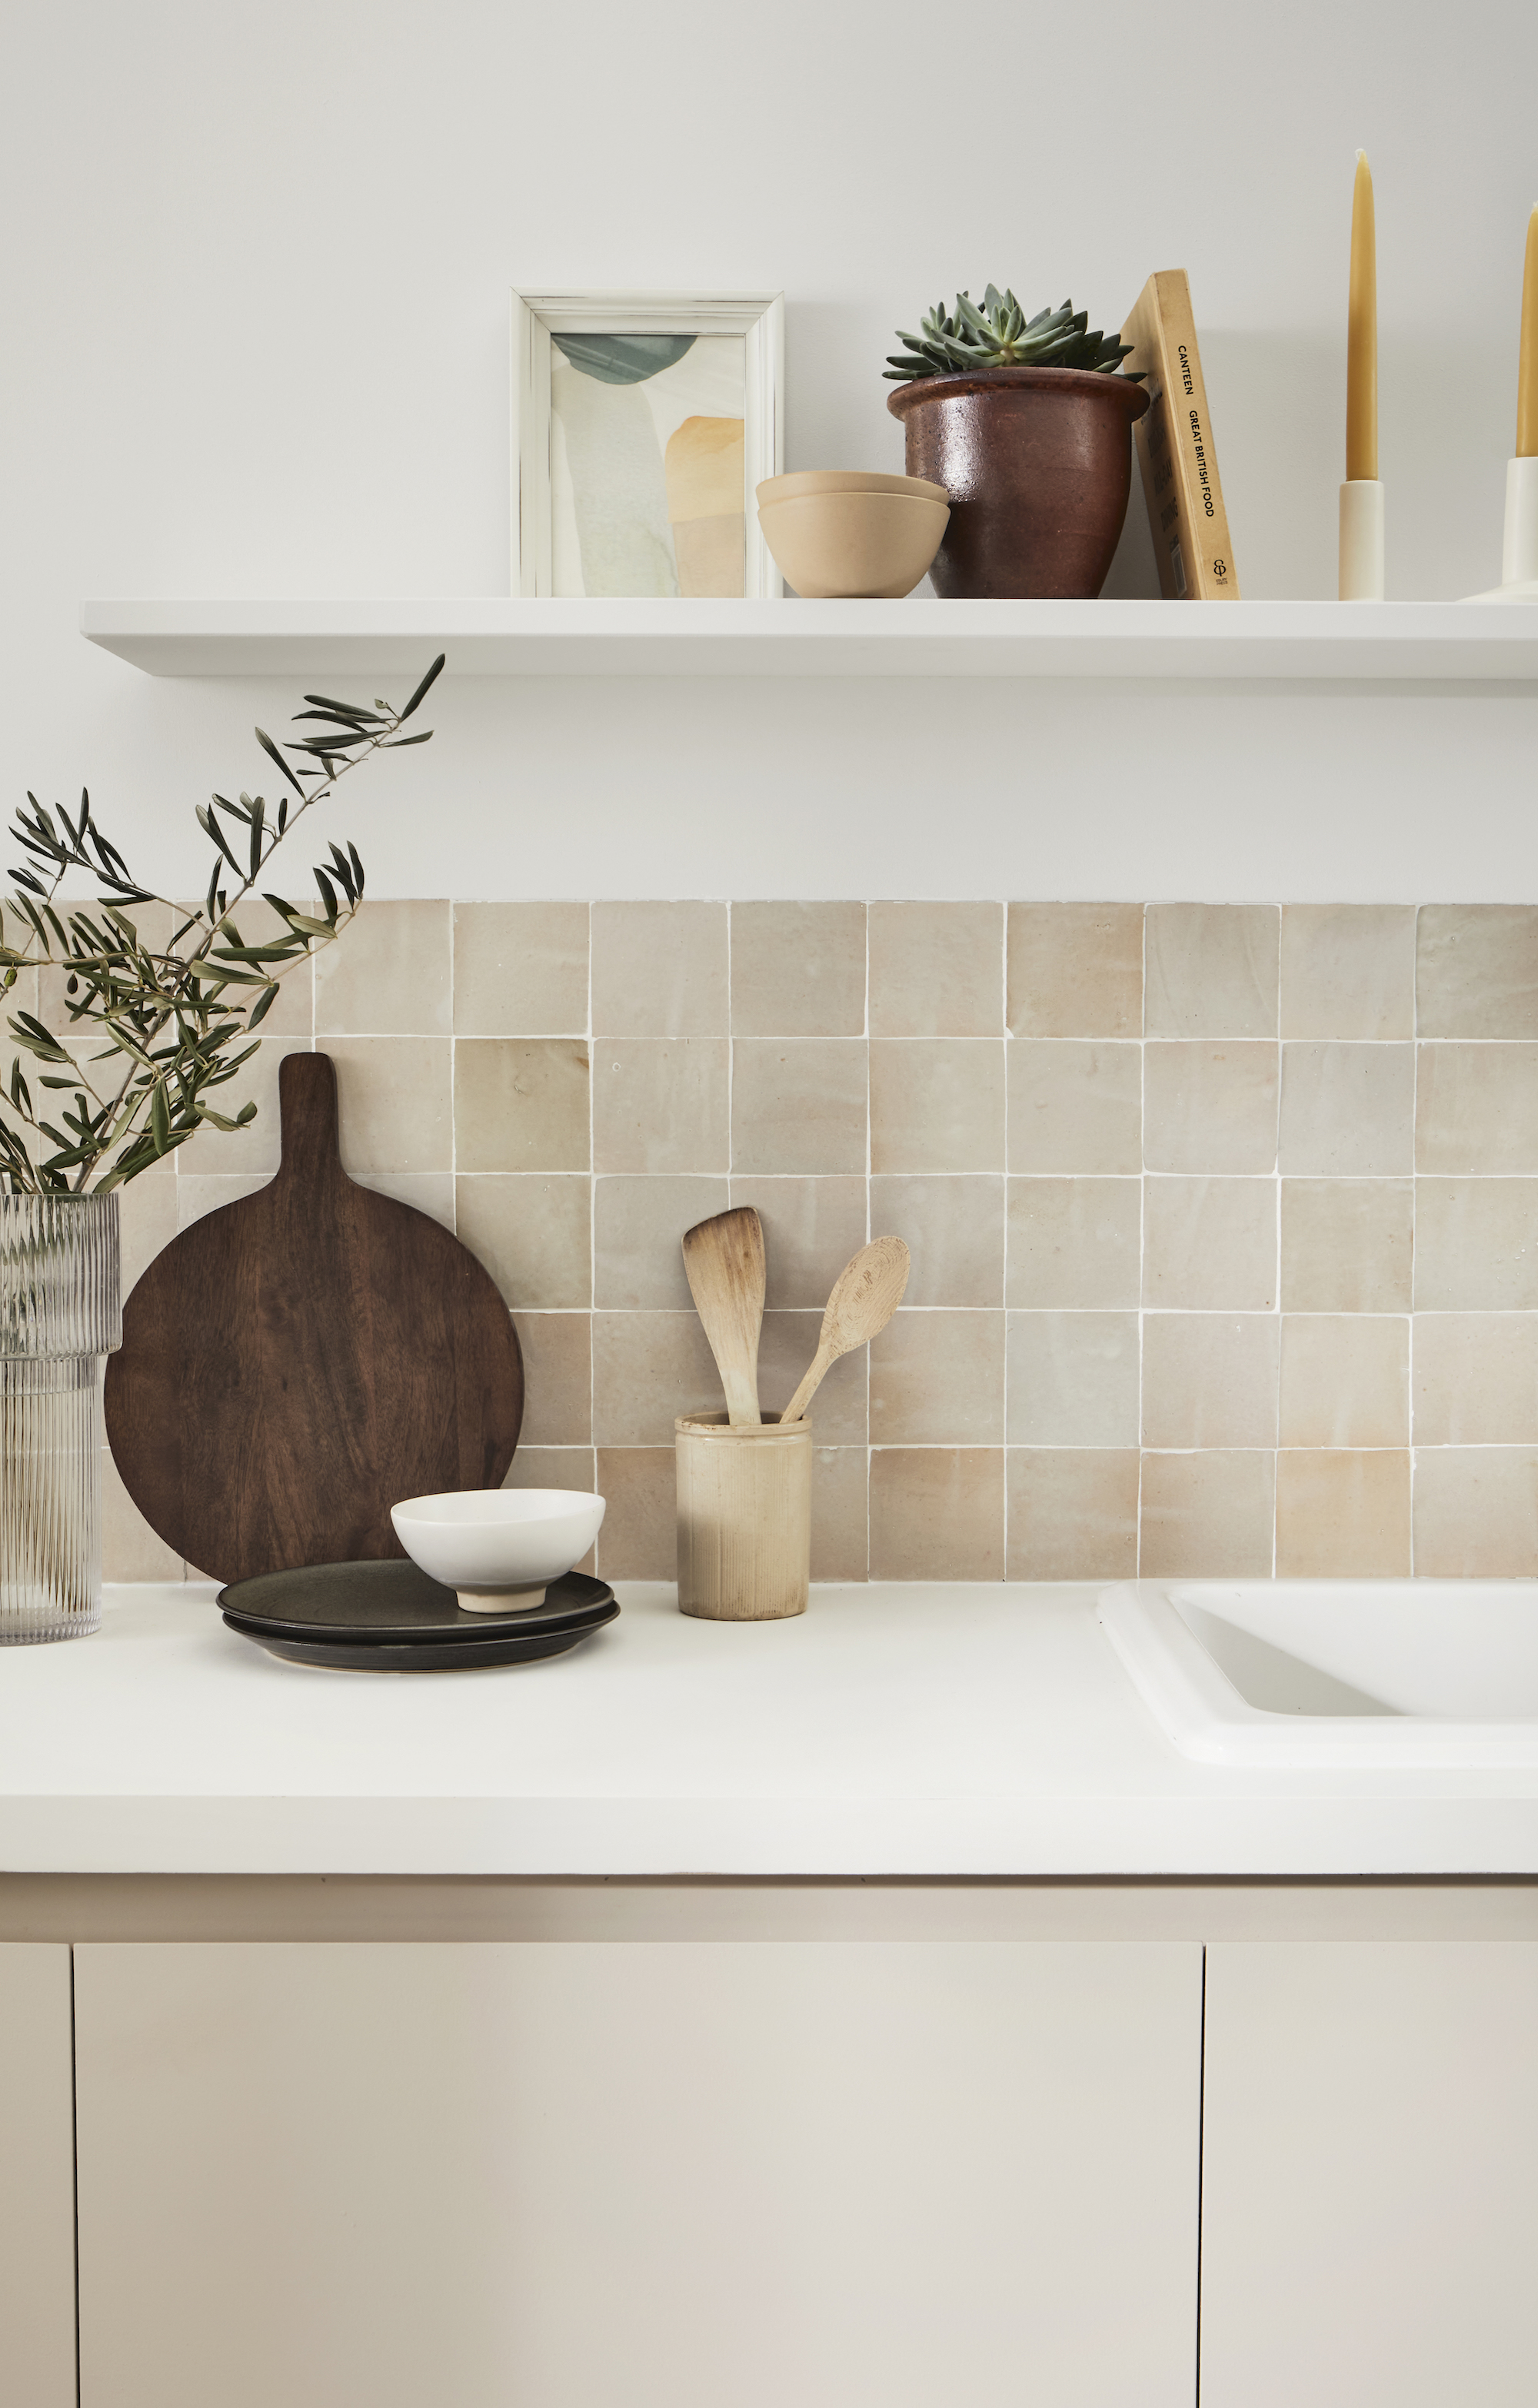
Mitering can be a way to end a backsplash on an open wall. ‘This means cutting the tile edge at 45 degrees and cutting a second piece at 45 degrees, forming a clean corner of tile that terminates directly into the drywall,’ says Janelle Patton. ‘This is especially effective if the tile is thicker – like with a zellige.’
5. Focus on wall cabinets
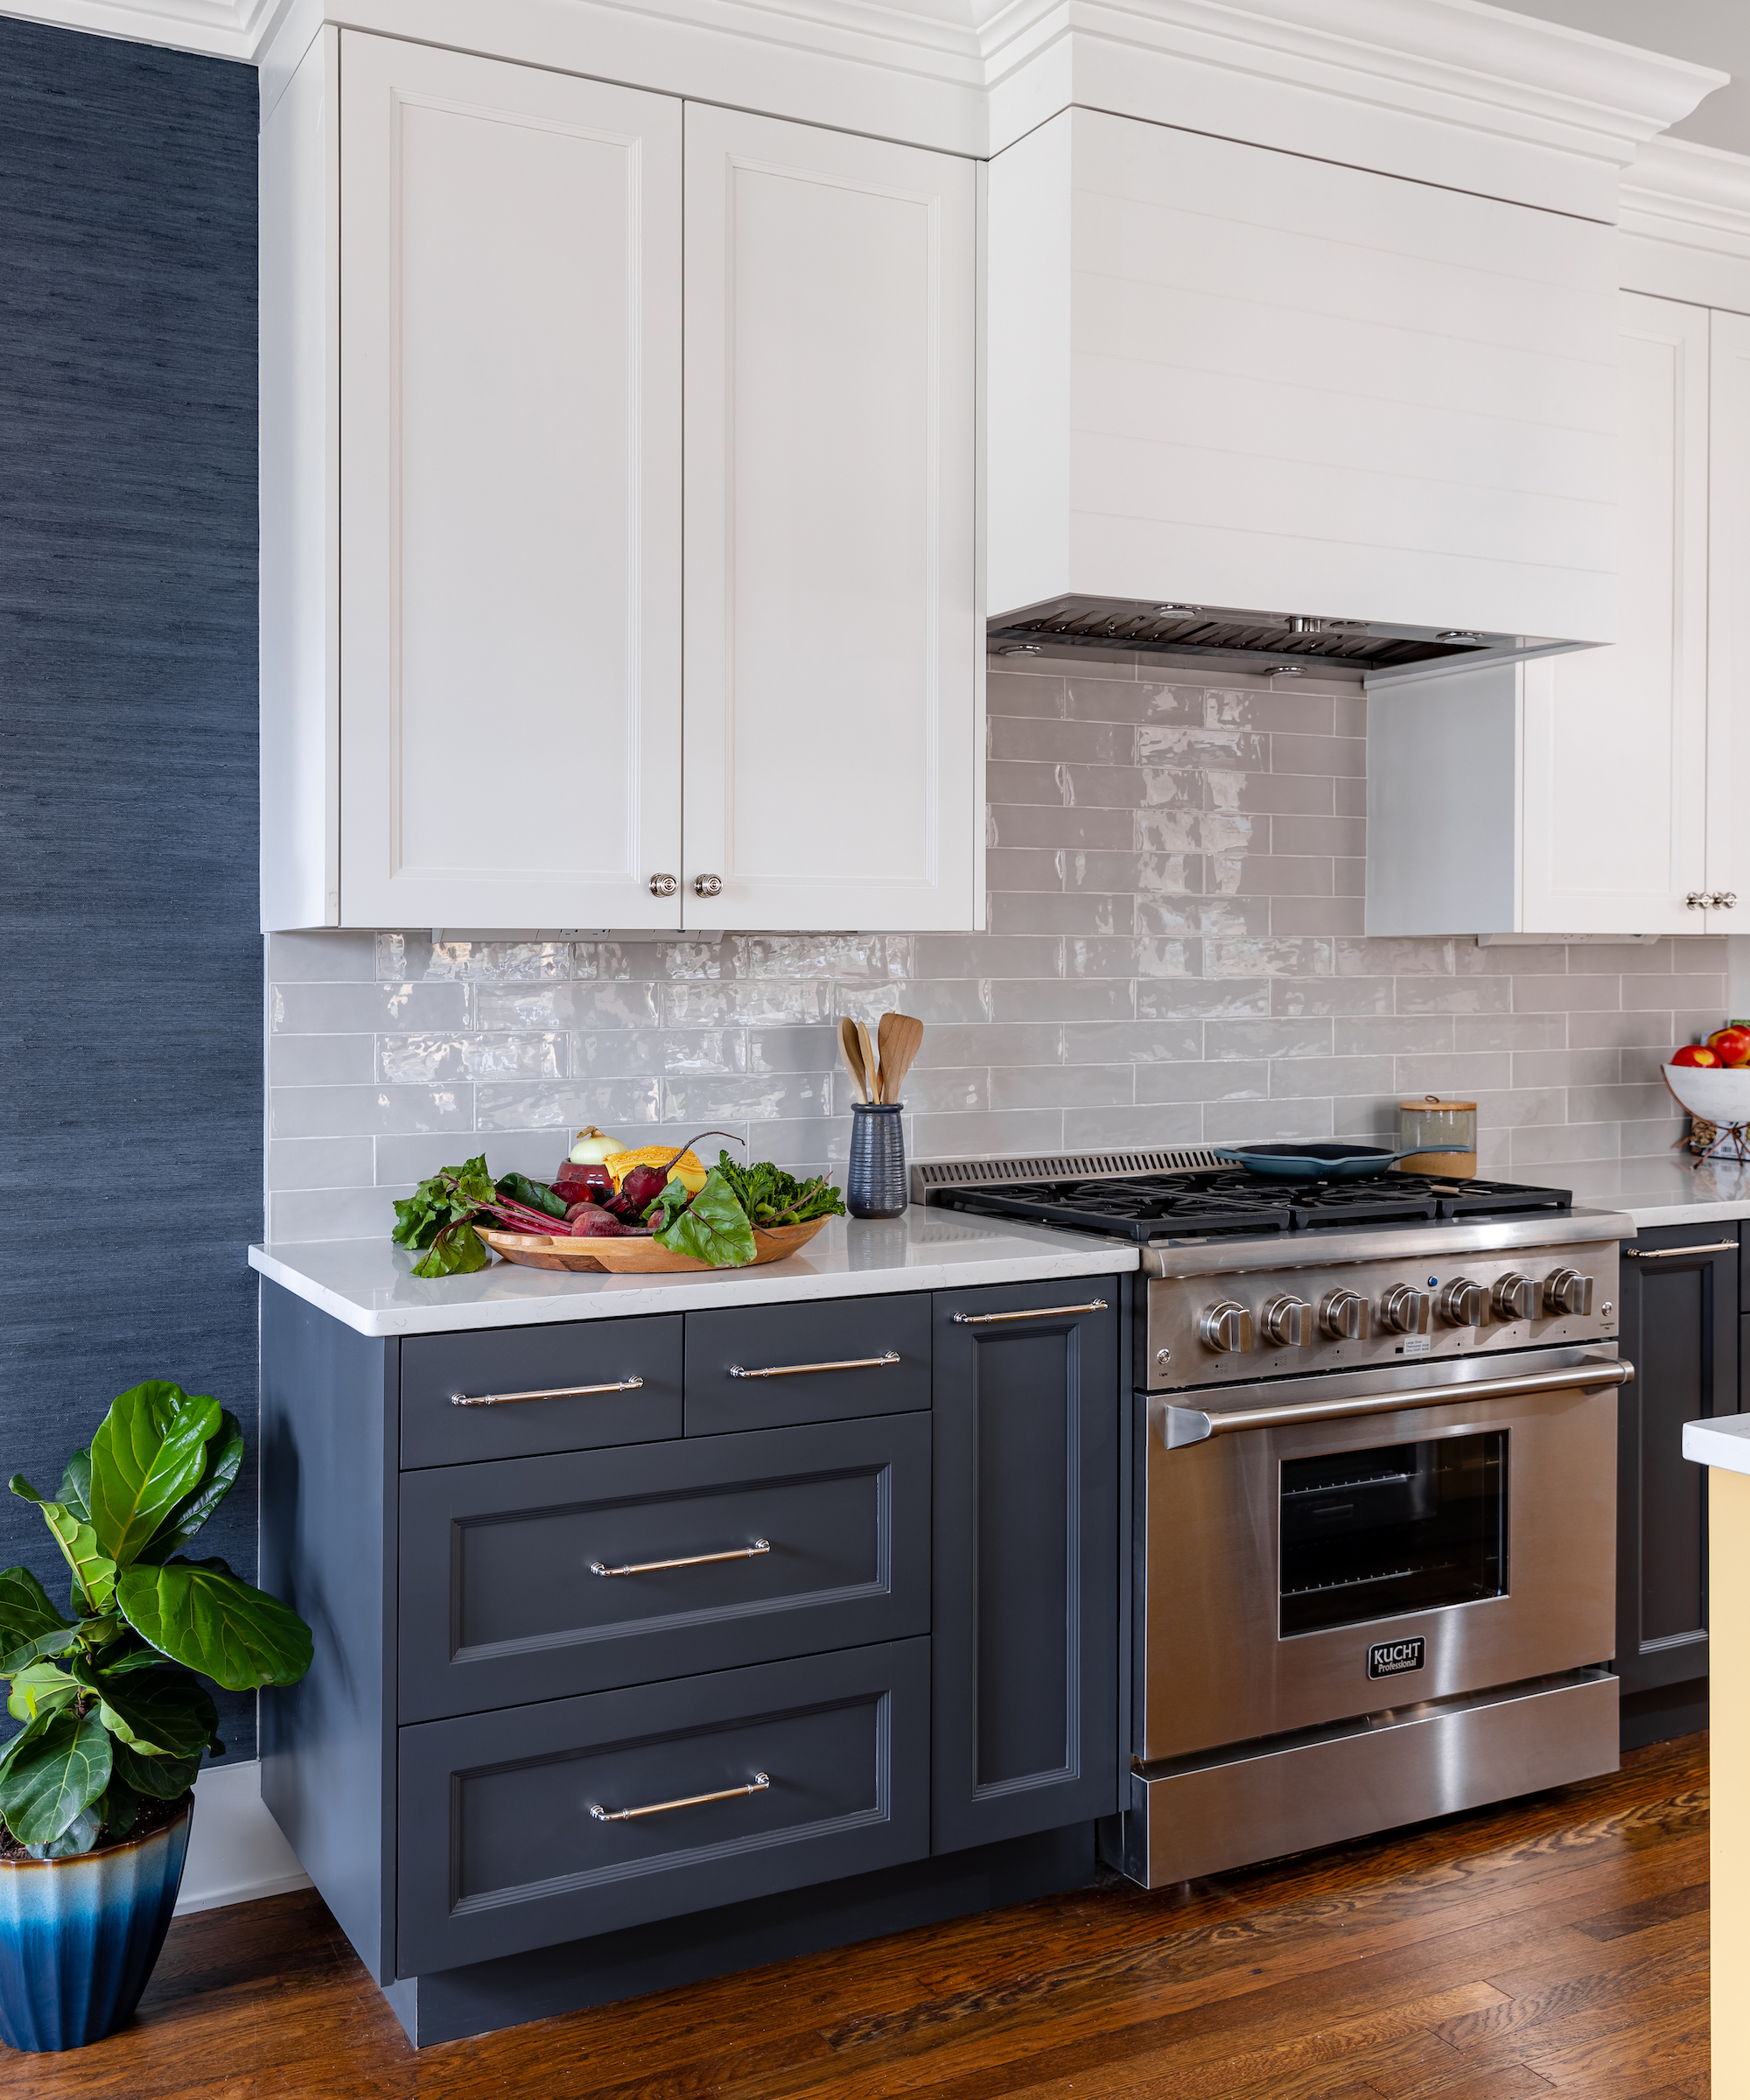
Aligning with base cabinets is important, as noted above, but any wall cabinets shouldn’t be ignored. Cheryl Kees Clendenon advises: ‘Do not ever go past the upper cabinet on an open wall or you risk unwanted attention to an element of the backsplash that should end gracefully.’
In a new kitchen follow this guideline for the best finish. ‘You want the base cabinets with the countertop to line up with end of the upper cabinet,’ says Cheryl. ‘This allows the line of the tile to follow down to the countertop and not hang past or be too short.’
6. Continue the countertop
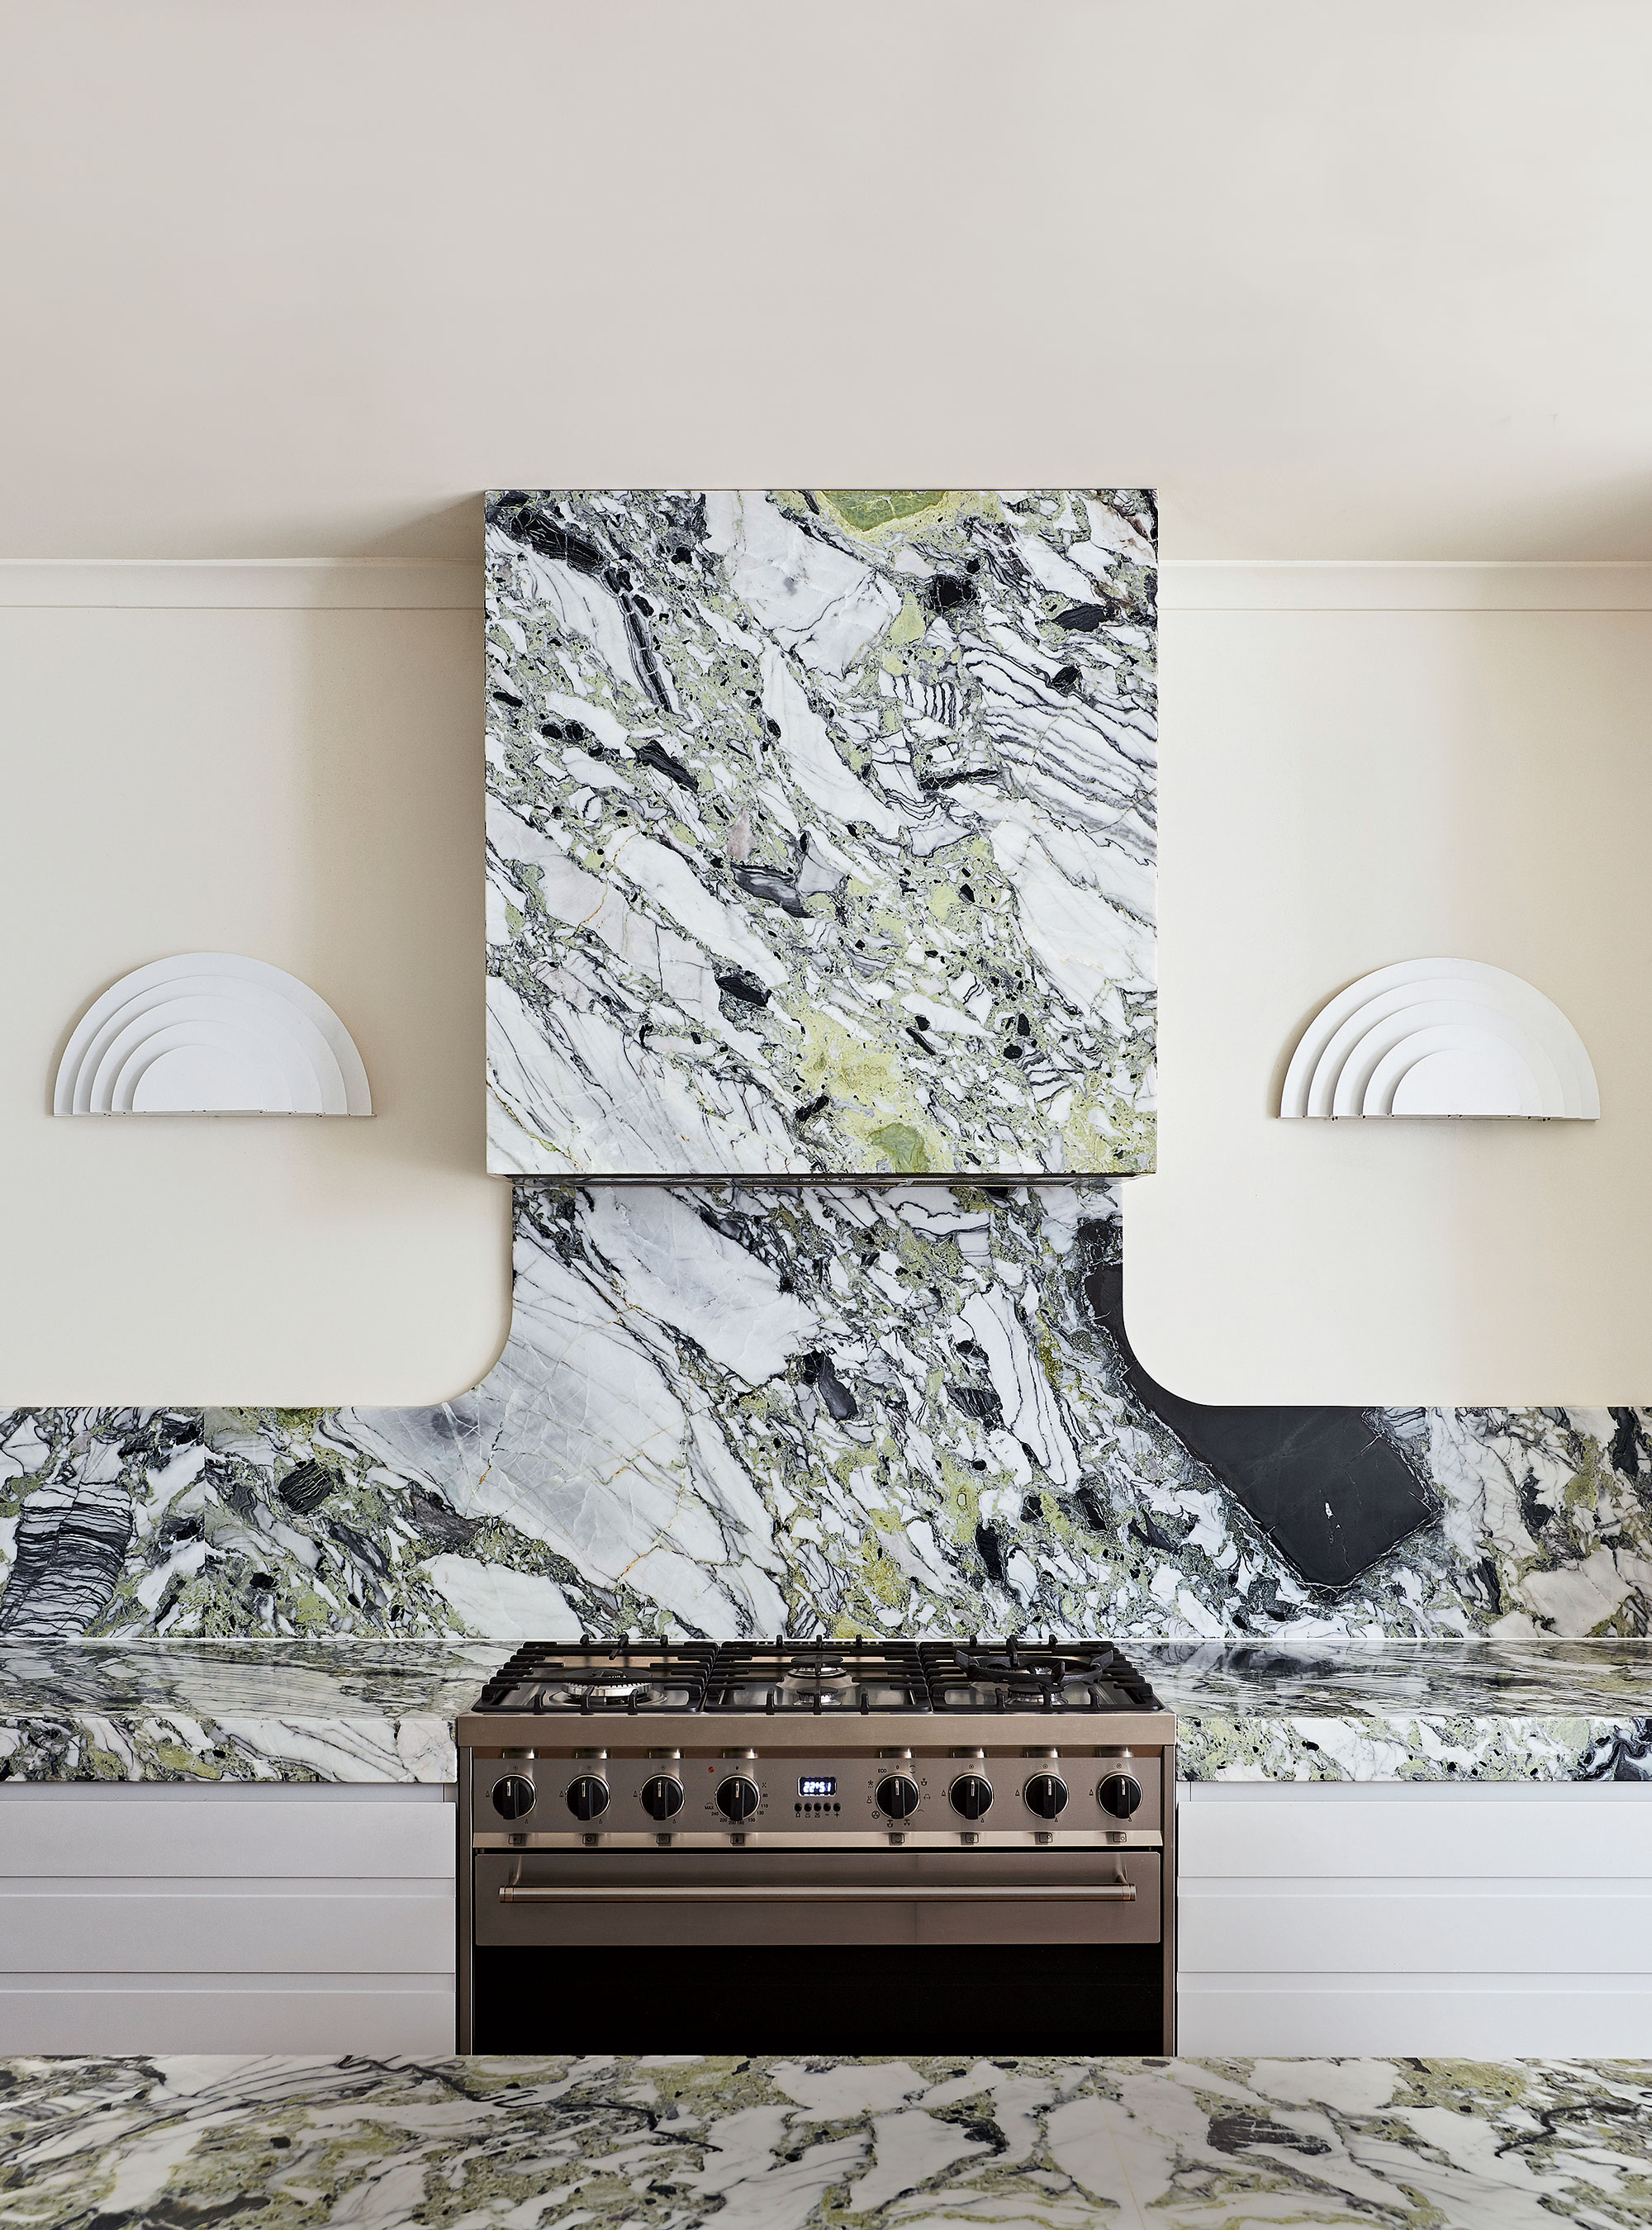
Rather than tile, continue the countertop material as a backsplash that has a neat and visually pleasing end.
‘A major kitchen trend right now is working your countertop material as the backsplash instead of tiling, using the same material as one large slab for the entire backsplash,’ explains Cristy Lee, renovation expert, interior designer and TV personality.
‘The clean lines of something like natural stone counters continued up a wall are undeniably stunning and style enhancing, and these clean lines make for easy kitchen cleaning. The vertical edge of a natural stone backsplash (or even engineered) provides the perfect, neat and tidy edging for any open wall, while the horizontal edge plays up the opportunity to add wood floating shelves for textural contrast or even a small ledge with the same material at the top of the backsplash.’
7. Frame the backsplash
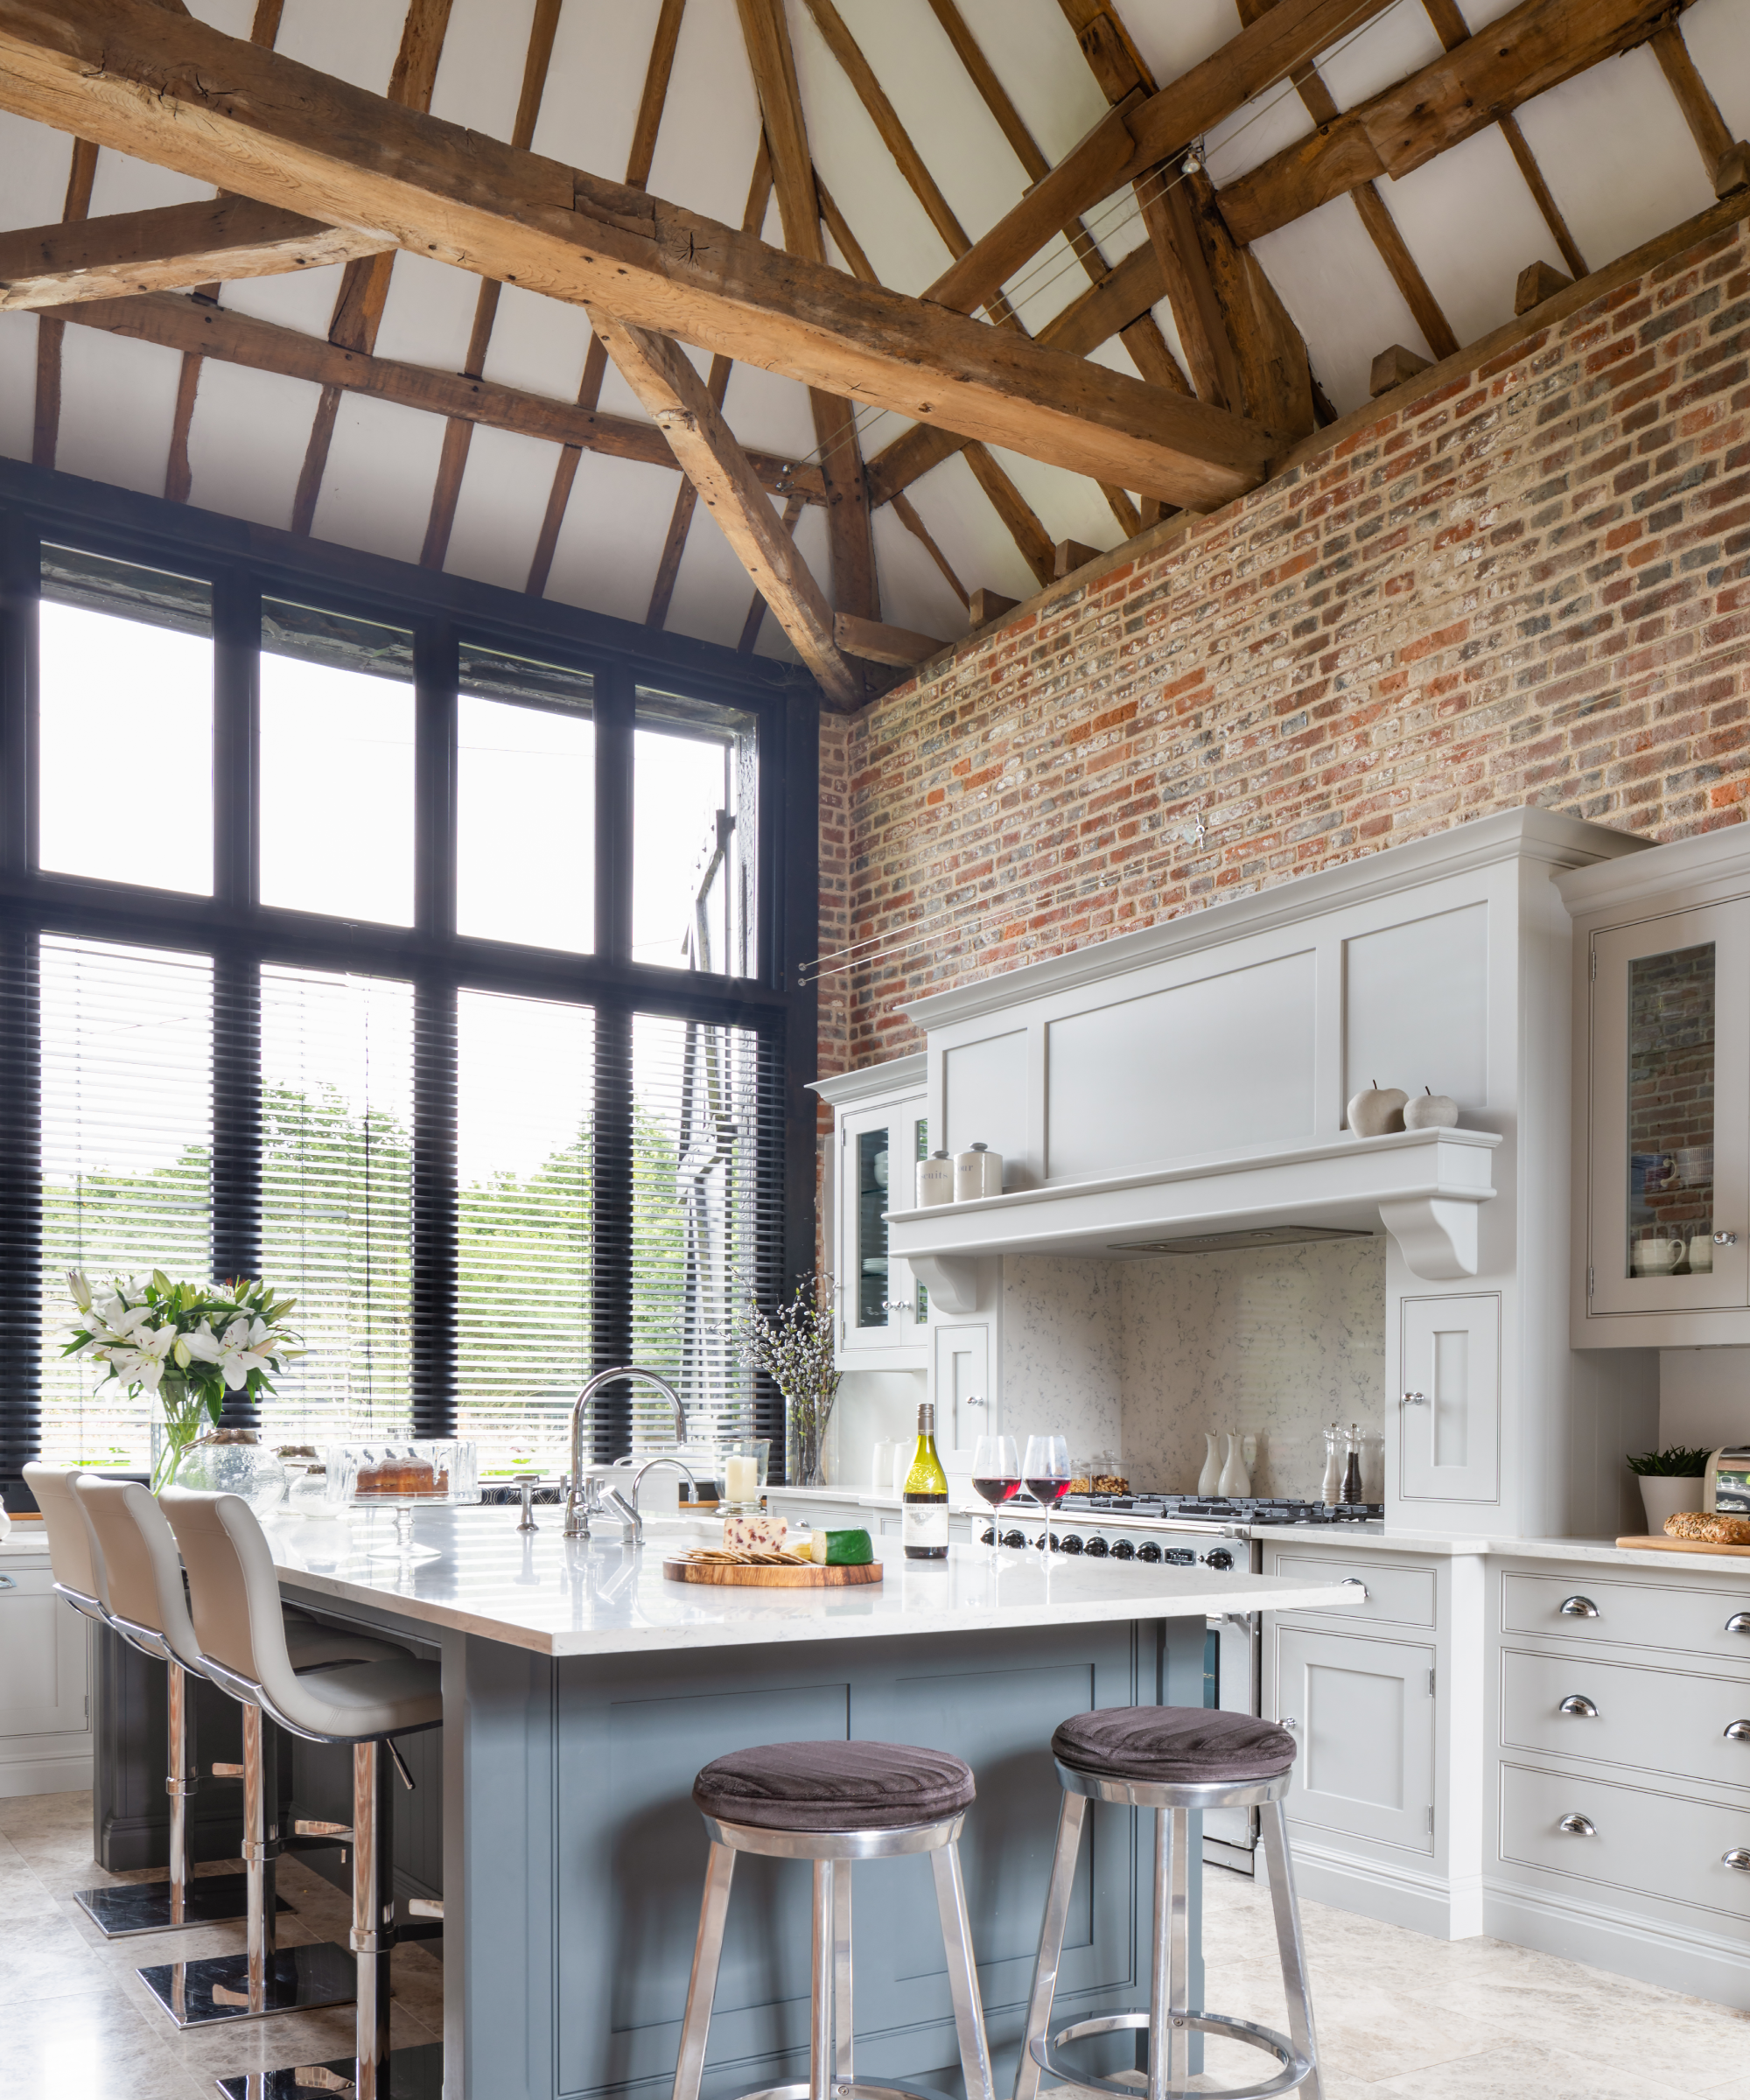
If you’re remodeling a kitchen, it is possible to solve the problem of how to end a backsplash on an open wall by framing it.
‘Try to enclose the backsplash for a cleaner look as then the tile will have a place to end easily,’ recommends Cheryl Kees Clendenon. ‘You can do this with cabinetry and other methods if the layout does not have walls enclosing the space.’
The best tile backsplash ideas will make a great feature as well as protecting walls, and can add color, pattern and texture to any setting, while white kitchen splashback ideas can elevate a room that has cabinets in this space-expanding color. Alternatively, in a contemporary kitchen, think metal splashbacks.

Sarah is a freelance journalist and editor. Previously executive editor of Ideal Home, she’s specialized in interiors, property and gardens for over 20 years, and covers interior design, house design, gardens, and cleaning and organizing a home for Homes & Gardens. She’s written for websites, including Houzz, Channel 4’s flagship website, 4Homes, and Future’s T3; national newspapers, including The Guardian; and magazines including Future’s Country Homes & Interiors, Homebuilding & Renovating, Period Living, and Style at Home, as well as House Beautiful, Good Homes, Grand Designs, Homes & Antiques, LandLove and The English Home among others. It’s no big surprise that she likes to put what she writes about into practice, and is a serial house renovator.