How to descale a Keurig with vinegar – avoid using harsh chemicals with this all-natural alternative the pros love
Keep your machine running smoothly and your coffee tasting great with this expert-approved descaling method
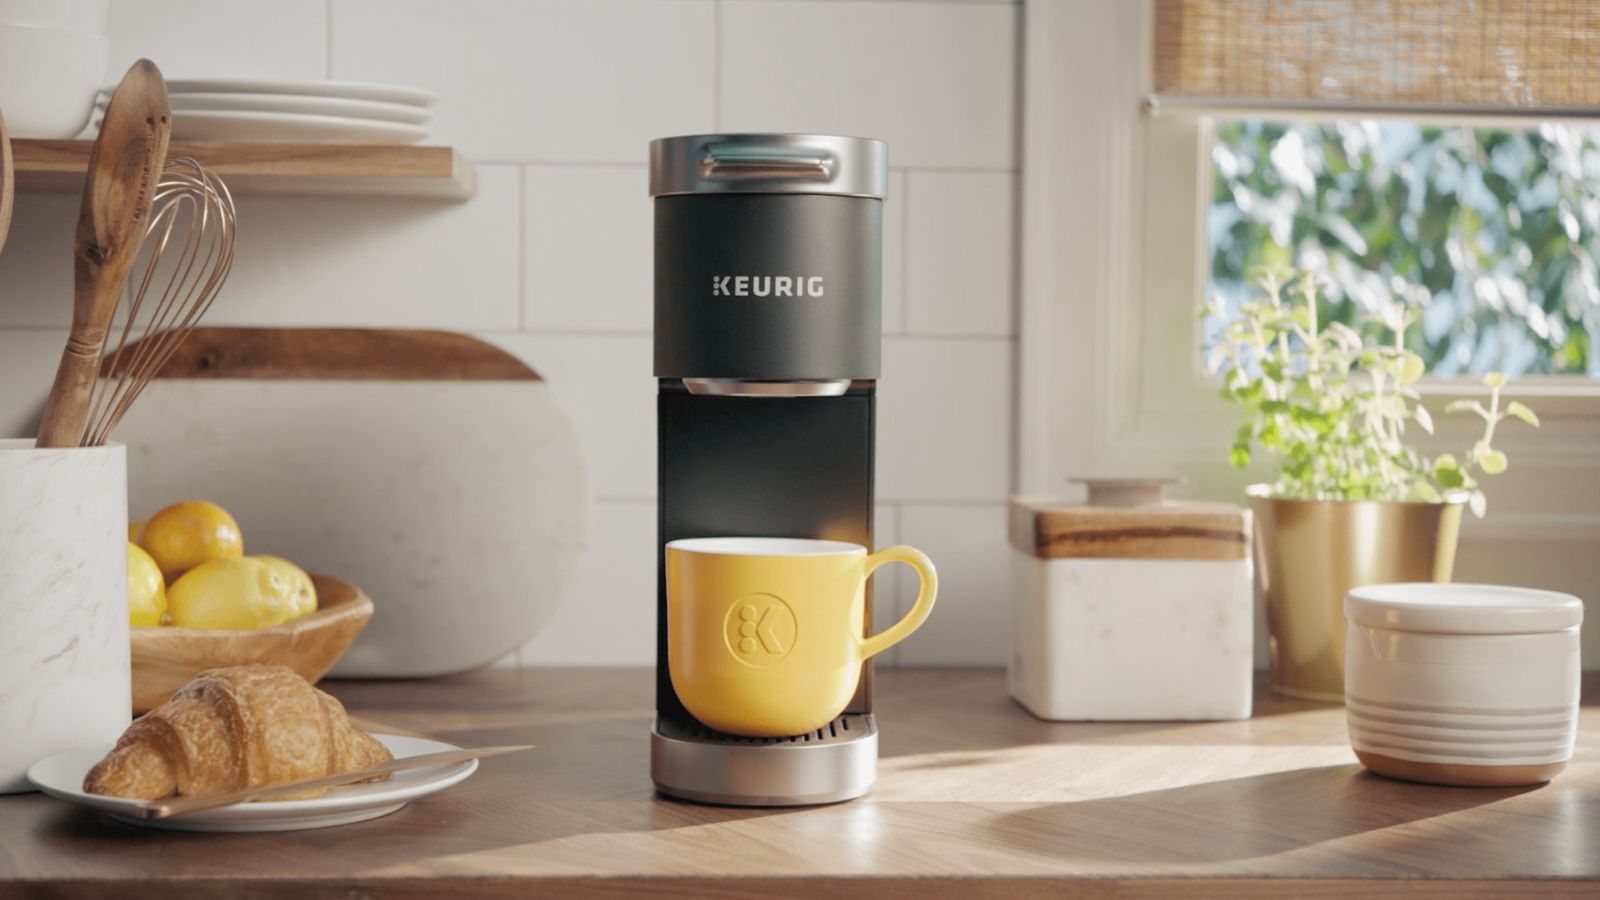

It might not be top of your priority list, but descaling your Keurig with vinegar won't just keep your morning coffee tasting great – it will remove mineral deposits and prolong the life of your machine, too.
Luckily, it's not a tricky task to undertake, and you don't need any pricey specialist products to clean both the interior and exterior of your machine, either.
I spoke to professional cleaners and coffee appliance experts for their descaling with vinegar tips so even the best Keurig coffee maker doesn't get sidelined by limescale.
What you'll need to descale a Keurig with vinegar easily
- White vinegar such as this White Distilled Vinegar available at Target
- Distilled water
- A cup or mug, to catch the used solution
- A clean cloth such as the bestselling Great Value Multipurpose Microfiber Household Cleaning Cloth available at Walmart
- Dish soap such as the MRS. MEYER'S CLEAN DAY Liquid Dish Soap available at Amazon, which has a biodegradable formula and is made with plant-derived cleaning ingredients.
1. Empty the machine's reservoir
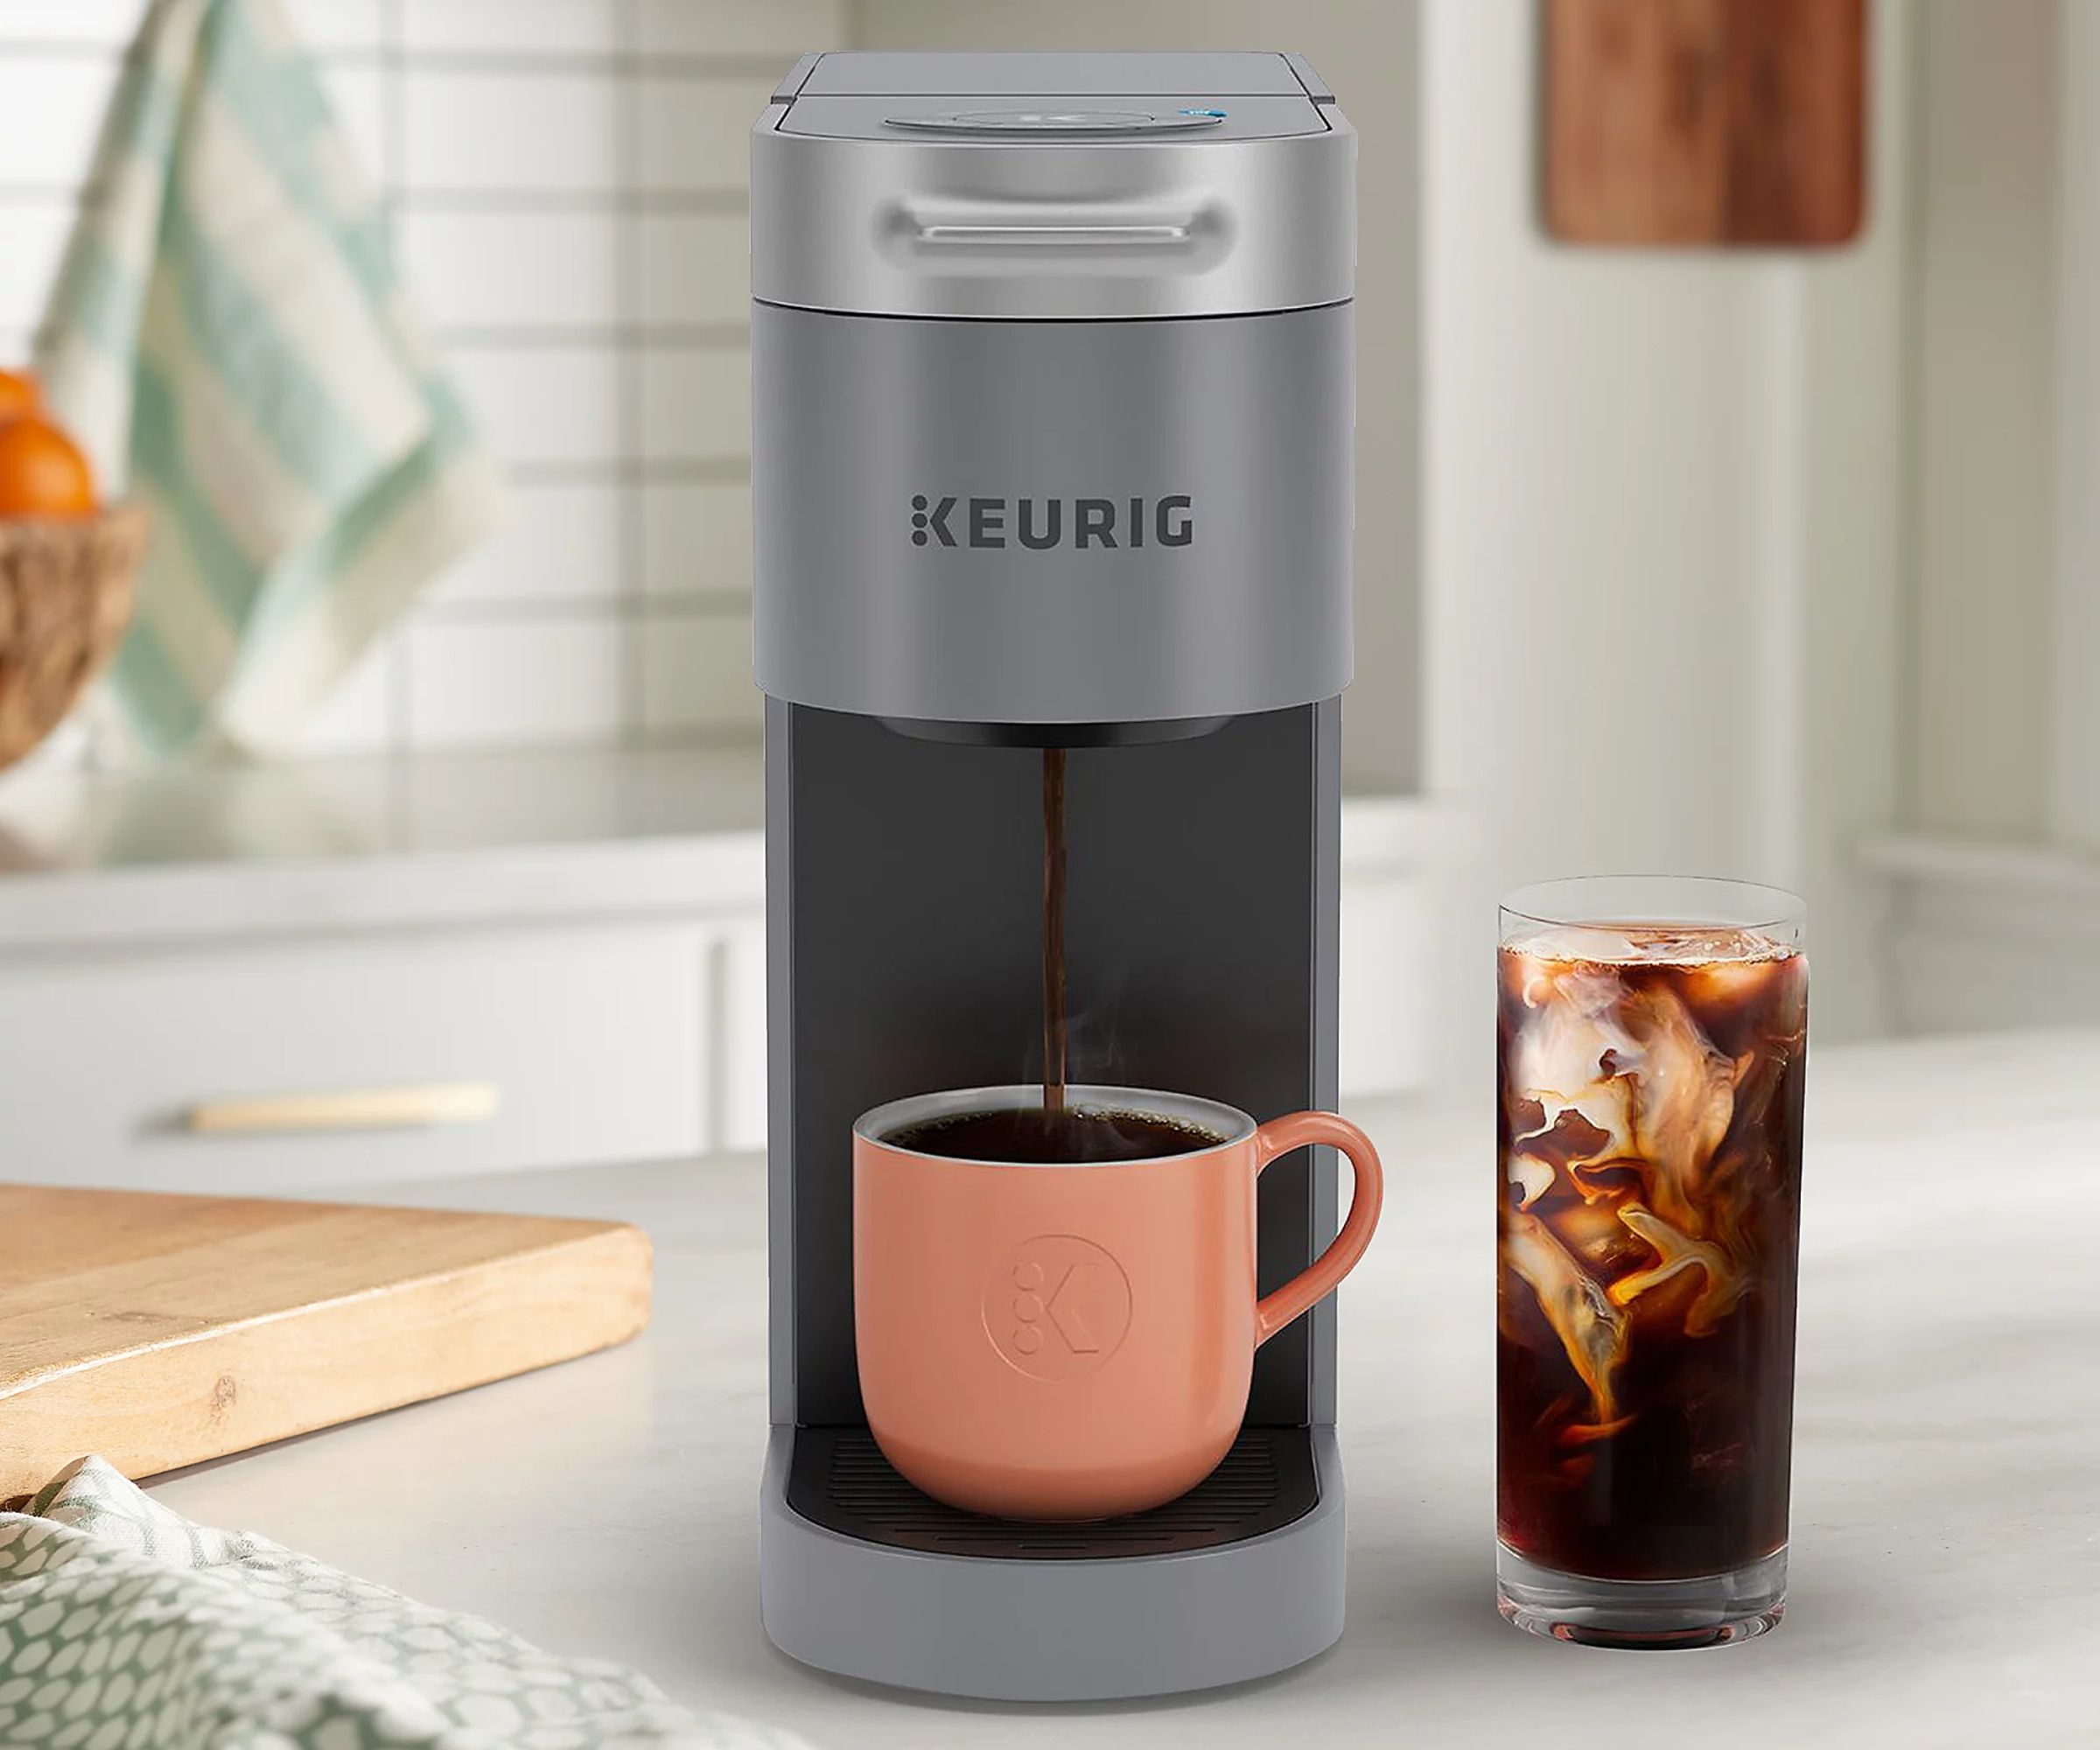
First things first: prep your Keurig. Diana Crane from Keurig advises, 'Prepare your brewer by emptying your water reservoir of water, removing any K-Cups, and the water filter if applicable.'
If you are descaling a Keurig machine with a removable filter, it is best to remove this part to prevent the solution from saturating the filter and leaving residue behind, which may affect the taste of your coffee afterward. Washing this by hand with water is the best approach, so gently rinse it under cold water to remove trapped buildup.
Jade Piper, operations manager for BetterCleans, says, 'This is one of the things you shouldn't clean with soap, as it can clog the filter pores. If you haven’t changed the filter in a while, soak it in a cup of clean water for 5-10 minutes to refresh it, then air-dry.
'However, if your filter is older than two months, it’s best to replace it with a fresh one. Now, if you don’t want to deal with filters often, you can skip using one and just use filtered water instead. It helps reduce scale buildup in the first place!'
At this stage, Karina Toner, professional cleaner and operations manager at Spekless recommends turning off the auto shut-off feature on your machine, to prevent any interruptions in the process.
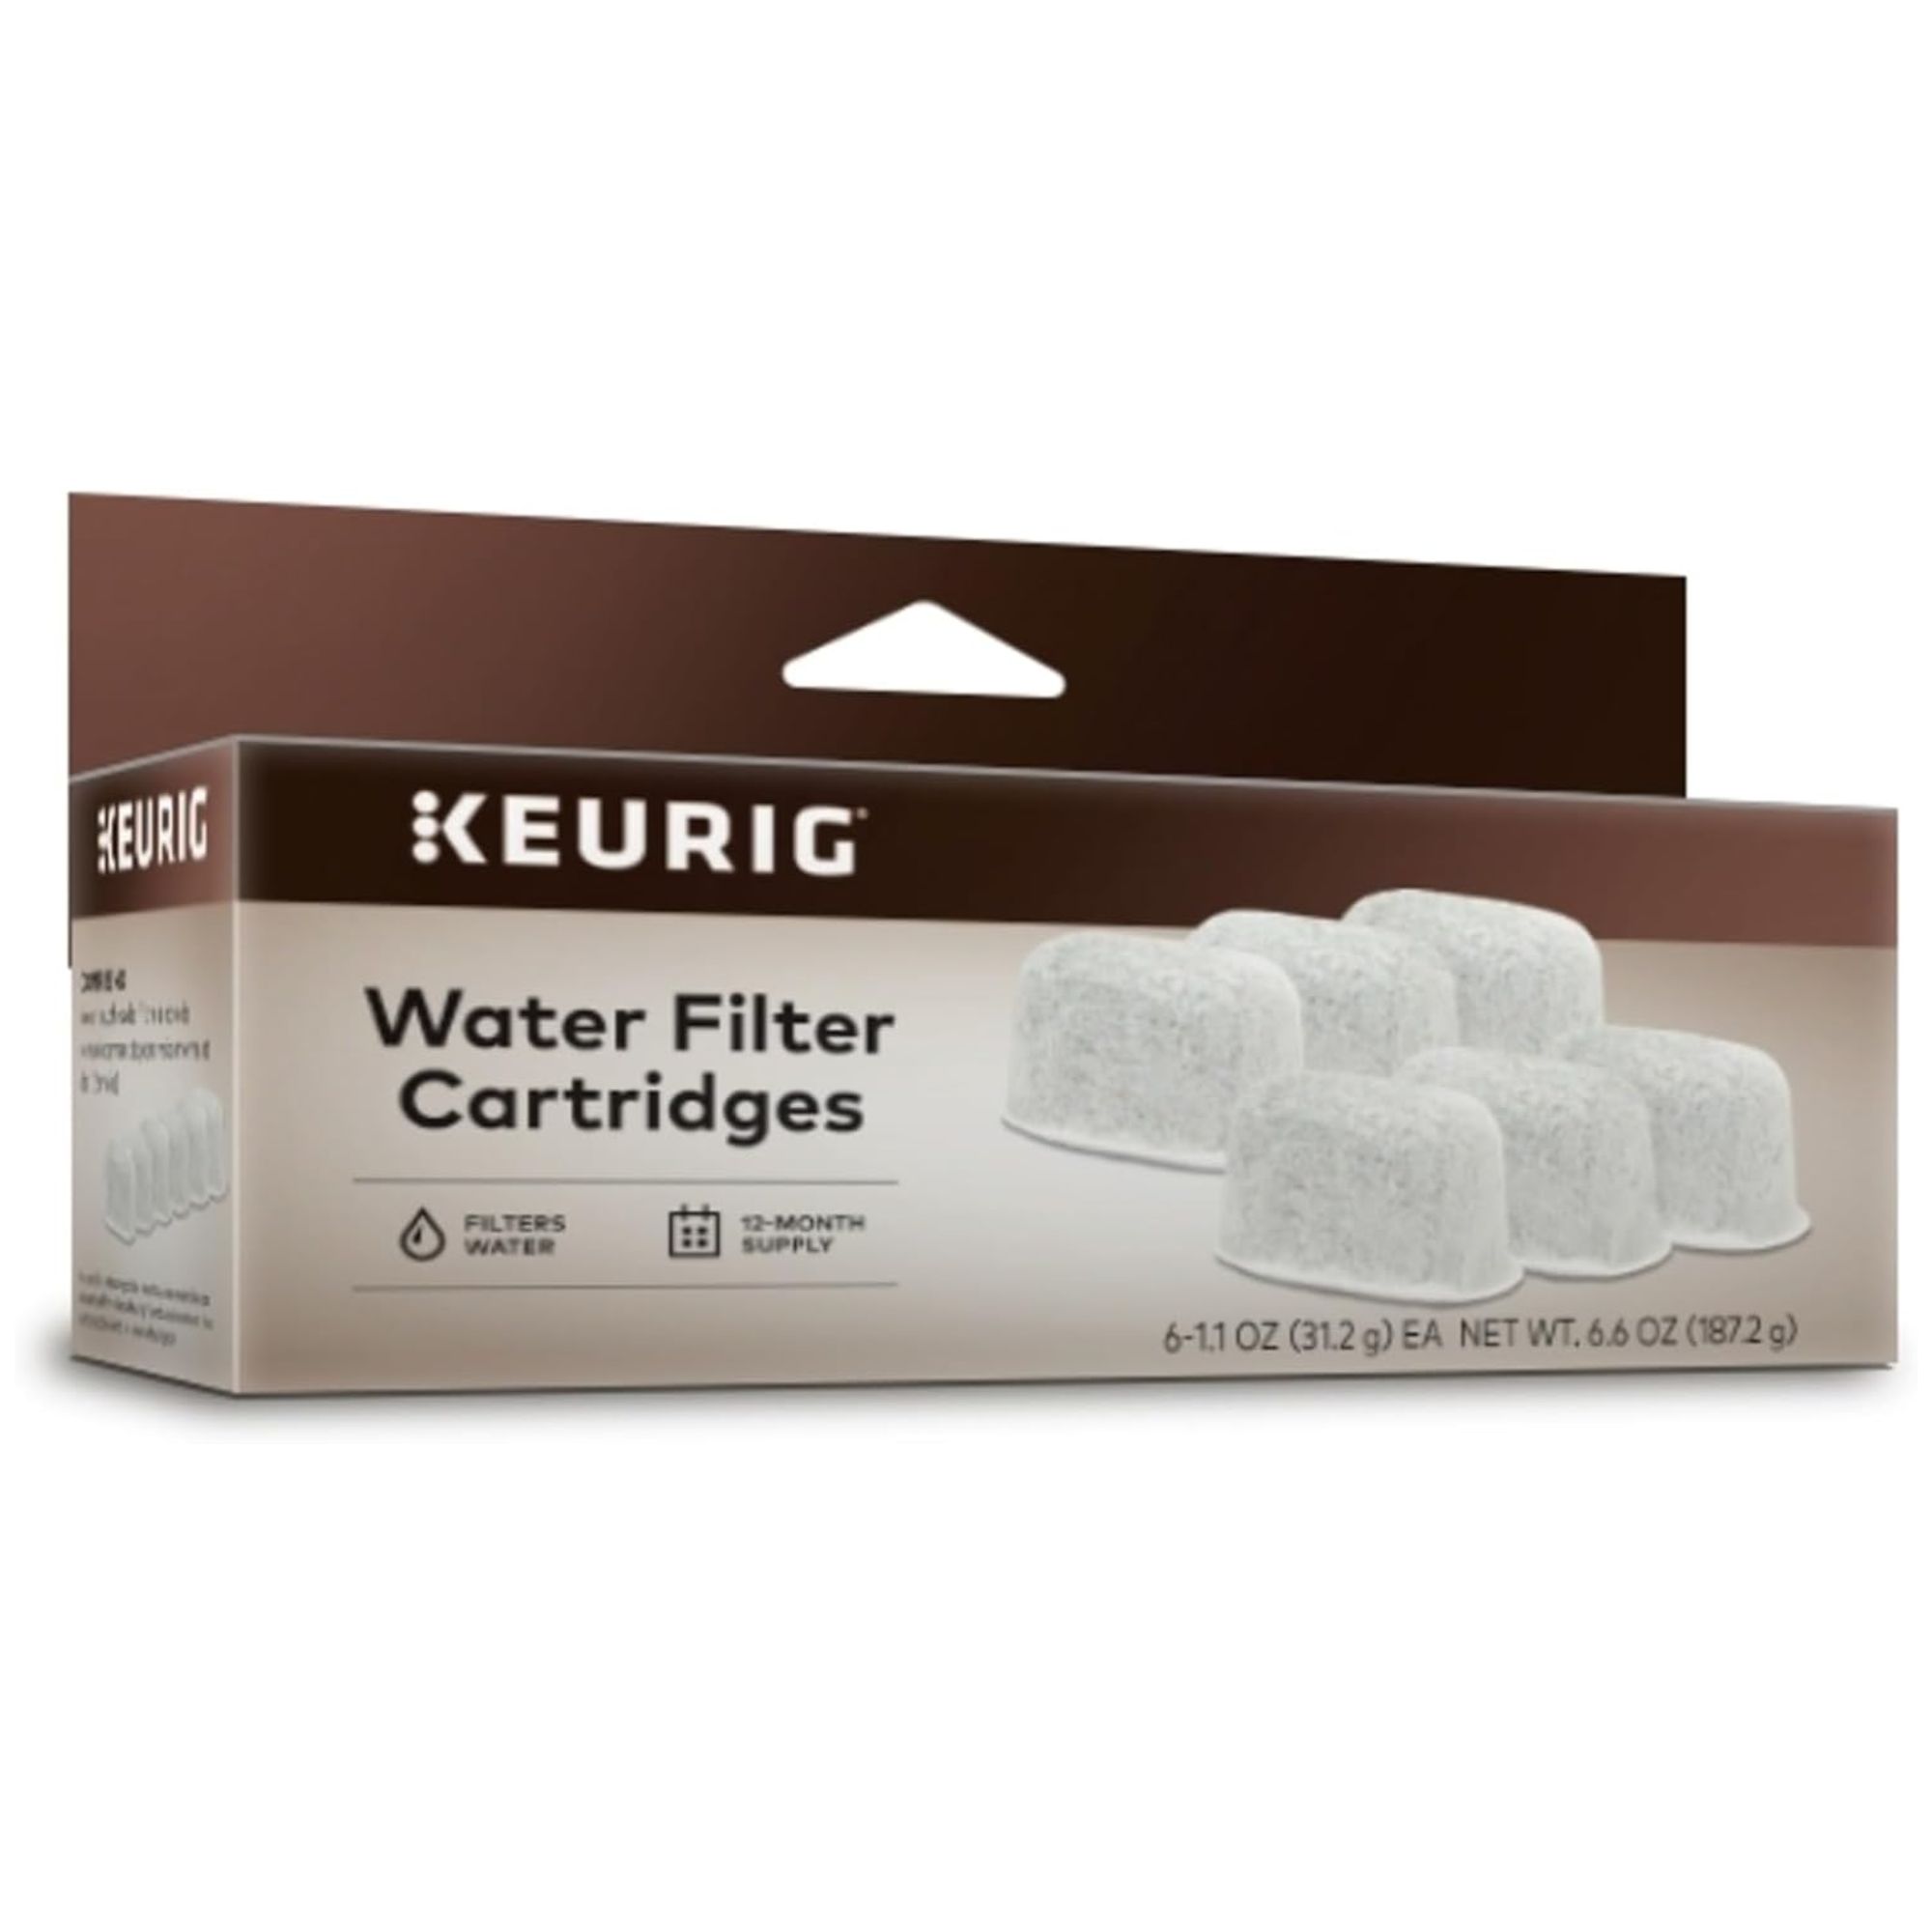
These water filters help to remove chlorine from the water in your reservoir, and should be changed every two months, or after 60 tank refills.
2. Combine equal parts water and vinegar
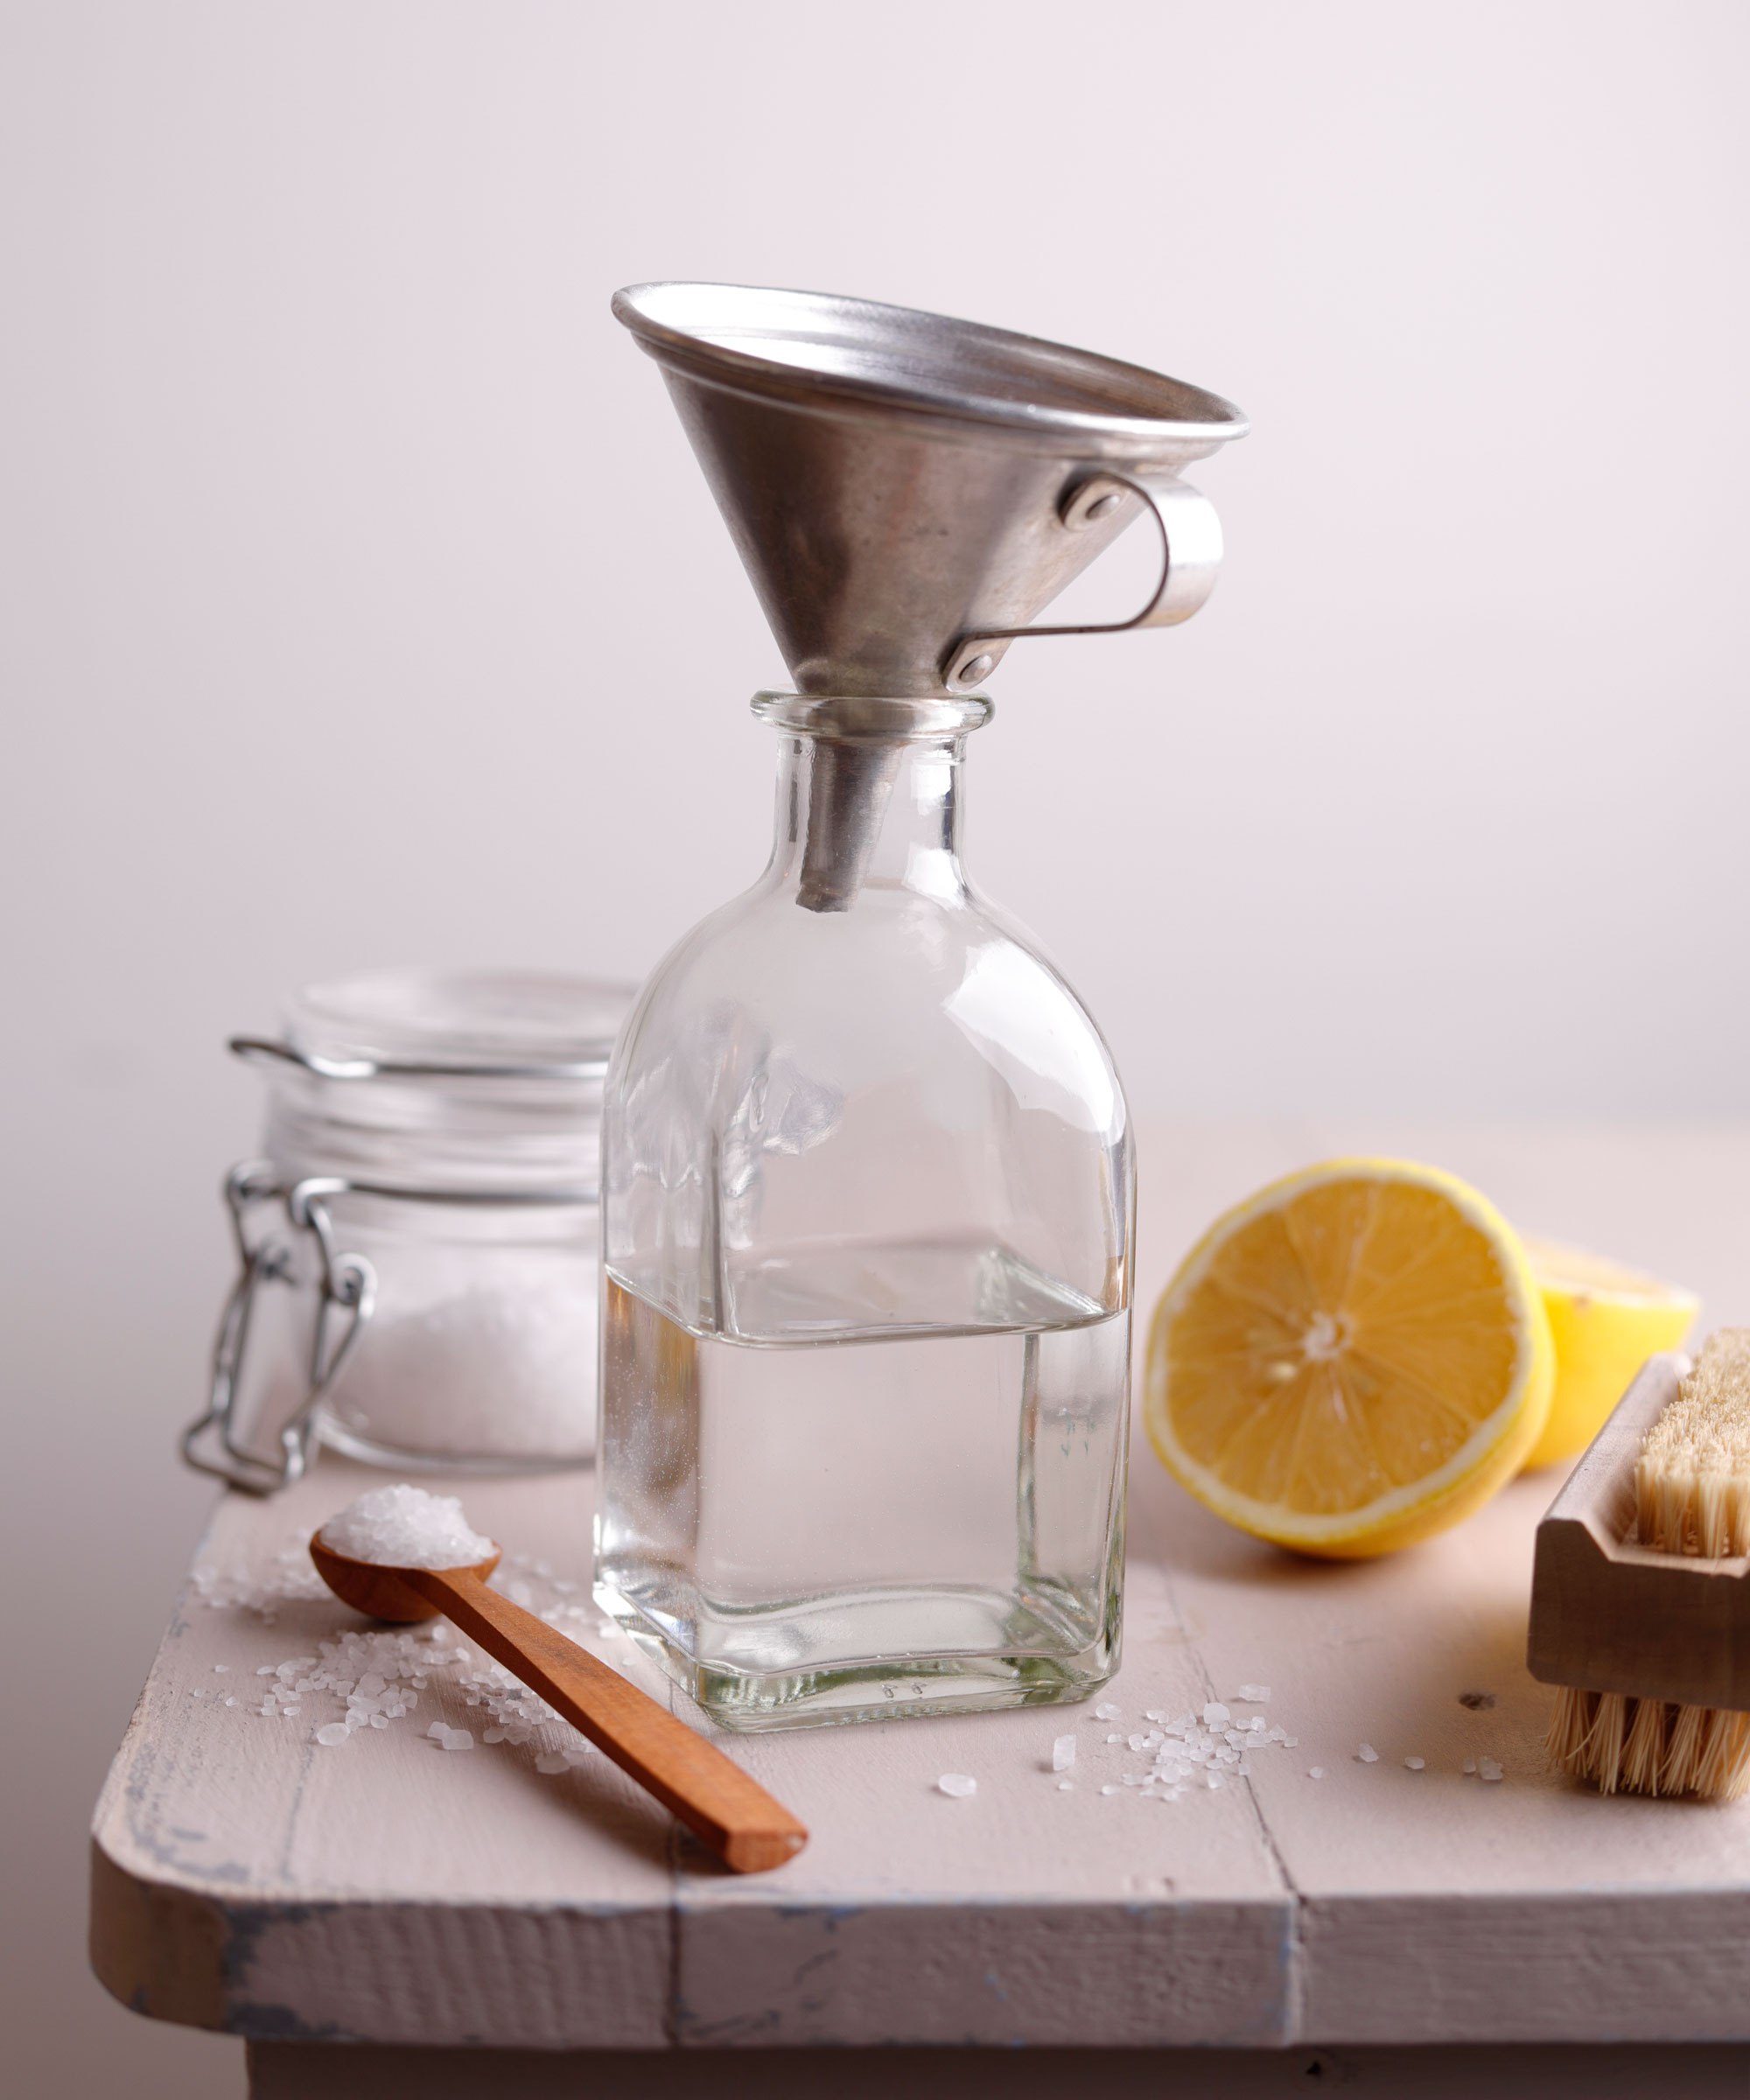
Next, pour equal parts distilled water, such as the Pure Life Distilled Water available at Amazon, and white vinegar into the empty reservoir and turn the machine on to a cycle. You can roughly eyeball this, or measure it using the bestselling Anchor Hocking Glass Measuring Cup available at Walmart.
If your machine is really clogged, professional cleaner Jade says you can use pure vinegar, but just be aware that this will make the rinsing process a little more difficult when removing the taste and smell.
Kayla Stavridis, former Starbucks barista from Barista HQ, explains, 'Cleaning with vinegar is a natural, economical alternative to commercial descalers,' like this Descaler, available at Amazon. 'It's highly acidic, making it effective at dissolving mineral deposits without leaving chemical residues. White distilled vinegar is my go-to for this task because it's a non-toxic eco-friendly sustainable cleaning swap that's inexpensive, and readily available in most households.'
Also, remember to place a large cup or mug underneath the spout to collect the water – the larger the better to prevent overflow.
All prices correct at time of publication.
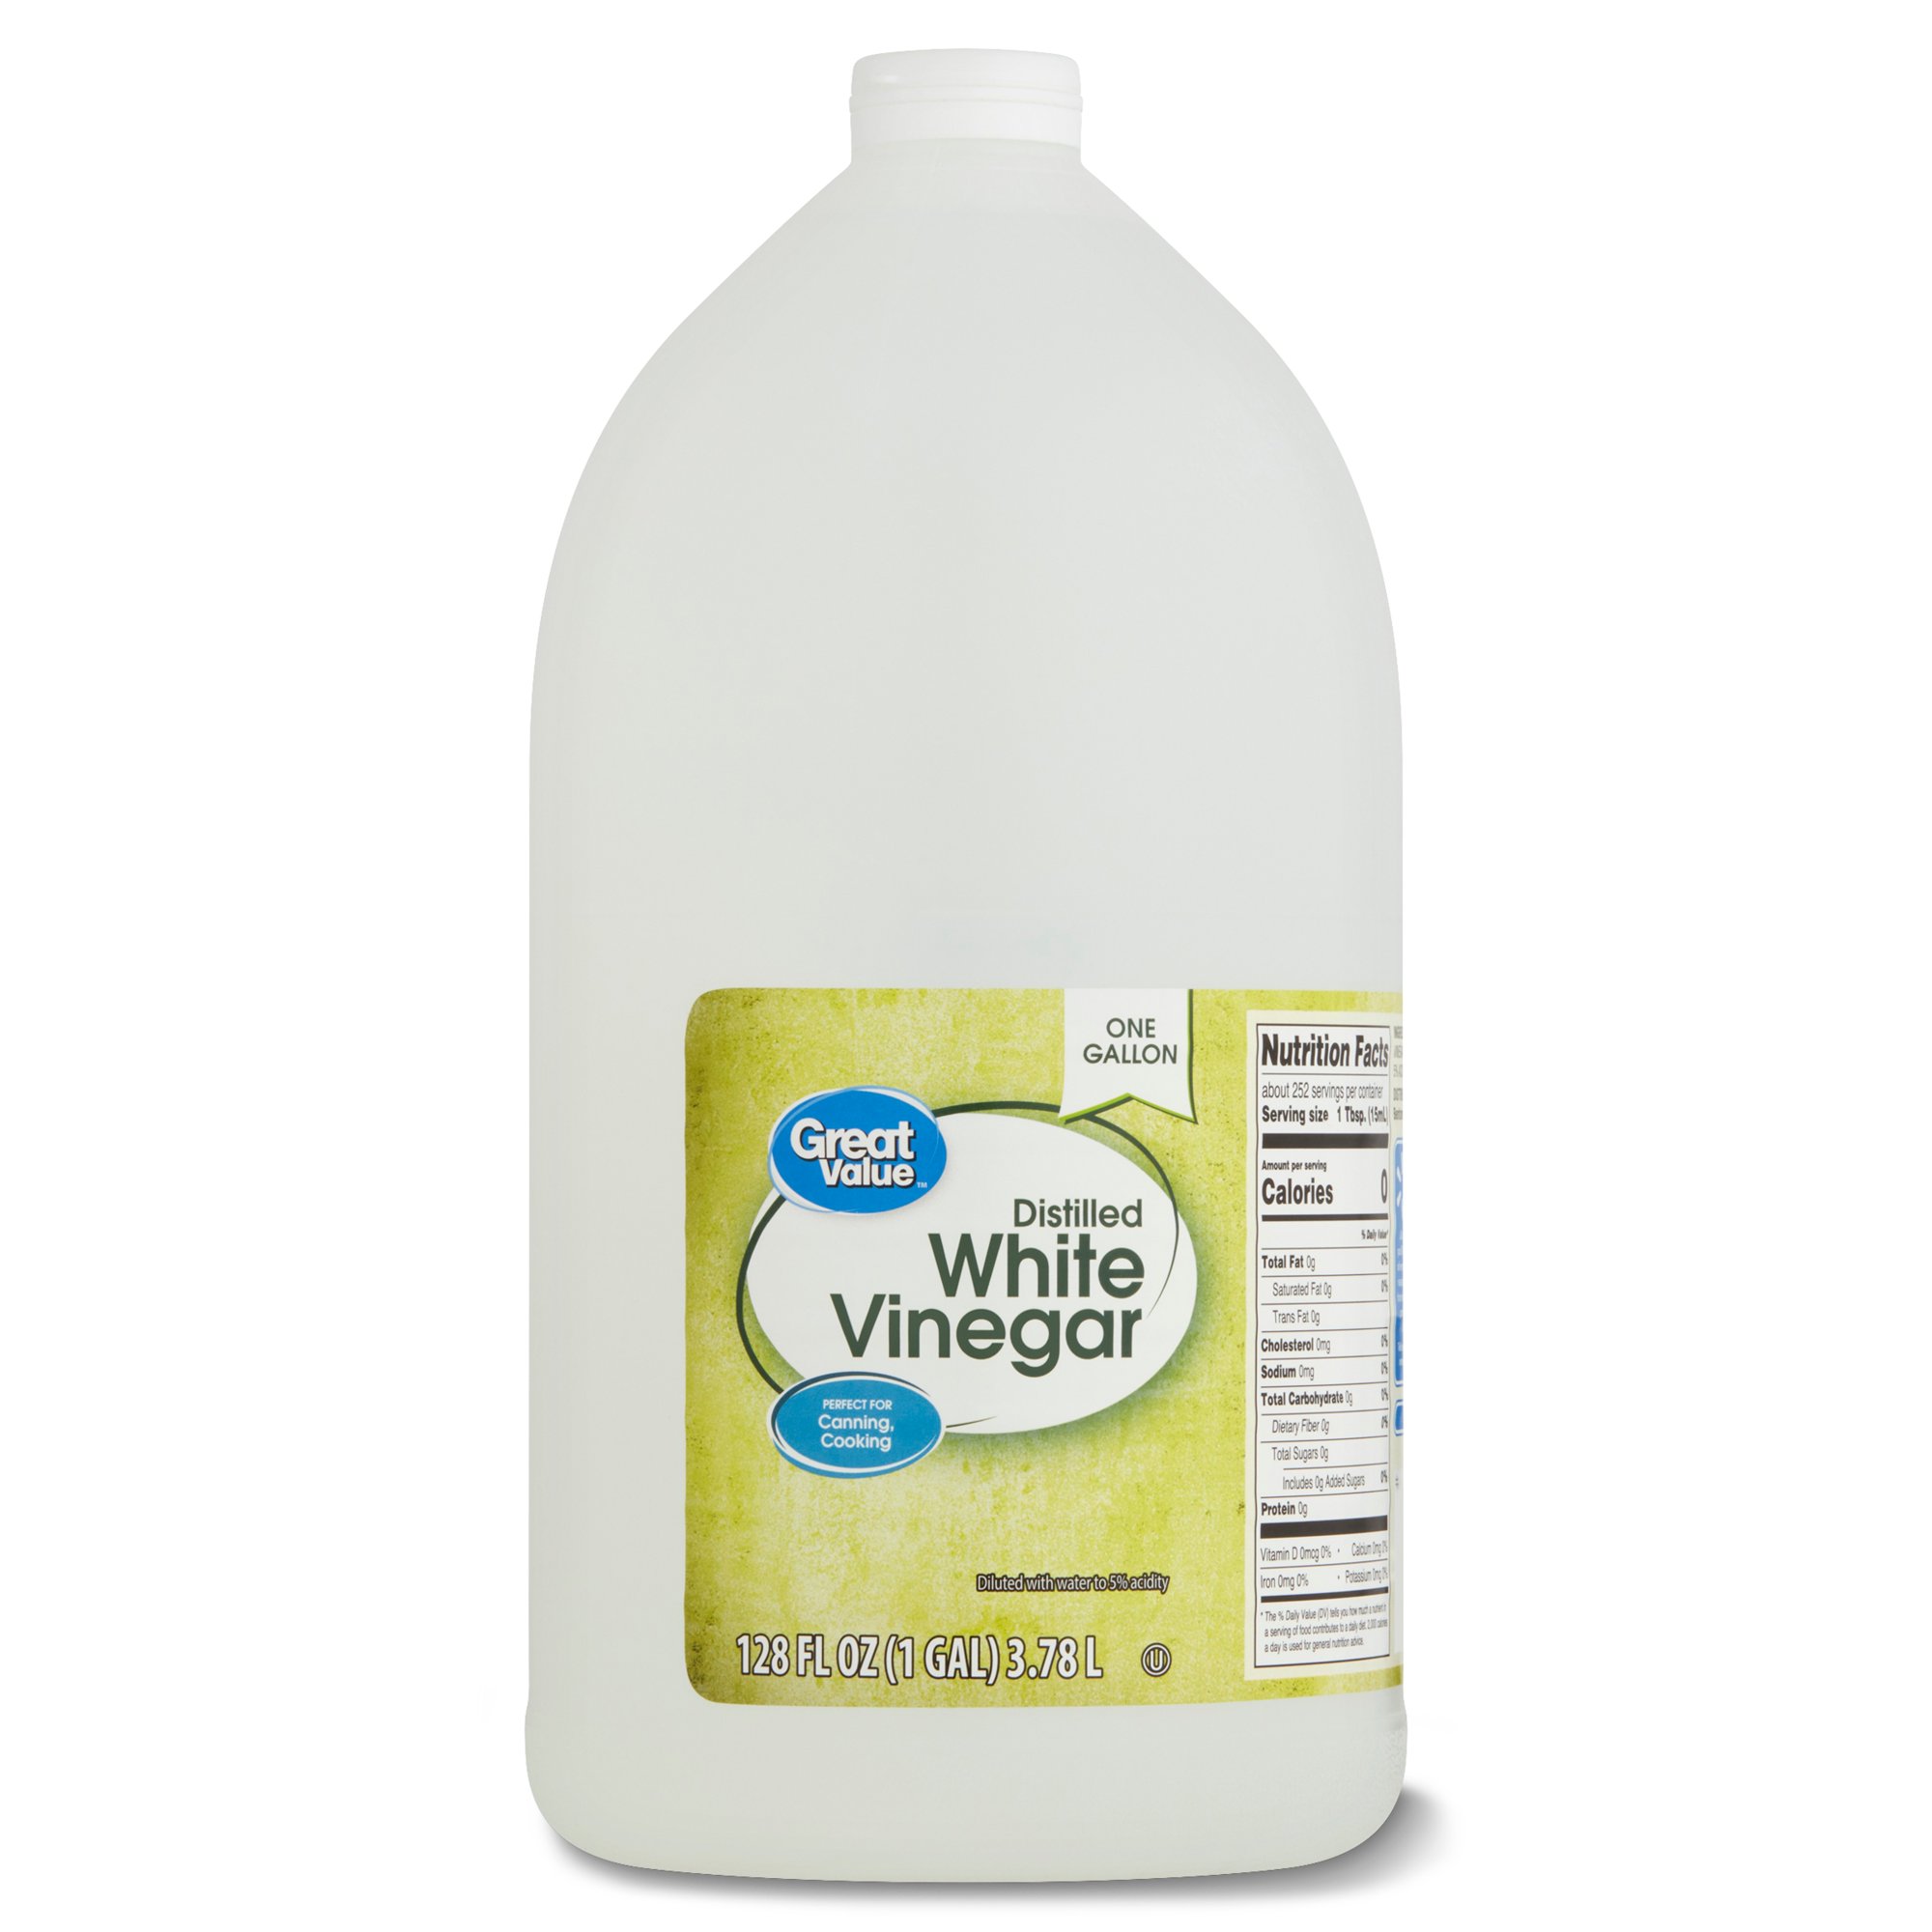
This large bottle of white vinegar is perfect for household cleaning, including cleaning your shower head and descaling your Keurig coffee maker. Pro cleaner Karina Toner warns against using scented vinegar for descaling, so this white vinegar, distilled to a 5% acidity, is just the ticket.
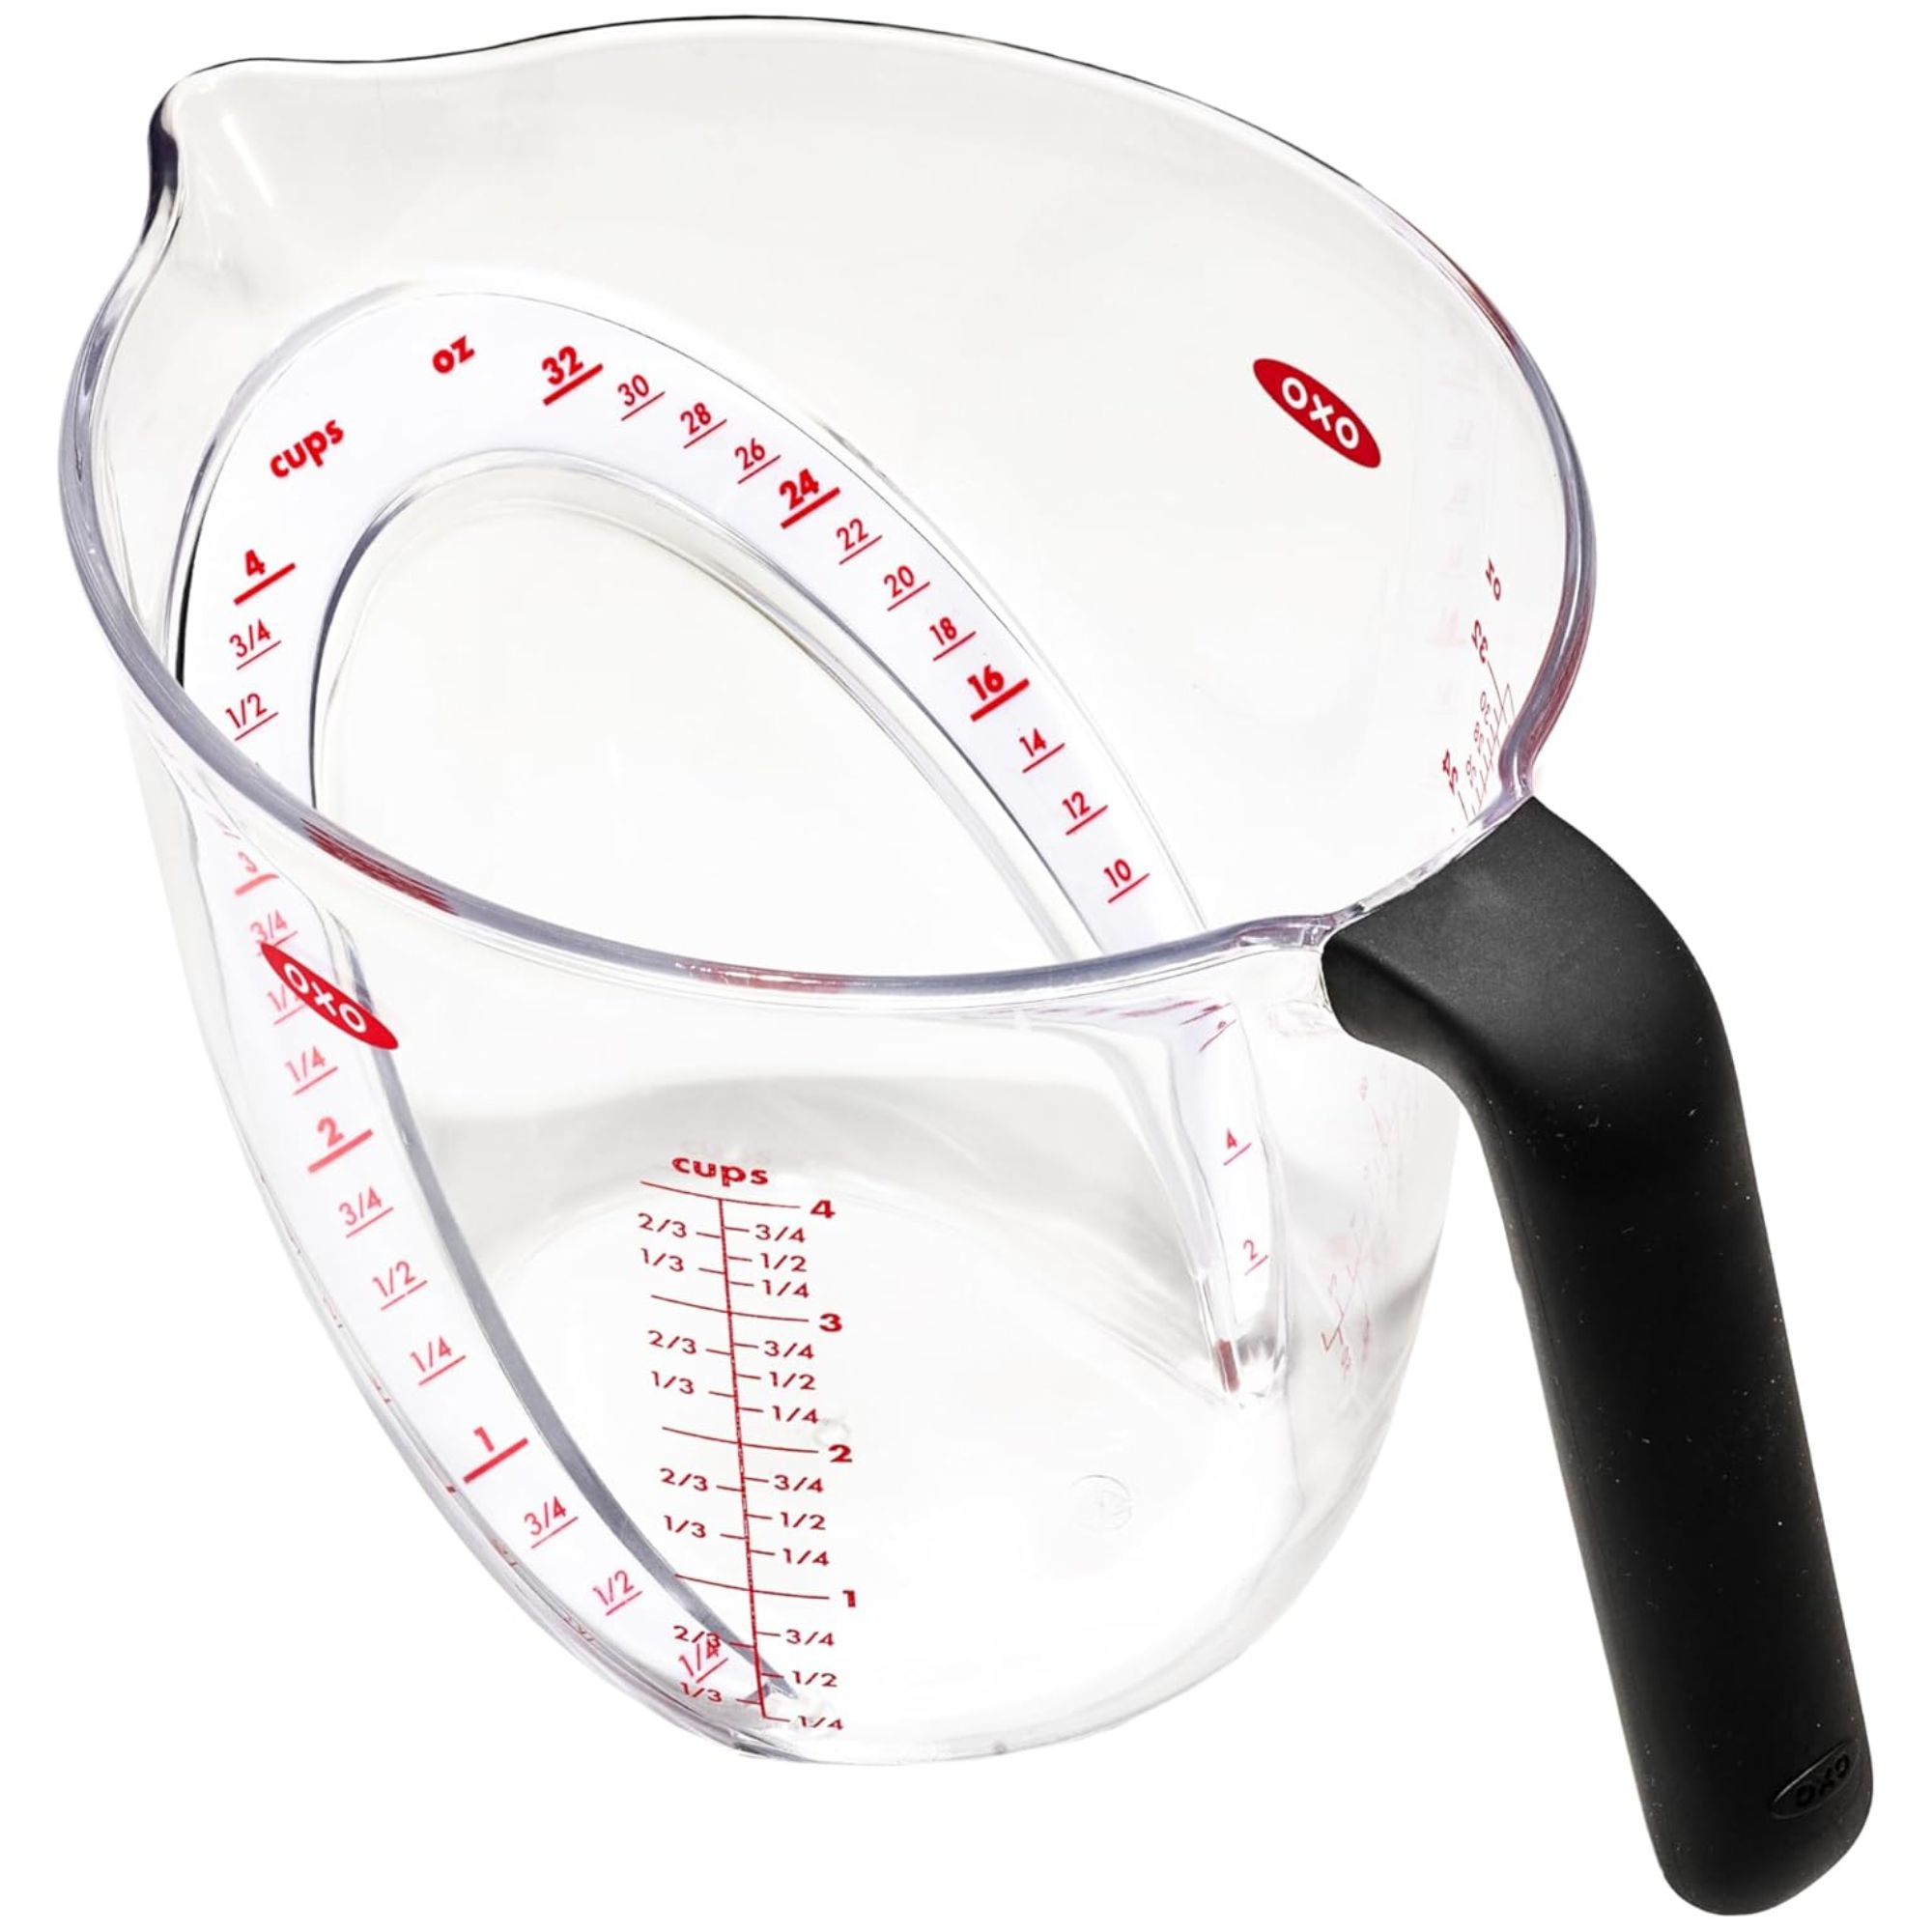
This measuring jug features an angled surface to allow measurements to be read from above, whilst pouring, with a soft, comfortable, non-slip handle.
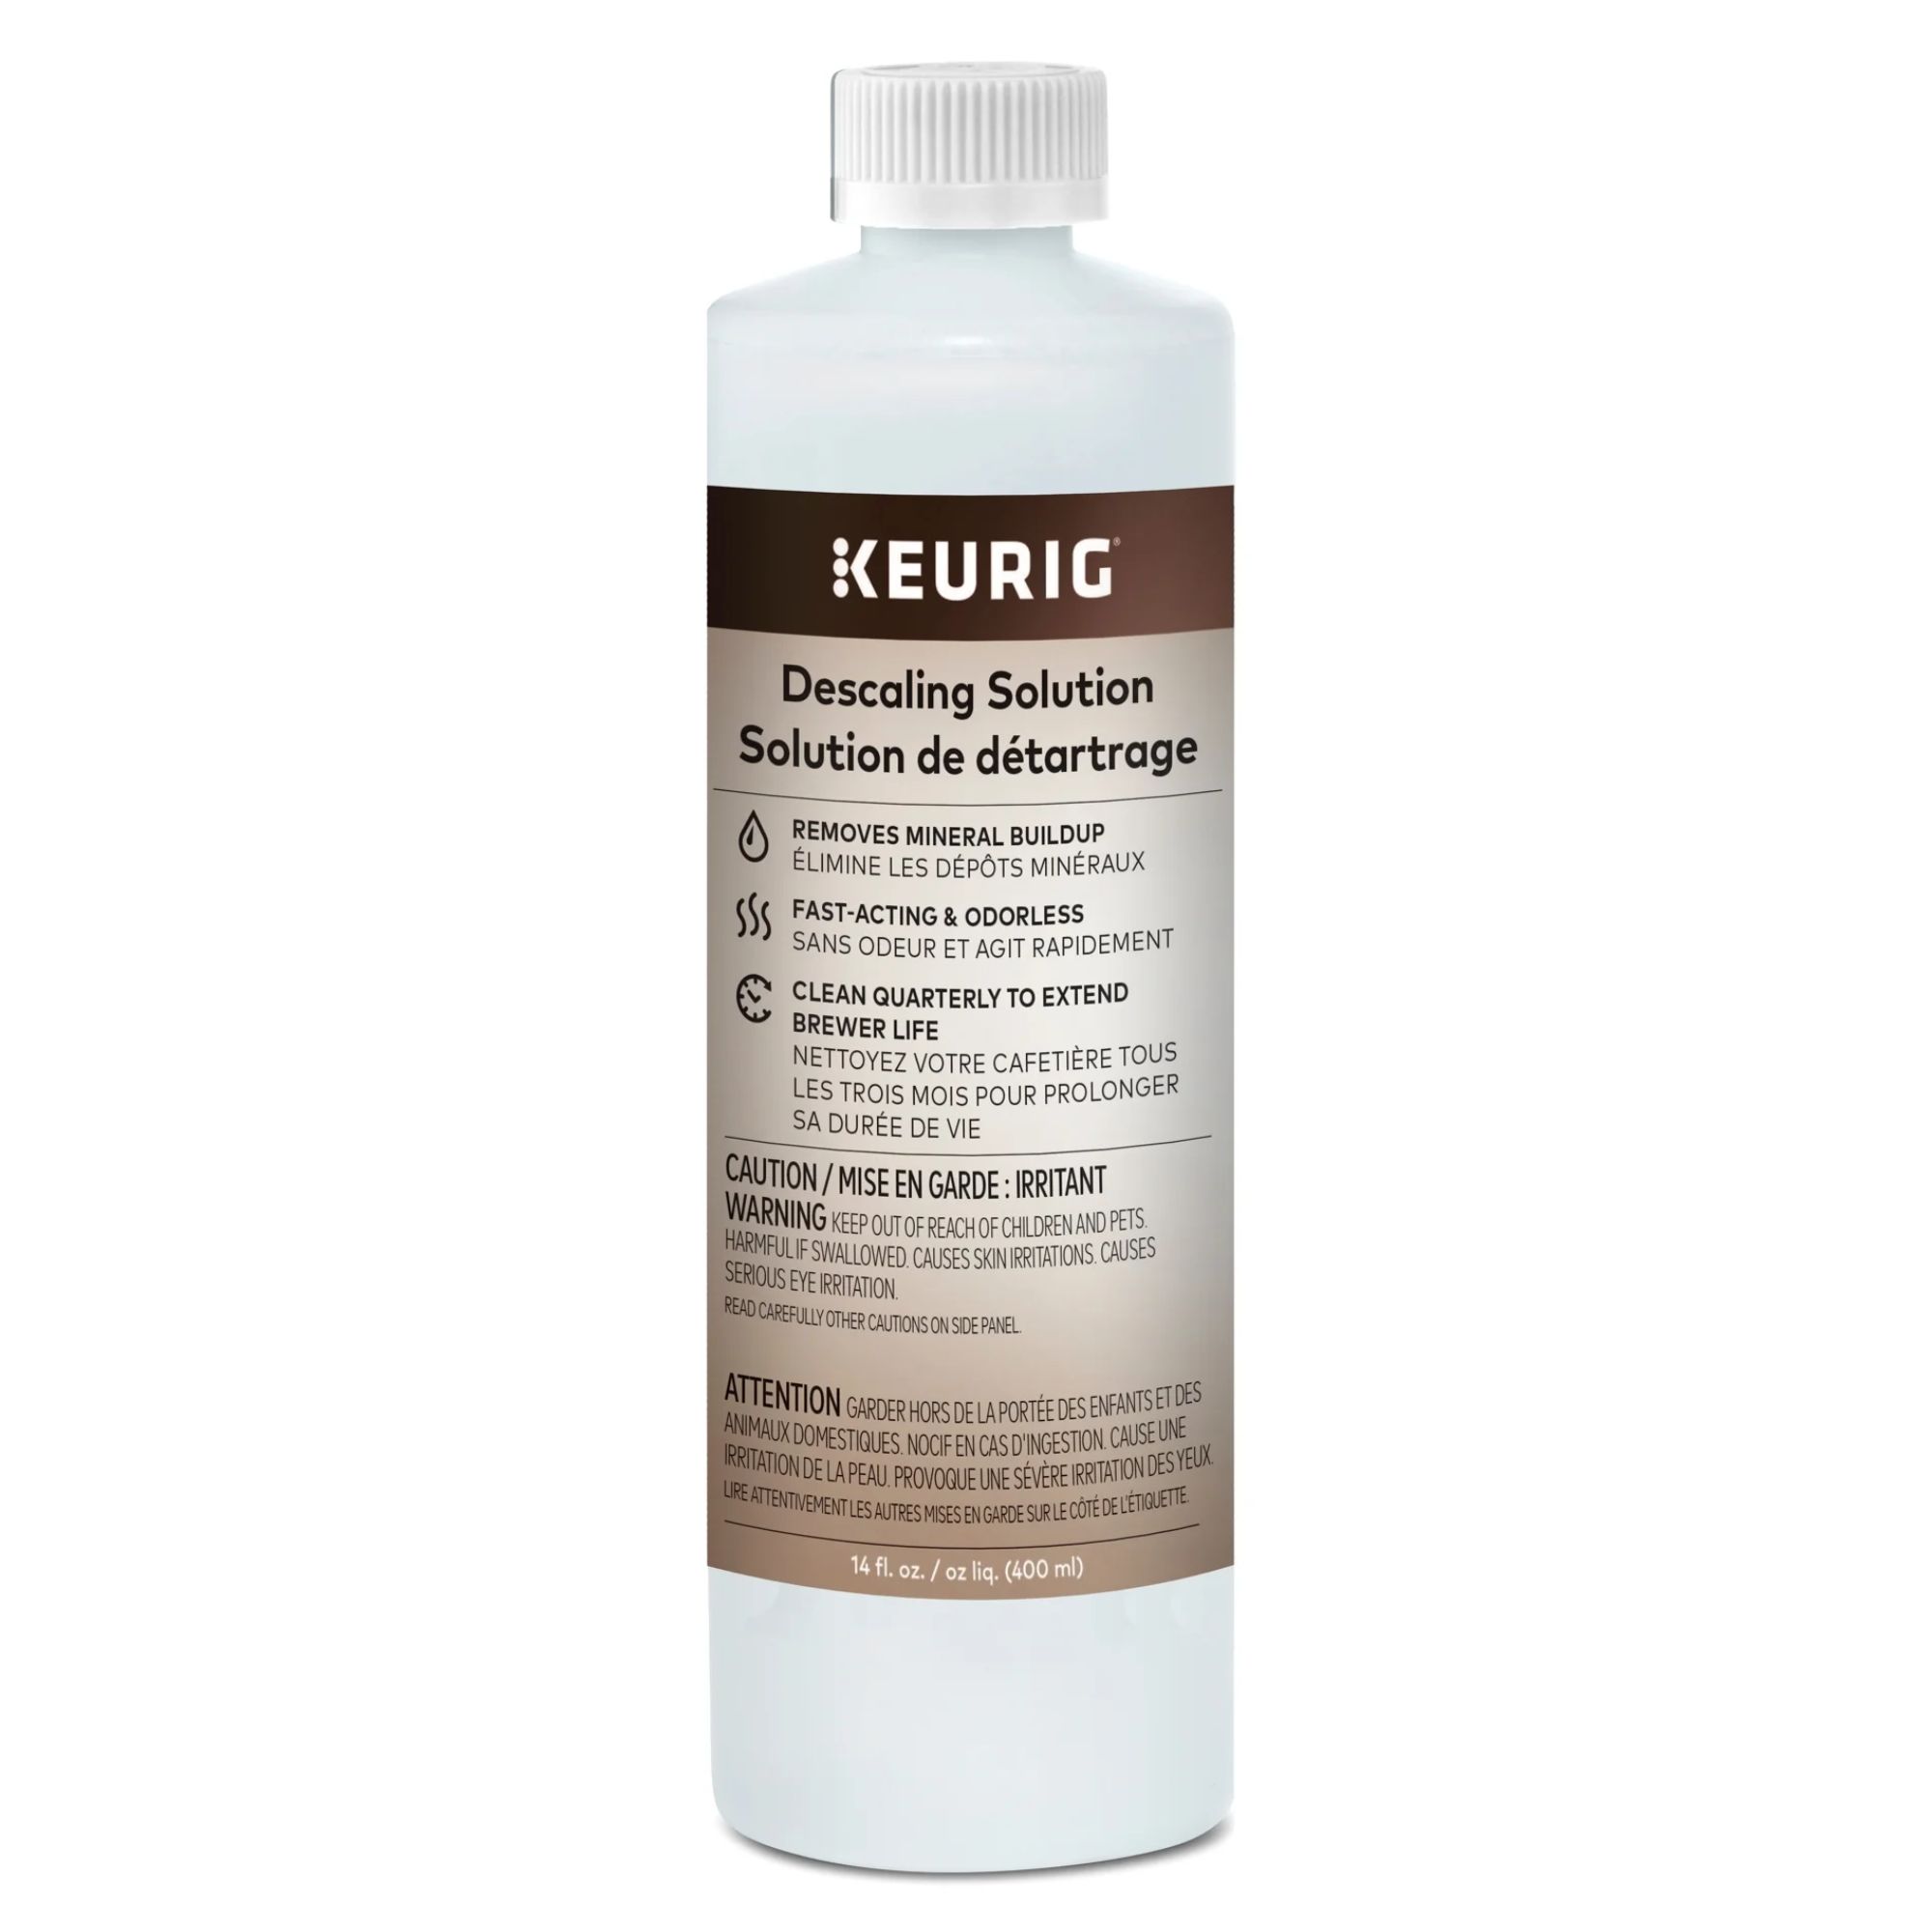
Alternatively to vinegar solutions, you can use this specifically designed product for descaling, which is made for all models with a safe and gentle formula that guarantees a great tasting coffee.
3. Run the brewing cycle
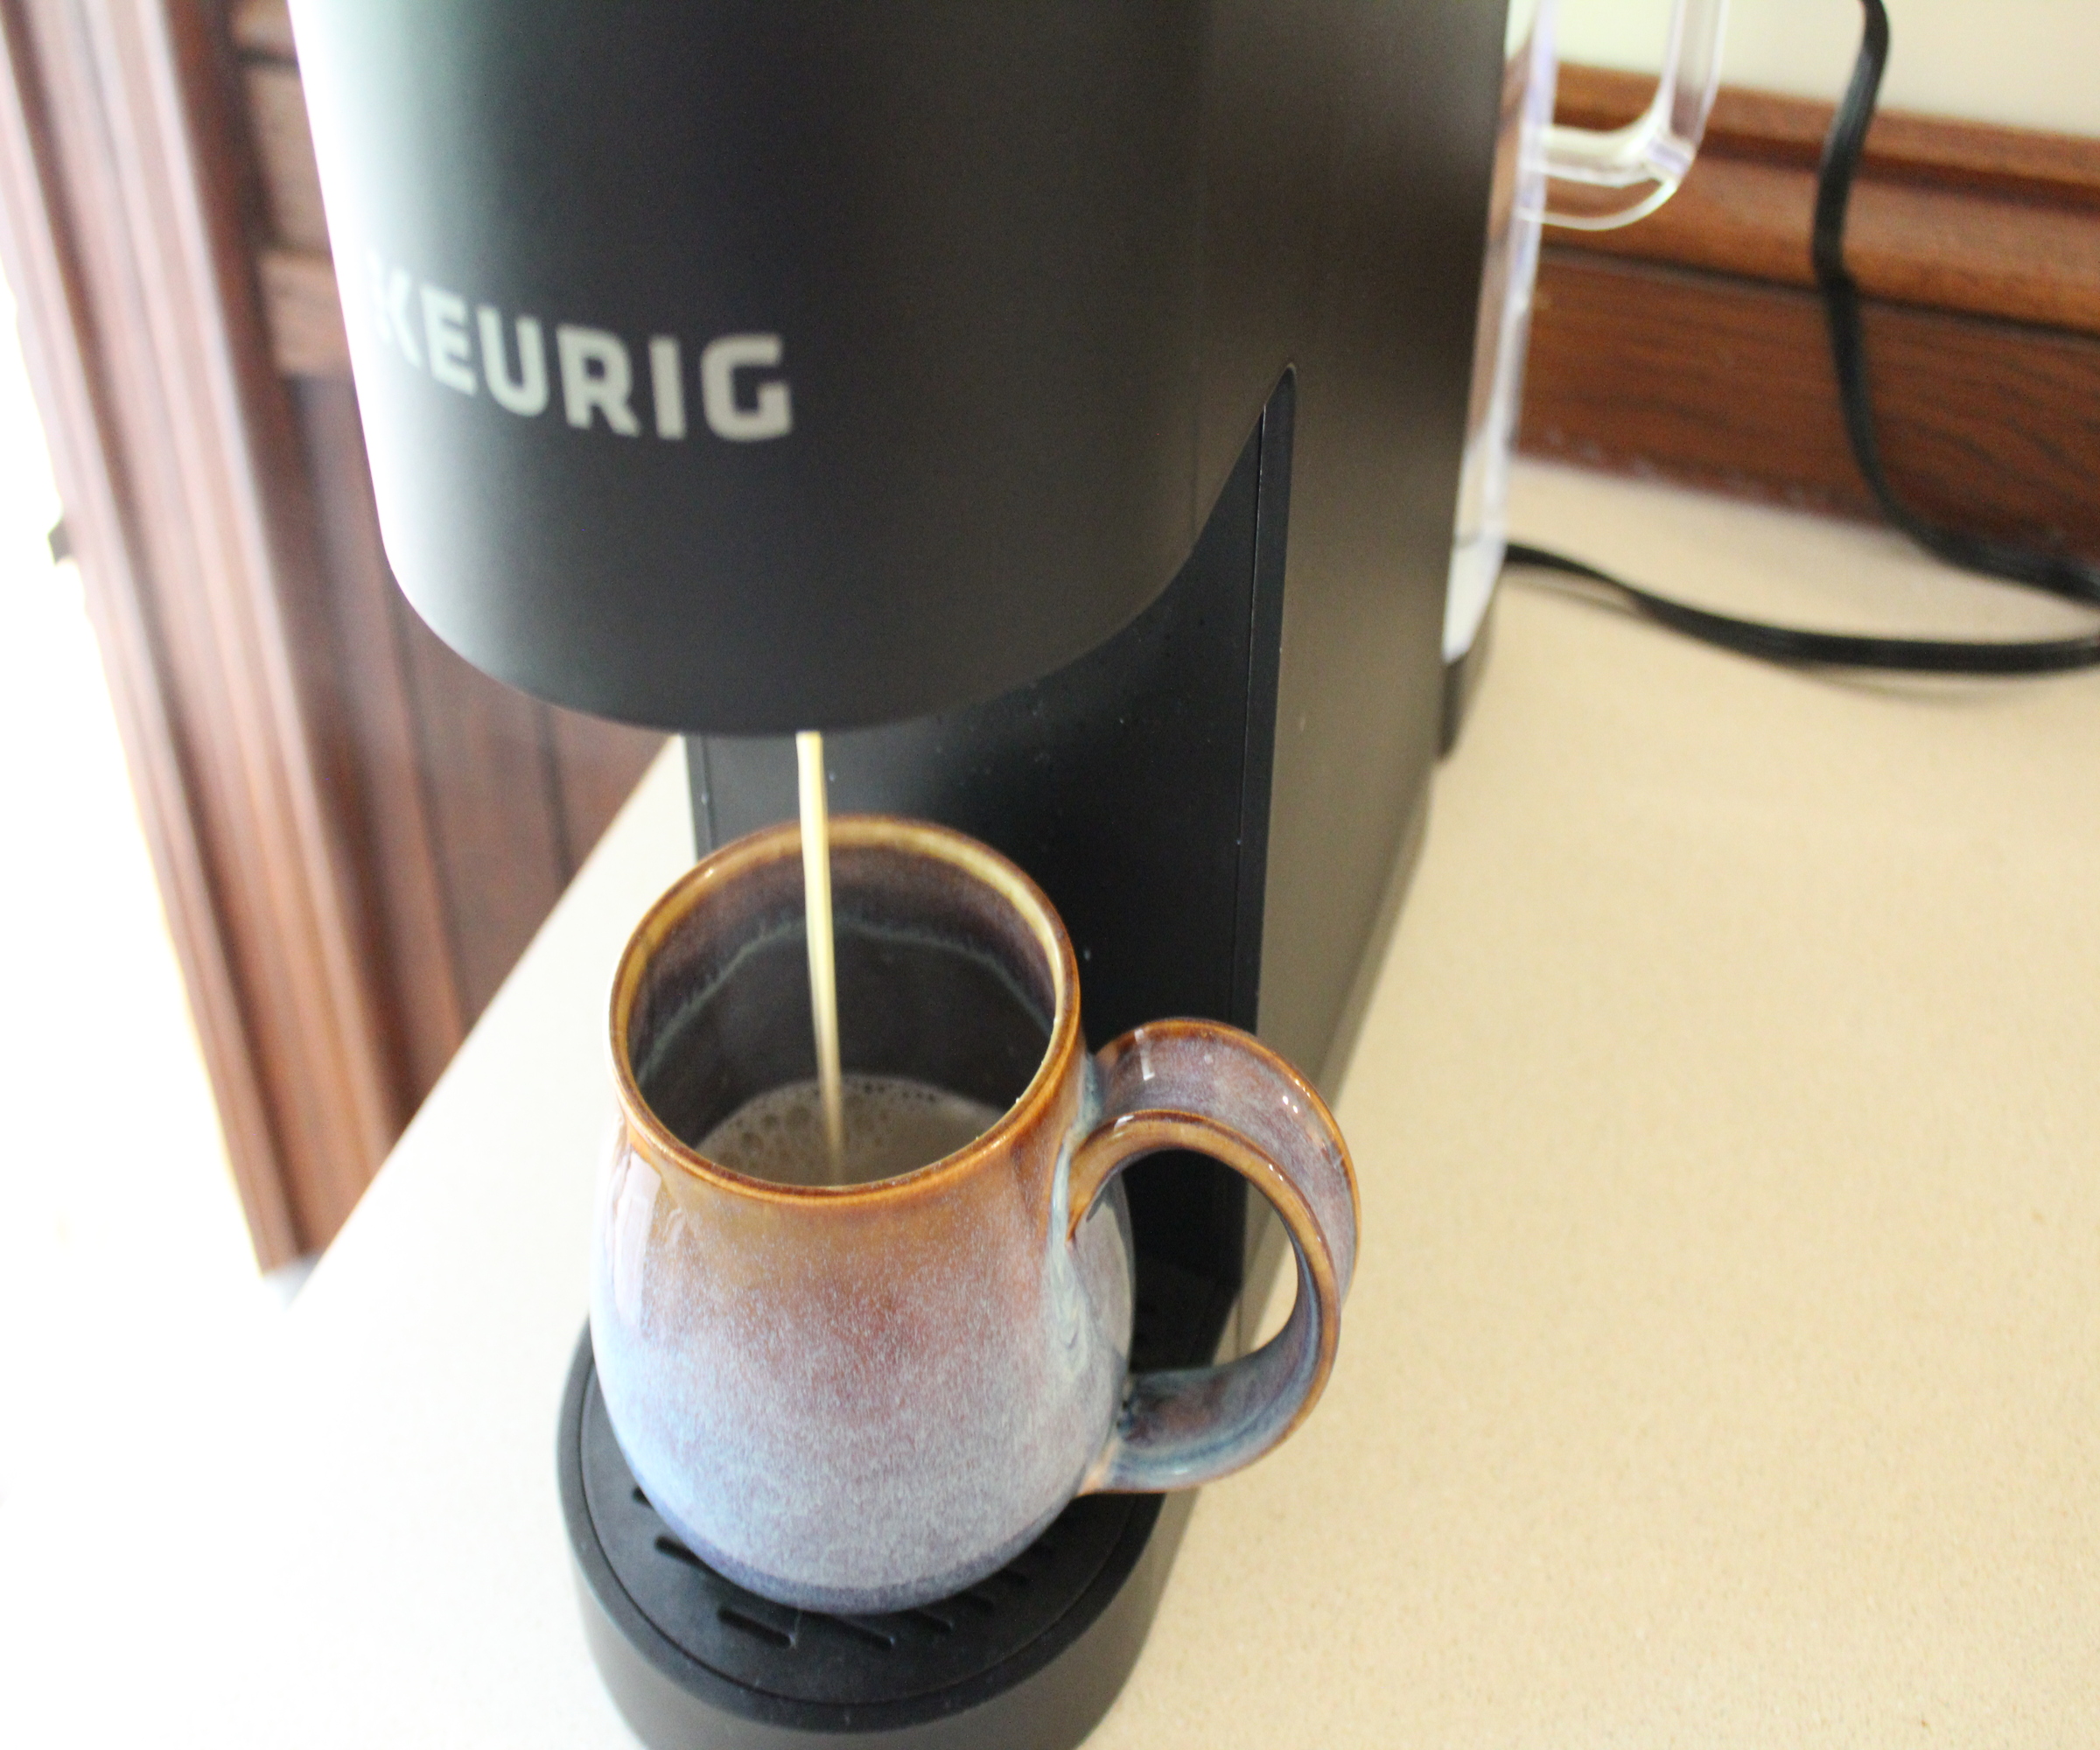
Then, you're all set to run a cycle, but, if you want a slower, deeper clean, cleaning expert Jade suggests letting the DIY cleaning solution sit in the machine for 30 minutes first.
All you need to do is run the machine without a K-Cup, allowing the vinegar solution to run through the machine. As coffee machine expert Kayla says, 'This process breaks down the deposits inside the machine.'
Simply repeat until the reservoir is empty – Diana from Keurig notes that the fill reservoir light will illuminate on the front of your machine once it is – emptying your mug after each cycle. You might have to run several cycles back to back, as Ahmed Mezil, P.Eng, MASc, cleaning expert and CEO and founder of Hellamaid advises, 'Run multiple passes for extra freshness.'
Additionally, some Keurig machines have a self-descale function built in. If this is the case for your appliance, simply set the machine to run and leave until the cycle is complete.
And, in the meantime, Jade advises taking the time to wipe down the outside with a microfiber cloth, such as the Great Value Multipurpose Microfiber Household Cleaning Cloth available at Walmart. 'For hard-to-reach spots, you can use a brush,' she adds. You can also take the coffee pod holder and drip tray apart and wash them using dish soap and warm water, leaving them to air dry naturally.
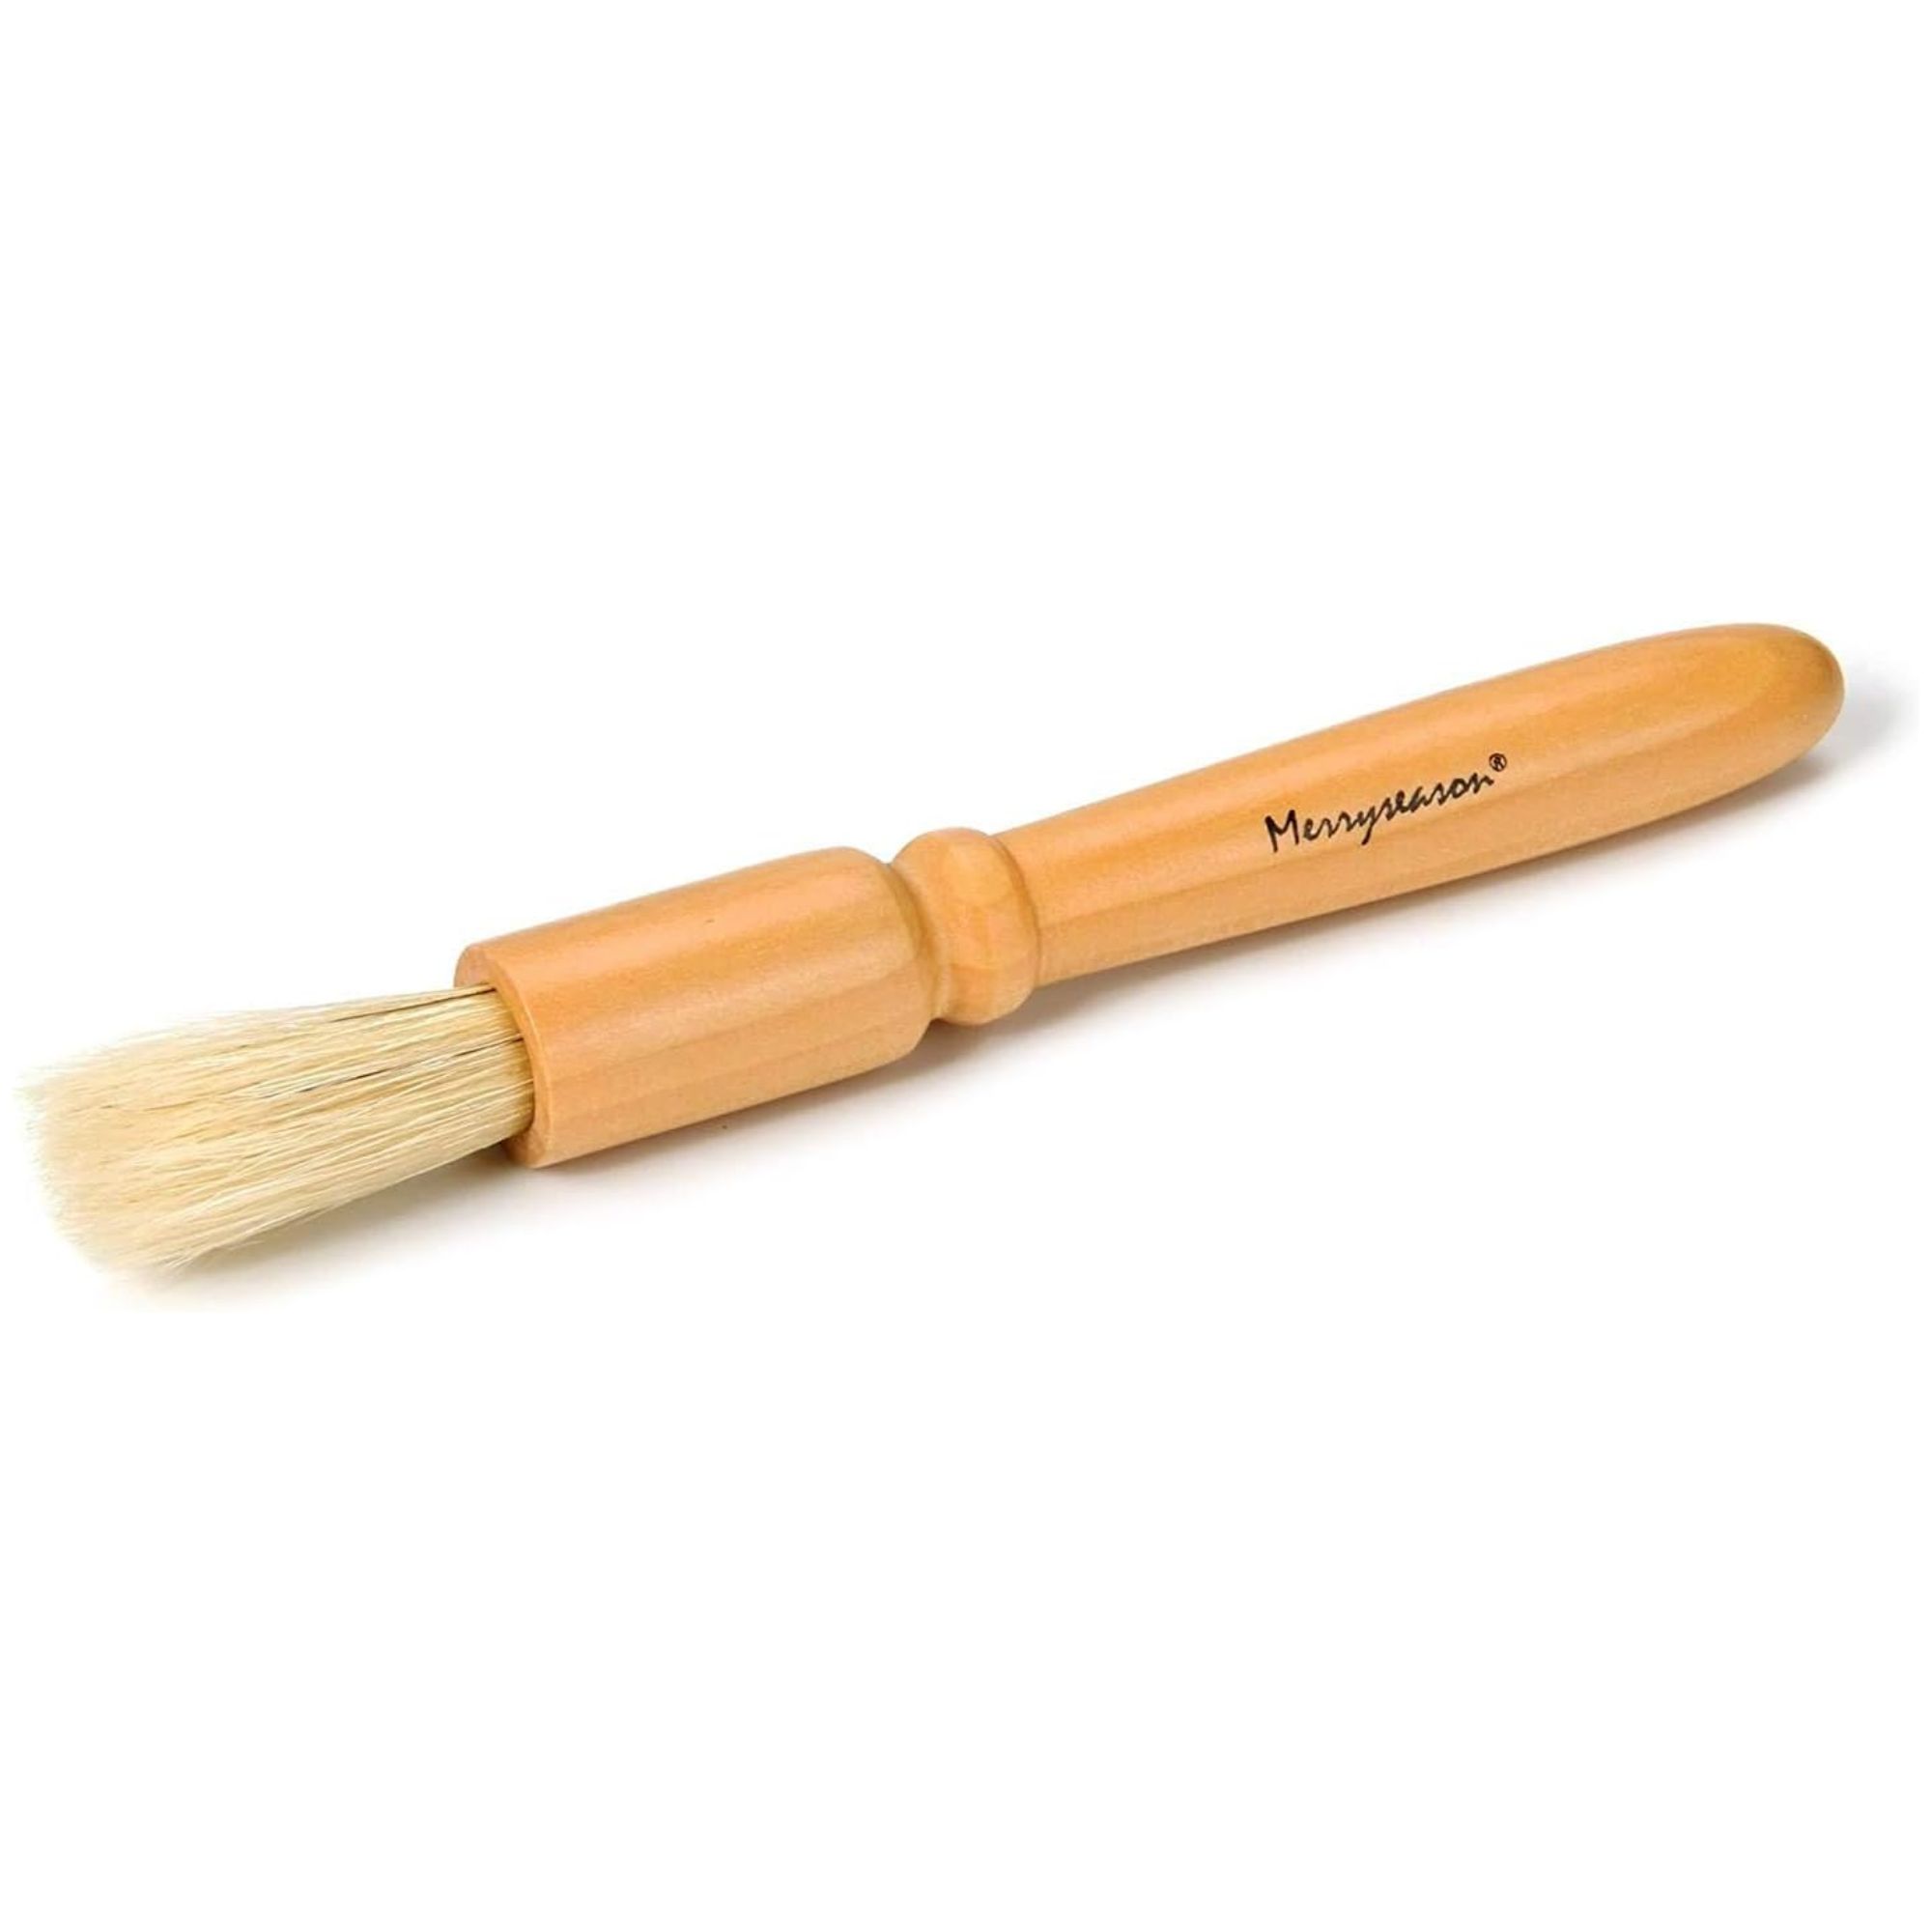
This high-quality, sturdy brush is designed to brush away coffee ground residue, with a comfortable wooden handle for easy use.
4. Flush the vinegar out with regular water
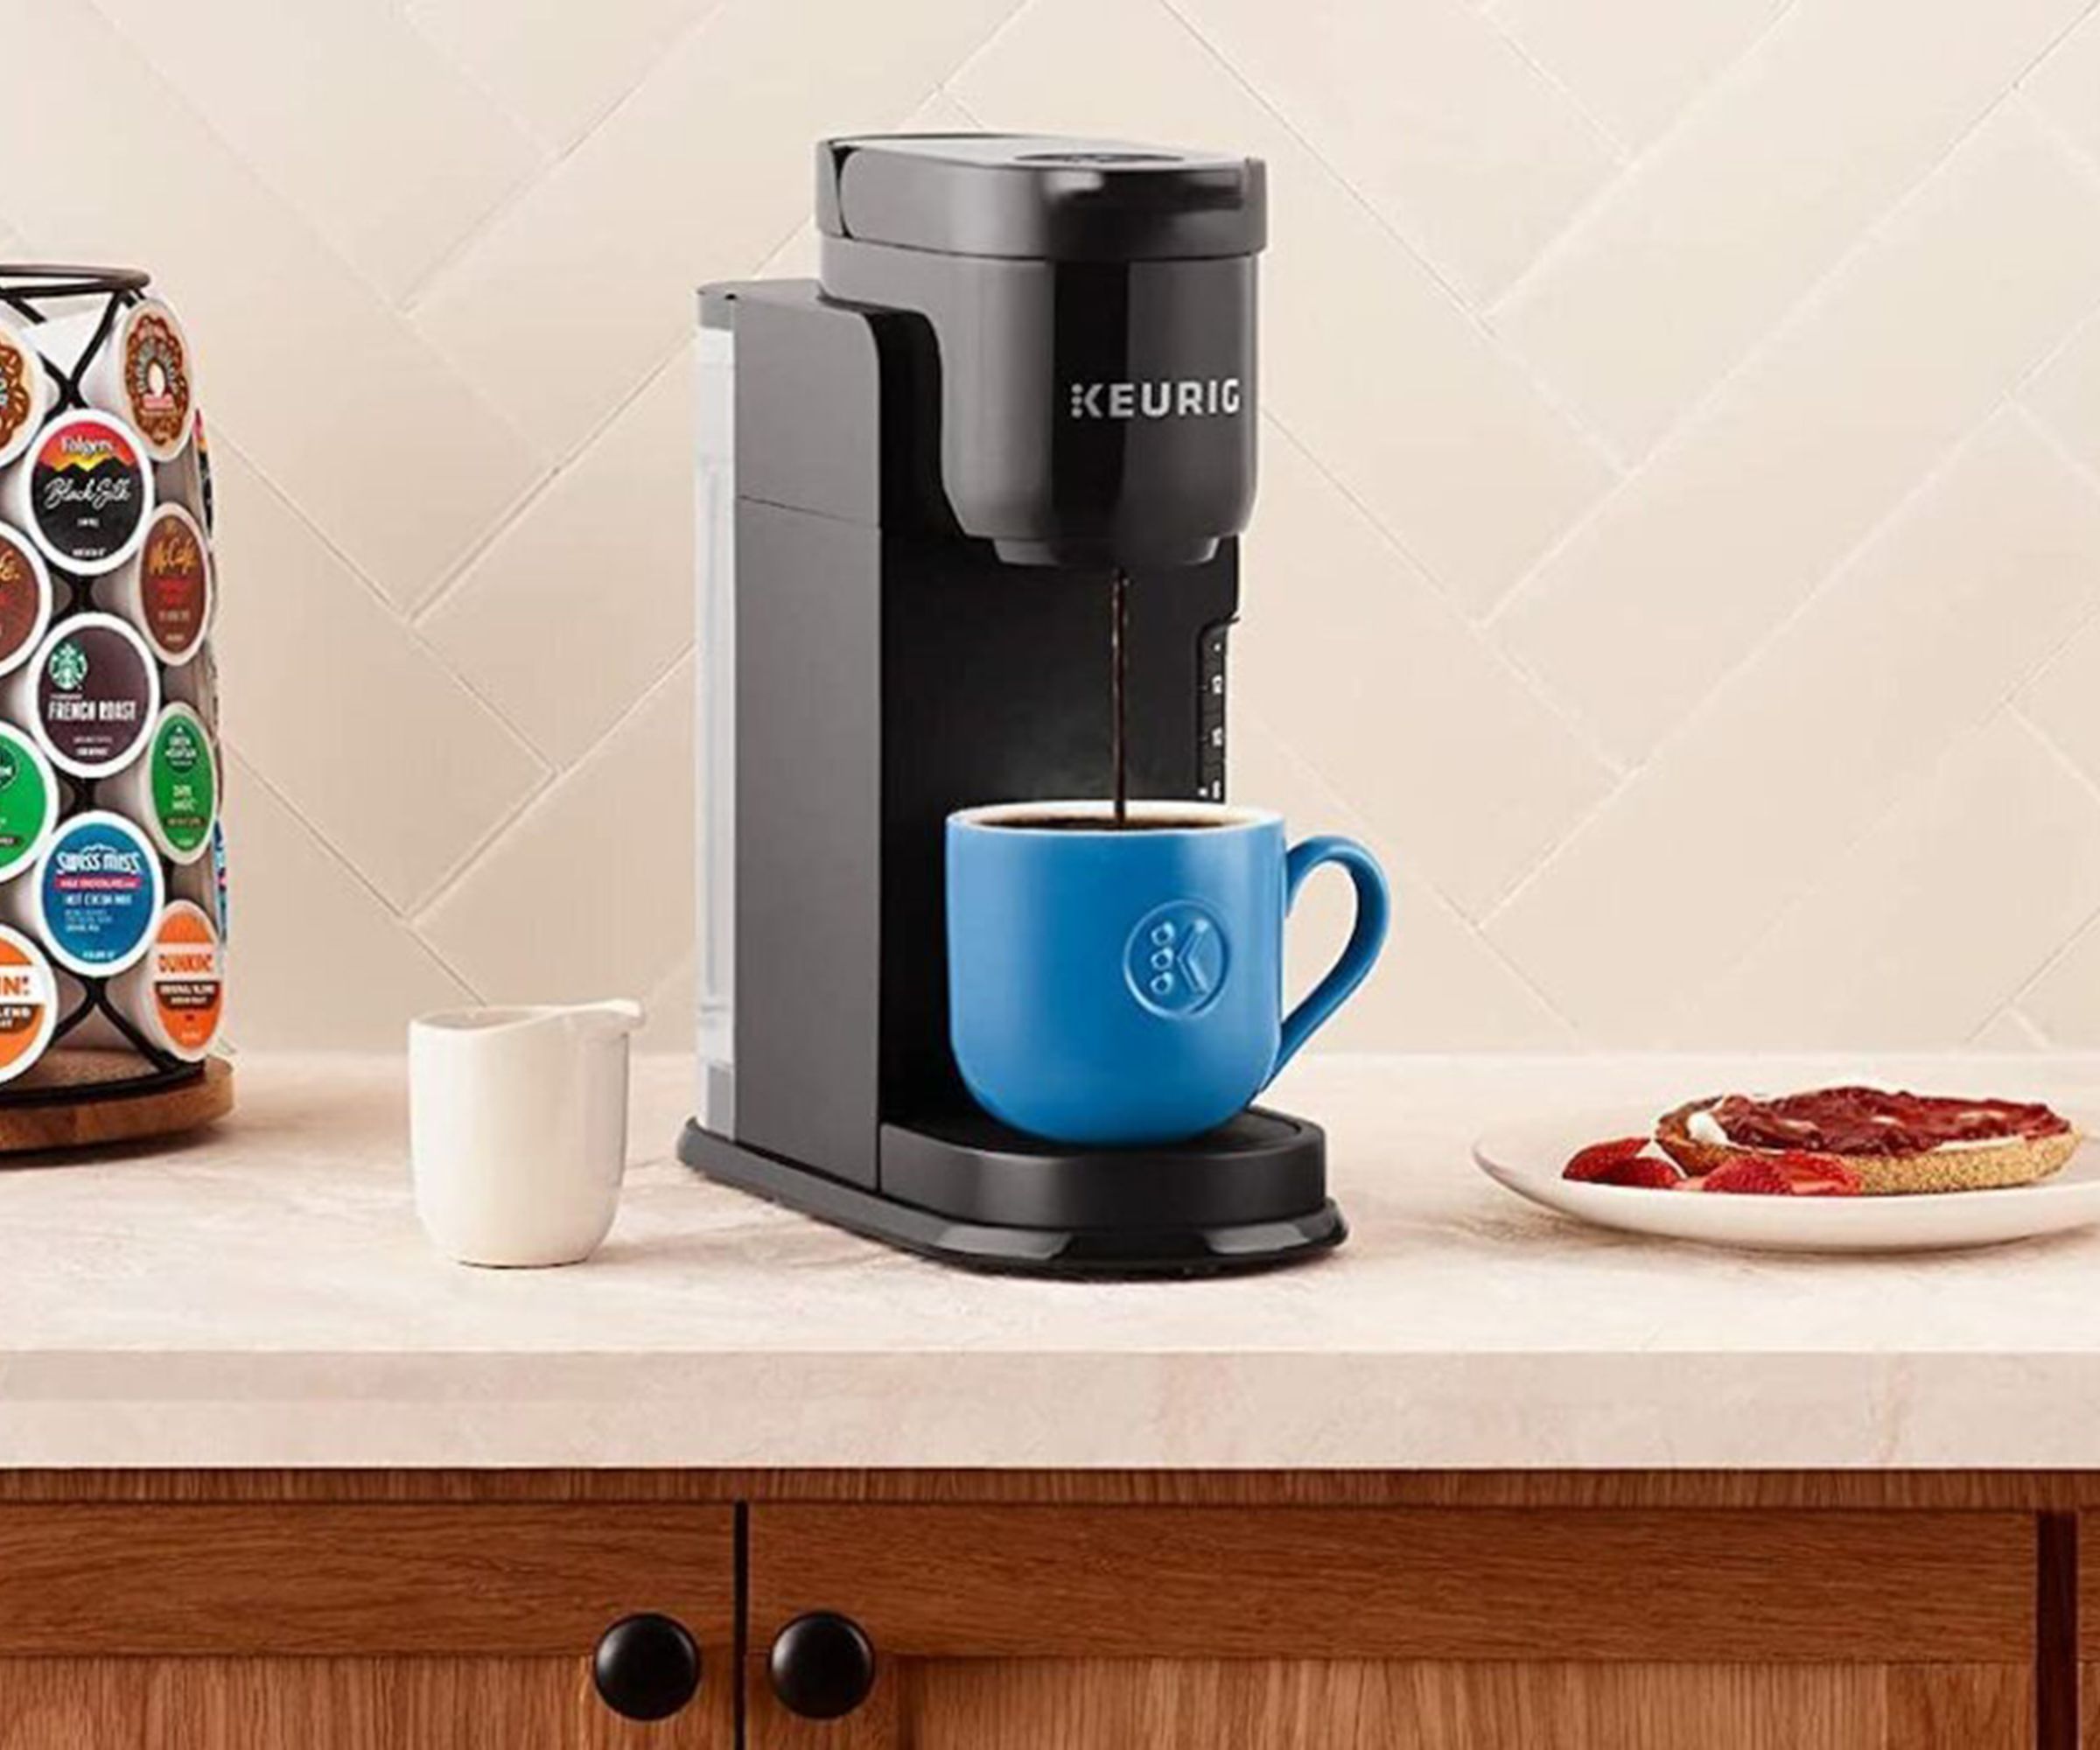
No one wants to taste of smell vinegar when enjoying a cup of coffee, so flushing the residue out of your machine is crucial to curbing any lingering residue.
Firstly, leave your machine to stand for at least 30 minutes with your cup or mug underneath, to allow any excess solution to drip from the machine. Then, empty your Keurig's reservoir of any remaining liquid, and wash it by hand using a soft cloth and soapy water, with a gentle dish soap such as the Method Dish Soap available at Walmart.
After drying, refill it with plain water and run a regular cycle to flush the vinegar out of the system and make coffee taste better, even when you don't like coffee.
You might need more than one cycle to clear the taste, as coffee blogger Johnny Morrison highlights, adding that vinegar is 'much cheaper than specialized descaling solutions,' typically costing around 40 cents per descale. 'Maybe brew a sacrificial cup of coffee before you trust it with your favorite roast again,' cleaning expert Jade advises.
This method is also a great way to incorporate everything you need to know about green cleaning into your routine and reduce your reliance on chemicals, especially if you want to use more non-toxic home essentials.
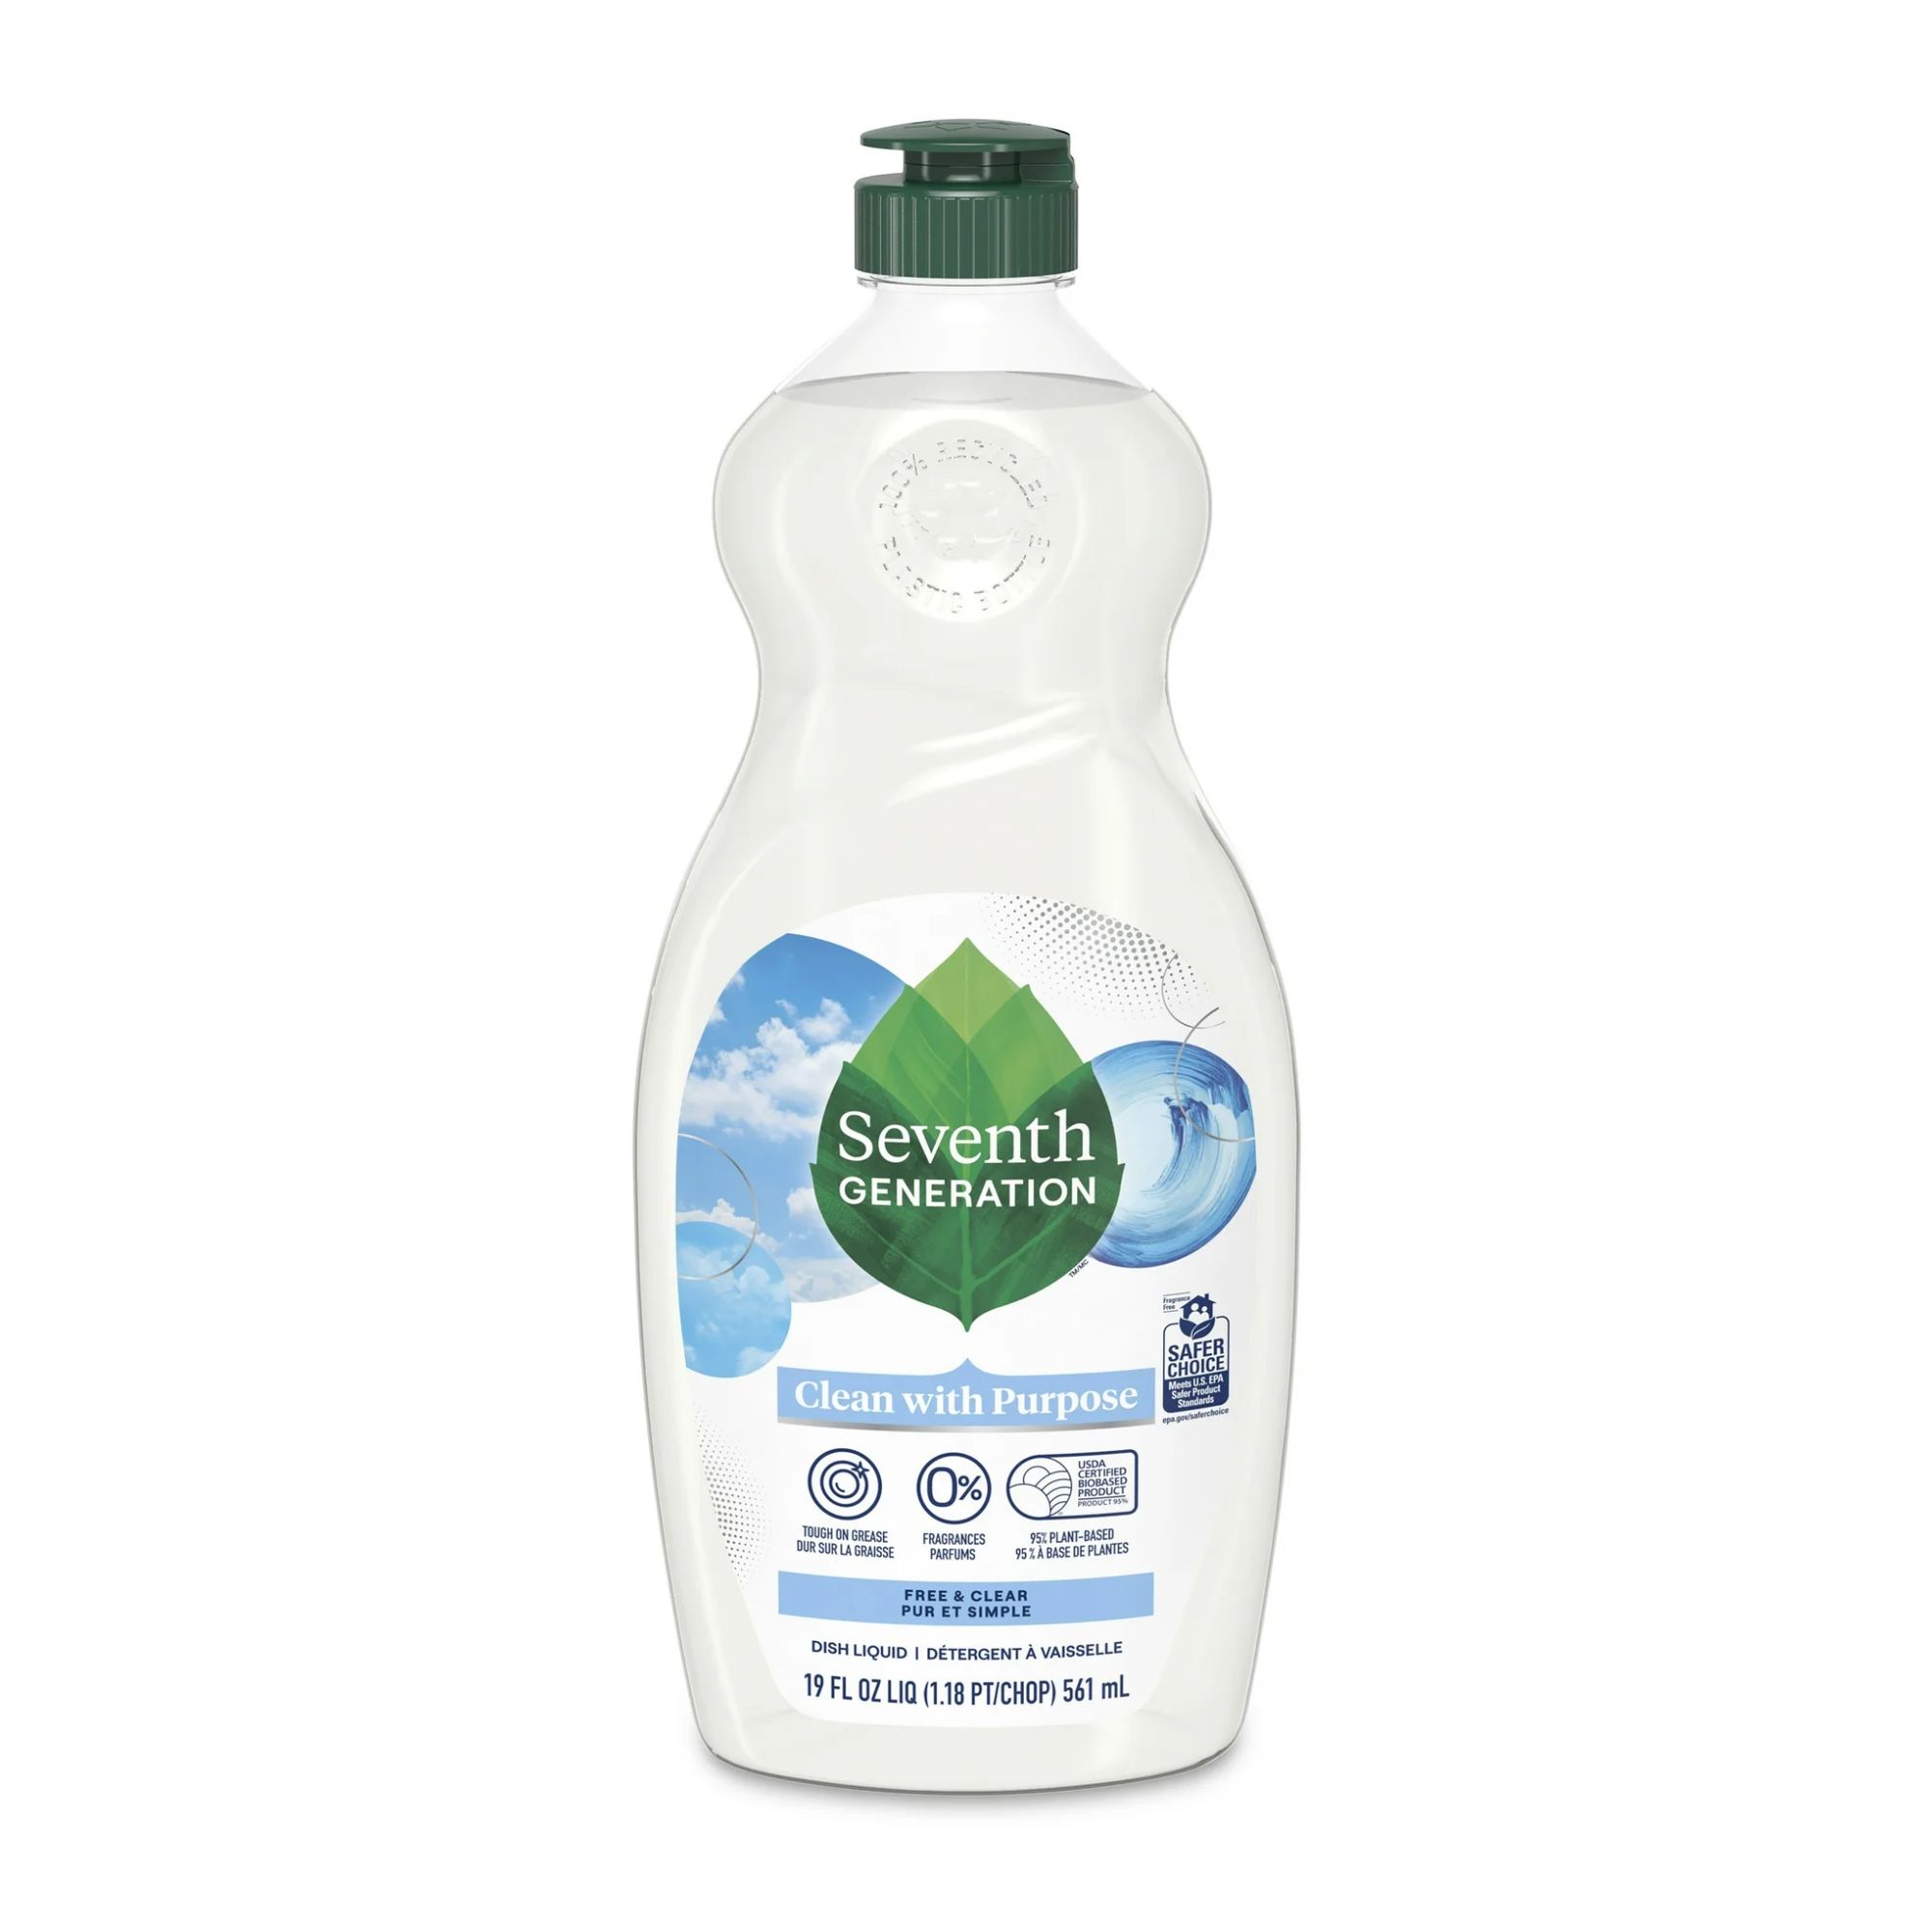
This plant-based dish soap is tough on food but gentle on delicate appliance parts, with 0% fragrances and a fully recyclable bottle.
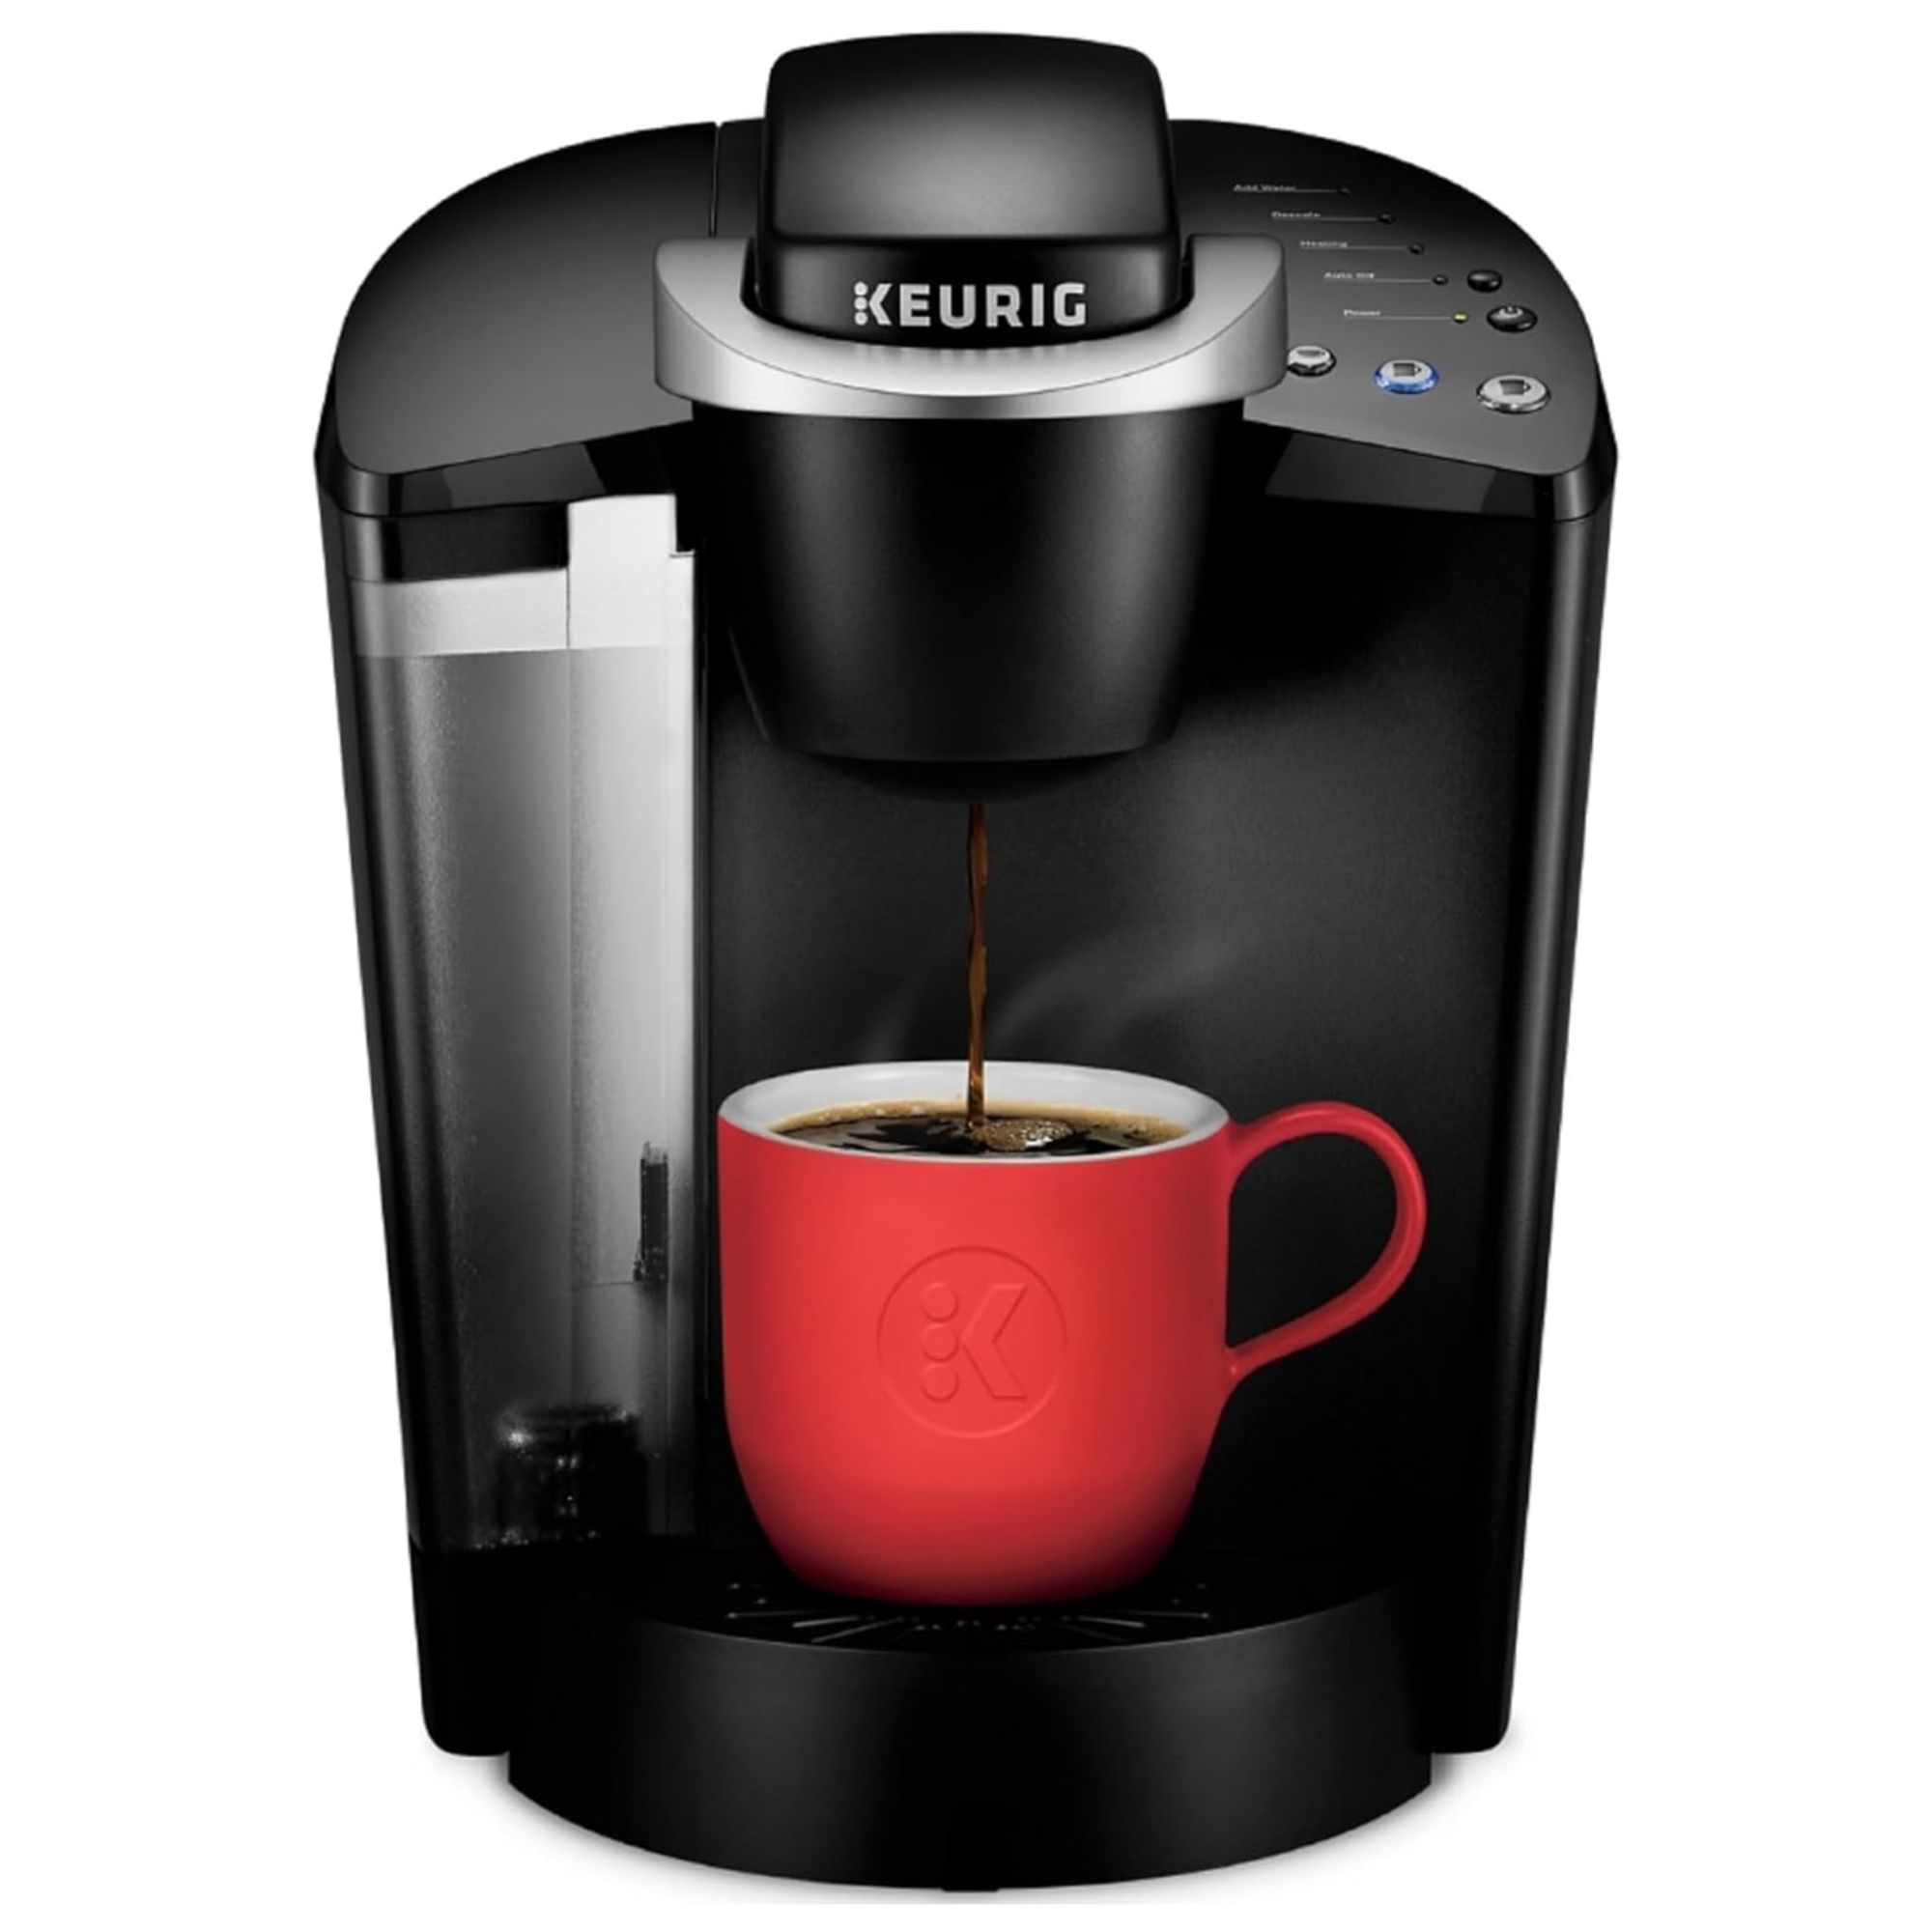
This simple to use Keurig has a large 48 ounce water reservoir, to allow you to brew up to six cups of coffee before a refill is required, and an auto-on auto-off function to help save energy.

These barista cloths are designed to fit snugly in your hand, ideal for wiping coffee residue from your machine, and milk from the steam wand and countertops without scratching countertops.
How often should you descale your Keurig coffee machine?
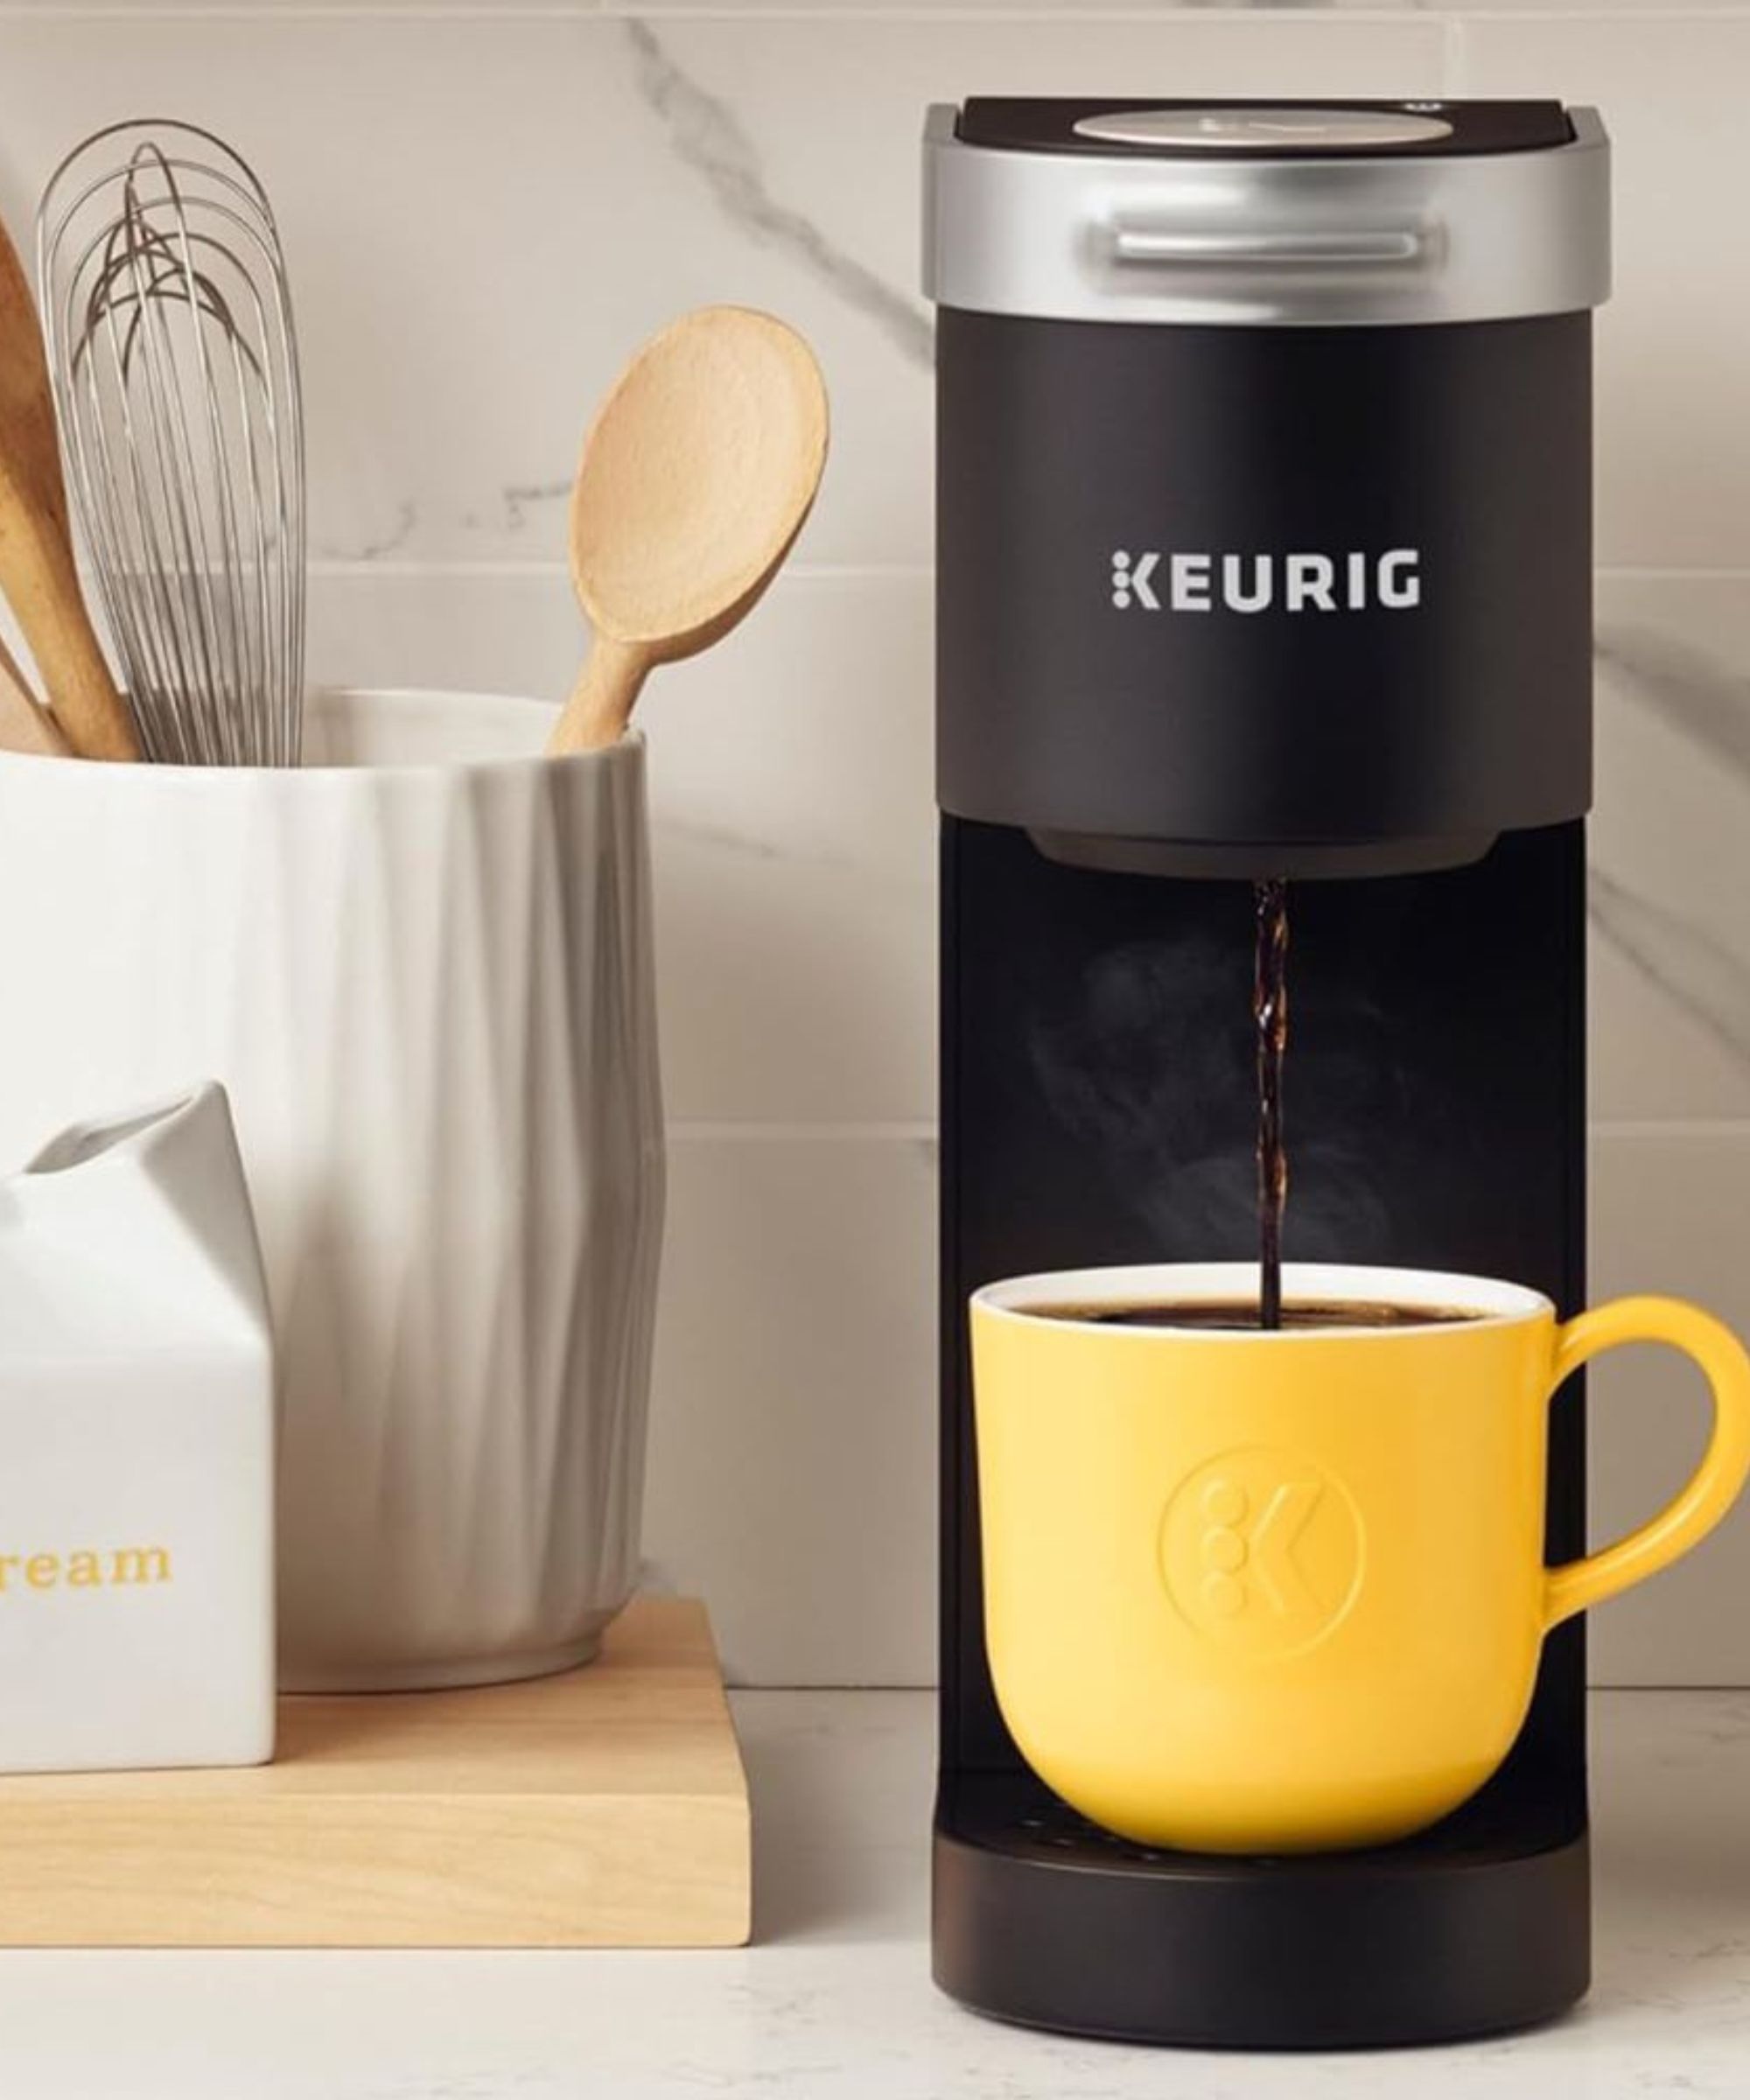
As a rule of thumb, you should aim to descale your appliance at least quarterly, or every three to six months, advises Diana from Keurig.
'However, this can depend on the water you use and its mineral content. Harder water will cause a quicker build-up of calcium deposits than softer water, which is why we recommend using bottled or filtered water,' so keep this in mind when it comes to both daily use and running descaling cycles.
Most Keurig machines come with a descaling alert light, which Diana assures will prompt you when it's time to run a cycle. 'Although you can postpone the warning for six week, the sooner the descaling, the better,' she adds.
You may also notice some signs its time to replace your old appliance, like your coffee taking longer to brew, your machine becoming louder, water spluttering out, cold coffee, or an impaired taste. In all of these cases, you can save your money – descaling instead of replacement is almost always the answer, to maintain the machine's smooth functioning.
You should also try to clean all the parts once a month for optimum hygiene and working efficiency.
‘If the brewer will be left unused for an extended period of time, for example over one month, it is also wise to descale the coffee machine before putting it into storage,’ continues Diana. ‘You should then also run a descaling or cleaning cycle two or three times before using it again for coffee after the storage period.’
Alternative ways to descale a Keurig coffee maker
Of course, you can always use Keurig's descaling solution, but your Keurig is also one of the things you can clean with denture tablets.
Simply pop half a tablet, such as the Efferdent Denture Cleanser Tablets available at Amazon, into the K-Cup holder, then run the coffee machine for three cycles, finishing with a cycle or two of clean water, or until it runs clear.
When it comes to things you can clean with citric acid around the house, you can also add a tablespoon of citric acid crystals, such as the Roots Circle All-Natural Citric Acid, to one gallon of water in your Keurig before running it a few times and adding clean water. Again, repeat until the water runs clear, without any mineral or limescale deposits.
FAQs
How do you replace Keurig filters?
Ensuring a great-tasting coffee and keeping your machine functional takes more than descaling. You also need to periodically replace your coffee machine's filters to keep your brew fresh and avoid making yourself ill. To do so:
- Remove the old filter using your appliance's dedicated manual and dispose
- Soak the new filter in water for at least five minutes, then rinse it under running water for a minute to saturate it and rinse away any factory dust
- Insert the new filter into place and clip the filter holder back into place
- Repeat every two to three months
Why is the descaling light still flashing after I have descaled my Keurig?
If the descaling indicator remains lit, this suggests that the machine hasn't been adequately rinsed following the descaling process.
You should thoroughly rinse the Keurig again with clean water. Take out the water tank, refill it to the 'max' line using tap water, and initiate the water rinse cycle in your machine's settings.
You might need to try using dedicated descaling solutions, like this Coffee Machine Descaler Descaling Solution available at Amazon, if vinegar doesn't seem to be cutting it for your machine.
It's also equally important to clean a drip coffee maker, too. Luckily, this can also be done with vinegar, which you can use to clean your bathroom afterward, too.
Sign up to the Homes & Gardens newsletter
Design expertise in your inbox – from inspiring decorating ideas and beautiful celebrity homes to practical gardening advice and shopping round-ups.

Ottilie joined Homes & Gardens last year, after finishing a Master's in Magazine Journalism at City, University of London. With previous contributions in Livingetc and Motorsport Magazine, she produces content for the Solved section on the website, focusing on clever tips and tricks to keep your home beautiful, organized and clean. She also has an undergraduate degree in English Literature and History of Art from the University of Edinburgh, where she developed a love for inspiring interiors and architecture.
- Punteha van TerheydenHead of Solved
- Chiana DicksonContent Editor
You must confirm your public display name before commenting
Please logout and then login again, you will then be prompted to enter your display name.
-
 'Big results before you know it' – Experts urge you to use the ‘Take Away 10’ method for simple decluttering with zero decision fatigue
It can cut hundreds of items from your home in just a few weeks
By Ottilie Blackhall
-
 Kevin Bacon and Kyra Sedgwick's rustic kitchen island is stunning, but controversial – designers say you can get the look without the hassle
A popular material finds an unorthodox home in the couple's kitchen, but experts disagree on whether it should be used – here's how to do it instead
By Sophie Edwards
-
 I've spent over 200 hours testing vacuums and swear by my two Dysons – this is how I properly clean a Dyson vacuum filter for longer-lasting appliances
Your Dyson vacuum will last much longer and clean at its best
By Dan Fauzi
-
 Do cleaning products expire? Professional cleaners warn time could make them ‘less effective, and in some cases, irritating to use’
For the best results, it pays to stay on top of the timeline of your cleaning products
By Chiana Dickson
-
 How to clean a patio – 6 different methods, and when you must use a chemical cleaning agent
From manual scrubbing, natural solutions or calling in the pros, industry experts reveal the benefits and considerations of each method
By Andy van Terheyden
-
 5 surprising but brilliant ways to clean with old socks – from perfectly buffing stainless steel to deterring pests naturally and more
Tackle dust in tricky corners, clean your mirrors and even banish bad odors with those rogue single socks
By Andy van Terheyden
-
 5 things people with clean upholstery always do – simple, quick and oh-so-effective
Ensure your furnishing looks clean year-round with these expert tips
By Seraphina Di Mizzurati
-
 'Wick away the ick' – 6 things people with clean laundry rooms always do to make this hardworking space shine
These tips on how to clean your laundry room will banish grime
By Seraphina Di Mizzurati
-
 How safe are carpet deodorizers? As a seasoned vacuum tester, I urge you to try alternative methods
Natural cleaning is always the answer
By Dan Fauzi
-
 'The world will not end' – 5 cleaning habits to quit for a happier, easier life, and what to do instead
Get your home sparkling, minus the stress
By Ciéra Cree