How to defrost a freezer – pro tips to keep your appliance running smoothly and safely
Lower your energy consumption and keep food stored optimally

Hayley Gilbert
While a typically mundane task, it's undoubtedly important to know how to defrost a freezer. After all, a buildup of ice inside your appliance is not just annoying, reducing the space available for food storage – it can also increase energy consumption and lead to higher bills.
So, to save money and prevent an earlier-than-necessary replacement of your freezer, our appliance experts to break down the process of defrosting yours, step-by-step.
They'll explain why your freezer has been frosting up and share exactly how to fix it, keeping your food safe and costs down.
How to defrost a freezer
Vijay Bhardwaj, director at Beko explains why this is a necessary to-do for any home owner or renter, and why neglecting to do so is one of the worst things you can do to your freezer. 'Excessive ice acts as an insulator in a freezer,' Bhardwaj says, 'meaning your appliance needs to work harder to keep your food cold. As a result, the lifespan of your appliance may be reduced, and your energy bills will increase.'
Therefore, much like defrosting a fridge, Bhardwaj recommends defrosting your appliance twice a year, or when a frost layer of around one quarter of an inch (7 mm) has formed. 'This will allow the appliance to function correctly and free up any space that the ice may be taking up,' he says.
Regular defrosting is one of the things people with organized freezers always do.
Step 1: Turn off the freezer and take food out
Unless defrosting a freezer without turning it off, you will need to switch it off and unplug it from the outlet.
Glenn Lewis, president of Mr. Appliance, a Neighborly company says, 'Unplug the freezer and remove all food, storing perishables in a cooler,' such as the Igloo 48 QT Laguna Ice Chest Cooler available at Walmart, so it doesn't spoil during the defrosting process.
All prices correct at time of publication.
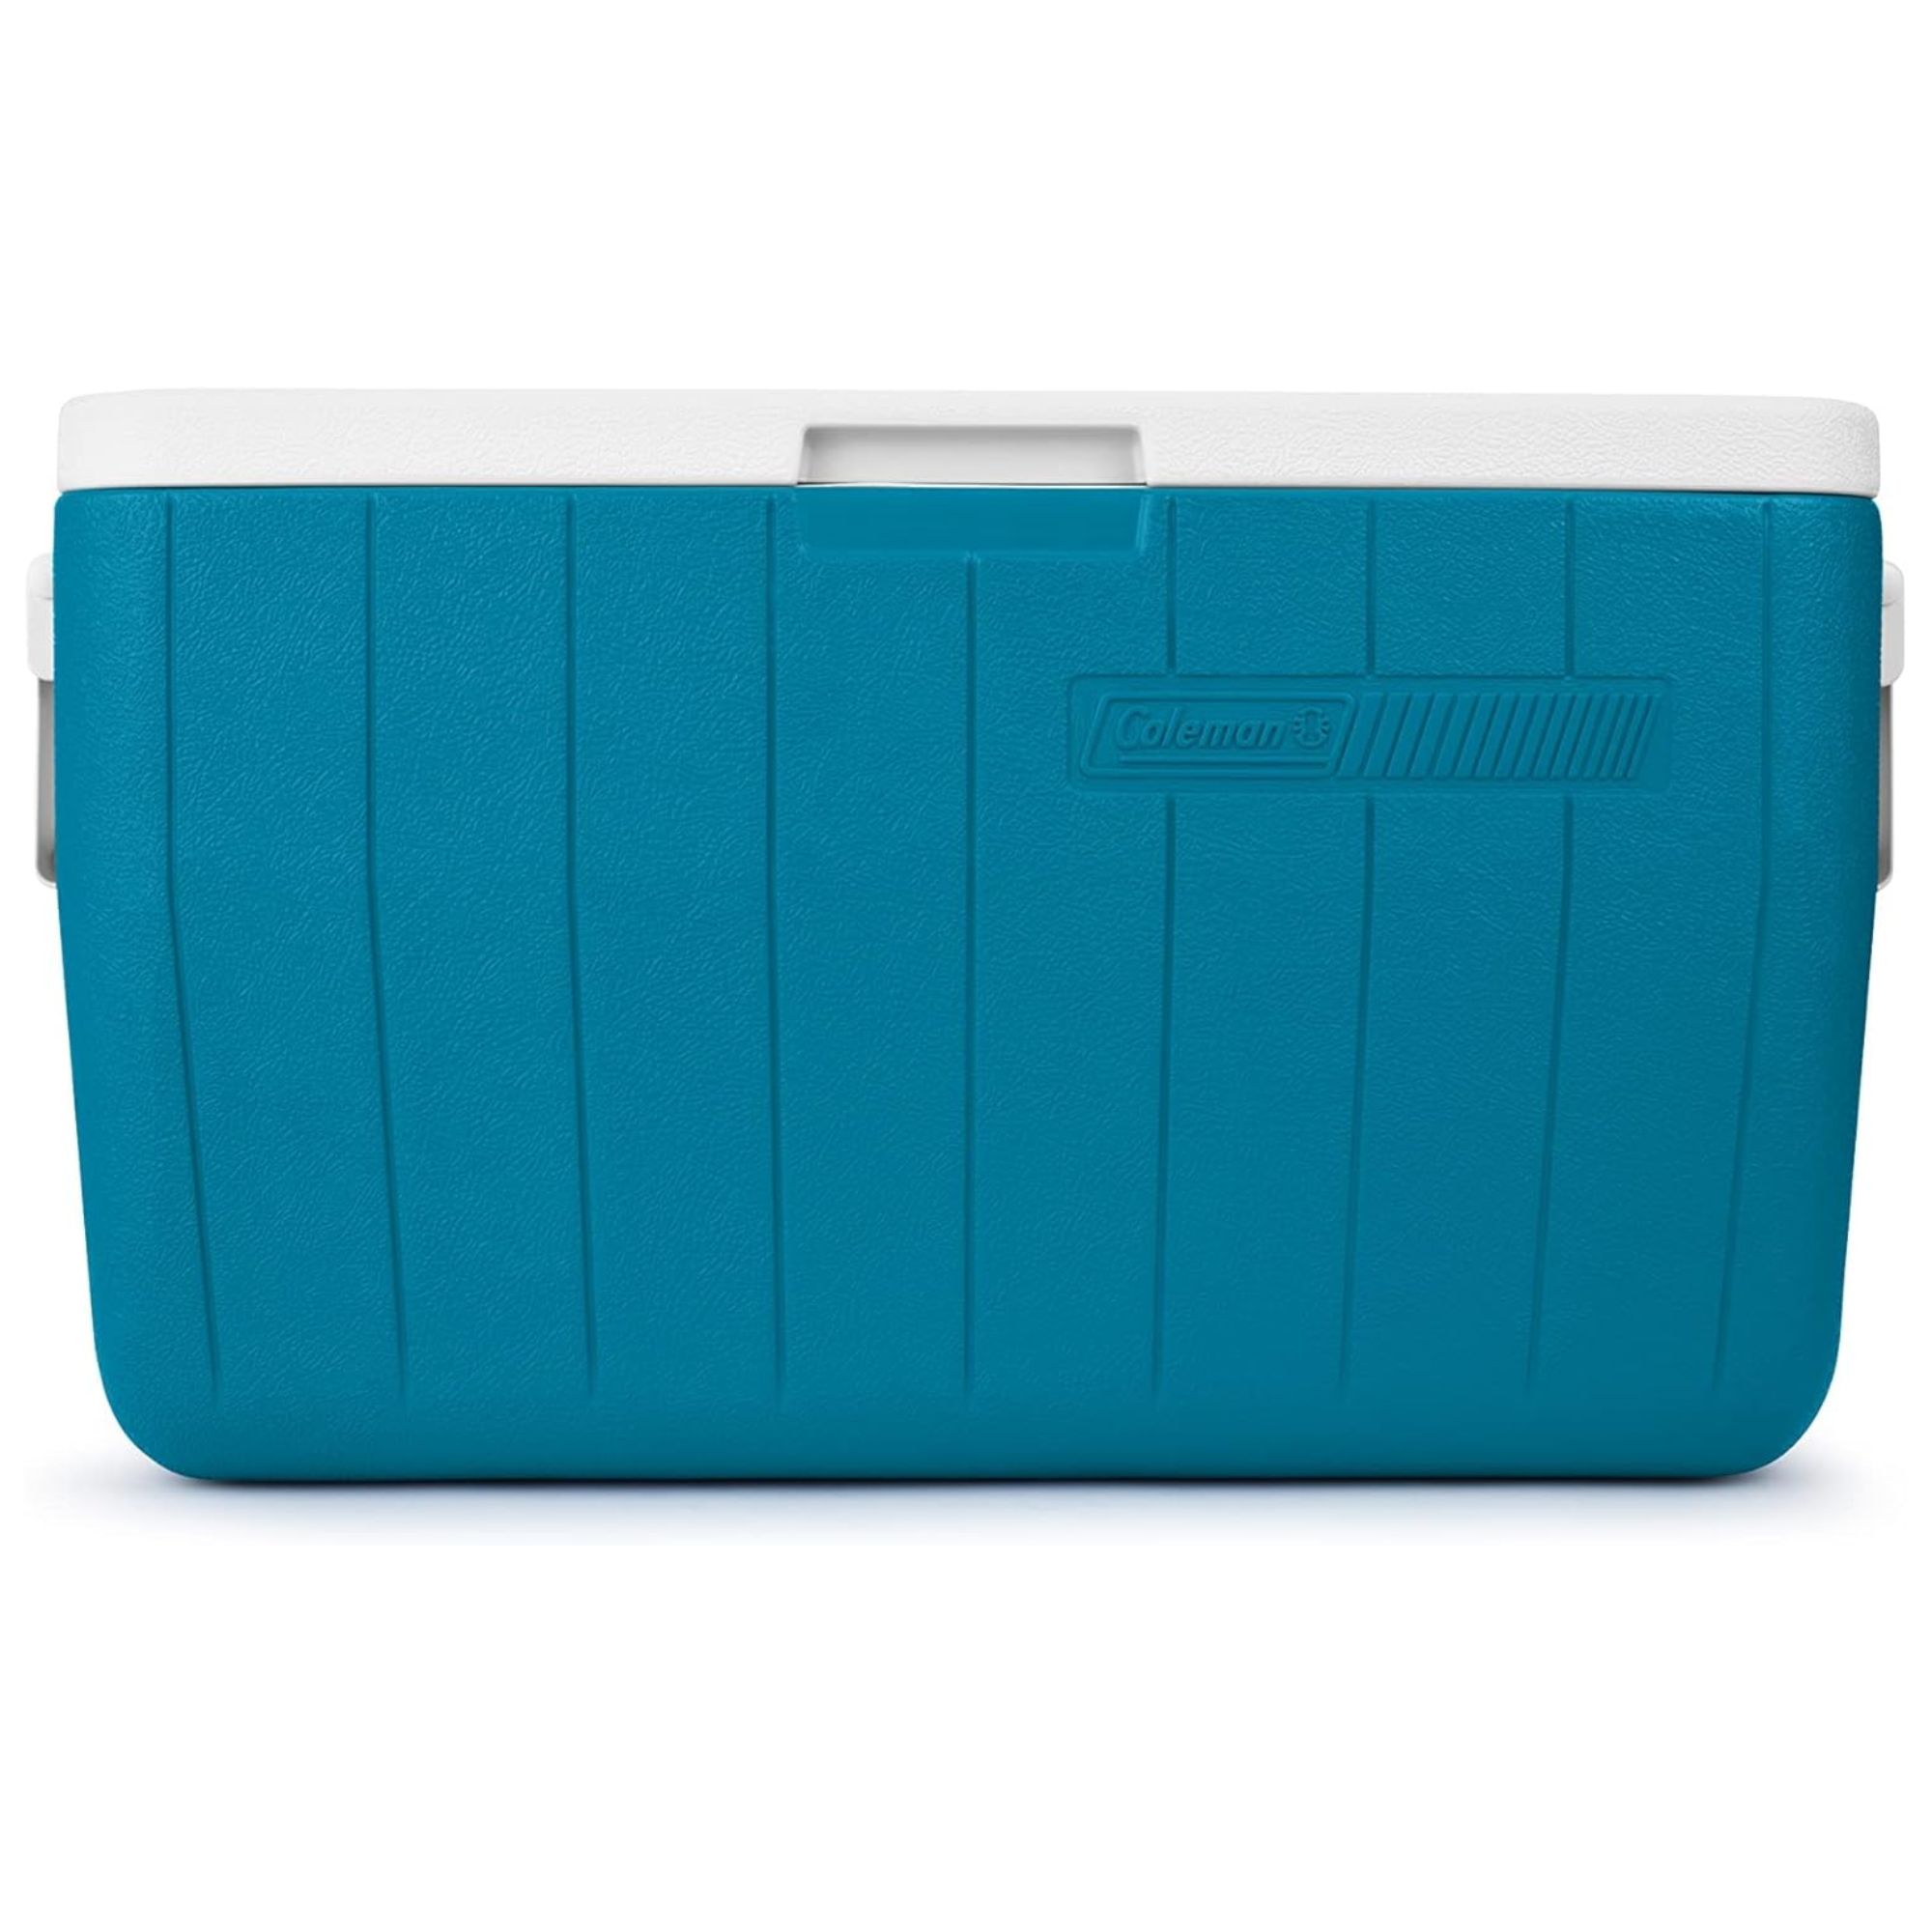
This large capacity cool box features two-way handles for easy lifting and portability, with plenty of space for frozen goods and a leak-resistant drain.
Step 2: Prepare the floor area
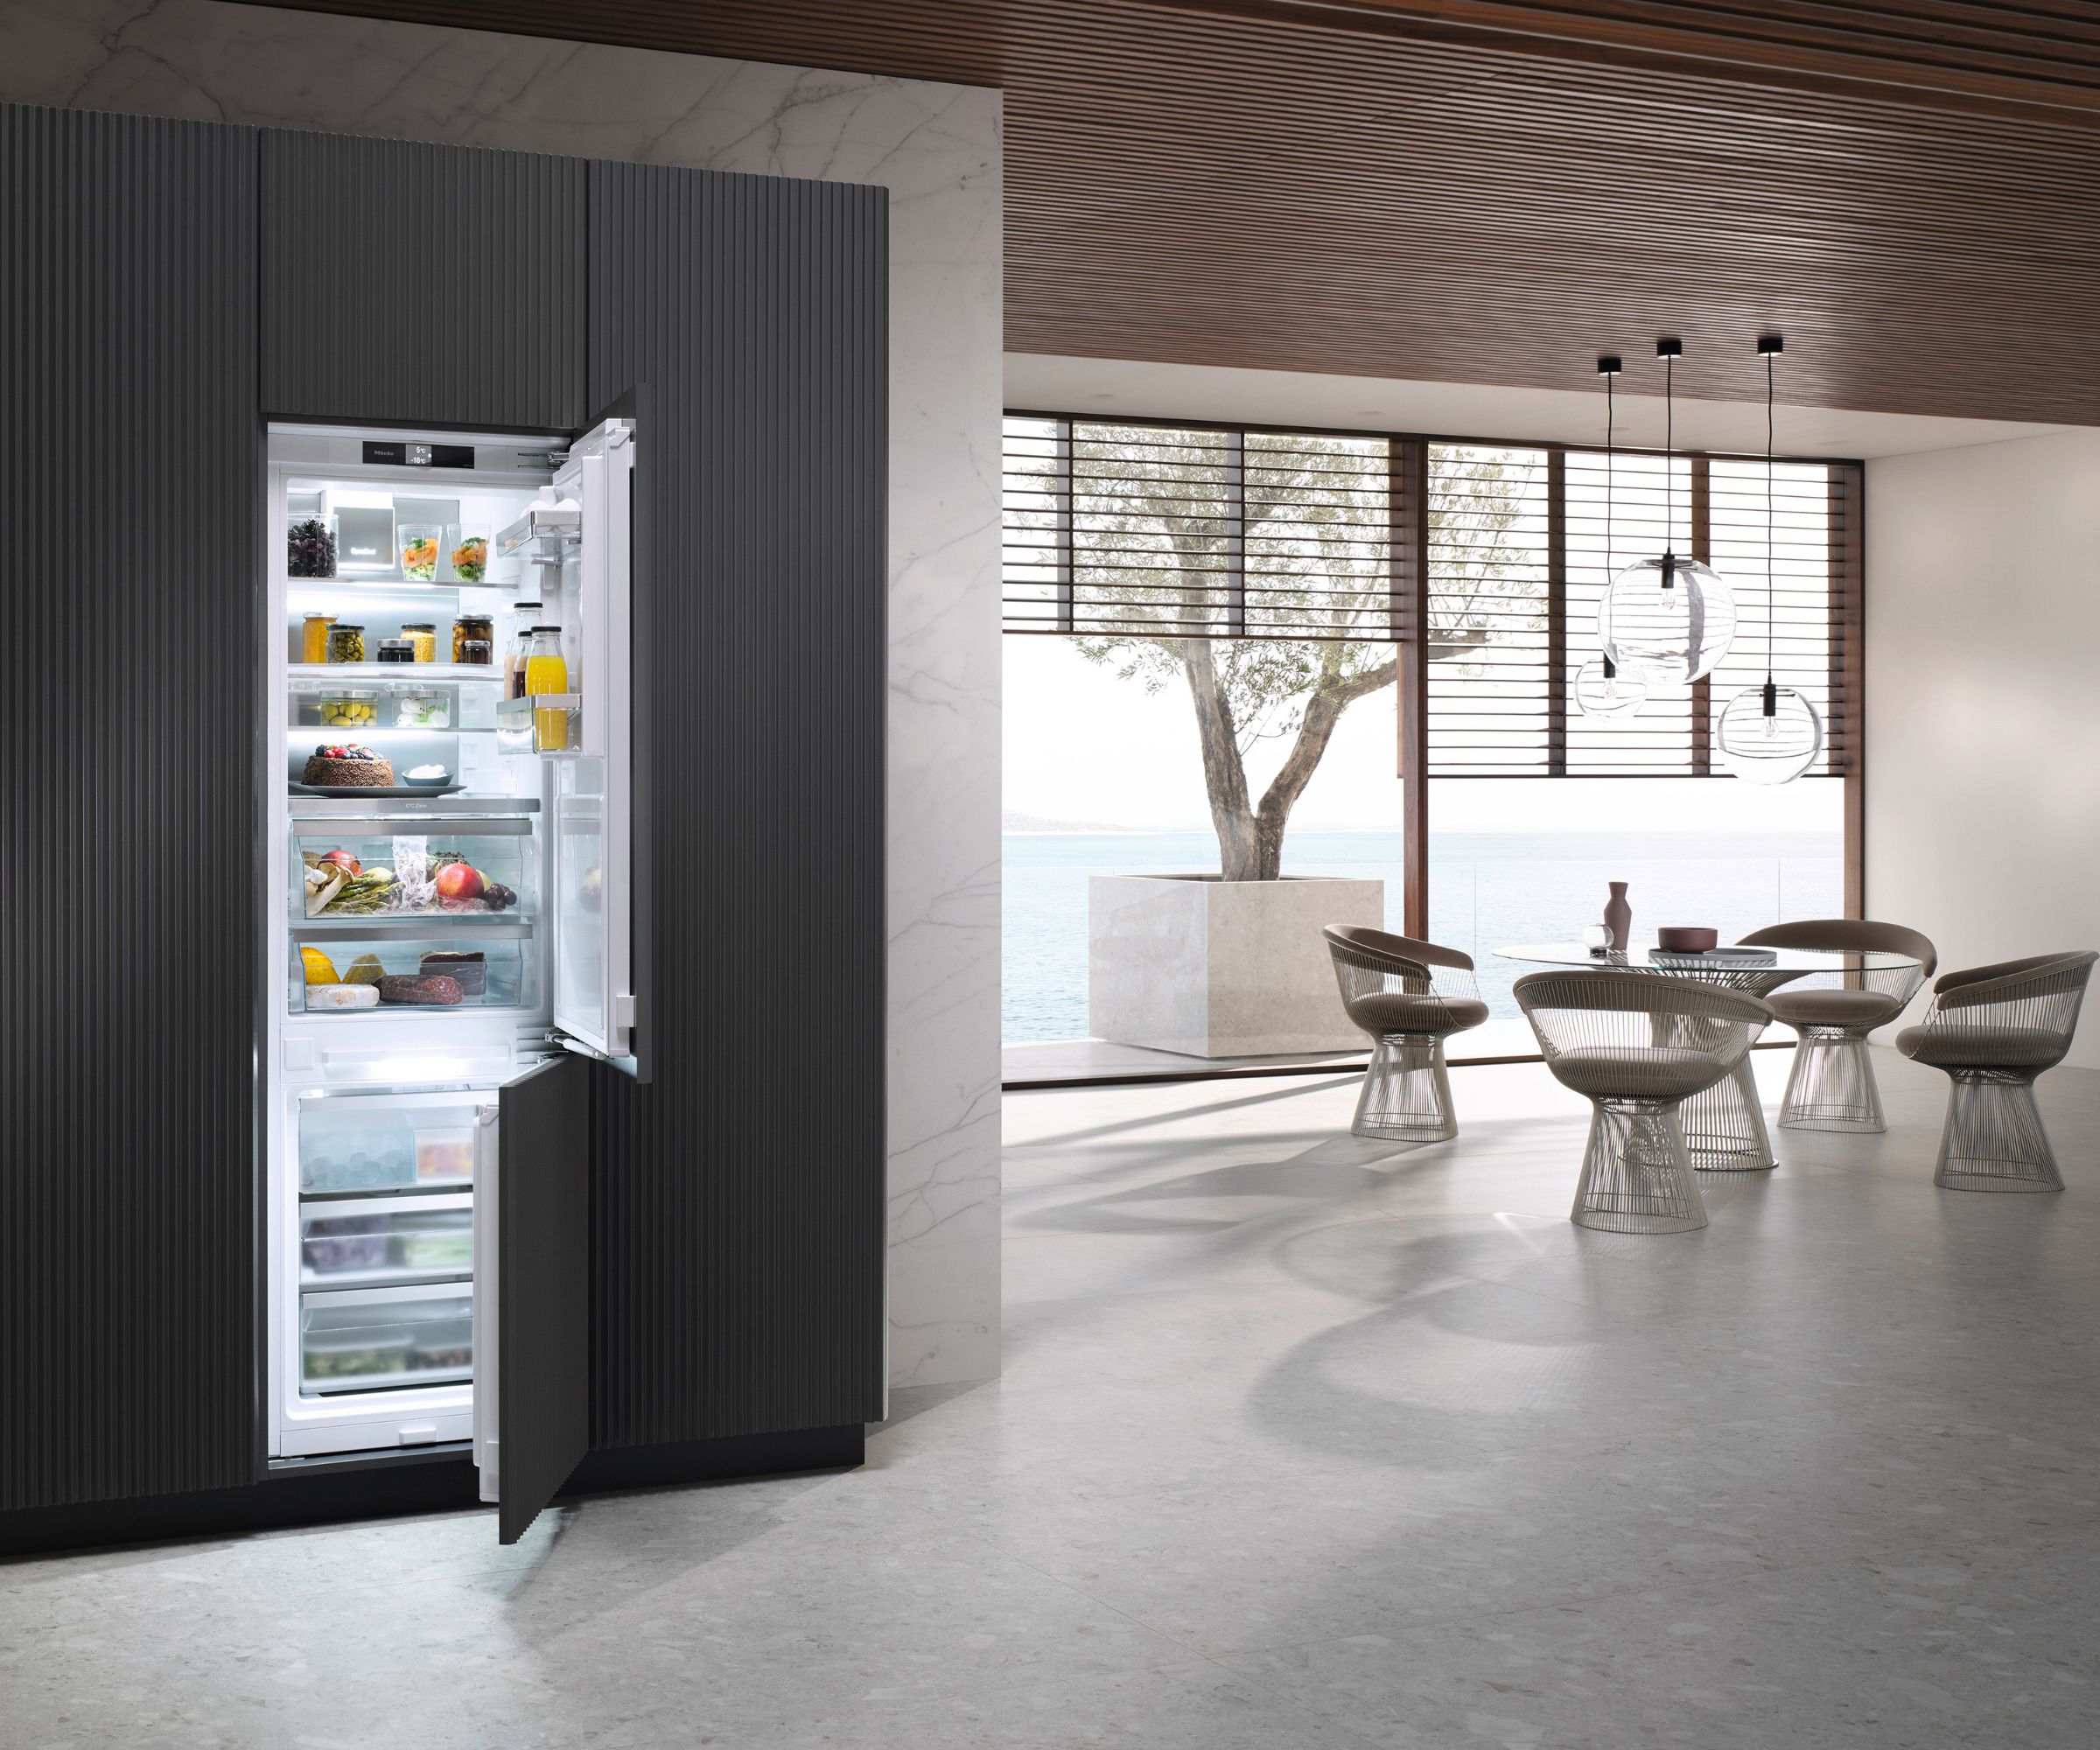
Once fully off and disconnected, your freezer will begin to melt quickly, so it's crucial to prepare the space around it to make cleaning your kitchen floor easier once finished.
To do so, appliance expert Lewis recommend putting down old towels or newspaper around your freezer, and placing rags, towels or absorbent paper towels, such as the Bounty Quick Size Paper Towels available at Amazon, inside the freezer, to soak up water as the ice melts.
Bear in mind that these will need to be wrung out or swapped for dry versions regularly during the defrosting process, and, if using any reusable options, it will be important to wash microfiber cloths and towels promptly afterward.
If your freezer has a drainage hose, place this in a basin or bucket, such as the Large Collapsible Bucket available at Amazon, and remember to empty as necessary during defrosting.
You can set shims under the front of the freezer to angle the hose towards the bucket and increase drainage speed, but do this with caution, and preferably a friend or family member to help, due to the weight of the appliance.
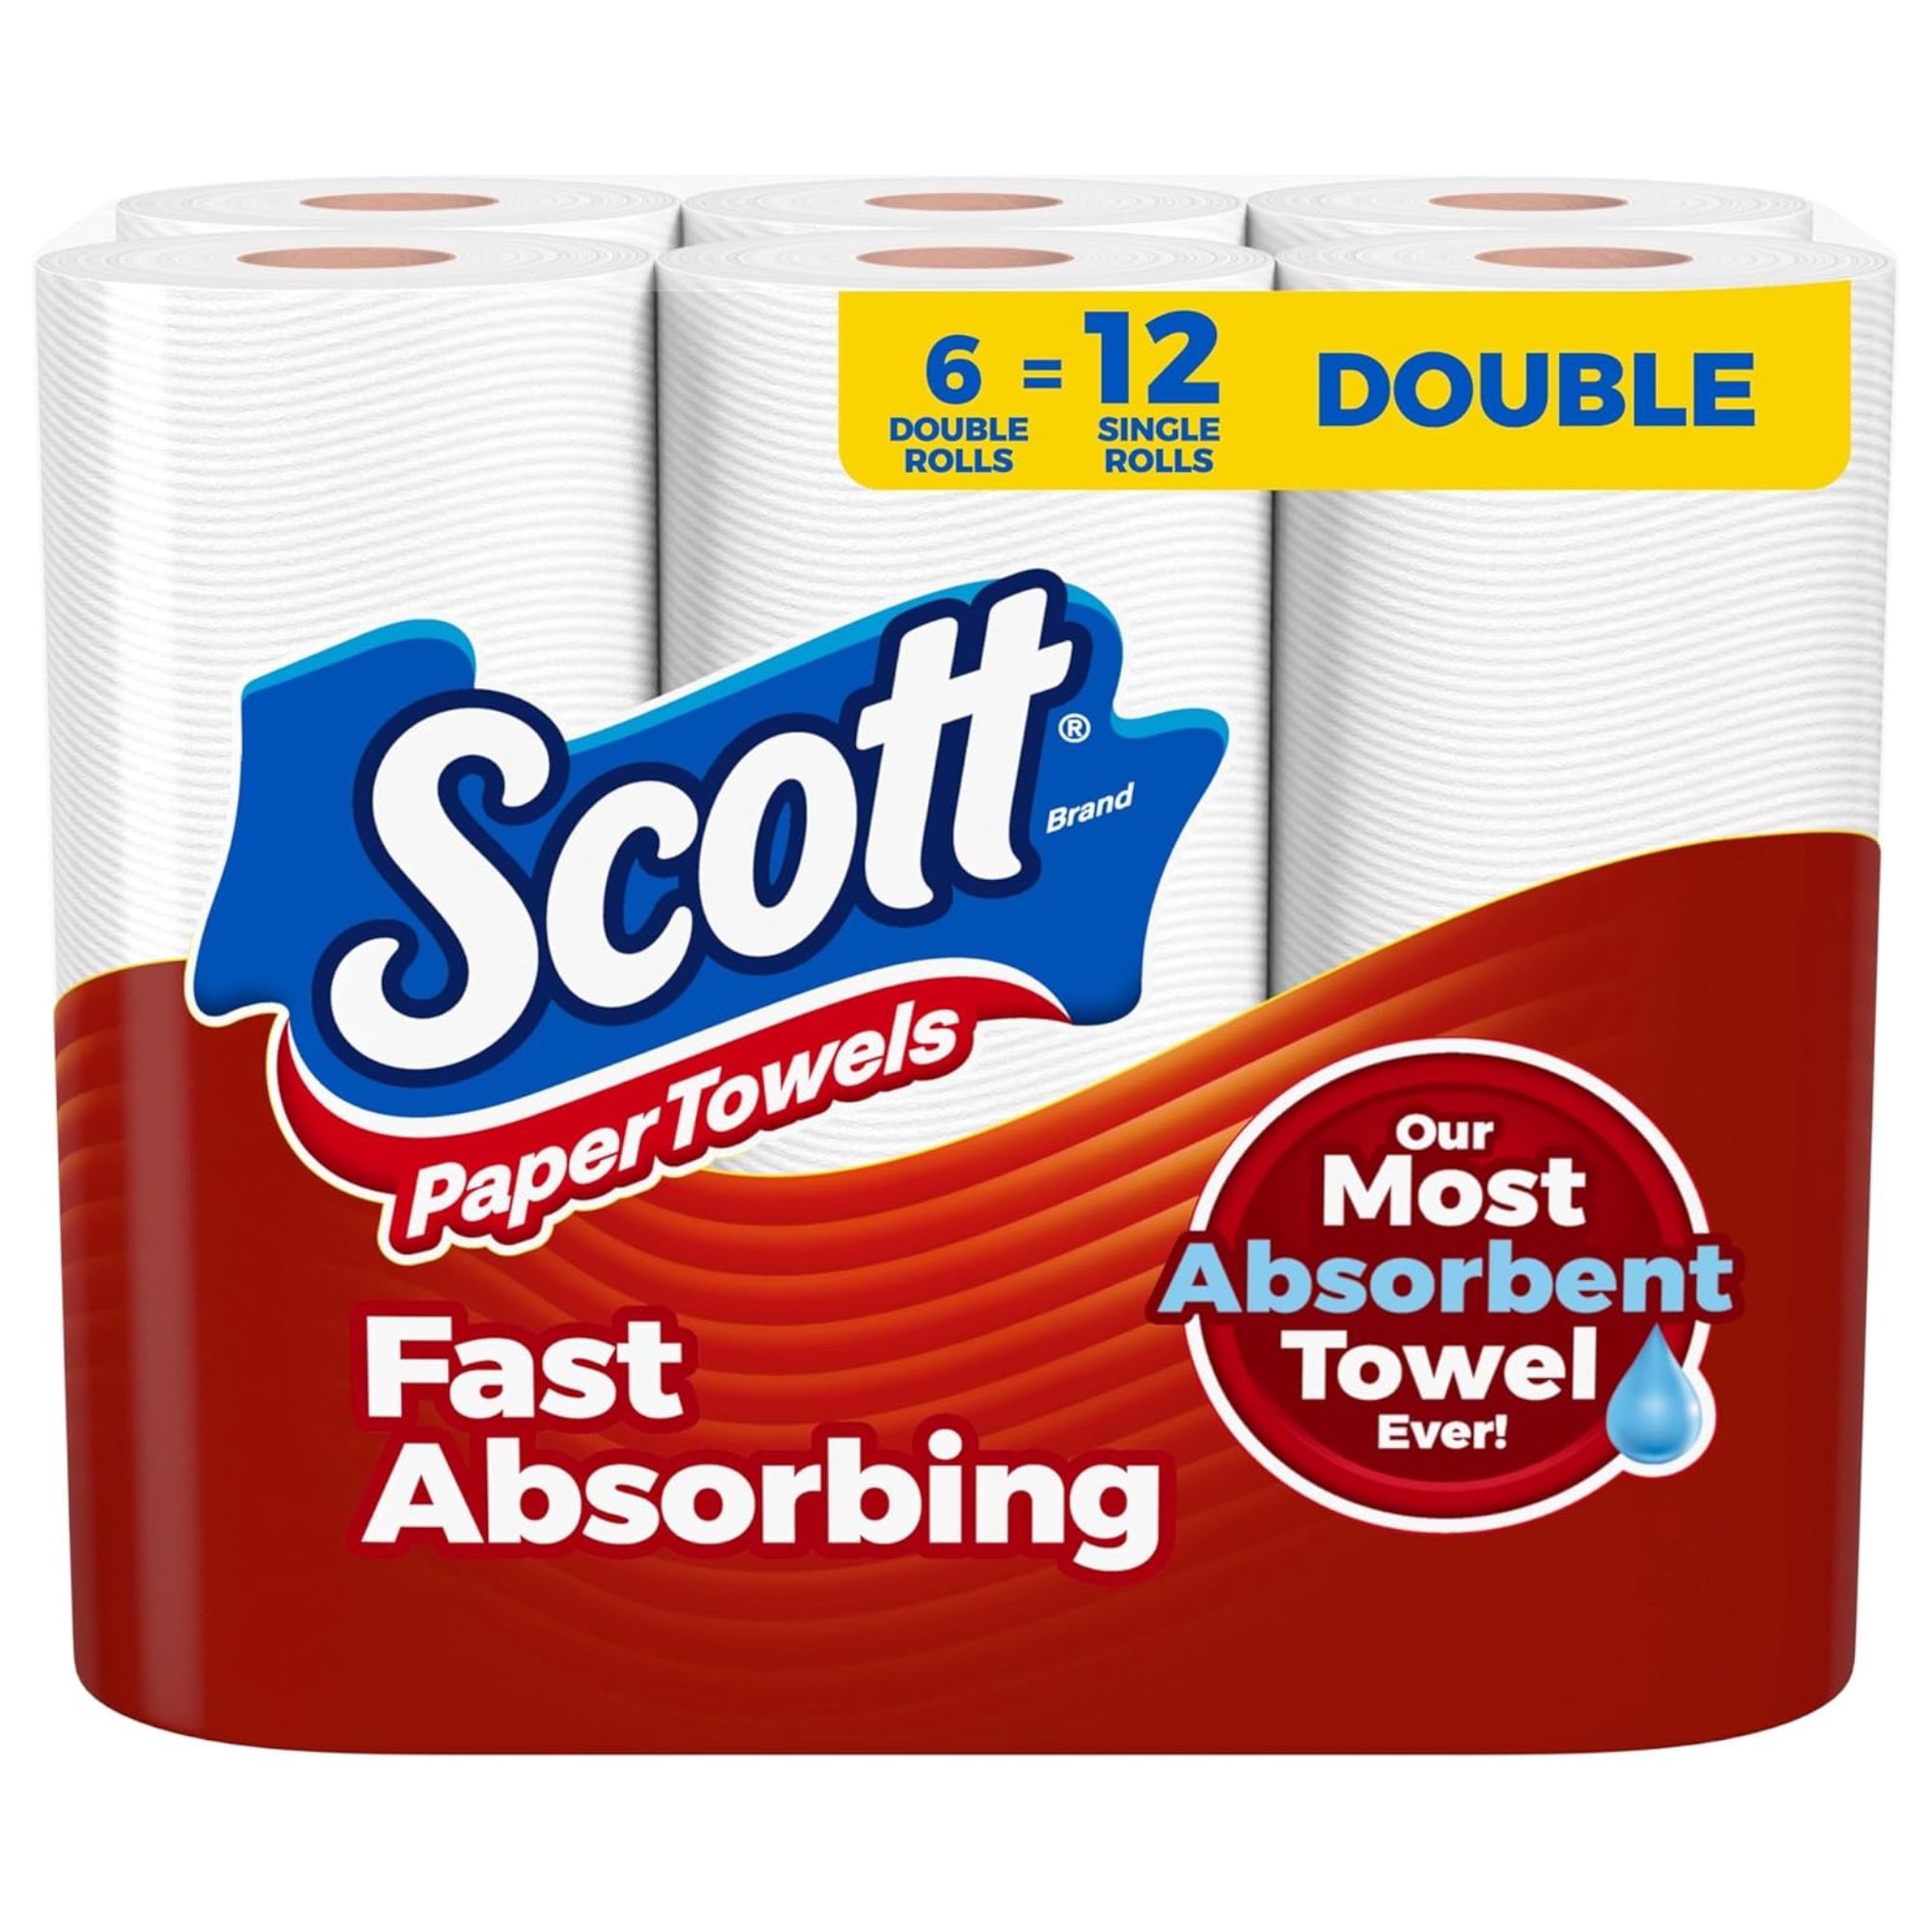
These fast-absorbing paper towels are designed for quick and easy cleaning, leaving surfaces virtually lint-free.
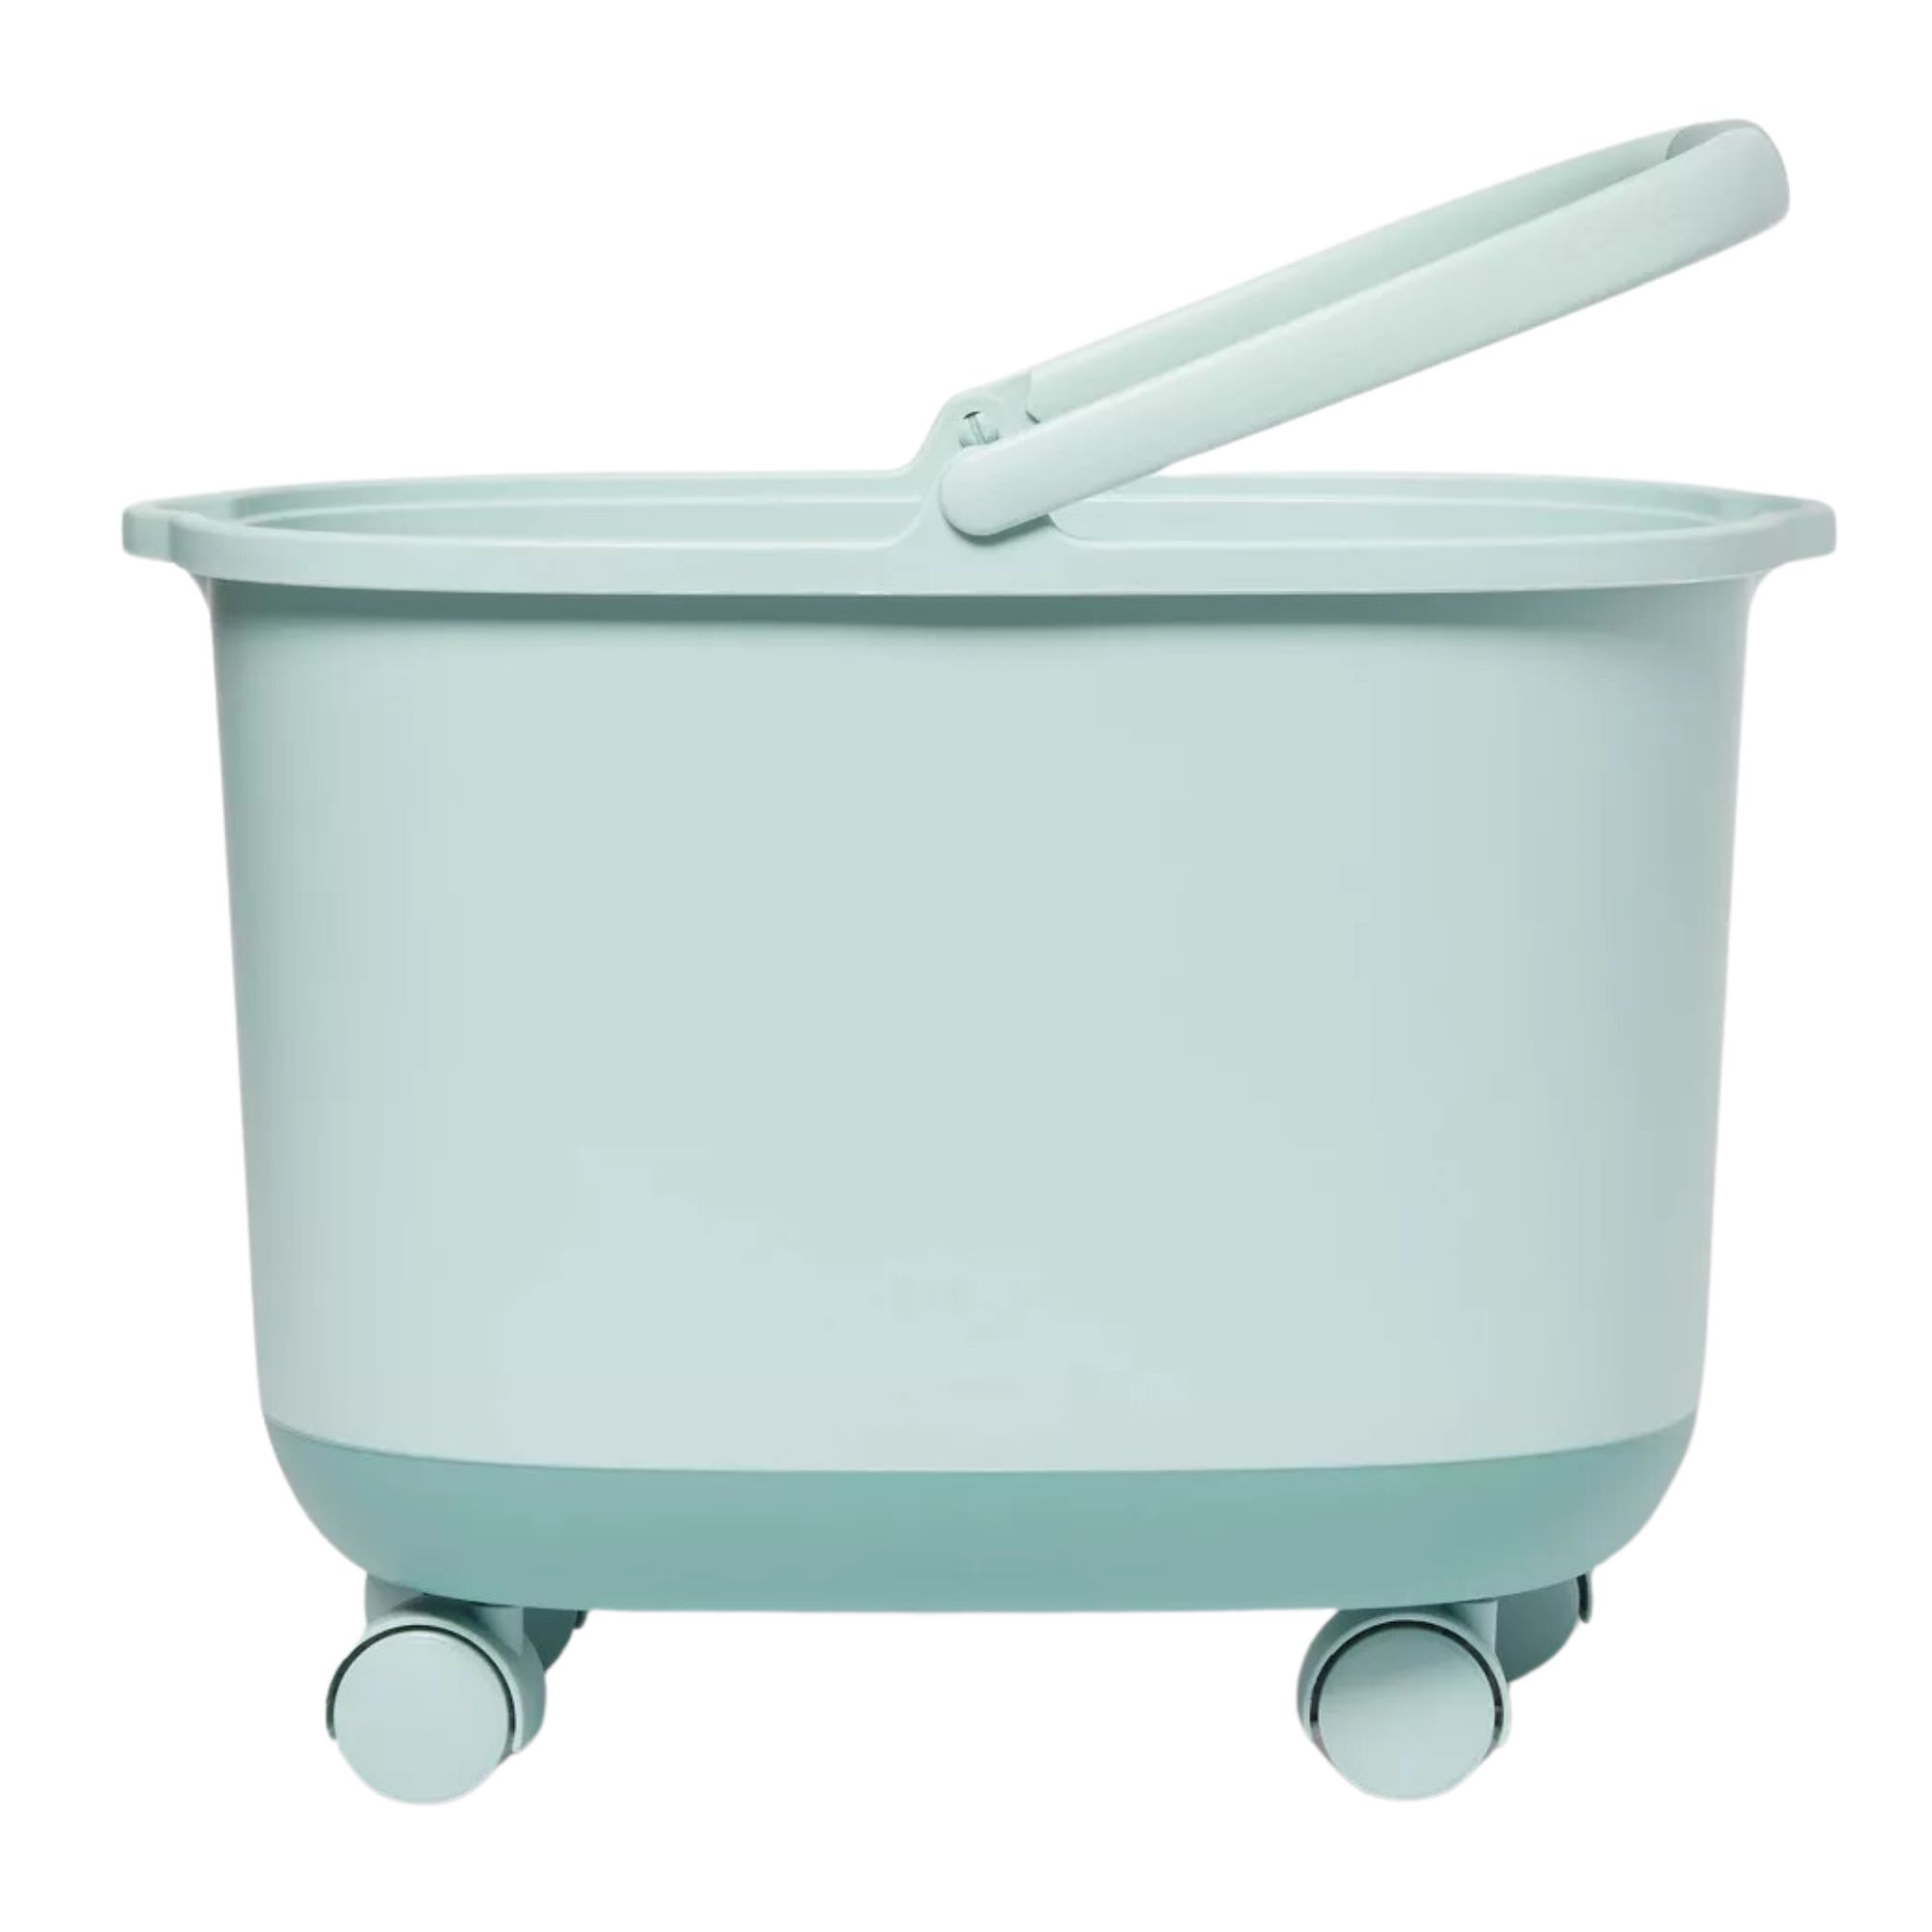
This handy bucket has a soft-grip handle for comfortable use, and wheels to make emptying the water easy.
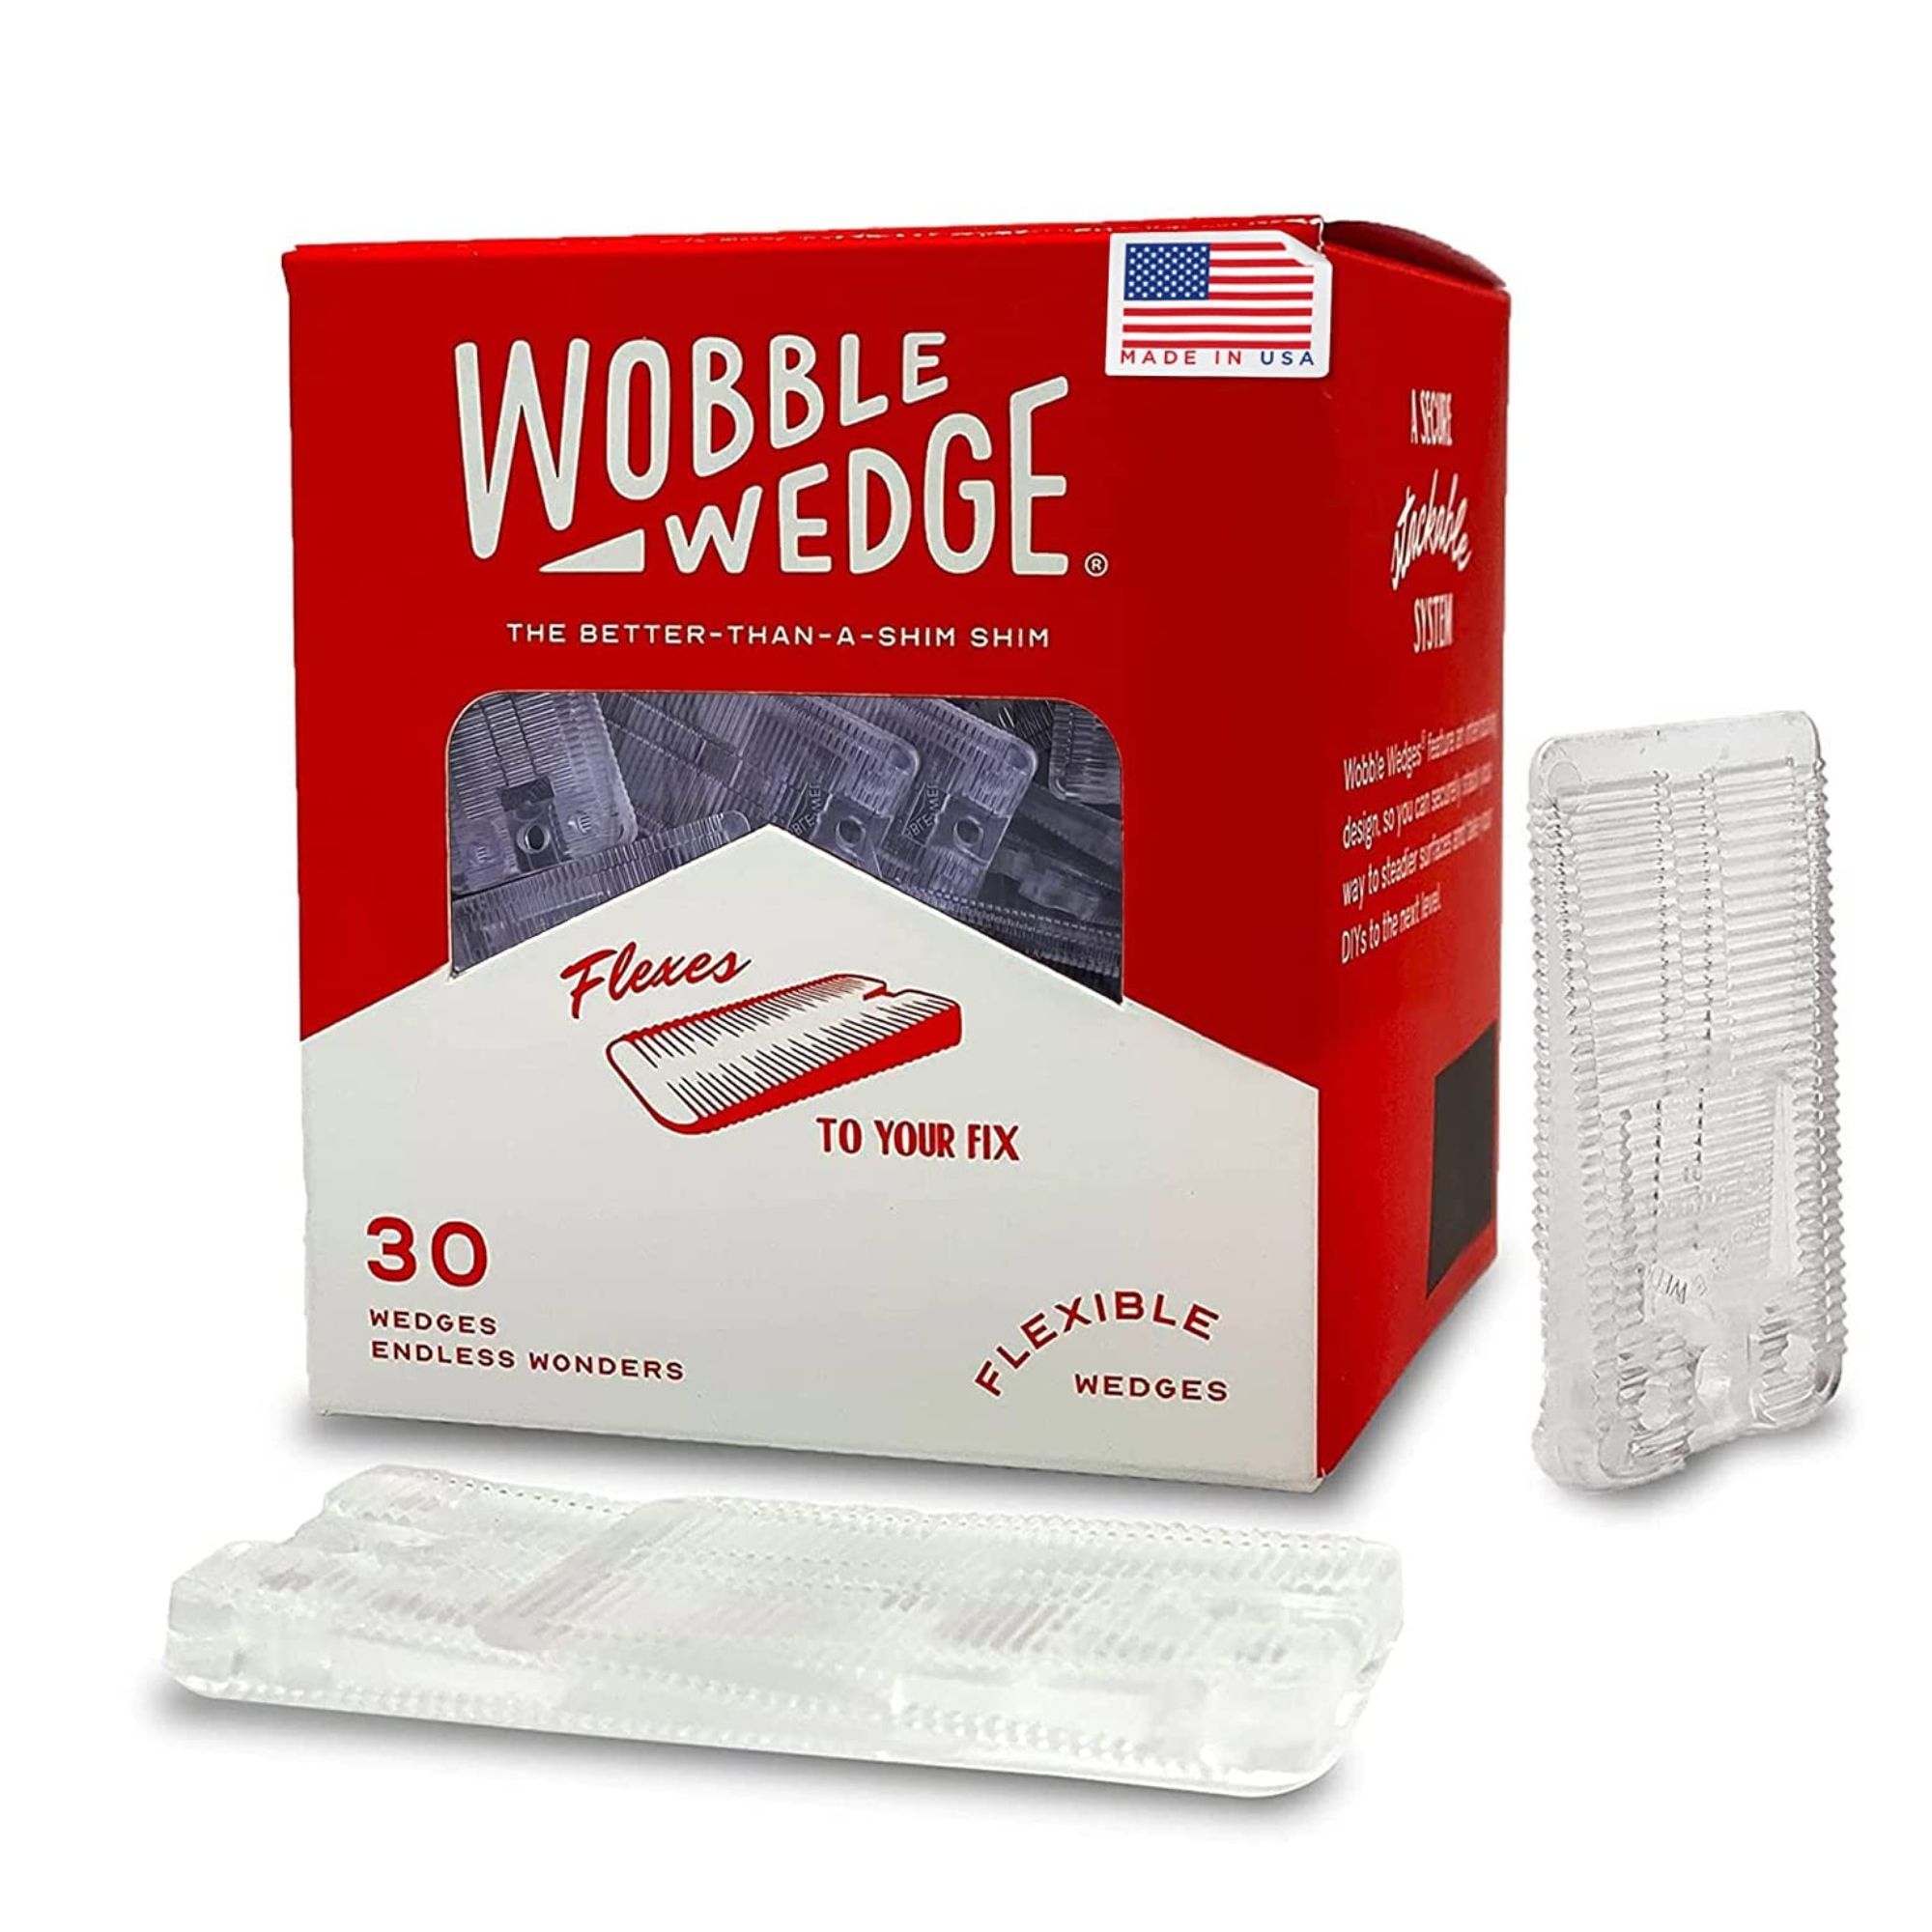
These flexible wedges are ideal multi-purpose shims for leveling and stabilizing furniture, and can be trimmed for a perfect fit.
Step 3: Remove drawers and shelves

Then, remove all shelves or drawers from the freezer where possible. However, you may have to wait a while if they’re stuck because of the ice buildup, so don’t force them as this may lead to breakages and damage.
Step 4: Allow the ice to melt
Next, appliance expert Lewis says, 'Leave the door open to let the ice melt naturally.' All you can do for this step is sit back, relax, and wait – be aware that the ice melting process can take a few hours, so definitely don't start this task when you have places to be, or guests coming over. Never be tempted to pick at the ice, either, as this may damage the interior of your freezer.
Resist trying to speed up this procedure with a hairdryer, or worse, windshield de-icer, as either may ruin your appliance or the food you store in it.
Step 5: Mop up and clean
Once the ice has melted, it's a great opportunity to clean the freezer, wiping racks, door and inner walls, with a cleaning spray, such as the Dr. Beckmann Fridge Hygiene Cleaner available at Amazon, which also works to neutralize odors, and removing any food debris that has accumulated in the corners.
If you prefer to not use chemicals around your food, your fridge is one of the things you can clean with vinegar or clean with baking soda, both of which are natural alternatives that will deodorize your appliance at the same time.
Then, thoroughly dry both the interior and exterior, using a microfiber cloth for a streak-free shine, and mop up any residual water around your appliance with an antibacterial floor cleaner, such as the Method Squirt + Mop Hard Floor Cleaner available at Walmart.
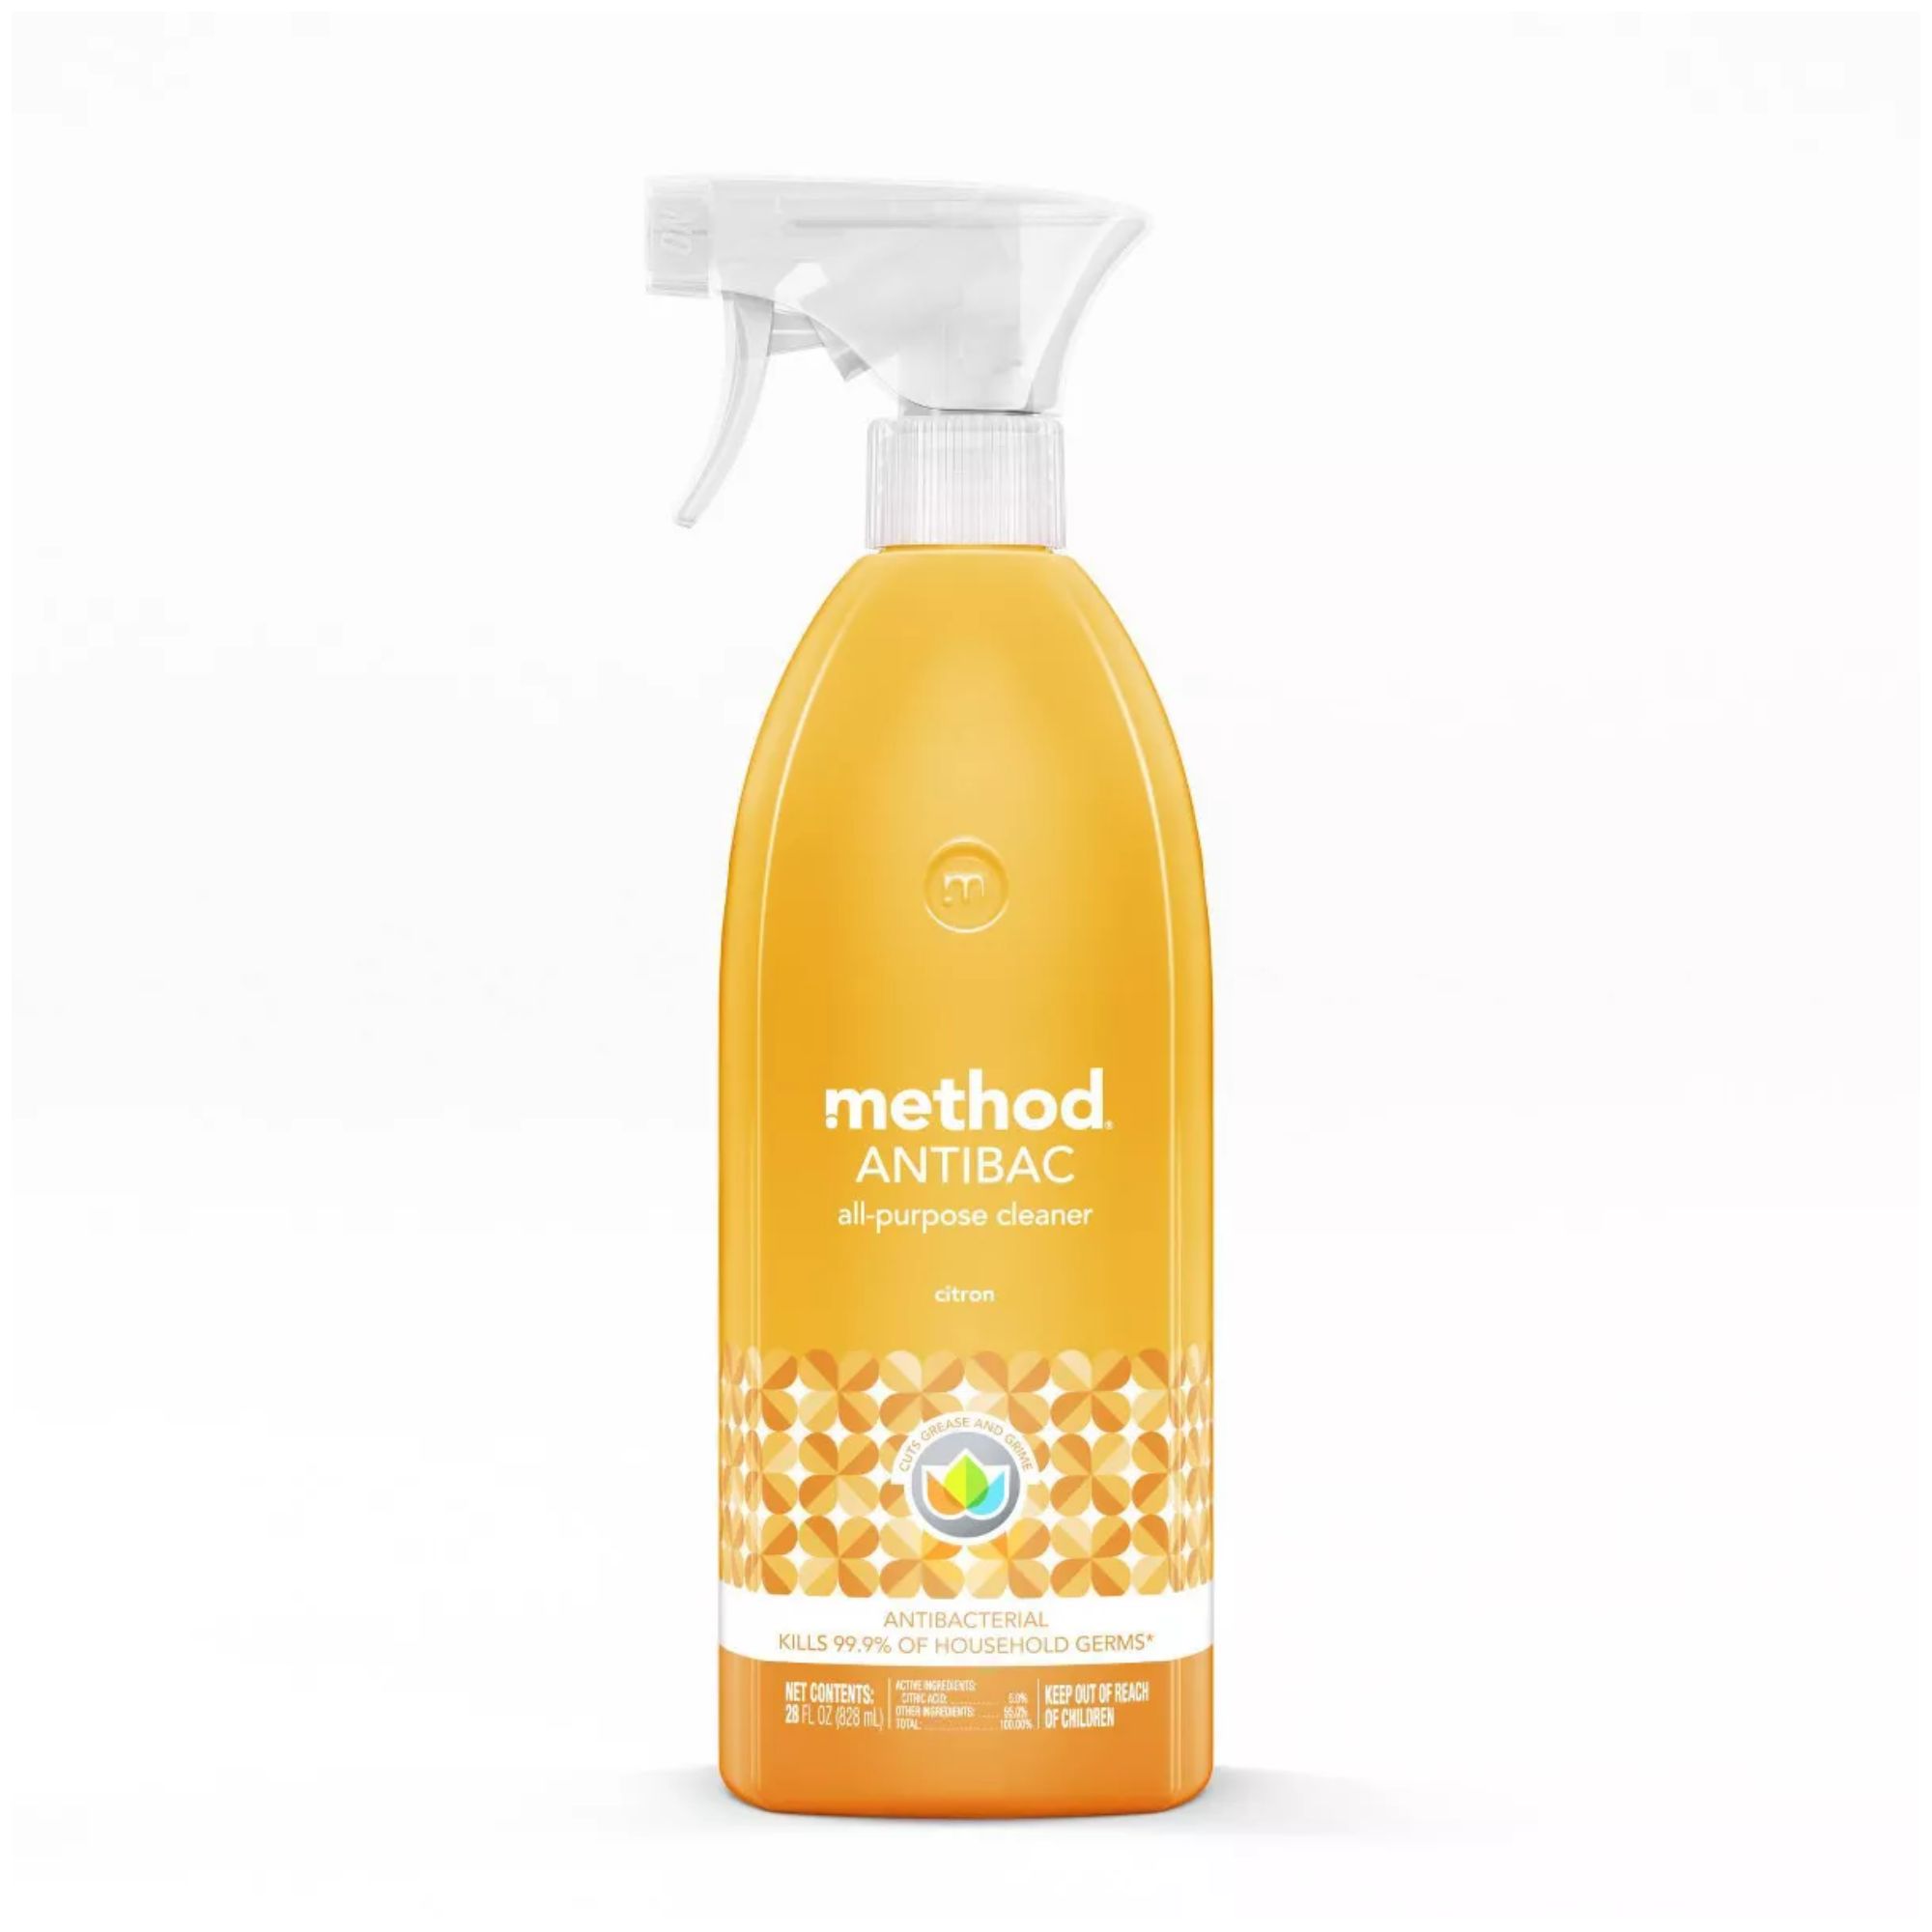
This plant-based, biodegradable cleaner is vegan and cruelty-free, and kills 99.9% of household germs with a fresh, natural scent.
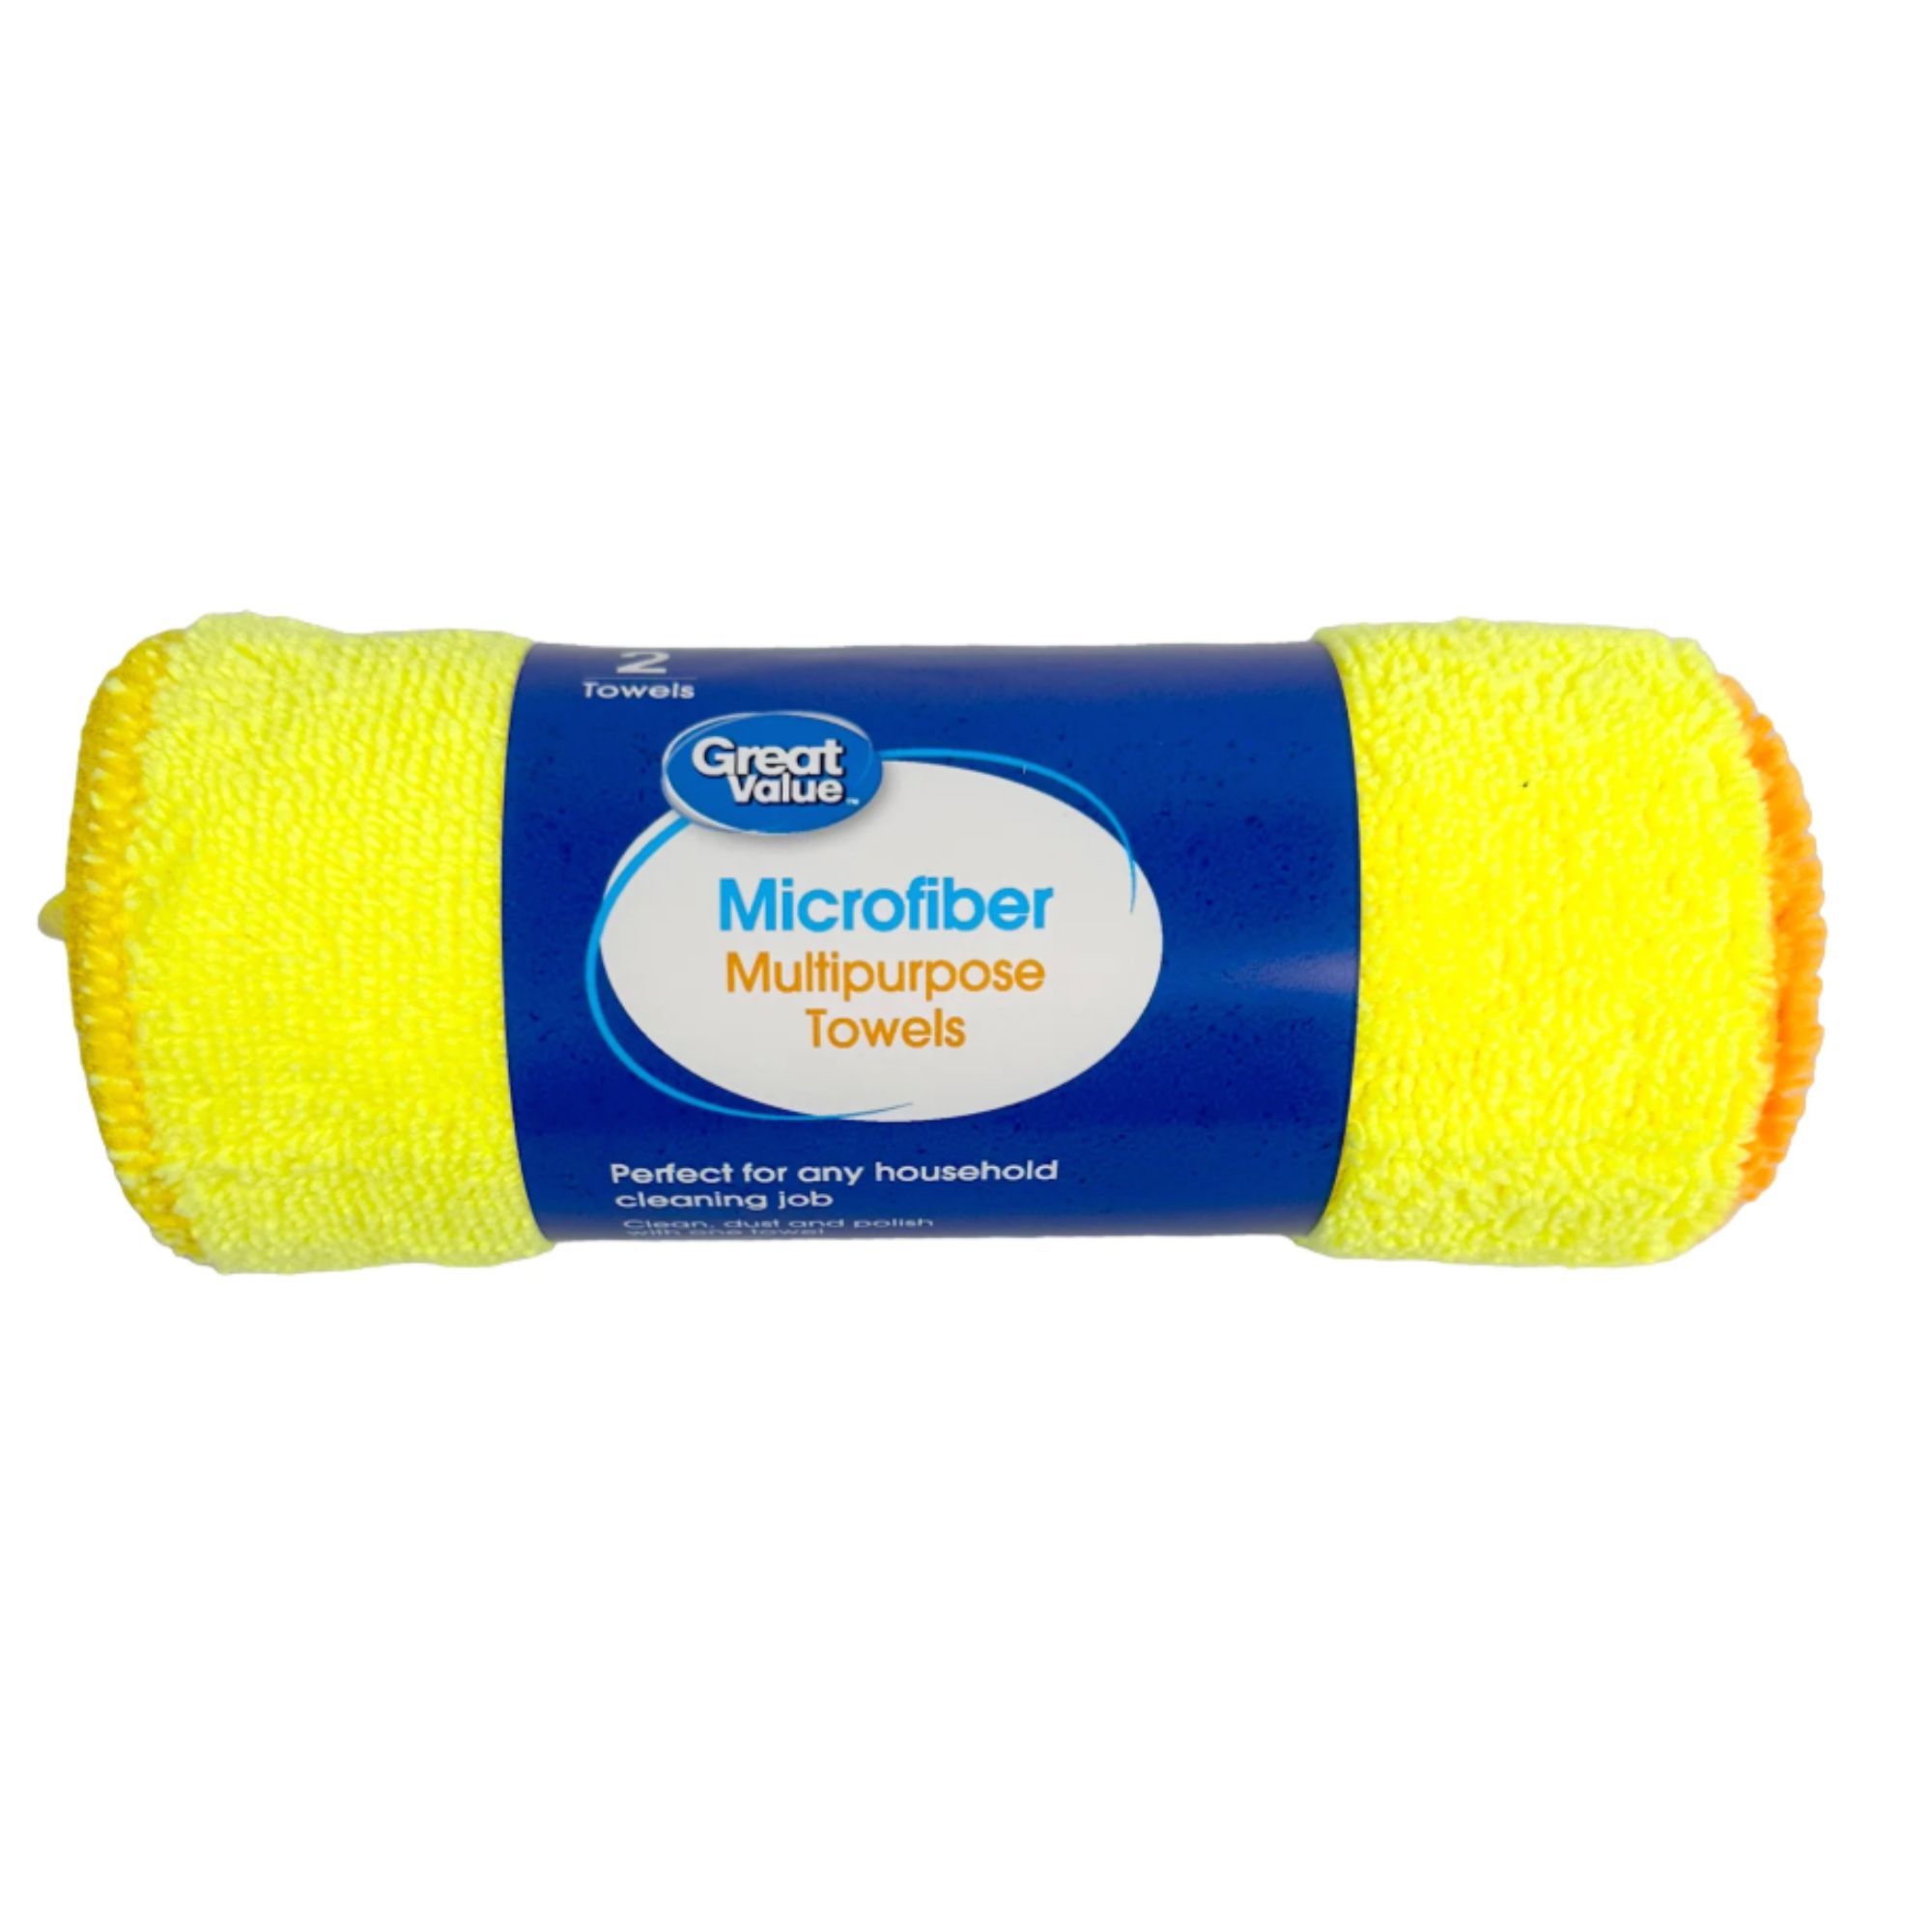
These microfiber cloths are super soft and absorbent, and can easily be washed in your washing machine and dried in the tumble dryer after use.
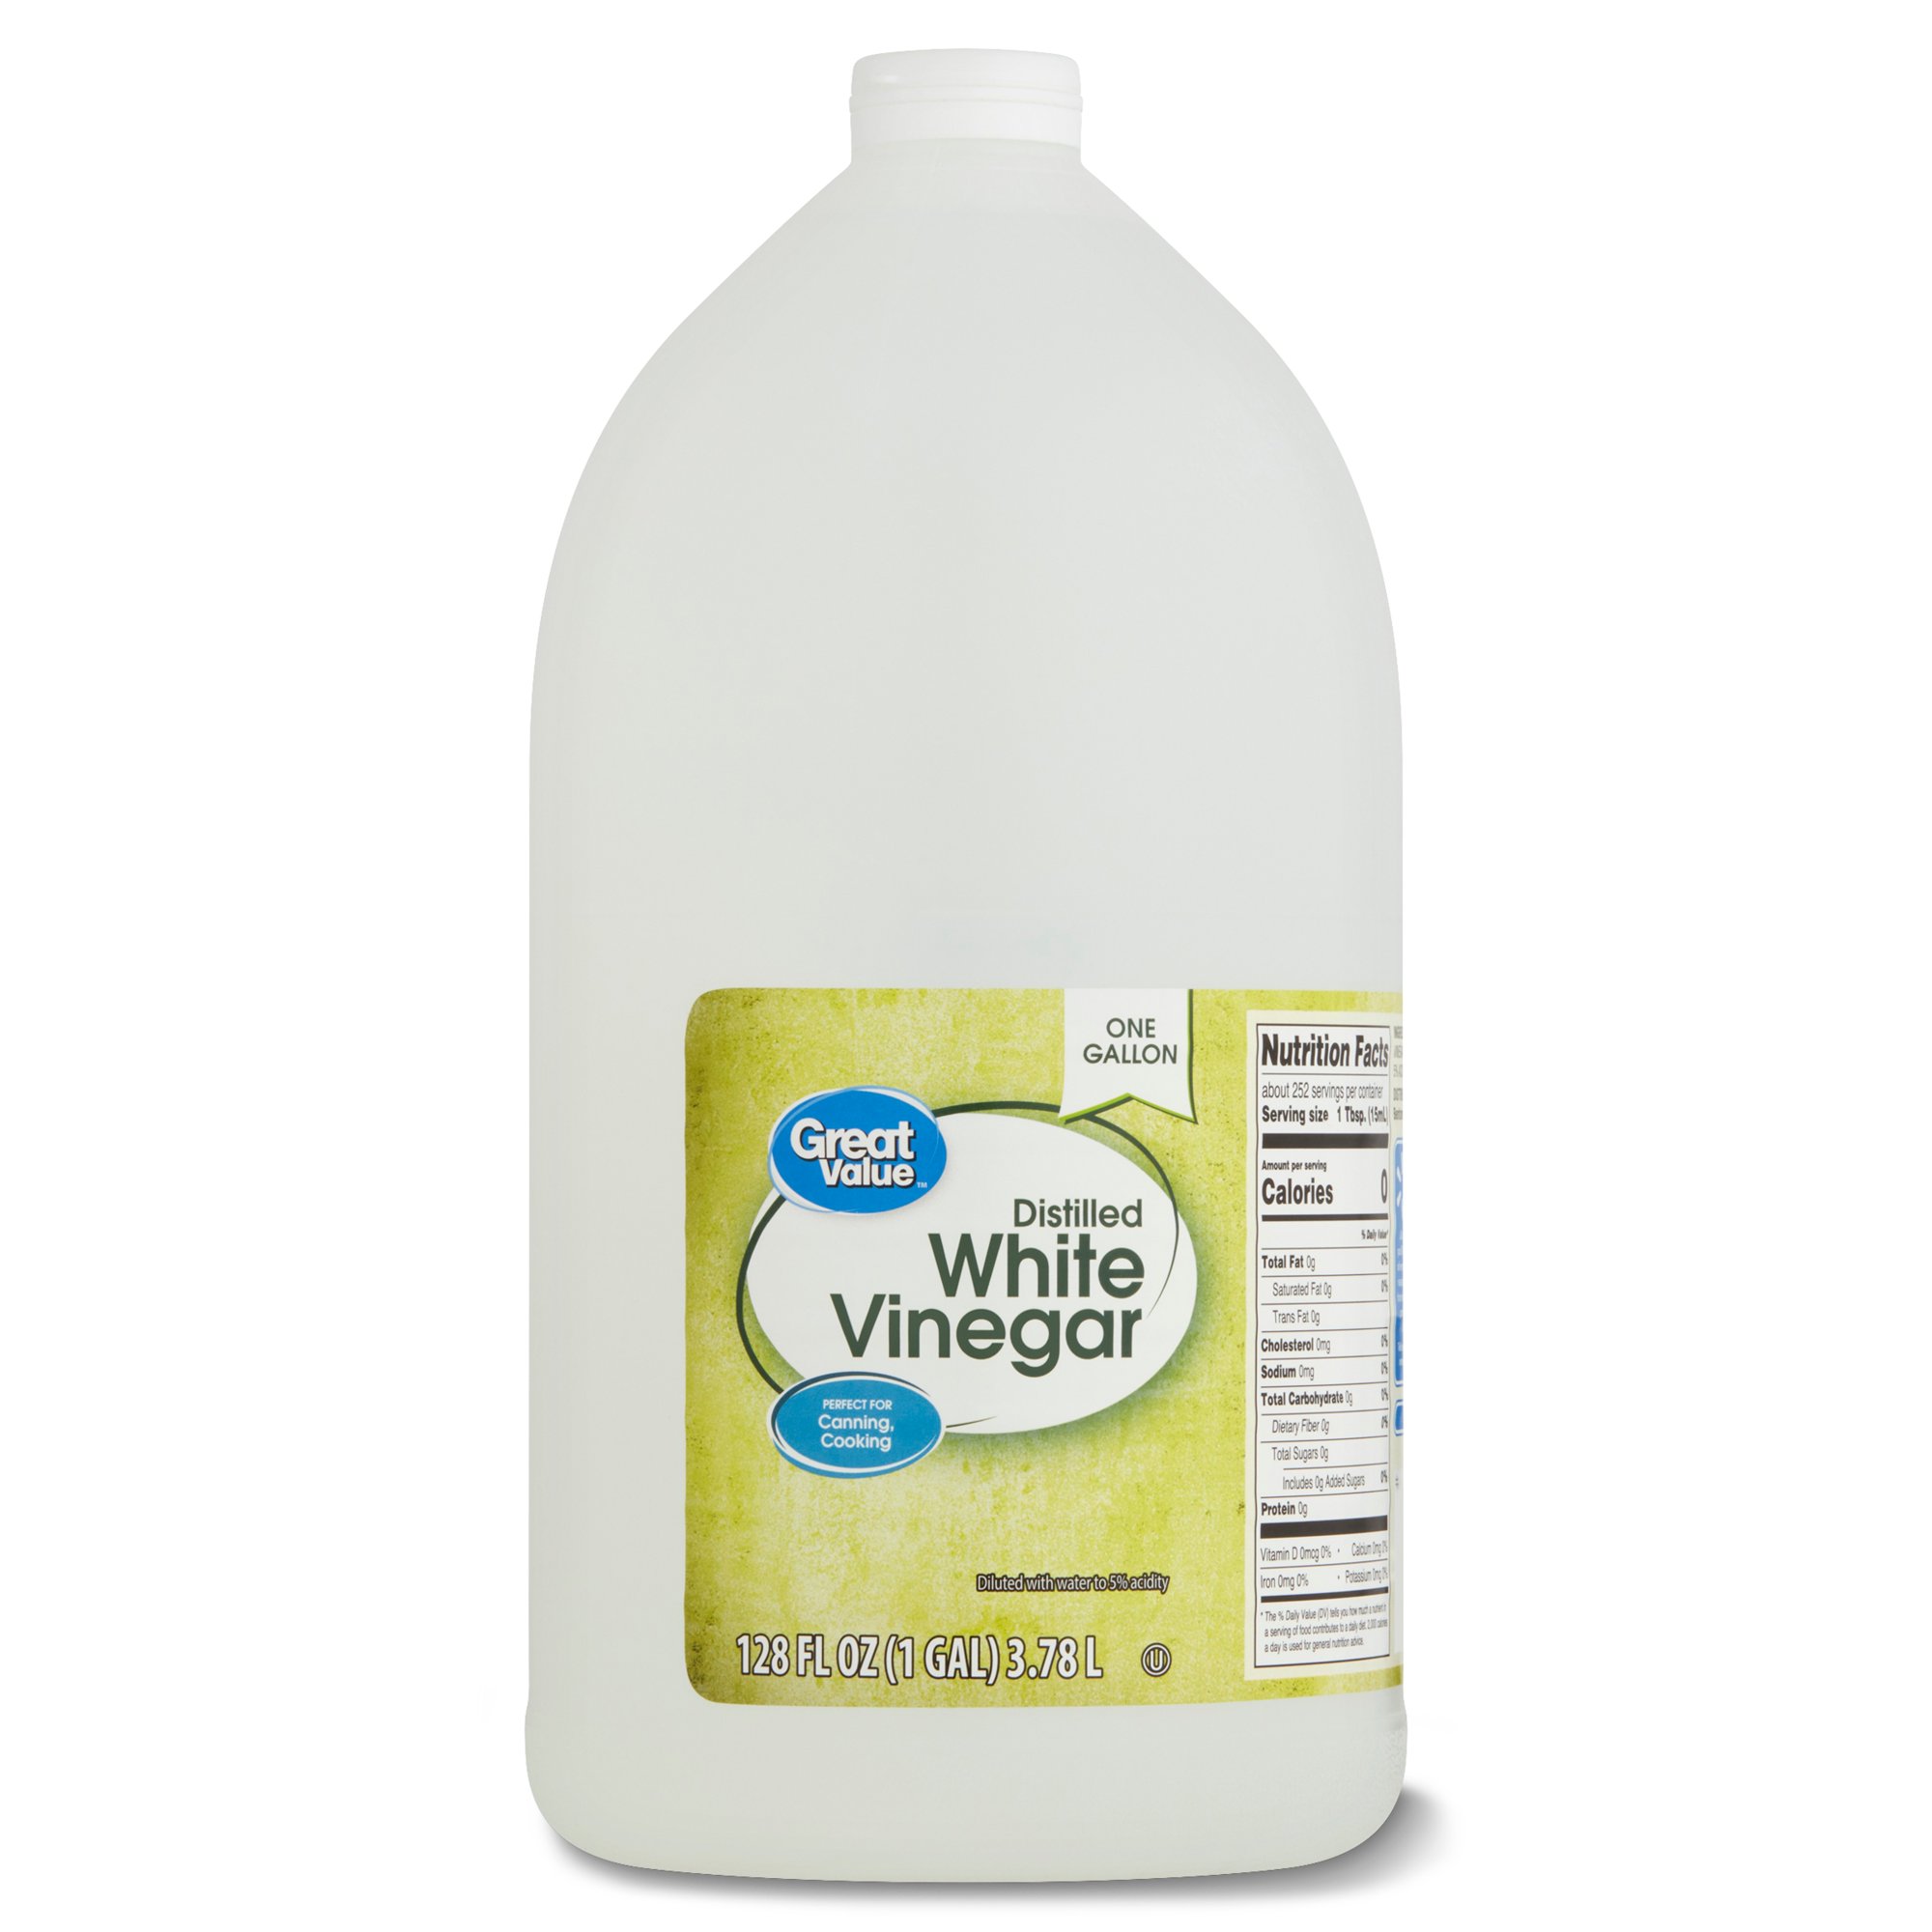
This white vinegar is distilled with water to a 5% acidity, strong enough for cleaning bacteria-prone areas such as appliances and bathrooms.
Step 6: Switch the freezer back on
Finally, appliance expert Lewis says, 'Wipe the interior dry, plug it back in, and restock food.' It will take a few hours for it to come to the optimal temperature to set your freezer, so be patient and wait until adding your frozen foods back in.
Just as with organizing a refrigerator, when putting food back into your freezer throw out any expired food in a sturdy trash bag, such as the Hefty Strong Large Trash Bags available at Amazon, and organize your freezer by categorizing items, making use of freezer storage and organization hacks to double your space.
FAQs
Why is my freezer icing up?
Much like a freezer that isn't freezing, a freezer can ice up for a number of reasons. Primarily, warm air enters the freezer when the door is opened which can cause an accumulation of ice over time.
Appliance expert Lewis advises, 'Most freezers on the market today are self-defrosting and should not need to be defrosted. If your freezer has a frost buildup, that frost can reduce cooling and spoiled food.
'If you had the door open for a longer than normal time, or you just stocked up from a visit to the grocery store, there could be a little excess frost in the freezer from moisture in the air and the condensation on the new food you put in there. This frost should dissipate in 24 hours, but, if it does not, then there is a problem in the seals or the defrost system.'
To avoid ice buildup, you should also check the freezer is set to the recommended temperature of 0° F (-18°C), and check the temperature at least once a week as recommended by the FDA.
Defrosting your freezer, particularly if you have a fridge freezer, is also a great time to clean the ice maker on your fridge. Our expert guide explains how to keep yours hygienic.
Sign up to the Homes & Gardens newsletter
Design expertise in your inbox – from inspiring decorating ideas and beautiful celebrity homes to practical gardening advice and shopping round-ups.

Ottilie joined Homes & Gardens last year, after finishing a Master's in Magazine Journalism at City, University of London. With previous contributions in Livingetc and Motorsport Magazine, she produces content for the Solved section on the website, focusing on clever tips and tricks to keep your home beautiful, organized and clean. She also has an undergraduate degree in English Literature and History of Art from the University of Edinburgh, where she developed a love for inspiring interiors and architecture.
- Hayley GilbertContributing Editor
-
 6 things you should never throw in the trash – and what to do for safe disposal instead
From batteries to space heaters, experts reveal what not to throw
By Andy van Terheyden Published
-
 Worst-smelling plants to avoid – experts reveal 5 pungent species and suggest perfumed options to grow instead
These are some of the worst-smelling plants that can cause quite a stink
By Thomas Rutter Published
-
 6 things you should never throw in the trash – and what to do for safe disposal instead
From batteries to space heaters, experts reveal what not to throw
By Andy van Terheyden Published
-
 7 spring home maintenance mistakes to never make – overlooking these now can lead to pest problems and structural damage
Home improvement pros share common mistakes and what to do instead
By Eve Smallman Published
-
 10 common but little-known HOA fines to watch out for – and how to avoid them
From sprinklers to garage doors and external pipes, your HOA contract may leave you open to a fine
By Eve Smallman Published
-
 I’m a homes editor and these are the 4 vital storage items I’m 'adding to cart' this spring – and why you should too
I've learned a few hard lessons in recent weeks and these storage solutions will help
By Punteha van Terheyden Published
-
 7 things you should repair instead of replace in your home – and how to complete the job well yourself in a few simple steps
Easy steps for fixing common household items
By Eve Smallman Published
-
 Why does my carpet feel damp? Property experts reveal the 3 causes and how to fix them properly to avoid mold
Condensation doesn't just gather on your windows
By Dan Fauzi Published
-
 The 5 things you should never recycle at home – 'most people don’t realize' how damaging it can be, experts warn
One wrong move can make the whole batch redundant, experts warn
By Ciéra Cree Published
-
 6 things people with clean sunrooms always do – expert tips to make the most of your sunroom this spring
From dusting the tracks to rotating fabrics, these are the simple steps to a sparkling sunroom
By Andy van Terheyden Published