Can you bake a cake in an air fryer? I put the latest tech to the test
The short answer is yes, but you need to follow these air fryer baking tips and tricks
Last week, I celebrated my birthday and naturally cake was at the top of my agenda. However, I had a few stumbling blocks.
Firstly, the weather forecast predicted a mini heatwave – far too hot to turn on the oven. Secondly, it would just be my partner and me enjoying the cake, so I didn’t want to be left with heaps of leftovers. Lastly, as someone who spends the week testing recipes in the best air fryers, mixers and more, my desire to spend time in the kitchen was running low.
Then it hit me: could I bake a cake in an air fryer? This convenient little appliance is my go-to for quick and easy dinners, but I’d never ventured into the realm of baking. Could it really handle a cake?
During my time at cooking school, I learned the art of traditional baking – and air fryers were nowhere to be seen. Yet, it seemed to tick all the boxes for me. It wouldn’t heat up the kitchen, it's perfect for smaller portions and it preheats in a flash, Plus, I usually find air fryers are a breeze to clean.
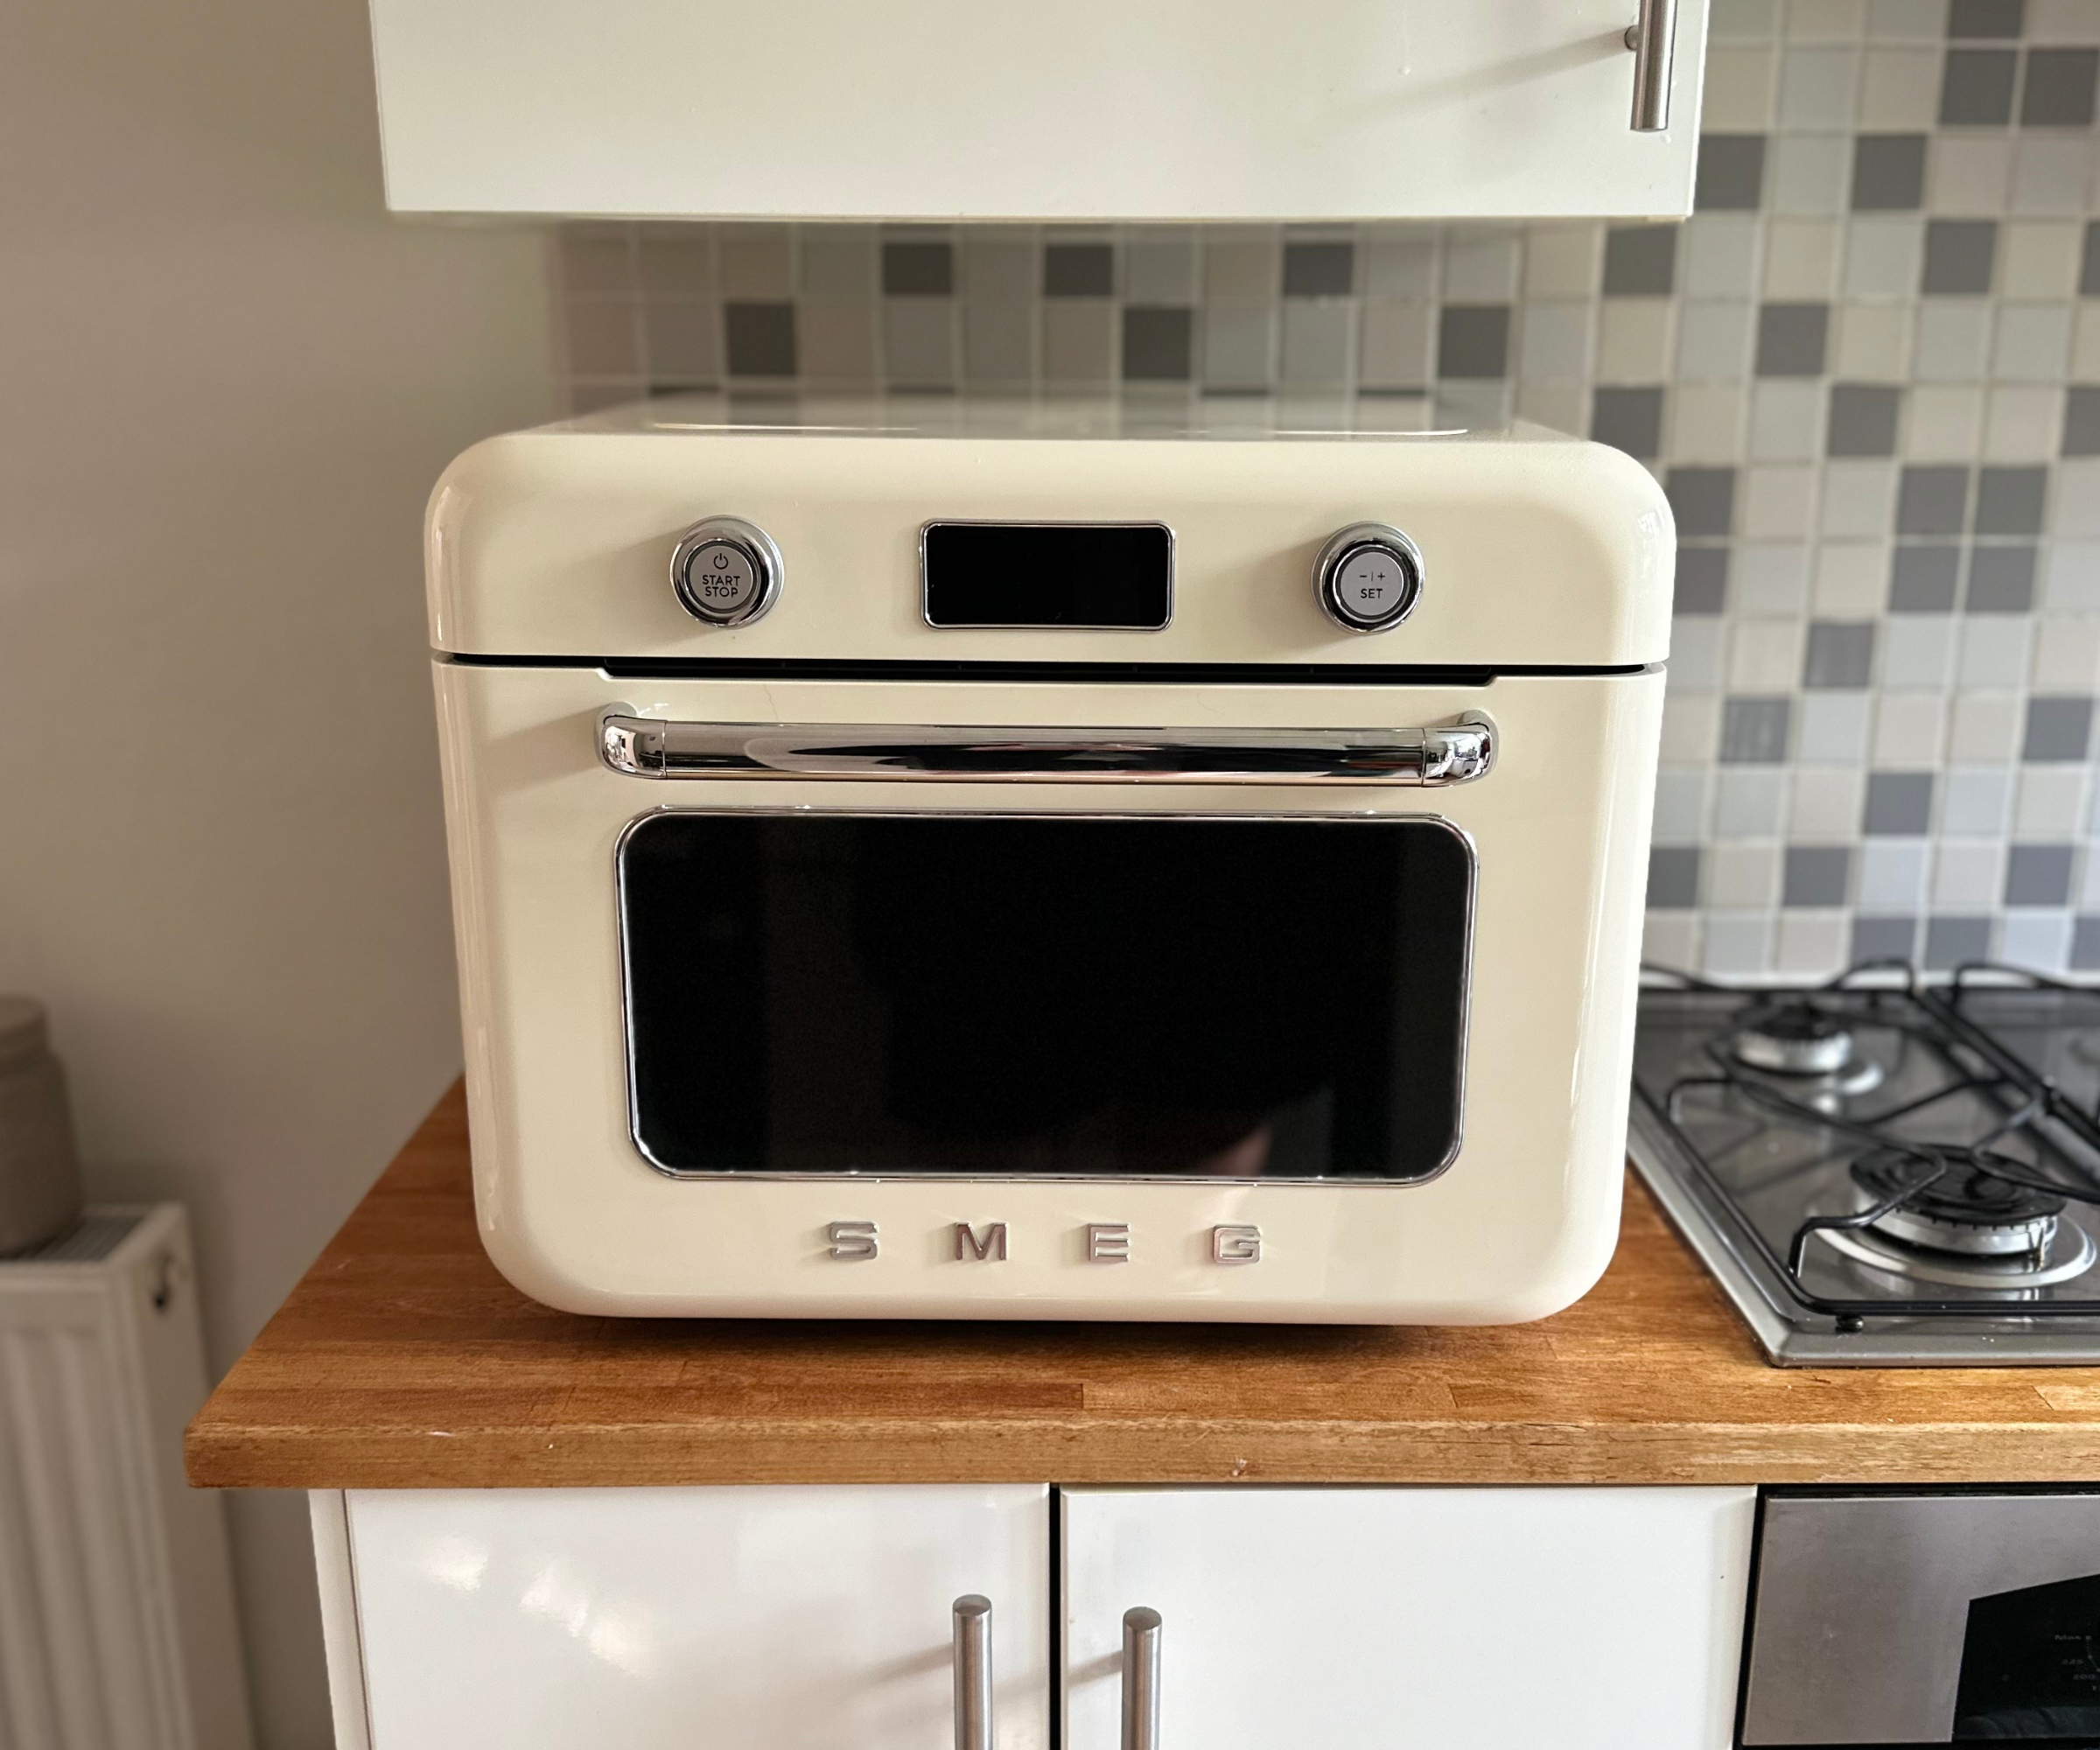
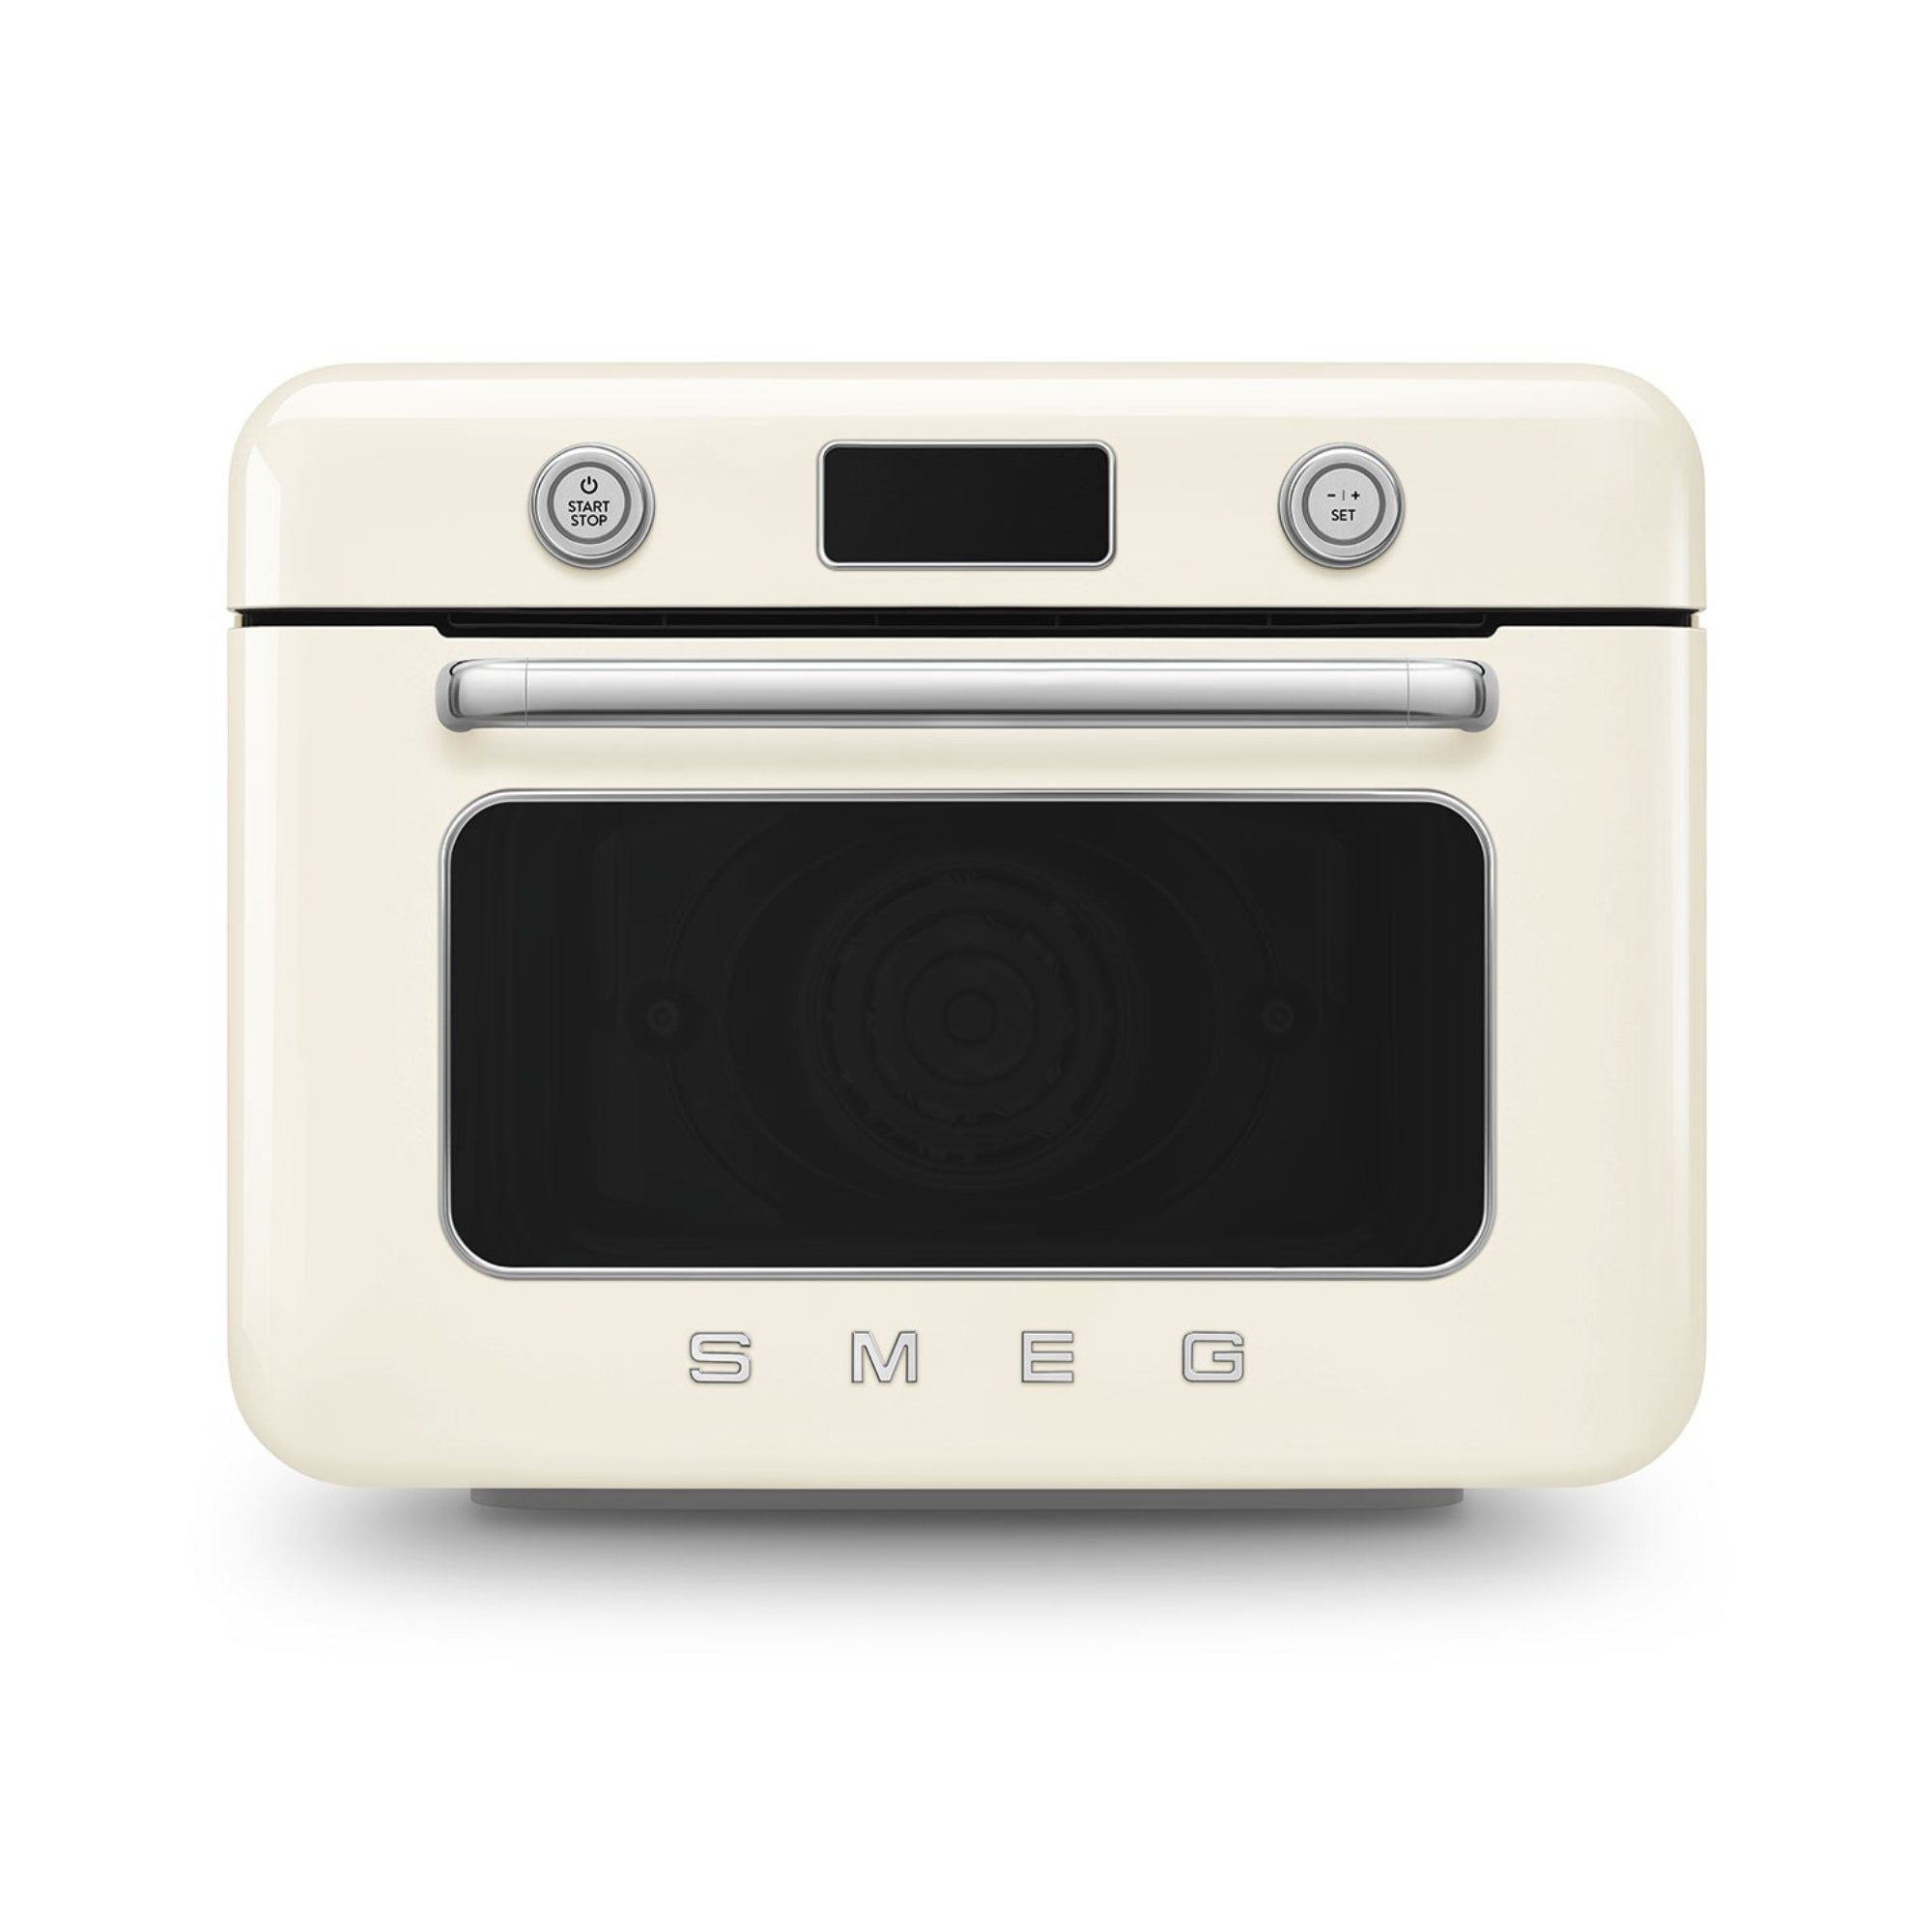
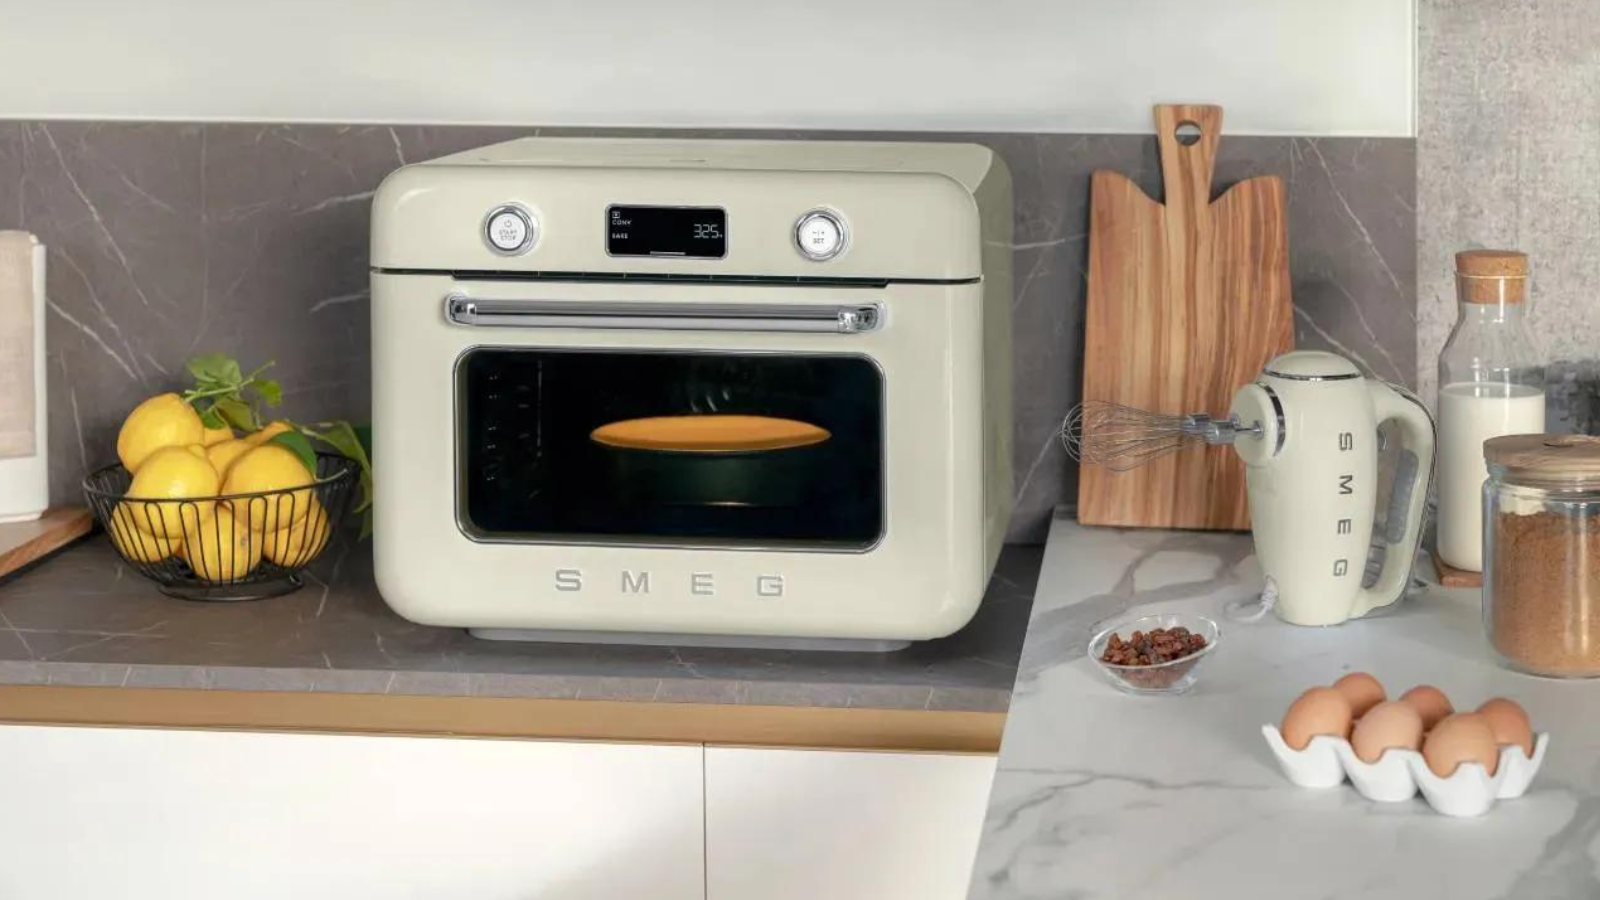
Without further ado, I decided to put my air fryer to the test. This week, I happened to be reviewing the SMEG Combi-Steam Oven with Air Fry. This machine can do it all – presenting the perfect opportunity to test and compare the traditional oven and air frying functions.
My verdict? While the air fryer struggles to produce a perfect, patisserie-worthy cake (and it's not totally effortless either) the results were delicious. Here’s everything I learned along the way.
Can you bake a cake in an air fryer?
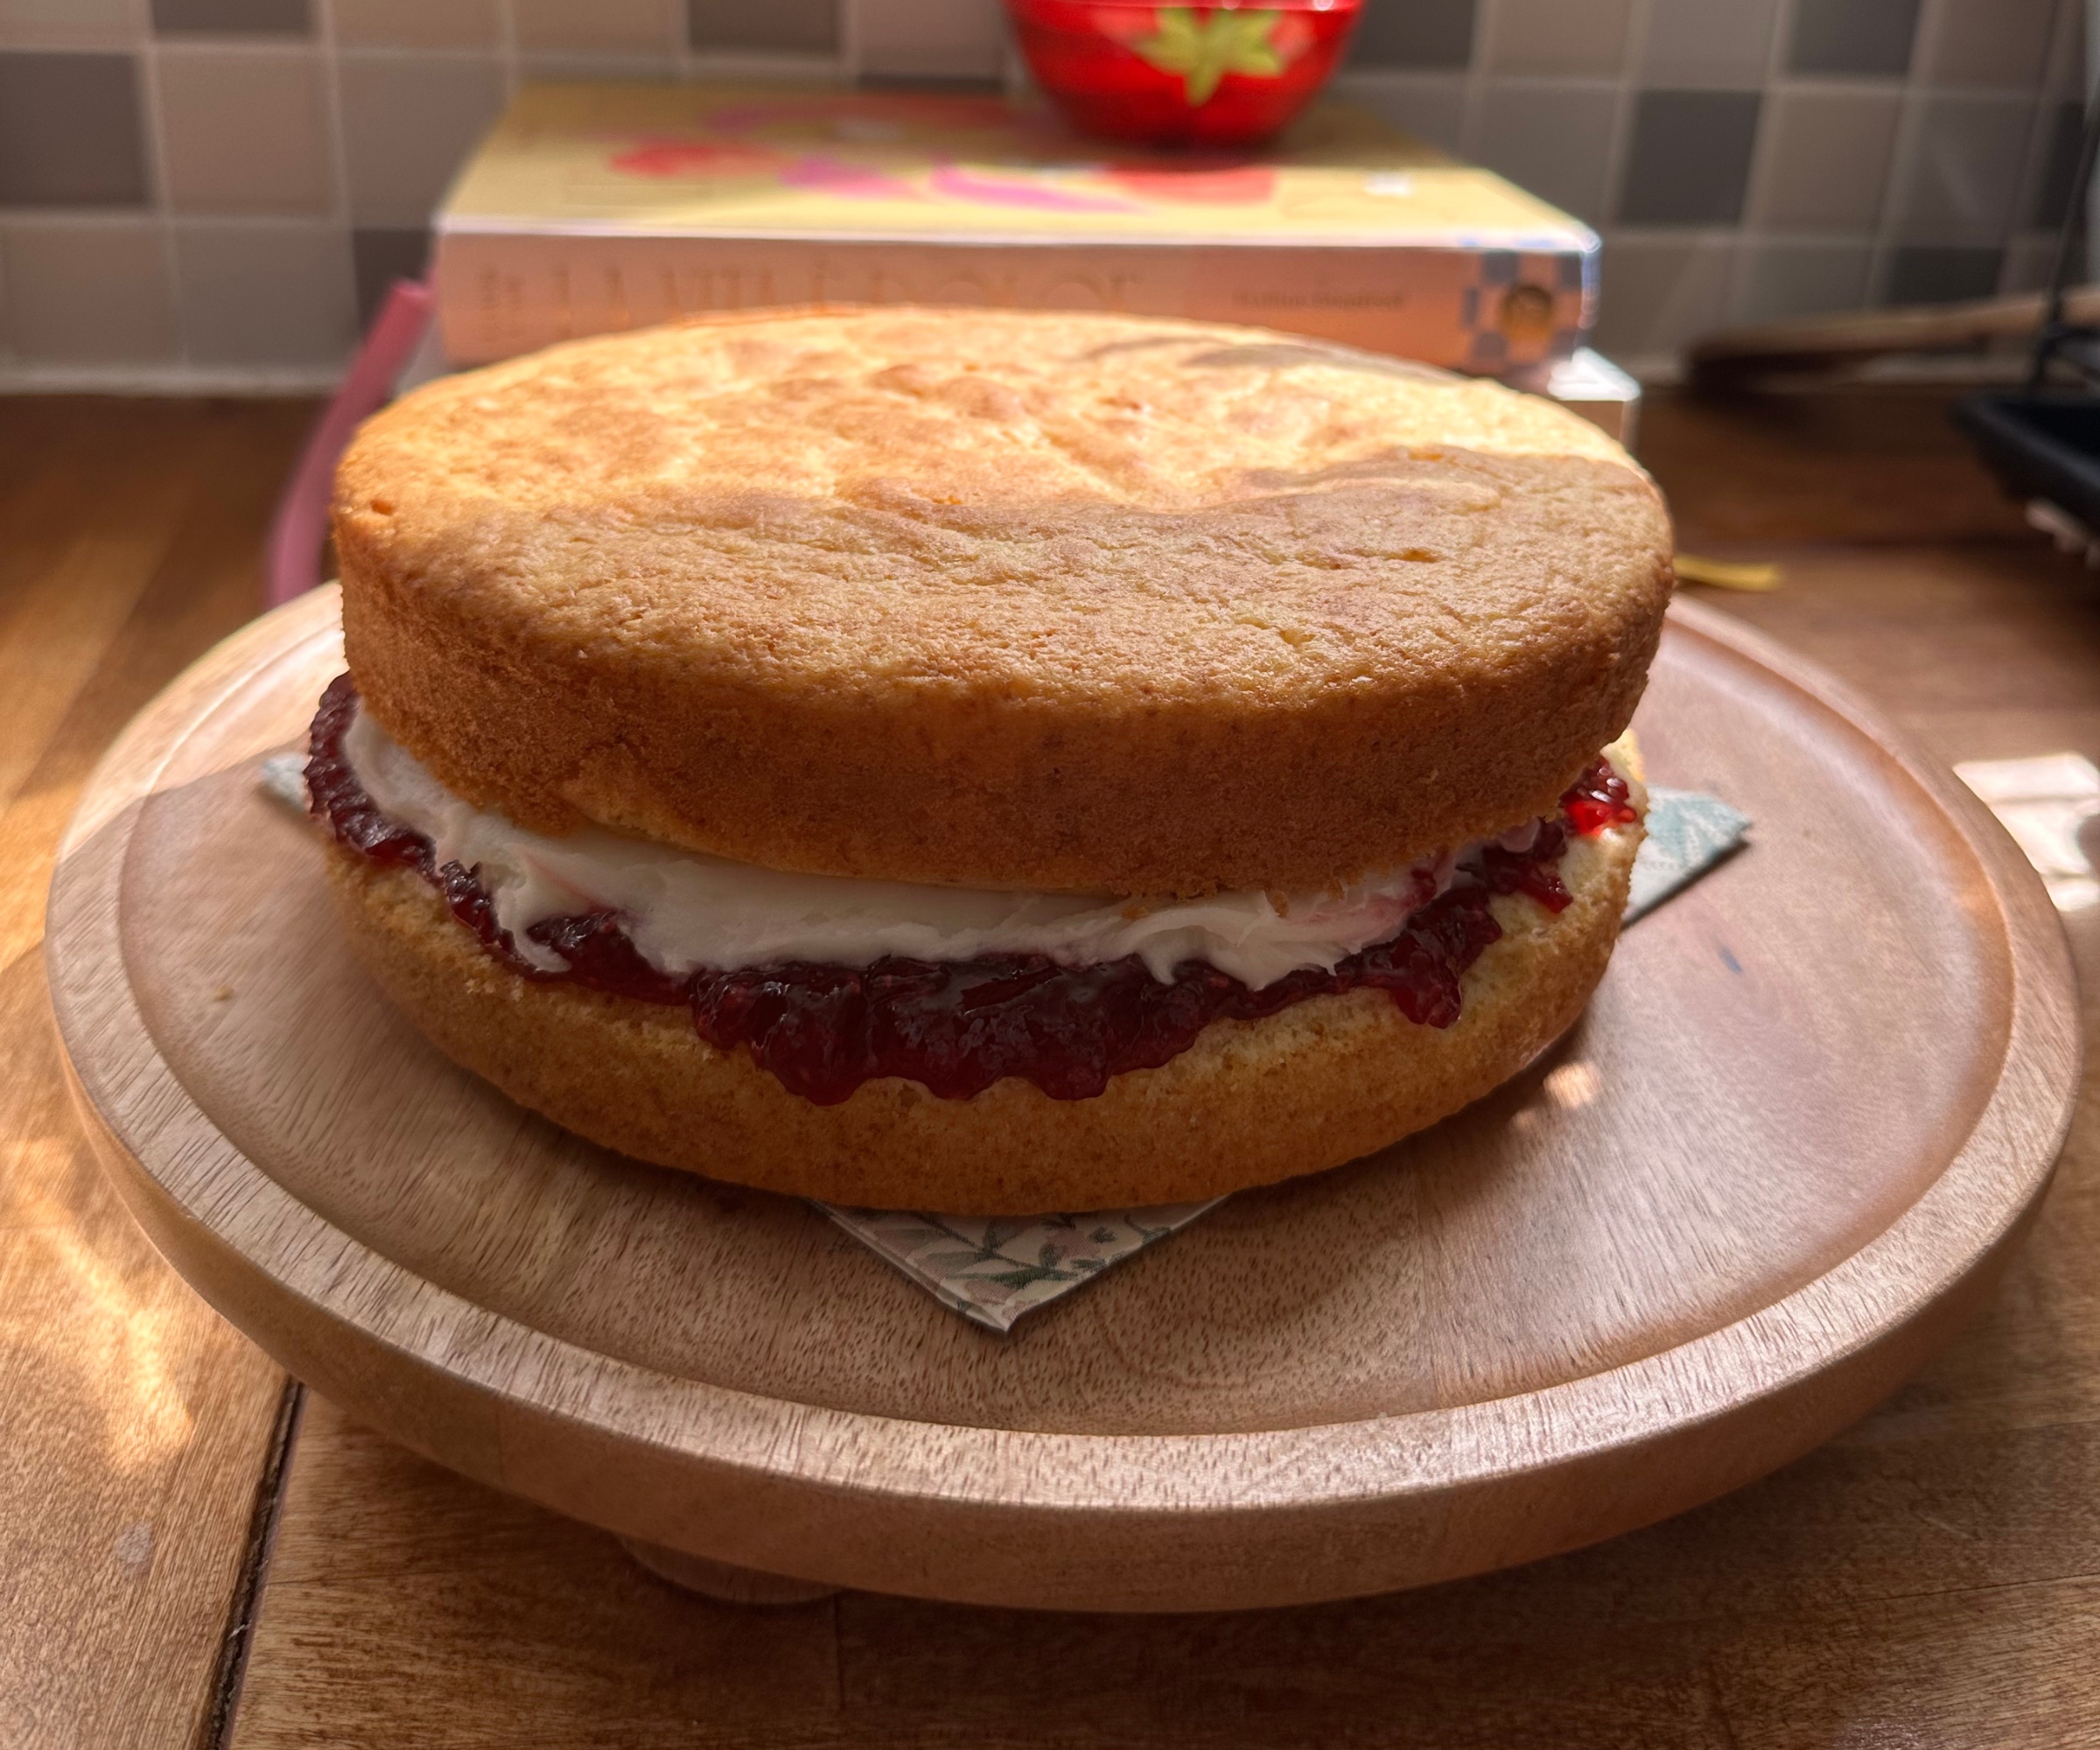
I experimented with a vanilla sponge cake. I poured a thick batter into two cake tins. I air-fried the bottom layer in the SMEG Combi Oven for 30 minutes.
Design expertise in your inbox – from inspiring decorating ideas and beautiful celebrity homes to practical gardening advice and shopping round-ups.
For comparison, I baked the second layer on the traditional oven setting, which only took 22 minutes. With the leftover batter, I cooked a tiny fairy cake in the slender Ninja Air Fryer. Here are all the tips and tricks I discovered, with some comparison points further down the page.
1. Make sure your cake tins fit in the air fryer
I initially planned to use the Ninja Double Stack air fryer to bake my cake, thinking it would be clever to place each layer in the double drawers. However, my cake tins were too wide to fit into the narrow baskets. I'd recommend checking the capacity of your air fryer basket before you start baking, otherwise you could be left disappointed.

2. Preheat the air fryer
From my research, the general consensus among air fryer bakers is that if your recipe includes baking soda or powder, you need to preheat the air fryer. The initial burst of heat will help your cake to rise. You might find that your air fryer doesn't have a preheat setting. My Ninja air fryer doesn't, but it heats up so quickly and powerfully, it worked just fine for my small cupcakes.
3. Adjust the baking time and temperature
If you're following a traditional oven recipe, you'll need to lower the temperature for the air fryer. Air fryers circulate hot air more efficiently, so they can cook food faster and at lower temperatures. I read several air fryer cake recipes online which suggested reducing the temperature by about 10-20 degrees from what you'd use in a conventional oven to achieve similar results.
Typically, I bake my sponge cakes at 170 degrees in the fan oven, so I wanted to reduce this to 160 degrees for my air-fried cake. Unfortunately at this point, I realized the SMEG's air fry function starts at a minimum of 180 degrees. I decided to go for it anyway and make the necessary adjustments to the cooking time – which brings me onto my next tip.
4. Be prepared to adapt
Not all air fryers are created equal, which means you’ll need to adapt and improvise. Be prepared for some trial and error as you get to know how your specific air fryer handles baked goods. I found it helpful to check on my cake three times during the cooking process. I set my timer for 30 minutes, then checked every 10 minutes to see how the cake was doing and if I needed to adjust anything.
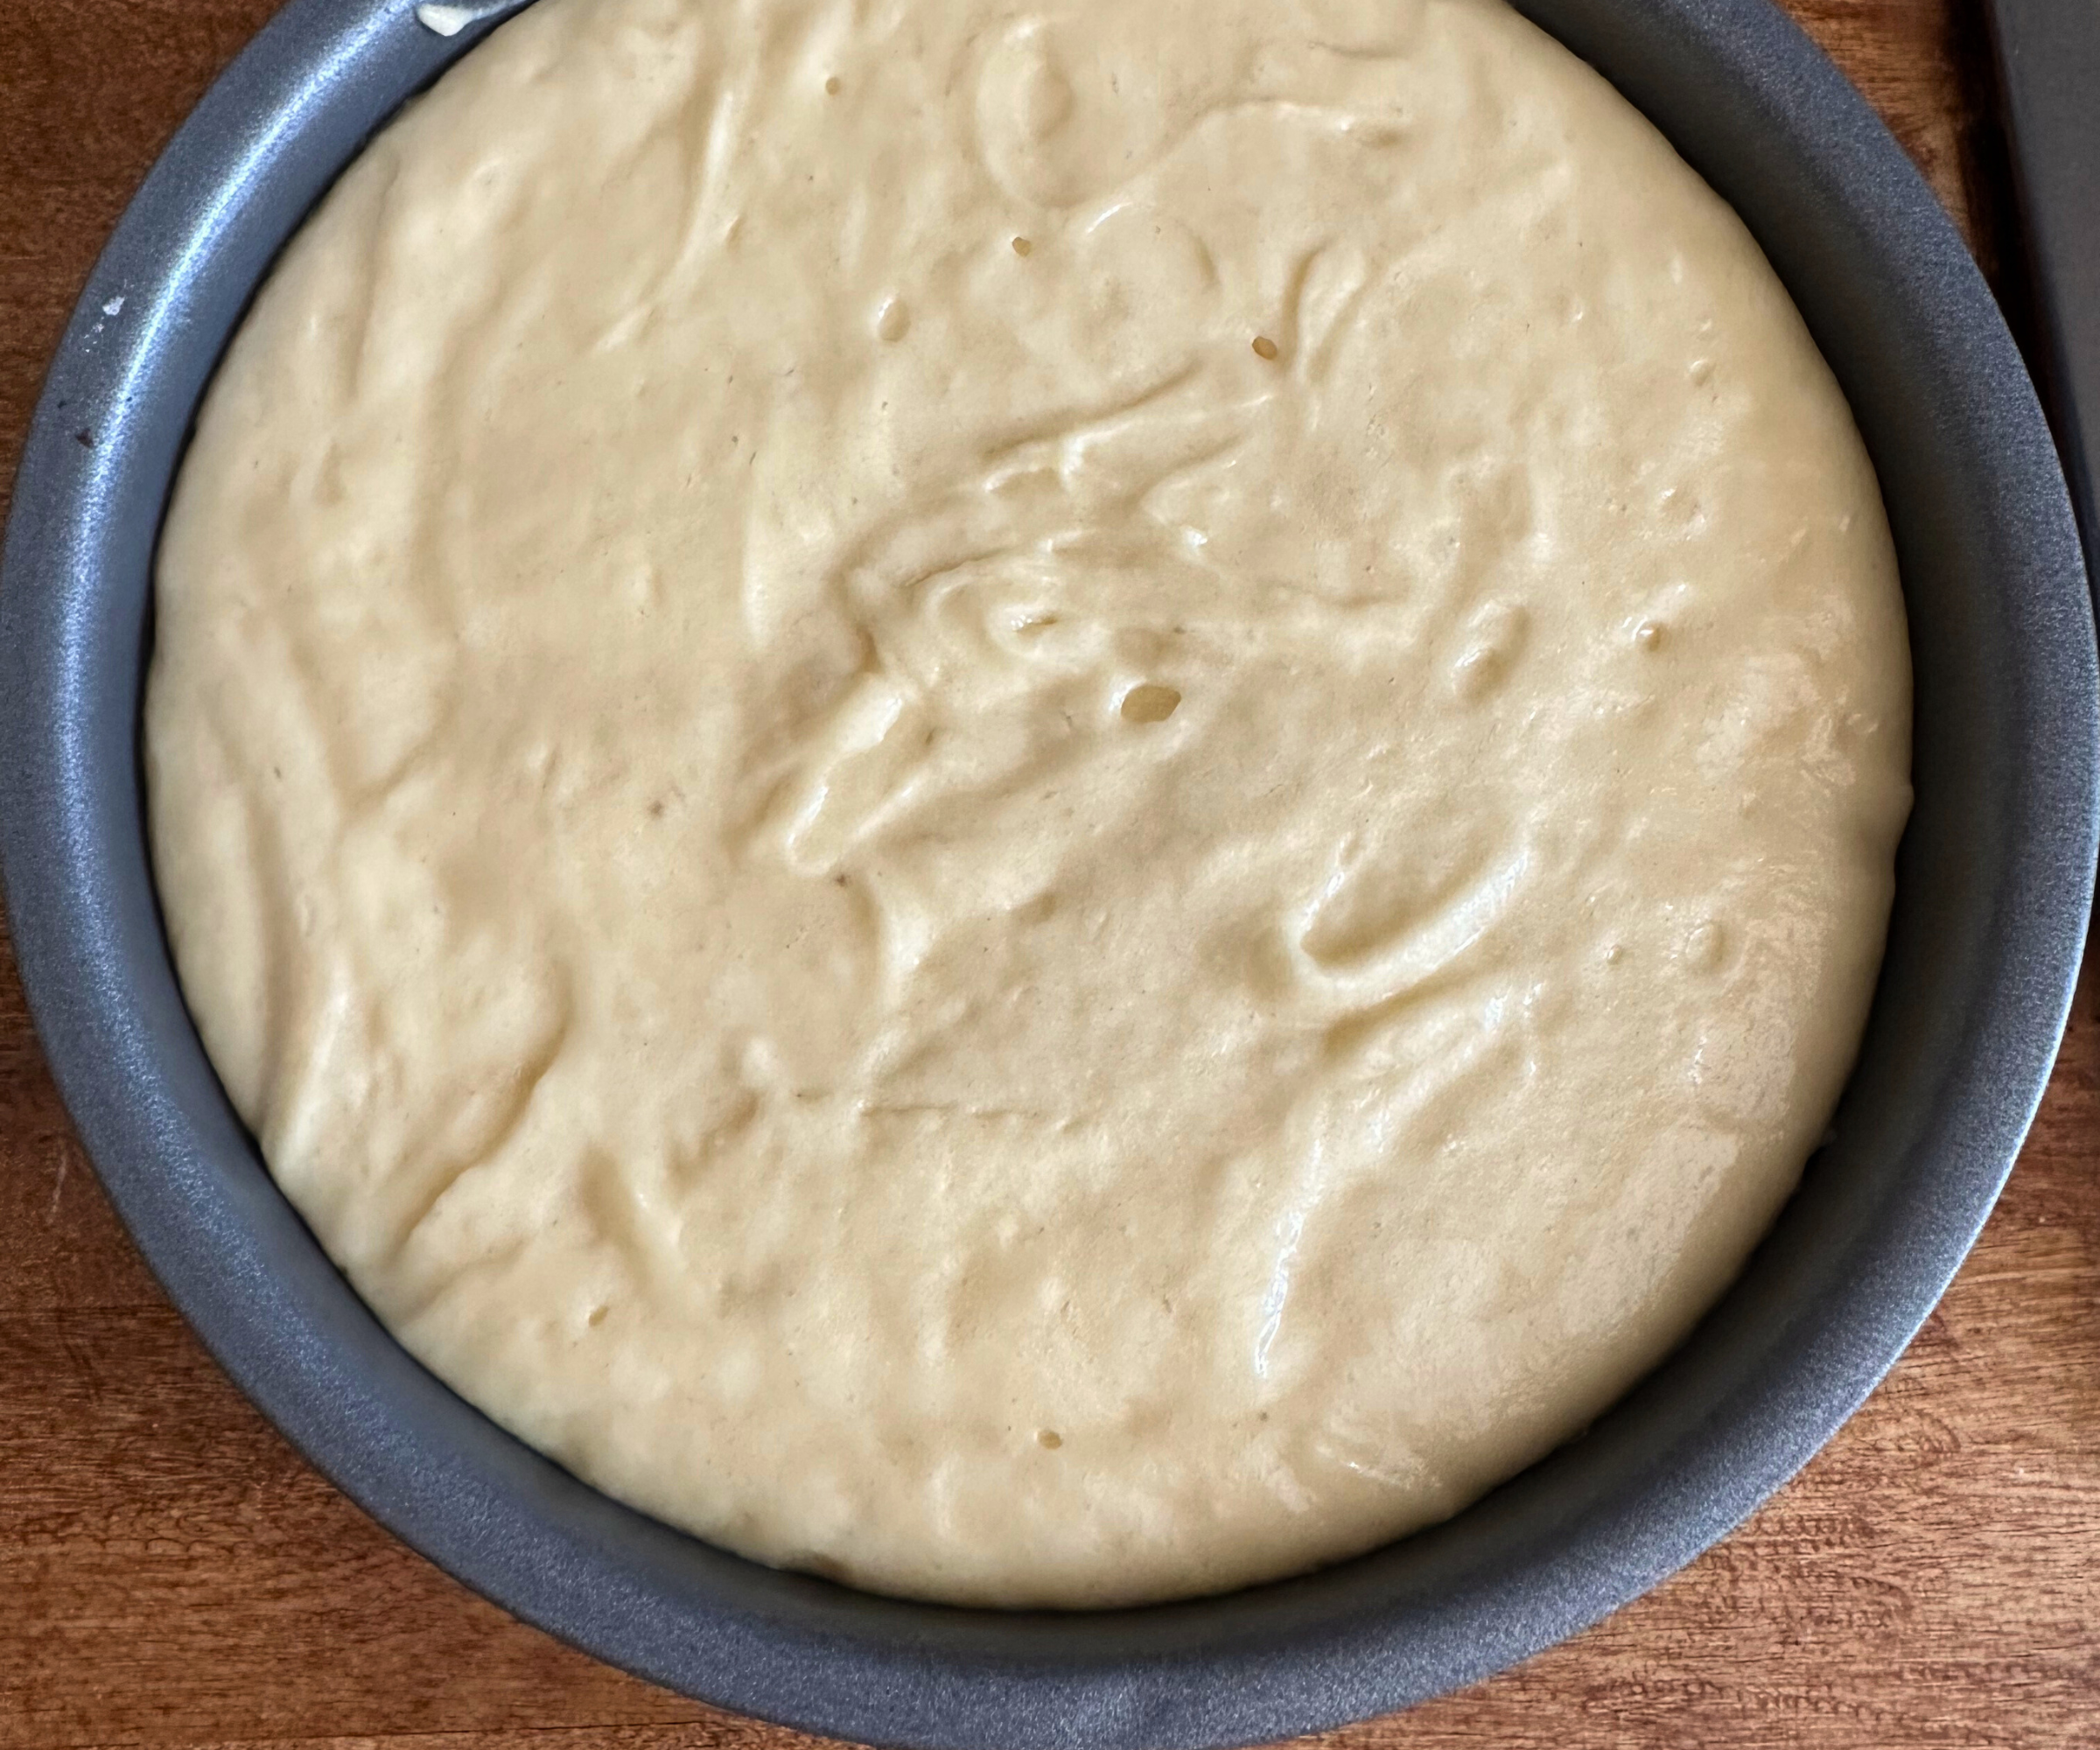
5. Cover your cake with a lid
Around 10 minutes into air frying, I noticed the top of my cake was turning a deep brown, but the center was still wobbly. I quickly covered the cake tin with a heatproof lid to prevent further browning.
My batter was quite thick, but if you have a thin, runny batter, you might want to cover your cake from the start. This will prevent splattering and the risk of liquid damage in the heating element. You can uncover it in the last few minutes, so the top can get golden brown.
6. Avoid using foil
If you don't have a lid that's the right size, you might think of using foil in your air fryer. Bear in mind that foil can’t be placed loosely – it could blow off and catch on the air fryer's heating element. To keep it secure, you’d need to wrap it around the tin, which would mean lifting the cake out of the air fryer and disrupting the baking process.
7. Check for doneness with a skewer
Since baking in an air fryer is not an exact science, you'll want to check for doneness, rather than rely on cooking times. Insert a skewer into the center of the cake. If it comes out clean, your cake is ready.
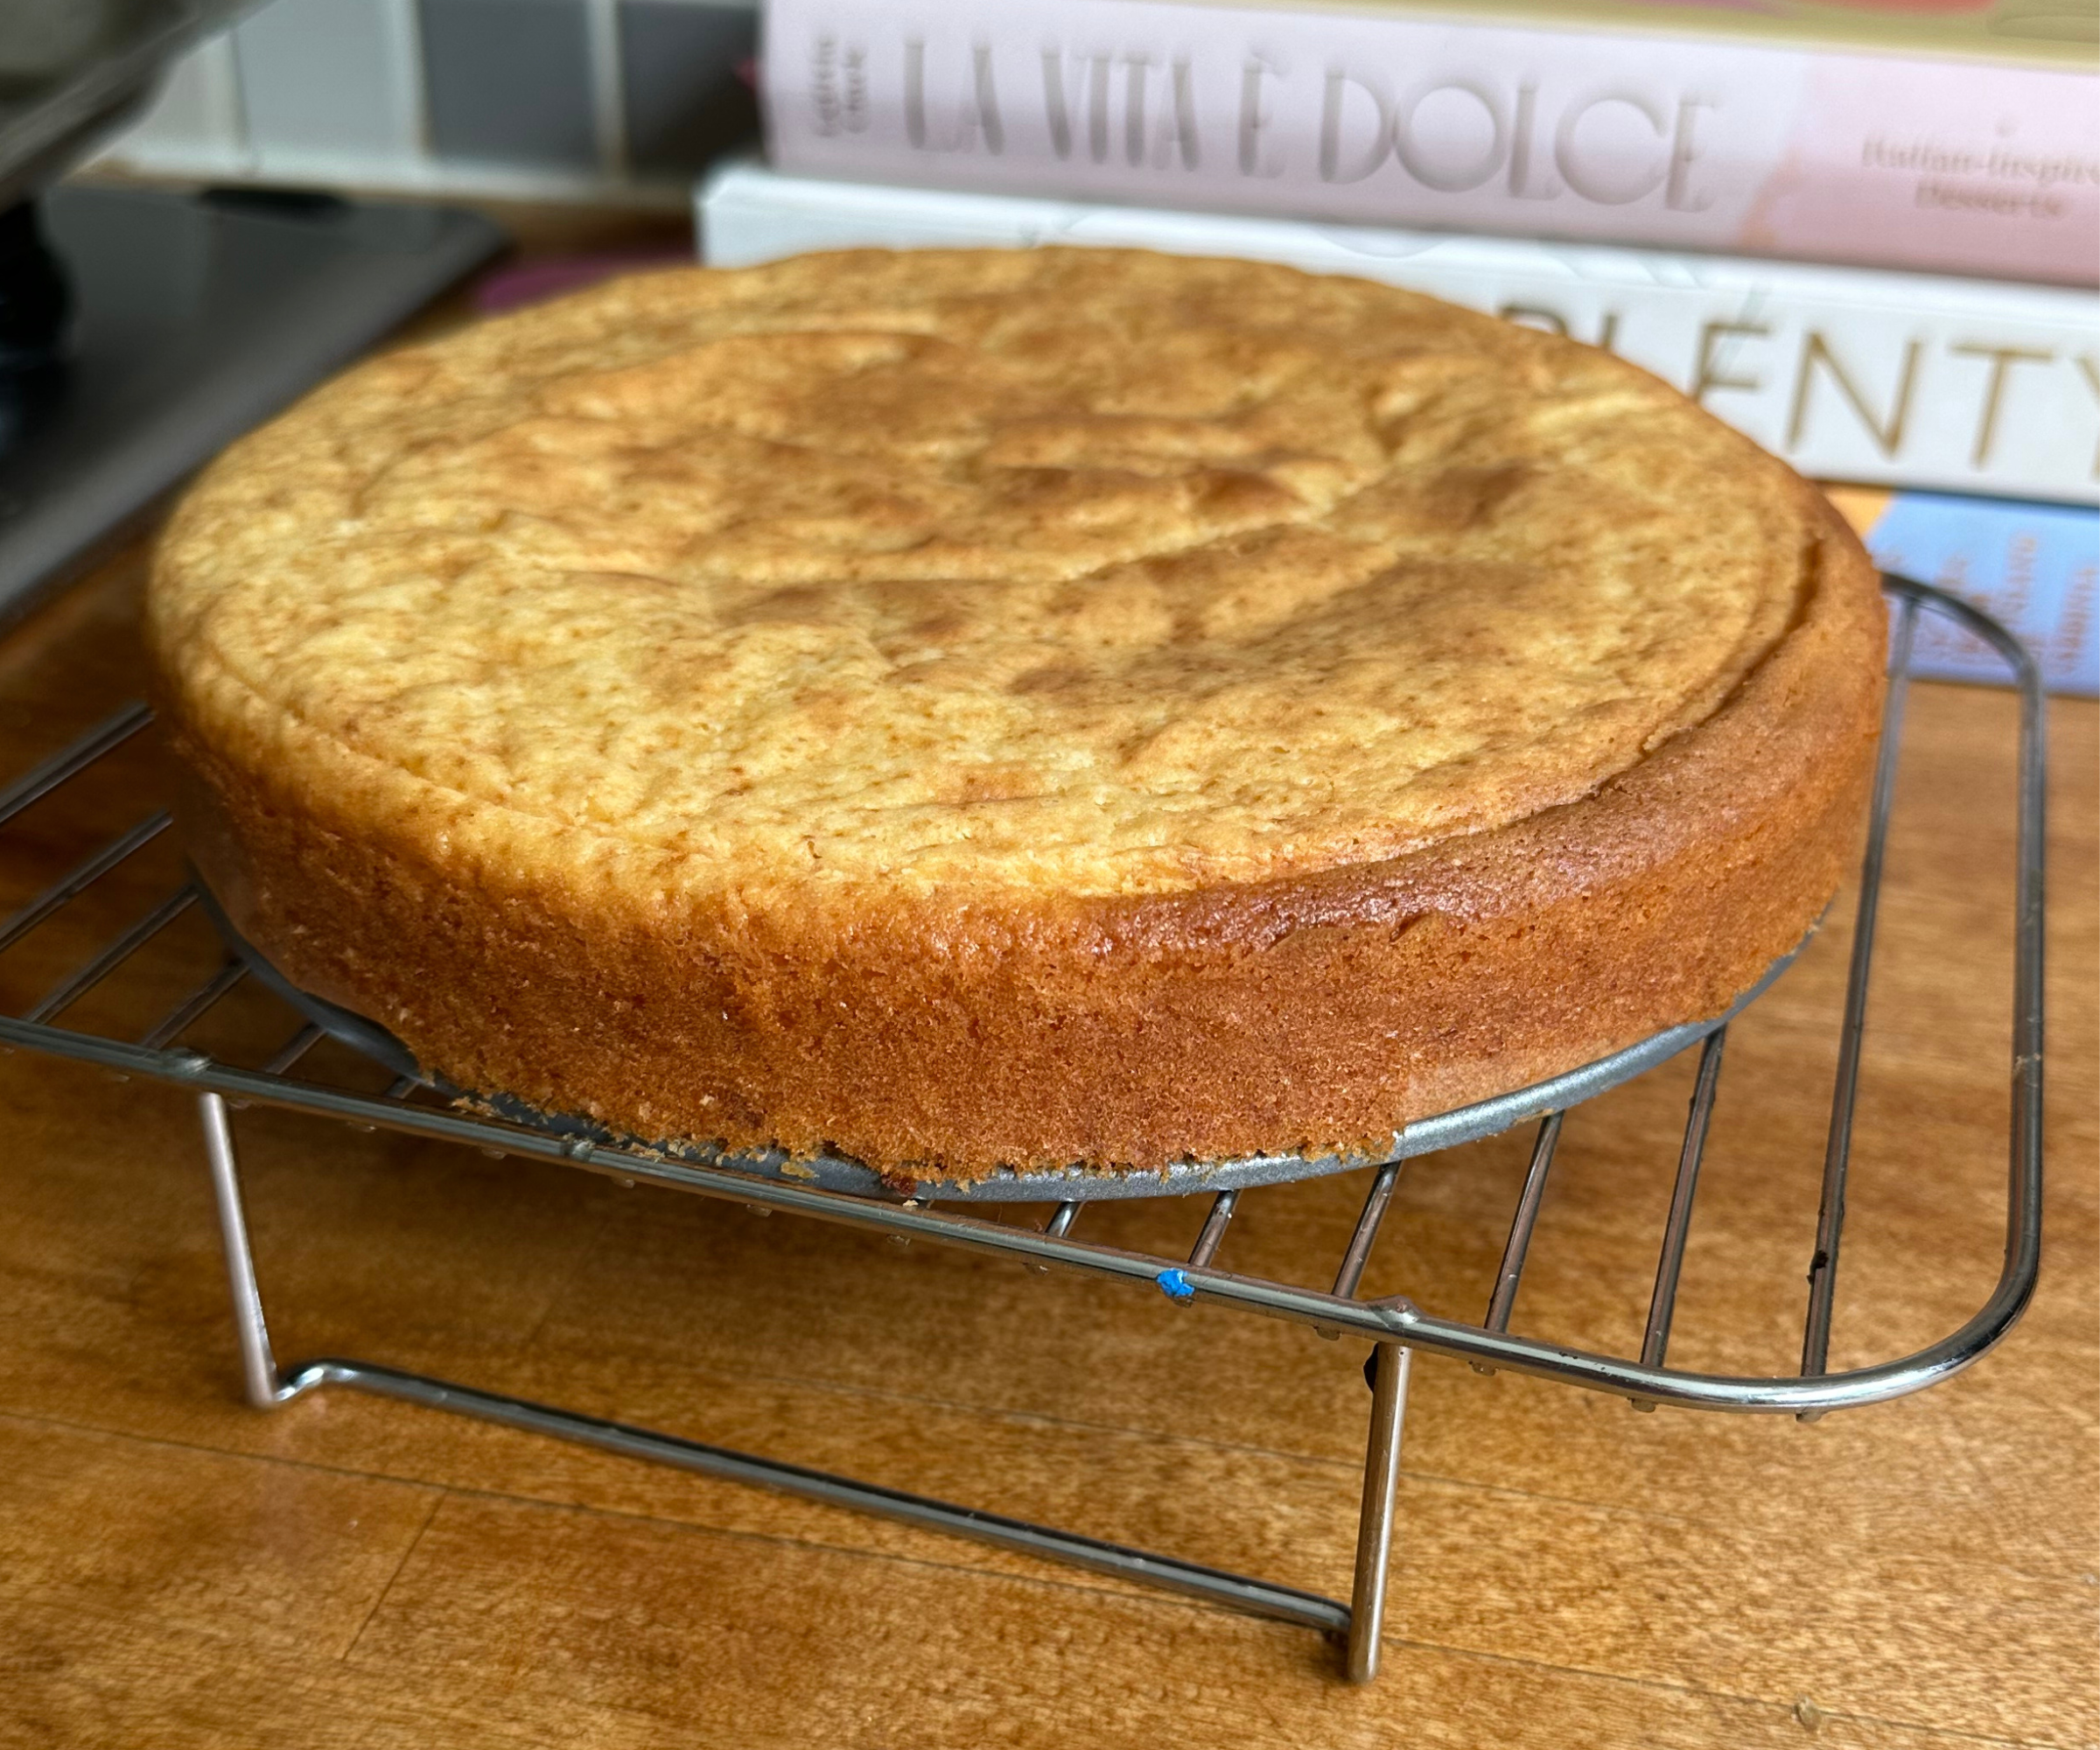
The results: oven vs. air fryer
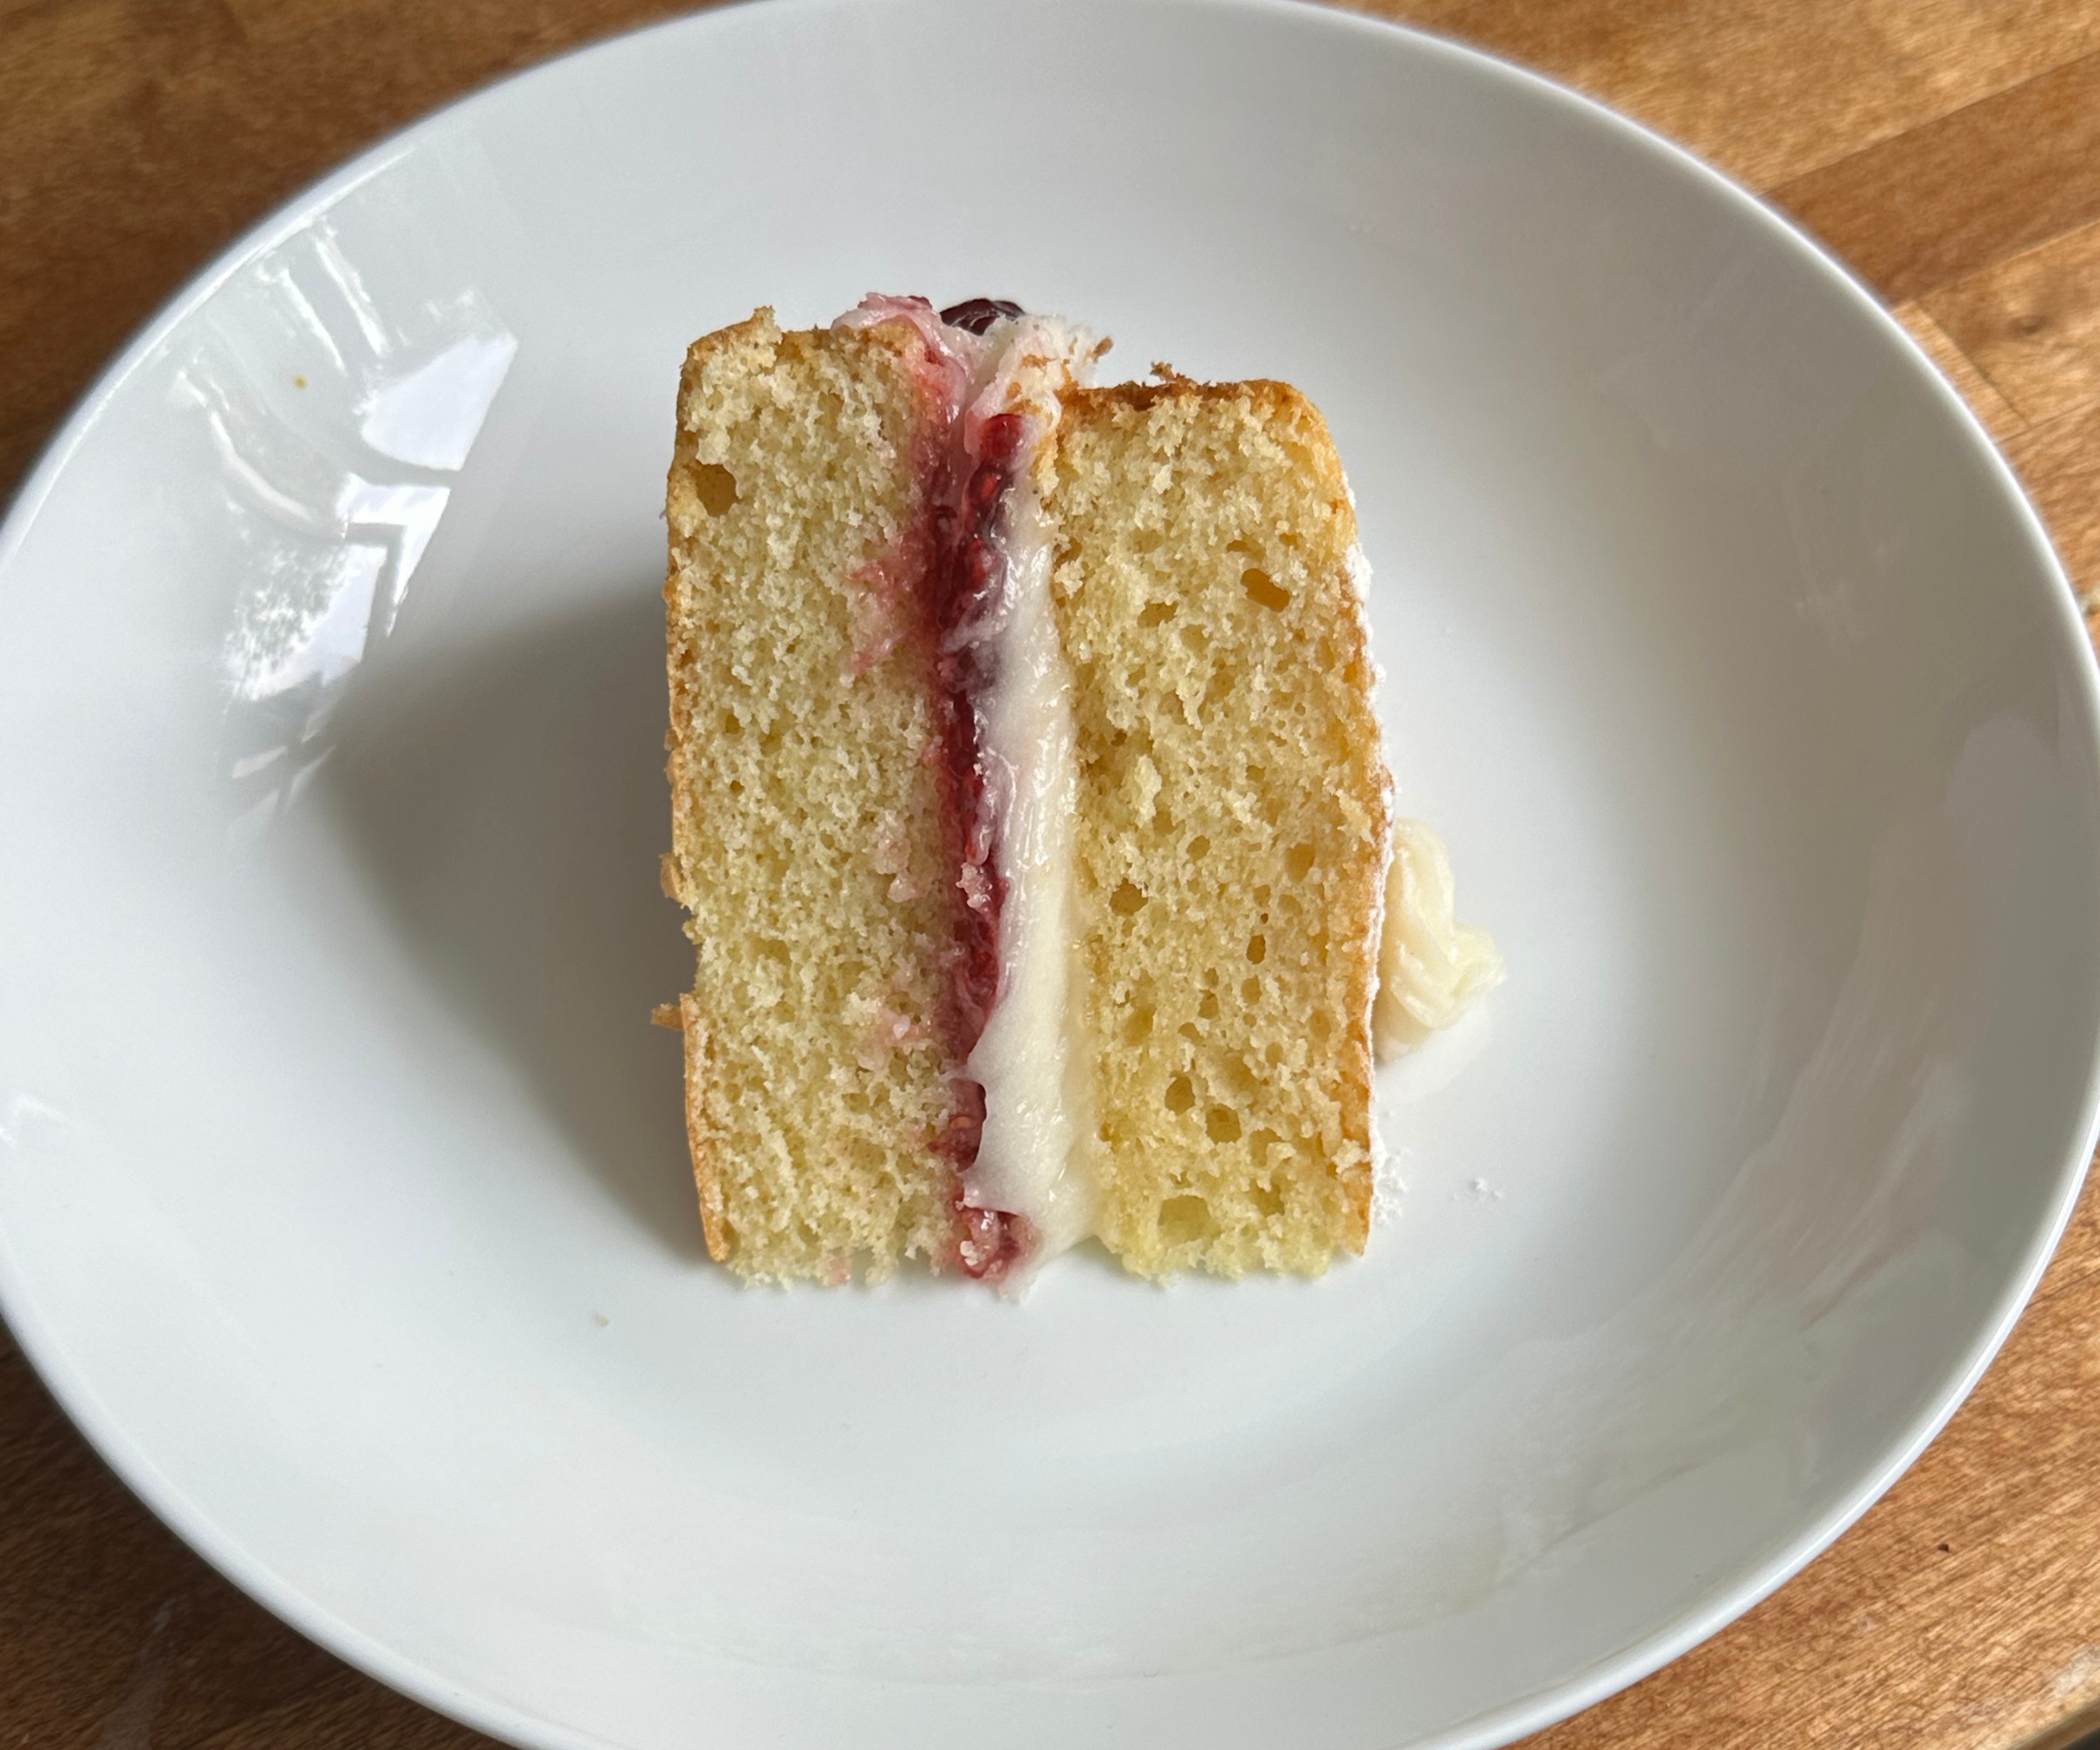
Air fryer sponge cake (top layer) vs oven sponge cake (bottom layer)
You can see the visual differences between my oven and air fryer sponge cakes in the picture above. The sponge that was baked in the oven (the bottom layer) was light, airy, and delicate. I was very impressed by the SMEG's cake setting – it was almost patisserie quality.
In contrast, the air fryer cake came out noticeably denser, with larger pockets of air bubbles. The top had a swirly brown pattern and wrinkly texture, which was fixed with a generous dusting of icing sugar. It was actually very tall and impressive-looking from the side, compared to its oven-baked counterpart (see below). Though it lacked the feather-light quality of the oven-baked version, it still delivered on taste, offering a more substantial, comforting bite that was equally delicious in its own way.
You might have forgotten by now, but I also made a mini cupcake in the air fryer with the leftover batter. It was lovely but similarly dense, rather than fluffy. You can definitely get more subtle results in the oven.
The air fryer also required more effort. I had to adjust my recipe, which required some brainpower, and I needed to check on it frequently. I had to use a lid to prevent over-browning and this added to my washing up. The air-fried cake also took 10 minutes longer to bake than the oven method. While the air fryer promised convenience, the process wasn't quite as effortless as I'd hoped.
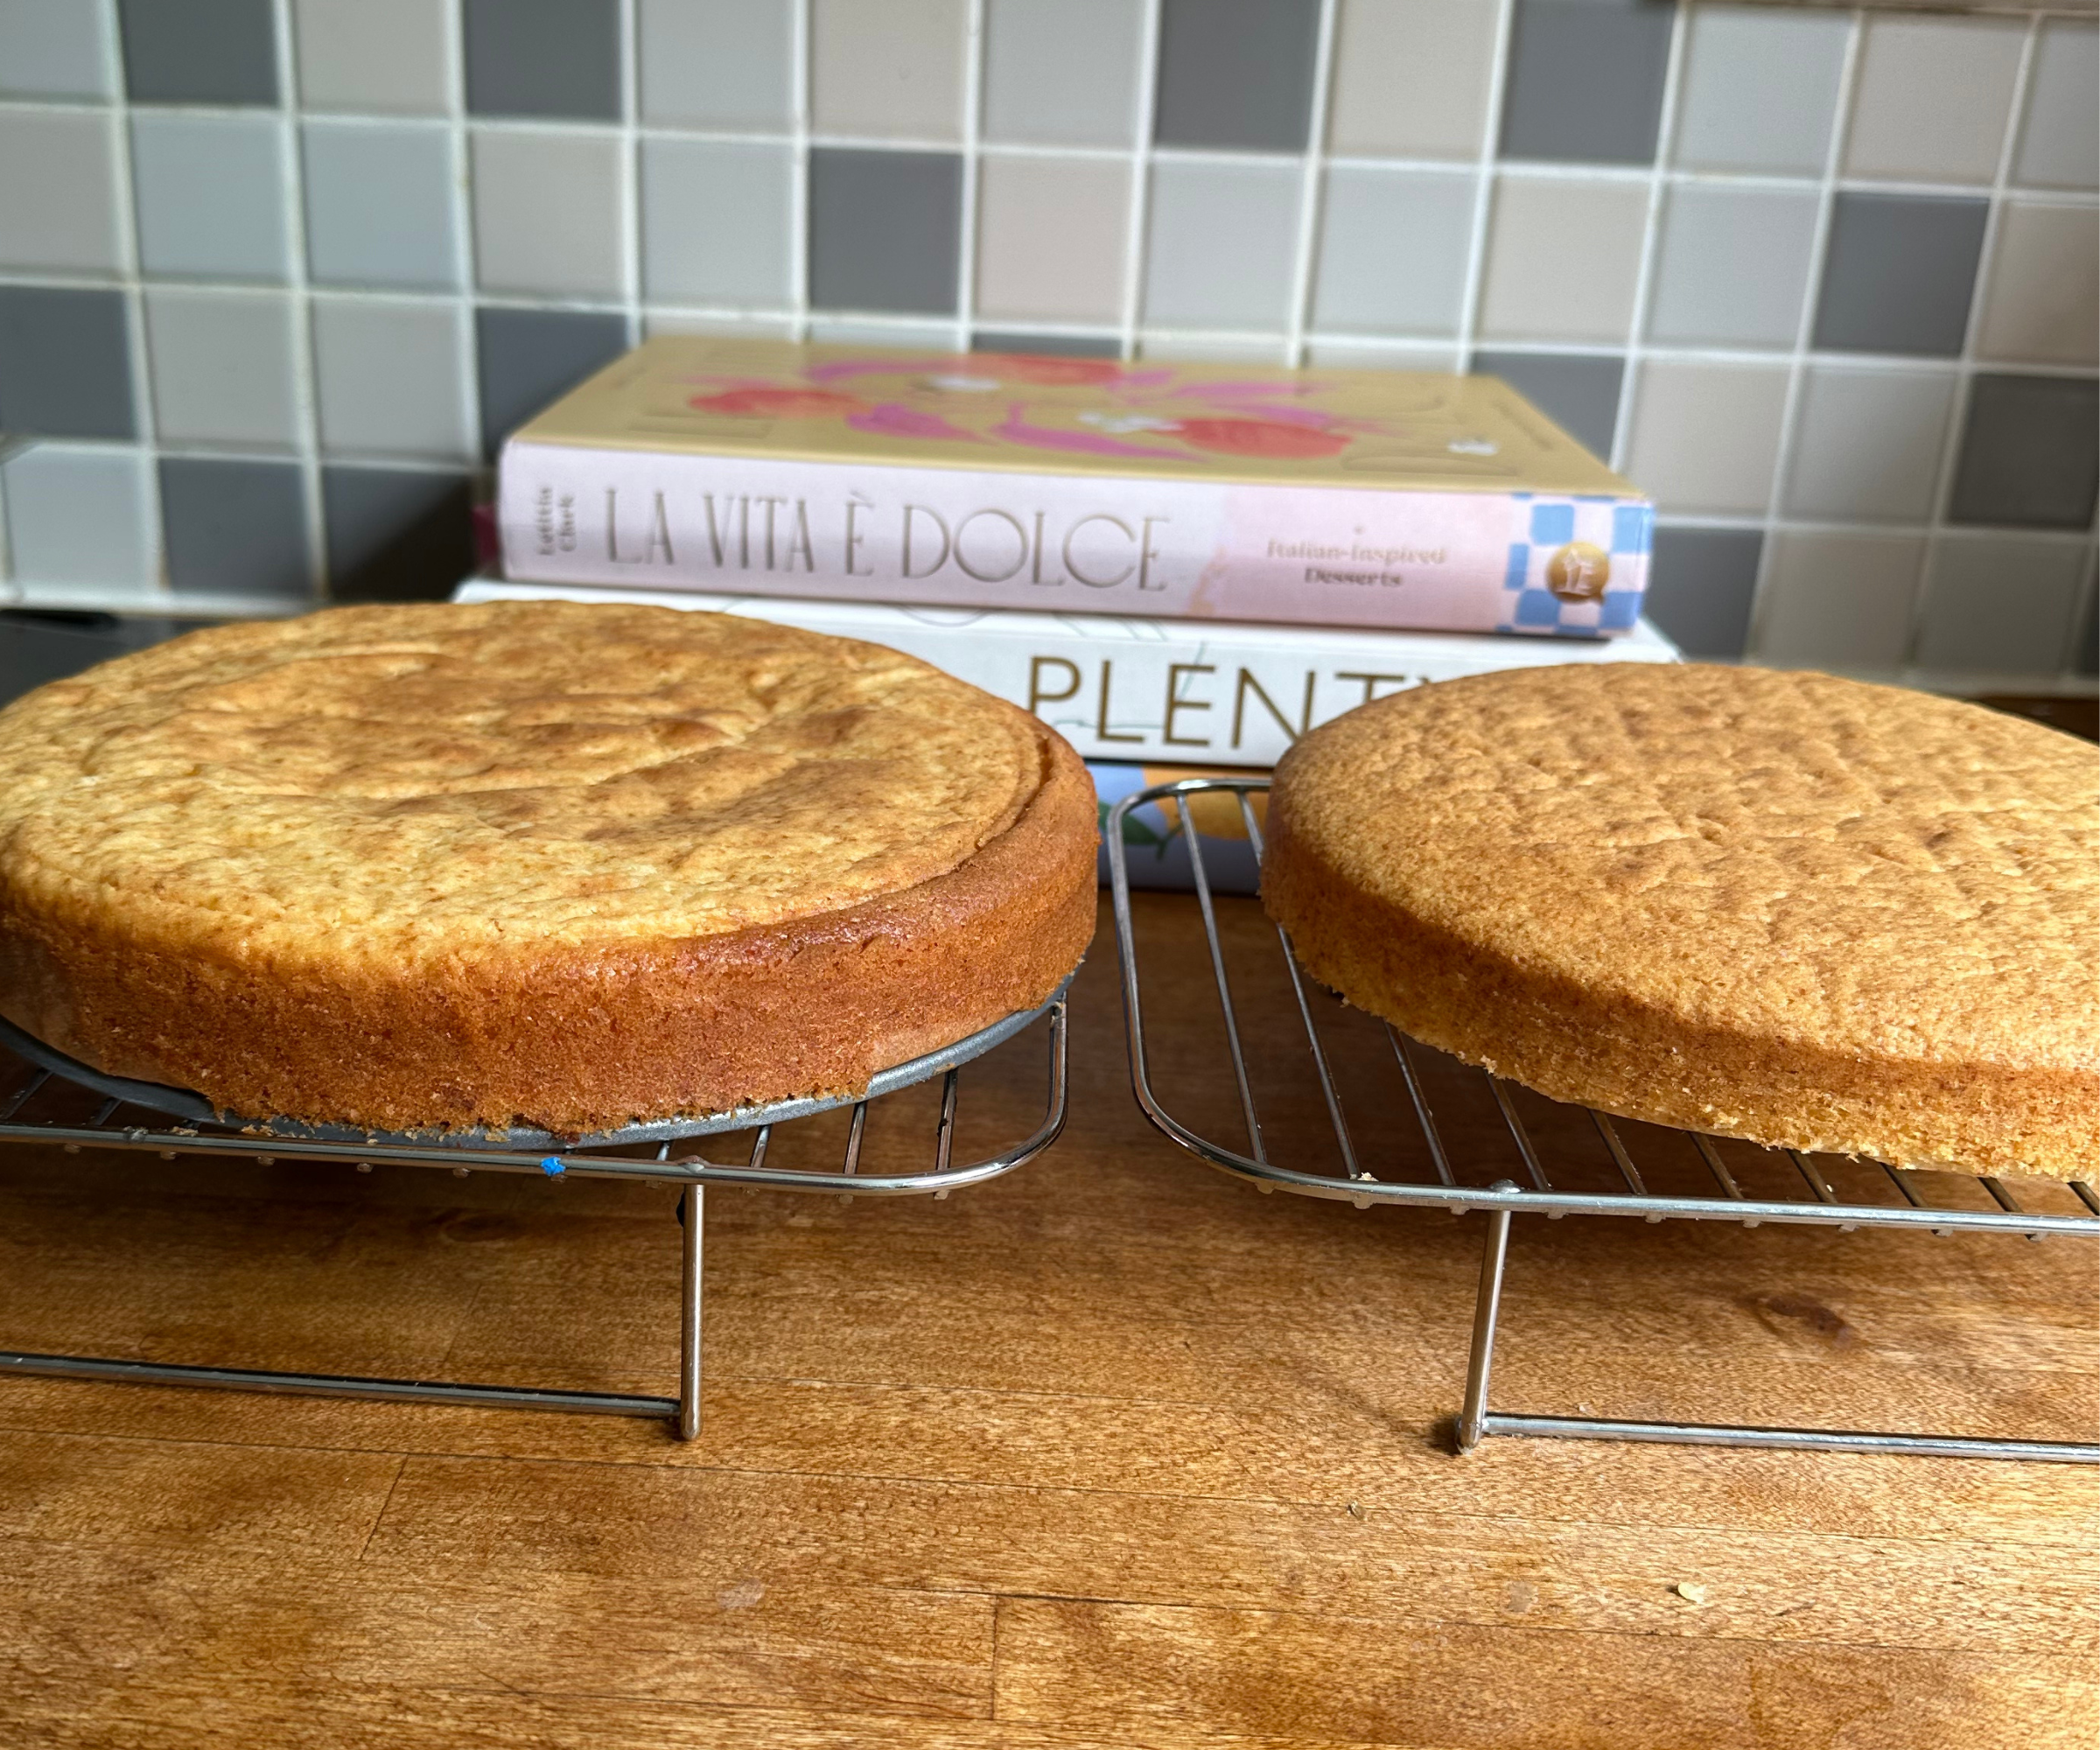
Air fryer sponge cake (left) vs. oven sponge cake (right)
The verdict
My air fryer sponge, with its tall, impressive structure and comforting texture, stands as a testament to the versatility of this kitchen appliance. Though it may lack the ethereal lightness of an oven-baked cake, it certainly made a satisfying treat.
Don't expect perfection – it requires more attention, adjustment and patience than traditional oven baking. But if you’re avoiding the heat of a summer kitchen or curious to experiment, baking in an air fryer is a fun way to explore new culinary possibilities. For a cooking geek like me, it was a true birthday treat.
H&G's favorite baking tools
If you've been inspired to whip up a batch of baked goods, here are our top-rated baking appliances.
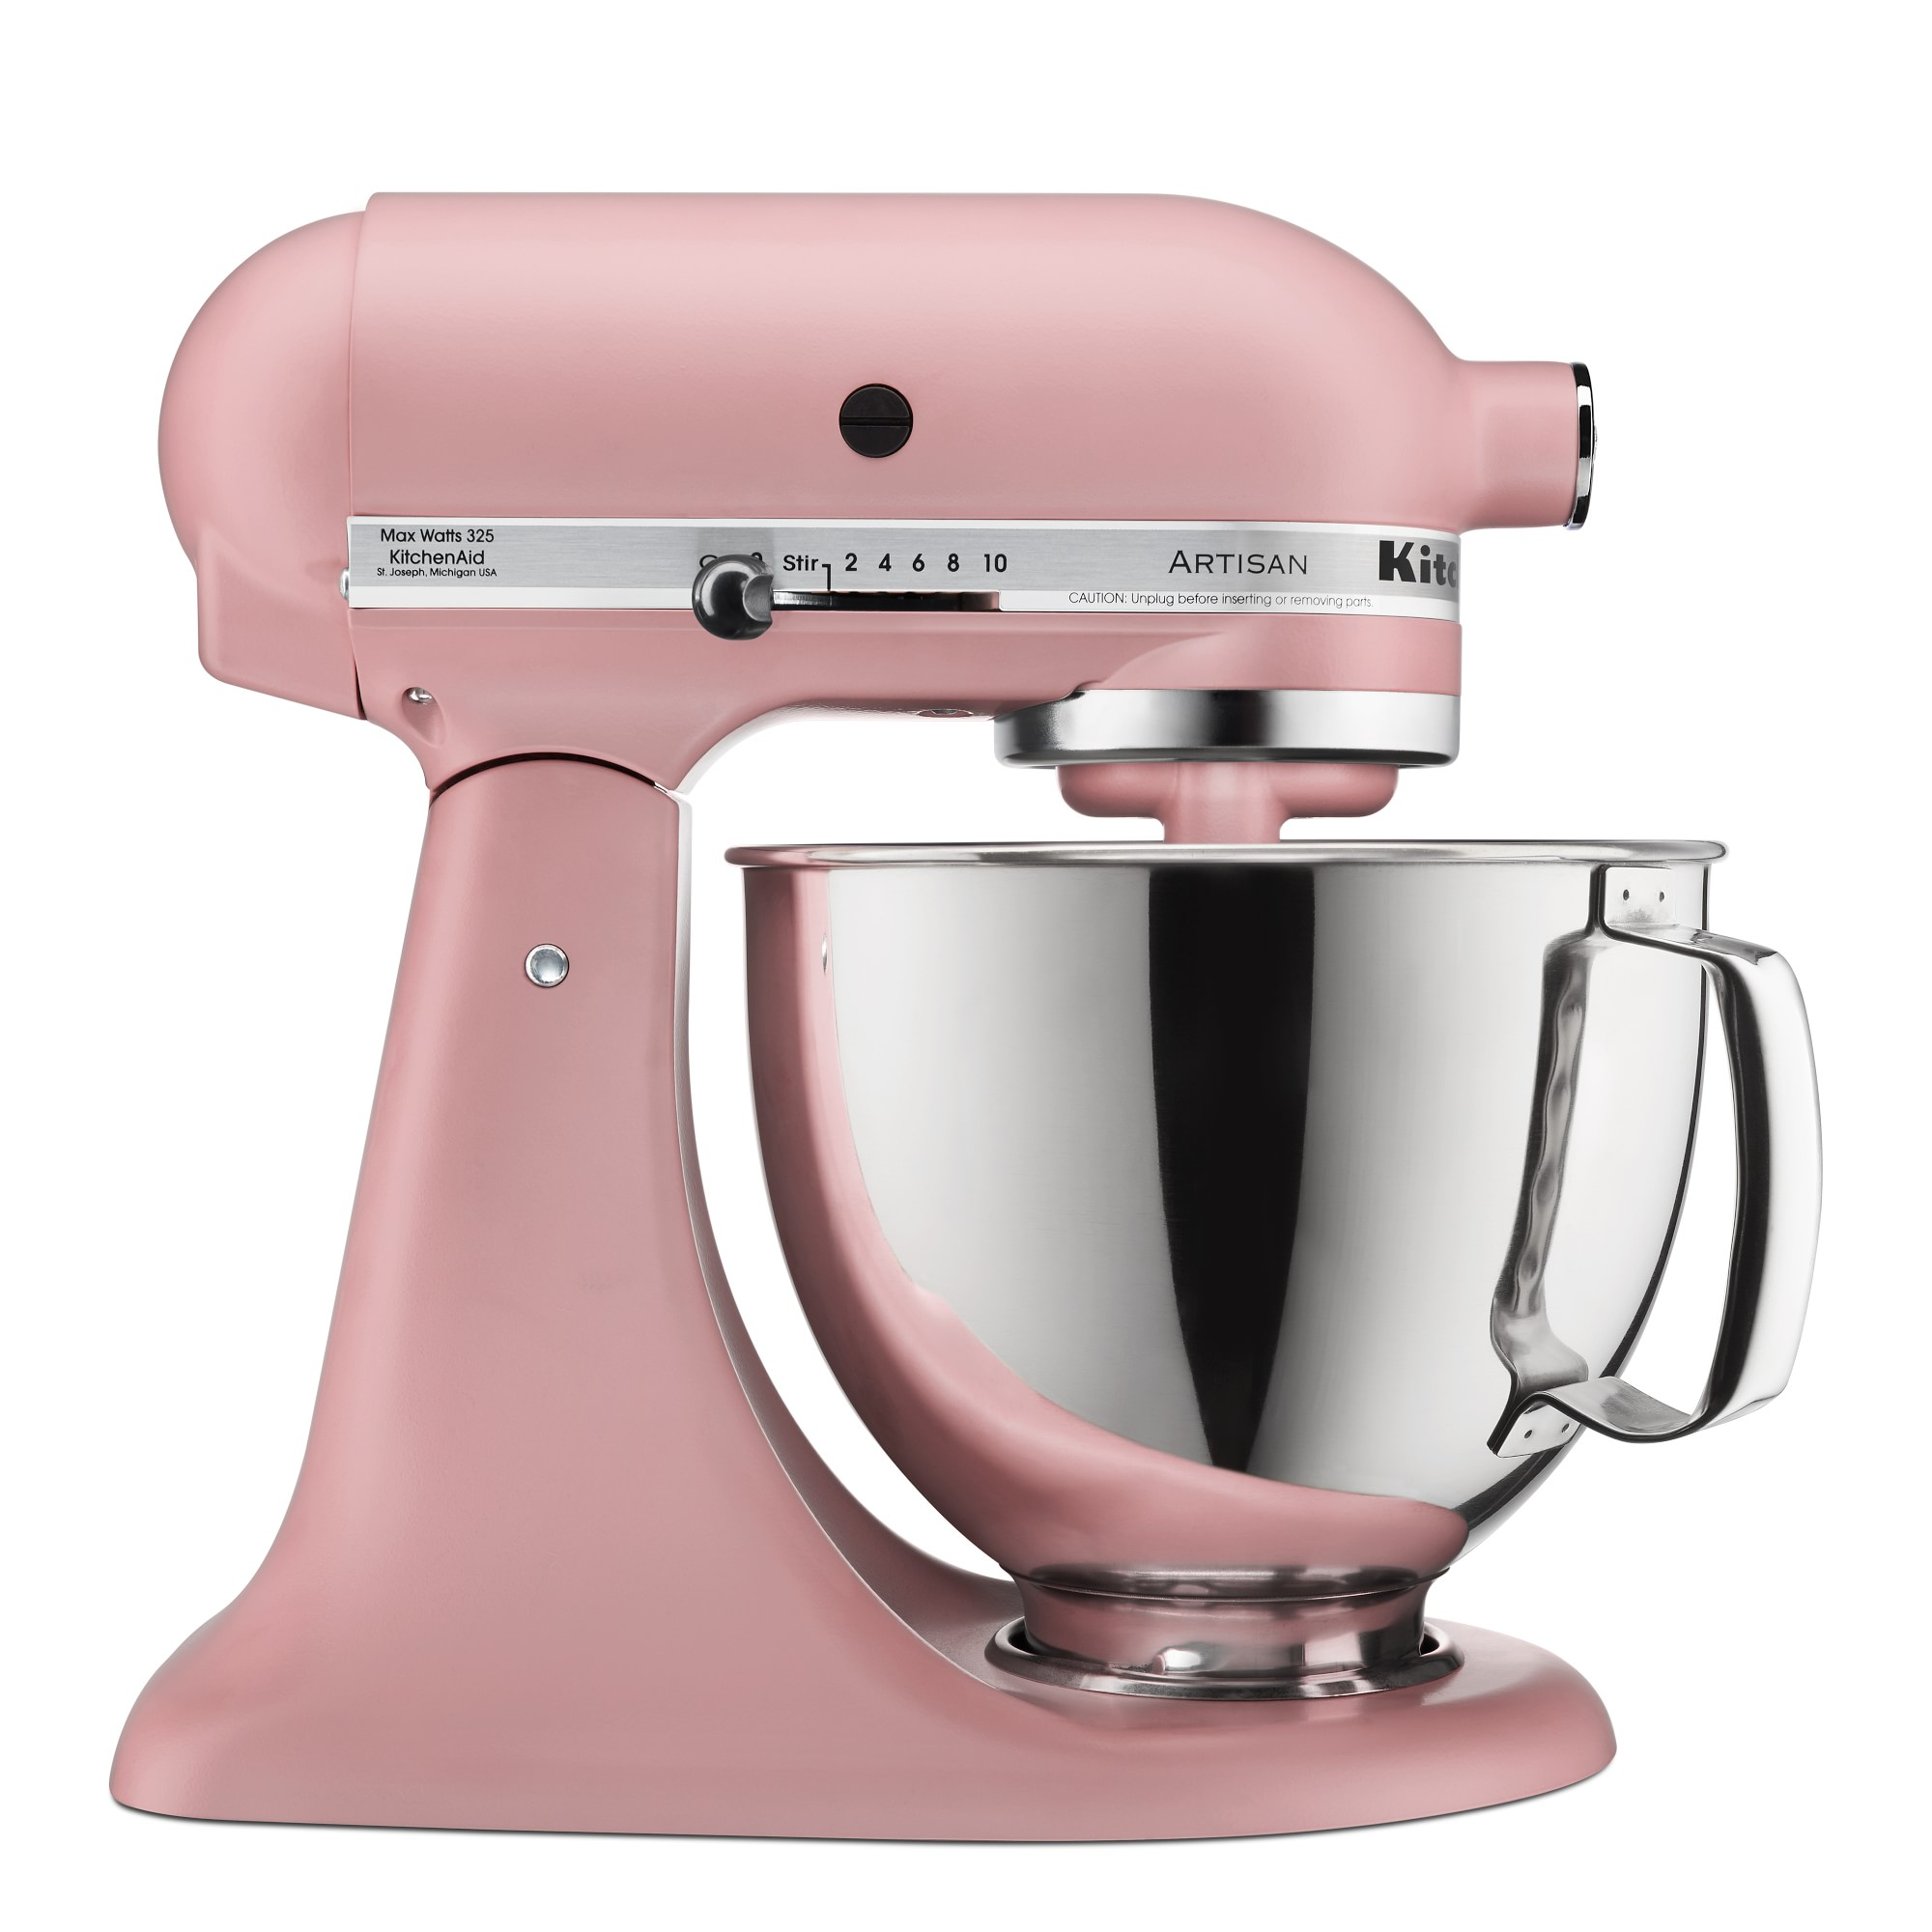
The iconic, American-made stand mixer. With 10 power settings, it mixes everything from cake batter to bread dough and whipped cream, effortlessly.
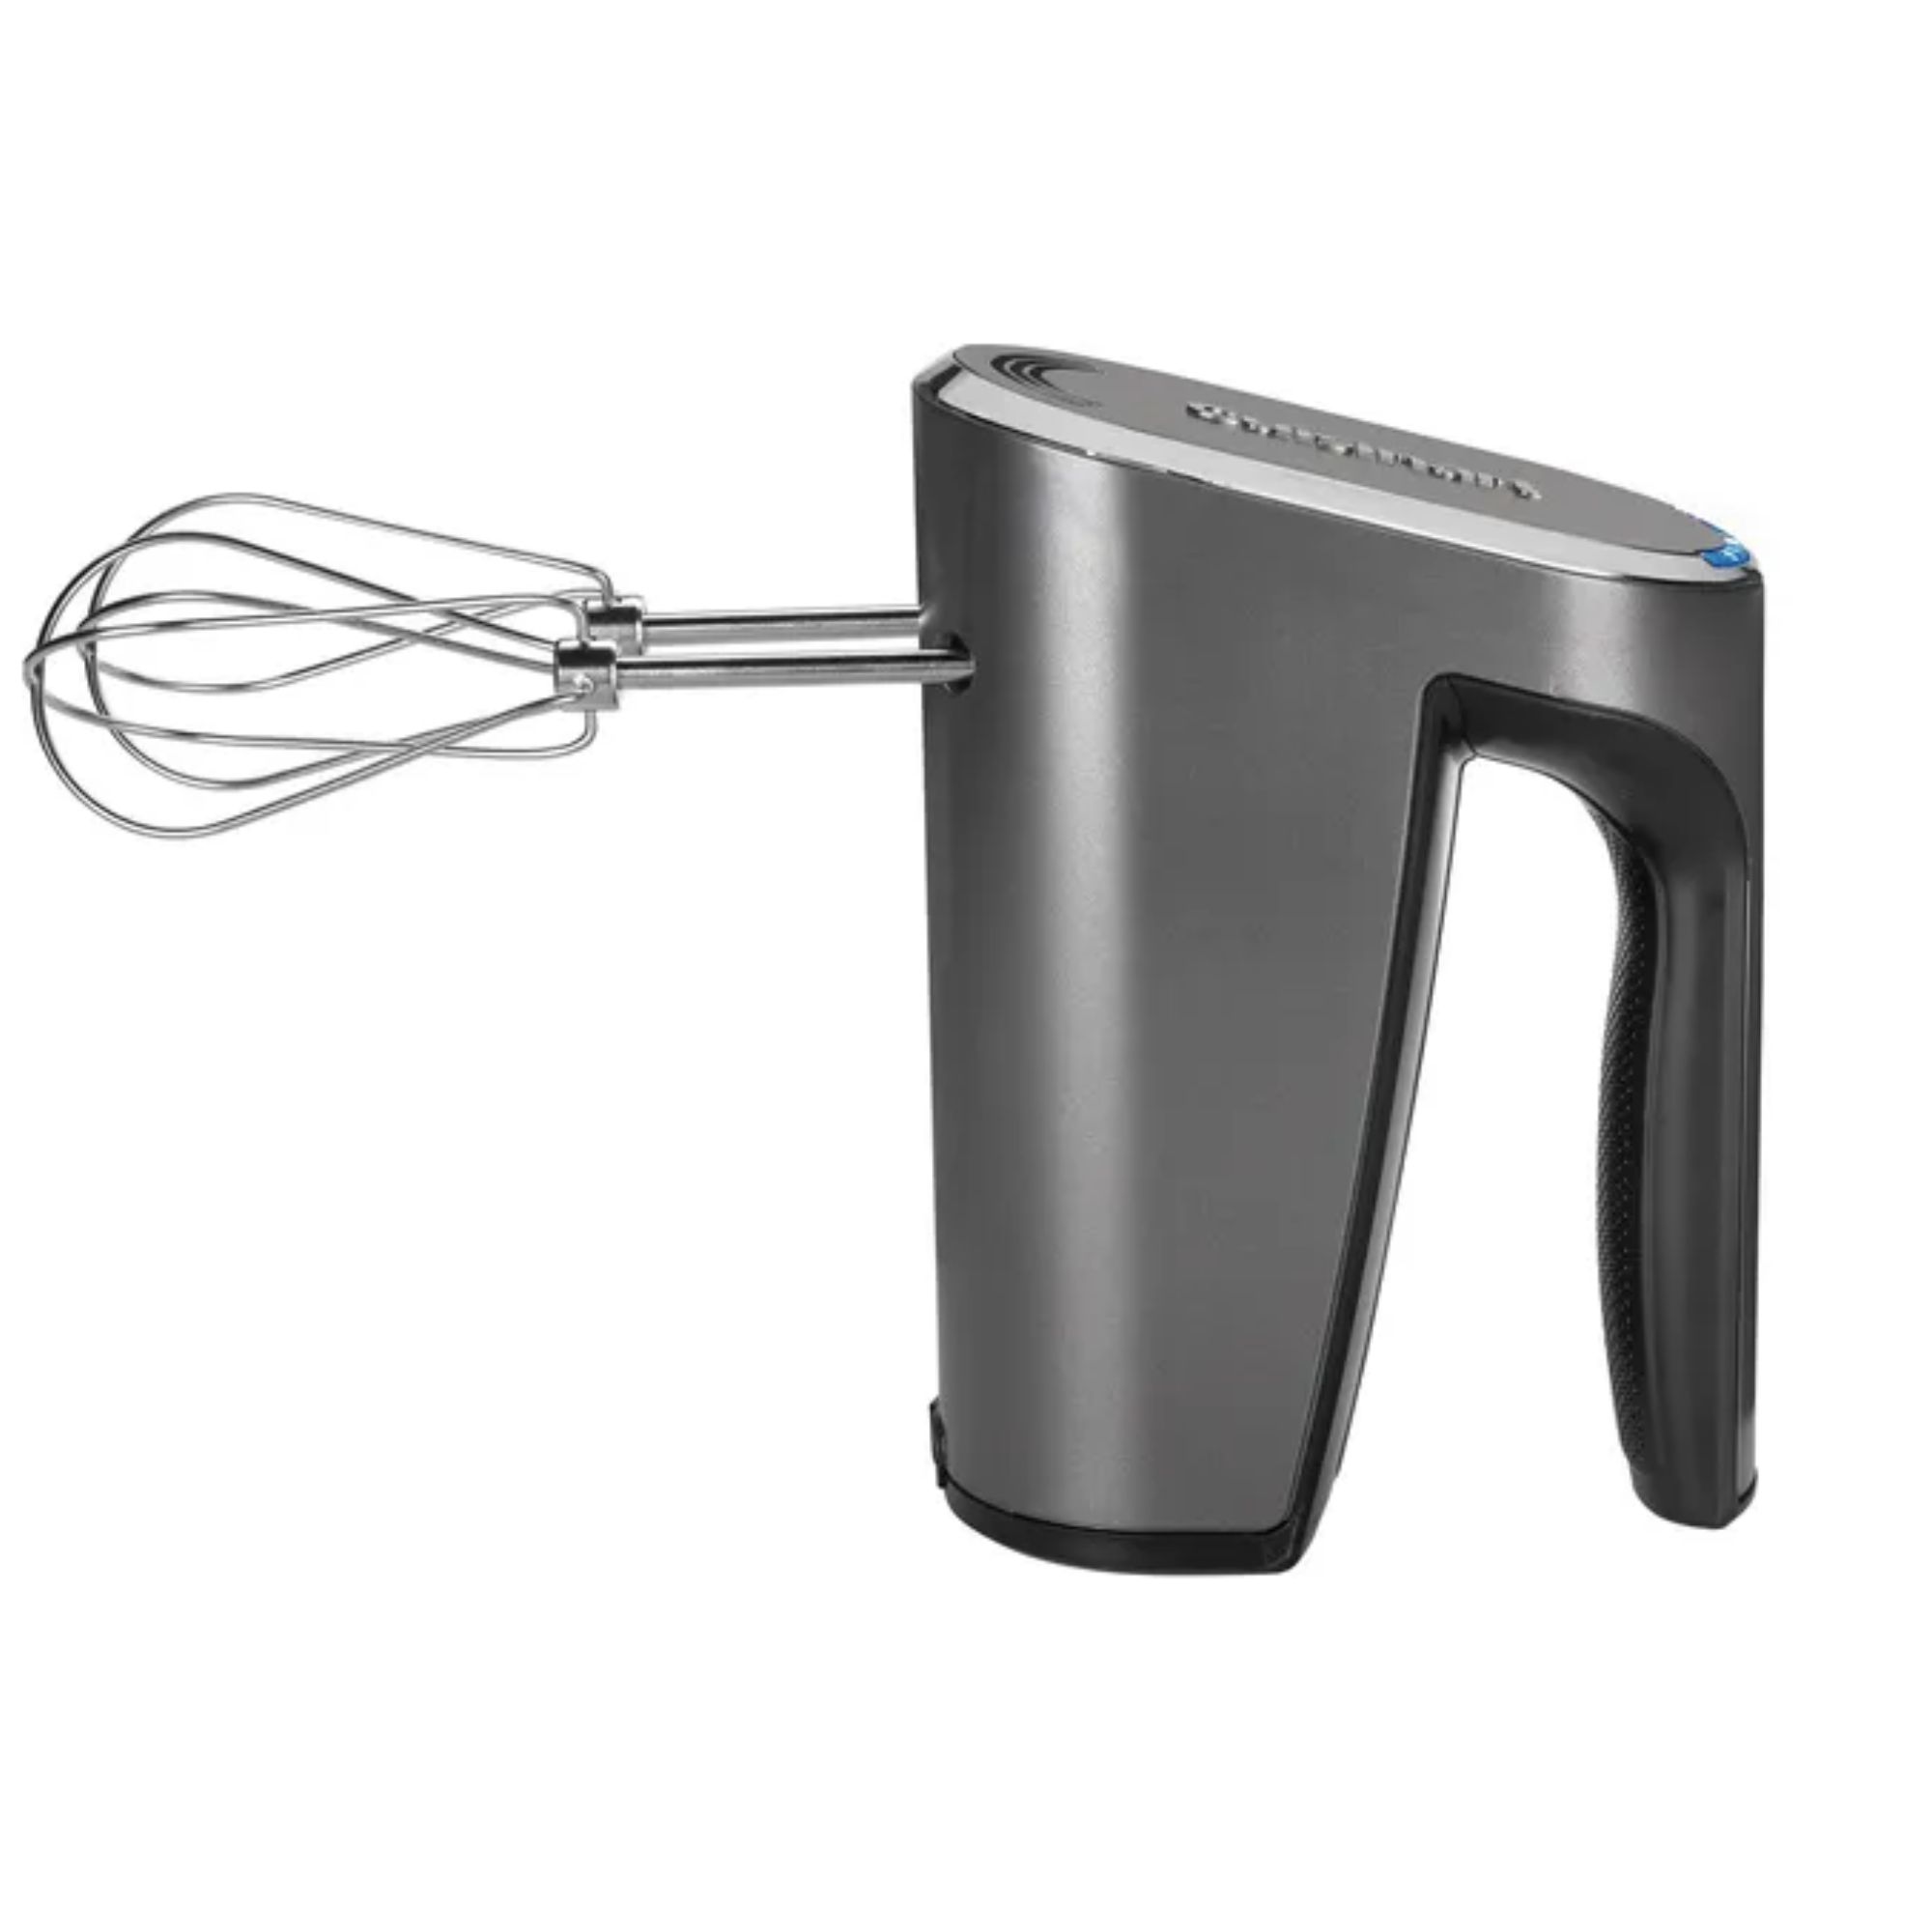
Our testers love the cordless design of this hand blender. It boasts exceptional performance. – and the reasonable price tag is a bonus.
Lydia is the Kitchen Appliances Editor for Homes & Gardens, testing everything from air fryers and mixers to juicers and coffee machines. She trained in Culinary Arts at Leiths School of Food & Wine and previously served as the Recipe Editor for Mindful Chef.
