12 top interior painting tips from experts – for a flawless, fabulous finish
These interior painting tips come expert-approved and ensure a top-quality paint job
- 1. Opt for the highest quality tools you can afford
- 2. Pick the best paint you can afford
- 3. Mix your cans of same-colored paint together
- 4. Repair holes and dents in walls the day before
- 5. Keep a wet edge
- 6. Add a primer first
- 7. Always use painter's tape
- 8. Use enough paint each time
- 9. Always clean surfaces first
- 10. Wrap tools in plastic between painting to prevent having to clean
- 11. When painting trim, sand between coats
- 12. Take your time
- FAQs

More and more of us are picking up paint brushes and rollers to redecorate our homes ourselves, so it is undeniably more important than ever to get expert interior painting tips to make sure we ace the job the first time – and every time after that.
Painting a wall may seem like an easy task. You are, after all, just layering paint onto a flat surface with a brush or roller. However, there are some easy wall painting mistakes that can catch you out, especially when you start painting ceilings or detailing your trim.
Here, professional painters have shared their top interior painting tips so you can achieve the perfect paint job yourself.
Interior painting tips
Painting is a fine skill that can take years to hone and perfect – unless you listen to these tips, of course. Here is how to get a professional paint job the first time.
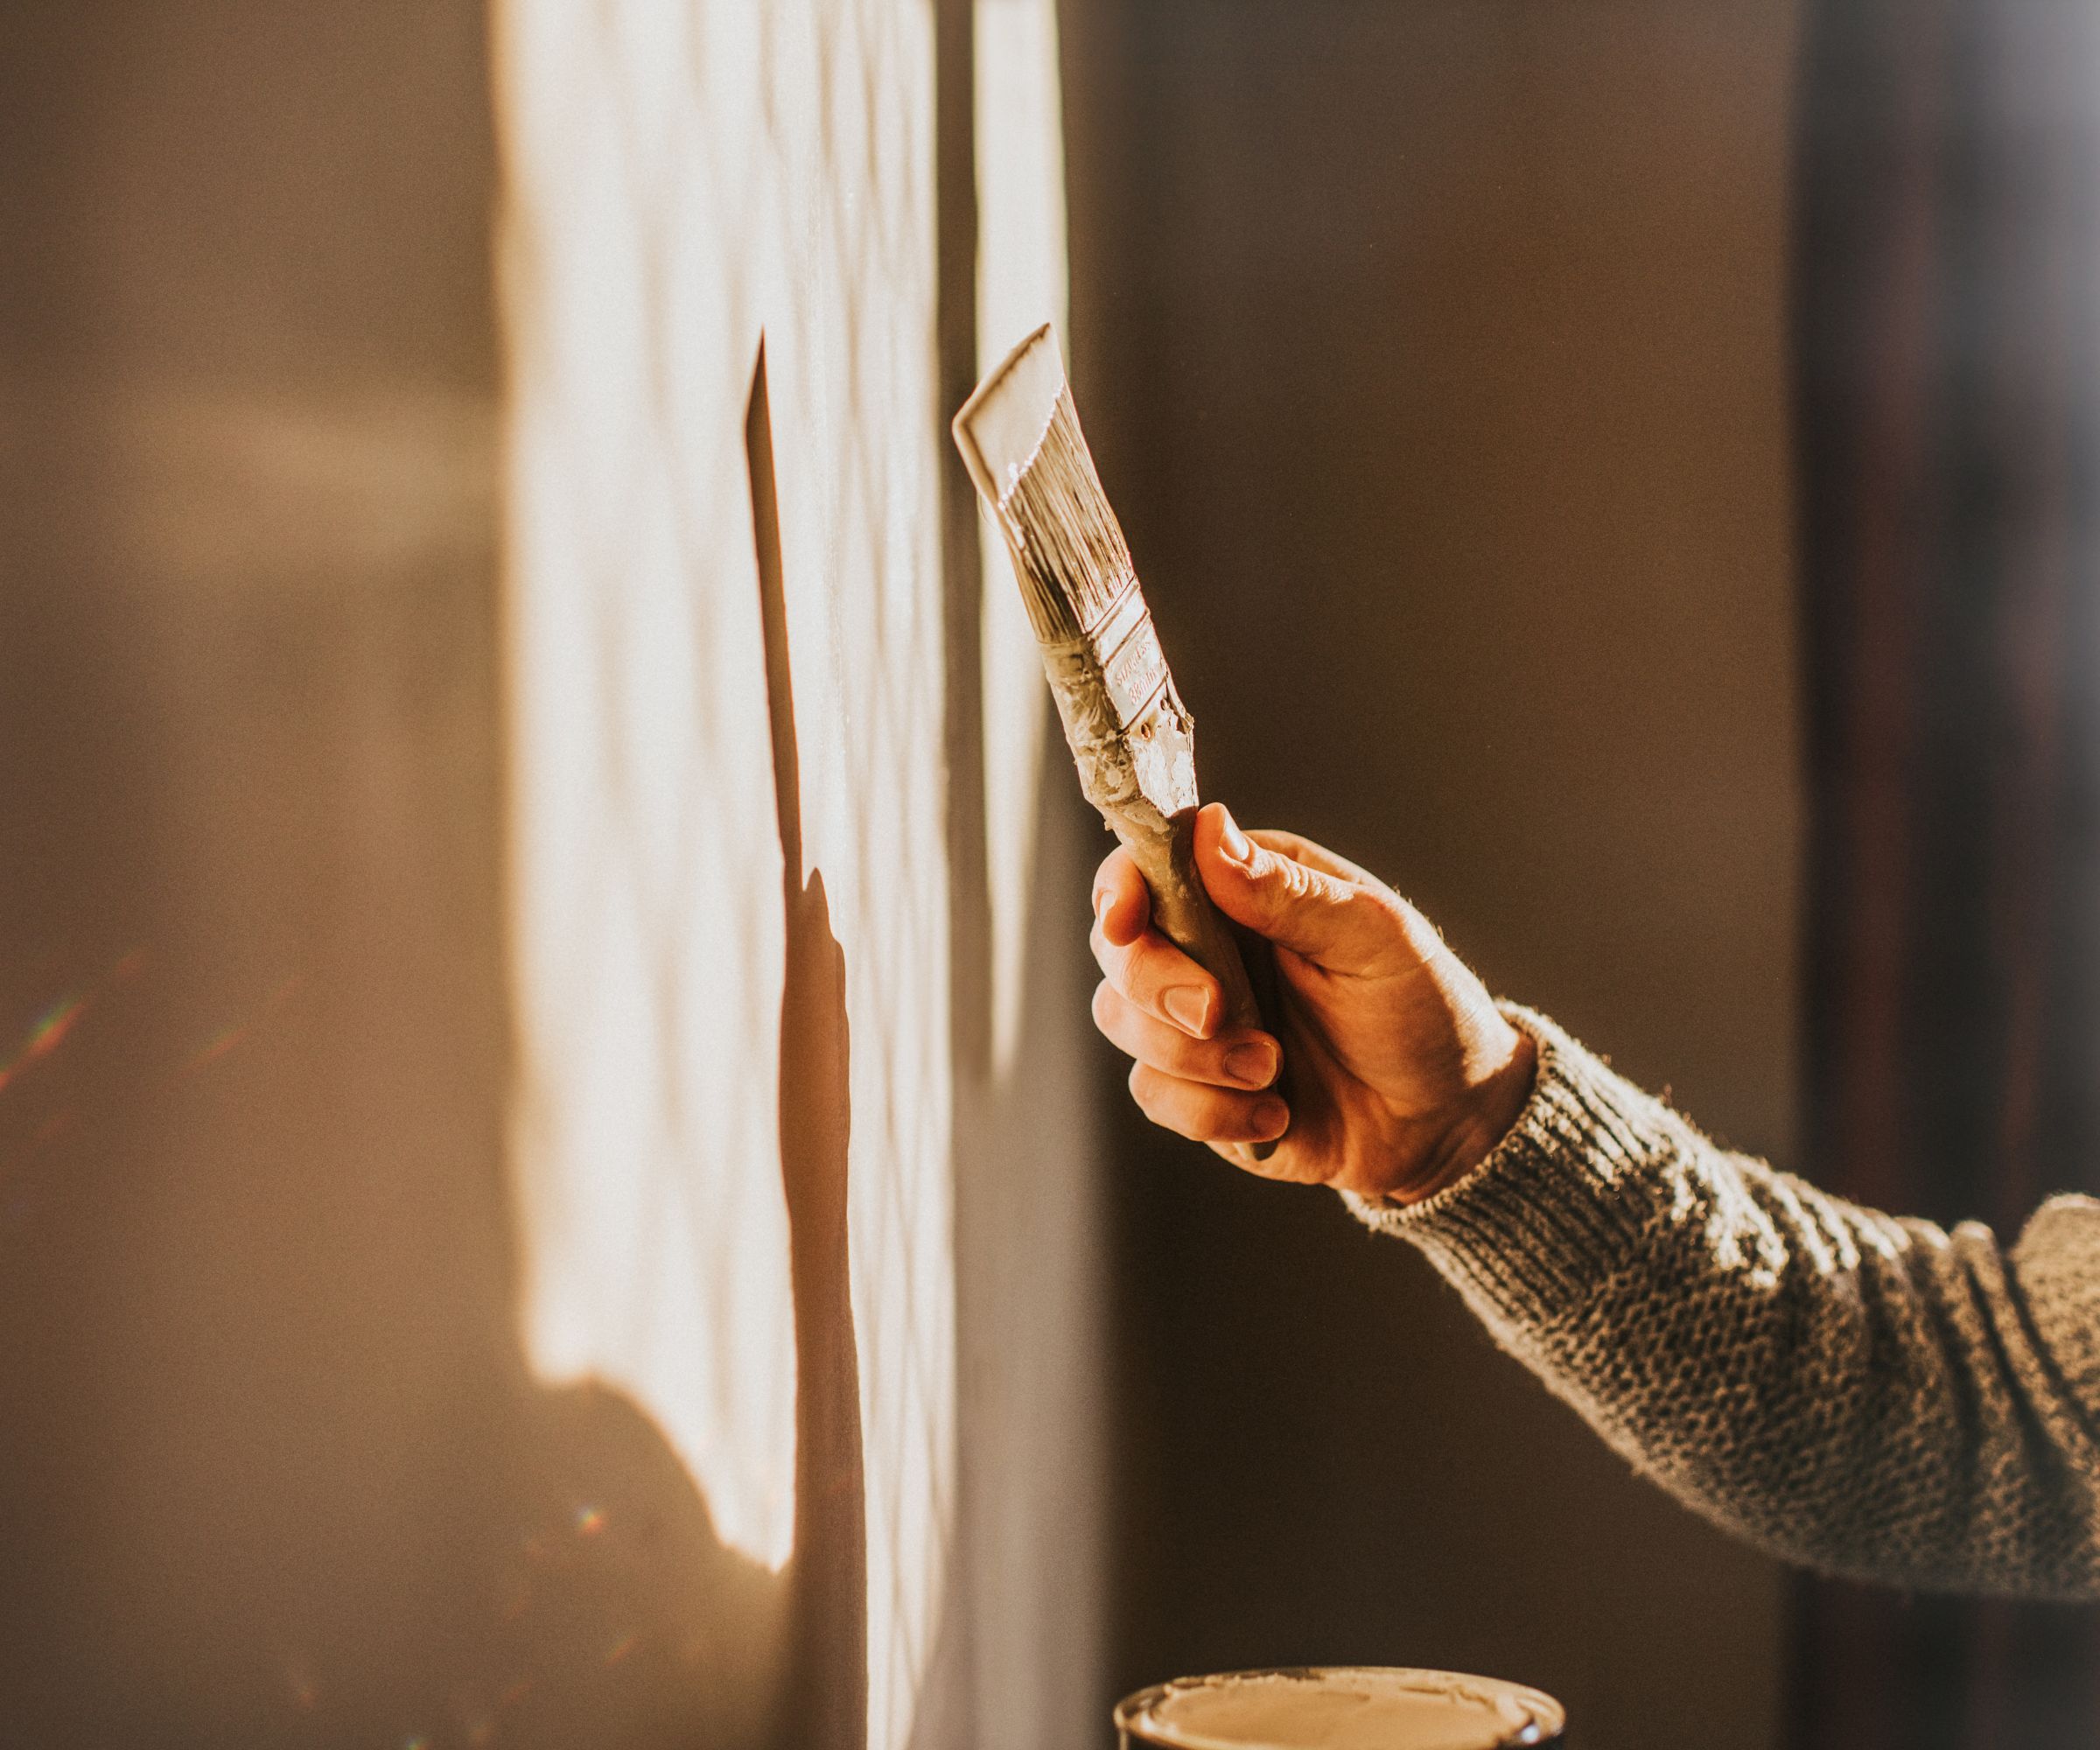
1. Opt for the highest quality tools you can afford
When painting, it can be tempting to think about investing in the paint and skimping on the tools. It is the paint that sticks around the longest, after all. Thinking in this way is one of the most common wall painting mistakes, however, explains Michael Bashari, painting expert at Purely Paint.
‘Using cheap brushes and rollers can result in a subpar finish that may require more touch-ups or repainting in the long run. A high-quality paintbrush or roller will hold more paint. This means you'll be able to cover more surface area without having to reload constantly,’ he explains.
George Crew, licensed general contractor and professional painter at Chicago Paint Crew recommends opting for a ‘thicker roller, like ¾ inch.’ The larger size will also mean that you ‘push down less on the roller creating lap marks,’ he says.
2. Pick the best paint you can afford
The best tools you can buy will only do so much, it is high-quality paint that will then ensure you achieve a flawless finish. When choosing your paint colors, consider where you can afford to allocate your budget. Picking high-end paint could mean you are able to spend a little less on tools, for example, purchasing mid-range brushes, but you do always get what you paid for.
3. Mix your cans of same-colored paint together
If you need multiple cans of paint to finish a room, contractor George Crew suggests ‘boxing’ the paint together. This means mixing all of the cans of the same colored paint together in one container.
‘Paint color may vary slightly from one can to the next,’ he explains. ‘If you have to open a new can in the middle of a wall, the difference may be noticeable. Mixing the paints together eliminates the problem.’
‘Take a 5-gallon bucket, available at Walmart, and mix all your same colored paint in the bucket to ensure an even color throughout.
4. Repair holes and dents in walls the day before
Walls are more susceptible to denting and cracking than you might think, especially if it is in a high-traffic area or you have removed wallpaper or paint before painting.
For a smooth finish, it is recommended to repair your plaster ceilings and walls at least 24 hours before to allow it to dry thoroughly, says Jay Sanders, contractor and owner of Castle Dream Construction. You can use a premixed repair putty such as Gorilla, from Amazon.
‘Your walls should be smooth from corner to corner, this helps the paint look better and gives an overall finished look at the end,’ he advises.
5. Keep a wet edge
‘The most common mistake people make when painting a wall is not keeping a wet edge,’ begins Nick Slavik, professional painter and Purdy partner. ‘A wet edge is when the cut and the roll dry together, and it leaves an even, professional finish and prevents "hatbanding," "picture framing" and "flashing" – where the cutting in dries first and leaves a noticeable border of paint around the wall,’ he explains.
‘I complete all the prep and then go around the room clockwise and cut one wall at a time, then roll one wall at a time. I cut one wall at a time, then roll after so that I can get within 0.25-0.5in from corners, ceilings, and trim. If this is done while all the cut is still wet, it will blend together nicely. ‘

Nick Slavik has been a craftsman for more than 29 years. His company has been awarded more than 15 national awards for craftsmanship over the last five years, and he is the host of Ask a Painter Live – a weekly live social media show where he speaks to current industry topics and answers questions live from the internet. He has also created a rigorous apprenticeship program where he finds, trains, inspires and mentors young people in his craft.
6. Add a primer first
When preparing your walls for painting, adding a primer is essential if you want to achieve an even paint coverage, or are concerned that the wall is not in top condition to hold onto the paint, says contractor Jay Sanders.
‘We like to use a tinted primer that matches the paint to help conceal any imperfections,’ Jay reveals. Some homeware stores will offer paint mixing options where you can make a tinted primer to match your wall paint perfectly, too.
7. Always use painter's tape
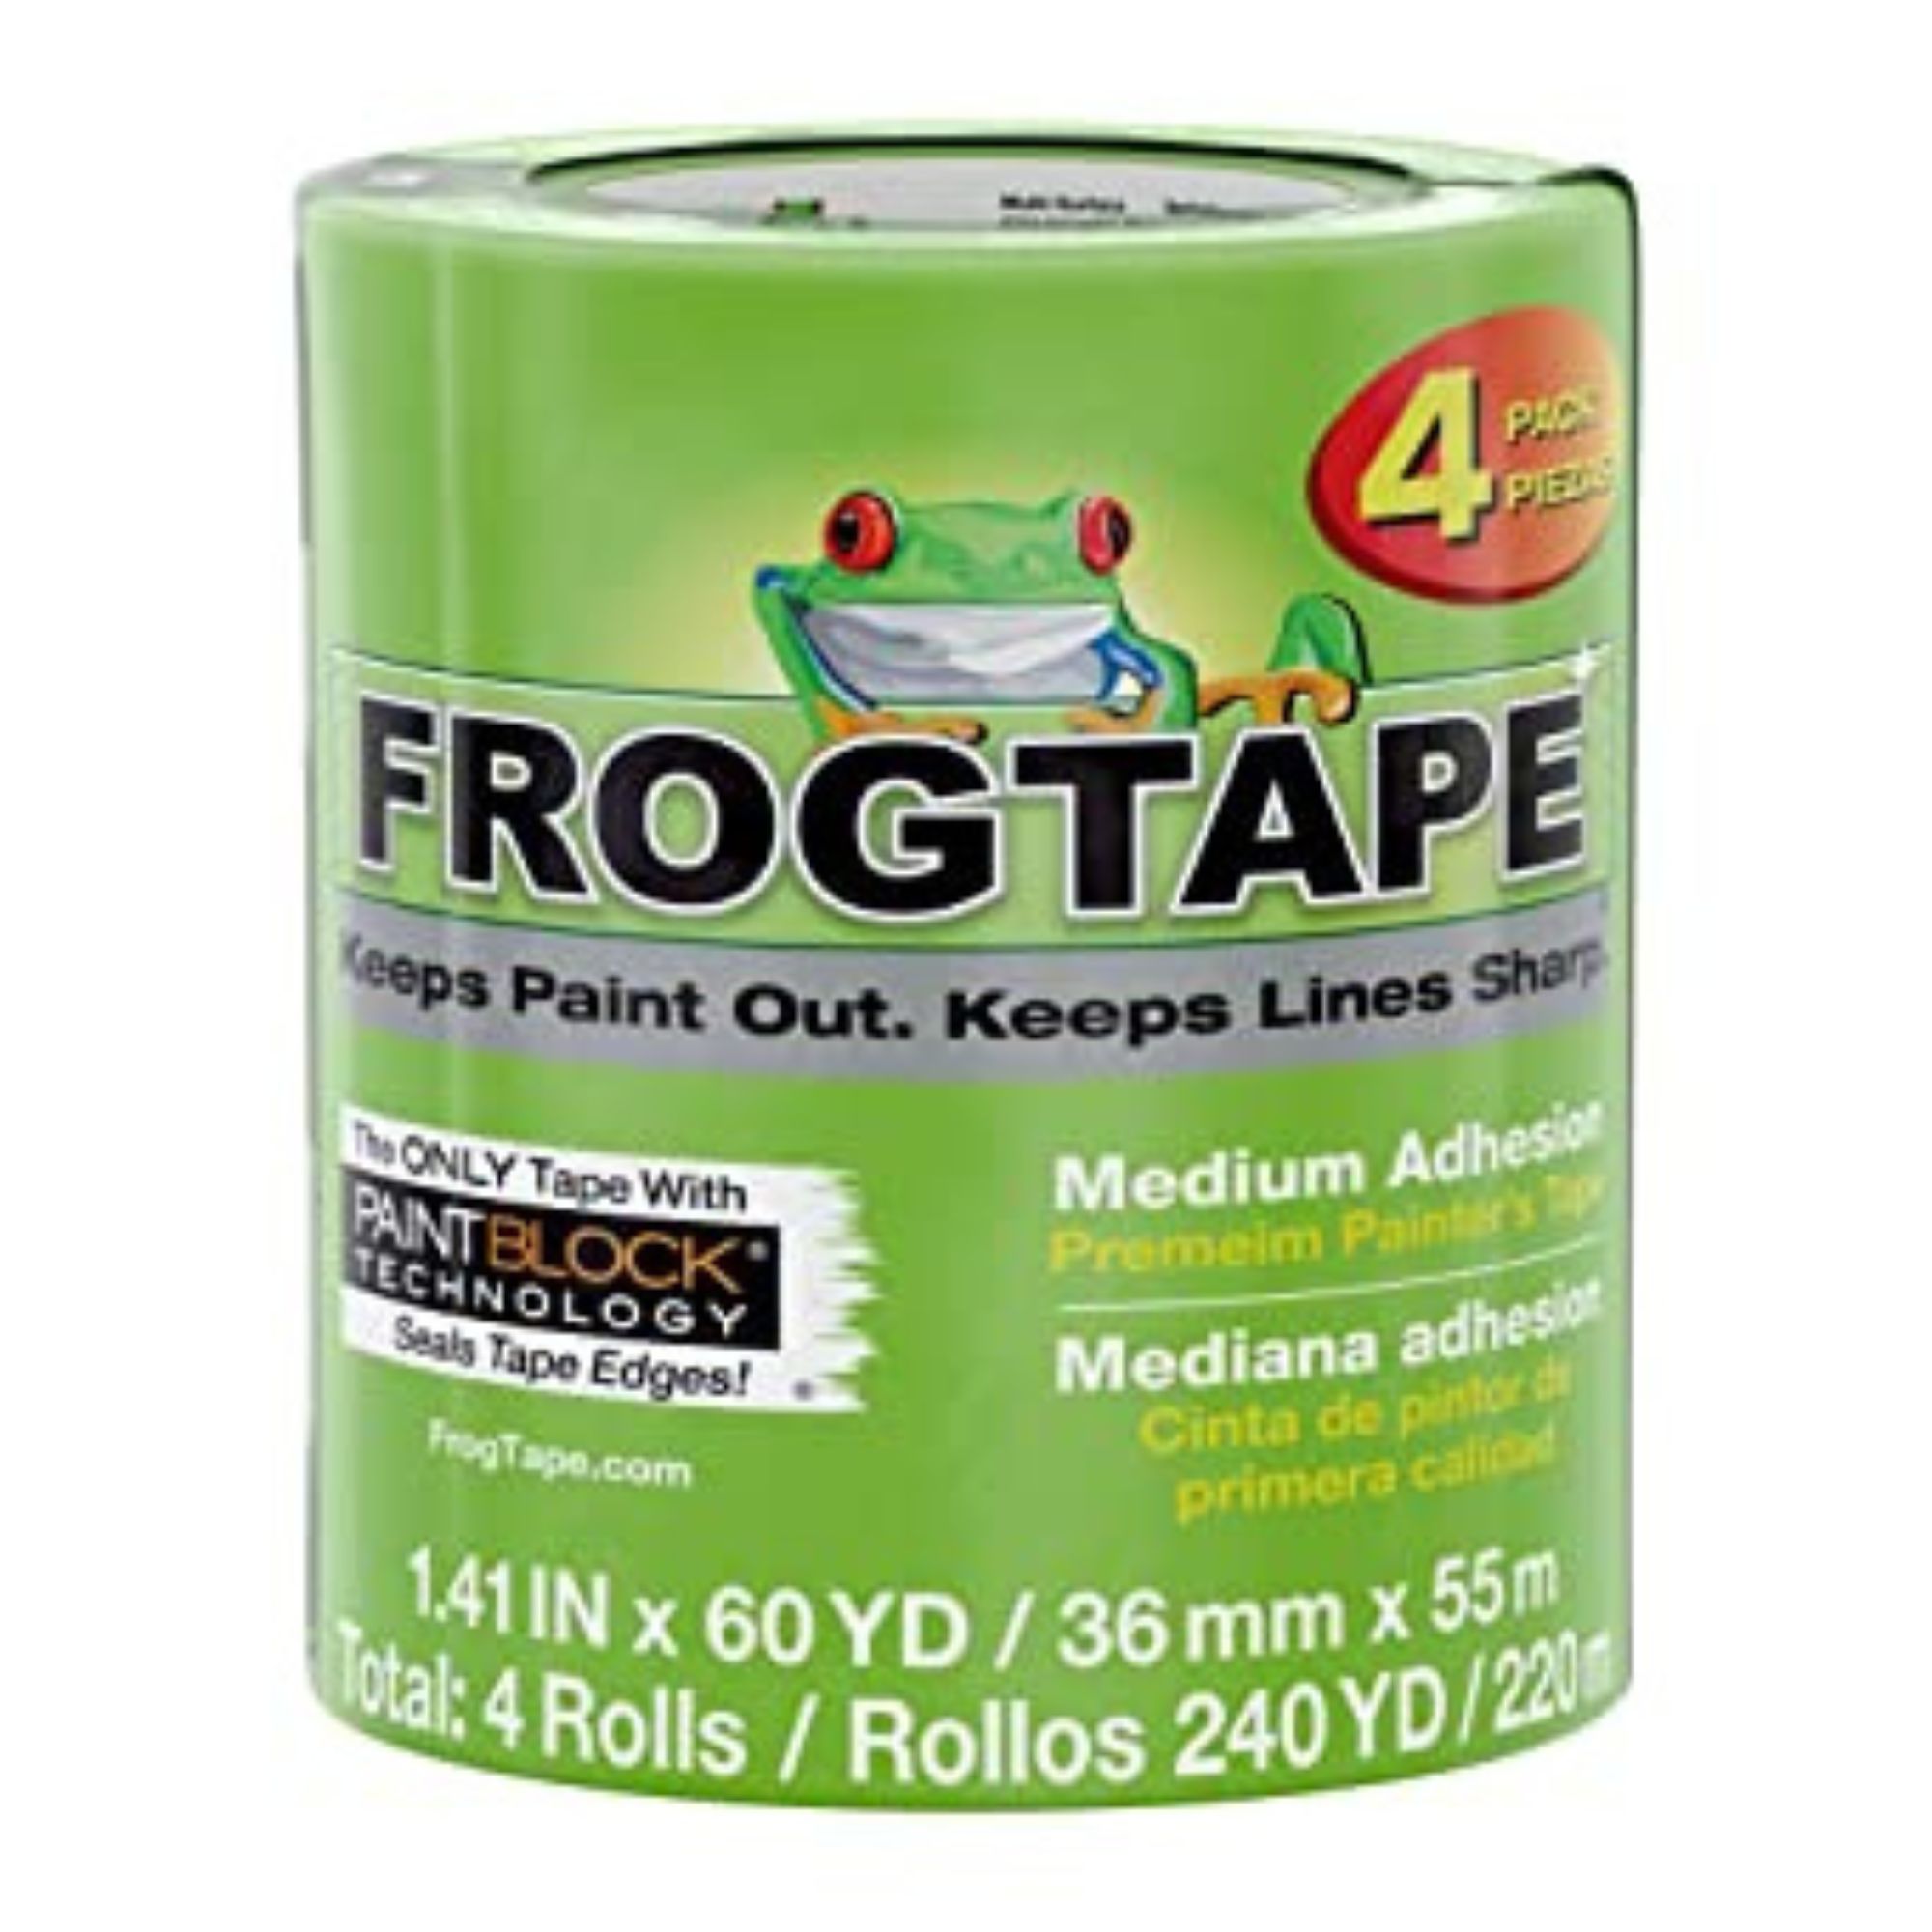
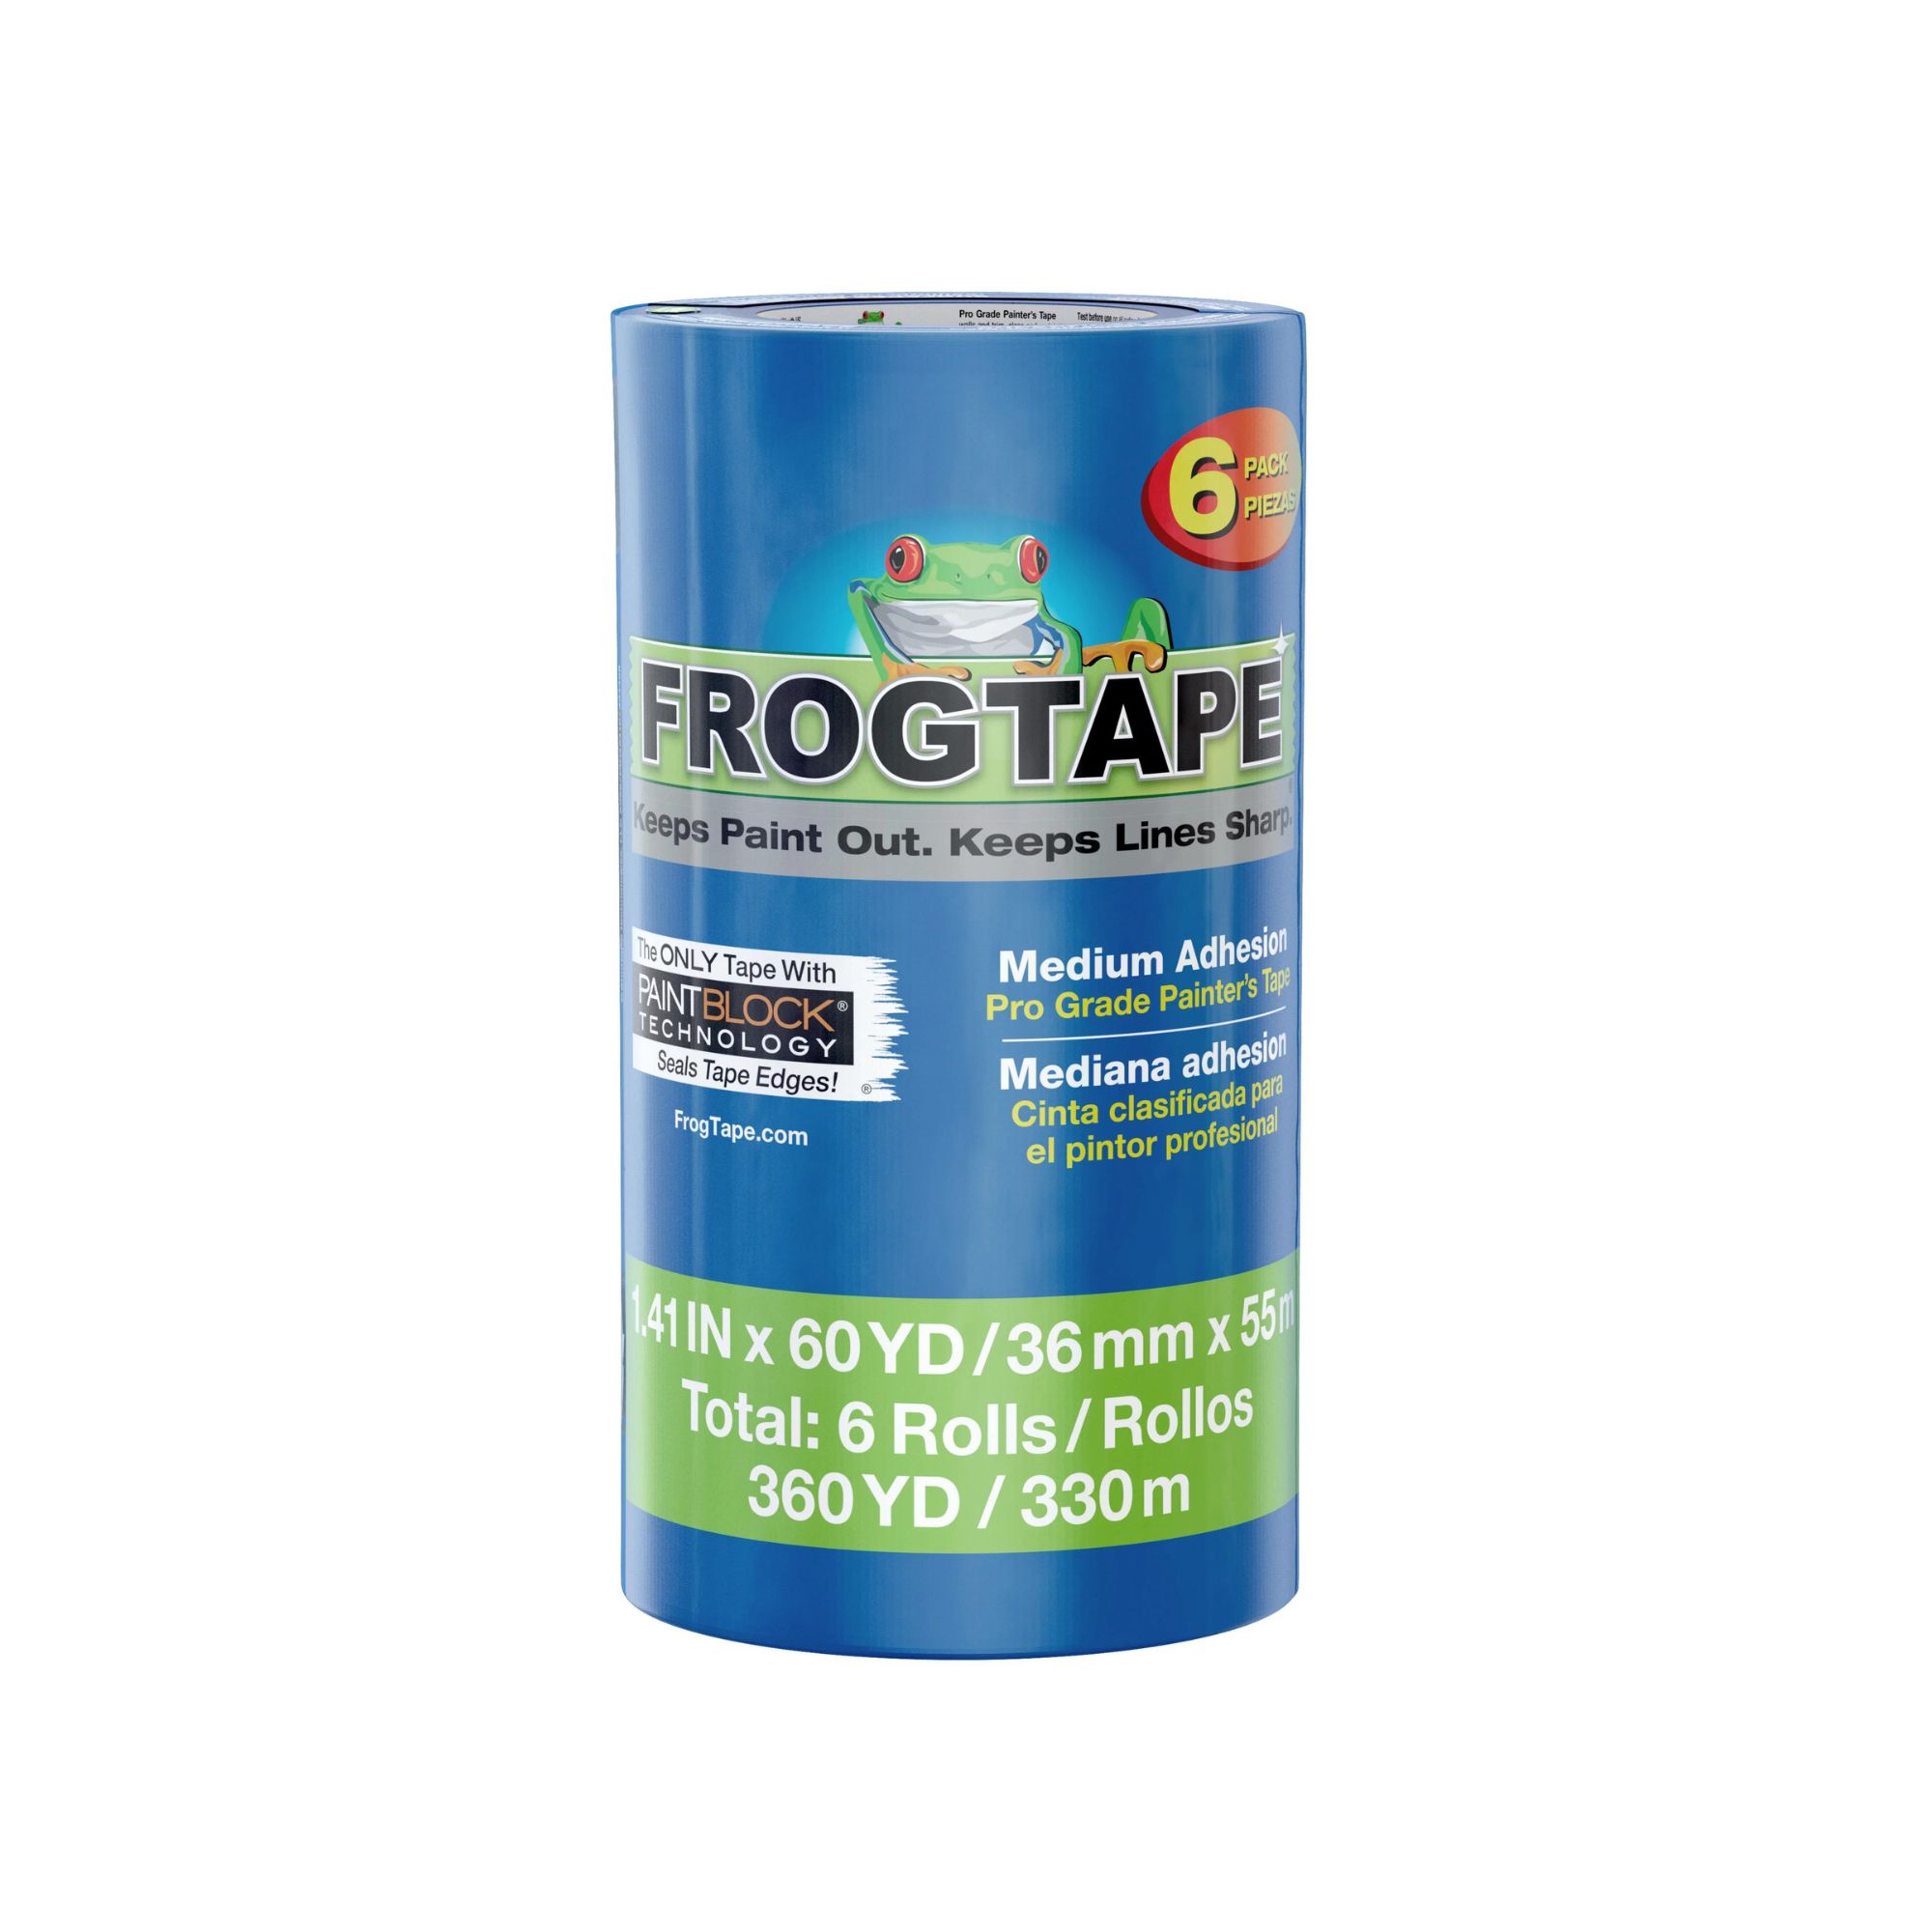
It is essential to use painter's tape in every painting job you complete in your home, whether it be to protect trim, window frames, or door frames. While it might seem fiddly, taking the time to prepare the space will make the clean-up easier and the final job look smoother.
The trick, contractor George Crew says, is to know when to remove painter's tape.
‘Some painters like to remove the tape immediately after painting to avoid the paint drying and peeling paint off when you remove it. (Tip: use a sharp blade box cutter to cut below the tape if you prefer to wait to let it dry). Many painters don’t want to rush and prefer the paint to dry for 24 hours or more,' George says.
If so, use a utility blade and cut below the tape then remove it for a clean finish. When removing the tape pull at a 45 degree angle and upward or downward away from the wall.’
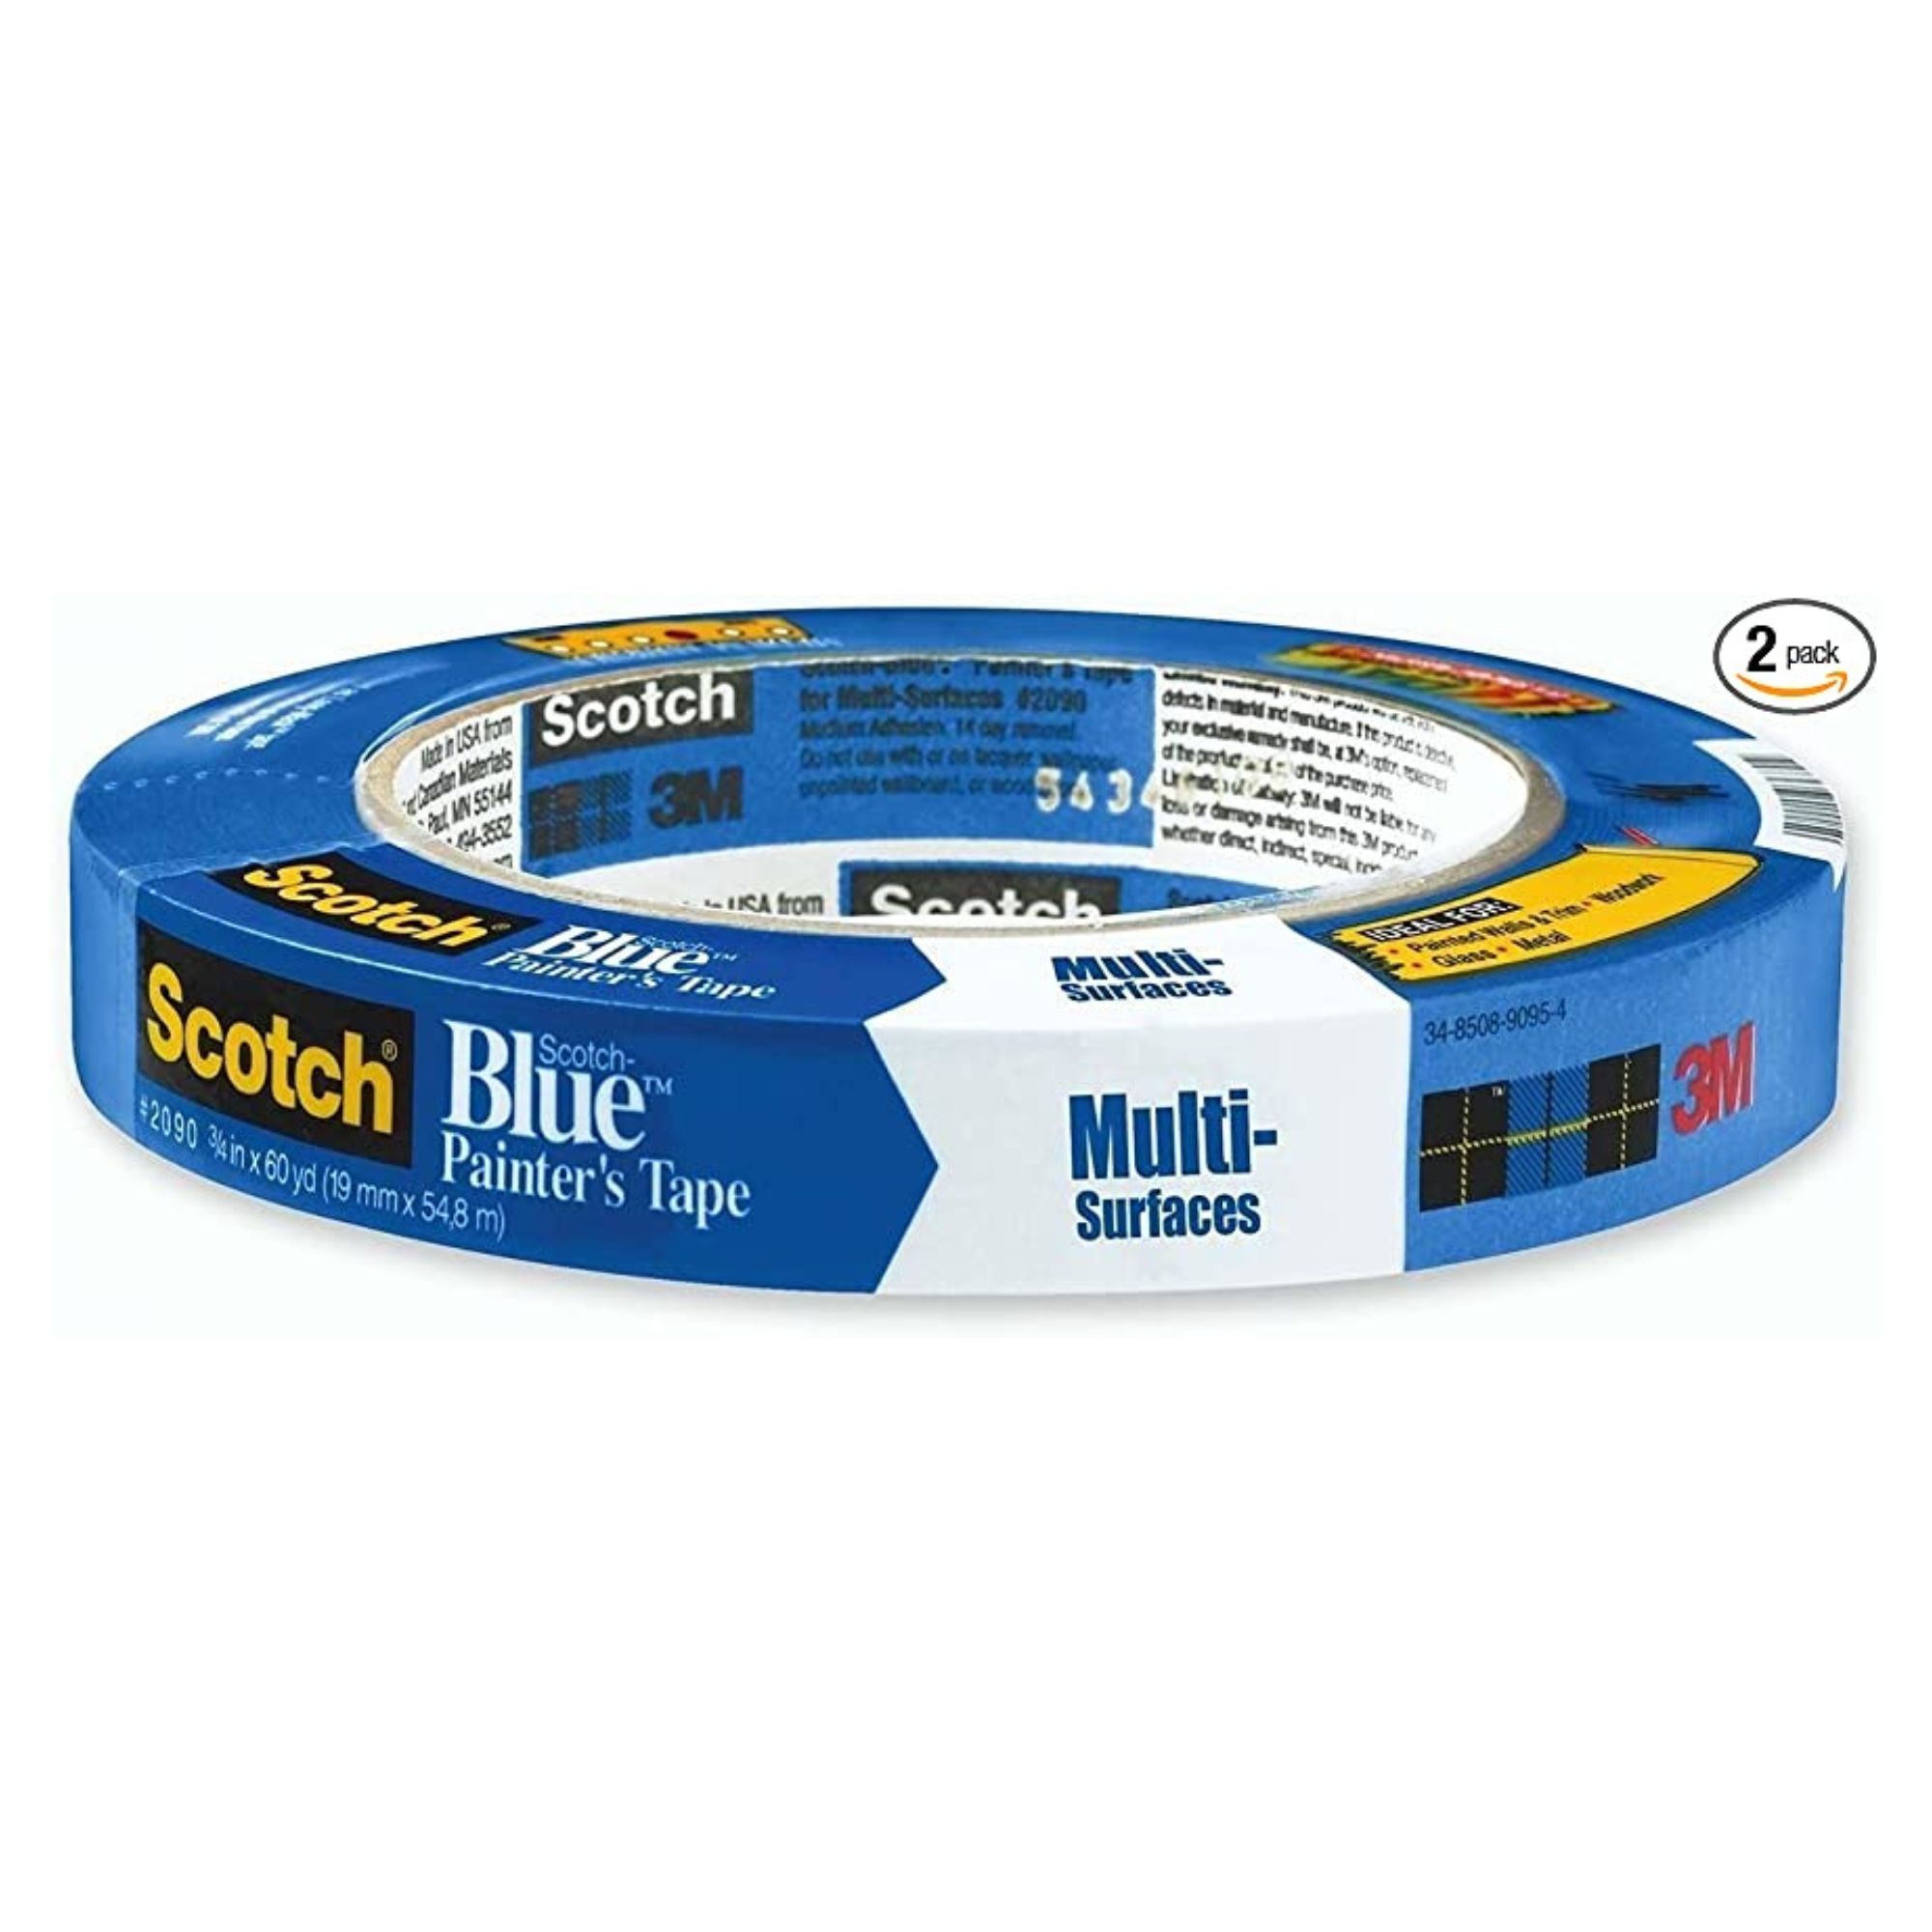
Removes cleanly and easily for up to 14 days without leaving adhesive residue.
8. Use enough paint each time
The simplest paint trick any expert recommends is to use a good amount of paint every time you load up your roller.
‘Not loading enough can cause the wall to look patchy after painting,’ says Alec Willard, a Purdy professional painter. ‘Failing to apply adequate coats of paint to the wall and applying inconsistent pressure while rolling can also lead to patchiness when dry.’
9. Always clean surfaces first
Cleaning walls before painting is essential when you are redecorating, even if you have only just added backing paper to the walls, insists George Crew, licensed contractor.
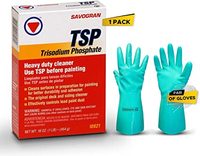
‘Proper preparation is the foundation of your paint job. You must make sure that you do all the proper steps. Cleaning the walls using products such as TSP, available at Amazon, will fully remove dirt and grease where needed.’
TSP Heavy Duty Degreaser | $19.95 at Amazon
TSP is one of the best heavy-duty degreasers on the market, but it needs to be used with caution. Make sure you always wear protective gear such as gloves and long sleeves before applying this to surfaces to prevent irritating your skin.
10. Wrap tools in plastic between painting to prevent having to clean
If you want to avoid cleaning your paint brushes and rollers between coats of paint, then consider wrapping them in a clean plastic bag or plastic wrap to help keep the paint moist and maintained. This way, all you need to do is unwrap the tools and get straight to painting once again.
11. When painting trim, sand between coats
Your walls and ceiling are not the only things that could do with a lick of paint. Painting trim is essential to having a professional-looking space too, says professional contractor George Crew.
‘If you really want to have a professional-looking trim paint job, use a sanding sponge with a fine grit in between adding layers of paint,’ he suggests. ‘This will make the trim look extra smooth for your second coat but use a tack cloth, at Amazon, or vacuum to remove all the dust before painting again. The sponge will get into all the curves and crevices for an ultra-smooth-looking finish.’
You should also always paint the trim before the walls to make this job far easier.
12. Take your time
‘Painting is not a race, so take your time and do it right,’ assures Michael Bashari, a painting expert. While you don't want to spend too long allowing the paint to dry before finishing the job to avoid line marks, ‘rushing through the job can lead to mistakes, such as drips or uneven coats, that can be difficult to fix later,’ Michael says.
Have fun with your painting, and learn as you go.
FAQs
What is the correct order to paint a room?
‘DIY painters need to know to start at the top and work down,’ says George Crew, licensed contractor and owner of Chicago Paint Crew. ‘Usually, ceilings are done first to avoid all the spray or speckles from the roller on the walls or trim.’
From there, you can paint your trim before leaving them to dry, taping them up, and finish with your walls.
Do professional painters always wash walls before painting?
Professional painters always clean down walls before painting them. Walls attract more dust than you realize even though they are vertical surfaces. This dust can then make it difficult for paint to adhere to the wall, or even lead to an uneven, textured finish. What’s more, any grease that is left on the walls before painting can prevent paint from sticking, leading to peeling or patches. Professionals will even dust down backing paper before painting too, even when it is freshly applied.
These interior painting tips are perfect for realizing paint ideas anywhere in your home. Before you start, make sure you open windows and doors and use a fan to keep the space well-ventilated, as this will make the room a much more pleasant environment to work in.
Sign up to the Homes & Gardens newsletter
Design expertise in your inbox – from inspiring decorating ideas and beautiful celebrity homes to practical gardening advice and shopping round-ups.

Chiana has been at Homes & Gardens for two years and is our resident 'queen' of non-toxic living. She spends most of her time producing content for the Solved section of the website, helping readers get the most out of their homes through clever decluttering, cleaning, and tidying tips. She was named one of Fixr's top home improvement journalists in 2024.
-
 Ina Garten's storage pantry is an insightful window into all of the best cookware used by the chef – and it's easy to recreate on your kitchen shelves from $48
The beautiful dishware in The Barefoot Contessa's Hamptons pantry showcases the tools she uses most often to cook – this is exactly how you replicate it
By Sophie Edwards Published
-
 Extend the lifespan of your appliance with 5 simple but crucial washing machine maintenance tips
From cleaning the filters to keeping the door open, experts reveal the washer tips they swear by
By Andy van Terheyden Published
-
 7 dorm room organizing rules for less clutter and more space
Experts offer their top tips for creating a well-organized dorm room, no matter the size, space, or layout.
By Ashley Chalmers Published
-
 How to maximize storage in a small or shared dorm room, according to pro organizers
Find out all the hidden storage zones you might never have noticed
By Ashley Chalmers Published
