How to refinish wood furniture – 4 steps for a dramatic but easy refresh
Refinishing may sound like a job for professionals, but it is super simple (and affordable) to do yourself


While wood furniture may be timeless, the varnish is not. As a result, it can fade and mark over years of use. The good news is that it is relatively easy to refinish wood to breathe new life into your timeworn furniture.
Refinishing wood is essential to restoring wood furniture, especially antique pieces that need a little more than a quick pick-me-up to be functional again.
Here, professionals have explained how you can refinish wood furniture at home in only four steps.
How to refinish wood furniture
Rather than painting wood furniture or painting over stained wood to give it a new look, revarnishing is the perfect way to maintain the classic look without the stains and aged appearance that can leave it looking shabby. These four steps are quick, easy, and satisfying to do.

1. Clean the surface with a mild detergent
Cleaning is the essential first step to any home DIY project, and is needed to get rid of any dust, grime, or leftover polishing wax, says Jaxon Smith, renovation expert and owner of home reno blog Architecture Ideas.
‘I recommend using a mild wood cleaner or a mixture of warm water and dish soap, such as Dawn, available at Walmart,' he says. 'Try to avoid overwetting the wood by gently cleaning the surfaces with a soft cloth or sponge.’
2. Lightly sand the piece, and remove any dust
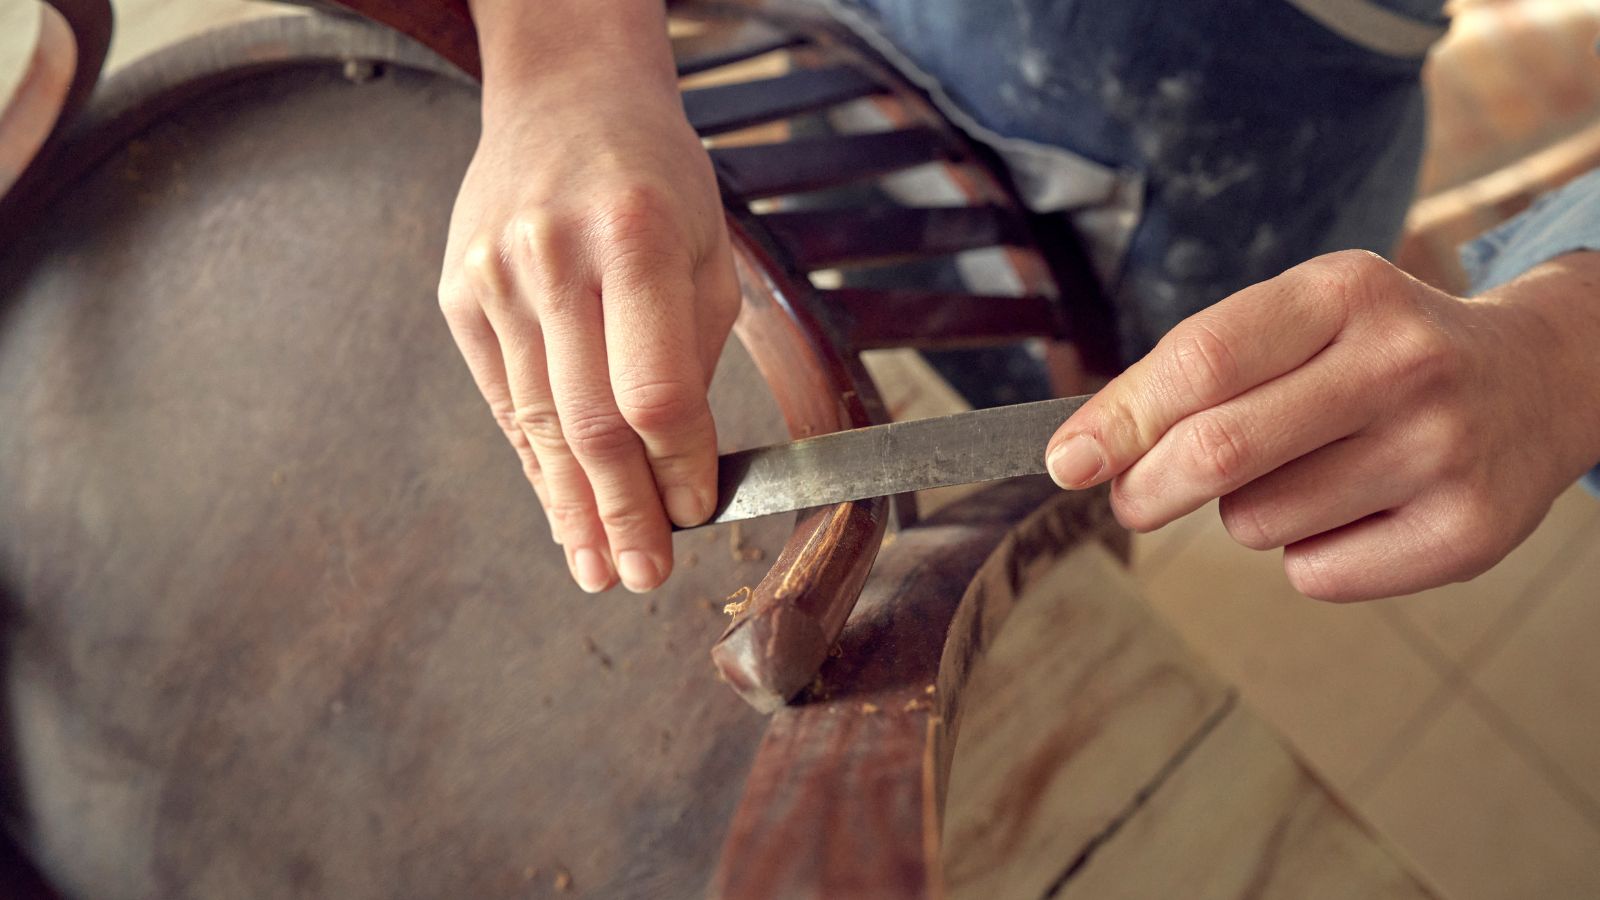
Sanding can be time-consuming, but it is important to remove any old wax and varnish that could affect the final color of the new stain.
Design expertise in your inbox – from inspiring decorating ideas and beautiful celebrity homes to practical gardening advice and shopping round-ups.
The quickest way to do this is to use an electric sander or a sanding block with coarse-grit sandpaper (60 to 80 grit) to remove the old finish, says Goodell David, woodworker and founder of Woodworking Clarity. ‘Sand in the direction of the wood grain and avoid pressing too hard or going over the same spot too many times to keep the wood even,’ he adds.
‘After sanding, use a vacuum cleaner or a tack cloth to remove the dust from the sanding. Wipe the surface with a damp cloth and let it dry. You may need to use finer-grit sandpaper (120 to 180 grit) to smooth out any rough spots and scratches. Repeat the dusting and wiping process.
Use an even finer-grit sandpaper (220 to 320 grit) to polish the surface and make it ready for staining or painting.’
If the wood furniture had previously been painted, you may need to strip paint from the wood using a liquid stripper too, to reveal the wood surface below for the new stain to sink into.
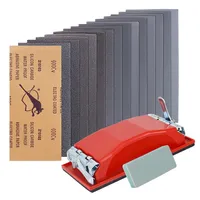
Wet and Dry Sandpaper Set, 120-3000 Grit | $14.68 at Amazon
This handy sandpaper set comes with a range of grits suitable for any project, and a holder, making it easier to sand down surfaces without catching your skin.

Goodell started wood working as a hobby, but has slowly transitioned it into a career, teaching others how to wood work at home to keep their homes in shape and create beautiful decor pieces.
3. Apply the new finish and allow it to dry
The best way to stain wood is to start with a wood conditioner to ensure the new stain soaks into the wood evenly.
For revarnishing, you should then choose a high-quality varnish or polyurethane that is suitable for furniture in your desired finish, such as satin, semi-gloss, or high-gloss, based on your preference, recommends Jacky Chou, designer, and principal at Archute.
‘Apply thin, even coats of varnish using a high-quality brush or a clean lint-free cloth following the wood grain. Allow each coat to dry completely before lightly sanding with fine-grit sandpaper (around 320-400 grit) and applying subsequent coats. Aim for at least two to three coats for durability.
‘To prevent drips and bubbles in the varnish, ensure you apply thin coats and avoid overloading the tool. Start with a small area and work your way across the furniture, maintaining a wet edge while avoiding excessive strokes.
‘Take your time to allow the varnish to self-level and settle. If bubbles appear, lightly brush over them with a dry brush or use a foam brush to smooth them out.’
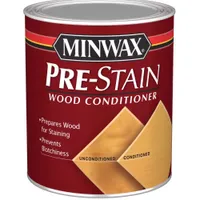
Minwax Pre-Stain Conditioner | Was $14.25, Now $7.98 at Walmart
Minwax Pre-Stain Wood Conditioner comes recommended by experts and penetrates the grain of the wood to promote even coverage of any oil-based wood stain – better yet, it dries in as little as 15 minutes.
4. Finish with a protective wax coat for added durability and luster
While this final step is optional, waxing is the best way to finish refinishing wood furniture for a nice shine and to protect the new varnish from water stains and scratches.
The trick is to pick the right wax for your varnish and wood type to achieve your desired look while also offering protection. You can use ‘paste wax, liquid wax, beeswax, or carnauba wax, depending on your preference,’ advises Goodell David, woodworker.
‘Paste wax is more durable and resistant to water and stains, but it takes more effort to apply and buff. Liquid wax is easier to apply and buff, but it may not last as long or protect as well. Regardless, you can apply a thin layer of wax on the surface with a clean cloth or brush working in small sections and rub in circular motions until you cover the entire piece. Let the wax dry for about 15 minutes or until it becomes hazy.
‘Buff the wax with another clean cloth or brush until you achieve your desired shine. You can use more pressure for more gloss or less pressure for more matte. Apply another layer of wax if you want more protection or shine. Repeat the drying and buffing process until you are satisfied with your result.’
FAQs
Is it better to sand or strip wood furniture?
Whether or not your sand or strip wood furniture before refinishing will depend on the old coating. Wood furniture that has been painted, or has a thick wax coat may need stripping to provide a good surface for the new finish to stick to, while varnished furniture can get away with light sanding instead.
Do you have to sand furniture before restaining?
While there are plenty of projects where you can skip sanding, restaining or varnishing wood is not one of them. Sanding will remove the old color so that it does not blend with the new varnish, as well as preparing the surface of the wood to soak up the new stain, preventing it from pooling or absorbing unevenly and leaving patches.
Once you have refinished your wood furniture and added a protective wax it is important to continue to look after your refinished wood by using coasters when placing down drinks, avoiding scraping the furniture along the floor or knocking its legs when moving, and using the right cleaners, such as a wood polish spray, to avoid wearing down the wax or varnish and keep it looking its best for longer.

Chiana has been at Homes & Gardens for two years and is our resident 'queen' of non-toxic living. She spends most of her time producing content for the Solved section of the website, helping readers get the most out of their homes through clever decluttering, cleaning, and tidying tips. She was named one of Fixr's top home improvement journalists in 2024.

