How to paint wood furniture – an expert guide for the perfect finish
Learn how to paint wood furniture for a flawless finish to update any piece
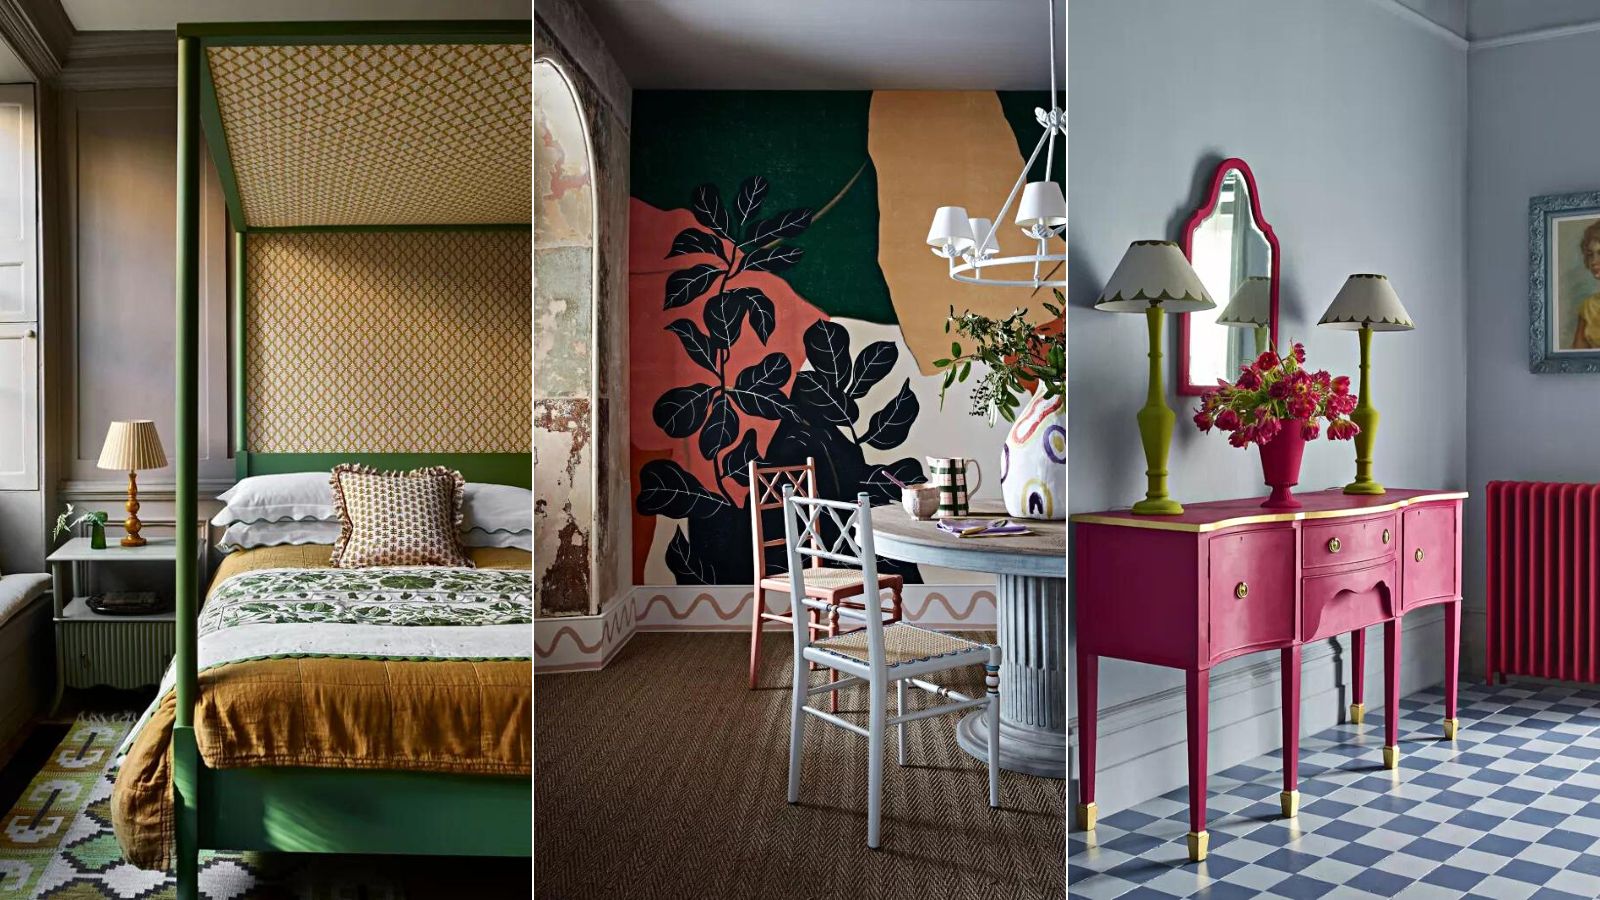

Knowing how to paint wooden furniture is a useful skill that can help to breathe new life into old furniture. Whether you want to refresh a family heirloom, change your home's scheme for less, or want to reinvigorate a second-hand piece, painting wooden furniture is easy.
Painted furniture ideas are endless, however, the process is a lot different from painting wood trims around your home. Preparation is key to ensuring a lasting, flawless finish so patience and a steady hand are required when tackling a furniture project. If the process is rushed, you risk marring the piece – something you will hope you avoid.
Here, we have spoken to experts to learn their top tips for painting wooden furniture, from picking the right piece through to finishing a project, so that you can achieve the best finish every time.
How to paint wood furniture
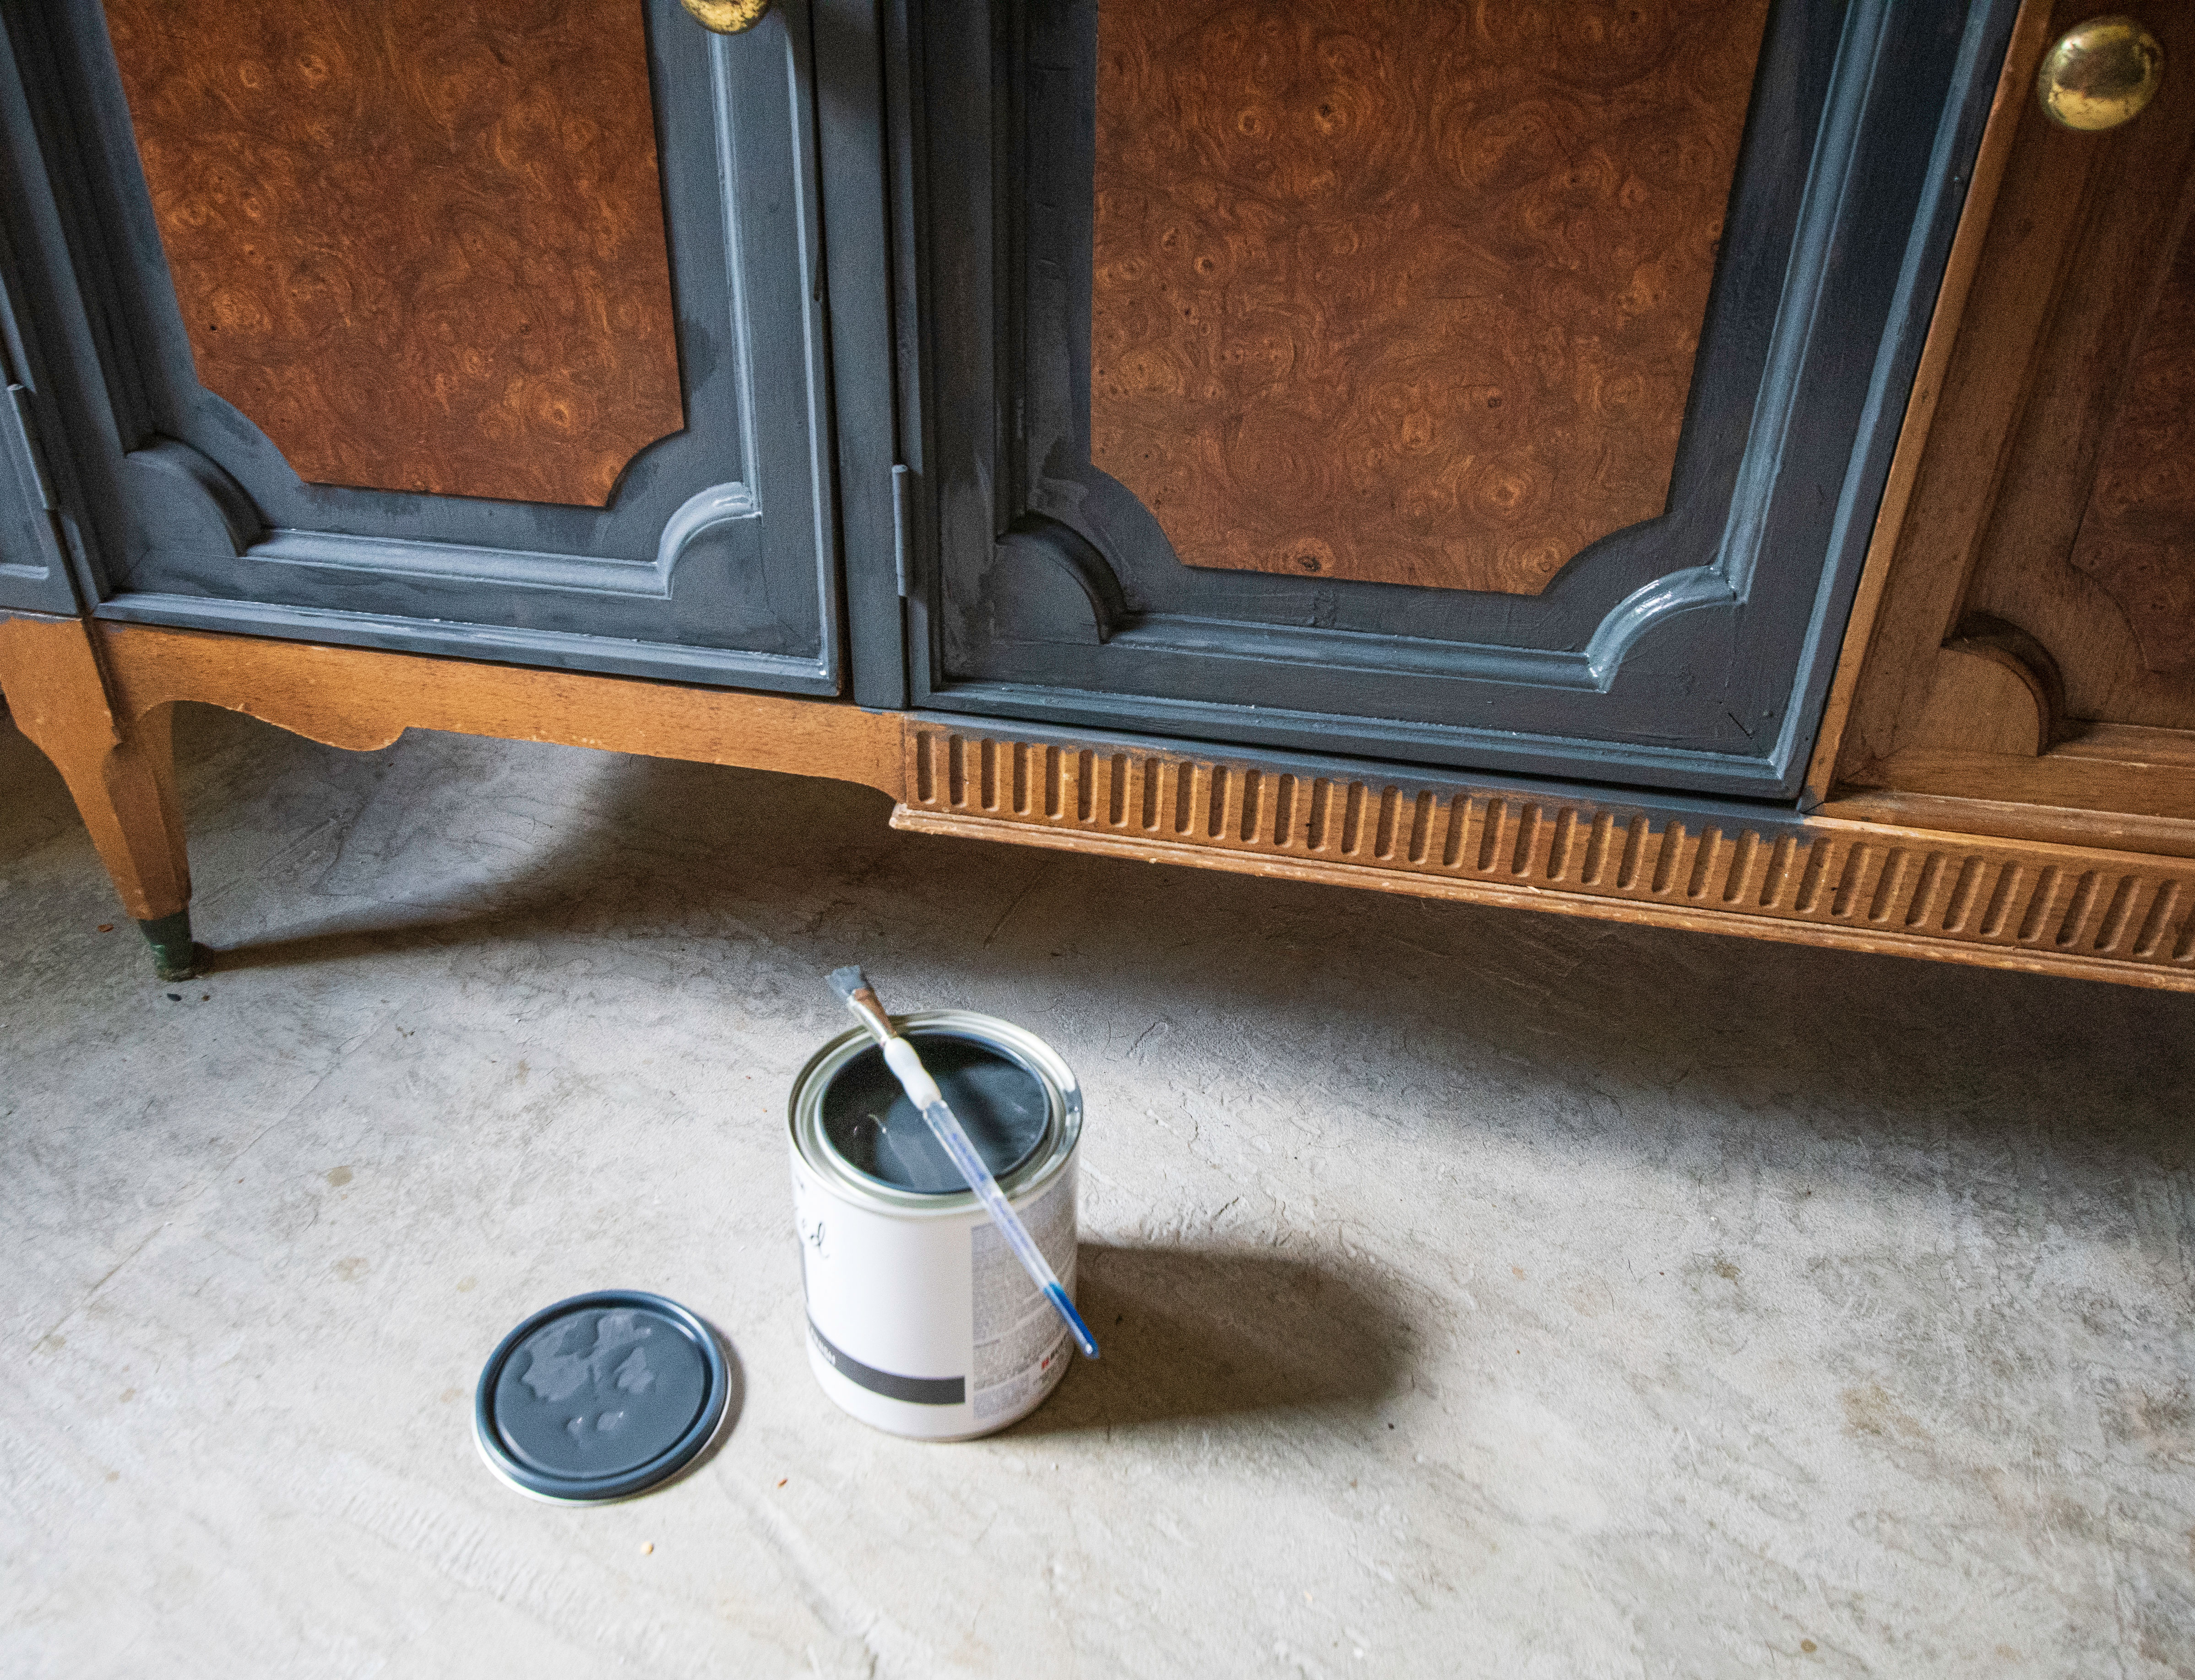
Gone are the days of hastily assembled flatpack and cookie-cutter interiors. Today, interior design is all about personality and character. Antique and vintage stores are a treasure trove of beautiful pieces of furniture that you won't find anywhere else. However, these vintage gems often need a little TLC to bring them up to scratch or sometimes need a change of color to suit your look.
'Colorful furniture has made a huge resurgence over the last few years, but it has been hard to find exciting colored cabinetry outside of the bespoke sector,' says Claire Hornby, head of creative at Barker and Stonehouse. Learning how to paint wood furniture gives you the opportunity to create a piece full of color and character that perfectly complements your interior scheme.
That’s where the painted furniture revolution comes to the fore. Learning how to paint wood furniture can transform a boring brown dresser that's otherwise destined for landfill into the hero of your sustainable kitchen ideas.
In addition to creating characterful pieces for your home, learning how to paint wooden furniture will also save you money as lots of these antiques sell for a song, and also know that you’re doing your bit for the planet, repurposing rather than buying new.
1. Prepare your space
As with any painting project such as how to paint a wall or how to paint a door, you need to ensure you ventilate the area. For painted furniture projects this is easier, as the piece can often be moved outside into the open air or into a shed or garage. If the furniture cannot be moved outside, open up windows and internal doors to allow for a through-draft to help clear the air in your home.
When painting wooden furniture, make sure you lay out a dust sheet to catch any dripping paint. This is especially important if you are painting inside or on outside deck ideas.
2. Prepare your furniture
Remove any hardware, doors, and drawers and dismantle any sections of the furniture that is easily removable to allow for even coverage across the entire piece.
Sanding is key before any repainting project, particularly when painting over stained wood. ‘It is always important to prepare the surface as outlined on the tin, even if previously painted,’ adds Hanna Ellis. If a piece has previously been painted, sand with coarse sandpaper to remove the previous color and leave an even surface, and vacuum or wipe away any dust. Wash unpainted furniture with sugar soap (available on Amazon) and then lightly sand. Wipe with methylated spirits to remove any dust or grease.
If you are looking to repaint a painted or glossed piece of furniture, it is important to remove this layer first. To achieve this sand the surfaces with coarse sandpaper, (between 60 and 80 grit). If your piece has intricate carving and detailing, treat it with a stripper to remove paint and gloss. If you're unsure of where to start then be sure to find out how to strip paint from wood.
For an unpainted piece, 'start with a good scrub with sugar soap to remove dirt, grease, old polish/wax or nicotine, rinse thoroughly and allow to dry,’ says Hanna Ellis of Frenchic Paints. Then follow by sanding with a light sandpaper (between 180 and 220 grit) to create a key to help the paint to adhere. Once having sanded your piece, wiped the surface with methylated spirits to remove any grease or dust. Then leave to dry for a few moments before painting.
3. Prime wooden furniture
Knowing how to open a paint can is also essential – yes, there is a right way to do it. While you often only have to prime certain surfaces, adding a coat or two of suitable prime to any project will allow for a more even layer of paint. Prime your furniture and allow it to dry for the recommended time as stipulated in the tin. Drying time is key to ensuring that your finished piece isn't streaky or patchy.
4. Start painting
Once your primer has dried or if your paint includes a primer then you can start painting. Opt for a round brush and apply your first coat of paint, ensuring all details are painted thoroughly. You may need to change to a smaller, finer brush if your furniture as particularly intricate details that a larger brush cannot reach. Then allow to dry for the recommended time.
5. Apply a second coat
When this is dry then apply your second coat. If using milk paint, brush along the direction of the grain, while chalk and mineral paint looks best if painted in different directions.
6. Finish the piece
Finishes are key if you don’t want all your hard work to go to waste. Some paints, especially milk paints, are self-sealing meaning that after a few days of curing it will be incredibly durable. However, other paints such as chalk paints will need a wax or lacquer to prevent them from being marked or scuffed.
'Water could damage chalk paint if left unprotected. Opt for a specific chalk paint wax to protect your furniture while also giving a beautiful mellow sheen,' says Annie Sloan. 'Alternatively, you can use matt or gloss chalk paint lacquer. Matt will give a slightly clouded finish whereas gloss chalk paint lacquer will give a high-end sheen.'
Finding wood furniture to paint
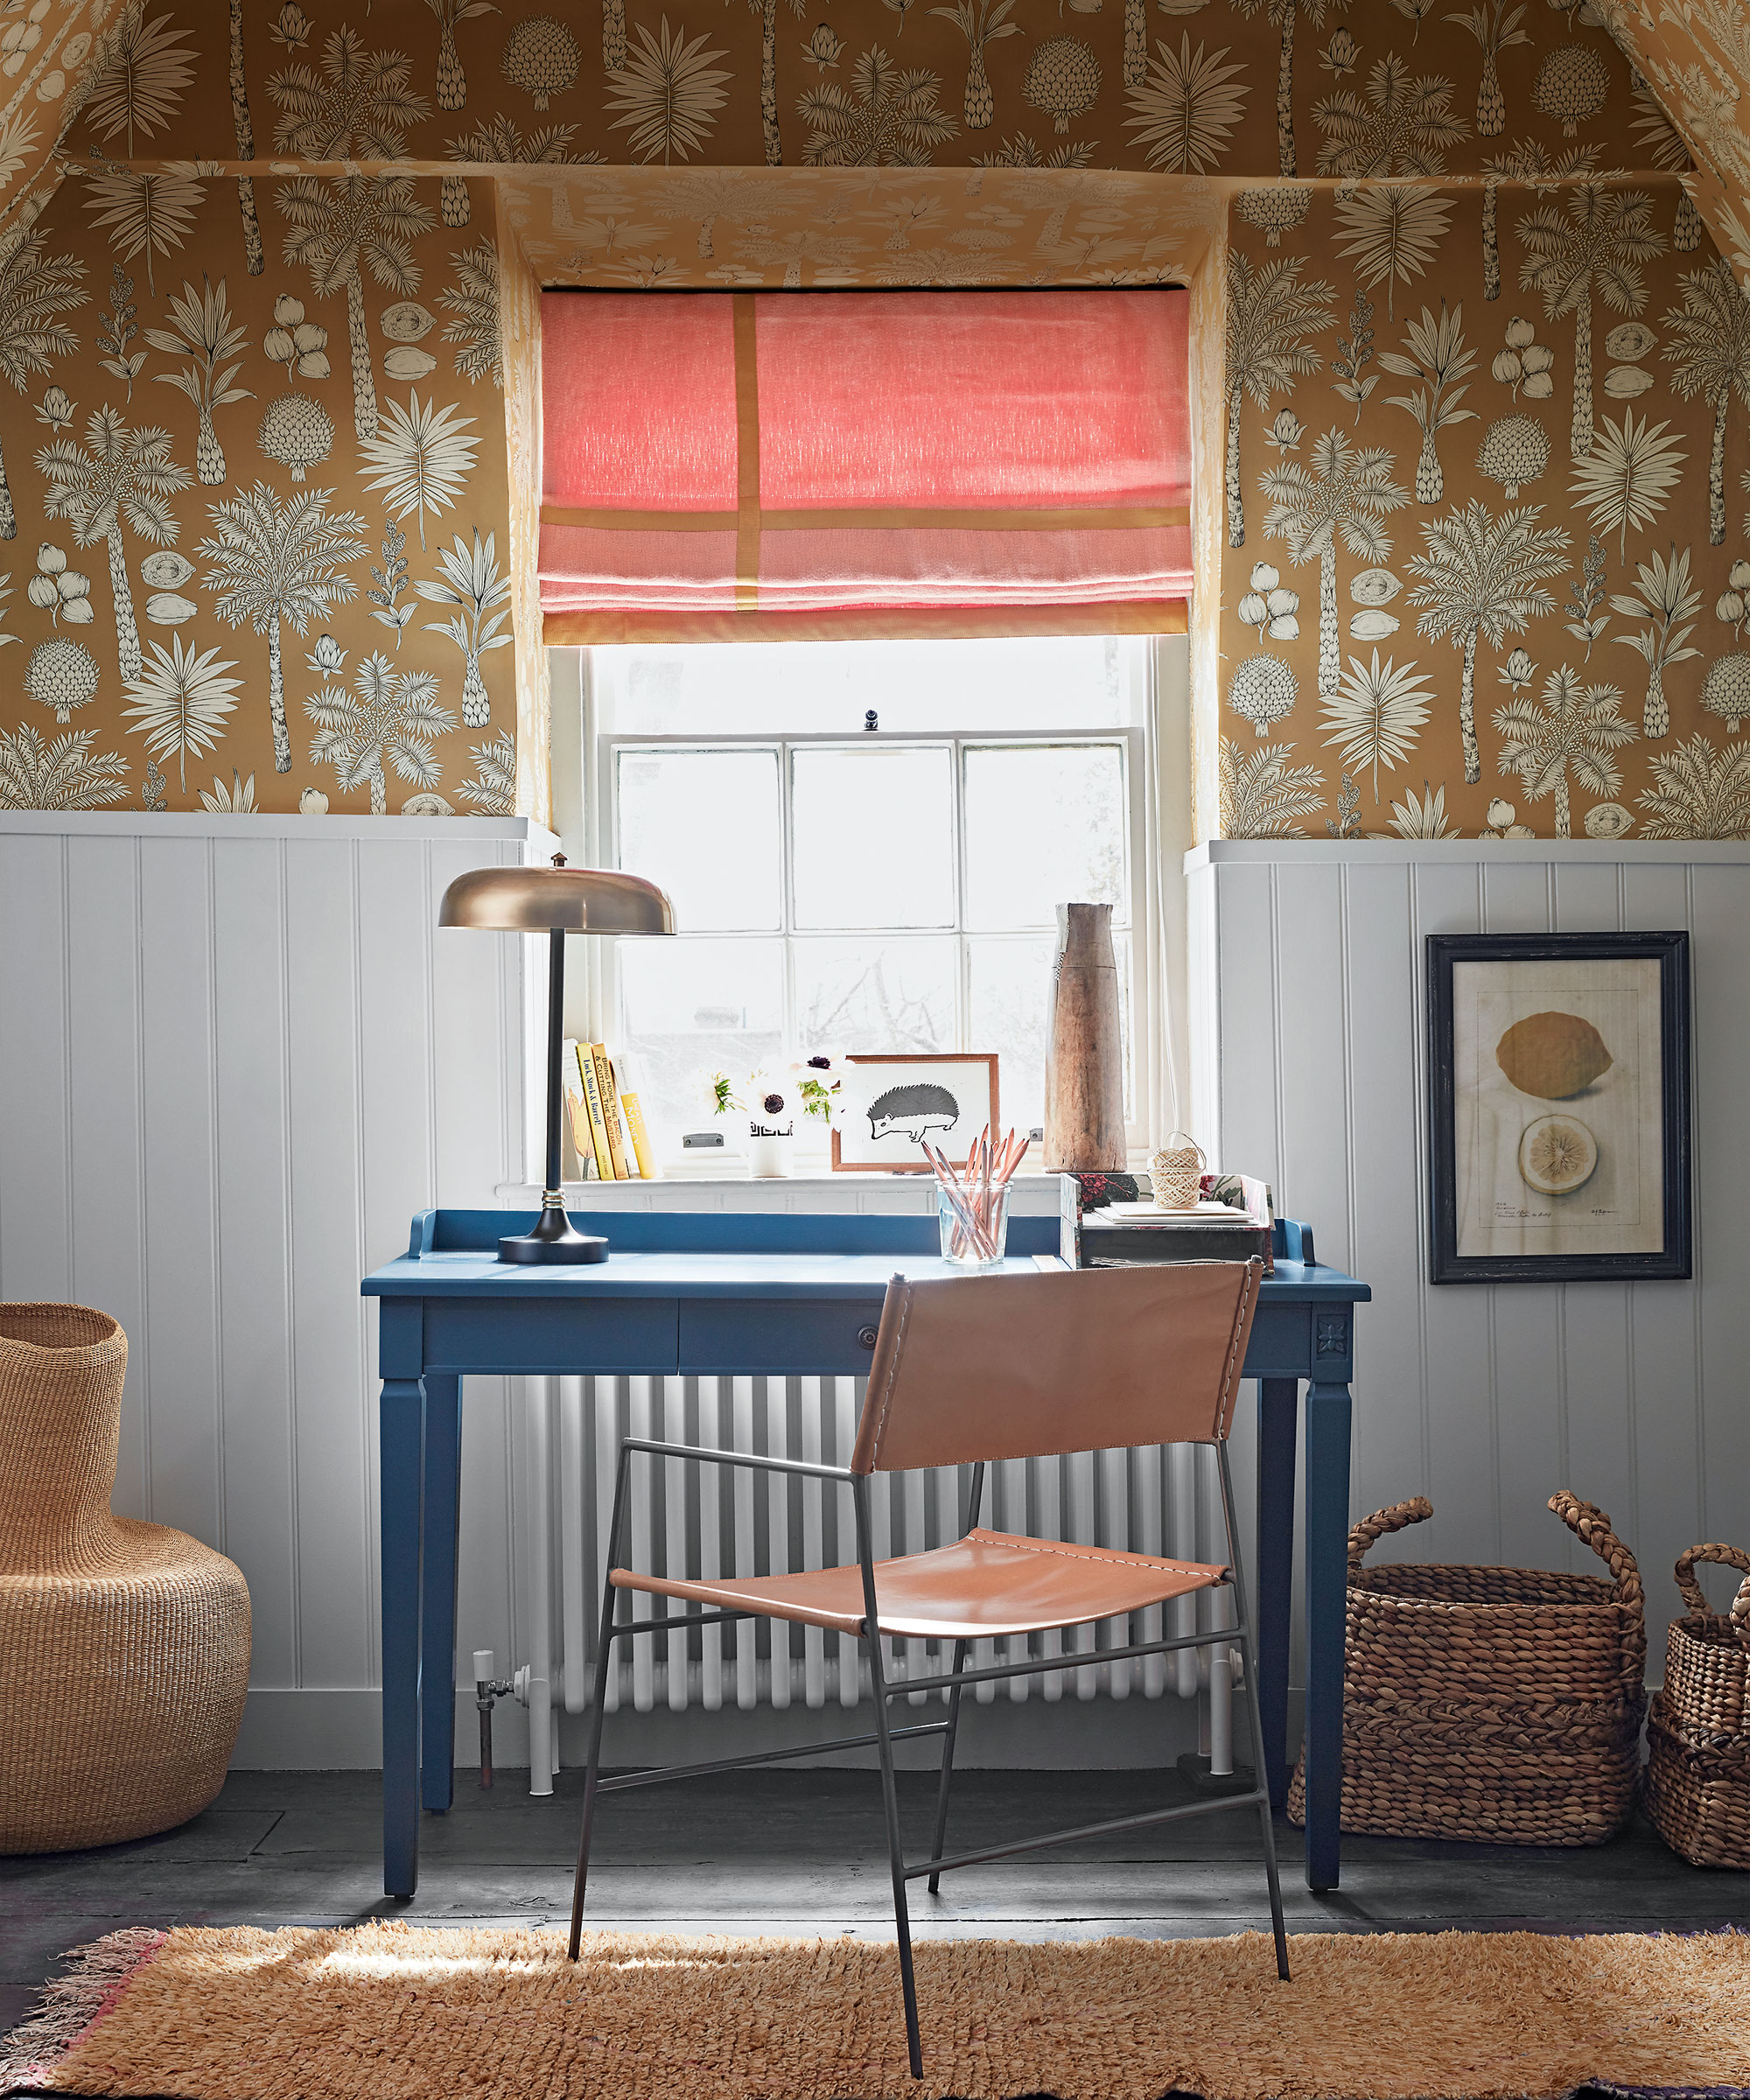
The secret to finding a good piece of wood furniture to paint is to look for good bones. Look past ironmongery, colors and any scratches and instead look at the piece's silhouette. Ensure that it is well made, look for solid wood and dovetail joints. Check all mechanisms are working well and that the piece stands strongly and doesn’t rock or wobble.
'I hate the thought of well-built, carefully crafted furniture going to landfill. And while from an aesthetic point of view they might have seen better days, there is still plenty of life left in these old pieces,' says Claire Manton, founder of Claire's CraftHouse. 'With the interiors market looking to become more sustainable, upcycling is a great way to reuse pre-loved pieces, while unleashing your own creativity.'
Choosing the right brush for painting wood furniture
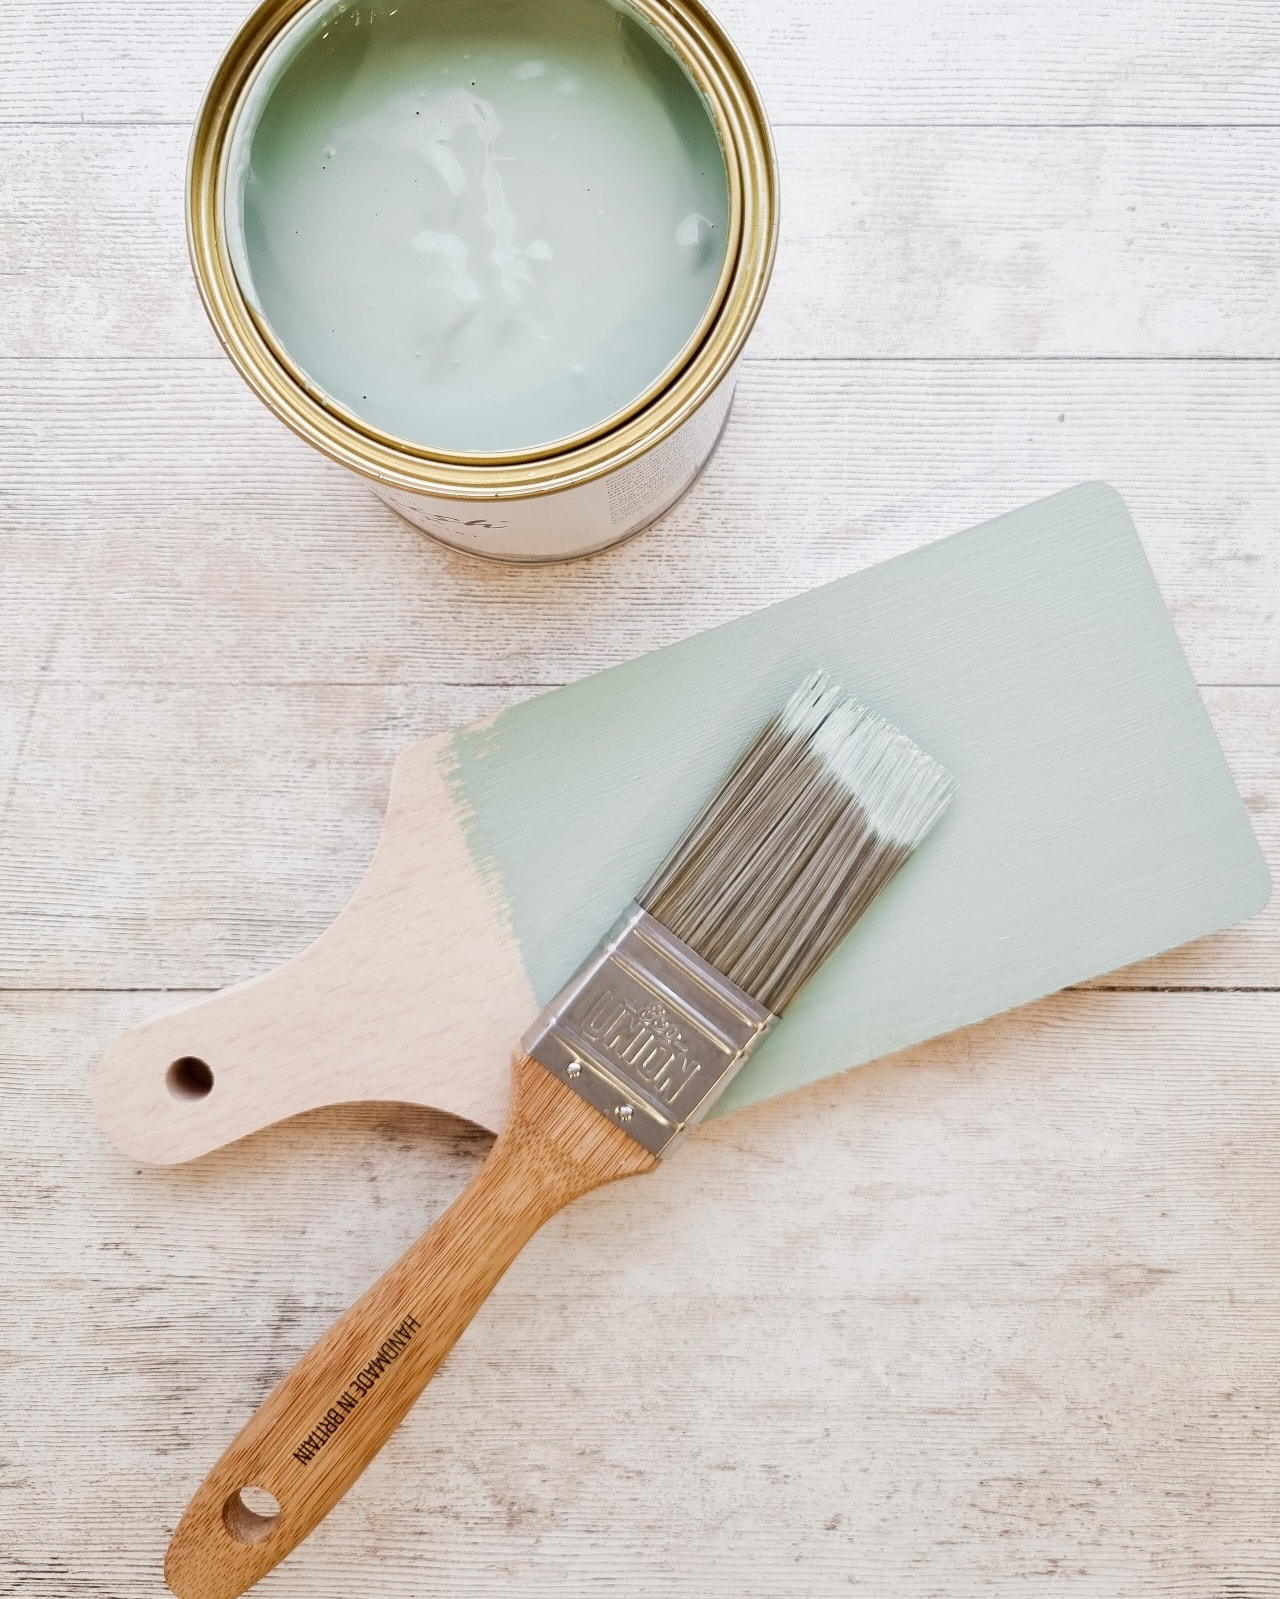
An often overlooked element, the right brush can make or break your project. When starting to research how to paint wood furniture, brushes are a key consideration.
‘There are different schools of thought on brushes, and it really depends on the type of paint you are using. For milk paint, which is water based and quite thin, synthetic bristles or a blend is better as they absorb less water meaning more paint ends up on the surface being painted, and stops the paint drying out too much on the brush. A slanted synthetic brush will give a great finish with milk paint or any thin water based paint,' says Carolyn Moore, owner of Old Fashioned Milk Paint.
'However, some of the thicker mineral/chalk paints will work better with a thicker natural bristle brush, even a round brush often used for waxing, as they hold more paint, meaning fewer dips in the paint and therefore fewer brush marks. If you are planning a lot of painting, look for a good quality brush – the best you can afford, to avoid annoying bristle shedding and ensure they stay in shape following repeated uses.'
The best paint to use on wood furniture
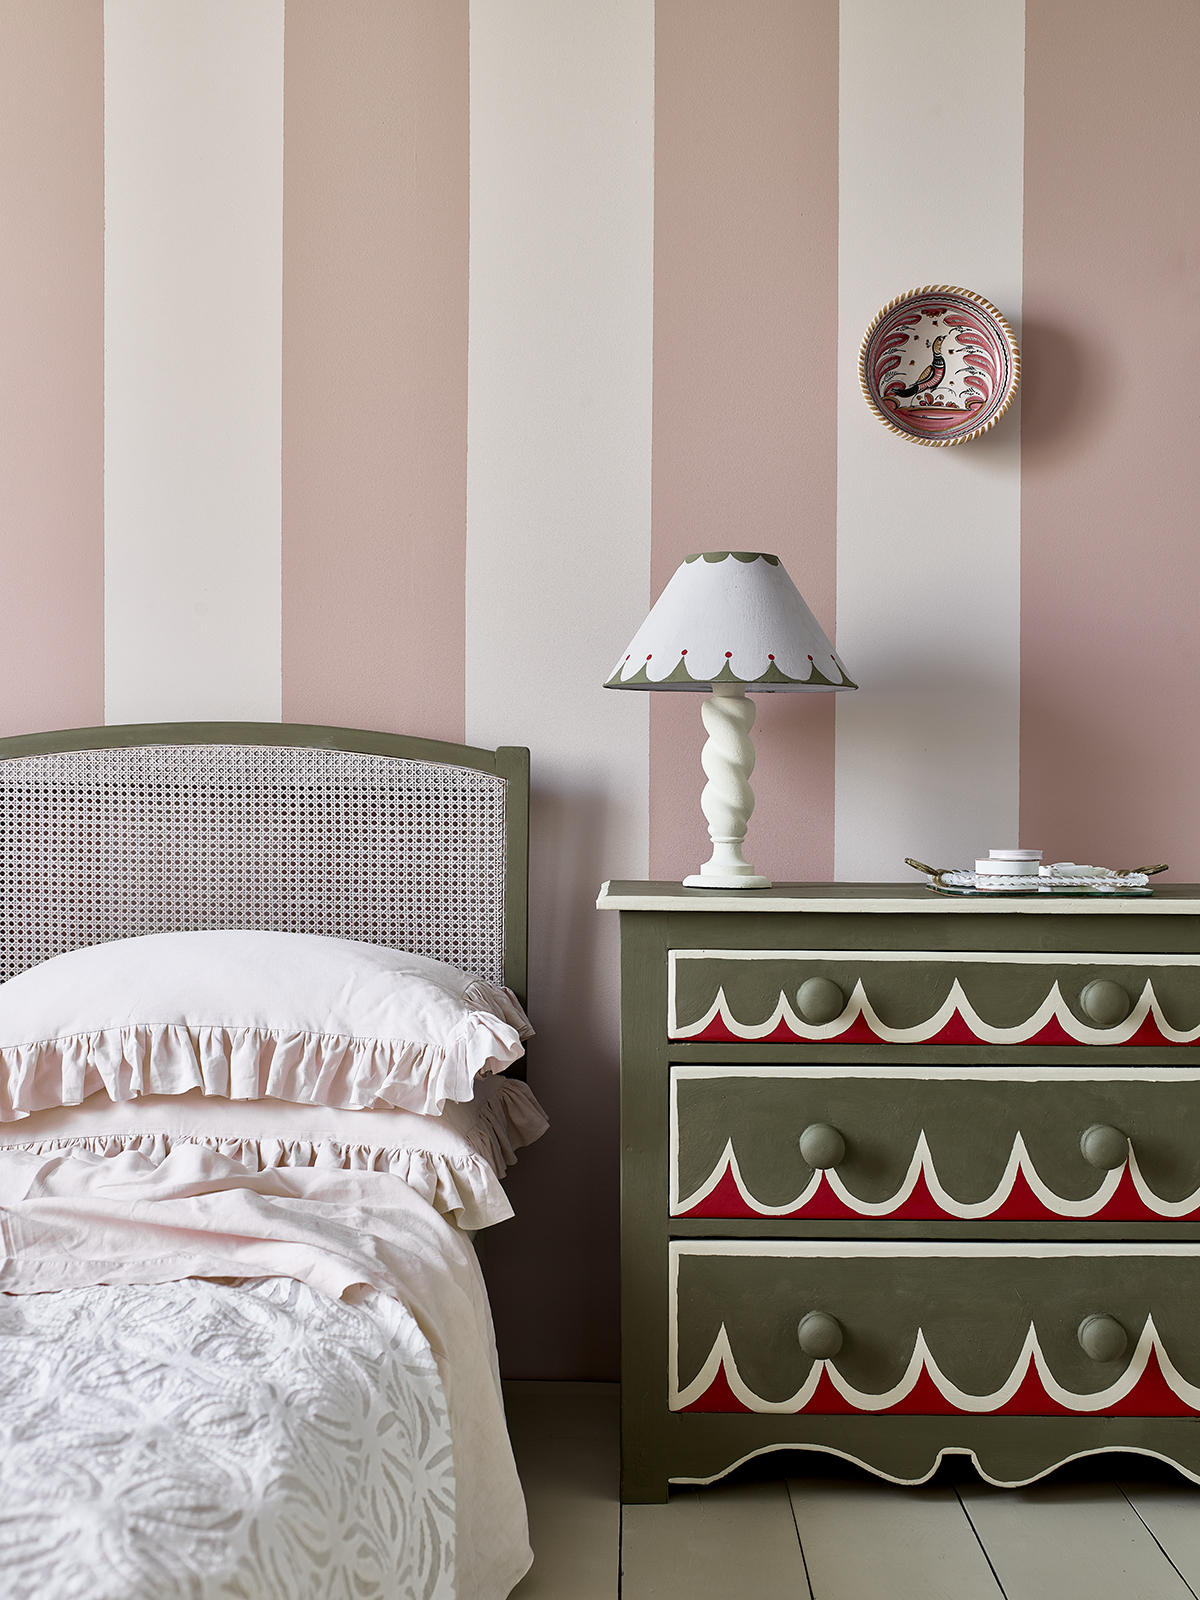
There are lots of different paint finishes to choose from when finding out how to paint wood furniture. Your choice will predominately depend on the look you want to achieve, though it will also be guided by whether you are happy to use a primer and sealant or are looking for an all-in-one product. Also consider selecting eco-friendly paints to keep your project kind to the planet.
- Chalk paint is the most common choice of paint for wooden furniture and gets its name from the luxurious chalky finish it creates. ‘It’s a multi-purpose paint that applies to just about any surface, without the need for priming or sanding,’ says Annie Sloan, founder of Annie Sloan Paints.
- Mineral paint is crafted from mineral pigments combined with a binder, typically acrylic resin. 'Unlike milk and chalk paint, which need to be sealed with a wax or varnish to prevent absorption of grease or moisture, mineral paint is waterproof and washable rather like an eggshell or satin paint,' says Carolyn.
- Milk paint is quickly becoming a favorite for furniture restoration. 'Traditional powdered milk paints achieve a finish that is flat back to the grain and produces no brushstrokes,’ explains Joe and Reece Daden-Tapp of Cornish Milk Mineral Paint.
- 'It is perfectly possible to use a normal eggshell, satin or spray paint on furniture too, if you want a contemporary, sleek, full cover paint finish, as long as you prepare it well!' adds Carolyn.
How to avoid streaks when painting wooden furniture
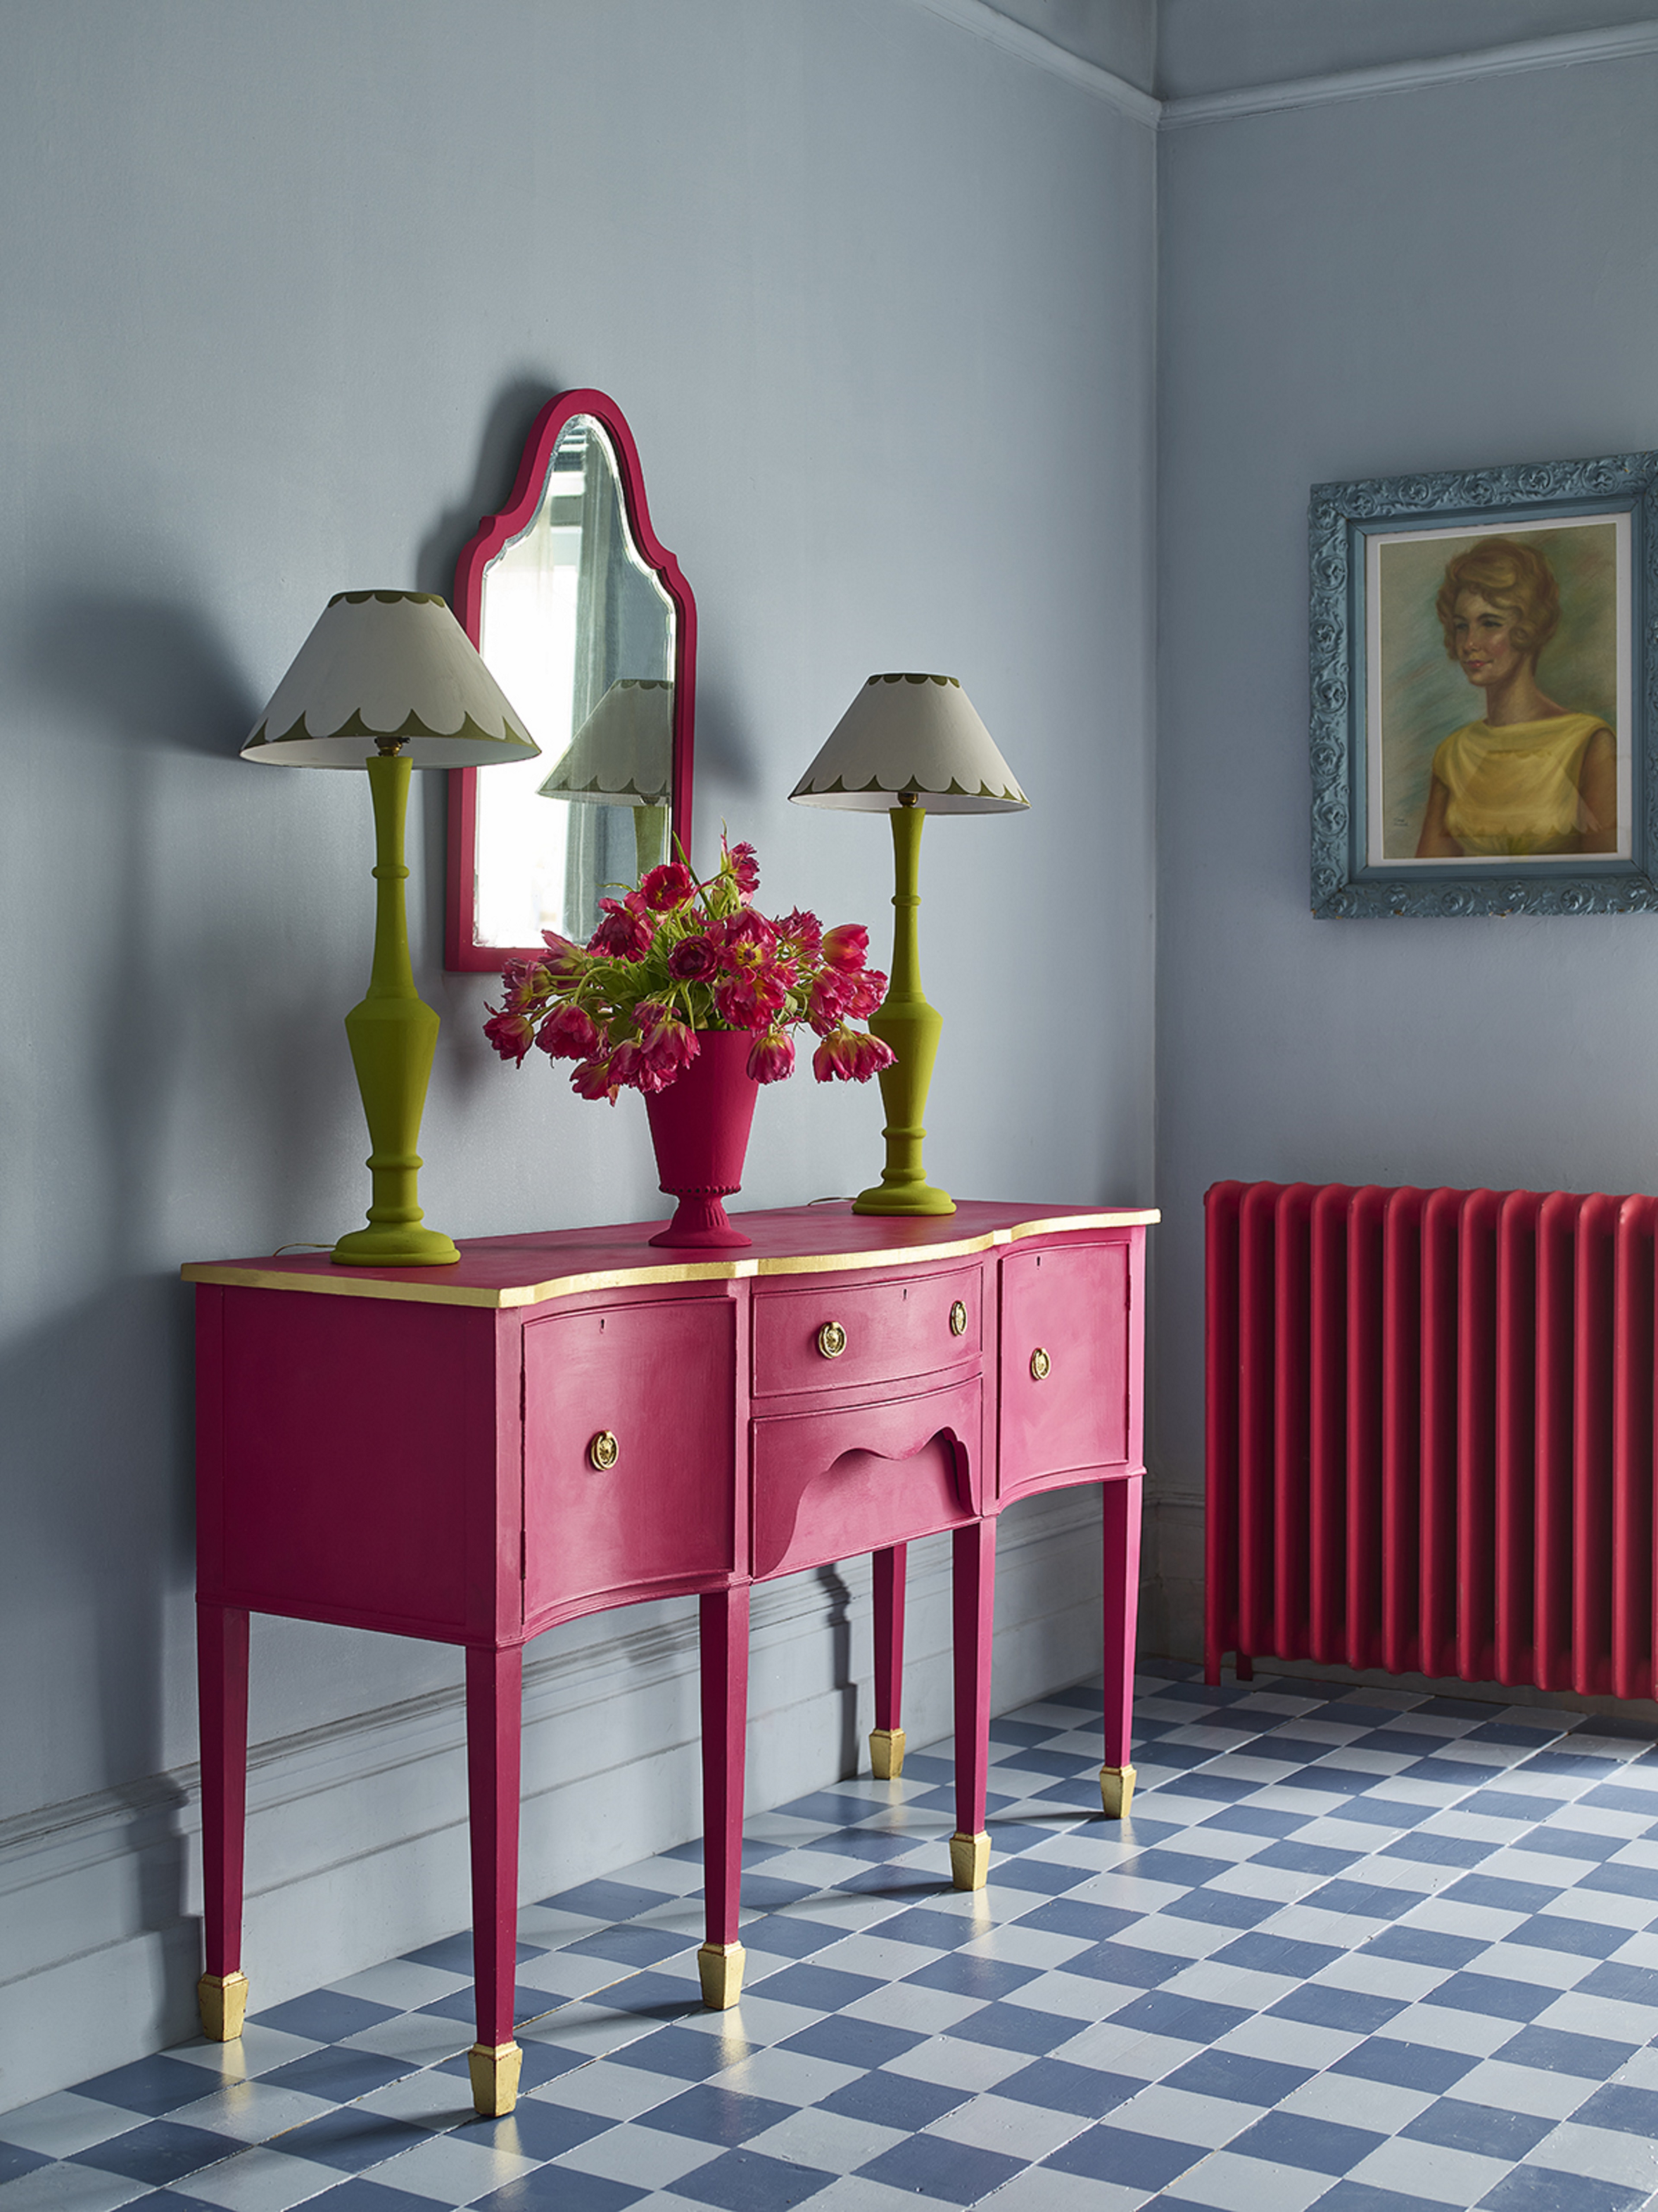
Avoiding streaks when painting wooden furniture, all comes down to your paint finish and your direction. ‘With milk paint it’s always best to brush along the direction of the grain, but there’s no need to worry too much about brush marks, (especially on raw wood as it sinks in like a stain), milk paint is very forgiving – it dries really fast, but with a light sanding using a super fine sanding sponge after each coat, it leaves a rich, buttery smooth finish and no brush marks. However with chalk and mineral paint, it is recommended to paint in different directions to avoid brush marks, and fat round brushes work better,’ explains Carolyn.
‘When applying the paint, try not to overload your brush as this can lead to overworking the paint which tends to cause dragging marks and unwanted texture. The other tip is to make sure you leave the correct amount of hours between coats,’ adds Hanna Ellis.
Do you need to prime wood furniture before painting?
You don't necessarily need to prime wood furniture before painting. This slightly differs from how to paint a wall where priming is vital to achieving a high-end finish.
Lots of chalk and mineral paints feature an integrated primer meaning that after a light sanding and a wipe down, you can apply the paint and still achieve a flawless finish. Some furniture paints will require a primer before use, be sure to check the tin before starting your project.
However, even if you do not need to use a primer, it is essential that you prepare the wood before you start painting.
Should I paint the interior of wooden furniture?
Whether you decide to paint the interior of your wood furniture is utterly up to you. 'Sometimes a thorough clean and some hemp oil or wax is sufficient to tidy them up,' says Claire Manton. 'It’s worth remembering that if an old piece has a musty smell to it, painting the interior can sometimes help by sealing odours into the wood, thereby reducing any unpleasant smells. Scented furniture waxes and salves are also a good way to freshen things up.'
Why does paint peel off wood?
Paint can peel off of wood for a number of reasons, however incorrect preparation such as the lack of cleaning, a primer, or the correct paint is often one of the main causes of peeling paint on painted wood furniture.
To prevent paint from peeling from wooden furniture make sure you follow through with the correct prep work and do not rush the process. While it may be tempting to rush through to complete the project, patience is needed to ensure the best finish. What's more, consider adding a protective finishing coat or wax to seal the paint in and prevent it from peeling due to every day use. This may be especially important on pieces you touch or move every day such as drawers, cabinets, or chairs.
How do you create a vintage finish on wood?
The easiest way to make a vintage finish on wood is to use an antique-style glaze. There are myriad crackled glazes from which to use. Simply apply between coats of paint to create the distressed effect. 'If you are applying a crackle glaze, always choose a period style paint such as milk paint, which will result in a rich, matt finish as would find on older pieces,' recommends Carolyn.
However, for a traditional distressed look, then hand-distressing is the way to go. This is achieved by painting a piece of furniture a solid color and then buffing the corners and edges with a fine sandpaper to reveal the wood beneath. 'Begin by painting a piece of furniture one color and then, once it’s dry, paint over it with a completely different second color. Sand back through to the first color and in some areas go back as far as the original wood. With the right color combination, it looks beautiful,' says Annie Sloan.
'You can make the process easier with any type of paint by applying wax to the corners/edges before painting, so the paint flakes in those areas,' recommends Carolyn. 'Any distressing works best when the wood beneath is darker – bright new pine showing through doesn’t look aged, so in that case it is a good idea to stain the wood before painting/distressing. You can even layer paint colors by using a darker color first and a lighter color on top, then distressing back to let the darker color show through – this creates a wonderful effect.'
What happens if you don't sand before painting?
If you don't sand before painting wooden furniture you will not achieve a smooth painted finish as paint will gather in any scratches or scrapes. It will also highlight any other natural flaws in the wood grain. Furthermore, if you don't sand before painting, your paint may not stick to the surface resulting in it peeling off once dry. This is because even a light sand provides a key onto which the paint can adhere.
Design expertise in your inbox – from inspiring decorating ideas and beautiful celebrity homes to practical gardening advice and shopping round-ups.

Having graduated with a first class degree in English Literature, Holly started her career as a features writer and sub-editor at Period Living magazine, Homes & Gardens' sister title. Working on Period Living brought with it insight into the complexities of owning and caring for period homes, from interior decorating through to choosing the right windows and the challenges of extending. This has led to a passion for traditional interiors, particularly the country-look. Writing for the Homes & Gardens website as a content editor, alongside regular features for Period Living and Country Homes & Interiors magazines, has enabled her to broaden her writing to incorporate her interests in gardening, wildlife and nature.