Professional painters explain how to paint OSB – without uneven bumps, peeling paint, or rough textures
OSB may not be the most attractive finishing material, but a paint job could turn it around
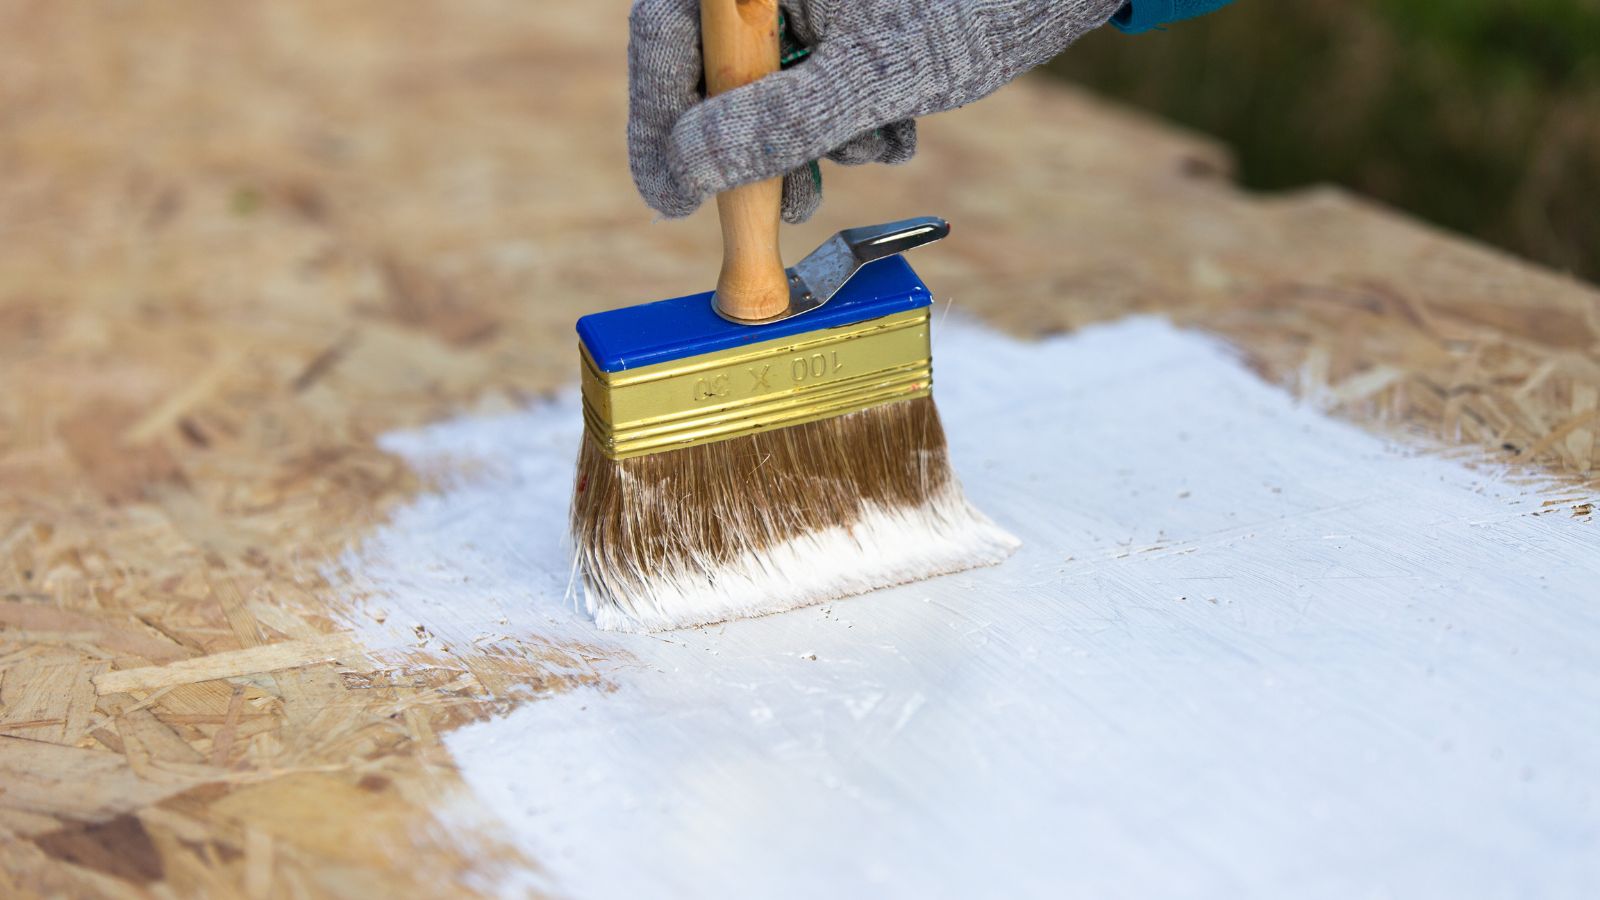

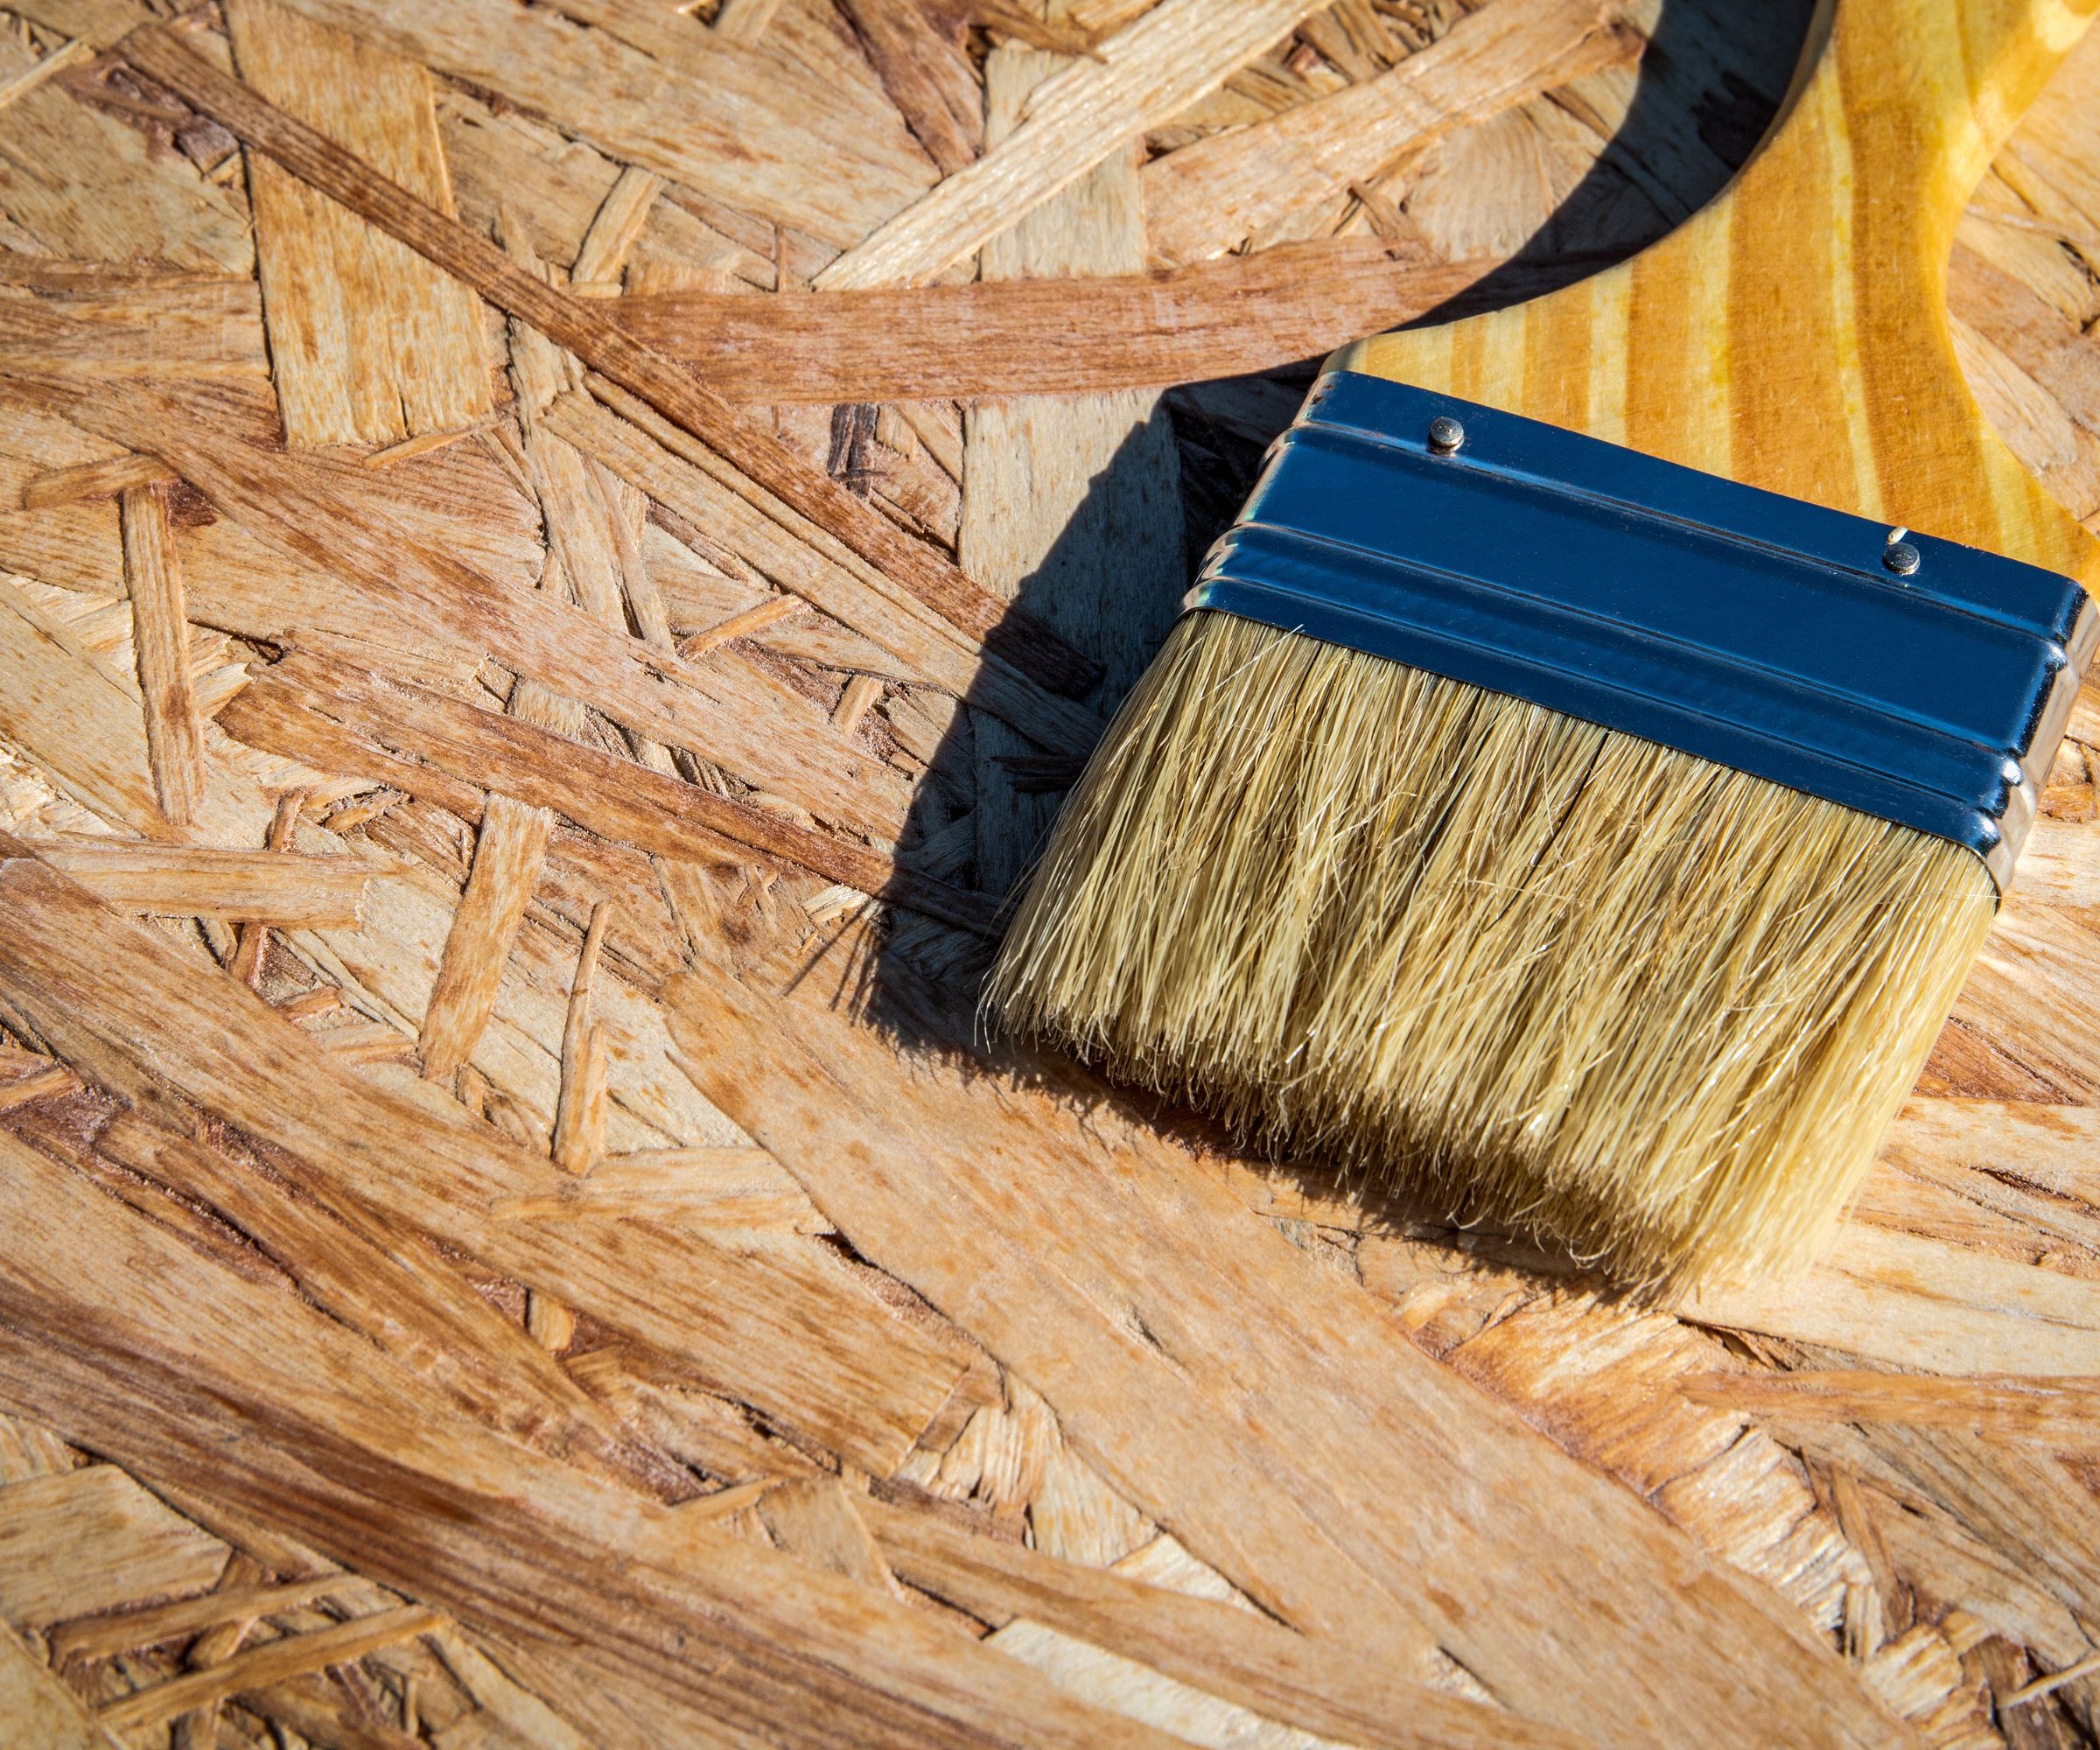
OSB, or oriented strand board, is by far one of the most unattractive wood surfaces to have in your home. Bumpy and pieced together with bits of low-quality wood, it is also one of the trickiest surfaces to conceal with paint – but it is possible with a little dedication and the right tools.
Although it's usually hidden and used as a construction board and not a finishing board, painting OSB is a worthy task to improve its quality or hide any visible sections, experts say.
Here, professionals share their top painting tips for painting OSB for a smooth finish, ensuring proper paint absorption.
How to paint OSB
Painting a rough surface such as OSB or chipboard starts with good preparation to provide an even surface for the paint to adhere to – especially given that OSB is a hash of different wood offcuts strung together with resins. As a result, paint doesn't always take well to the surface and can absorb unevenly, leaving patches and peeling.
We never said it was a quick and easy paint project to do at home – however, here is how to get the perfect smooth finish.
1. Sand and clean the surface – but leave the edges alone
One thing all professionals agree on is the importance of cleaning and sanding a surface before you start painting, but when it comes to OSB not every inch needs treatment. The edges of OSB, for instance, are often finished in a way that prevents the wood chips from coming away or fracturing, as well as keeping out water from between the pressed layers. Sanding or cutting these could compromise the durability of the board.
That being said, sanding the flat surfaces will help give you a more uniform surface and texture to apply your primer to, explains Andre Kazimierski, professional painter and CEO of Improovy, ‘while cleaning will help prevent debris or dust from interfering with your paint adhesion.’
Because of its rough texture, cleaning traditionally with a microfiber cloth proves near impossible. Instead, use a good vacuum cleaner with a handheld brush attachment to collect any dust and debris from the surface.

Andre Kazimierski founded Improovy in 2019 and has developed it into a leading home improvement service. It is his mission to make painting more efficient for all of his clients and uses generations of expertise to inform his work.
2. Use a polyester resin filler to conceal any noticeable gaps
Sanding OSB can be tricky, especially if it previously had a protective wax coating on the surface. As a result, you may find that there are sections of wood that have come away completely from the board, or gaps between chips have become more noticeable after sanding, meaning it is more difficult to achieve a smooth surface with paint.
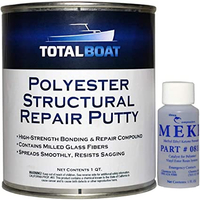
To rectify these gaps, it can be useful to use a polyester resin-based filler to top up holes (or even recover the whole board's surface if you have the time) and improve the integrity of your board. Once you have sanded and cleaned the board, use a putty knife to apply the filler where needed in thin layers, allowing it to dry before sanding down flat again.
The good news is this step is completely optional, and the effort is only recommended if the board will be on display as a finishing board.
TotalBoat Polyester Structural Repair Putty | From $41.99 at Amazon
Although originally designed for boats, this polyester putty is great for delicate surfaces such as OSB and chipboard as it provides an extra layer of waterproofing and durability to the surface before applying primer and paint. What’s more, it is perfect for achieving a perfectly smooth base coat.
3. Use a heavy waterproofing primer, and apply several coats
As with painting bathroom countertops or painting wood furniture, priming OSB with a high-quality waterproofing primer is essential to extending the board's lifespan and making sure the paint sticks.
‘For porous surfaces like OSB, you have to use a high-quality primer specifically designed for such materials,’ warns Joshua Bartlett, home improvement expert at I’ll Just Fix It Myself. ‘Apply the primer evenly with a brush or roller as the manufacturer directs and allow it to dry completely before adding more layers.’
Jay Sanders, contractor and founder of Castle Dream Construction, suggests that an oil-based primer, such as Kilz Original, available at Amazon, is best for this task, and adds that ‘using two to three thin layers of an oil-based primer and allowing it to dry completely’ will provide the best finish and durability.
4. Apply at least two coats of paint
Paint finishes matter, contractor Jay Sanders says. ‘Stay away from water-based paints when painting OSB,’ he warns. ‘This type of board is highly absorbent and may warp or change shape if painted with a water-based formula.’
Instead, an oil-based paint specifically designed for OSB, plywood, or chipboard is best.
‘To apply the paint to the primed surface, I recommend you use a foam roller or brush and work in long, even strokes,’ continues home improvement specialist Joshua Bartlett. ‘A longer-lasting finish can be achieved by applying multiple coats of paint and allowing each coat to dry before applying the next. This will keep the OSB/chipboard looking new for longer and protect it from scratches.’
FAQs
What kind of paint do you use on OSB?
When painting OSB, it is best to use high-quality specialized paint to help seal the OSB as well as cover it. Always use this paint in conjunction with a good waterproofing primer when painting OSB to ensure the paint adheres evenly and doesn't peel away as it dries.
Will painting OSB make it waterproof?
OSB is not waterproof, so painting it with a good quality latex acrylic paint and using a waterproofing primer can make it more durable and able to withstand exposure to water for longer. That being said, even painting OSB will not make it completely waterproof, so it is best to refrain from using it in damp areas such as around sinks, bathrooms, or outdoors.
Painting OSB is one of the more difficult home painting tasks, especially if the OSB is in situ and you cannot move it outside to work. When painting OSB indoors, it is important to follow some simple safety steps, such as leaving the windows and doors open to ensure good ventilation and speed up the drying process, suggests Joshua Bartlett, home improvement expert.
Making paint dry more quickly is important not only to help improve air quality in your home but can prevent paint issues like bubbling and peeling for a smooth surface, Josh adds. ‘Taking your time and following these instructions will ensure that your OSB or chipboard surfaces look brand new for years to come.’
Sign up to the Homes & Gardens newsletter
Design expertise in your inbox – from inspiring decorating ideas and beautiful celebrity homes to practical gardening advice and shopping round-ups.

Chiana has been at Homes & Gardens for two years and is our resident 'queen' of non-toxic living. She spends most of her time producing content for the Solved section of the website, helping readers get the most out of their homes through clever decluttering, cleaning, and tidying tips. She was named one of Fixr's top home improvement journalists in 2024.
-
 How to clean a patio – 6 different methods, and when you must use a chemical cleaning agent
From manual scrubbing, natural solutions or calling in the pros, industry experts reveal the benefits and considerations of each method
By Andy van Terheyden Published
-
 Kris Jenner's favorite air fryer, the Ninja Crispi, is the perfect small kitchen solution – it deserves a place on the most compact of countertops
Kris approves of this compact yet powerful air fryer, and so do our own kitchen appliance experts, praising it for its multifunctionality
By Hannah Ziegler Published
-
 7 dorm room organizing rules for less clutter and more space
Experts offer their top tips for creating a well-organized dorm room, no matter the size, space, or layout.
By Ashley Chalmers Published
-
 How to maximize storage in a small or shared dorm room, according to pro organizers
Find out all the hidden storage zones you might never have noticed
By Ashley Chalmers Published
