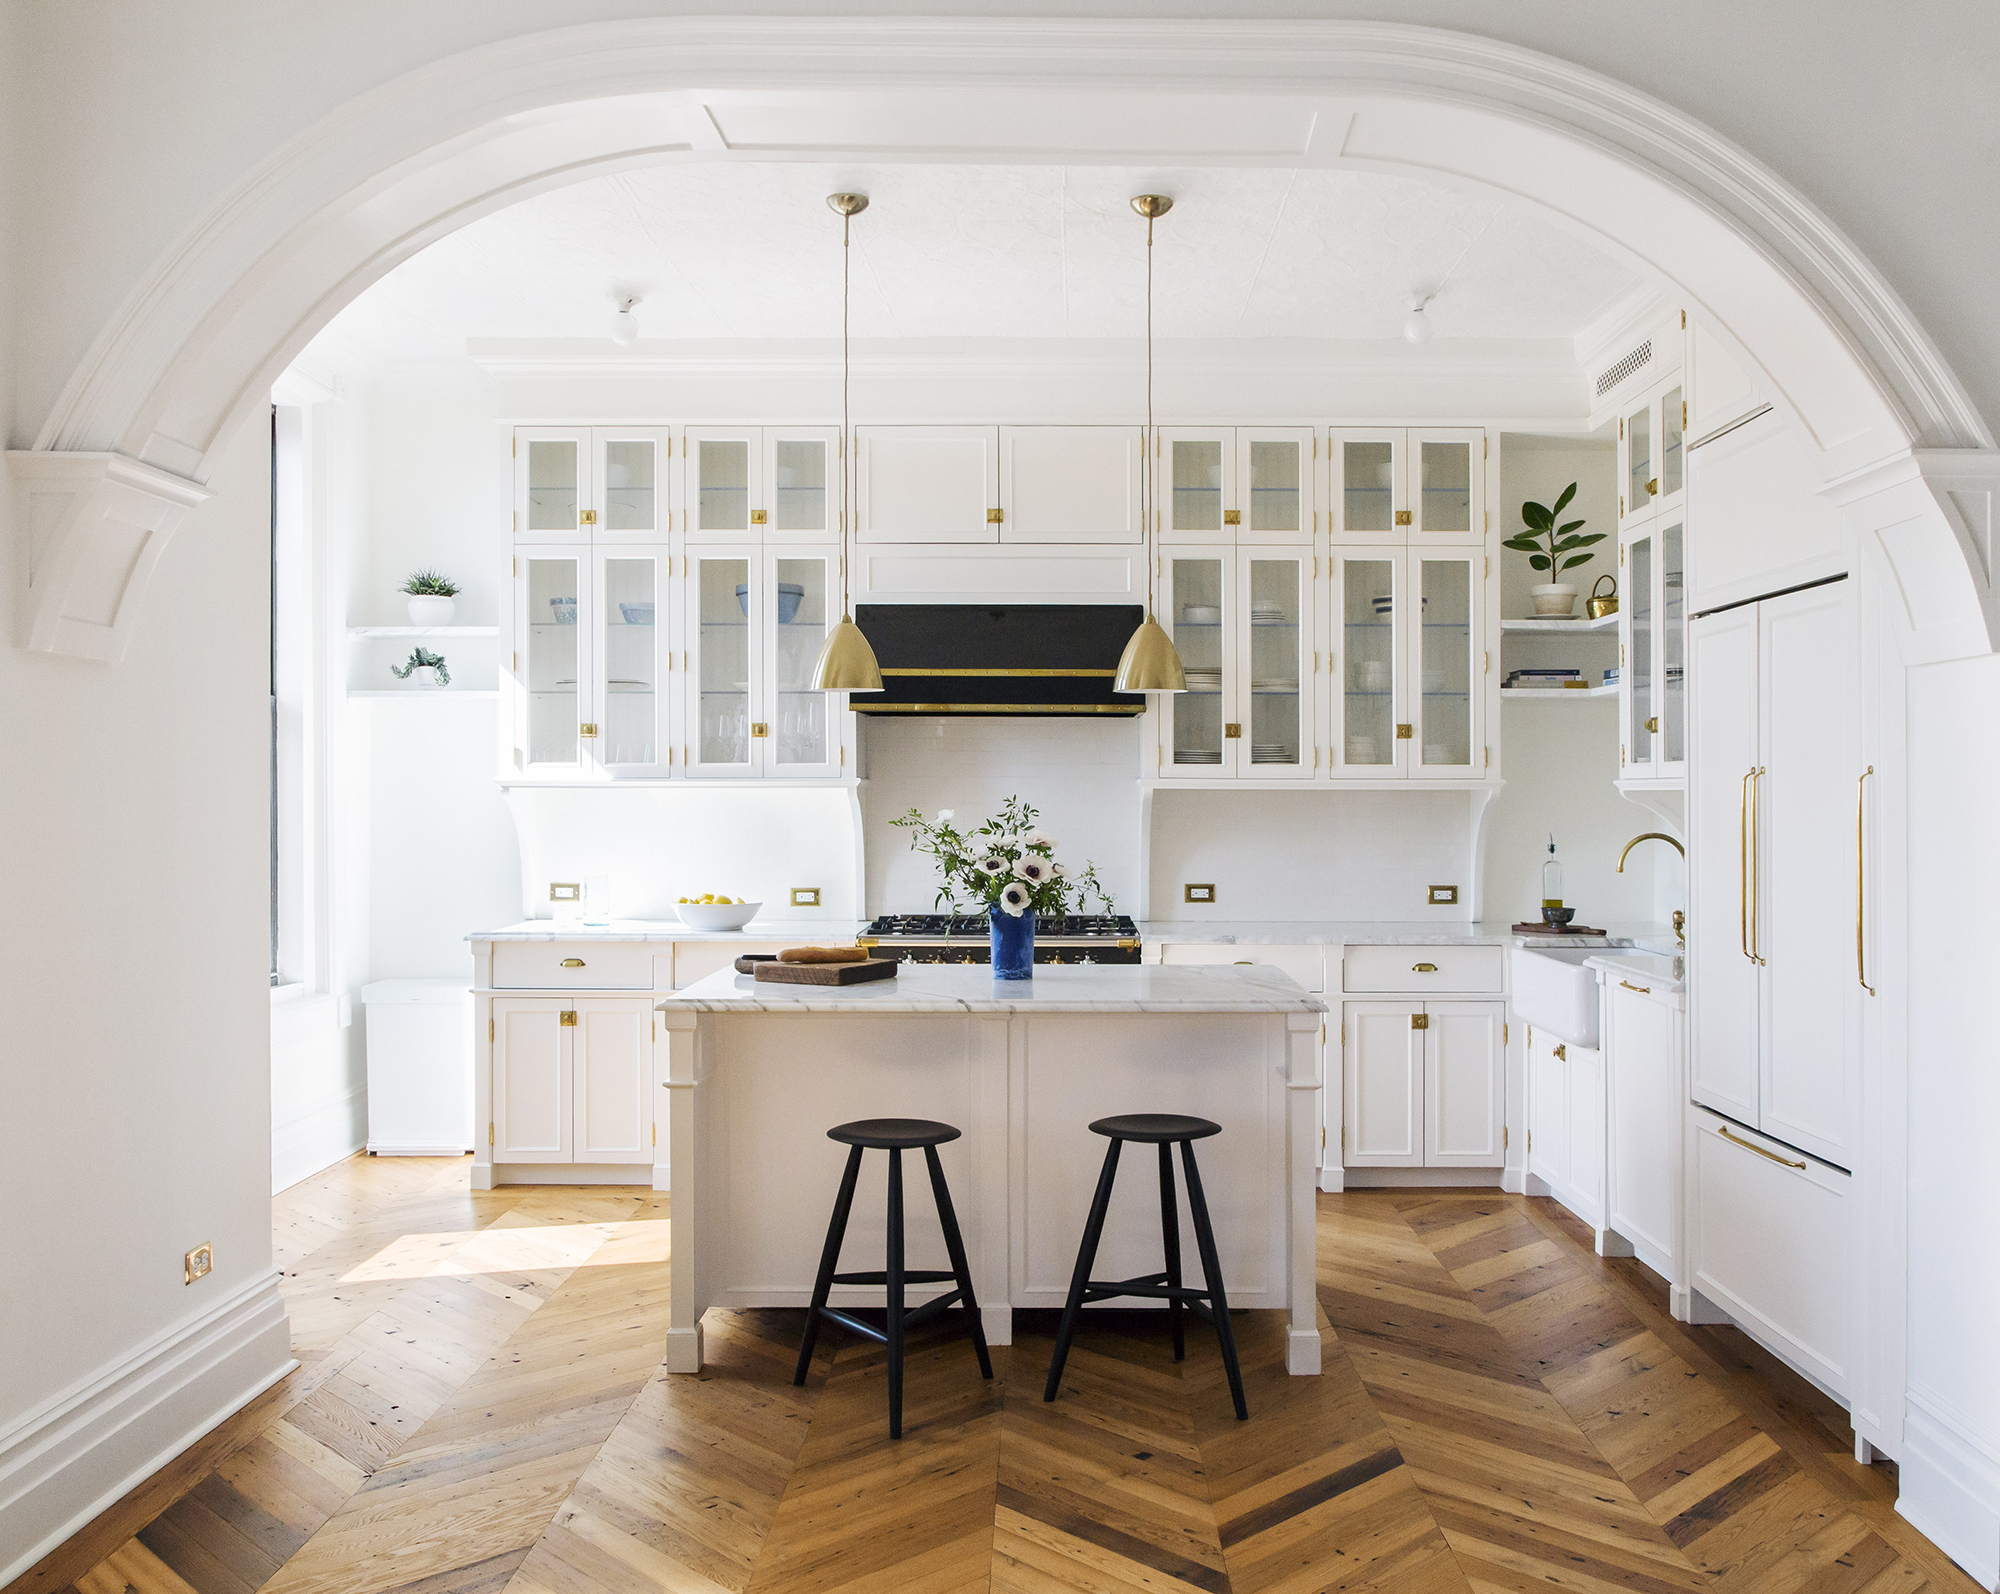
How to paint cabinets without sanding – 6 simple steps from professionals
Sanding is the most tedious step of any home project – here is how to skip it with your cabinets
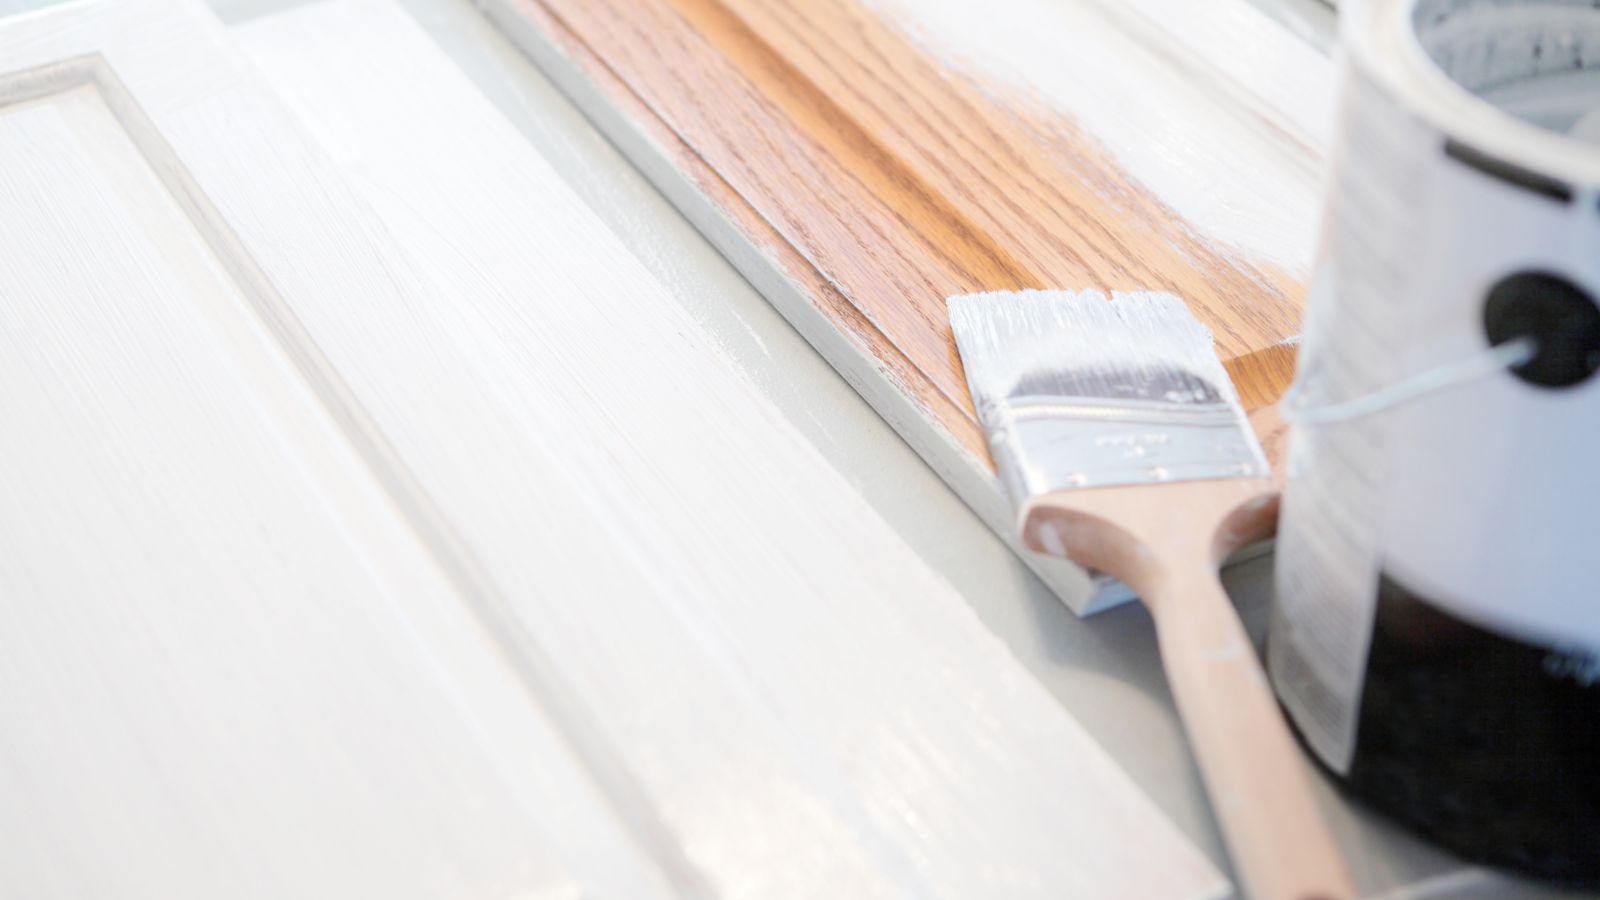

Painting is a saving grace for those of us working on home renos on small budgets or temporarily switching up space before a huge home rehaul. As a result, most of us are more than familiar with the tedious task of sanding, especially when it comes to cabinets – but it turns out we could skip this step completely.
Whether painting kitchen cabinets or freshening up your bathroom, painting allows any home DIYer to drastically improve the look of every space. But sanding all those cabinet fronts is laborious, messy, and leaving it out could save you both time and energy without compromising the paint job.
Here, professional painters and contractors share their top tips for painting cabinets without sanding so you can get right to the big reveal – without the aching arms.
How to paint cabinets without sanding
While sanding is one of the most common tips for painting kitchen cabinets, there are some ways around it. Whether you opt for using liquid sandpaper to save time on scrubbing and limit mess or go down the tough cleaning-and-priming route.
Here is what the experts suggest.
1. Remove the cabinet doors and take off the hardware
Before starting any cabinet project, it is best to remove the fronts from the units and take off any hardware, reminds Tony Adams, home improvement expert at DIYGeeks. This allows you to lay the cabinet door flat on the ground or a workbench for painting to prevent drips and unnecessary mess.
Handles and hinges should be stored in a bag inside the cabinet unit itself to keep everything separate but organized, making it easier to replace the front when you're done.

Tony has been a handyman for over 27 years, having followed in his father's footsteps. He has since opened his own handyman services and has begun sharing his expertise on the DIYGeeks home blog to help those he can't reach with his business.
2. Clean away grease
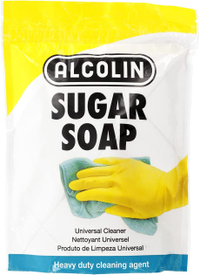
Cabinets will need a good scrub to free them from dust, watermarks (if they have been near a sink or shower), and grease. There are a few good options for this task, such as KrudKutter, available at Walmart, or a professional favorite – sugar soap.
When cleaning, make sure to wear protective gloves to prevent the cleaner from drying out your skin, especially when using sugar soap. After washing, use a clean, dry, lint-free cloth or towel to dry off the cabinet completely, making sure no solution lingers in any decorative carvings or trims.
Sugar Soap | $11.09 at Amazon
I always use sugar soap before I start any furniture painting project to remove dust and grease without scrubbing. I mix the powder in a bucket with the recommended amount of water before dipping a clean cloth in and rubbing it over the surface, watching the grease melt away.
3. Patch any holes with filler
If you are not planning on using the existing drilled holes to reattach your old cabinet handles, then this is a good time to fill them in before you start prepping and painting, says home improvement expert, Tony Adams.
‘A spackle or wood filler is perfect to patch the holes. Just smooth it over with a spatula, sanding once dried, and clean away any dust with a tack cloth,’ he says.
4. If glossy, use a deglosser to create a good surface
When trying to avoid physically sanding with sandpaper, using liquid sandpaper or a deglosser is recommended to create a good surface for primer and paint to adhere to. Like painting laminate furniture without sanding, the liquid sandpaper will strip the glossy finish off of the cabinet and create a rough layer for the primer to stick, says Daniel Rahm, remodeler and owner of ATX Kitchen Remodeling.
‘This stuff is great because you just need to apply it to your cabinets as per the manufacturer's instructions and it takes off the shiny finish without scrubbing, making it easier for the paint to stick. It's a lot less work than using regular sandpaper and it doesn't make a mess with dust,’ he explains.
5. Prime and paint
Once the deglosser or liquid sandpaper has done its job, it is finally time to prime and paint.
‘A bonding primer should be used for optimal paint adherence on a wide range of surfaces, including wood, laminate, and melamine,’ suggests Joshua Bartlett, home improvement expert and founder of I’ll Just Fix It Myself. ‘Prime the cabinet faces with a light, even coat, adding a second coat if you want to be safe, and let it dry completely before proceeding.
When it comes to painting, Josh recommends picking an enamel or acrylic latex paint of good quality. ‘These paints last long, are simple to clean, and have a sleek appearance,’ he explains. ‘Use a brush or a foam roller made for flat surfaces to apply multiple thin coats (allowing them to dry between applications) to get a neat, even coat. You can also opt for a paint sprayer if you have the space.
A good painting tip if you are using a roller or paint brush is to add a paint additive called Floetrol. This will help slow the drying process just enough to prevent brush marks from awkwardly sticking around in the paint, Joshua continues. ‘The Floetrol bottle should include instructions on how much water to use and how to apply the solution,' he adds.

Joshua Bartlett has been responsible for the upkeep of several homes, apartments, and rentals. He created I’ll Just Fix It Myself to help others learn alongside him, sharing what he has learned through his decades of successes – and failures – to tackle home improvement.
6. Apply a topcoat
Cabinetry is usually positioned in high-traffic areas, so using a top coat is recommended to prevent the paint from fading or chipping with everyday use.
‘A water-based polyurethane is recommended, but you can also use different sealers, such as varnish,’ says Tony Adams, home improvement expert. ‘Apply three thin and even coats of the top coat using a brush. It's important to avoid applying thick sealer coats as it can result in a yellow tinge,’ he warns.
FAQs
What is the best primer for painting cabinets without sanding?
When priming a surface without sanding, a good product recommended by painting experts time and time again is Zinsser Bulls Eye 1-2-3- All Surface Primer, available at Amazon. This primer is perfect for creating a strong bond between the surface and the paint and is also stain-blocking, preventing any existing discoloration from seeping through and marring your new paint job.
Should you use chalk paint on kitchen cabinets?
Chalk paint can provide a rustic, slubby look to cabinets, but needs to be used in conjunction with a strong top coat or liquid sealant to prevent chipping and scratching with everyday use. This is because chalk paint is a rather delicate finish, so if you want to skip the top coat, gloss paint is recommended instead.
Although sanding is the best way to get a smooth, lasting finish on a cabinet door, it is possible to skip with a few useful products. When skipping sanding, make sure to allow all layers of paint and primer adequate time to dry, so as to give the coats the best chance of adhering.
Sign up to the Homes & Gardens newsletter
Design expertise in your inbox – from inspiring decorating ideas and beautiful celebrity homes to practical gardening advice and shopping round-ups.

Chiana has been at Homes & Gardens for two years and is our resident 'queen' of non-toxic living. She spends most of her time producing content for the Solved section of the website, helping readers get the most out of their homes through clever decluttering, cleaning, and tidying tips. She was named one of Fixr's top home improvement journalists in 2024.
-
 Kylie Jenner, Tommy Hilfiger, and Lenny Kravitz transform their homes with prints – the London Original Print Fair Director has a method that makes their look 'accessible and affordable' in your home
Celebrities from the Kardashians to Lenny Kravitz decorate their homes with prints by famous artists, and it's easier to recreate than you might expect
By Sophie Edwards
-
 ‘Completion days’ are the answer to laundry doom piles, pro organizer claims – here’s how this hack can instantly stop fresh laundry from piling up once and for all
Stay on top of your laundry with the 'Completion days' method
By Chiana Dickson
-
 7 dorm room organizing rules for less clutter and more space
Experts offer their top tips for creating a well-organized dorm room, no matter the size, space, or layout.
By Ashley Chalmers
-
 How to maximize storage in a small or shared dorm room, according to pro organizers
Find out all the hidden storage zones you might never have noticed
By Ashley Chalmers
