How to paint baseboards: according to professional painters
This is the best way to paint baseboards according to the pros. Better yet, it only takes five steps
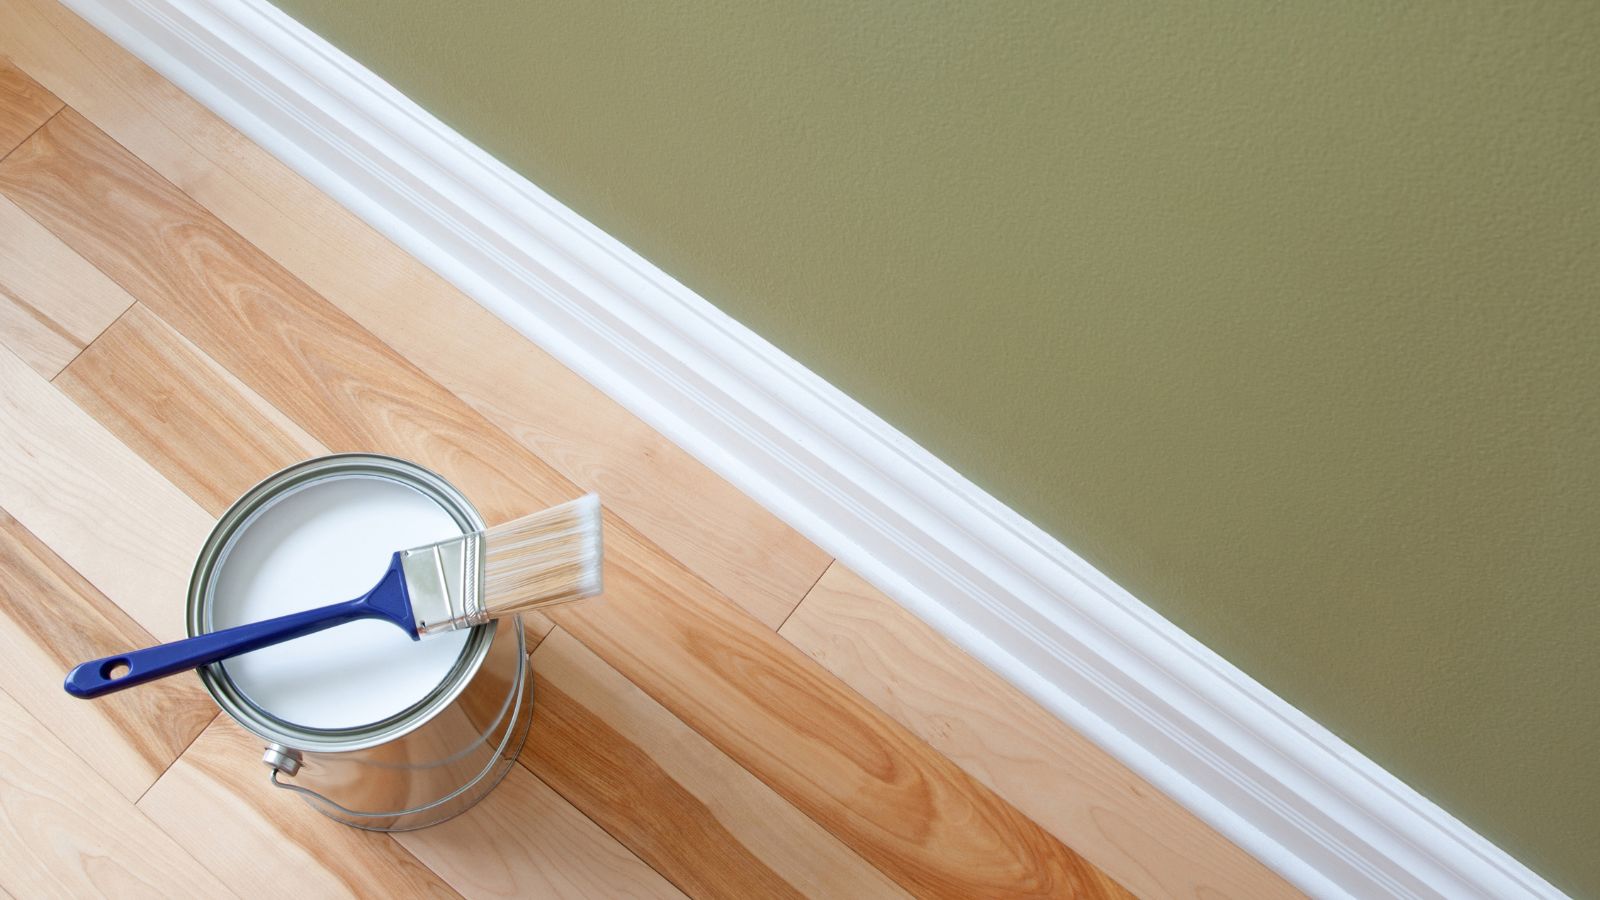

Baseboards are one of the more awkward spots to paint in a room given their proximity to the floor and the fact we often cover them with gloss paint – a finish notorious for showing even the slightest of drip marks and paintbrush strokes.
So what is the best way to paint baseboards? Much like painting walls, experts assure that all it takes is five simple steps, from washing and sanding to touching up small areas afterward – and making sure you paint the trim before the walls help too.
Here, professional painters spill their secrets so you can get a flawless finish the first time.
The best way to paint baseboards
Painting baseboards is not as complicated a process as you may think, requiring only a few tools, including paint and primer. It can just be a little tedious, requiring a few coats of paint and possibly taking you two days as you allow them to dry. But results are more than worth the effort.
You will need:
- A clean microfiber cloth: available at Amazon
- Fine grit sandpaper
- Painters Tape: such as FrogTape, available at Walmart
- A good primer
- High-quality paint: the experts recommend gloss or semi-gloss
- An angled brush: like these pro paint brushes from Amazon
- A small foam roller: available at Amazon
1. Prepare the area properly first
Just as you would prepare walls for painting, washing and drying the baseboards thoroughly, as well as sanding them with fine-grit sandpaper, is the secret to getting a smooth application, says Andre Kazimierski, professional painter and CEO of Improovy Painters, St. Louis.
‘They'll likely be pretty dirty, so first make sure to scrub them with warm water and detergent,’ Andre suggests. ‘You can then patch up any large dents or other damage they may have sustained with a filler if needed, and then sand everything down to provide an even, smooth surface for the paint to adhere to.’
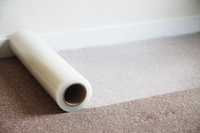
Finish your prep work by vacuuming up any leftover dust, giving them a final wipe, and taping off the wall over the baseboard and floors with painter's tape, he adds. If you are painting trim with carpet, use a few lines of tape to keep the fibers out of the way, pull the carpet back where possible, or use a sticky floor protector, like this from Amazon, to protect large areas at once.
Kenley Carpet Protector | $79.99 at Amazon
This heavy-duty carpet protector is ideal for protecting against paint, dirt, and water when you are decorating your spaces and covers a greater area more easily than tape and a drop sheet.

Andre Kazimierski founded Improovy in 2019 and has developed it into a leading home improvement service. It is his mission to make painting more efficient for all of his clients and uses generations of expertise to inform his work.
2. Pick a high-quality, durable paint
There are a few different paint finishes for trim, but opting for high quality and good durability is best when dealing with a spot that so frequently sees everyday abuse such as scuffs and bangs, says Joshua Bartlett, home improvement expert and founder of home blog I’ll Just Fix It Myself.
‘I always go for semi-gloss or high-gloss paint,’ he shares. ‘These types of paint are easier to clean and resist scuffs and scratches better than flat or matte finishes.’ For extra durability, it is wise to apply a good quality primer first too.
What’s more, a glossy paint provides a nice contrast to the walls, making the baseboards stand out,’ he adds.

Joshua Bartlett has been responsible for the upkeep of several homes, apartments, and rentals. He created I’ll Just Fix It Myself to help others learn alongside him, sharing what he has learned through his decades of successes – and failures – to tackle home improvement.
3. Use an angled brush to cut in, but a foam roller to fill in
As with painting ceilings and walls, it is important to start your painting job by cutting in along the top and bottom of the board where a foam roller may scuff the wall or floor.
For this task, home improvement expert Joshua Bartlett recommends using an angled paint brush with natural bristles to prevent lines in oil-based gloss paints, and synthetic fibers for water-based paints.
‘A small foam roller can also be handy for applying paint to the flat surfaces of the baseboards after cutting in, as it provides a smooth, even finish without brush marks,’ he adds. These tools can be used for both primer and paint, making sure to clean paint brushes properly between the two products.
4. Apply several thin coats
The simplest paint trick in the book is to use several thinner coats over fewer thick coats for the best (and most durable) finish. When working with gloss paints this is even more important to avoid drips and brush strokes, says Jon Christensen, home improvement expert and CEO of Bidmii.
‘Start by brushing a thin layer of paint along the top edge of the baseboard and work your way down,’ he recommends. ‘Use long, even strokes and avoid going over the same area too many times. Allow the first coat of paint to dry completely before applying a second coat.
‘Follow the manufacturer's instructions for drying time, which can vary depending on the type of paint you are using. Just don't rush the drying process as this can lead to a tacky finish.’
5. Check for imperfections and touch up as needed
The final step for painting baseboards is to check for any slight imperfections after the paint has completely dried, says Jon Christensen, home improvement expert. Although it may seem too late to do anything at this point, it is simple to sand down any imperfect spots such as drip marks, and repaint the area carefully with a fine brush.
FAQs
What is the fastest way to paint baseboards?
The quickest way to paint baseboards is to make sure you properly prep the space first, sanding, cleaning, taping the area along the wall and floor, and priming before you start adding paint. Although this does not sound quick, it will ensure you get the job right the first time and you do not make mistakes that mean redoing the whole process.
Do baseboards need two coats of paint?
Although gloss paint is often quite thick, your baseboards and trims will still need two coats of paint if you want them to look their best and protect them from noticeable chips and scuffs. After you have prepped the baseboards by sanding any old paint, washing, and applying a primer, applying two (or even three) coats of paint, lightly sanding between layers, will achieve a professional finish.
Following these interior painting tips for painting baseboards will ensure that your wall trims look immaculate. These simple steps also work for other wall trim too, including ceiling molding, dado rails, and picture rails, making it a great technique to have in your home improvement arsenal.
Sign up to the Homes & Gardens newsletter
Design expertise in your inbox – from inspiring decorating ideas and beautiful celebrity homes to practical gardening advice and shopping round-ups.

Chiana has been at Homes & Gardens for two years and is our resident 'queen' of non-toxic living. She spends most of her time producing content for the Solved section of the website, helping readers get the most out of their homes through clever decluttering, cleaning, and tidying tips. She was named one of Fixr's top home improvement journalists in 2024.
-
 How to grow astilbe – expert advice on cultivating this shade-tolerant flowering perennial
Shade-tolerant and pest-resistant - astilbe are hardy and tough perennials that can thrive in many settings
By Ellen Wells Published
-
 Vintage prints are making a comeback – designers say to look out for these 5 nostalgic patterns this year
These vintage-style patterns are all the rage right now, and we spoke with design experts to learn how best to style them in the home
By Eleanor Richardson Published
-
 7 dorm room organizing rules for less clutter and more space
Experts offer their top tips for creating a well-organized dorm room, no matter the size, space, or layout.
By Ashley Chalmers Published
-
 How to maximize storage in a small or shared dorm room, according to pro organizers
Find out all the hidden storage zones you might never have noticed
By Ashley Chalmers Published
