How to apply polyurethane – with painting pointers from professionals
Professional painters explain how to apply polyurethane top coats to protect your painted surfaces


Polyurethane is a great top coat for several home projects, creating a tough protective layer that can withstand all sorts of bangs and scrapes.
How you apply polyurethane, however, can make or break your project, as getting the drying conditions right and using the right tools is essential to achieving a smooth, clear coating.
Here, professional painters explain how to apply polyurethane to any DIY project for the best, long-lasting finish.
How to apply polyurethane
Whether adding a finishing touch when staining wood, or painting furniture, a polyurethane coating is useful because it creates a colorless moisture-resistant, scratch-resistant, UV-resistant (exterior poly), and glossy barrier over painted wood and protects it from different elements, explains Tony Adams, home improvement expert at DIY Geeks.

Tony has been a handyman for over 27 years, having followed in his father's footsteps. He has since opened his own handyman services and has begun sharing his expertise on the DIYGeeks home blog to help those he can't reach with his business.

1. Pick the right product for the job
More often than not, polyurethane is used when refinishing wood furniture or painting a high-traffic surface to keep it protected from chips and scuffs. As a result, it is vital to pick the right product for the piece you are working on, especially if the piece will be living outside.
Generally, your choices for a base will either be oil-based or water-based, begins Bradley Arnold, founder and president of Bacs Inc construction services. ‘Both bases have pros and cons; the oil-based polyurethane is thicker and will take fewer coats, but requires a longer drying time, whereas the water-based polyurethane dries quickly but is thinner and will need more application coats.
‘I usually recommend a water-based polyurethane to most DIYers for the following reasons; safety and cleanup. The water-based will generally have over 50% less VOCs than oil-based, can be cleaned up with water (while oil-based requires harsh chemicals for cleaning), and is not flammable (while oil-based is highly flammable). The only setback to a water-based polyurethane is the higher cost but usually isn’t much more expensive than oil-based.
‘Spray-on polyurethane is normally best suited for a smaller piece, but can get costly on a larger project,’ he adds.
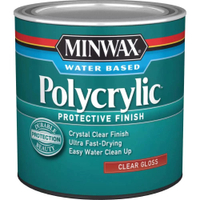
Minwax Poly Acrylic | $12.98 at Walmart
This easy-to-apply poly acrylic top coat is a favorite of professionals and is ideal for indoor use.
2. Work in a well ventilated, but covered area
Staying safe while painting is important no matter which paints you are using, and that includes polyurethane – especially oil-based paints. Especially as using oil-based products indoors can be as bad as using exterior paint inside. That said, you should also avoid using polyurethane out in the open, especially if you live in a dusty area, or somewhere with high levels of pollen or insects, says Tony Adams, home improvement expert.
‘Ideally, you should apply polyurethane in a clean and well-ventilated area, however, dust and bugs can mar the finish, so control the environment as much as possible,’ he recommends. This could mean painting indoors with open doors and windows and using an air purifier, opting to also use a mask to protect your airways.
‘Avoid finishing outdoors where you can't control these factors,’ he adds.
3. Work on a clean, flat surface
Just as you would prepare walls for painting, preparing your surface before applying polyurethane is a must if you want to avoid dust and dirt sticking in the clean coating. If you have a raw piece of furniture that has not been painted or varnished, then sanding should be avoided to keep the color true. For unfinished pieces, however, sanding with a light sandpaper and cleaning away the dust is a good idea, suggests James Pader, general contractor, woodworker, and founder of A Wood Railing.
‘The trick to getting the best finish and colors is to then wipe the wood with a rag dampened with mineral spirits. This cleans the grain and gets out sanding dust,’ he shares.
Working on a flat surface will also help to prevent the polyurethane from dripping as it dries, so avoid the temptation to work on multiple sides at one time.
4. Apply in the direction of the grain
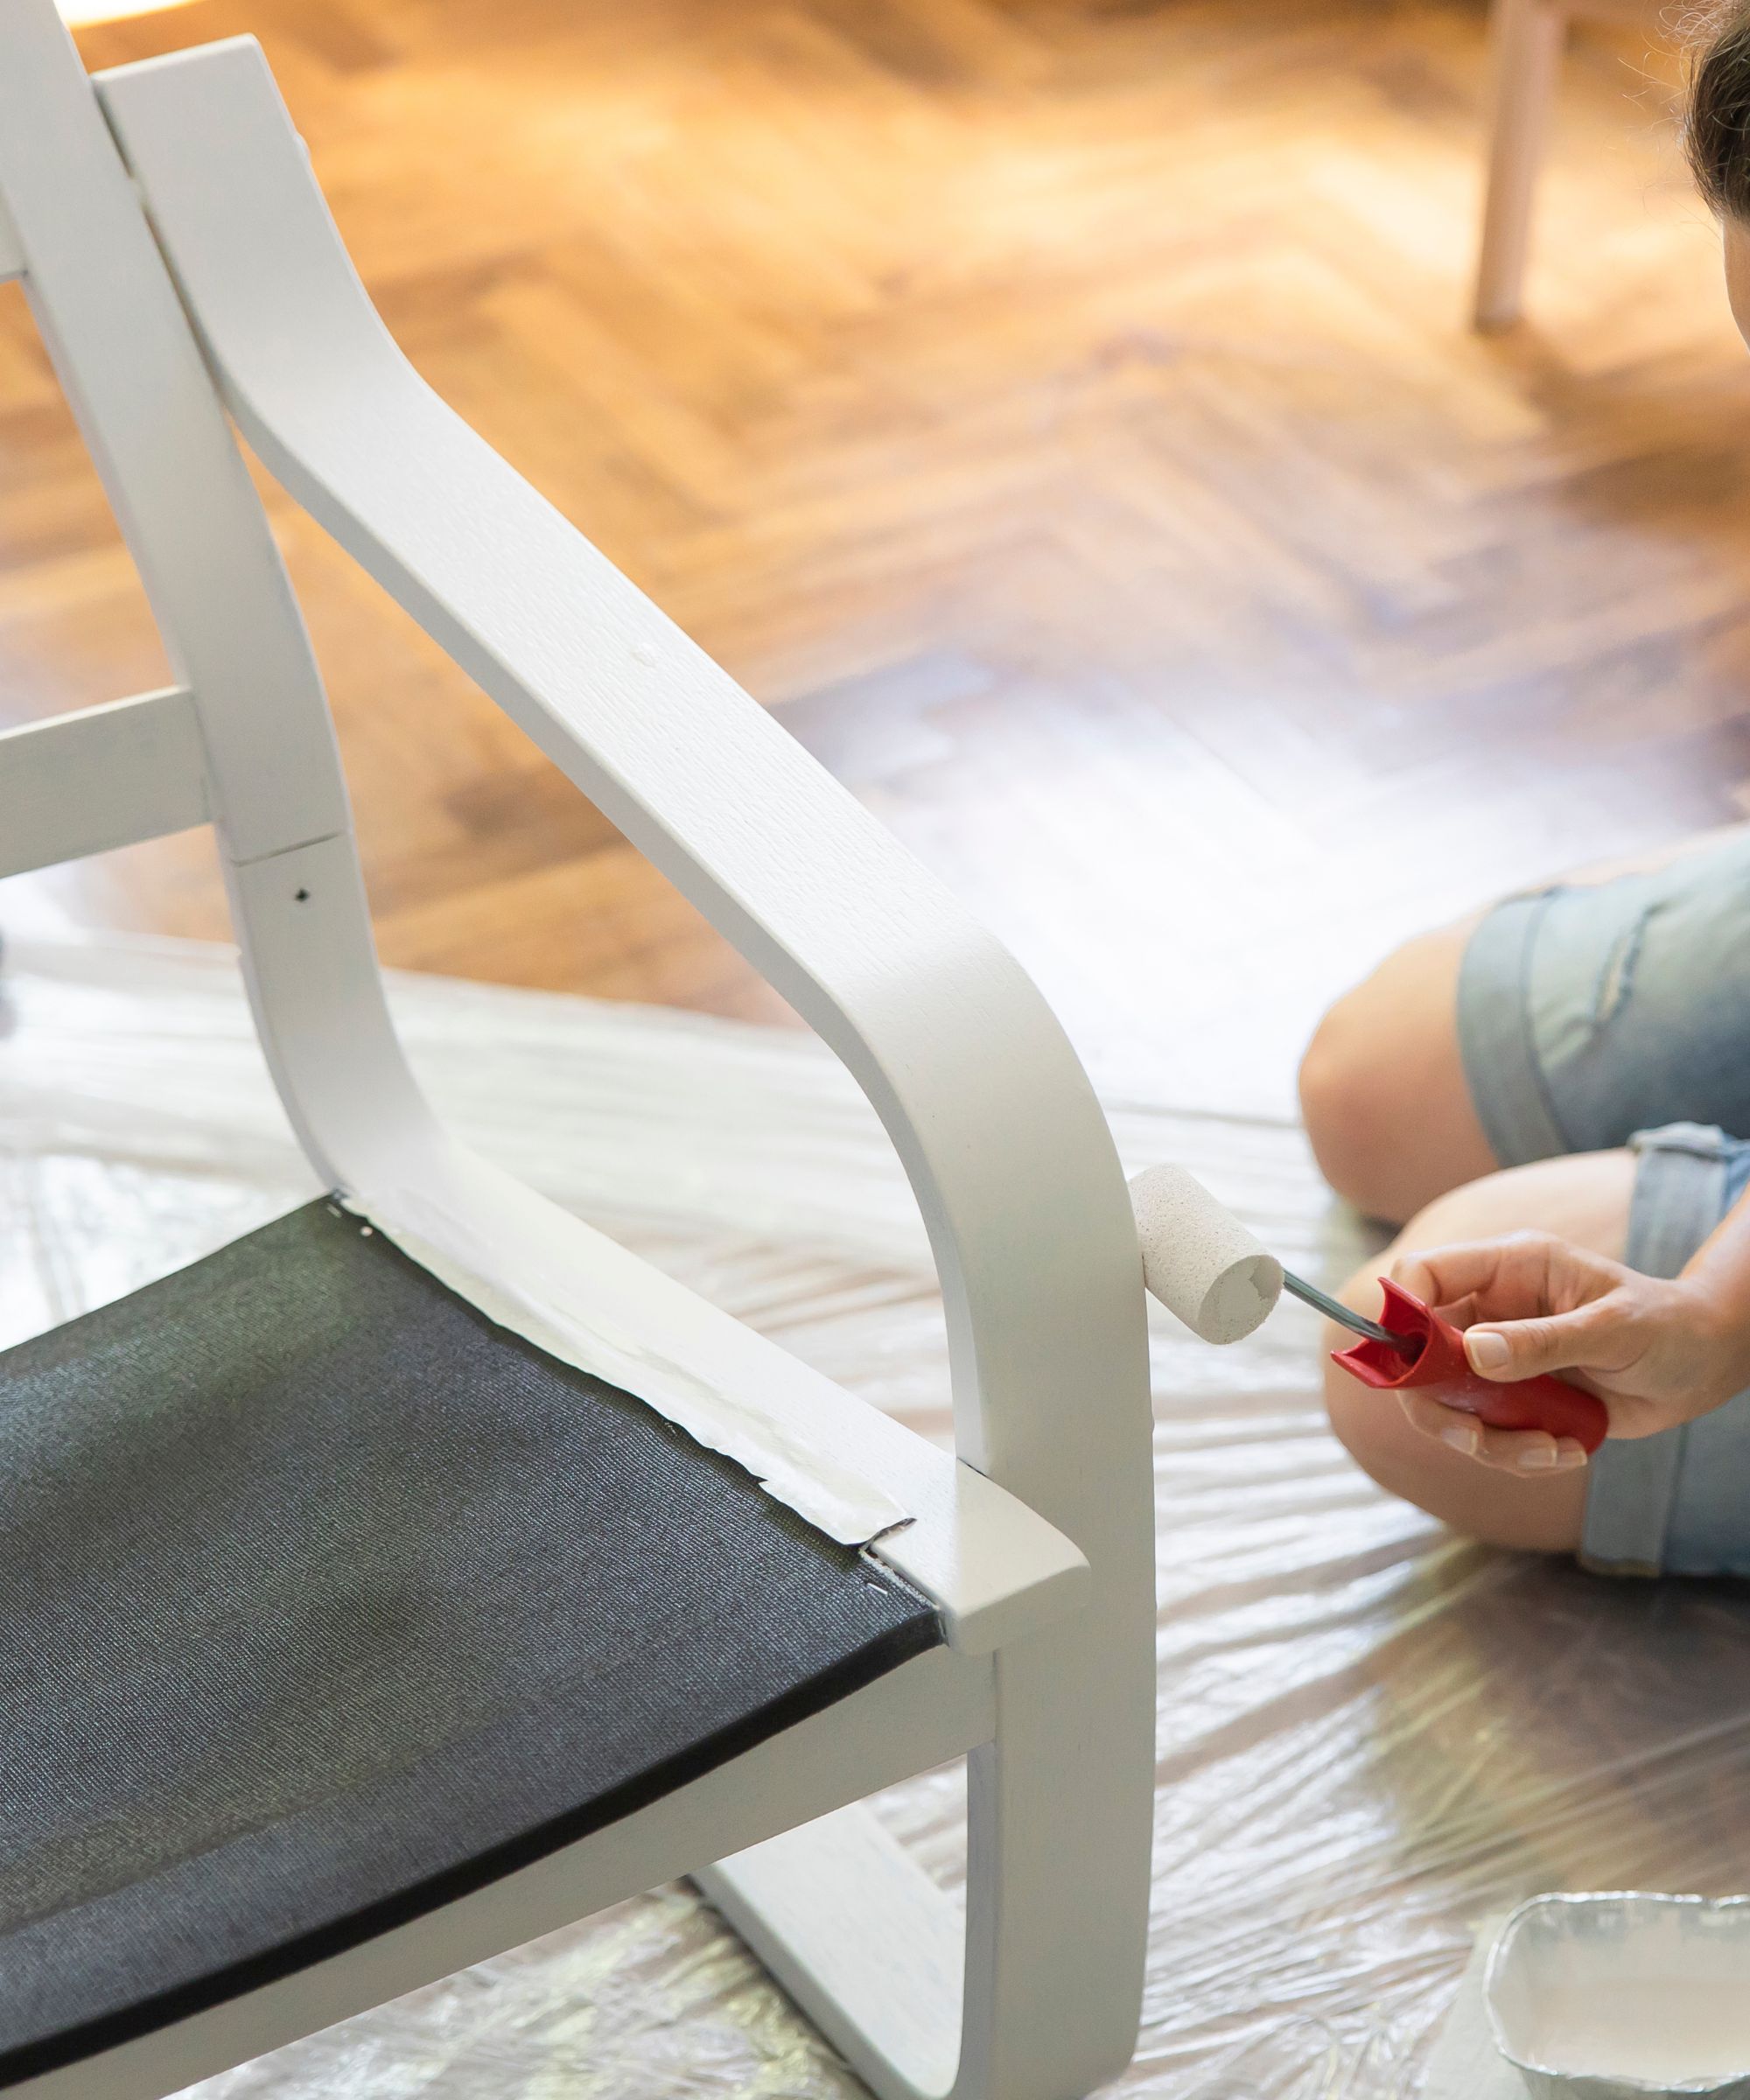
Whether you are working with natural wood, or have a painted surface where you have worked in one direction with a brush or roller, it is best to apply the polyurethane in the same direction as the grain using either a fine-bristled brush, foam brush, or a rag, suggests Tony Adams, home improvement expert.
‘You need to apply a sufficient but not overly thick coat, and brush out bubbles as you work,' he suggests. ‘A rag can be helpful if you have to work on a slanted or vertical surface. After the first coat has dried, lightly sand the surface, remove dust, and apply subsequent coats until the desired protection is achieved.’
FAQs
Do you sand between every coat of polyurethane?
It is a good idea to sand between coats of polyurethane to help each new coat adhere correctly. Ideally, you only want to sand lightly, using 320-grit sandpaper once the coat is completely dry and not tacky, brushing away the dust before applying another layer of polyurethane, and remembering not to sand the final layer for a smooth, glossy finish.
How long does it take polyurethane to dry?
Polyurethane takes around four to six hours to dry depending on the make (oil or water-based) and the drying conditions. Humid weather, for instance, will make it dry slower, while dry warm weather will speed the process up. Always follow the manufacturer's instructions when it comes to drying times, especially between applying coats to prevent an uneven finish.
Polyurethane is one of the best durable top coats for all sorts of home projects, from finishing painted kitchen cabinets to sealing a freshly renovated coffee table. When picking out a polyurethane finish, remember that high gloss will be more likely to show dents, marks, and scratches that already exist in the furniture, so if something has been well-loved, consider a lower gloss option to achieve a smooth finish without highlighting imperfections.
Sign up to the Homes & Gardens newsletter
Design expertise in your inbox – from inspiring decorating ideas and beautiful celebrity homes to practical gardening advice and shopping round-ups.

Chiana has been at Homes & Gardens for two years and is our resident 'queen' of non-toxic living. She spends most of her time producing content for the Solved section of the website, helping readers get the most out of their homes through clever decluttering, cleaning, and tidying tips. She was named one of Fixr's top home improvement journalists in 2024.
-
 6 key colors to decorate with in May, according to interior design and color experts in the know
Designers and color experts share the colors they are decorating with this month
-
 Gardeners with Japanese maples urged to use this simple 2-ingredient solution that will stop pests fast if you act now
How to quickly clear honeydew and aphids from your Japanese maples
-
 7 dorm room organizing rules for less clutter and more space
Experts offer their top tips for creating a well-organized dorm room, no matter the size, space, or layout.
-
 How to maximize storage in a small or shared dorm room, according to pro organizers
Find out all the hidden storage zones you might never have noticed
