How to tile a fireplace – an expert reno guide
Learn to tile a fireplace and you can revive an old surround and add character to your living space
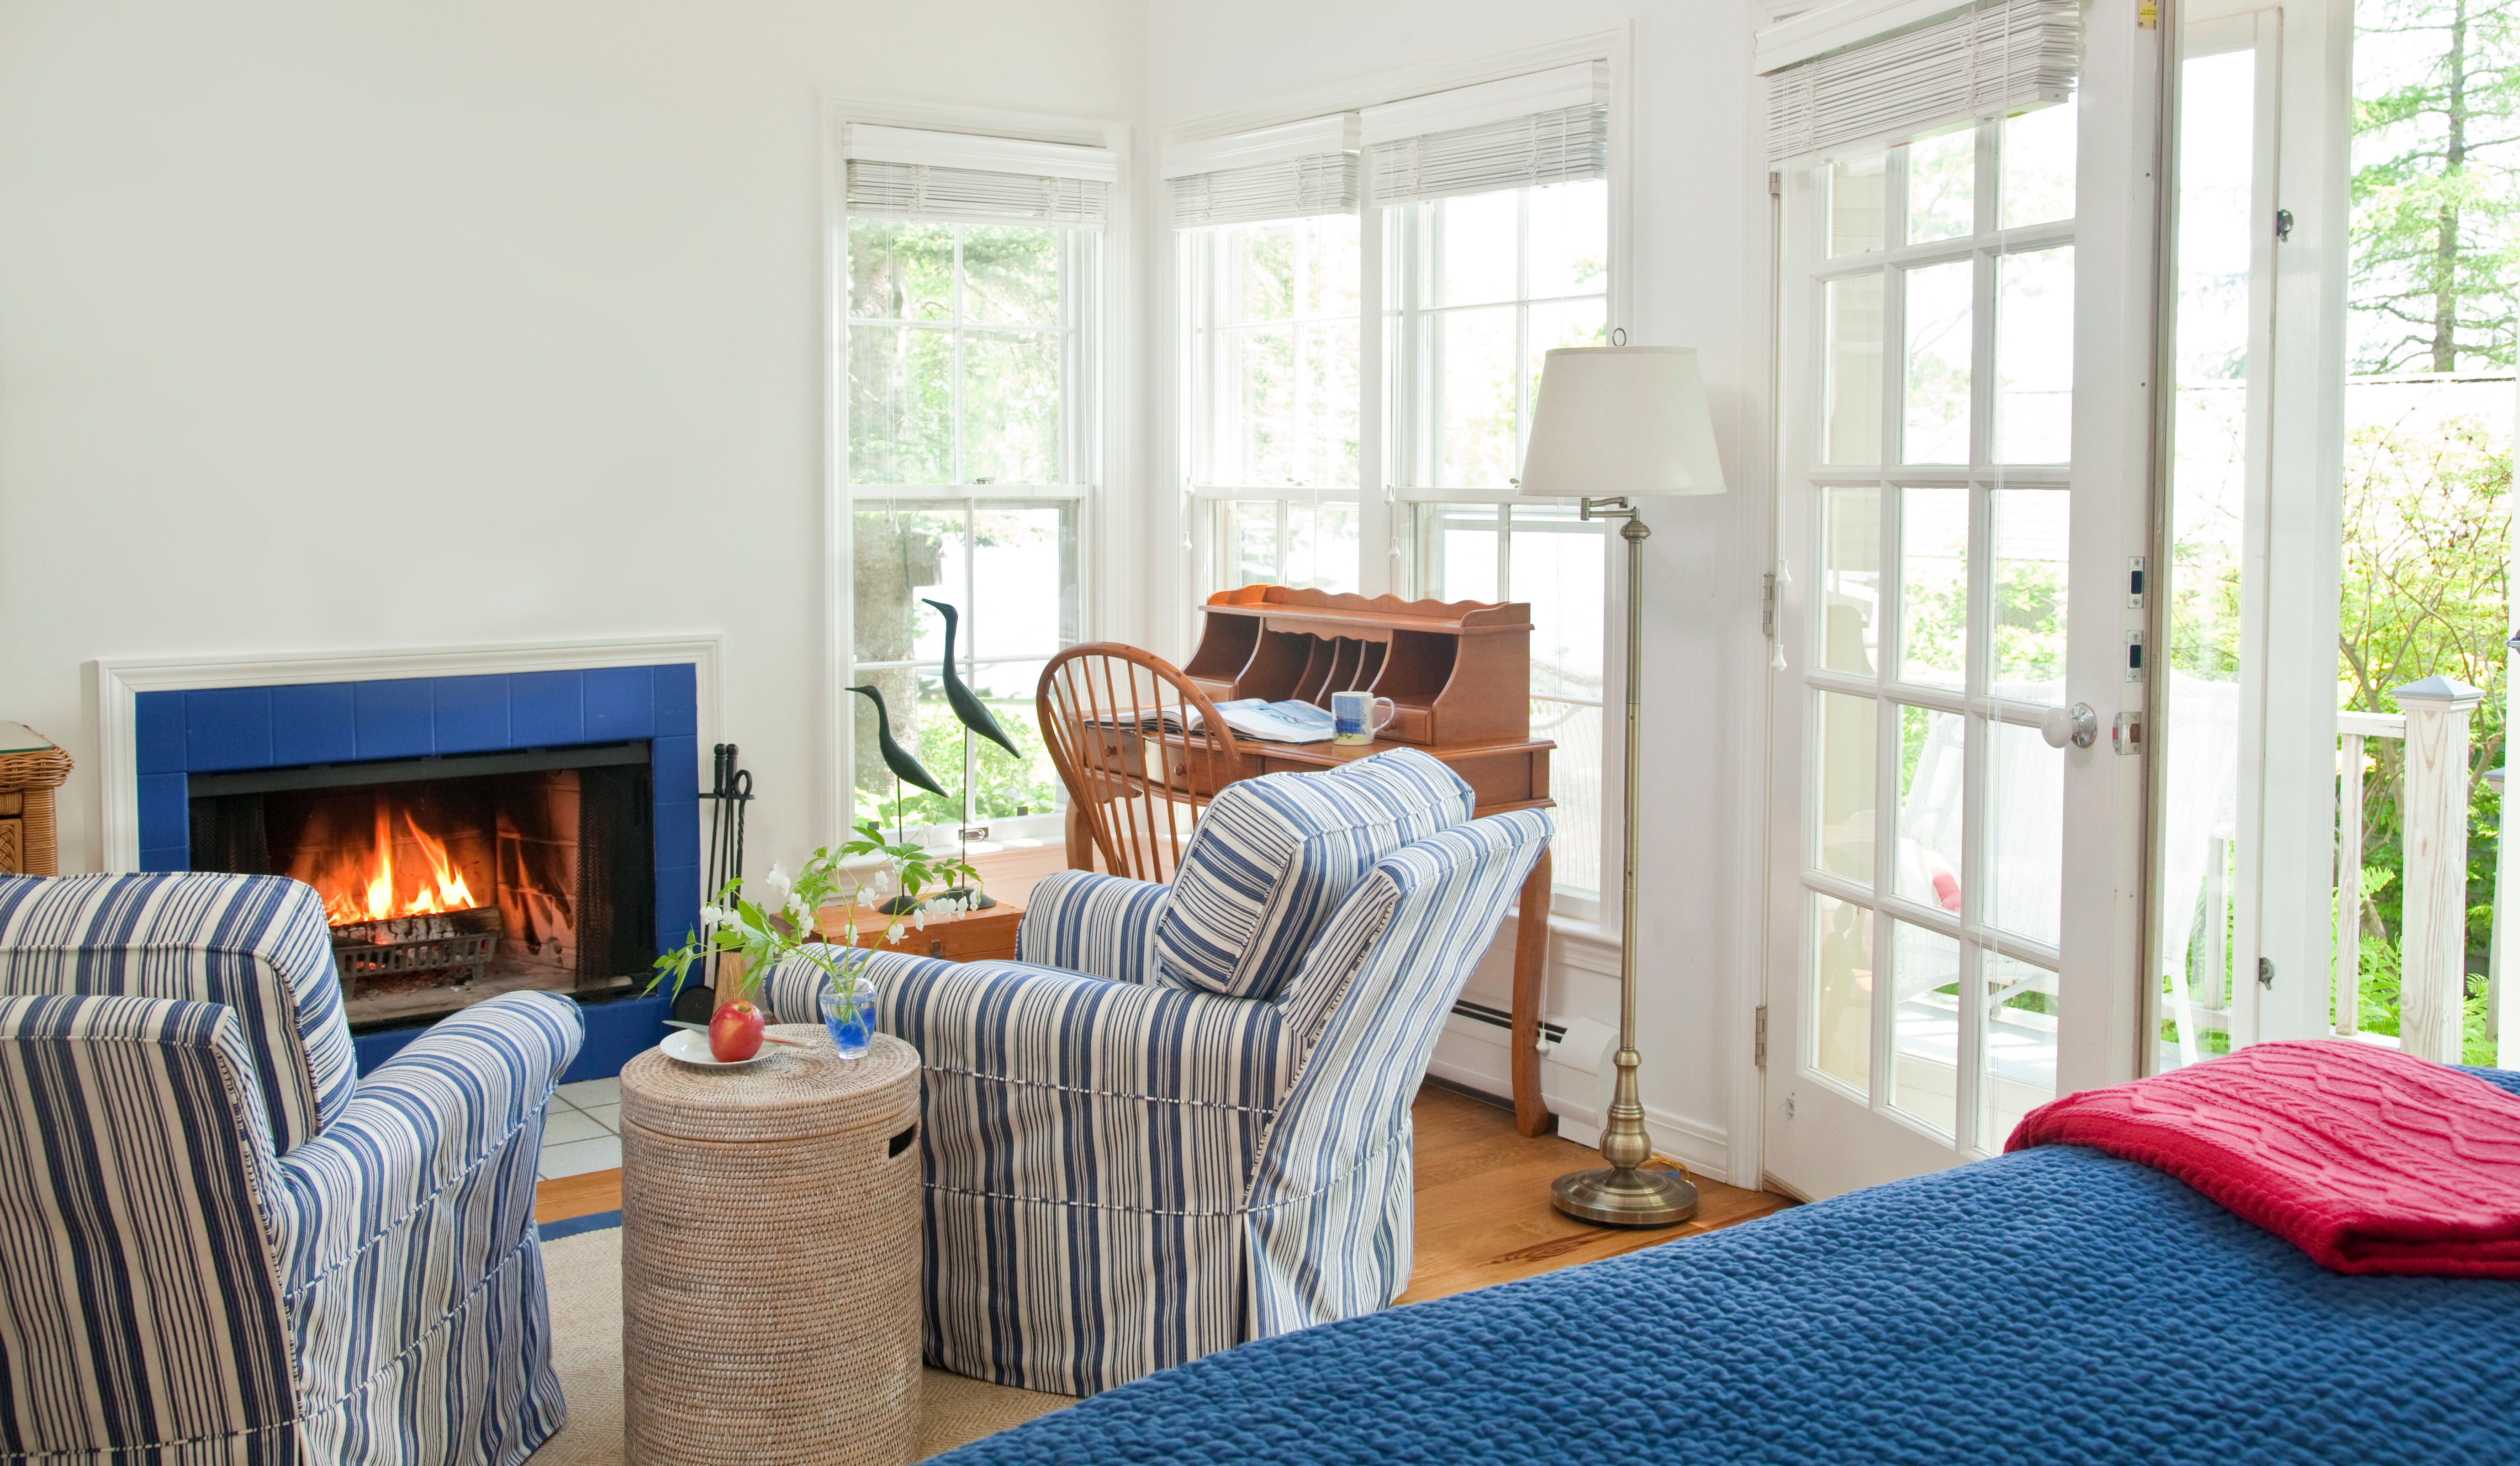

Discover how to tile a fireplace and you can transform an entire room. Fireplaces provide a focal point in a space, and whether you’ve moved into a property with a period design that needs a little love or you want to give a modern surround some character, it’s easy enough to tile a fireplace for an instant update.
Your fireplace tile ideas won't just make your space smarter, they can also create a striking style statement that can inspire the color scheme, patterns and textures in the rest of the room.
So read on for our guide on how to tile a fireplace with advice, hints and tips from the experts on how to tackle this DIY task with ease.
How to tile a fireplace
As well as choosing a style, print, pattern or color for the tiles, it’s important to think about safety at every step when tiling a fireplace, especially with the materials, when you are grouting tiles, for example.
'It's essential to use heat-resistant tile grout for this application, since the ordinary kind will break down under sufficiently high heat,’ explains Todd Saunders, CEO of Flooring Stores, a resource for finding the right type of flooring and contractor for any project. ‘It's also best to choose a grout and tile that will effectively hide soot, unless you want to spend a lot of time cleaning your fireplace.’
You will need:
- Tape measure
- Tiles
- Adhesive
- Grout
- Tile cutter/wet saw
- Sharp trowel
- Grout float
- Spacers
- Level
- Painter's tape (optional)
- A cement board (optional)
- Wet cloth
1. Measure and plan before you start
The first thing to do is to measure every part of the fireplace for height and width to get the square footage for tiling – as you do when tiling in a shower or tiling a wall – which can be calculated by multiplying these measurements together.
‘Your choice of design should be based on the size of your fireplace,’ advises John Geraghty, tiling expert at My Job Quote. ‘Therefore, the most crucial aspect of planning is keeping your fireplace's size and design in mind. Consider the height of each tile as you determine how many rows will fit.
Once you have the square footage of tiles needed, add an extra 10-15% on top in case of tile damage. ‘Then, depending on your tile design you'll need a wet saw, adhesives, a sharp trowel and spacers,’ adds John Geraghty. ‘Finally, you'll need a level to make measurements to implement the design properly. A cement board is also required if you need a surface to apply the tile. A cement board must be cut and installed before installing any tiles. Use a thin-set to smooth out the surface of your fireplace and wait for it to dry before adding tiles.’
2. Cut tiles to fit
Check your measurements again then cut any tiles needed to fill the space, feeding them through a wet saw carefully and slowly to prevent chips.
3. Apply the tiles
Next, starting at the bottom and working your way up, apply the adhesive to the back of the tile using a notched trowel and ensure the tile is fully covered. Make consistent tracks using the notched trowel.
‘Apply the tile to the fireplace surface firmly and move it a little so the tracks stick to the surface where you want them to,’ advises John Geraghty. ‘Put spacers between each tile if you plan to grout between them. At this point, use your level to check that every piece is perfectly straight before securing the tiles. As you go along, wipe up any excess adhesive mix with a wet cloth. To prevent any mistakes, refer to the design pattern frequently. You might need to trim the final details along the tile's top as you approach the top of the fireplace. Then, leave it to set overnight.’
4. Apply the grout
The final part of the job is to apply the grout, using painter's tape to cover any tiles the grout might adhere to, and you can find details in our complete guide on how to grout. Using an angled grout float, apply carefully, removing any excess with a diagonal motion using the edge of the float.
Leave to dry for an hour then remove any residue using a wet rag or sponge in a circular motion. Lastly, apply caulk to the outer parts between the tile and mantel after leaving it to dry overnight.
Can I use any tiles on a fireplace?
The main thing to remember is that tiles need to be at least 6in away from the heat source to prevent discoloration and cracking. ‘Tiles may be considered for the surround and the hearth, but not for the firebox,’ explains Steve Elliott, franchise owner at Restoration 1 Minnetonka.
Either way, porcelain tile is advised as the best option. This is because it can absorb heat from the fire without transferring it to the surrounding areas.
‘It’s a common misconception that tiles aren’t suitable for your fireplace,’ says Harriet Goodacre, brand communications manager and tile consultant at Topps Tiles. ‘As long as you choose the correct kind, which are suitable for use around a hearth and your fireplace, then tiling it is a great way to add interest and create a focal point in your room. You can tile any fireplace, providing the walls are flat and sound and can take the weight of your chosen tiles, but you do need to consider the type you use. We’d recommend porcelain tiles, as these will offer the strength and durability needed.’
Can I tile over a brick fireplace?
You can tile over a brick fireplace so long as the bricks are in decent condition.
Do you need a special grout for fireplaces?
‘It’s extremely important to use the correct adhesive and grout when tiling your fireplace,' says Harriet Goodacre from Topps Tiles. ‘The amount of heat that hits the tiles determines what product you require, so the closer your tiles are to the heat source, the more resilient your materials need to be. We recommend a heat resistant adhesive and grout, which can withstand temperatures up to 212℉ (100⁰C). For anything above this temperature you’ll need to use a cement-based product.’
Sign up to the Homes & Gardens newsletter
Design expertise in your inbox – from inspiring decorating ideas and beautiful celebrity homes to practical gardening advice and shopping round-ups.

Hayley is an interiors journalist, content provider and copywriter with 26 years experience who has contributed to a wide range of consumer magazines, trade titles, newspapers, blogs and online content. Specialising in kitchens and bathrooms, she has twice won the CEDIA Award for Best Technology feature. Hayley writes for H&G about kitchens, bathrooms, cleaning, DIY and organizing.
-
 I always get my small space storage from Wayfair – and these discounted $35 stackable Martha Stewart storage boxes are the perfect fix for my tiny vanity
I'm going vertical for tiny space storage success with this Early Way Day 2025 bargain
By Punteha van Terheyden
-
 These are the colors that just don't work with purple – 4 shades to sheer clear of if you want to bring this on trend color into your home
Why some colors sabotage purple, and how to get it right every time.
By Sophia Pouget de St Victor
-
 7 dorm room organizing rules for less clutter and more space
Experts offer their top tips for creating a well-organized dorm room, no matter the size, space, or layout.
By Ashley Chalmers
-
 How to maximize storage in a small or shared dorm room, according to pro organizers
Find out all the hidden storage zones you might never have noticed
By Ashley Chalmers