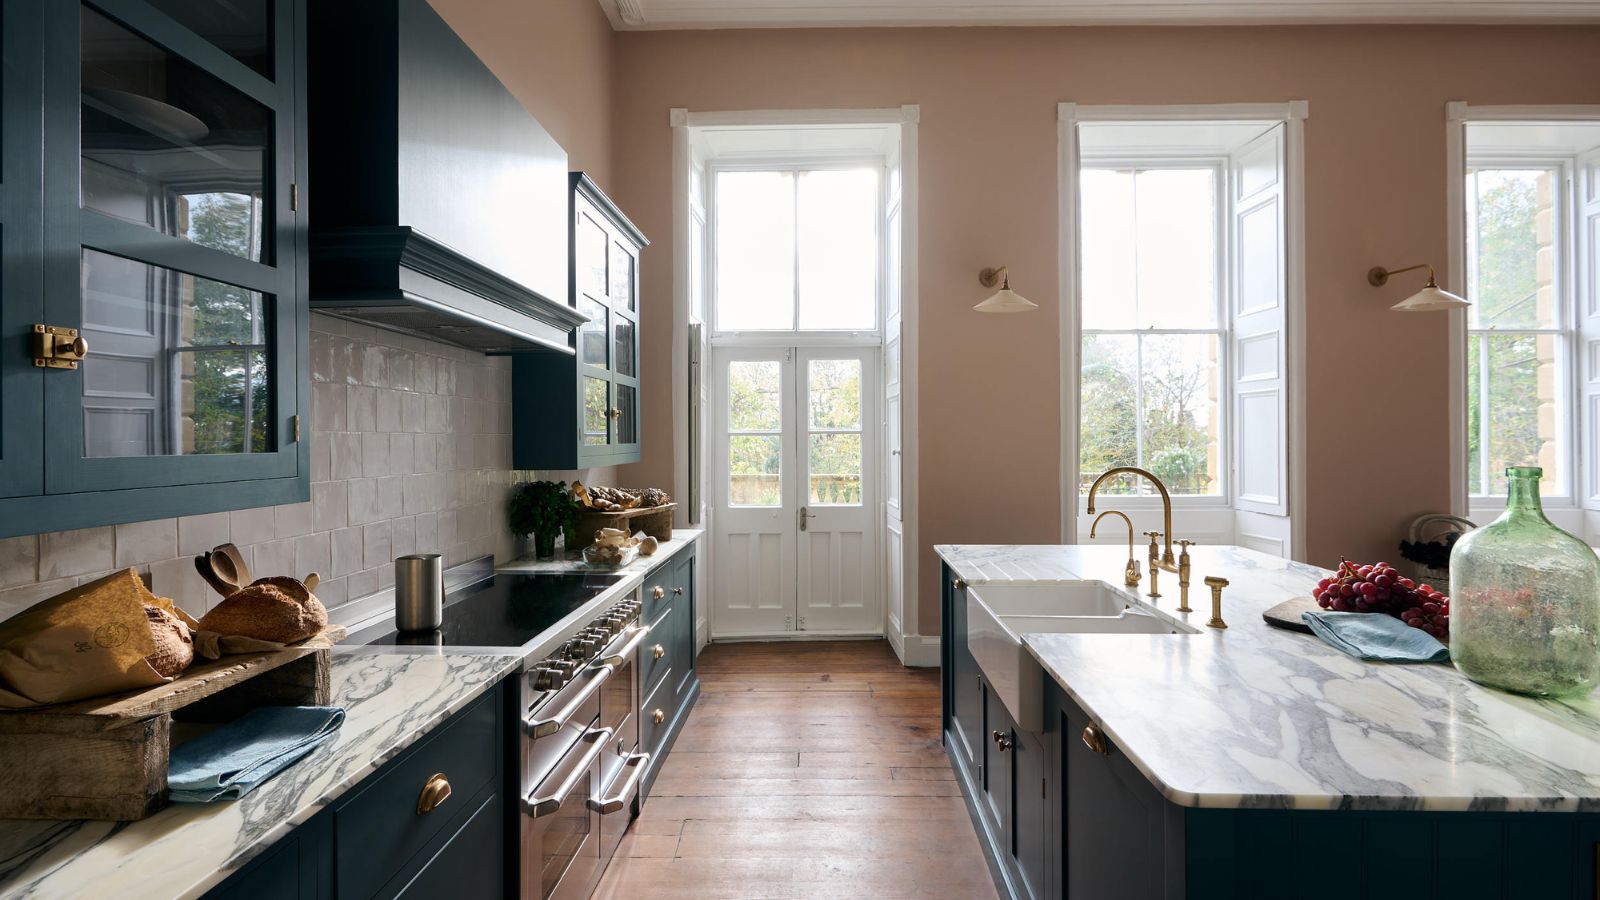
How to put up coving – for a smart finish to any room
Expert tips on how to put up coving to create a sleek finish to a room renovation...

Want to create a smooth and sleek finish where your walls meet your ceilings? Learning how to put up coving is the solution.
Coving, usually constructed with plaster, is a simple decorative finish that will cover any cracks that may appear where around the join between walls and ceiling. It can offer a finished look to enhance any scheme, and comes in different styles to suit your décor, from Victorian to contemporary.
If you can learn how to remove a popcorn ceiling, how to texture a ceiling and how to plaster a ceiling, you can certainly turn your talents putting up coving. Putting up coving is a job you can tackle yourself with a little guidance from the experts.
How to put up coving for a sleek, pro-worthy finish
We turned to Nick Cryer, founder of high-end construction company Berkeley Place, for his top tips on how to put up coving for your next DIY project.
First of all, you will need:
- Sharp saw (small teeth)
- Miter box
- Paint brush and small scraper or similar for filling joints and finishing
- Work bench
- Adhesive
- Spirit level
- Hammer and wall nails for keeping in place until adhesive is dry
- Sponge and water
1. Use a template to mark your guidelines
'We would always start by cutting a small section to use as a template to mark the bottom edge on the wall and top edge on the ceiling,' says Nick. 'This then acts as a guide when installing.'
2. Prep the wall and cut coving corners
Once you have removed all wallpaper and or loose paint or plaster, you can make criss-cross scratches on the wall/ceiling between the guides, in order to provide a key for the adhesive.
Nick says: 'Use a miter box to cut an accurate angle at the end of the first section, this will create your 45-degree angles that you need to make the coving pieces join up in the corners.'
3. Cut your coving lengths
You will need to accurately measure the wall and cut appropriate section lengths of coving with an appropriate miter too.
Nick suggests that cutting can be undertaken with a standard wood saw that is very sharp.
4. Apply your coving with adhesive
Spread an even layer of adhesive over the top and bottom of the back of the coving – the areas that will be in contact with the walls and ceiling.
'Press the coving into place and line up the bottom edge with the pencil guideline you drew earlier,' says Nick. 'Press gently along the whole length so that the adhesive sticks evenly.'
5. Hold coving in place while adhesive dries
'Long lengths of coving may sag or fall off before the adhesive has set,' warns Nick. 'So you would need to support the bottom edge with one or two galvanised nails.
You can remove these and fill the holes when the adhesive has dried.'
6. Remove visible adhesive and fill gaps
Remove any adhesive from the top and bottom edges. Fill any gaps with more adhesive and then use a wet paintbrush to give a smooth finish.
'Continuing around the room, you can simply butt one piece up to the previous one with a straight join,' says Nick.
7. Cut your corner joins
If you have any external corners in the room, you will need to cut coving corners, cutting the two ends which join here with miters in the opposite direction from those you have cut previously.
Nick says: 'This often causes problems since, not only have you got to remember to cut the angle the right way, but also the point to which you measure is different.
'The best way to remember and get it right is to always measure for the bottom edge of the cornice on external angles and the top edge for internal angles.
'Try to make as few joints on the walls as possible because the result will be neater. And try to avoid joins in focal points of the room.'
Is coving easy to put up?
Coving is not particularly hard to install, but you will most likely need more than one person, according to Berkeley Place's Nick Cryer. However, putting up coving need not be difficult. Thankfully, it can be a relatively simple task that can be undertaken as a weekend DIY project.
How do you stick coving to the ceiling?
You can use appropriate adhesive to stick your coving to the ceiling. Firstly, you want to make sure that the coving is sitting in the correct position in relation to your walls and ceiling.
Do you put coving up before painting?
Yes, always apply your coving before learning how to paint a room. Painting a room first will ensure a neater finish. A wide oval brush is ideal for painting coving as the shape of the bristles will hug the curve of the coving, giving you a beautiful and neat finish, first time.
Sign up to the Homes & Gardens newsletter
Design expertise in your inbox – from inspiring decorating ideas and beautiful celebrity homes to practical gardening advice and shopping round-ups.
Ruth Doherty is an experienced digital writer and editor specializing in interiors, travel and lifestyle. With 20 years of writing for national sites under her belt, she’s worked for the likes of Livingetc.com, Standard, Ideal Home, Stylist and Marie Claire as well as Homes & Gardens.
-
 Zooey Deschanel and Jonathan Scott's breakfast nook is an innovative, effective use of kitchen space – it turns a 'dead area' into a cafe-style corner
Jonathan and Zooey have situated an eccentric yet elegant dining area in what may have been an otherwise underused corner
By Hannah Ziegler Published
-
 6 things you should never throw in the trash – and what to do for safe disposal instead
From batteries to space heaters, experts reveal what not to throw
By Andy van Terheyden Published
-
 7 dorm room organizing rules for less clutter and more space
Experts offer their top tips for creating a well-organized dorm room, no matter the size, space, or layout.
By Ashley Chalmers Published
-
 How to maximize storage in a small or shared dorm room, according to pro organizers
Find out all the hidden storage zones you might never have noticed
By Ashley Chalmers Published