How to cut coving corners – for the perfect fit
Discover expert tips on how to cut coving corners and create a professional finish

Some DIYers find that learning how to cut coving corners is the trickiest part of putting up coving. However, with the right guidance, it's a job you can certainly carry out yourself.
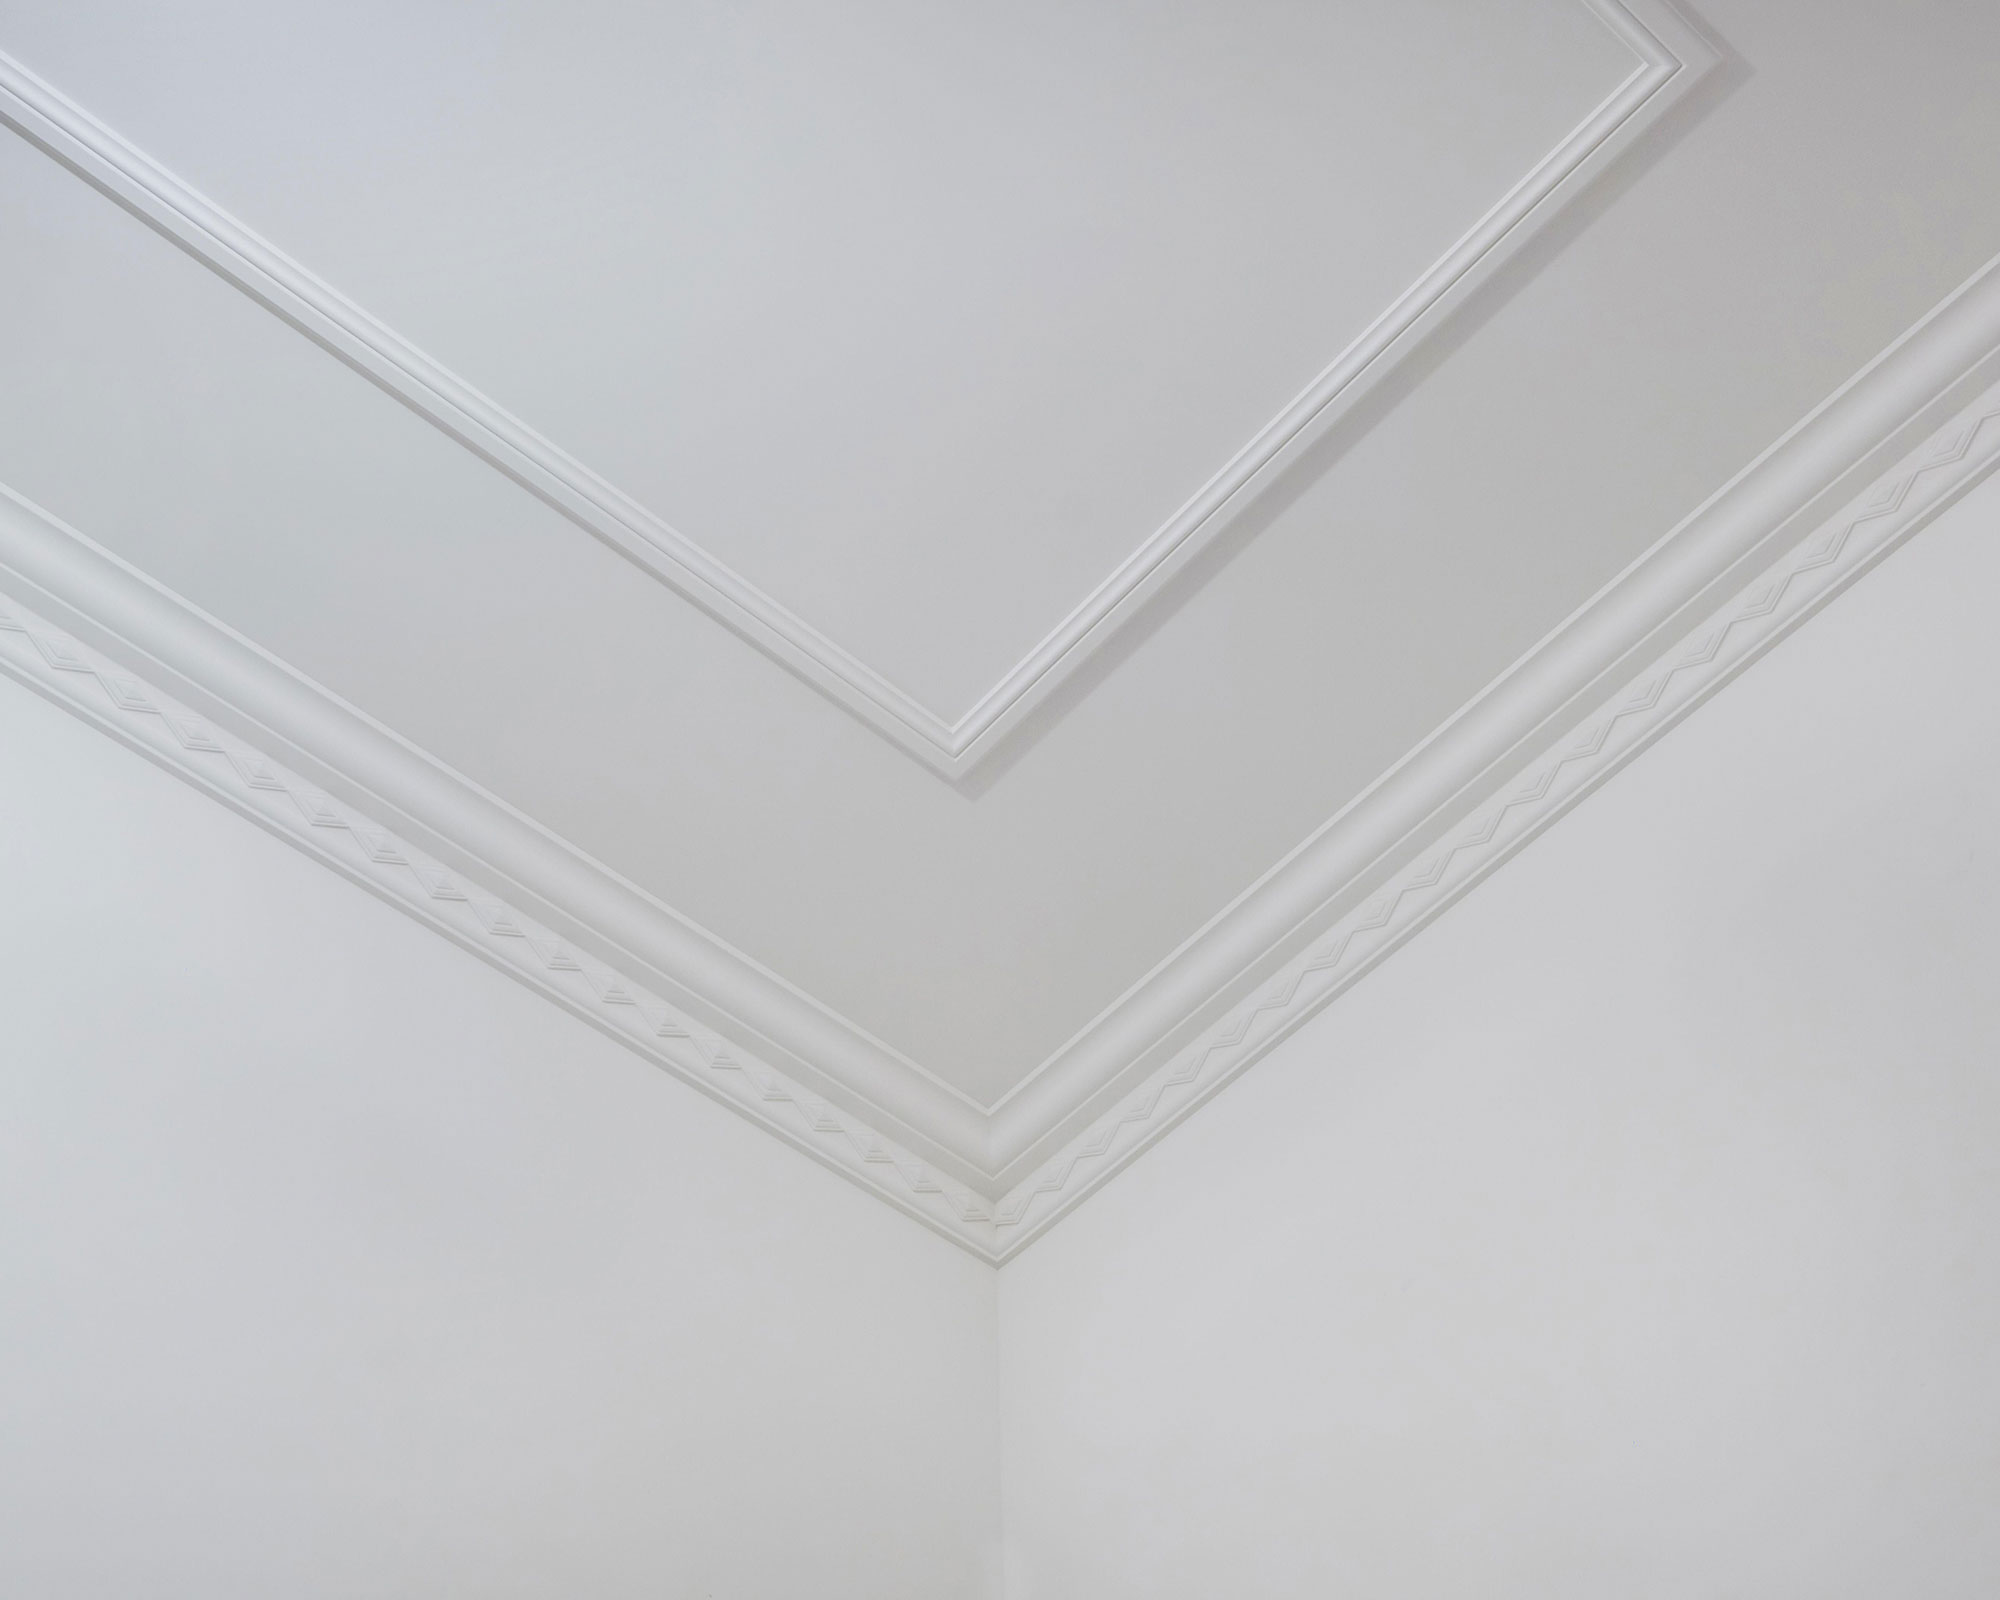
Decorative coving is used within a room to add an elegant finish. It works to hide any uneven edges, cracks or painting mistakes where the wall meets the ceiling. If you’re updating and have found out how to remove popcorn ceiling, it’s the perfect final touch.
Find out how to cut coving corners below, and get a professional finish when you do it yourself.
How to cut coving corners with a miter box
If you have learned how to plaster a ceiling, or how to texture a ceiling, knowing how to put up coving is a beautifully complementary skill, and being adept at cutting coving corners is part of the process.
A miter box is the easiest way to cut coving corners as it's specifically designed for the purpose. Make sure that yours is large enough for the coving you are cutting.
You will need:
- Miter block
- Crosscut saw
- Pencil
- Tape measure
- Sandpaper
How to cut internal coving corners
Some coving comes with pre-cut corners, but if you want to keep a keen eye on budget, you can do the job yourself.
To cut your own internal coving corners, you'll need to start from one corner and work your way around the room, measuring each piece individually as you go. For example, start from the left and work to your right around the room.
A miter joint is a joint made by cutting each of two parts to be joined, usually at a 45° angle, to form a corner, usually at 90°. If you start from the left, you will begin by cutting your first left hand miter join.
'When positioned in the miter box, the main section of coving that will be hung on the left wall should be to your right,' say the experts at Decorative Coving. 'And, similarly, the main section of coving should be on your left for the piece that will be hung on the right hand wall.
'The coving is always put in the miter box upside down, that is the edge that will be fixed to the ceiling should be on the base (horizontal section) of the box,’ the experts say.
For the left piece, you will need to insert the crosscut saw into the 45º left hand corner slot (furthest from you), and run the saw through the 45º right hand corner slot.
Then do the same for the right piece, but using the opposite slots, right hand top and left hand bottom.
You can then use sandpaper to smooth any rough patches.
How to cut external coving corners
The same practice applies to external corners, except you will now be cutting using the opposite 45º guides.
'If you have any external corners in the room, you will need to cut the two ends that join here with miters in the opposite direction from those you have cut previously,' explains Nick Cryer of Berkeley Place.
'This often causes problems since, not only have you got to remember to cut the angle the right way, but also the point to which you measure is different.
'The best way to remember and get it right is to always measure for the bottom edge of the cornice on external angles and the top edge for internal angles.'
Tradesmen Costs says, 'To cut external corners, mark the lengths of coving with left and right as you did before.
'Place the left length in the miter block and cut at a 45º angle using as guides the top slot on the right corner of the box and the bottom slot on the left. Use the piece on the left side.
'Mirror the saw position to cut the right corner (top left, bottom right). Use the piece on the right side.'
What angle do you cut coving corners?
Cut coving corners at a 45º angle. ‘This assumes your walls are square, of course,’ says Lucy Searle, global editor in chief of Homes & Gardens. ‘If they aren’t, you will need to measure the angle, divide it into two and use a miter saw to cut the correct angles.’
How do you cut edges on coving?
You'll need a miter box and a wood saw to cut edges on coving.
'Use a miter box to cut an accurate angle at the end of the first section. This will create the 45º angles you need to make the coving pieces join up in the corners,’ explains Nick Cryer.
Sign up to the Homes & Gardens newsletter
Design expertise in your inbox – from inspiring decorating ideas and beautiful celebrity homes to practical gardening advice and shopping round-ups.
Ruth Doherty is an experienced digital writer and editor specializing in interiors, travel and lifestyle. With 20 years of writing for national sites under her belt, she’s worked for the likes of Livingetc.com, Standard, Ideal Home, Stylist and Marie Claire as well as Homes & Gardens.
-
 I've spent over 200 hours testing vacuums and swear by my two Dysons – this is how I properly clean a Dyson vacuum filter for longer-lasting appliances
Your Dyson vacuum will last much longer and clean at its best
By Dan Fauzi Published
-
 Bethenny Frankel calls this $695 machine the 'Rolls-Royce Cullinan of coffee' – it's a must-have luxury buy for iced-coffee lovers this springtime
The Real Housewife swears by a luxurious machine that makes nitro cold brew, cold brew, and cold espresso at the touch of a button – here's why it's worth it
By Sophie Edwards Published
-
 7 dorm room organizing rules for less clutter and more space
Experts offer their top tips for creating a well-organized dorm room, no matter the size, space, or layout.
By Ashley Chalmers Published
-
 How to maximize storage in a small or shared dorm room, according to pro organizers
Find out all the hidden storage zones you might never have noticed
By Ashley Chalmers Published