

Interior designer Em Henderson is endlessly creative when it comes to decor. Often showcasing her clever crafts and DIY hacks, we're always intrigued by the home decor ideas she comes up with.
This time, the interior designer transformed an old bulletin board into a custom corkboard to display in her child's bedroom, creating a whole new look by painting it and adding wooden circular knobs all along its frame. You can read all about the full process on Em Henderson's blog, but we've summarized the main steps below to help you on your way with this home decor idea.
Step One: Paint the background
To conceal the original cork which in Em's case was quite badly marked, start by painting the whole background of the corkboard in the color of your choice. Em opted to use acrylic paint ideas in a white hue, but you could alternatively go for a darker color depending on the look you want to create.
Step Two: Paint the wooden knobs
For a playful bobbin look, Em decided to decorate the edge of the mirror with wooden circular knobs, lining them around the outside of the rectangular frame. Before doing so, she spray painted each of these in a hot pink hue – again, you could choose whatever color you like.
Step Three: Paint the frame
To match the bright pink color of the wooden knobs, the interior designer matched the frame of the corkboard by painting it in the same color, ensuring that once everything's attached you won't be able to see any of the original color from underneath.
Step Four: Attach the wooden knobs
Em explains in her blog that the next step is to attach all of the painted wooden knobs around the perimeter of the frame. You'll want to use gorilla glue for this, but Em warns to be careful and make sure that this is clear glue, as some of them are colored meaning you will see this on the frame once dried.
Step Five: Display
Once everything is securely attached, the corkboard is ready to display in the room of your choice. Em opted to hang it horizontally in her daughter's bedroom and has started to pin colorful art to it, but you can get creative and display whatever you like for a unique wall hanging.
If you're feeling inspired to try your hand at this playful DIY idea, start by shopping the below items, and then you'll just need to decide on your favorite color of paint.


-
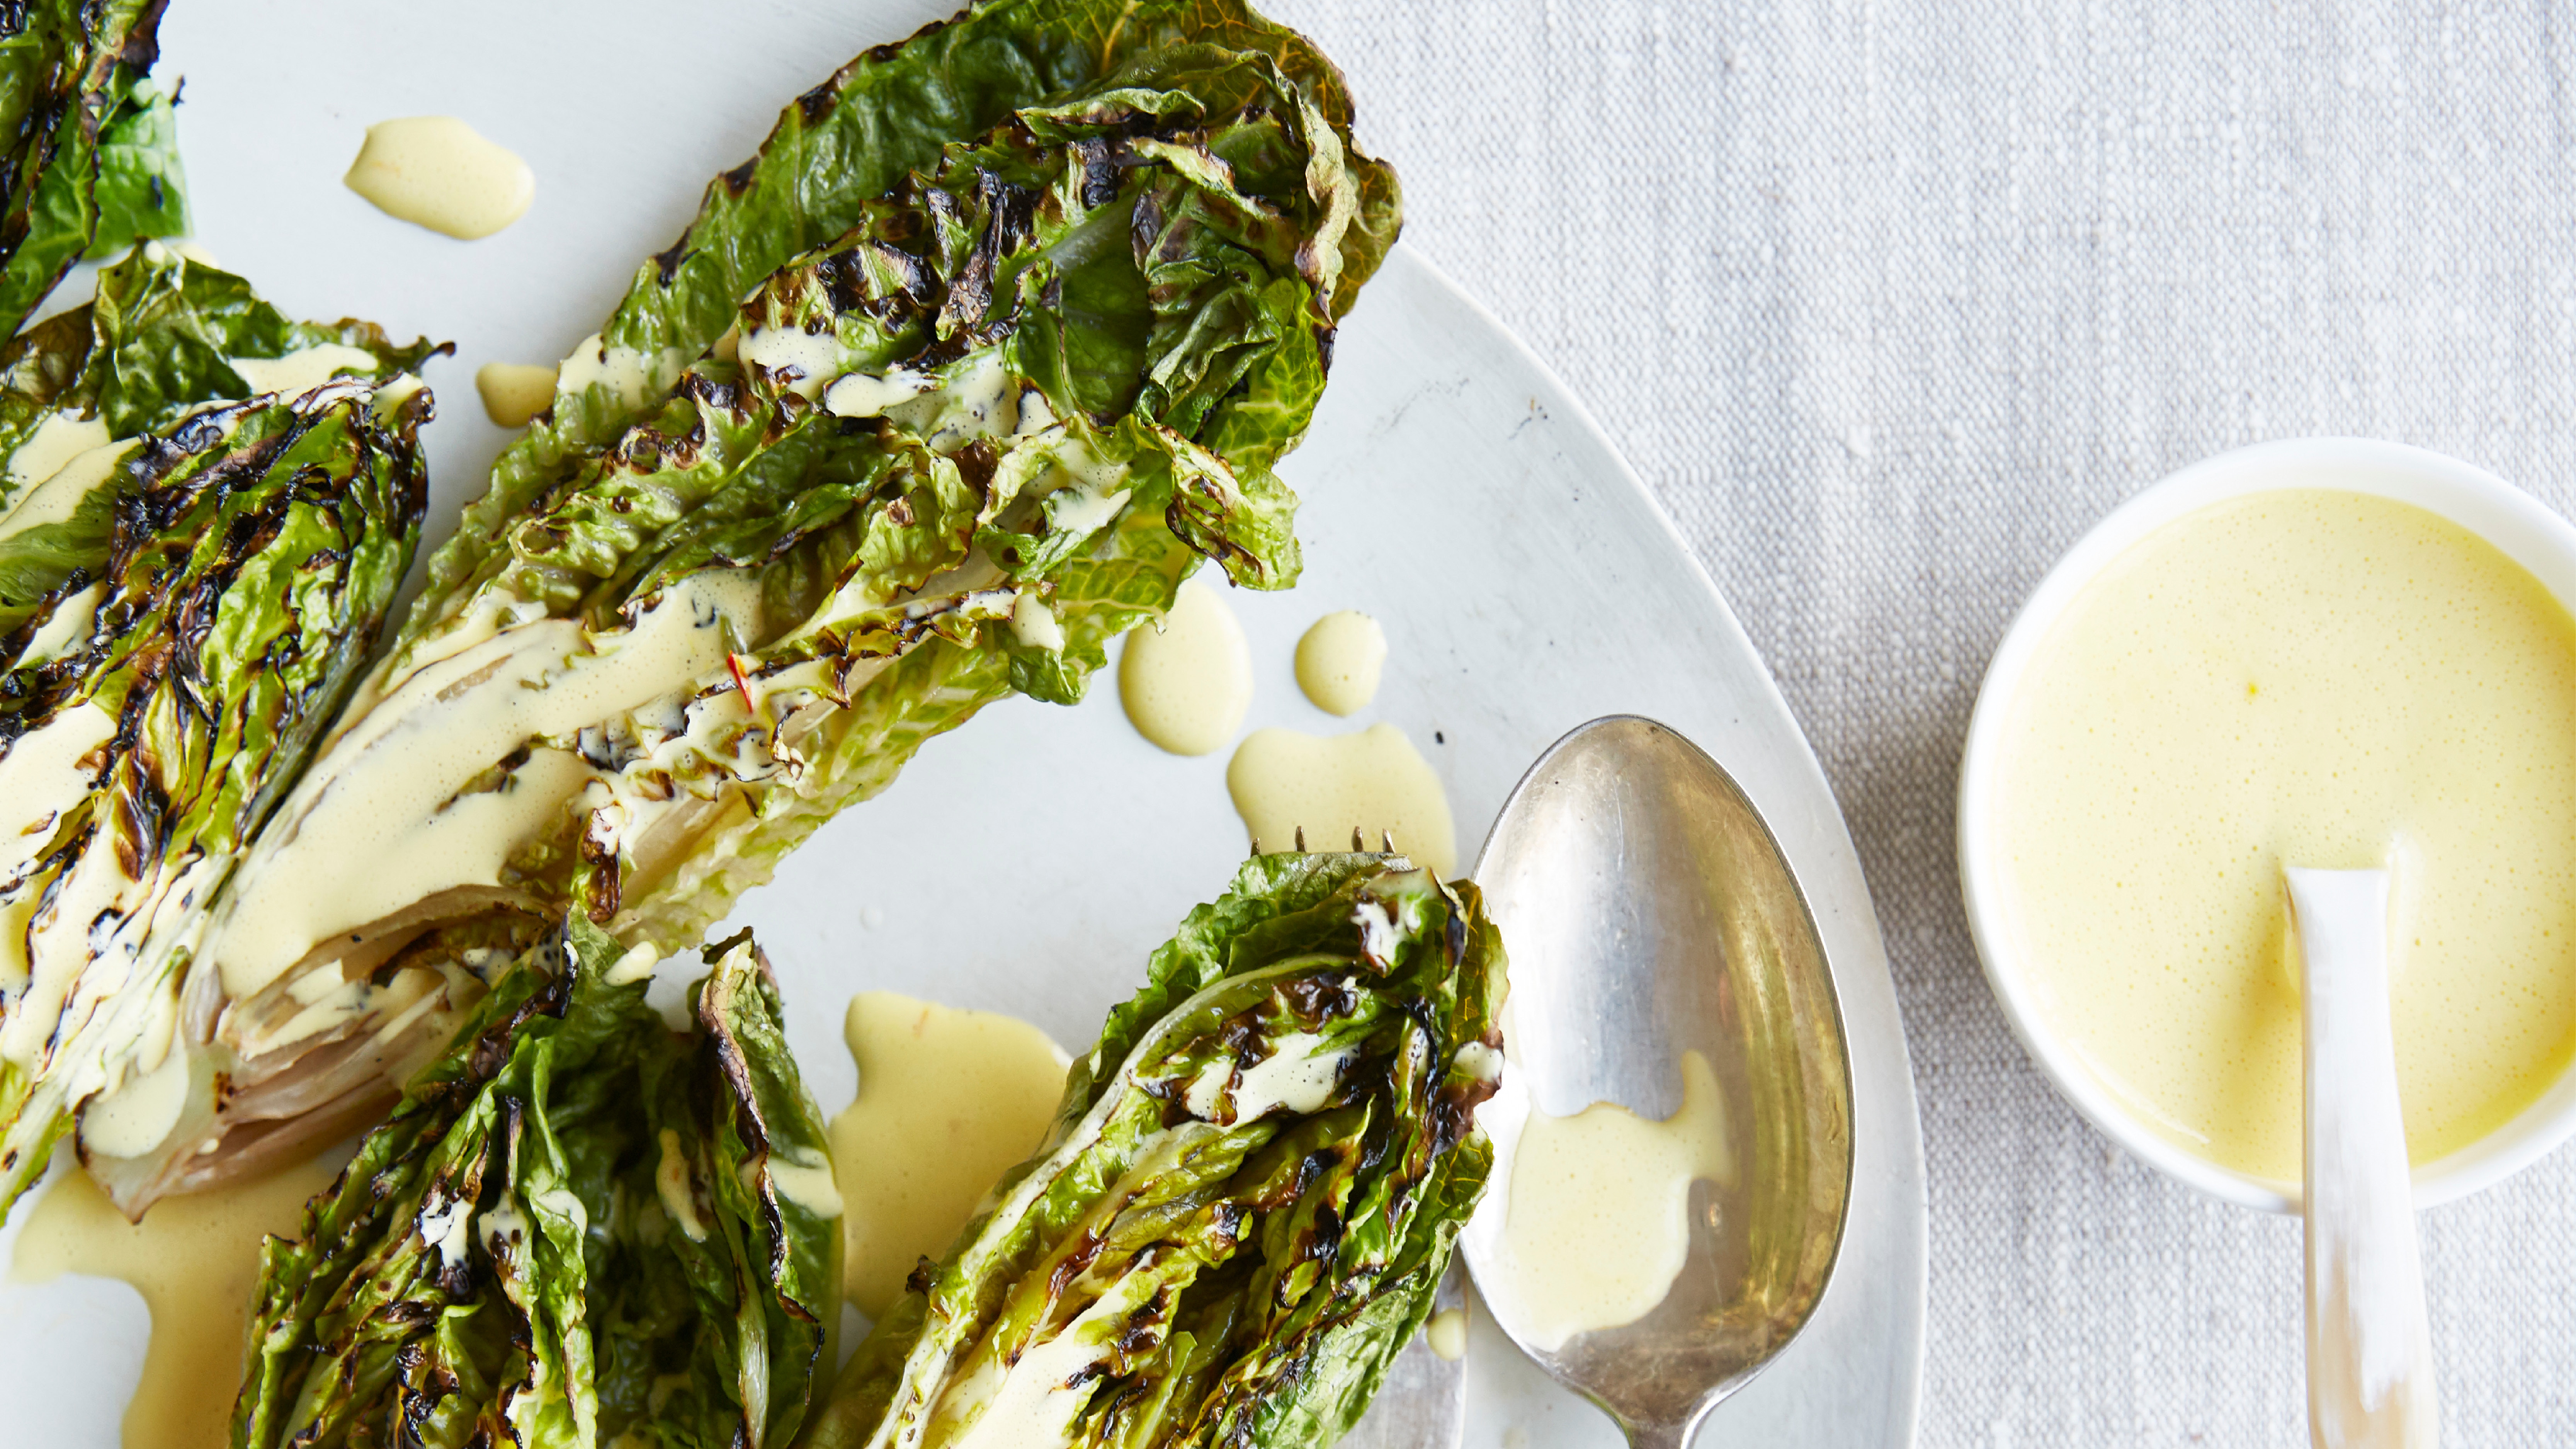 Charred little gem with saffron dressing
This recipe with charred little gem is both easy to make and sure to impress guests. It's the perfect side for fresh spring menus
-
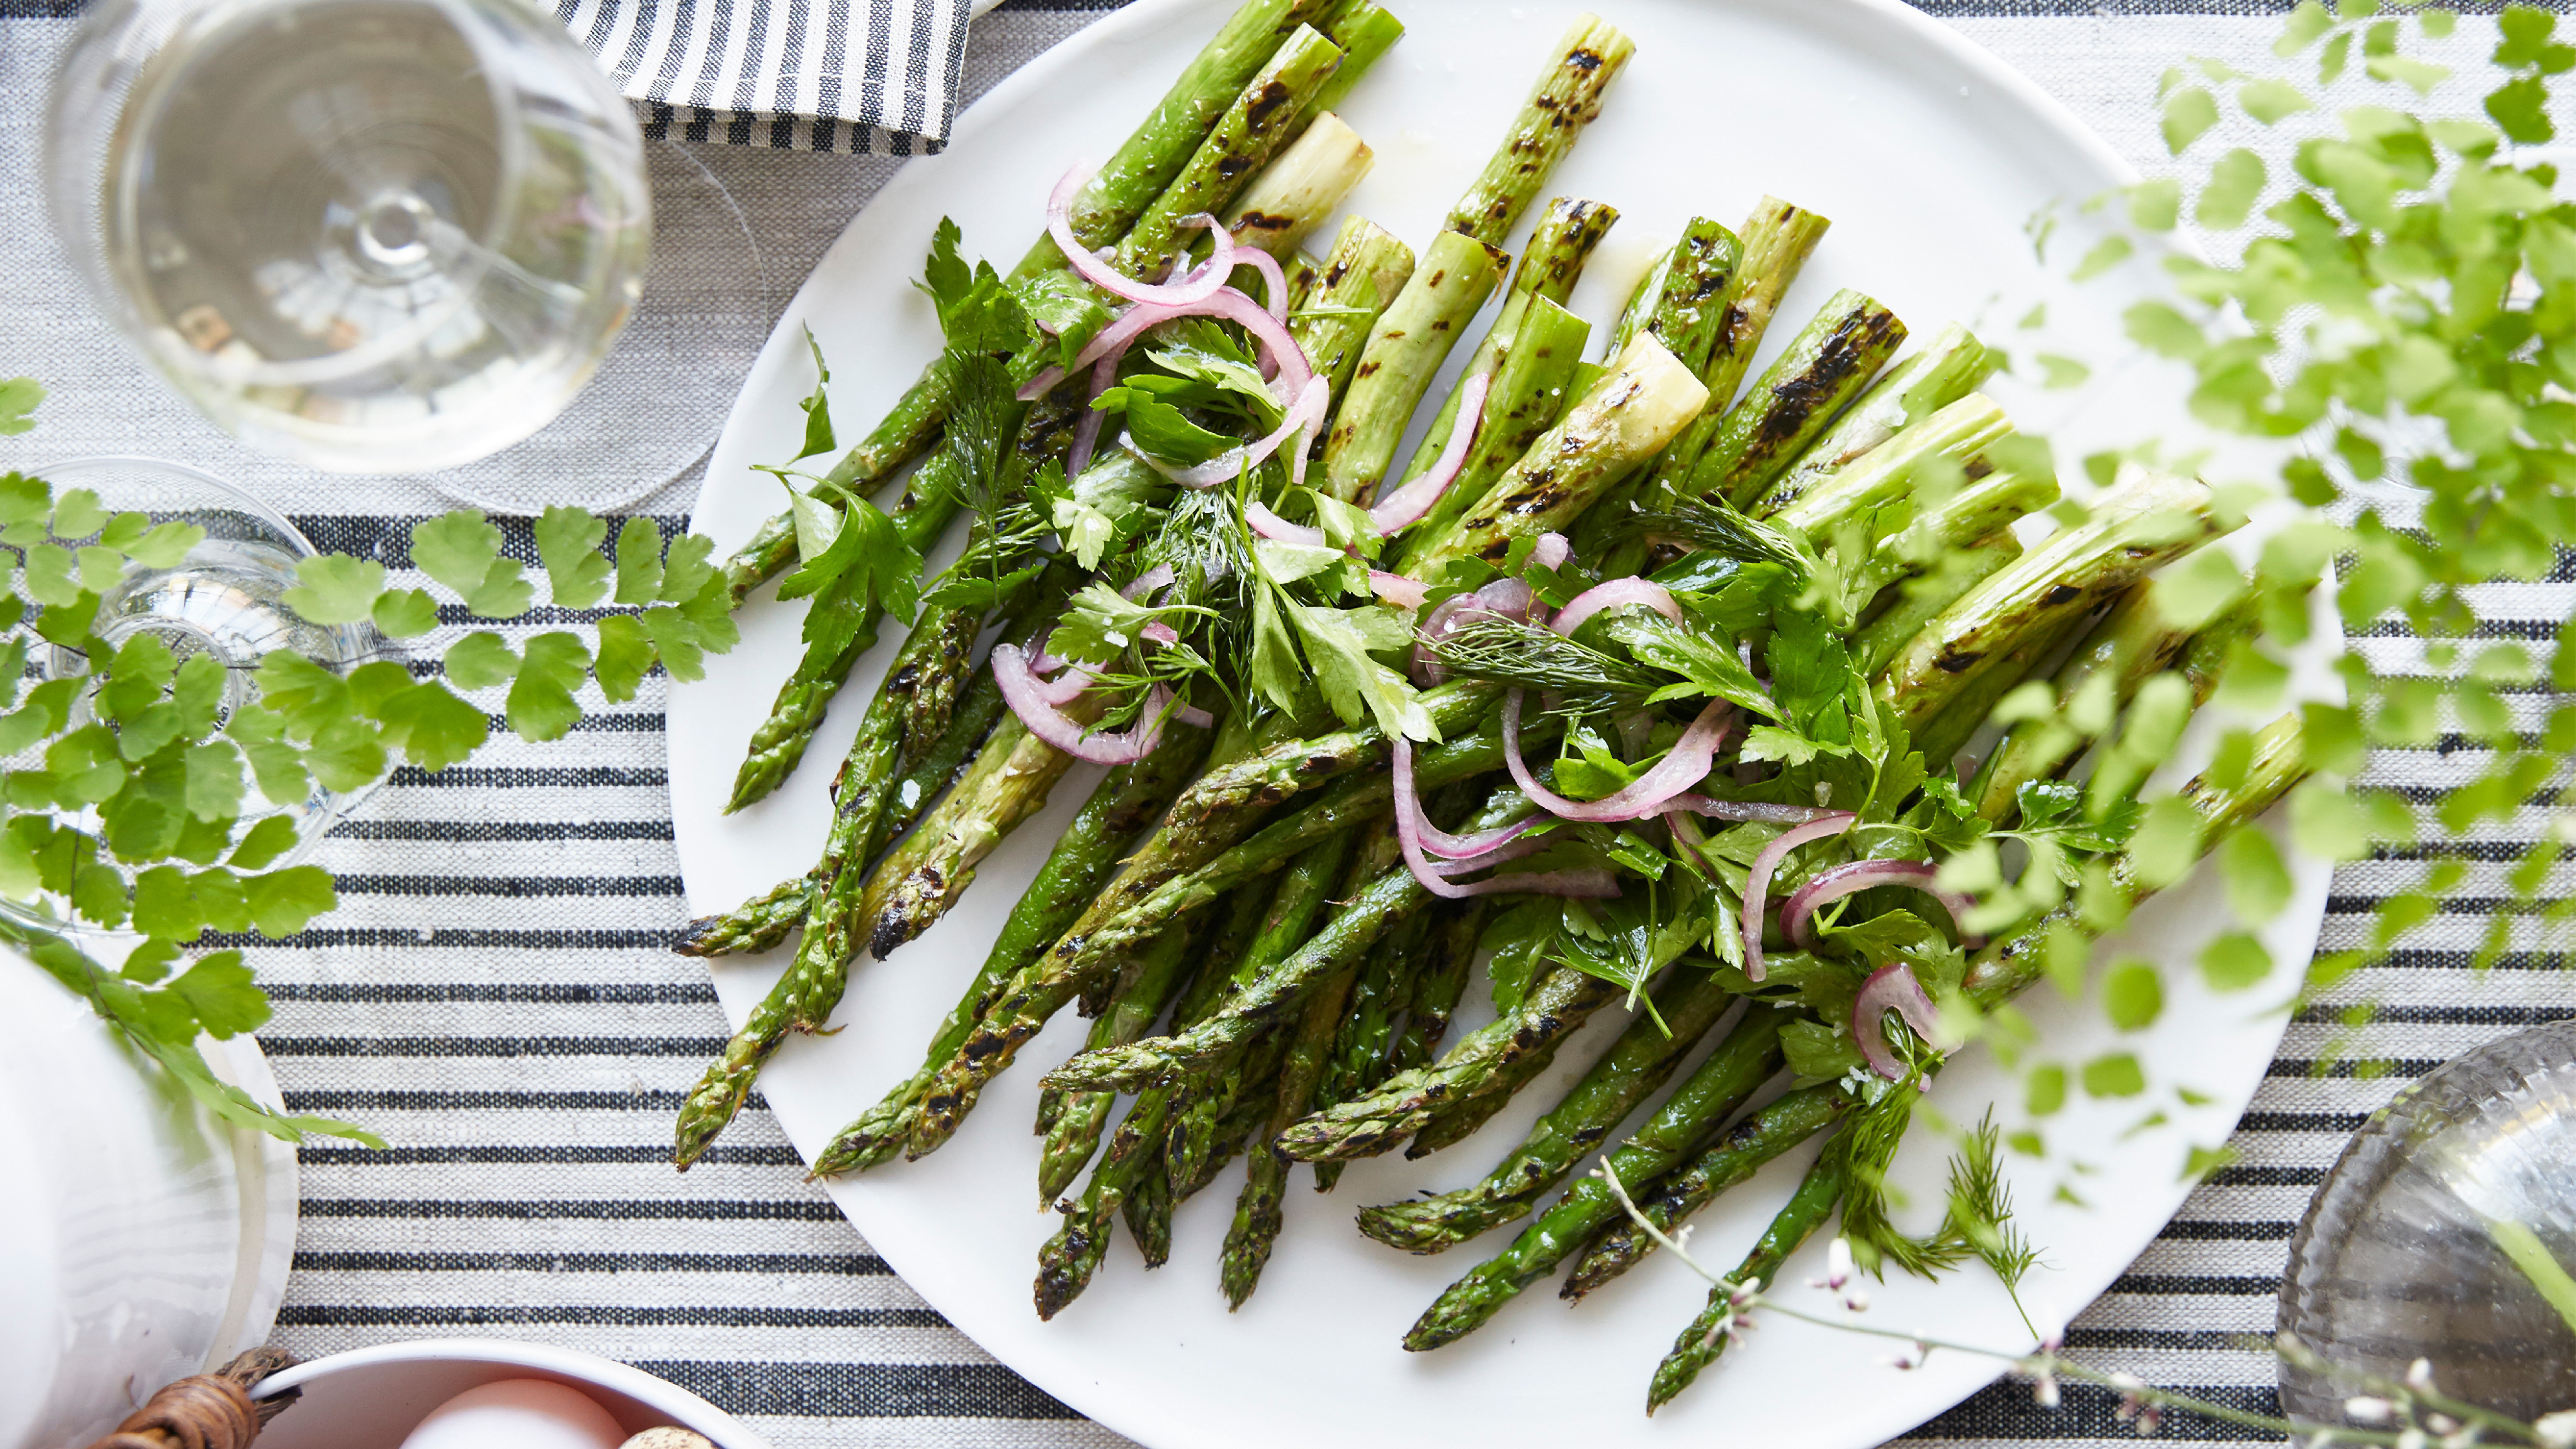 Grilled asparagus with herb and pickled red onion
This grilled asparagus couldn't be easier, and it's a wonderful way to get the best flavor from our favorite spring veg. It's perfect alongside fish or lamb

